brown butter brownies.

hellooooo, lovvaaaah.

sometimes ya just need a damn brownie. ya feel me?

this recipe yields a pretty small amount of brownies, for when you "just need a damn brownie," but don't necessarily need/want to have like 30 brownies sitting around the kitchen taunting you for the next few days.

with browned buttah, too! mmmm. this extra fragrant butter smells like love or magic or holidays or all of the above.

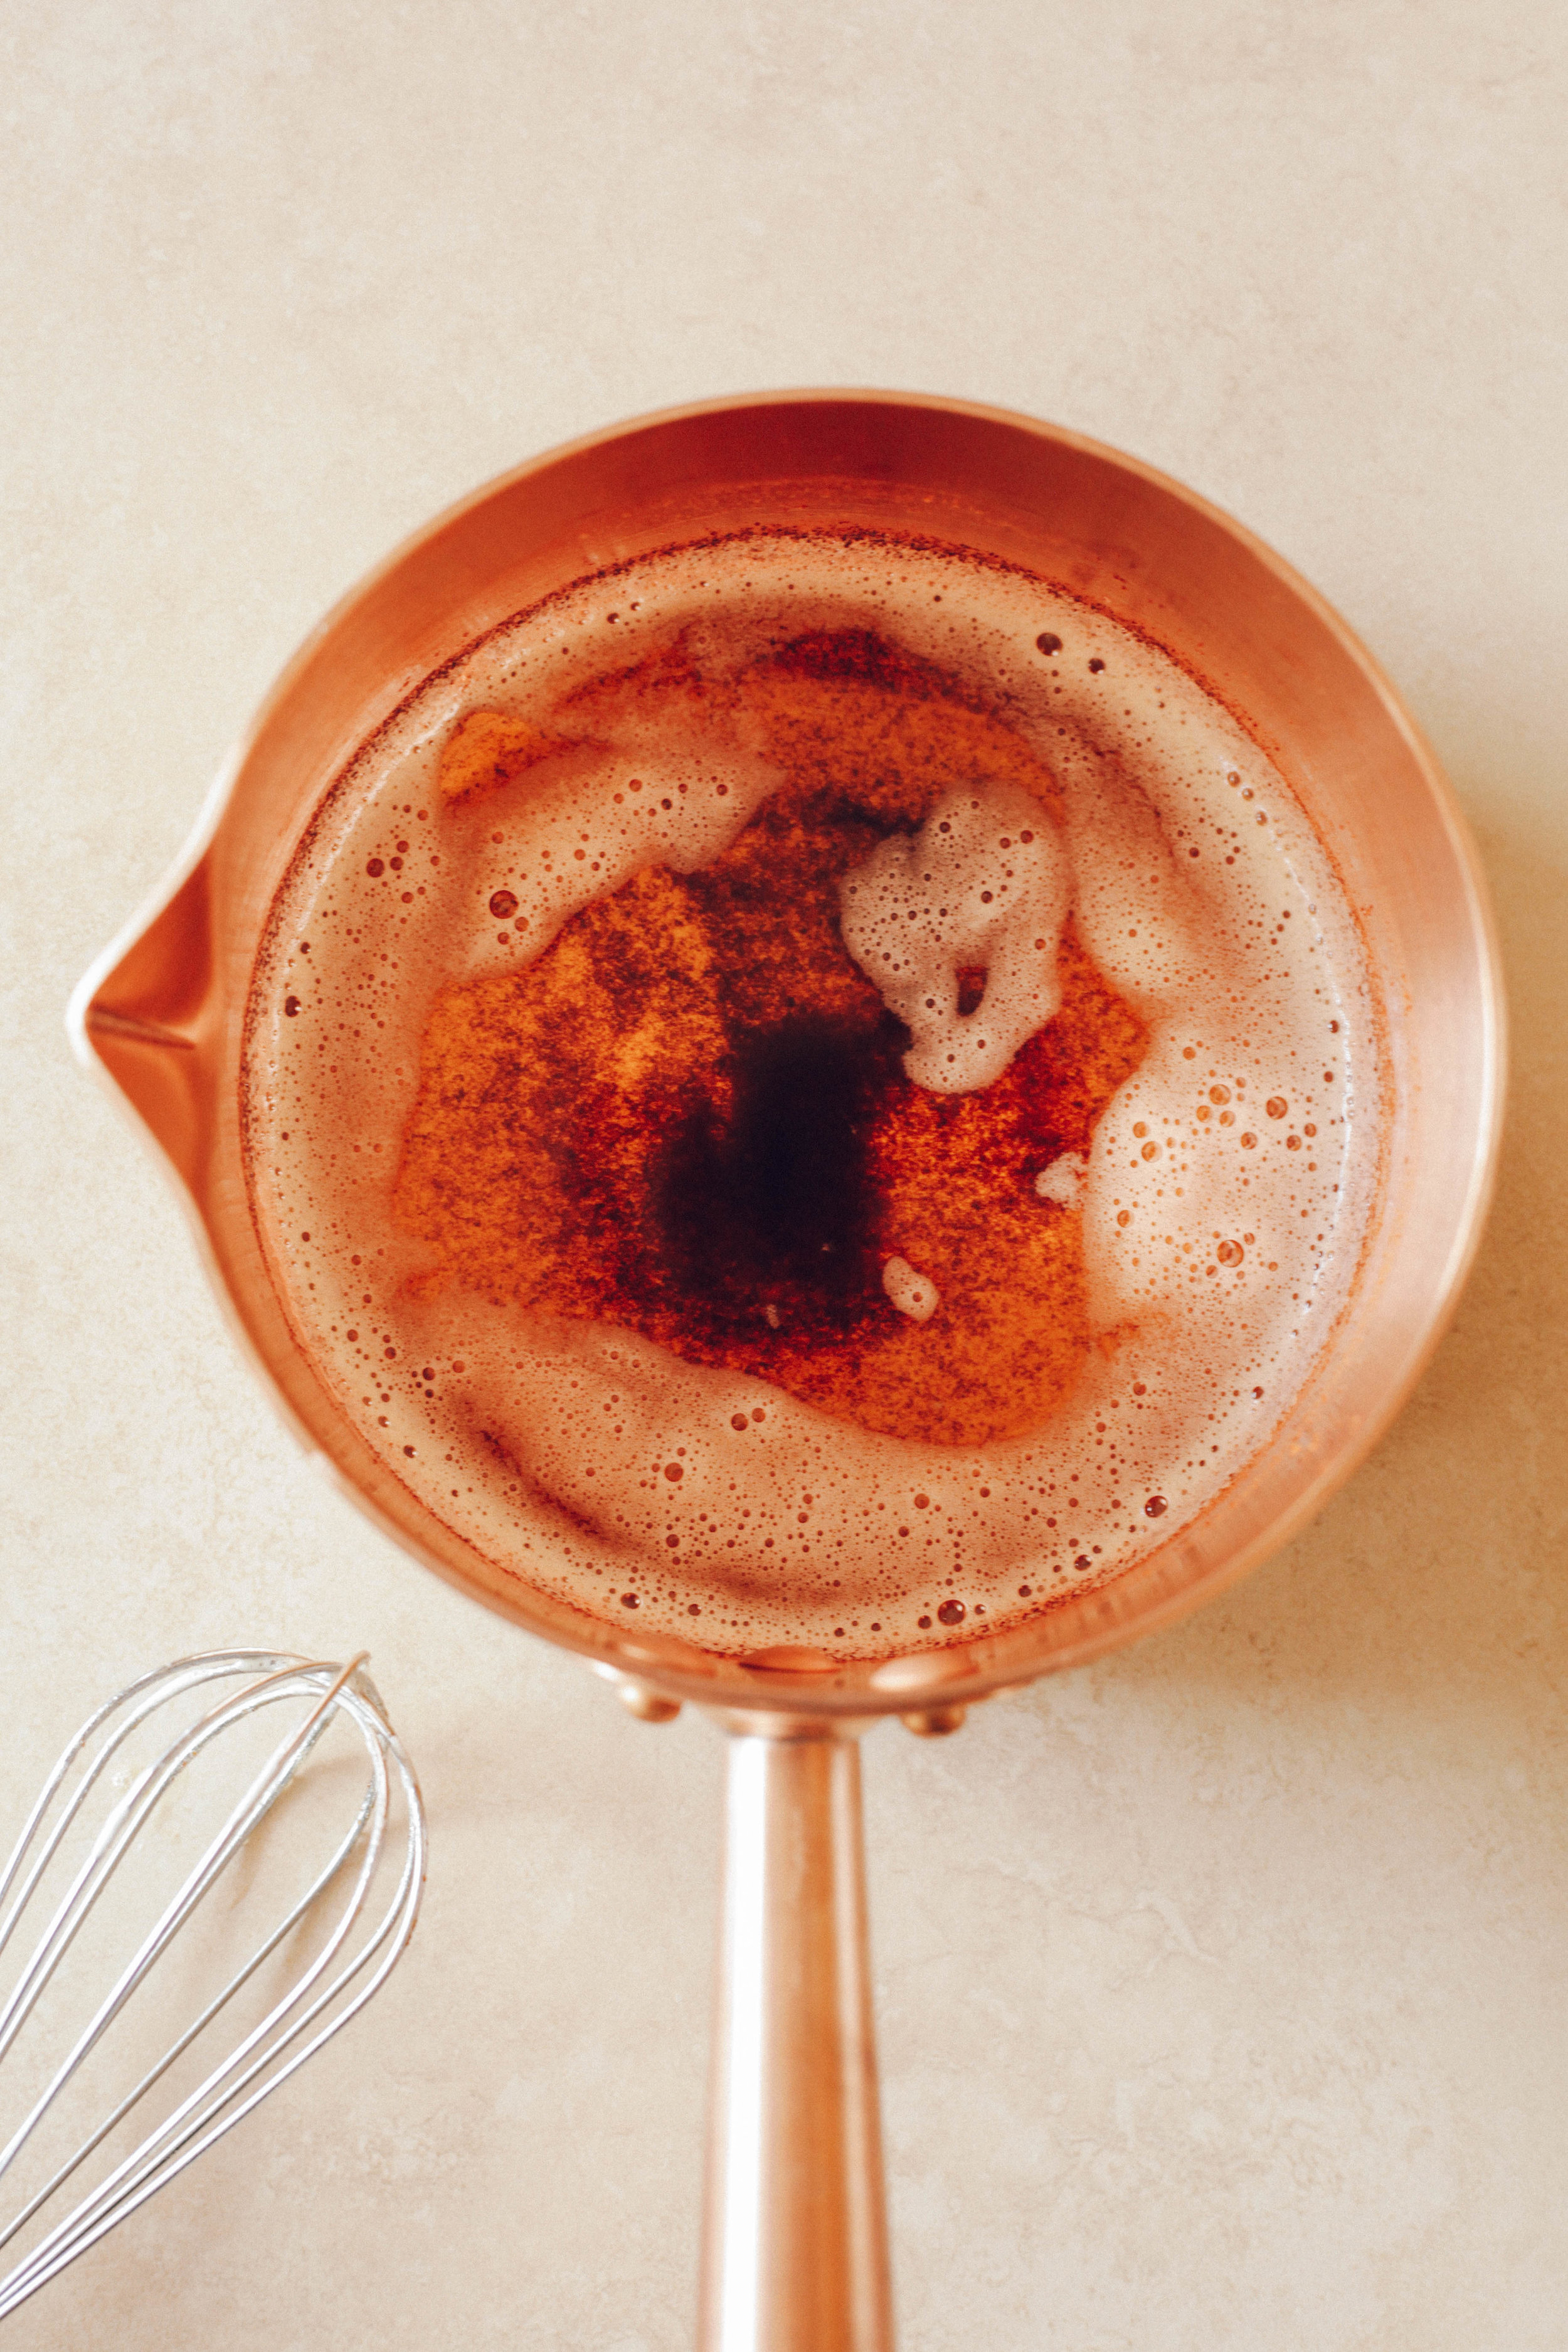
pete got me two gorgeous copper pans for christmas. see below. prettiest ever.

you can see all the toasty brown butter flecks down in there preparing for a delicious (but short) life as an extra chocolatey brownieeeeeeee.

i pretty much made these babes as valentine's day gift to myself hahah. i think pete has had like half a bite of one...soo, good thing for small batch recipes.

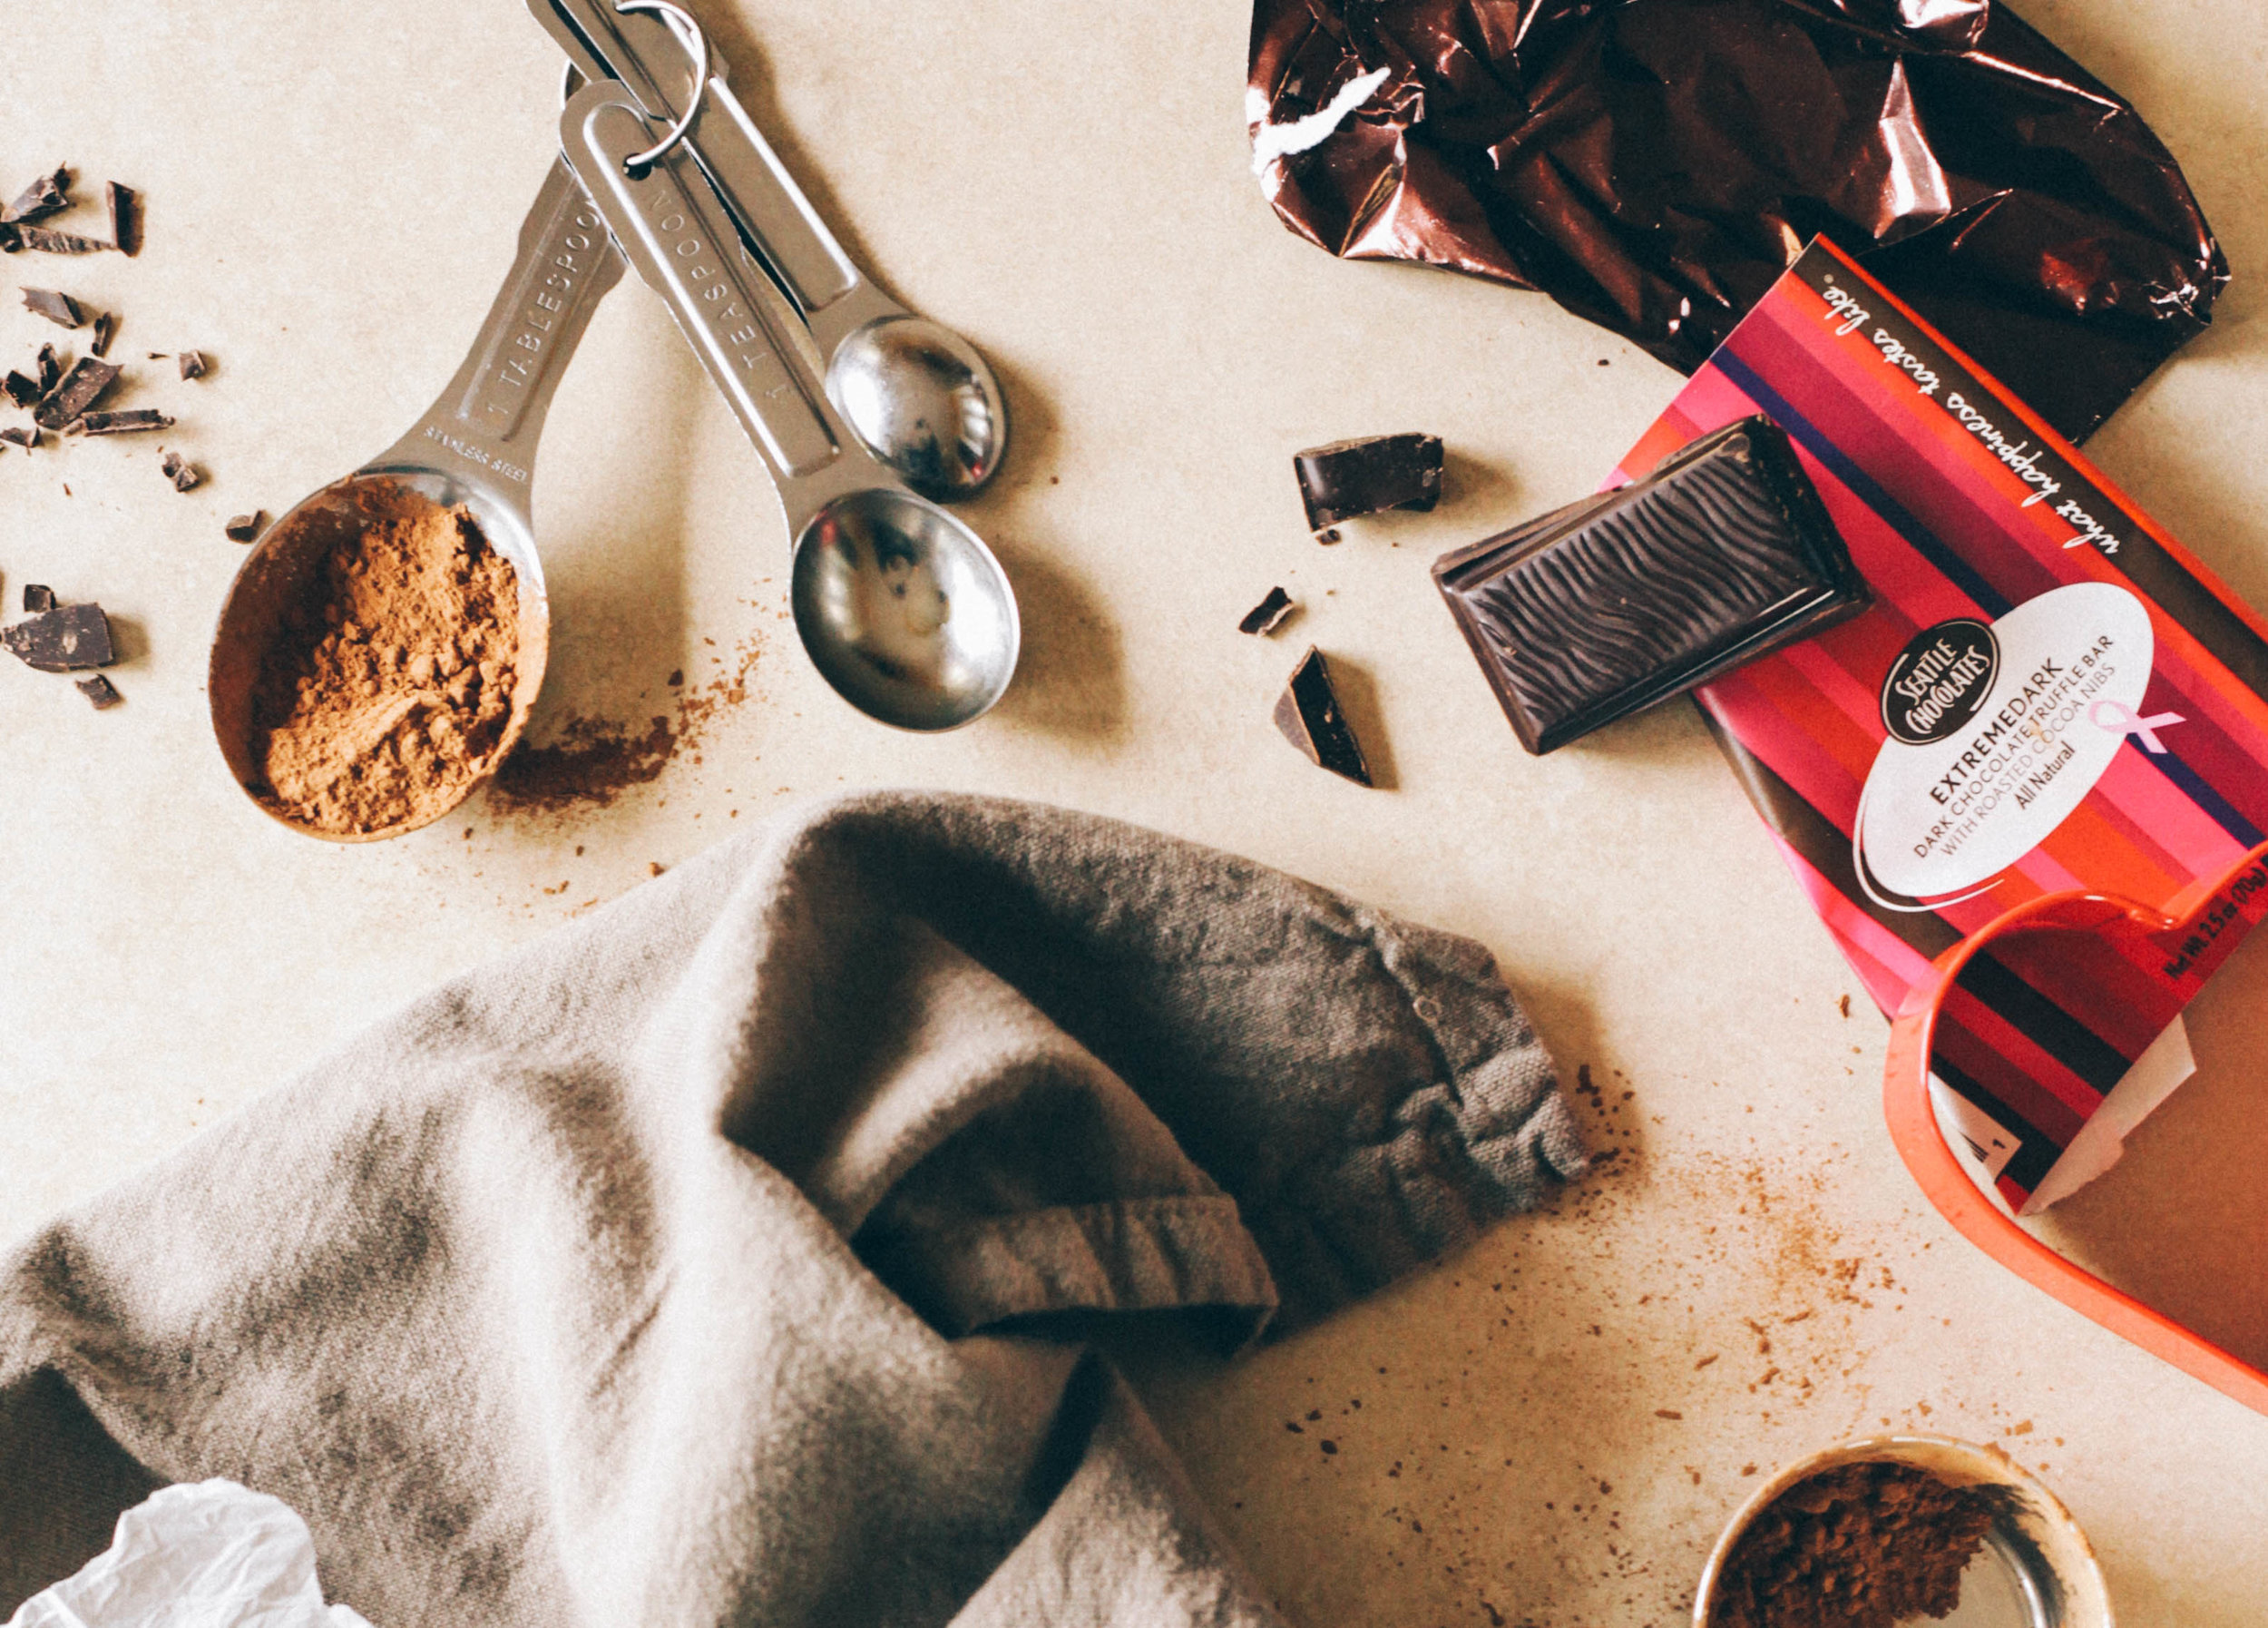
we have a ton of various seattle chocolate bars leftover from christmas, and i'm finding the best uses for them besides just gobbling them up straight outta the wrapper.

and you can make these in one bowl! easy to make and to clean up. 

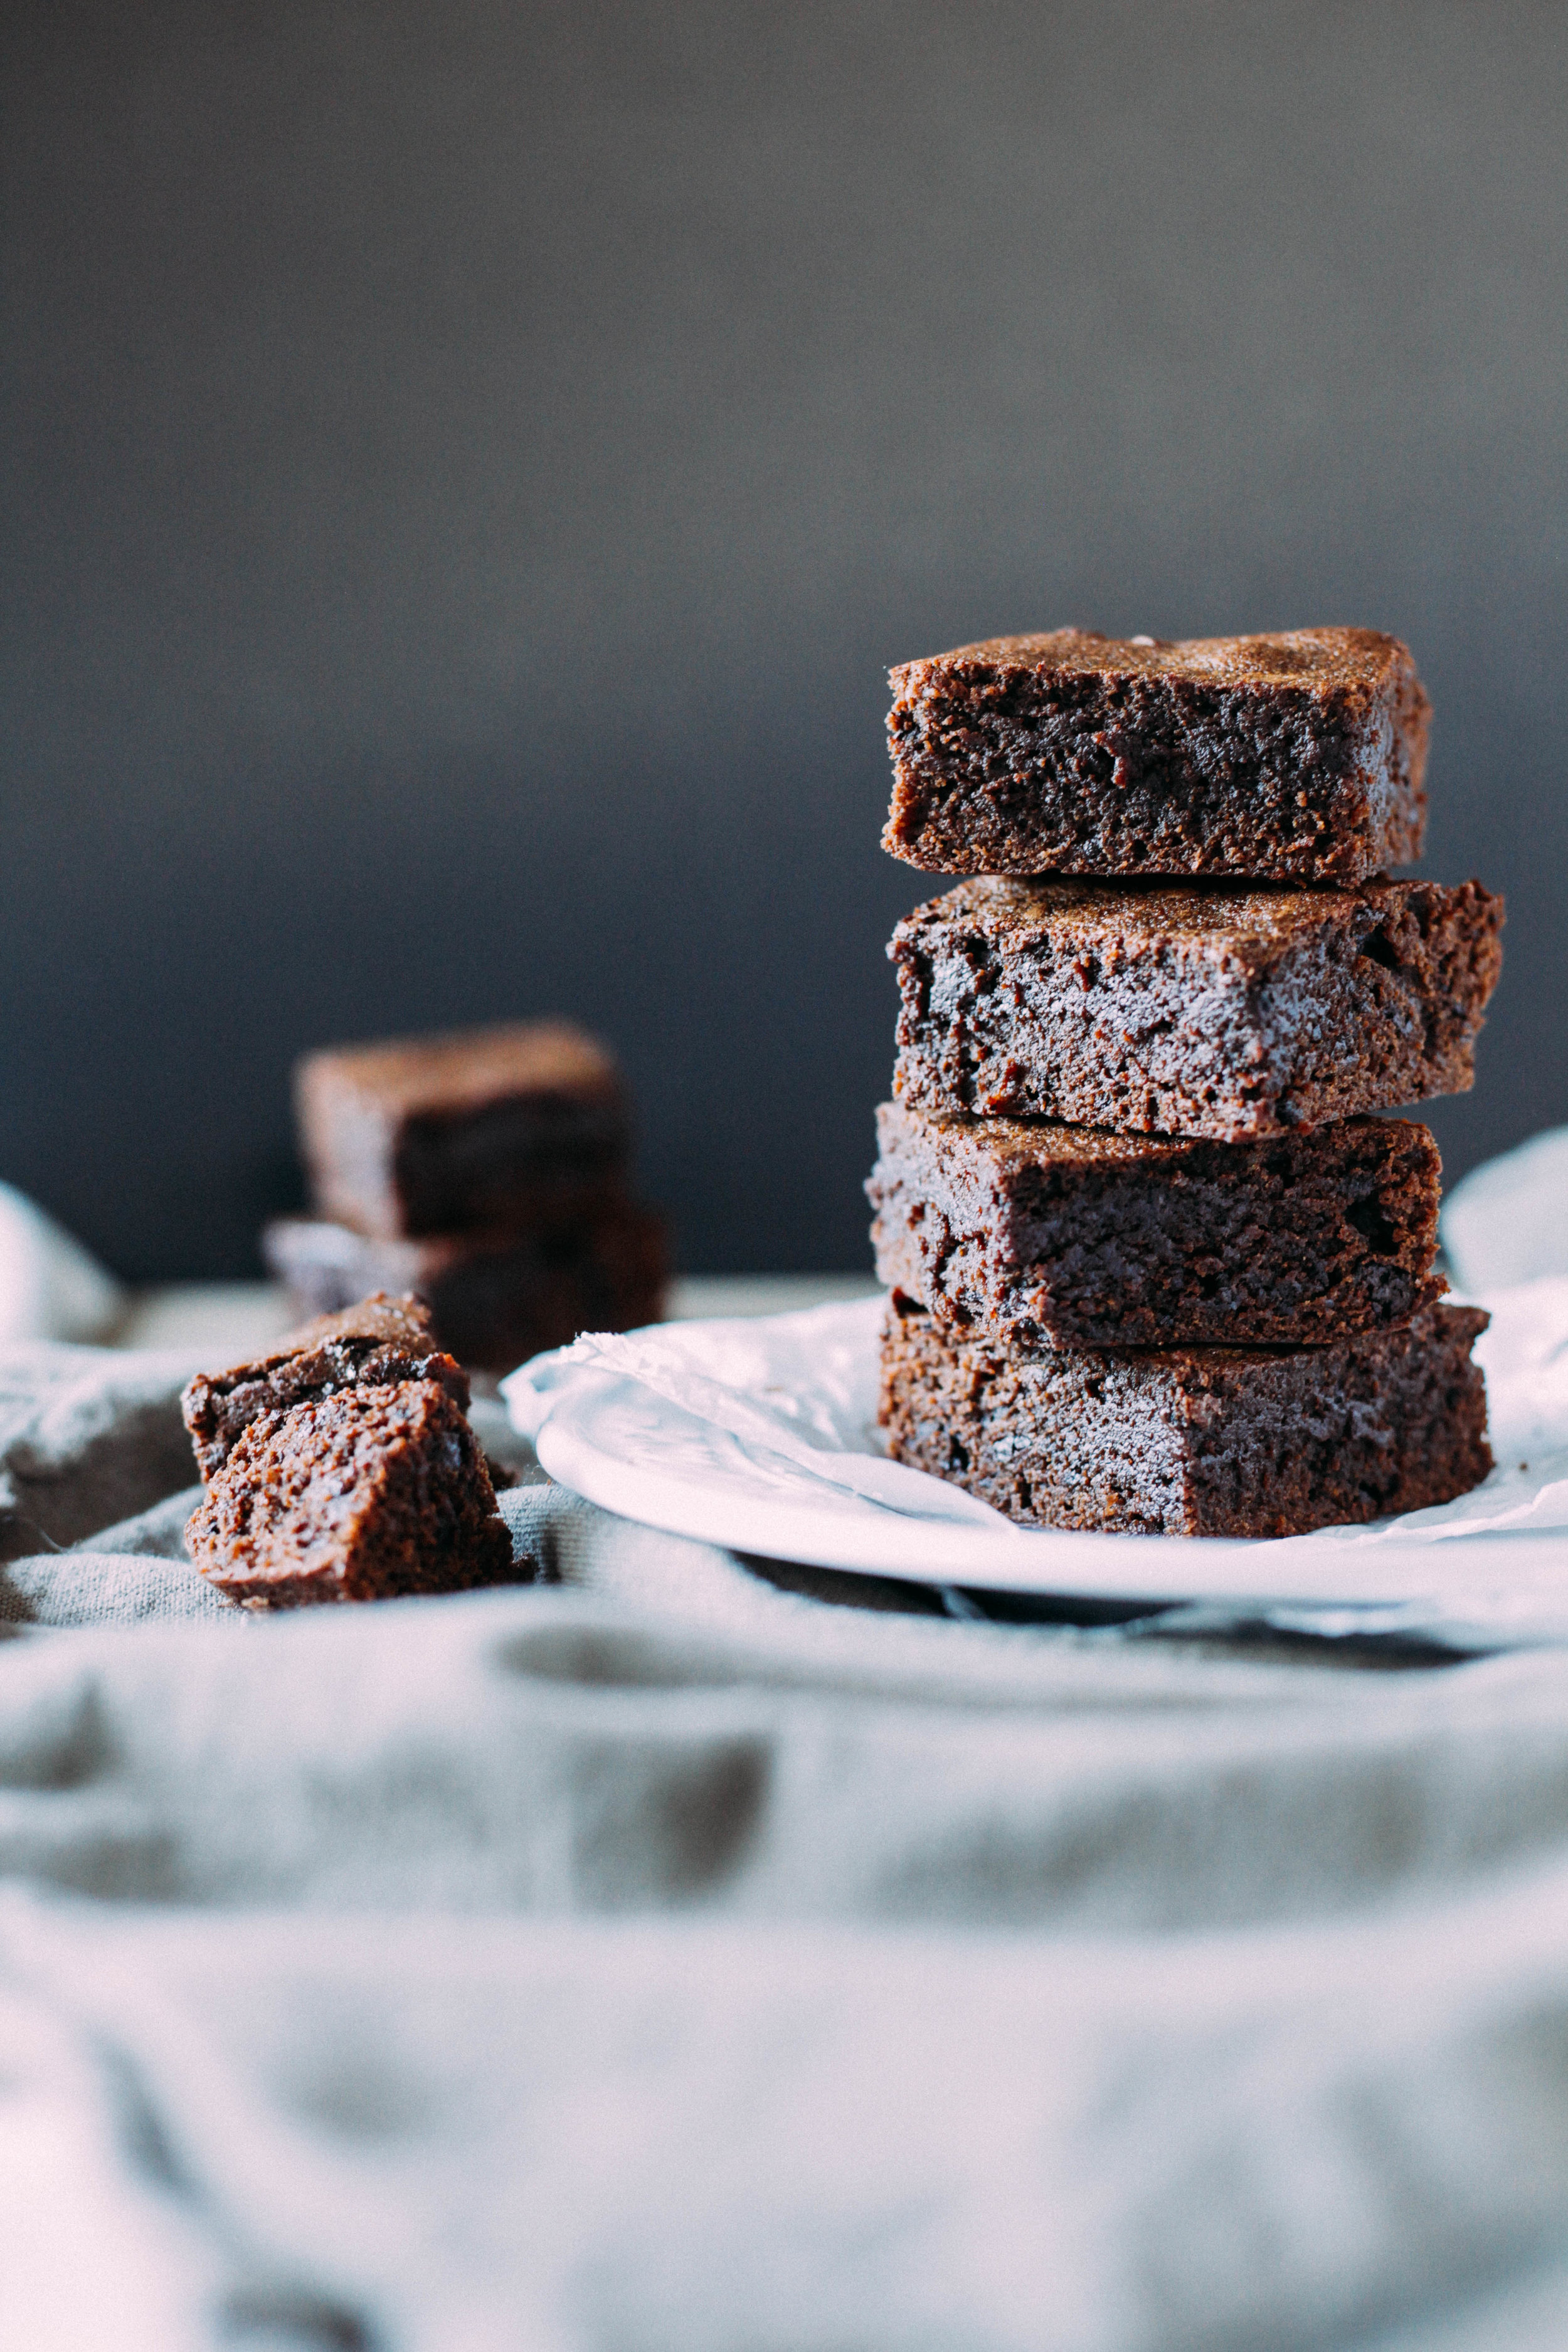
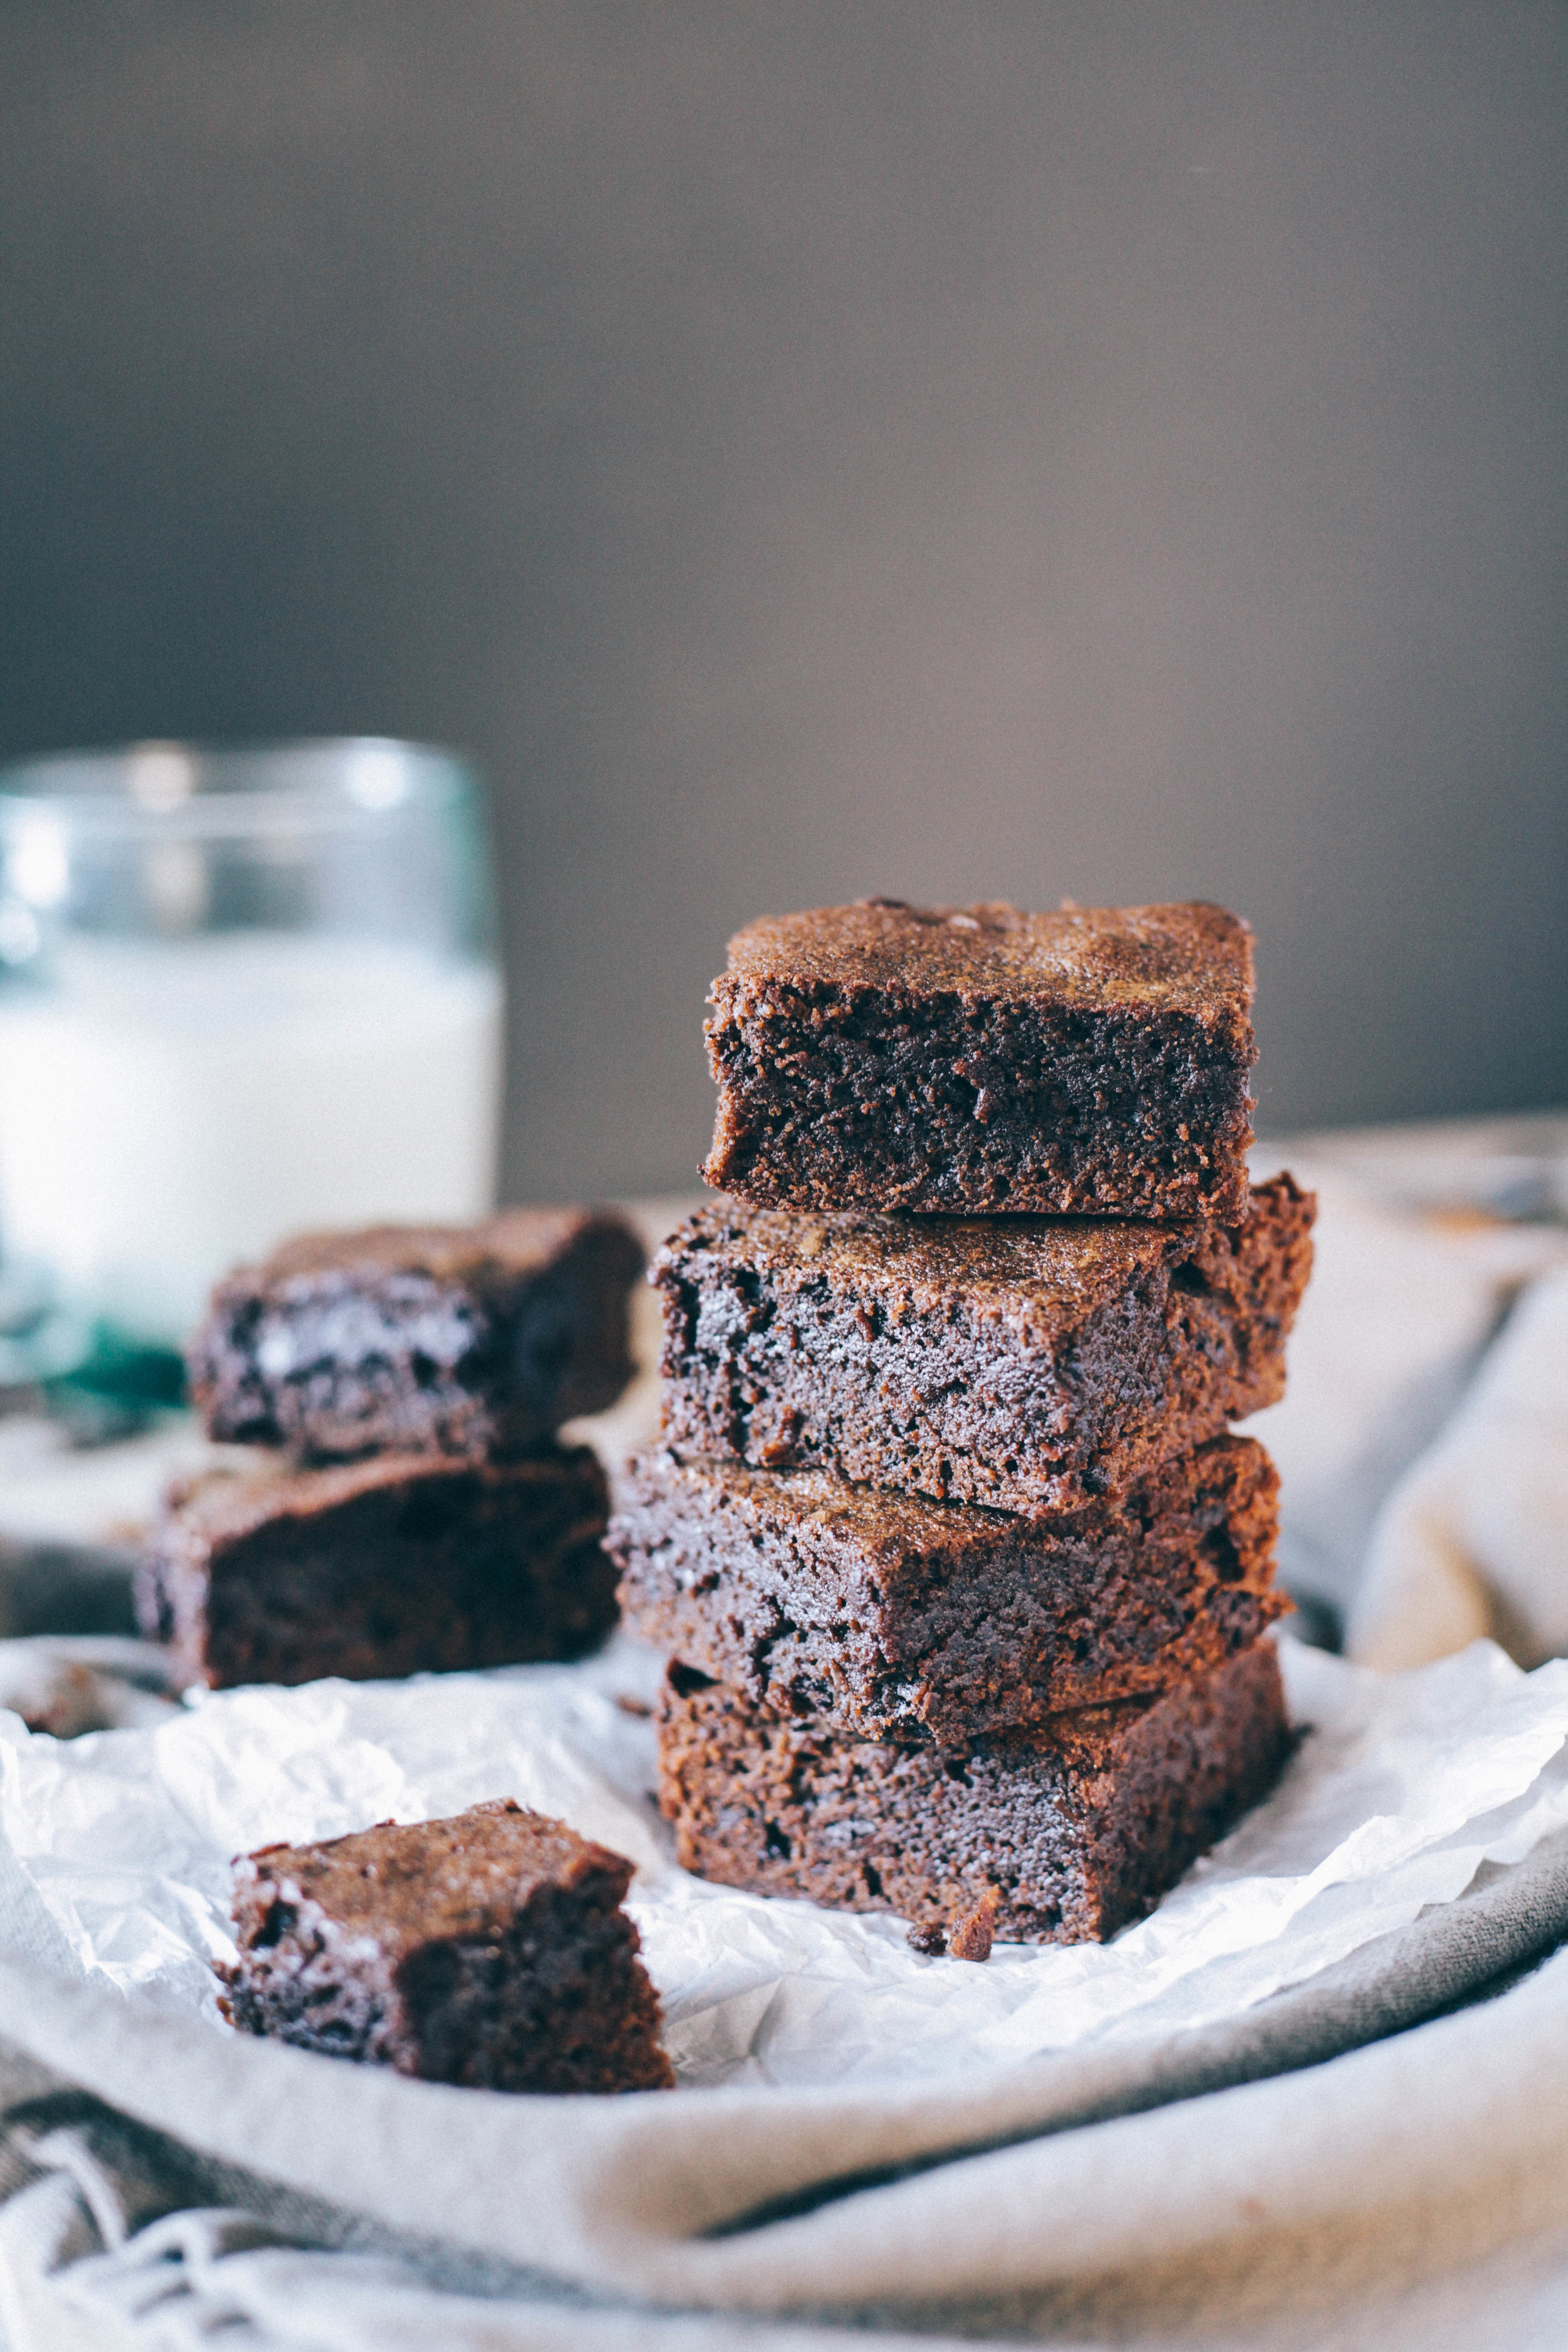
yum. just YUM!  ^^^ this brownie stack looks kinda like a lil robot, no?

it was reeeally hard for me to not add walnuts to these, because i just freaking love walnuts in brownies and extra texture in general. but i kept em pure & chocolatey for all ye walnut haters.

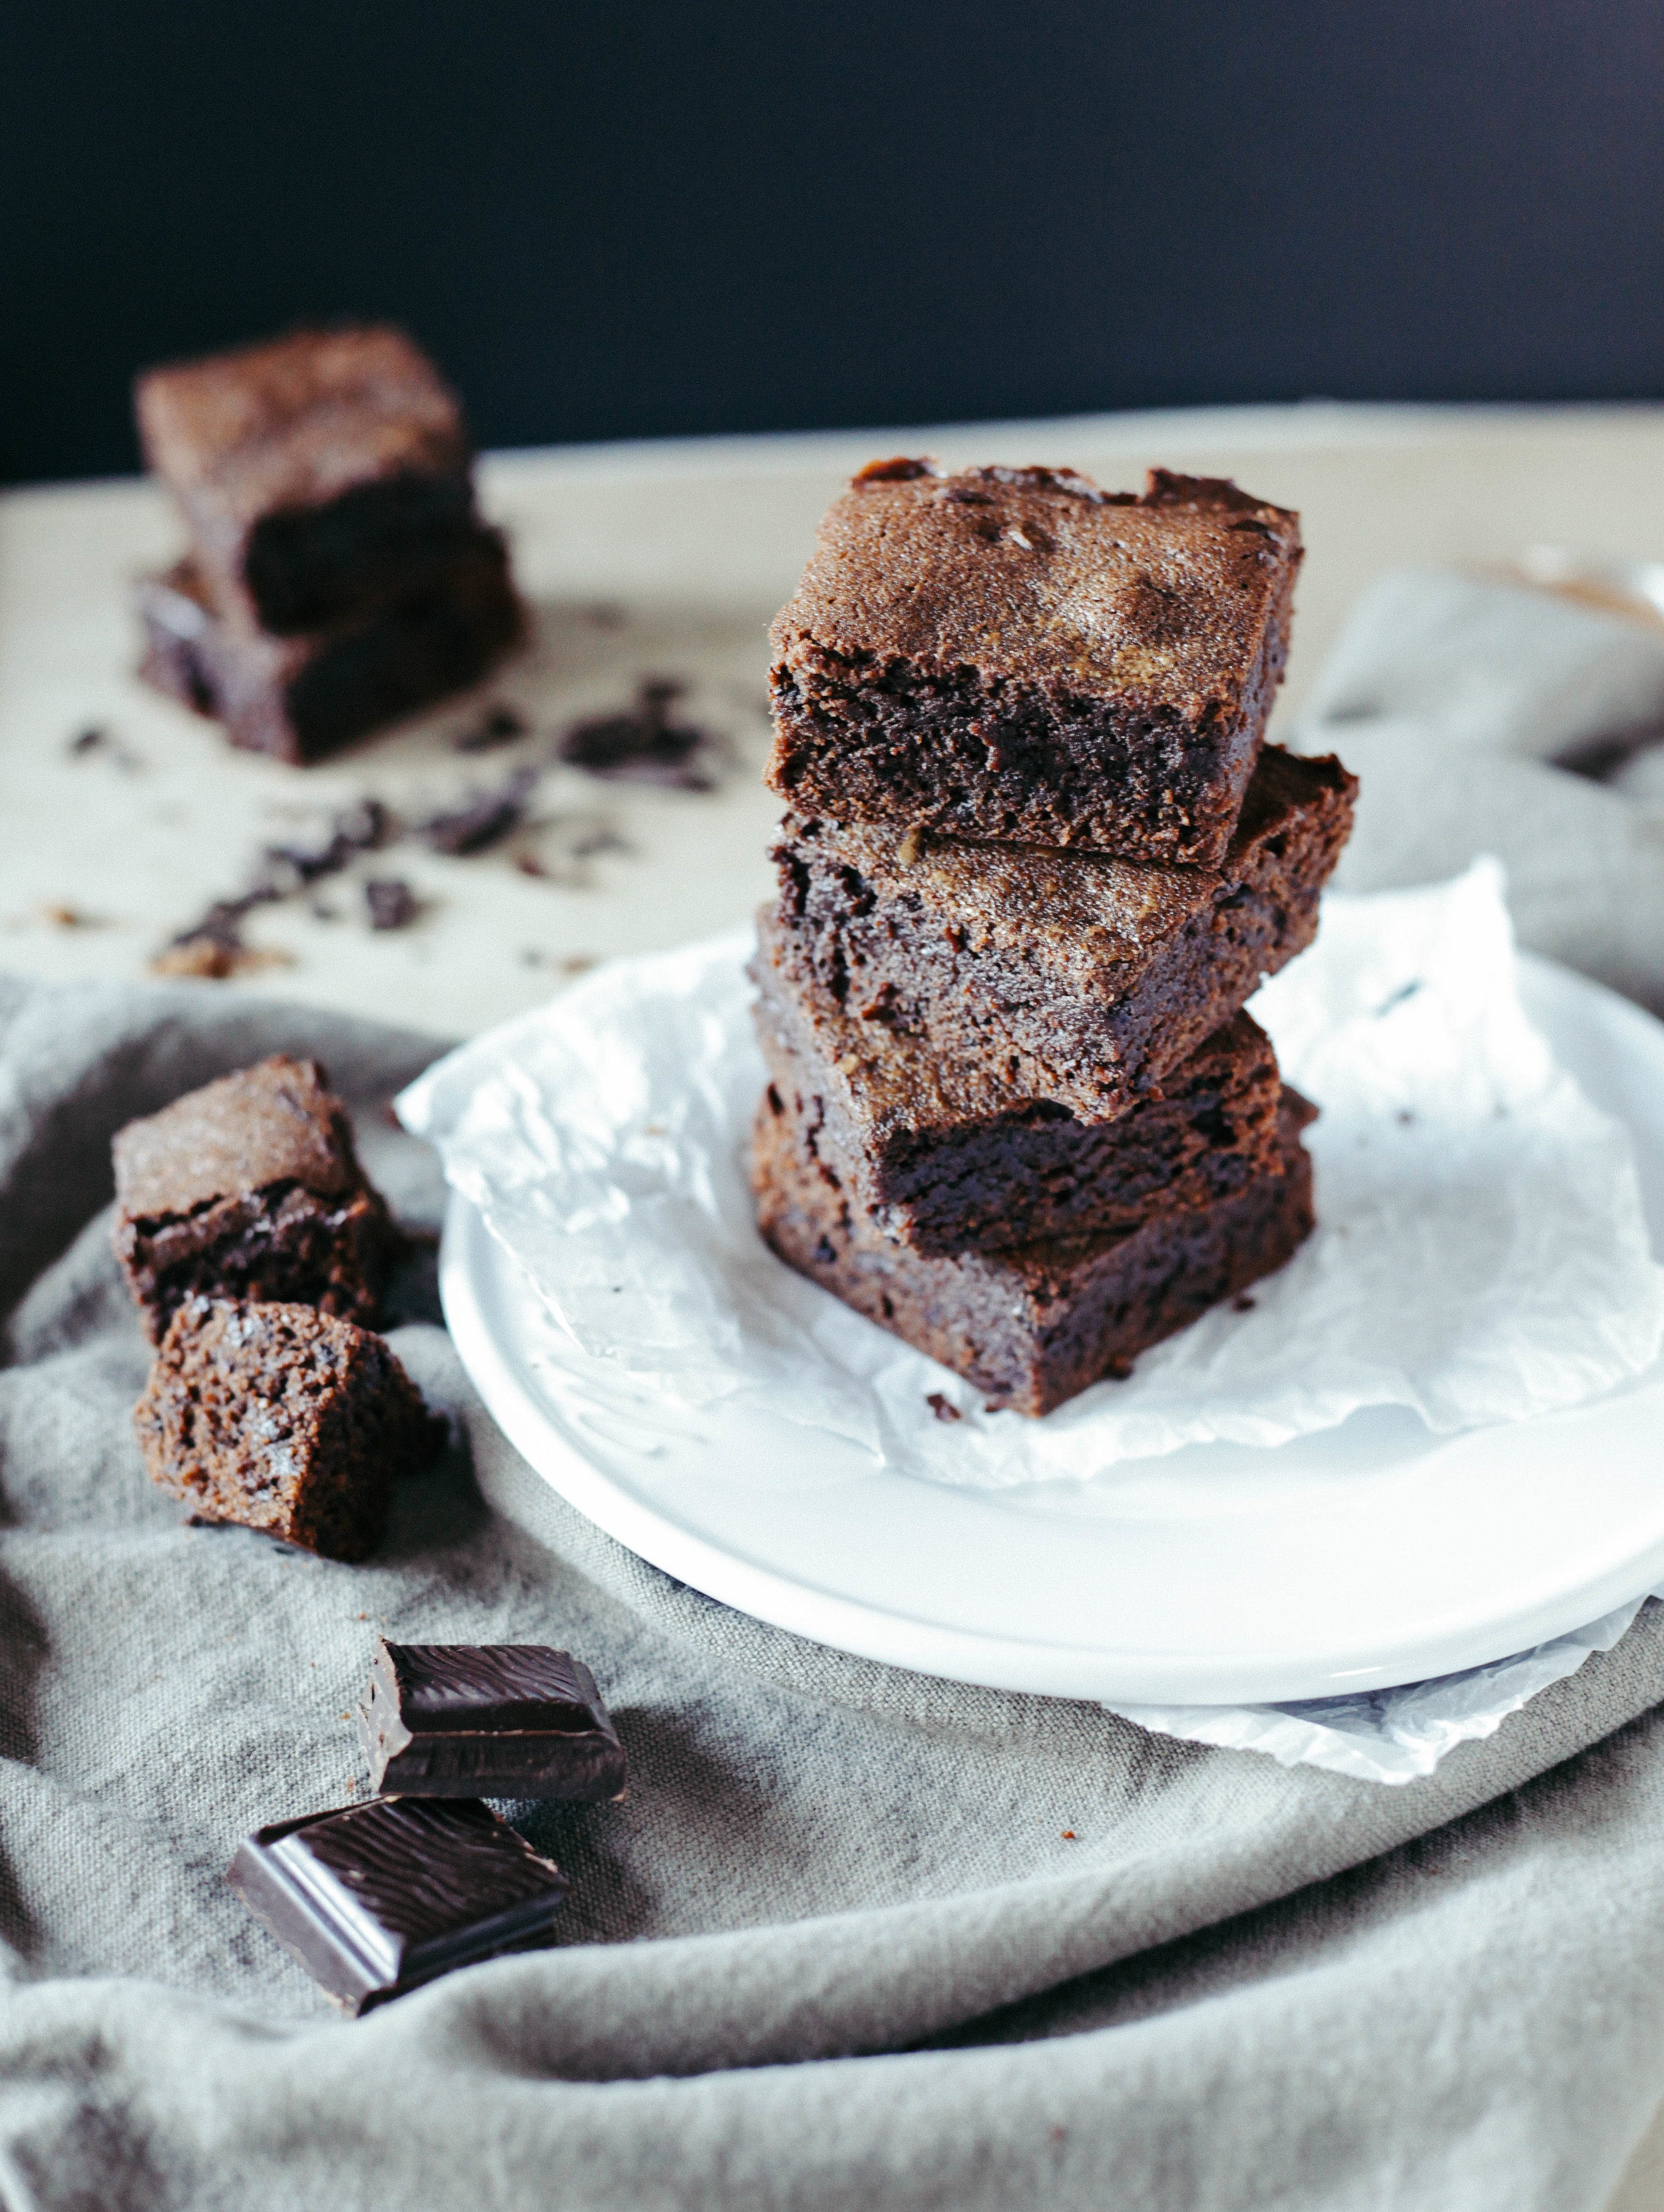
i used a mix of chopped dark chocolate with cocoa powder, for some extra deep chocolatey flavors, extra moisture (ew! - someone plz develop a new word to describe food with the same meaning..please oh pleease) and to avoid that bitter taste from using a lot of cocoa powder.

i also used quite a bit less sugar than most brownie recipes call for, and i did a combination of regular granulated sugar with coconut sugar. i just think coconut sugar yields a deeper different kind of sweetness than wHhhhite sug.

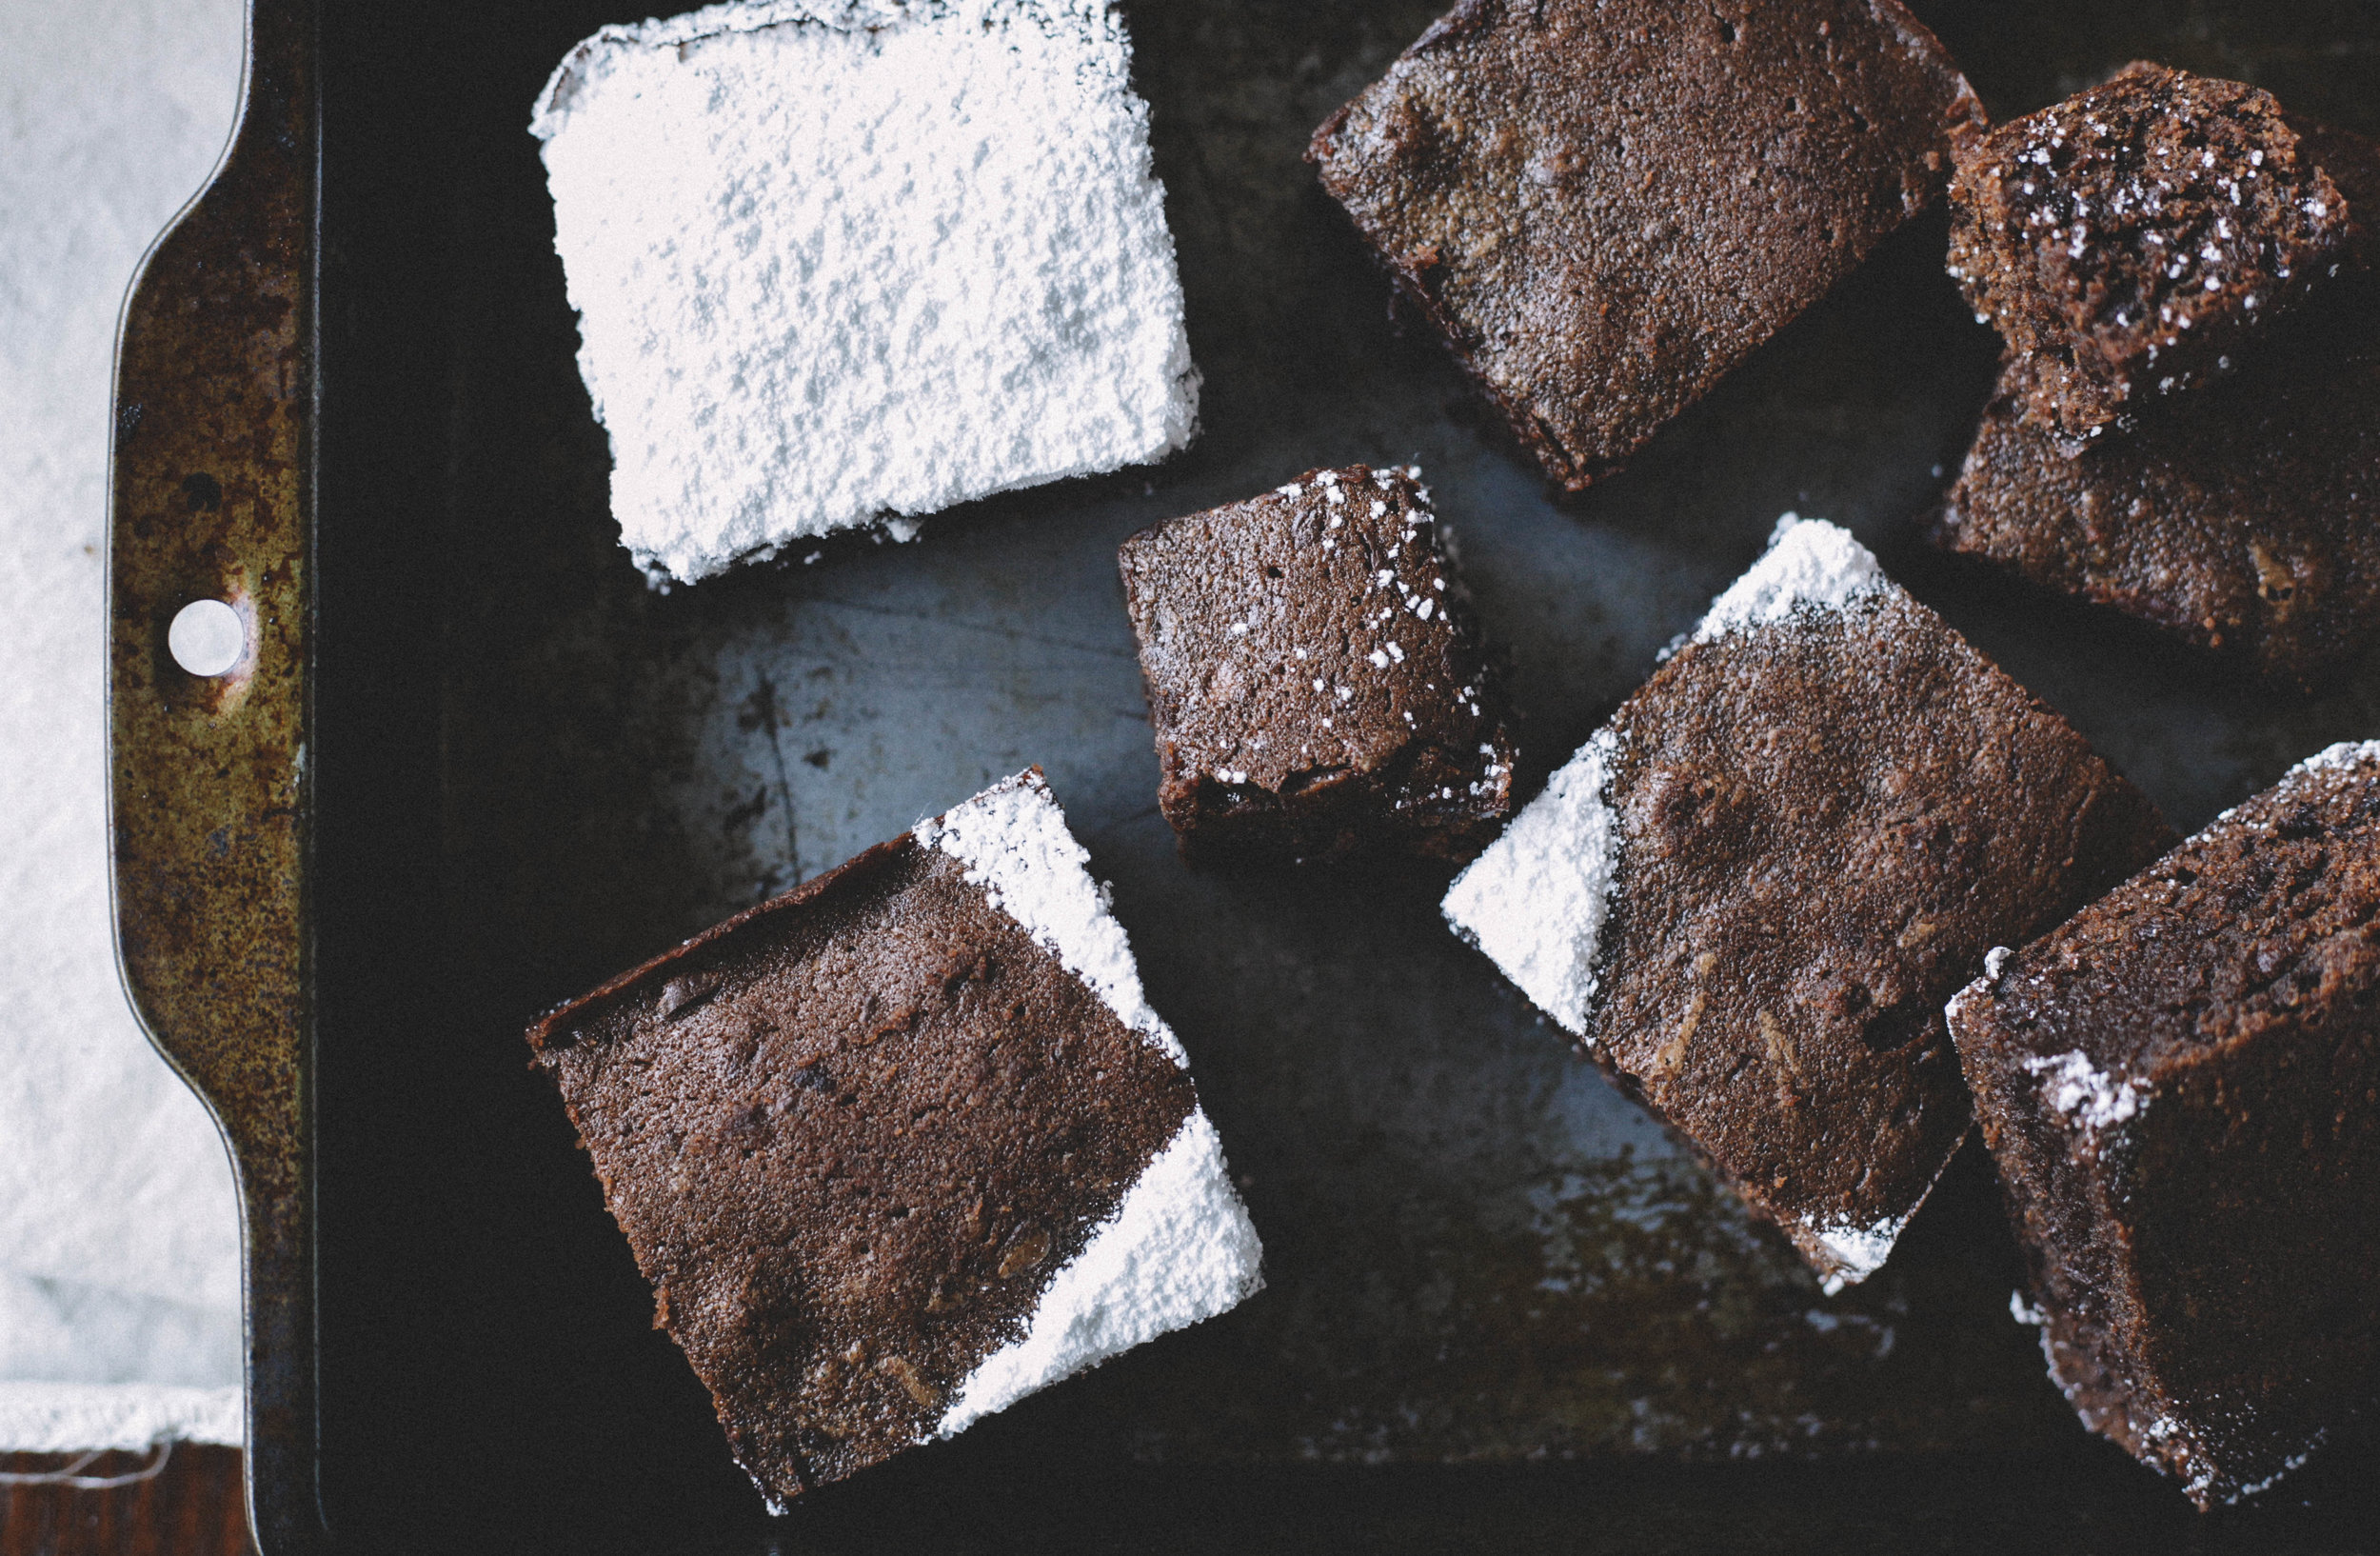
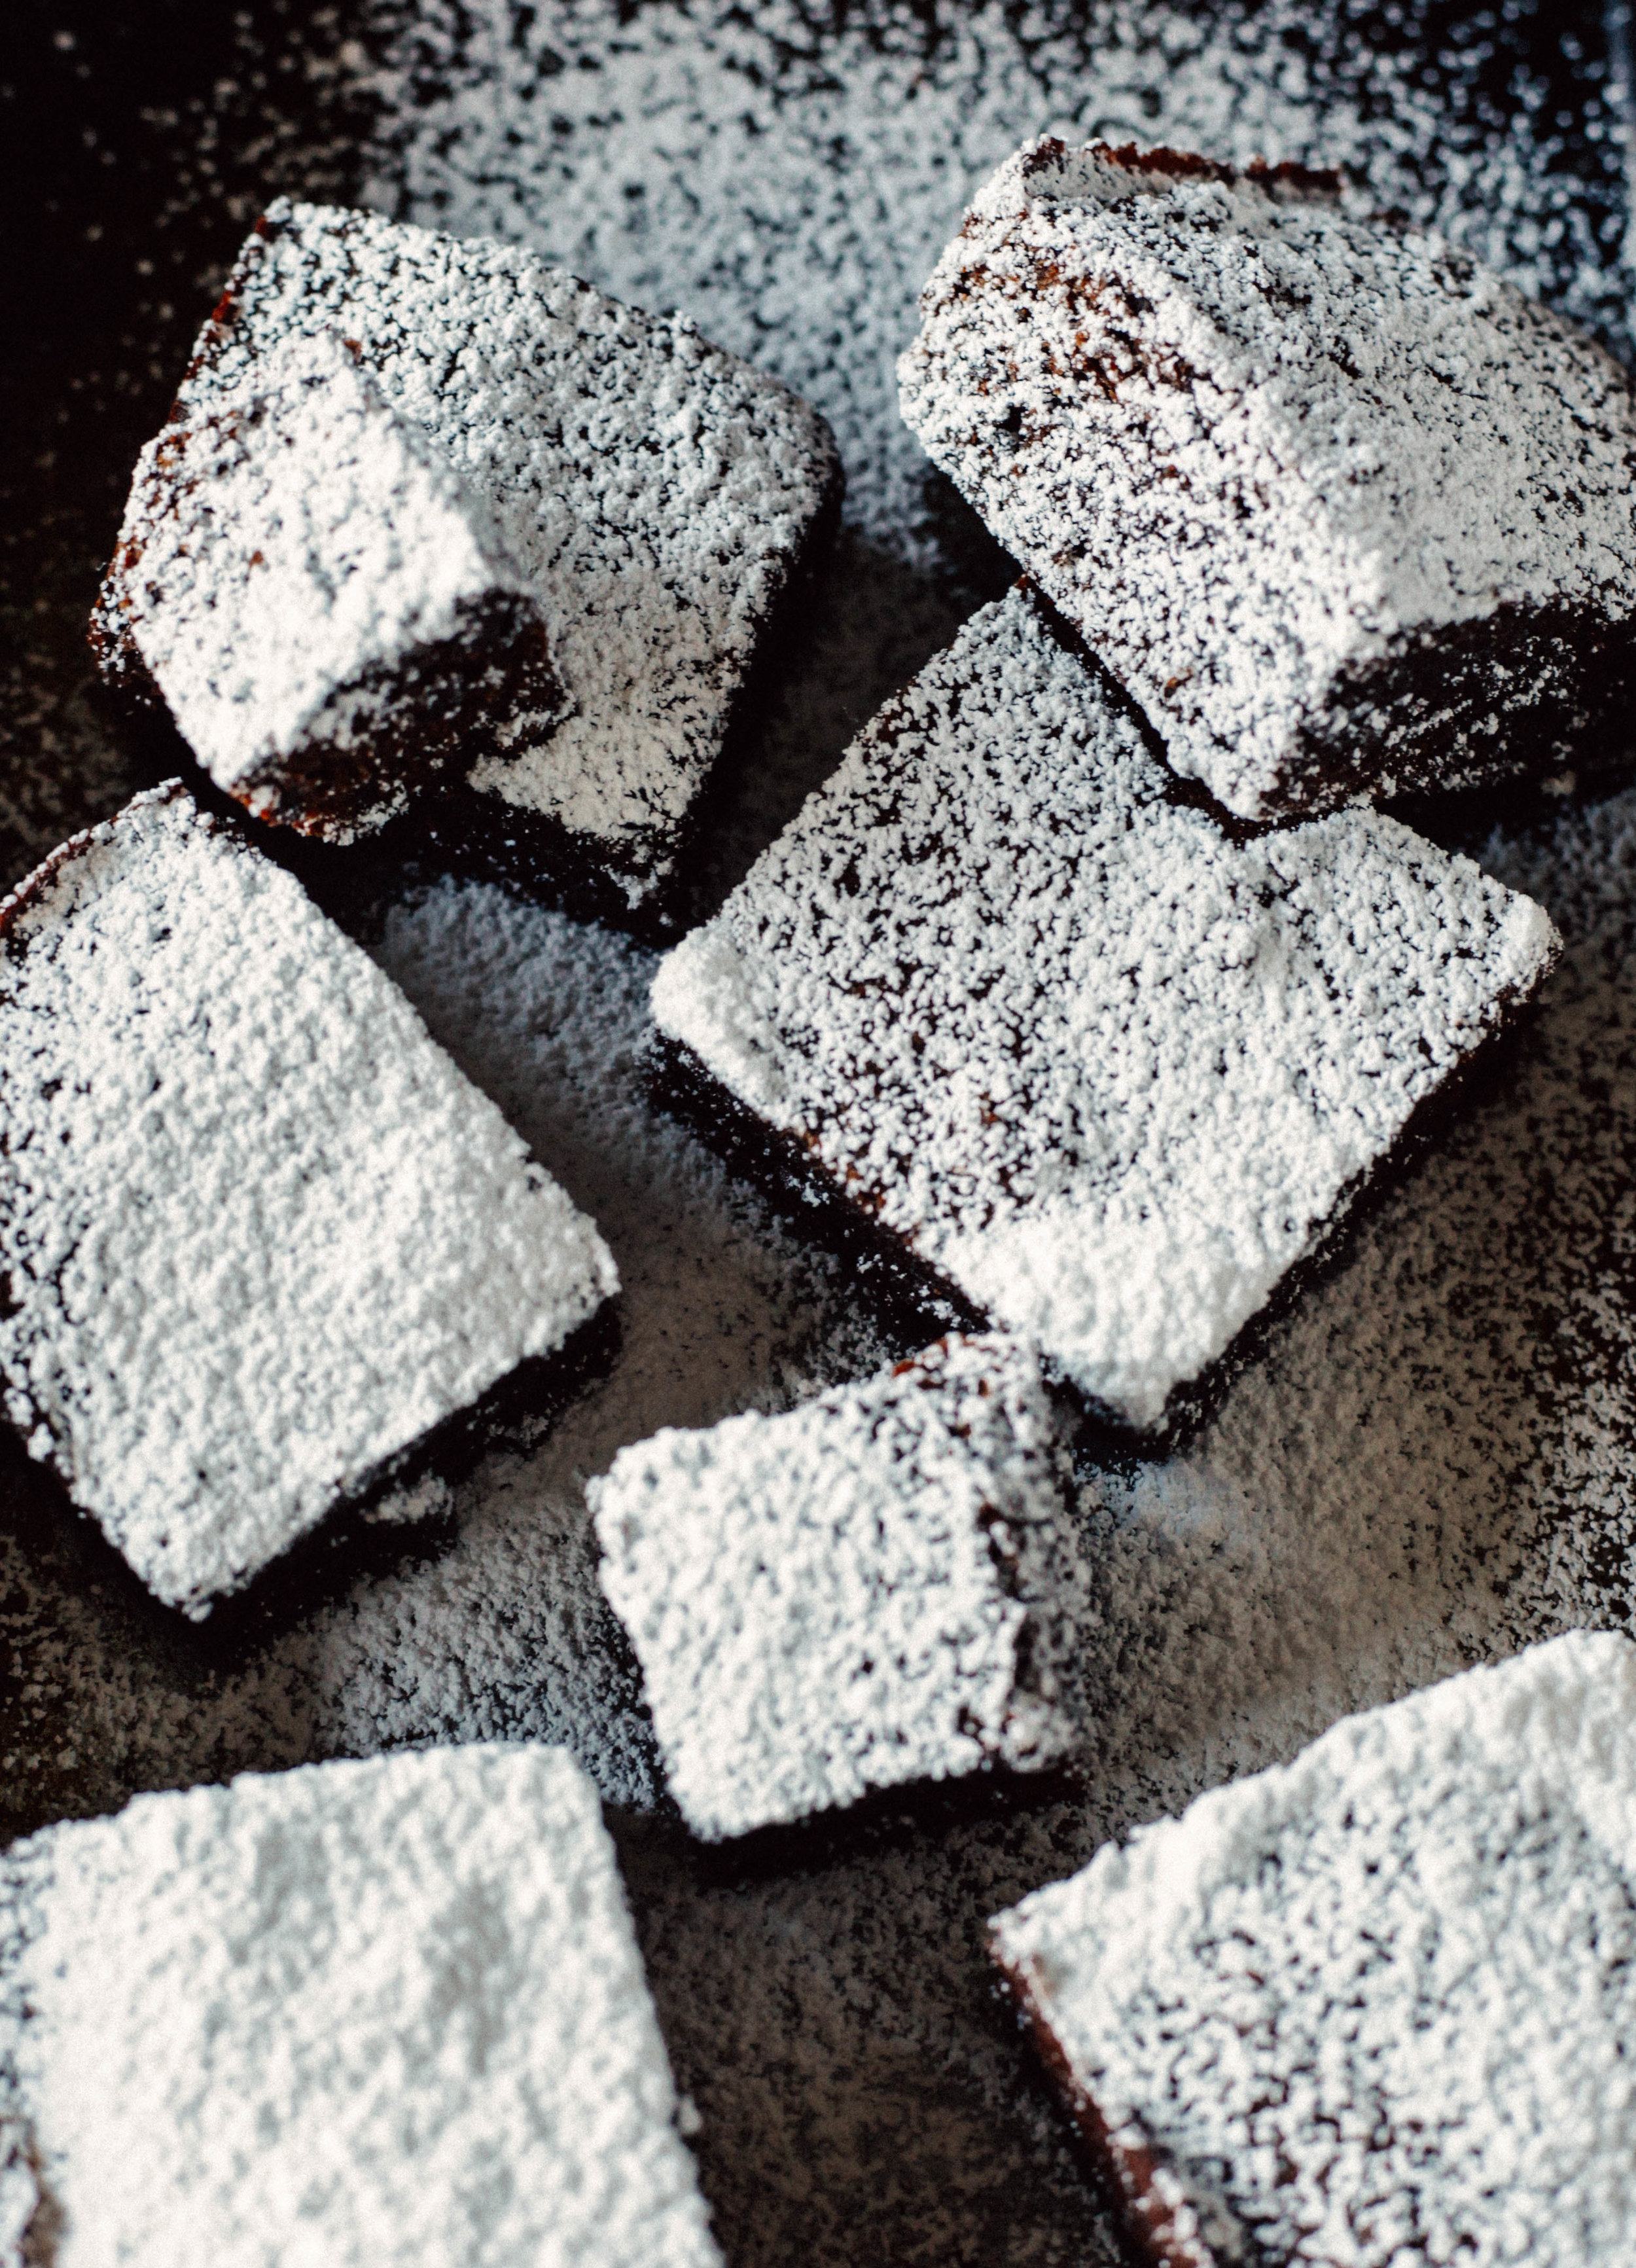
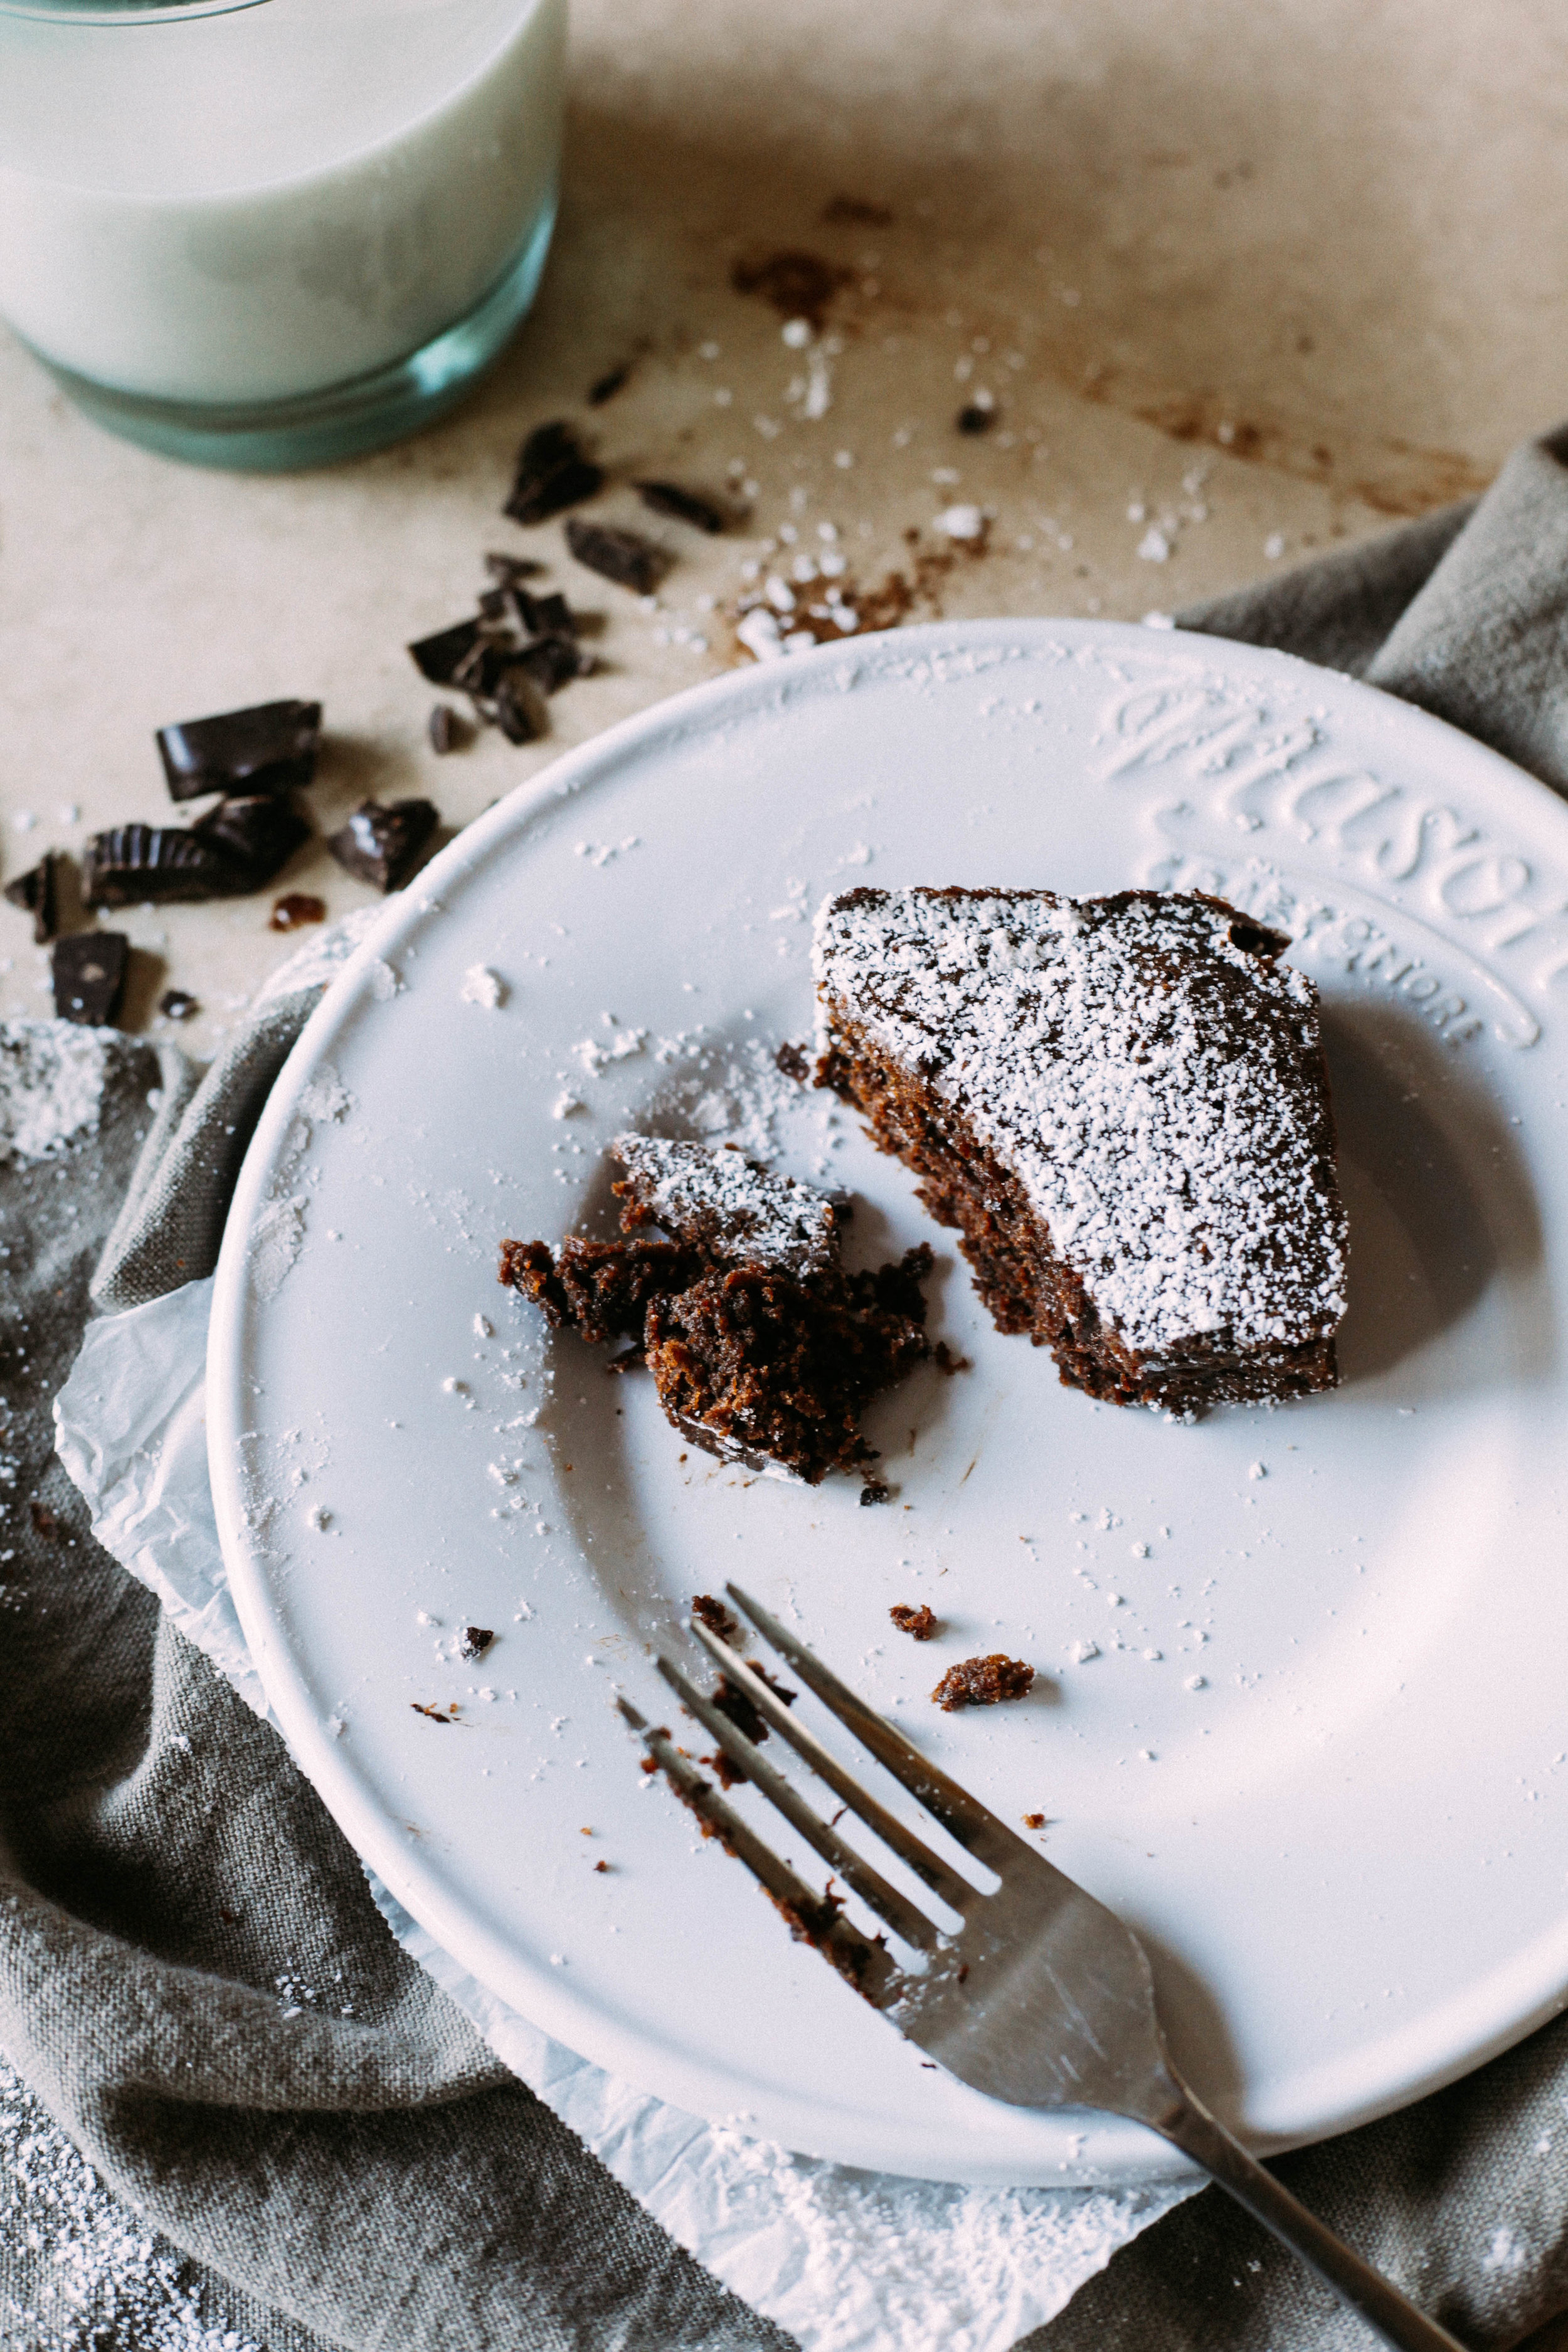
and here comes the powdered sug. totally optional, but desirable.

speaking of sug(e) & valentine's day things, we ended up getting thai food take-out and watching straight outta compton on valentine's day. i mean, soo romantiQ. i really enjoyed that movie. i found it super interesting & wanna watch it again.

and then i ate these brownies.

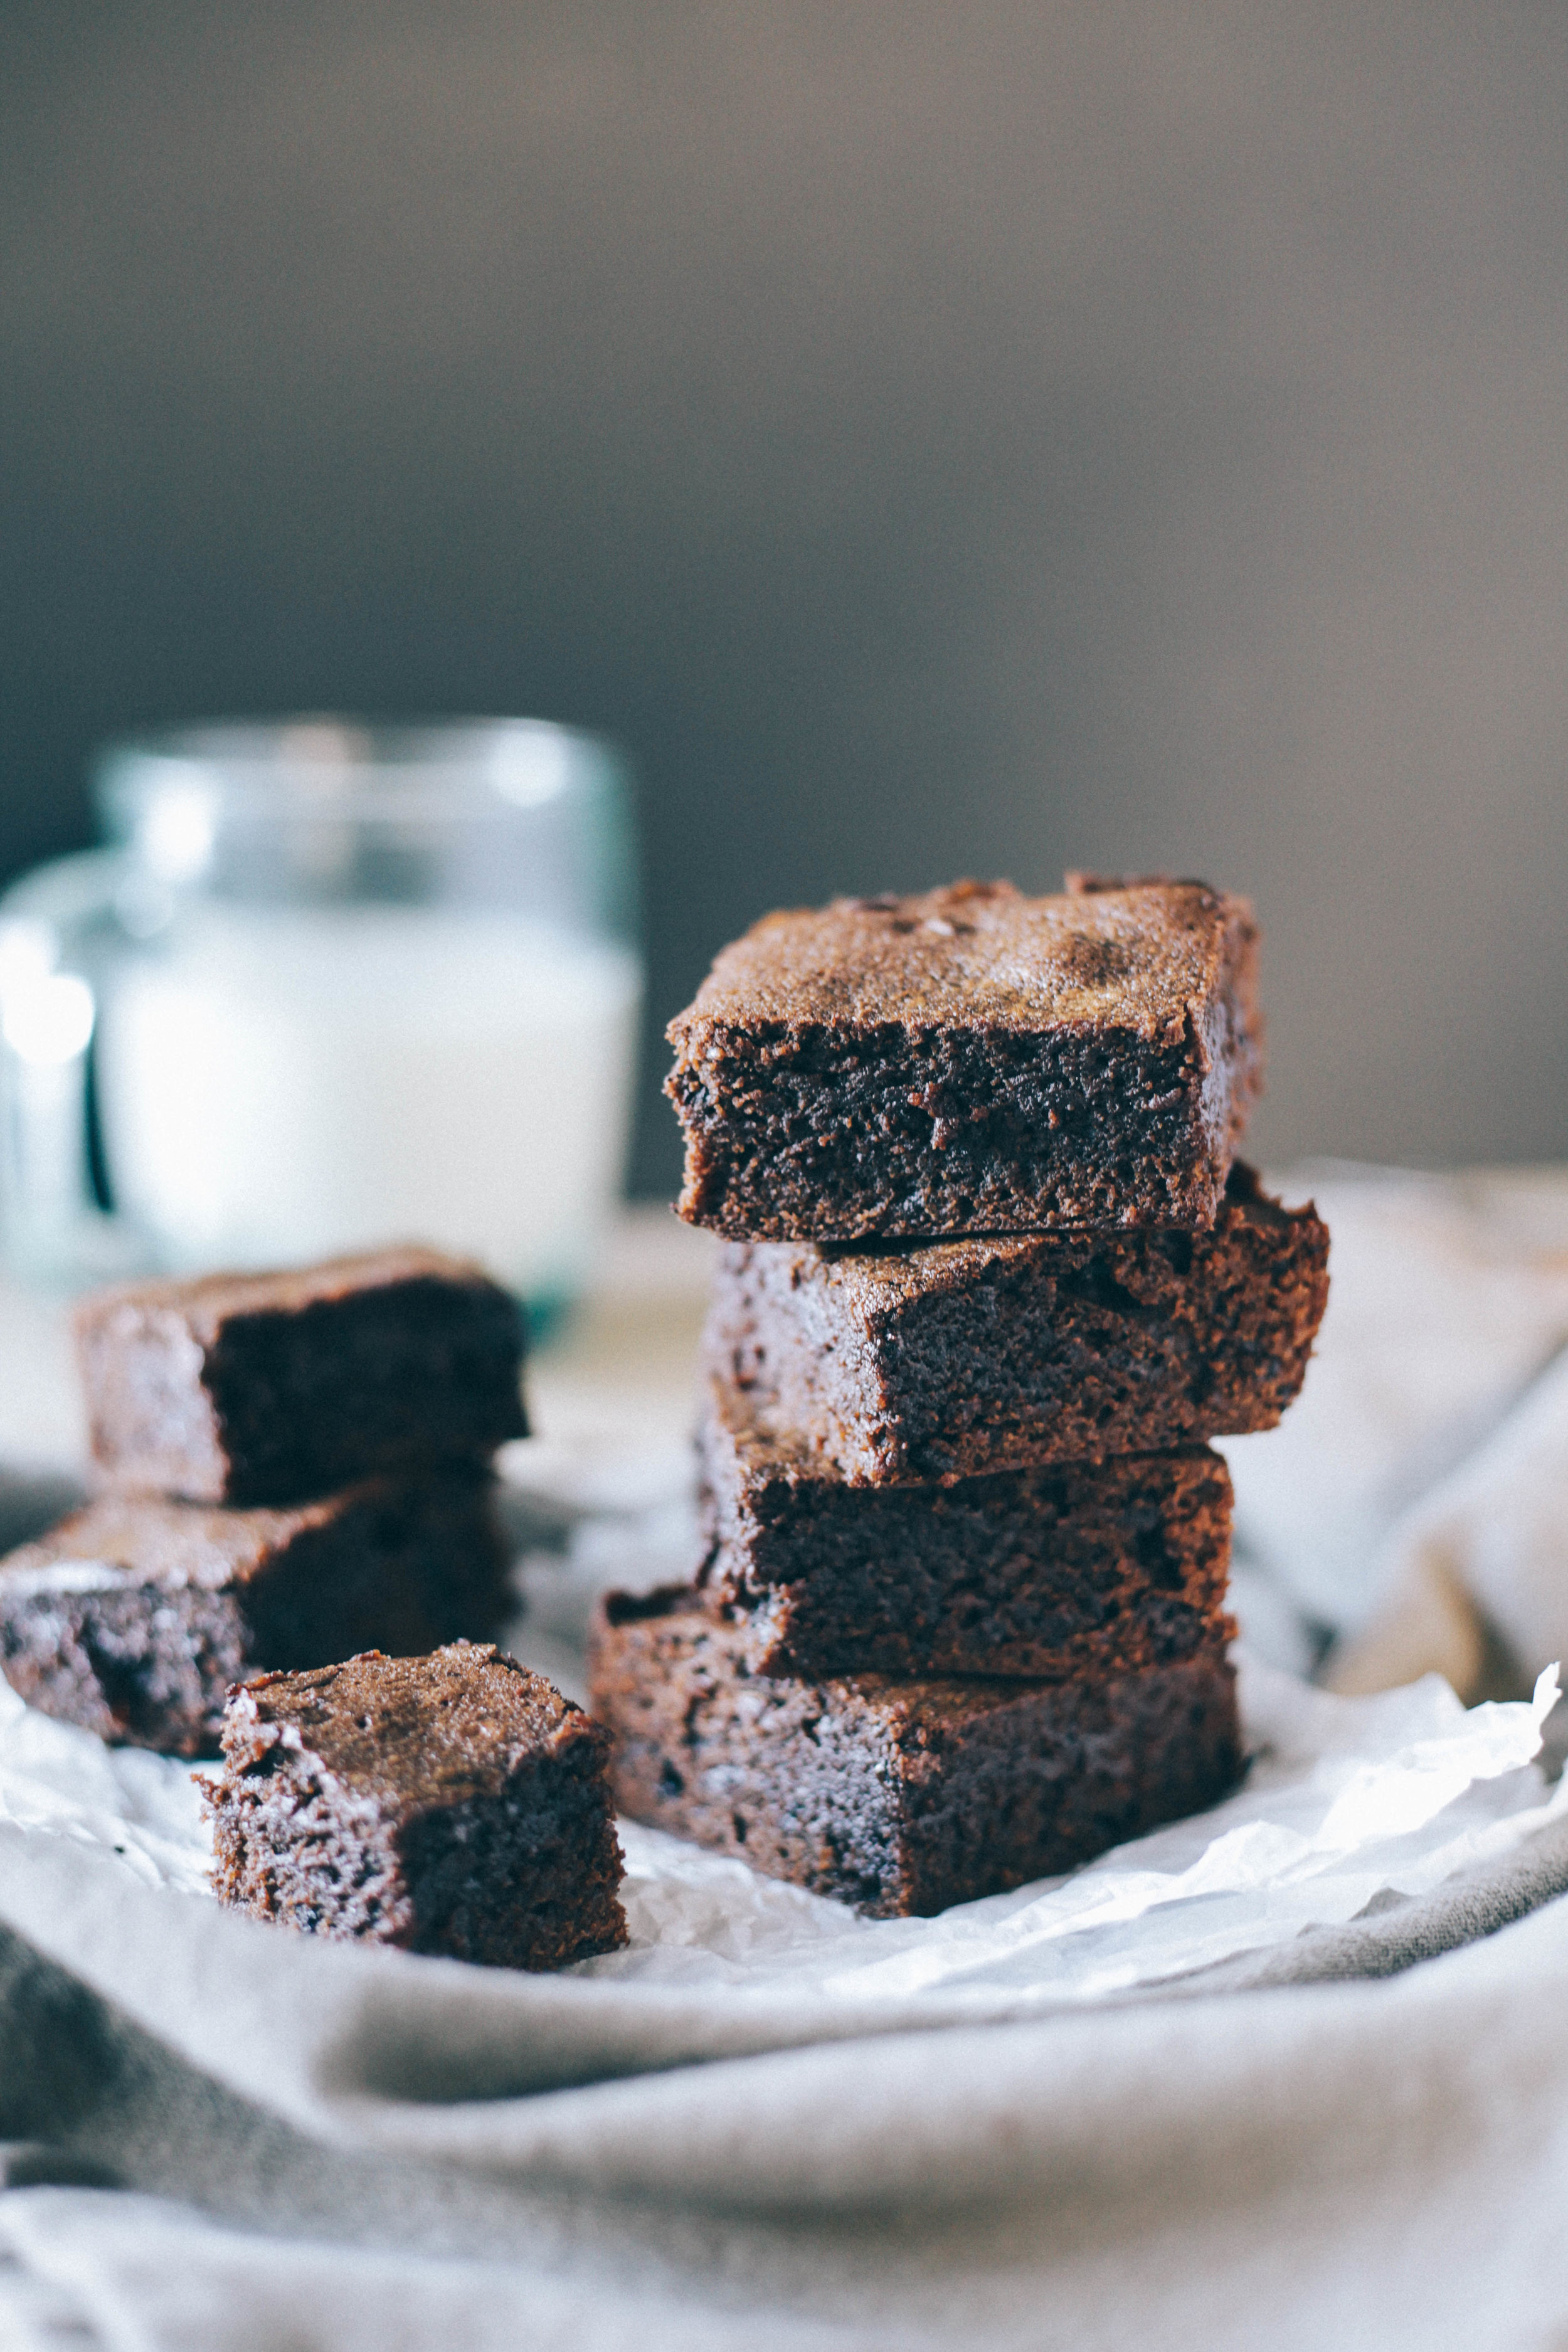
i just need you sometimes, brownies. fresh & warm or cooled. with a cold glass of milk. thanks a million.

Brown Butter Brownies

Makes a small batch of about 9-12 brownies

Total time: 40 minutes

Ingredients:

  • 1/2 cup unsalted butter, melted & browned
  • 1 TB vegetable oil
  • 1/2 cup granulated sugar
  • 1/4 cup coconut sugar (or brown sugar)
  • 2 large eggs
  • 2 tsp. vanilla extract
  • 1/2 cup all-purpose flour
  • 2 oz. dark chocolate, chopped (I used Seattle Chocolates Extreme Dark Truffle Bar)
  • 1/4 cup unsweetened cocoa powder
  • 1/4 tsp. salt

Instructions-

To brown the butter, heat butter in a pan with light colored bottom on medium heat. Whisk constantly until butter is lightly bubbling and developing small brown flecks on the bottom of the pan. Once you have brown flecks and the butter is slightly foamy, remove from heat and pour into a small bowl. 

Preheat oven to 350 degrees F.  In a large bowl or stand mixer, mix the brown butter, oil, and sugars until combined and creamy. Add eggs and vanilla and whisk just until incorporated, but do not over-whisk.

Add the dry ingredients and mix gently just until everything is incorporated. Fold in the chopped chocolate.

This recipe makes a very small batch of brownies; I used an 8x4 loaf pan sprayed and lined with parchment paper. If you double the recipe, you can use a standard 9x13 baking pan. You will need to adjust your bake time, too. Use the toothpick test and do not over-bake.

Spray and line the pan with parchment paper. Pour the brownie batter into the parchment, shaking the batter into the corners and spreading evenly with a spatula.

Place the pan onto a flat baking sheet (to prevent burnt bottoms) and bake the brownies in the oven for 20 minutes. After a toothpick test, there should still be a slight bit of brownie on the toothpick if you want them to be extra fudgy and moist in the center. Bake a few minutes longer if you like a crispier brownie.

Let cool at least 5 minutes before cutting into squares. I know that's the hard part, but you want them to be firm. Or you can just go at it while its still real hot with a fork. That happens sometimes, too.

{Recipe slightly adapted from Cafe Delites}


qp

the easiest chicken tacos.

this is the first dinner "recipe" i ever learned.

my dad used to make this when i was growing up, and i thought because the tacos were so so delicious that they must be super time consuming and complicated to make. 

nope. they're the easiest!

i remember the first time i tried to cook the chicken for this dinner in my first apartment with my friend marisa. (hey, marisssss.)  it took me fOrEvEr to finish making the damn tacos because i'd pretty much never cooked chicken in my life and didn't understand the heat factor, timing, what cooked chicken looked like, etc etc etc.  i worriedly called my dad and was like, "how long are these chicken tacos supposed to take?!?!" he was like, "probably 20 minutes." meanwhile, i'd had the weirdly cooked chicken sitting in a pan of salsa for like 45 minutes already. i didn't know what the hell i was looking for!

as soon as i really *figured out* how to cook chicken properly and, for example, what 'boiling' and 'simmering' really *mean*, all other aspects of cooking seemed to click in my brain.

i always chuckle thinking about when i was first learning how to cook and like how to even boil water (yeah back in the day i used to put a pot of water on medium-low and wait a LOOOONG time for bubbles to appear - i just didn't GET it, man.) and i think everyone who learns to cook when they're a teenager probably go through the same weird trials & tribulations in the kitchen. all the fumbling around and seemingly frustrating cooking mishaps are totally necessary in the learning process.

here's another dad trick my father always uses when opening blocks of cheese:

cut an X in the top of the wrapper and fold the edges down neatly so your cheese blocks don't look like a grizzly bear came and mangled up the plastic. i have not cut a block of cheese in a different way since my dad showed me this little tactic.

it's also just easier to close up and reopen until all the cheese is gone. voila! clean cheese opening for life.

so anyway, these tacos are super easy if you're comfortable enough in the kitchen to cut and cook chicken. all ya do is cook the sliced chicken pieces in a little olive oil in a pan until its almost cooked through, then add a container of salsa and let it simmer for about 15 minutes. and that's it!

these are the exact ingredients i remember my dad using in his tacos, so as much as i wanted to add more stuff to this particular batch, something about the pure & simple dad version tastes just right to me!

also, this simple version is probably quite palatable for kids or picky eaters alike.

i use reser's baja cafe medium salsa for this. i have made these tacos with a lot of different salsas in my day, but i find that something super fresh like the baja cafe is best. and then just str8 up iceberg lettuce, sour cream, and cheddar cheese. cilantro is optional if you like that stuff.

you're the real mvp if you not only brown your tortillas on a pan (which you most deeefinitely should), but melt some cheese on the tortilla, too. 

^^^ i think i could eat that there tortilla with melted cheddar for every meal. 

Easy Weeknight Chicken Tacos

Makes about 6 medium sized tacos

Time: 25 minutes

Ingredients:

  • 2 large chicken breasts, thawed and sliced into 1/4 inch thick slices
  • 16 oz. Reser's Baja Cafe medium salsa, or your favorite fresh salsa
  • 1/4 head of iceberg lettuce, washed and thinly chopped
  • 1 cup shredded cheddar cheese
  • sour cream for topping
  • cilantro (optional)
  • medium sized flour tortillas

Instructions-

Heat a large pan with 2 TB olive oil on medium heat. Slice 2 chicken breasts into about 1/4 inch thick slices, and also slice again crosswise (into bite sizes). Add the chicken to the pan and season with salt and black pepper.  Cook about 3-4 minutes on one side, flip with a spatula or fork and cook the other side about 3-4 more minutes.

When the chicken is still just very slightly pink, pour the entire 16 ounce container of salsa directly into the pan. Reduce heat to medium-low and toss the chicken and salsa together so the chicken is covered. Allow the salsa to simmer (you may need to raise or lower the heat a little bit depending on your stove). Once the salsa is gently bubbling, let it all simmer together and stir frequently for about 10-15 minutes, or until the liquid in the salsa has thickened to almost the consistency of tomato paste. 

While the chicken and salsa are simmering, shred the cheese, wash and chop the lettuce, and begin warming the tortillas in another pan. 

When the chicken is cooked through and the salsa is thickened, assemble your tacos on the warmed tortillas. Add cheese, chicken & salsa combo, a little more cheese, lettuce, and sour cream. Add cilantro if desired.

This meal is truly easy to bring together. Once you've made it a couple of times, you can get it all done in about 20 minutes.  Enjoy!!


qp