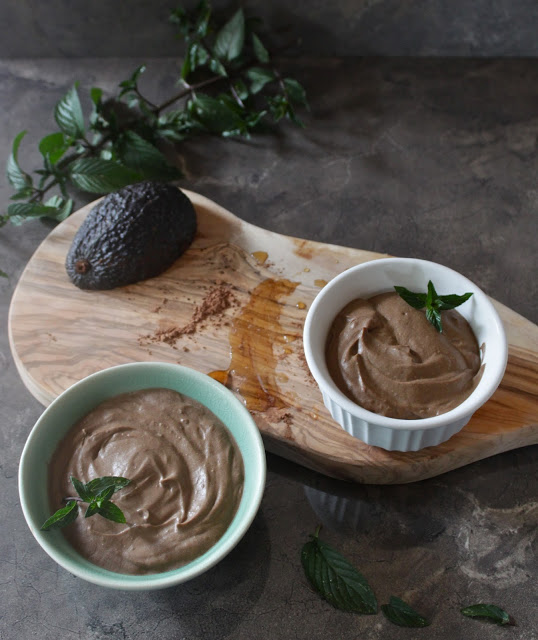
frozen chocolate avocado mousse.

sounds kinda fancy, right?

well, it's easy.  and you only need one bowl and less than ten ingredients to make it.

how lovely.

chocolate + avocado was another one of those situations that when i first heard of the combination i was in shock.  more like offended.  but, i've pretty much just begun to embrace all combinations of foods because chances are... two delicious foods coming together in harmony are probably doing so for a reason.  its 2015, people.  just stir everything that you like around in a big pot and it will probably be the next big thing.

do you have a kitchenaid stand mixer?  what a magical culinary device that is.  sweet pete got me one for my birthday last year, and my whole perspective on kitchenaid ownership shifted.  i always thought, 'oh that's for suuure something you can only have once you get married.'  welp, turns out even us common folk can mix and whisk our foods thoroughly and professionally.  you mean, i don't have to go get a marriage license to make these cookies that i've been avoiding making all these years because i don't feel like stirring vigorously with a wooden spoon until my arm falls off? great. that is tops.  

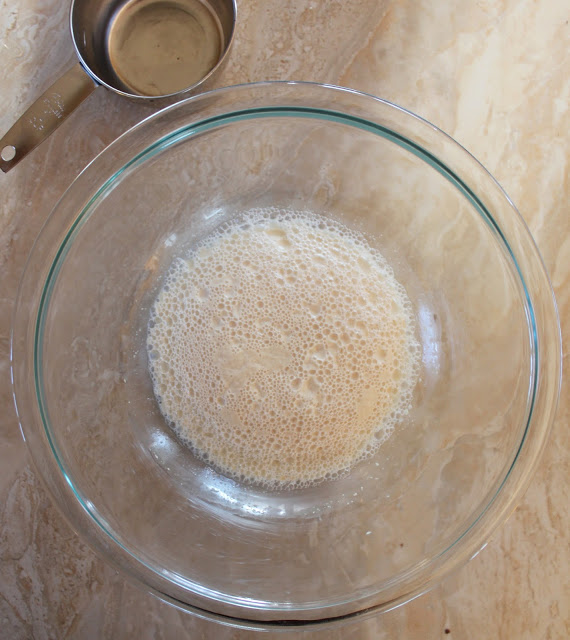
so, what ya do here is...mix all the ingredients up in one bowl.  whisk it real fast and good until everything is super smooth.  even if you just have a hand-held electric mixer.  just stand there and zone out for like 5 minutes and whisk the hell outta this stuff.  then freeze it.

ta daaaaaaaaa!

is this ta-da, or what? 

[tried to find this clip from the movie blank check, but no luck.  i didn't think there was a quote too obscure for the likes of youtube and the world wide web!]

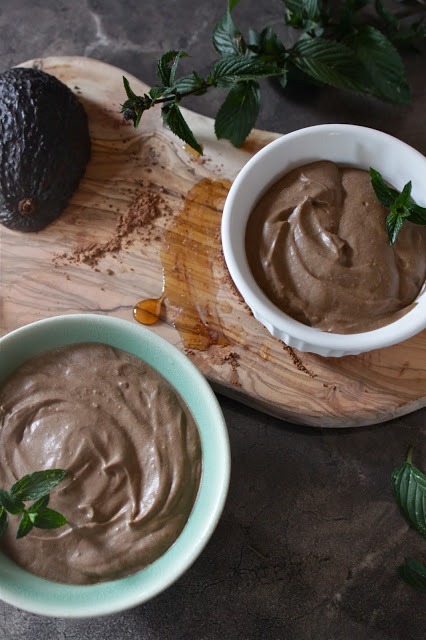
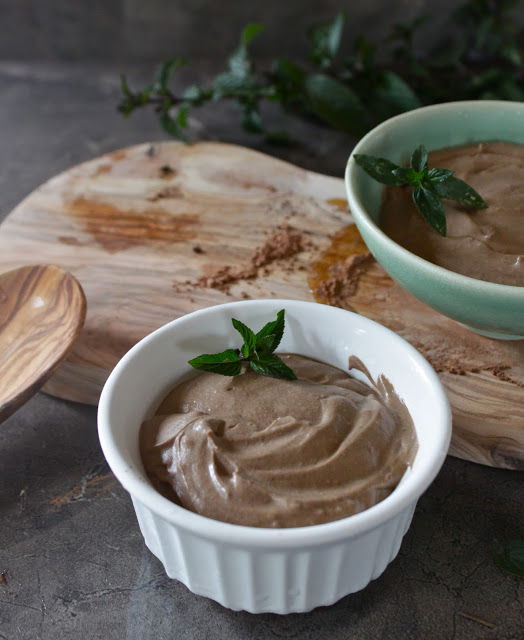
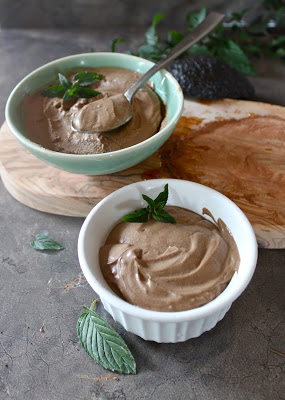
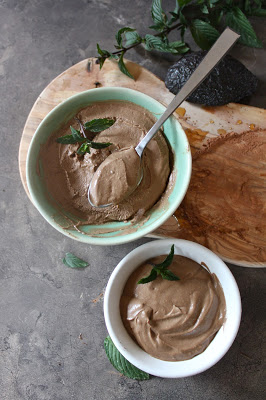
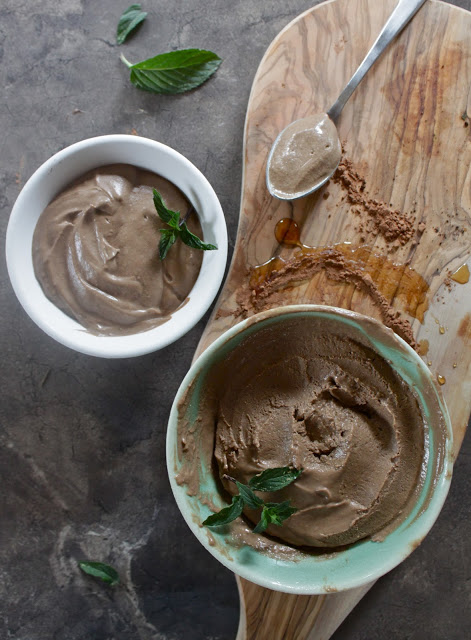
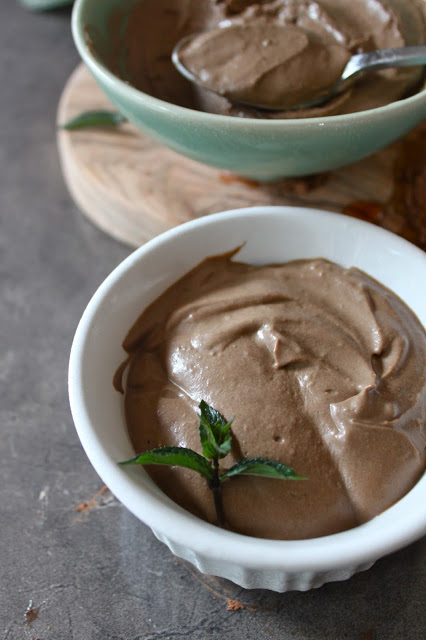
creamy dreamy avocado mousse. 

i fed pedro a bite to which he said, "mmm!"  that's all i needed to hear.

this was real nice to have around this week.  ya know after dinner on weeknights when you'd just like to place your entire head inside of a gallon of ice cream?  well, i didn't do such a thing thanks to this chocolatey treat.

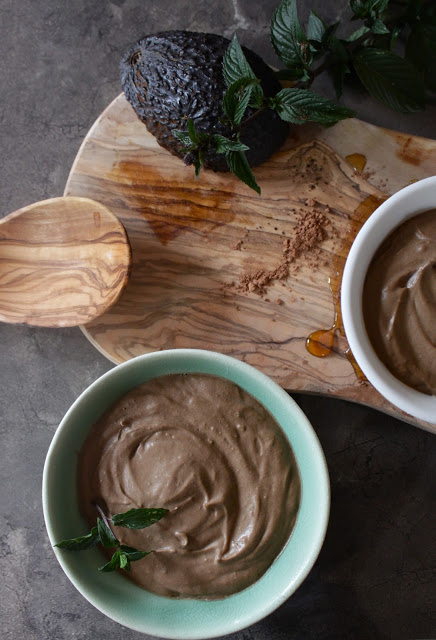
and how adorbz is the chocolate mint?  what a pretty color.  we planted lots of herbs and mints in our front yard this spring, and they are growing wild.  pretty sure i need to start thinking of a zillion things to make with various types of mint, because its seriously growing so fast.  this kind is actually chocolate mint! it tastes like mint chocolate! for real.

don't skimp on the agave or vanilla extract!  the vanilla really gives this the boost it needs in a sea of bitter ingredients like plain greek yogurt and unsweetened cocoa. 

and i found that that pinch o' cinnamon that i added was way more powerful in flavor after it's all frozen.  if you're not crazy about cinnamon lurking in your chocolatey desserts, just leave it out.

i thought it was pretty delightful, though.

one more thinggg.  if you don't feel like waiting for this to freeze, just throw all the same ingredients into the blender with a few ice cubes and make it into a smoothie, instead.  both ways are yummm.

Frozen Chocolate Avocado Mousse

Makes 2-4 servings

Keep frozen.  Let sit at room temperature for 5 minutes before eating.
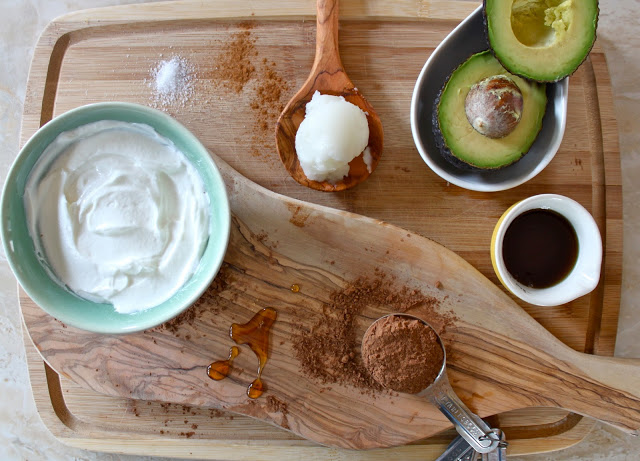
Ingredients:

  • 1 ripened avocado
  • 1 cup plain Greek yogurt (2% or higher)
  • 2 TB agave nectar
  • 1/4 cup coconut oil
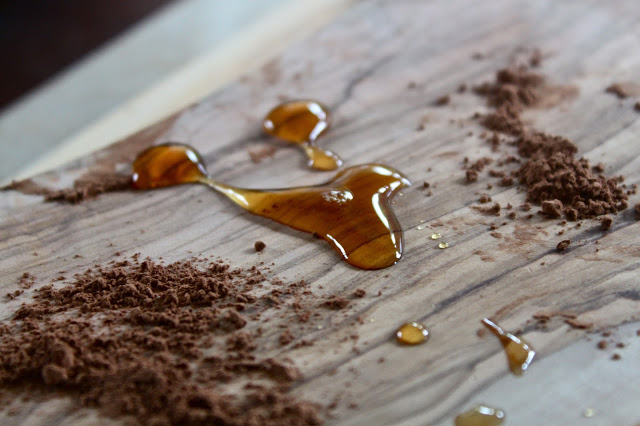
  • 1 1/2 TB cocoa powder
  • 1 tsp. vanilla extract
  • pinch of salt & cinnamon

Instructions-

In stand mixer or electric mixer, use whisk attachment to whisk yogurt, coconut oil, and agave on medium speed.

Add cocoa and mix on medium speed until smooth. 

Add avocado, salt, vanilla extract, and cinnamon.  Whisk on medium-high speed for 6-8 minutes until very smooth.

Freeze in 2-4 small ramekins.  I split it into 2 parts to freeze, but it was definitely rich enough to allow for 4 servings [meaning, i ate it in four sittings. ha!]

qp

my favorite pizza combo: pepperoni, pineapple, jalapeño & black olive.

hey, it's my 100th post!  and i've only had this here blog for 4 years. 

hahah...sad. i'm the worst.

i was really going to throw in the towel on this blog sometime last year, and didn't post anything at all for months and months.  i'm super glad that i revived this baby and started talking about all my food creations.  you know...the most important things in life.

no surprise that my 100th post goes out to the pizza of my dreams.

soooo romantiq.

forewarning: i made this pizza on a weeknight, aka in the evening, so most of the light in the photos is sub-par to my liking but i wasn't about to let this pizza go undocumented.

forewarning #2: i made this pizza on a weeknight when peter was out of town...soo, a strange candlelit romantic pizza photo shoot ensued once the 'zaw emerged from the oven and it was dark outside (and there was nobody around to give me weird looks).  our kitchen light is this god awful fluorescent elementary school classroom style light that makes your skin look really scary and in turn makes your food look less delicious...so i tried not to use it. anyhoo.  enough excuses about these photos. 

let's talk about homemade pizza!

this is what the yeast & water combo should look like once it has had time to get all bubbly, about 15 minutes.

this is what the dough will look like after it has risen for almost two hours.

the waiting is the hardest part

.  if you're into planning ahead, you should make a couple batches of dough to have at the ready for the moment your pizza hunger strikes.

once the dough has risen, the rest is just so easy!

if you know what's good for you, you'll shove some freshly chopped garlic and sea salt into the crust.

for me, the origin of pepperoni and pineapple pizza was one day in college when i was studying with my friend jason.  he ordered a pepperoni and pineapple pizza.....i was like, "whuuuutttttttttttt? you're weird."

then i was like, "oh. nope. you are a genius and you've just changed my life forever."

i grabbed pepperoni & pineapple by the hand and i never looked back.

jalapeños and black olives slowly made their way onto this pizza after years of rigorous taste-testing and experimentation at various pizza establishments.

oh, pizza.  you're the greatest gift. 

this seriously looks like a cartoon pizza.  don't be laughin.

or like one of those gross gummy pizzas. get outta here!

if there was one thing i would change, i would have rolled out the crust even thinner than i did.  it got pretty thick and chewy while it was baking.  that's totally ok, but there could have been moooore pizza...you get what i'm saying?  less than 1/4 of an inch thin probably would have been a good thickness (/thin-ness?) to build the pizza on.

oh look, here's cartoon pizza still looking cartoony in the scary classroom kitchen lighting.  but, you know what a pizza looks like.  i'll do better next time.

best combo evarrrrrrrrrrrrrrr!

Homemade Pepperoni, Pineapple, Jalapeño & Black Olive Pizza

Makes 1 medium sized pizza

Pizza Dough:

(inspiration from my girl jessica from

how sweet eats

.  i like how she uses honey instead of white sugar like most dough recipes you might see.)

  • 3/4 cup warm water
  • 1/2 TB honey
  • 1 packet (2 1/4 tsp.) active yeast
  • 1 1/2 cups all-purpose flour (you can substitute whole wheat, etc.)
  • 1 tsp. salt
  • 1 TB olive oil

Pizza Toppings and Things:

  • 2 cloves freshly minced garlic
  • 1 tsp. sea salt
  • tomato/pasta sauce of your preference
  • 1 thinly sliced jalapeño, seeds removed
  • sliced black olives
  • freshly chopped pineapple
  • pepperoni
  • mozzarella cheese
  • romano cheese for grating atop

Instructions-

Combine the water, honey, and yeast packet in a bowl and whisk until combined.  Let sit for 15 minutes, or until frothy and bubbly.

Add the flour, olive oil and salt to the yeast mixture.  Mix and knead with your hands.  Add one tablespoon of extra flour at a time if the dough is too sticky.  You don't want it to stick to your hands at all. 

Lightly oil a medium sized bowl.  Place the dough in the bowl and cover with a damp washcloth.  Let the dough rise for 1.5 to 2 hours.

Once the dough has risen, turn it out onto a floured surface.  Knead the dough gently for a couple of minutes on this surface.  It should then look like a delightfully poofy ball of happiness, and pizza time is nigh. 

Preheat the oven to 400 degrees F. 

Roll out the dough on a lightly floured baking sheet, using a rolling pin or even your hands will do. Take your chopped garlic and salt and gently roll it under the crust.  Spread a layer of tomato sauce onto the dough.  I used some sort of pasta sauce that wasn't too sweet, more savory/earthy tasting.

Add the sliced mozzarella, pepperoni, jalapeños, olives, and pineapple.  Put the pizza in the oven for 25 minutes, or until the cheese is golden brown and all the toppings and crust are beginning to get crispy, but not burned. 

Then...... you've got yourself a mighty fine pizza!  Aren't you excited?

qp