a day of baking & shopping locally with sara!
/a few weeks ago, my friend sara and i had a lovely afternoon moseying about the west seattle farmers market gathering all sorts of goods for us to get some holiday baking in! sara is an awesomely inspired gal with a great website that showcases all sorts of useful tips for local shopping, traveling, and dining around the seattle area (and beyond!).
check out live more local to read her post about our fun outing and baking day!
sara is a hilarious gem (who helped me immensely in figuring out how to build this here blog...thank you forever and ever, sara!!!) and she is always discovering new local businesses to support in the seattle area, and sharing all sorts of fun accessible adventures and travel tips. she's awesome!!

we had grand plans for a fragrant homemade food potpourri. we picked up a some pretty little apples and pears from the west seattle farmers market.
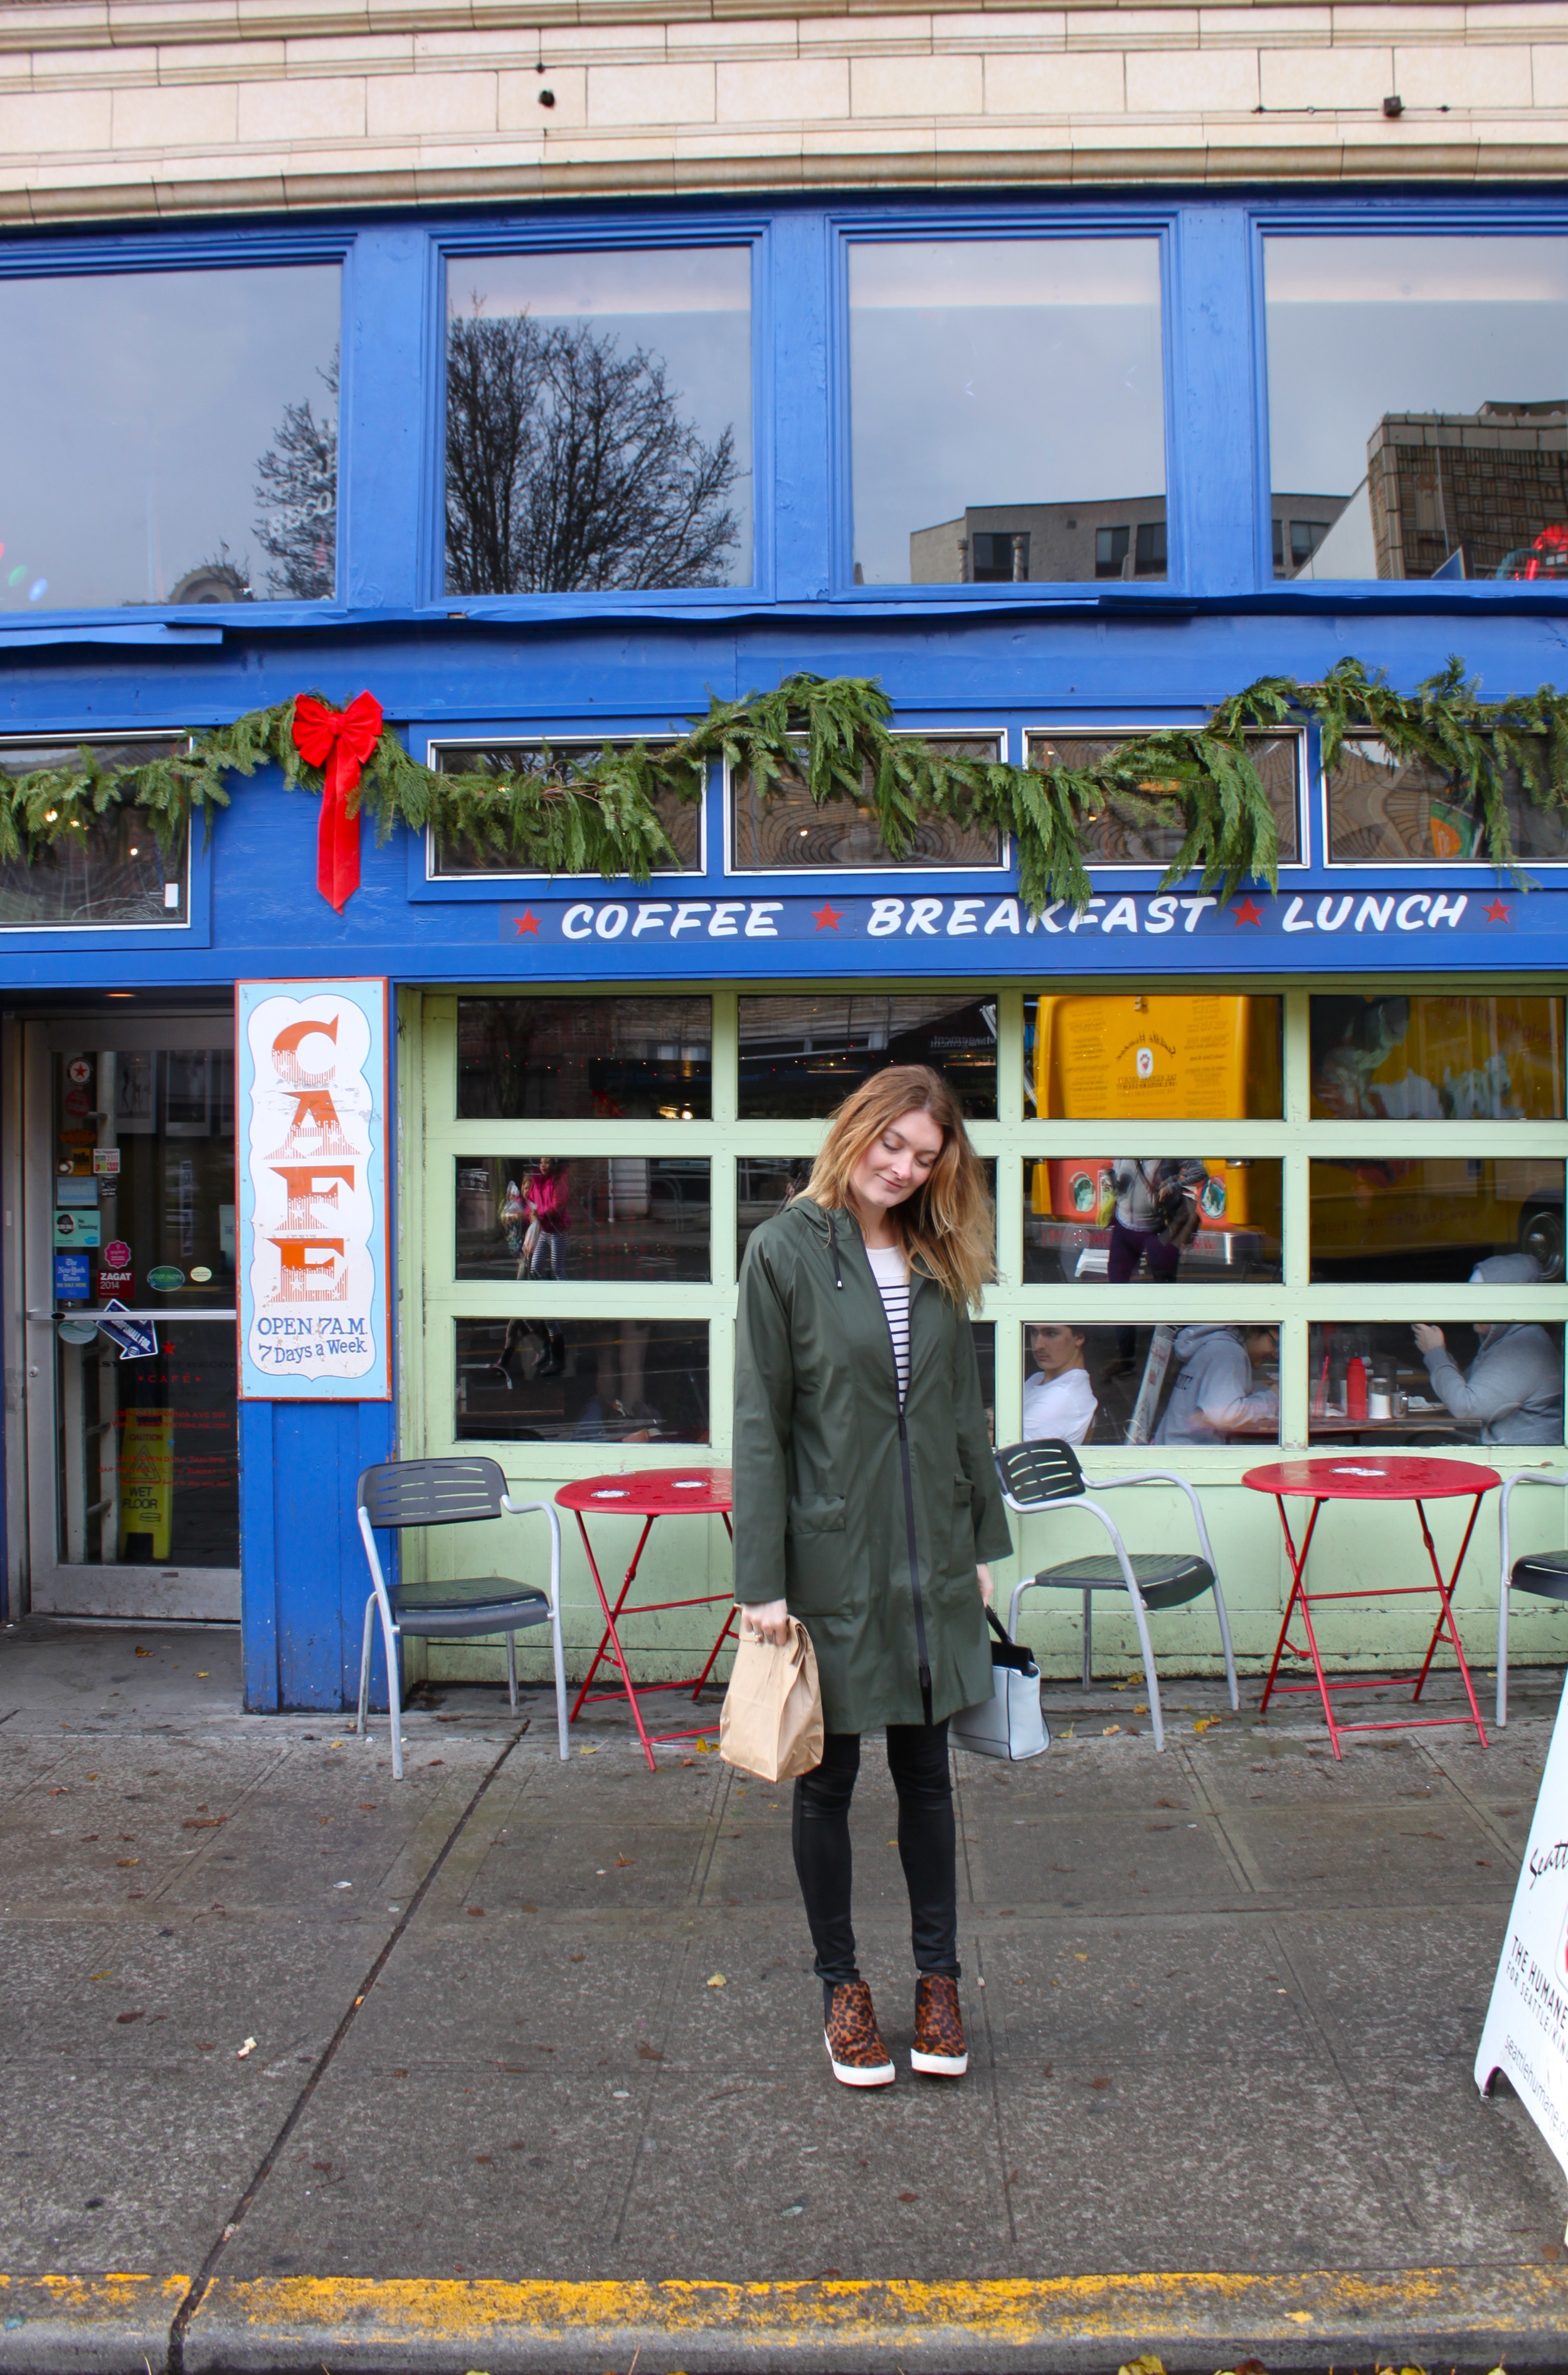

the west seattle junction is looking so festive this month! i love it! every lamppost is dressed in a wreath and ribbon (just like whoville). i just have to walk up the street to get my fix of holiday cheer (an extra fix, i should say. my house is a christmas explosion).

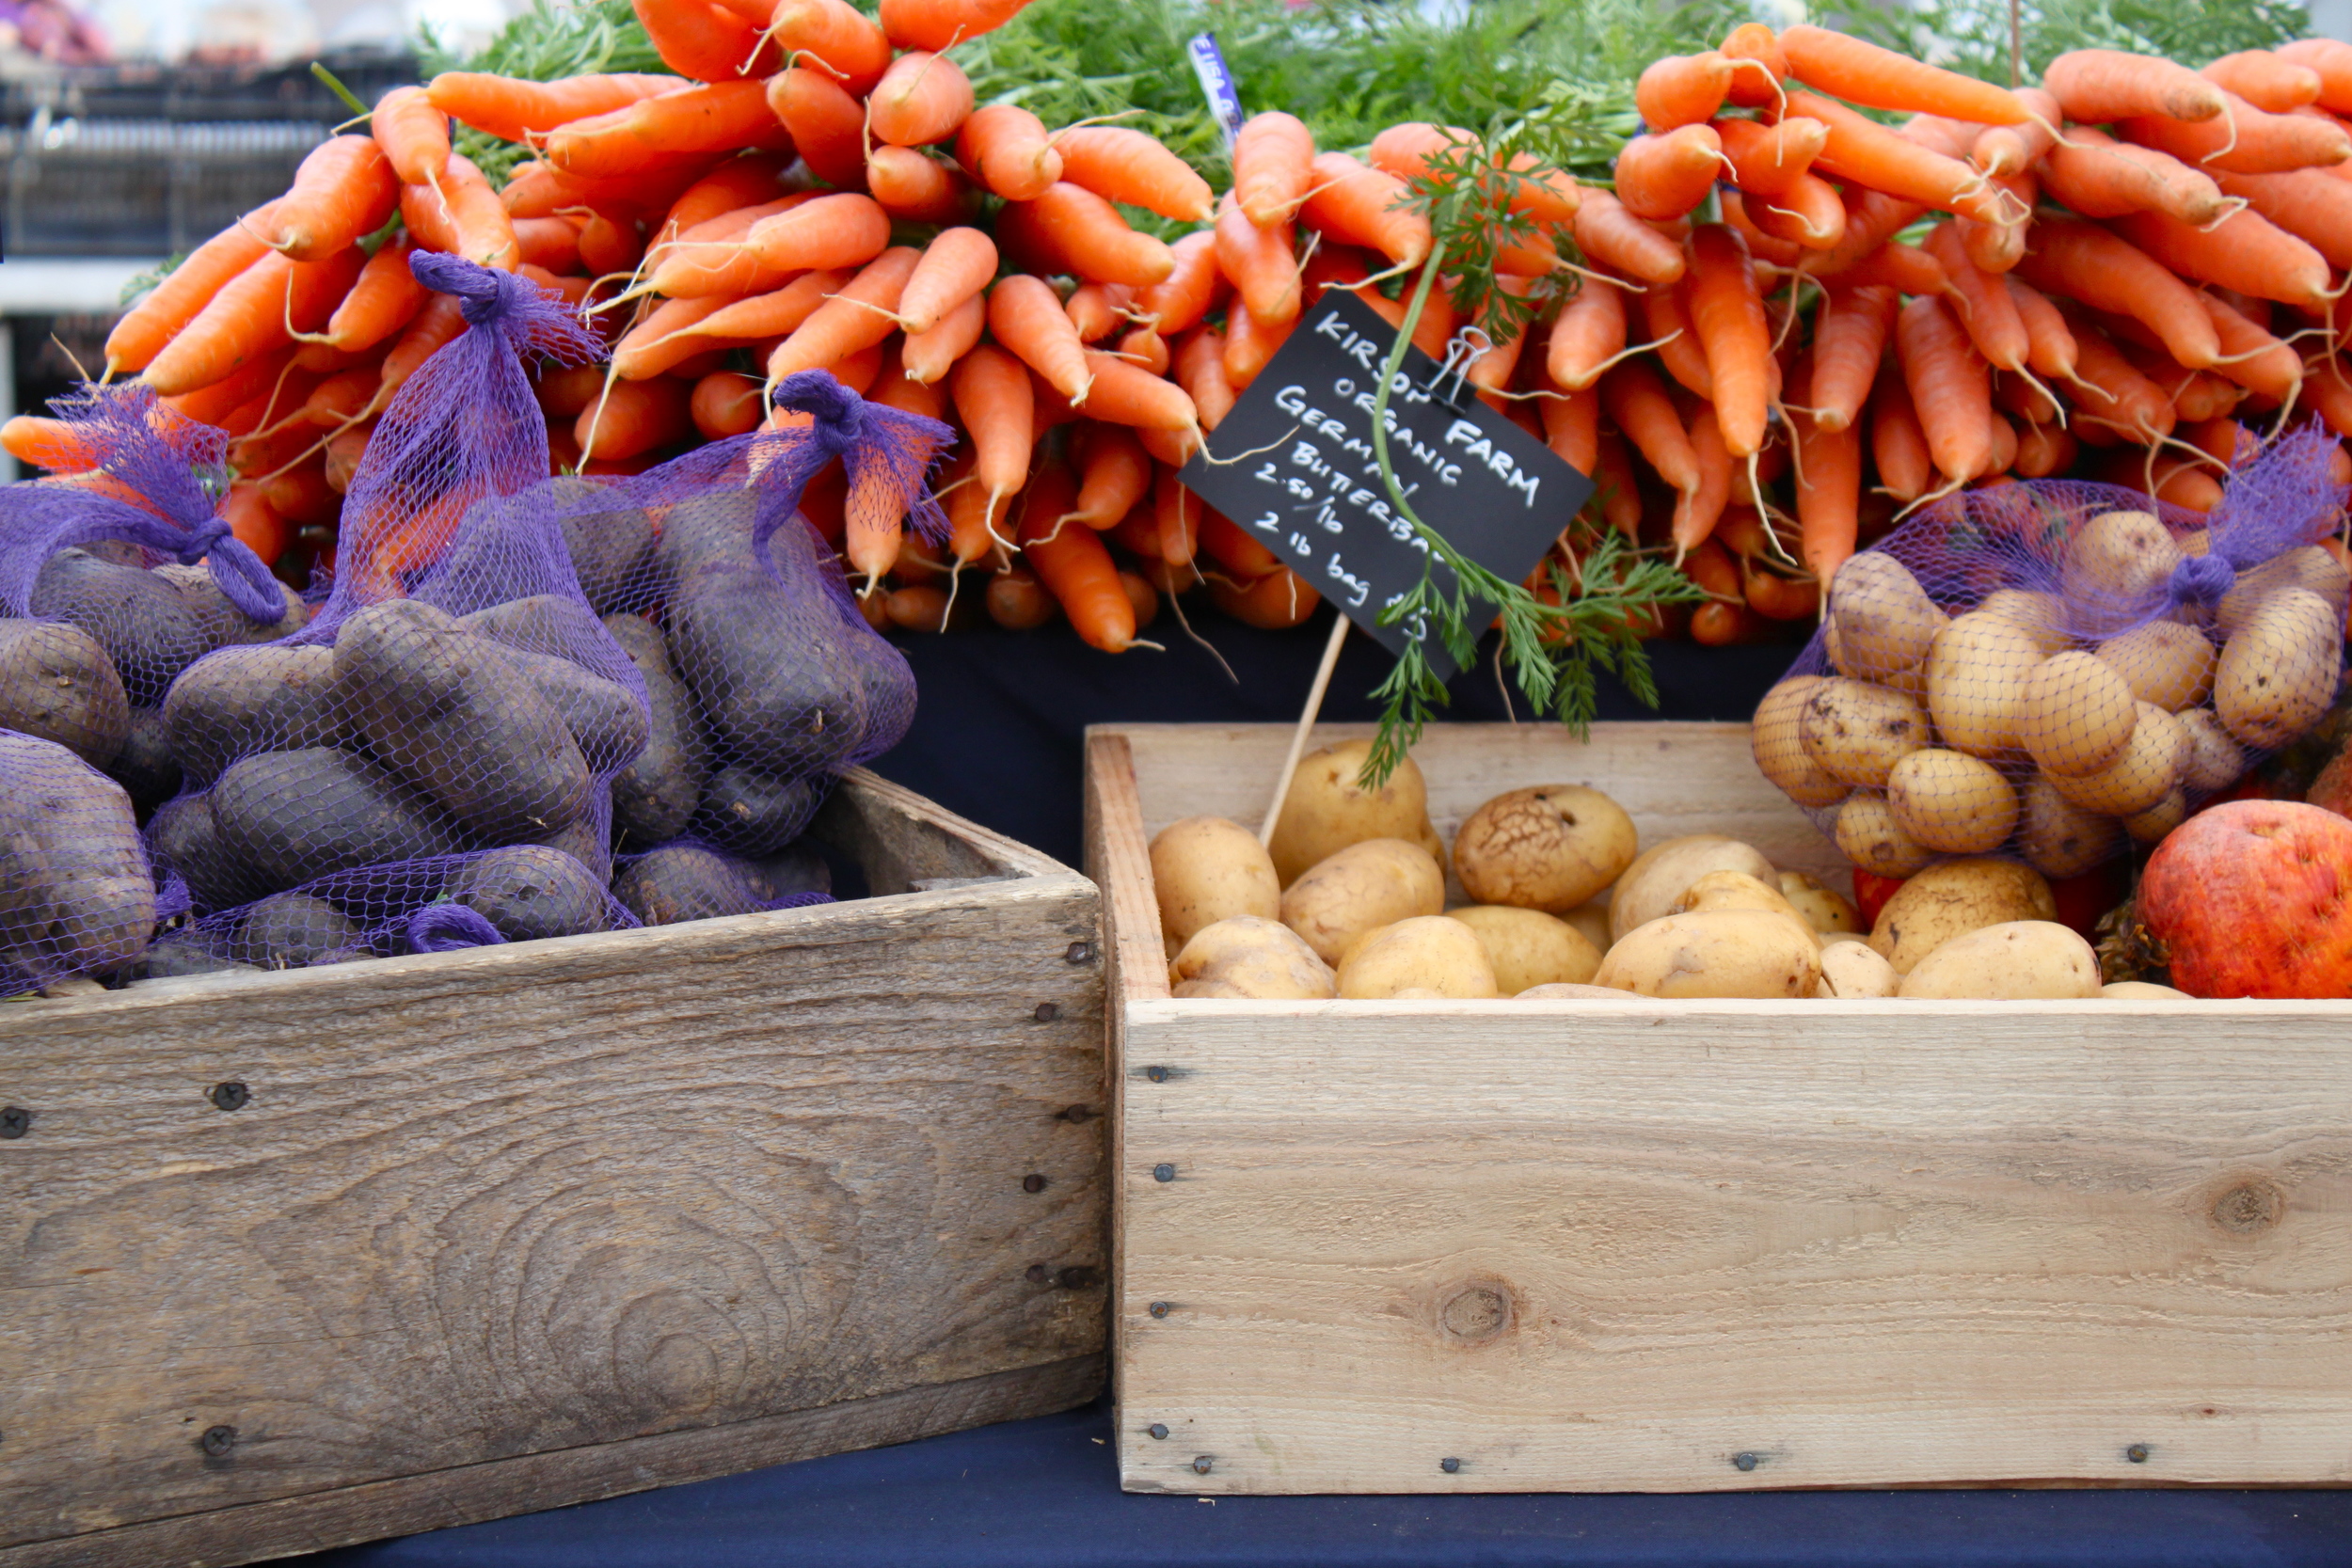
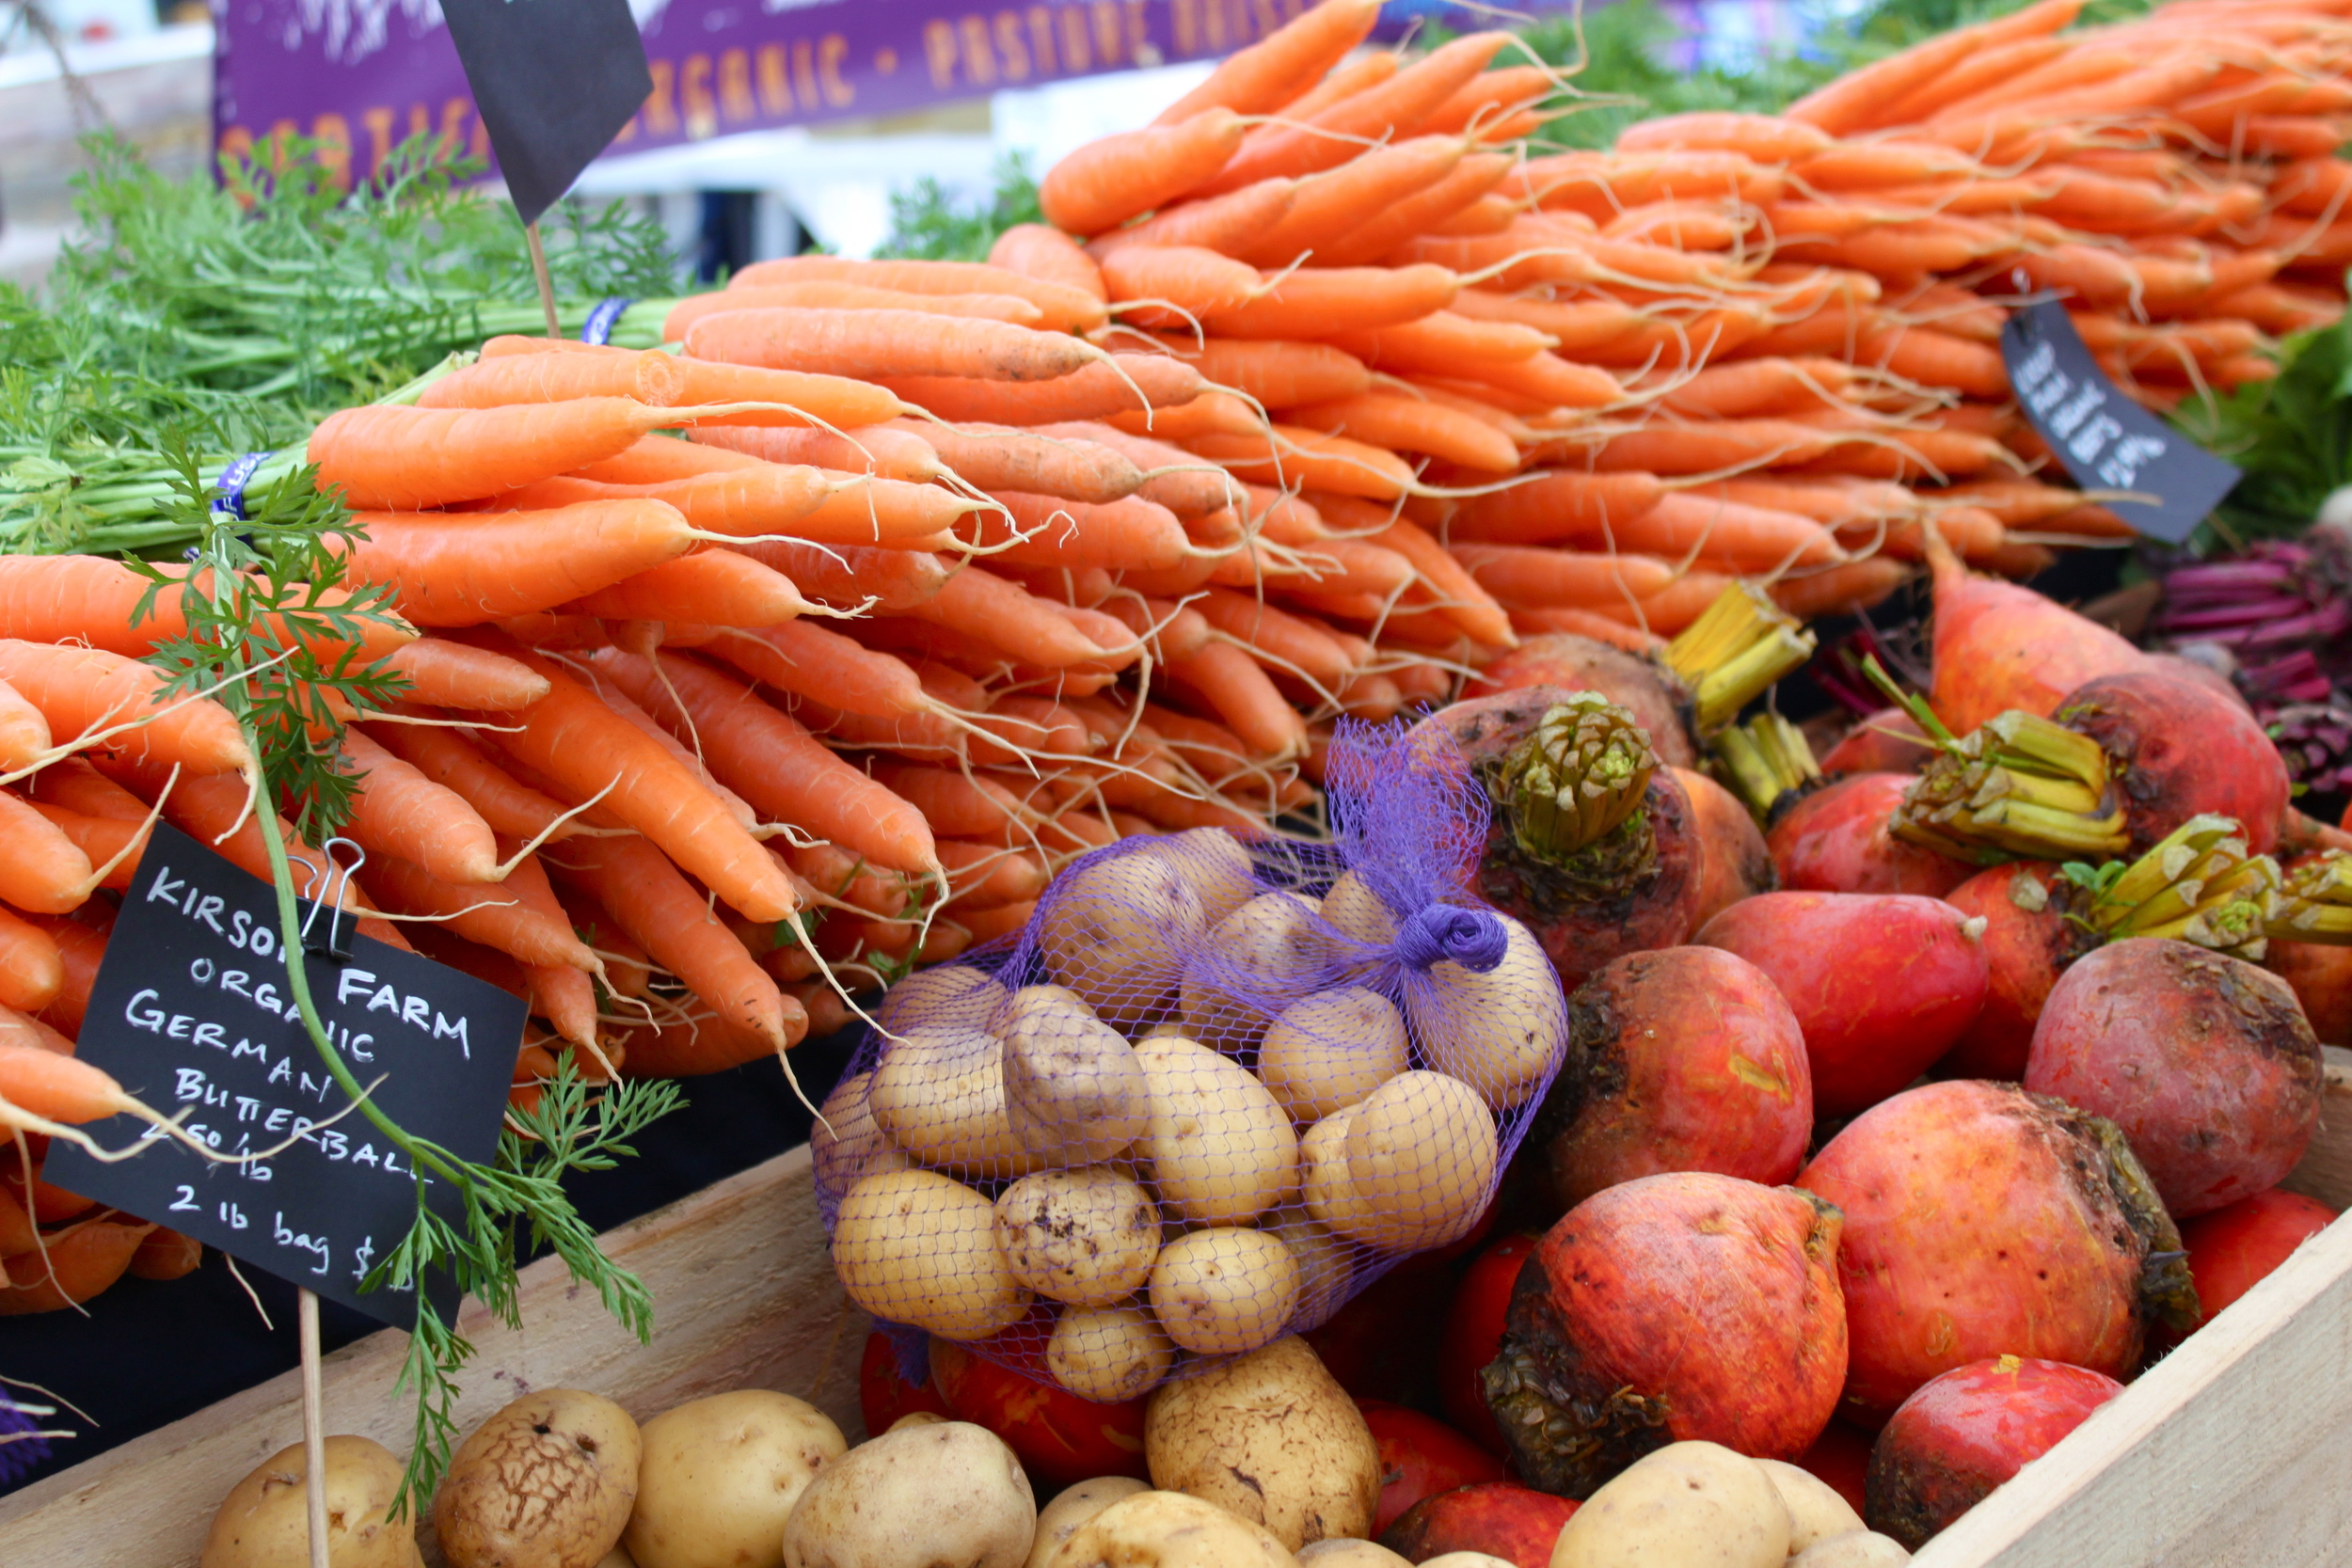
so many awesome vendors with beautiful produce, homemade goods and treats.
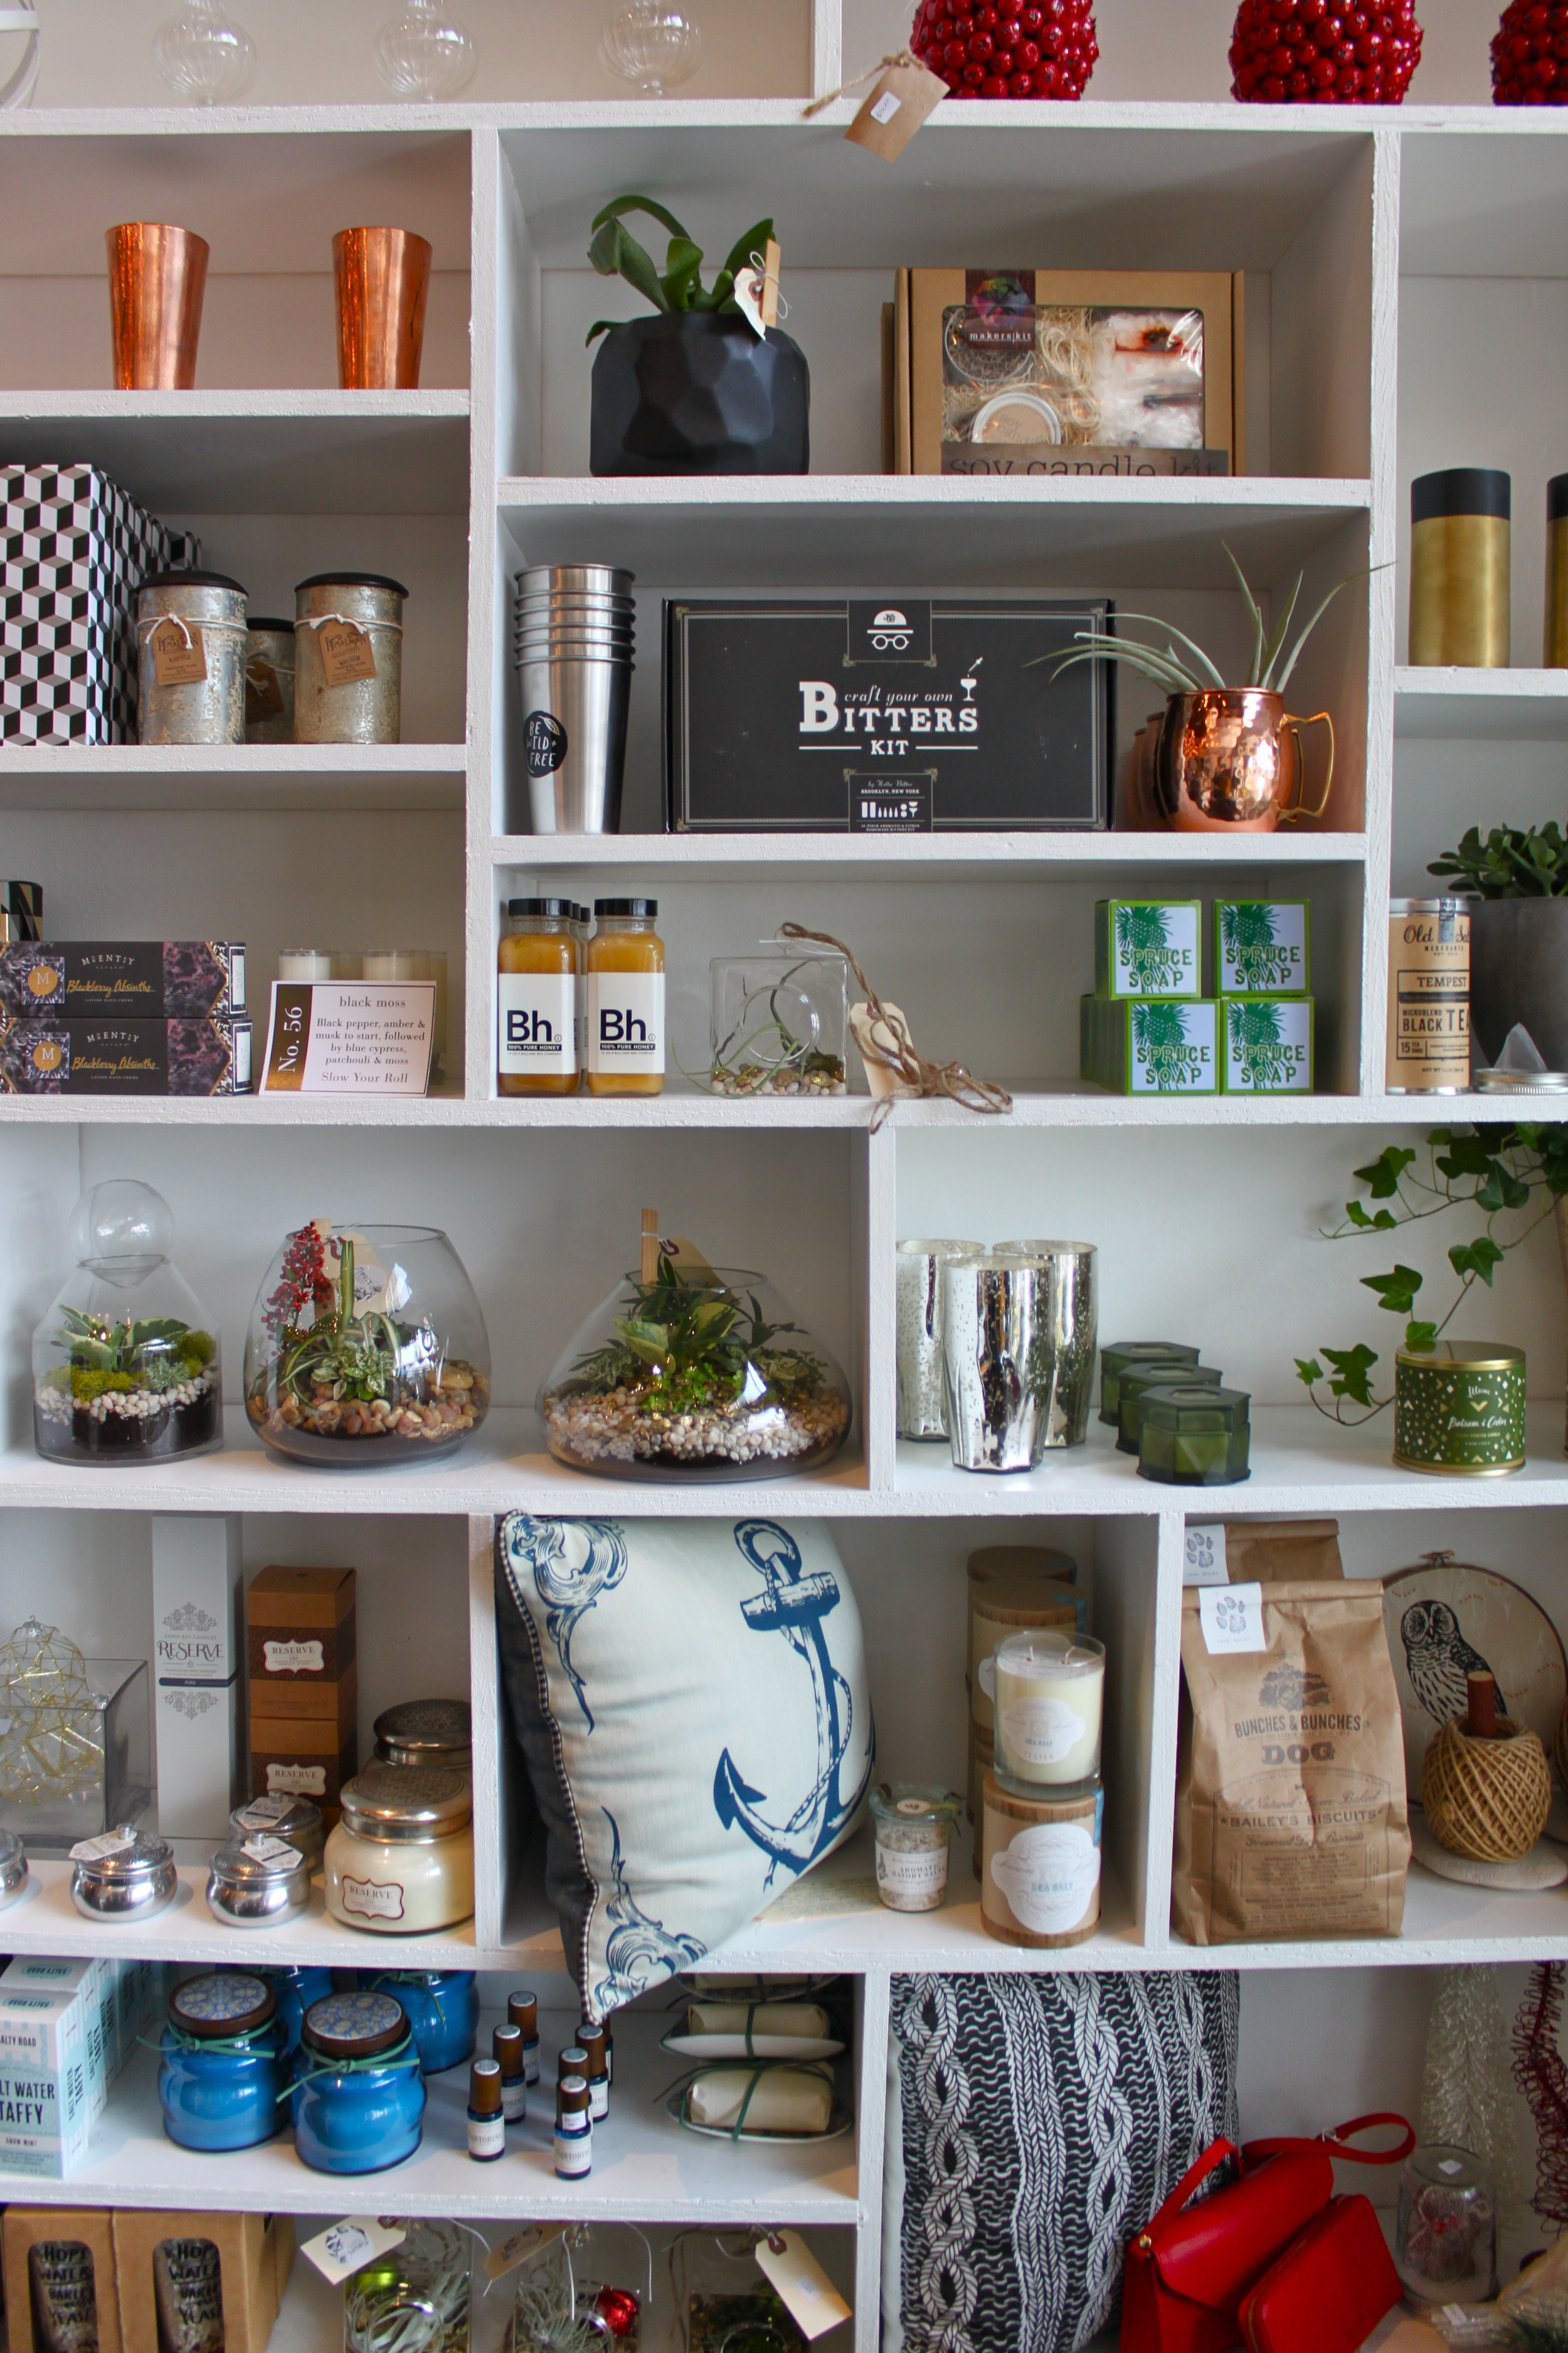
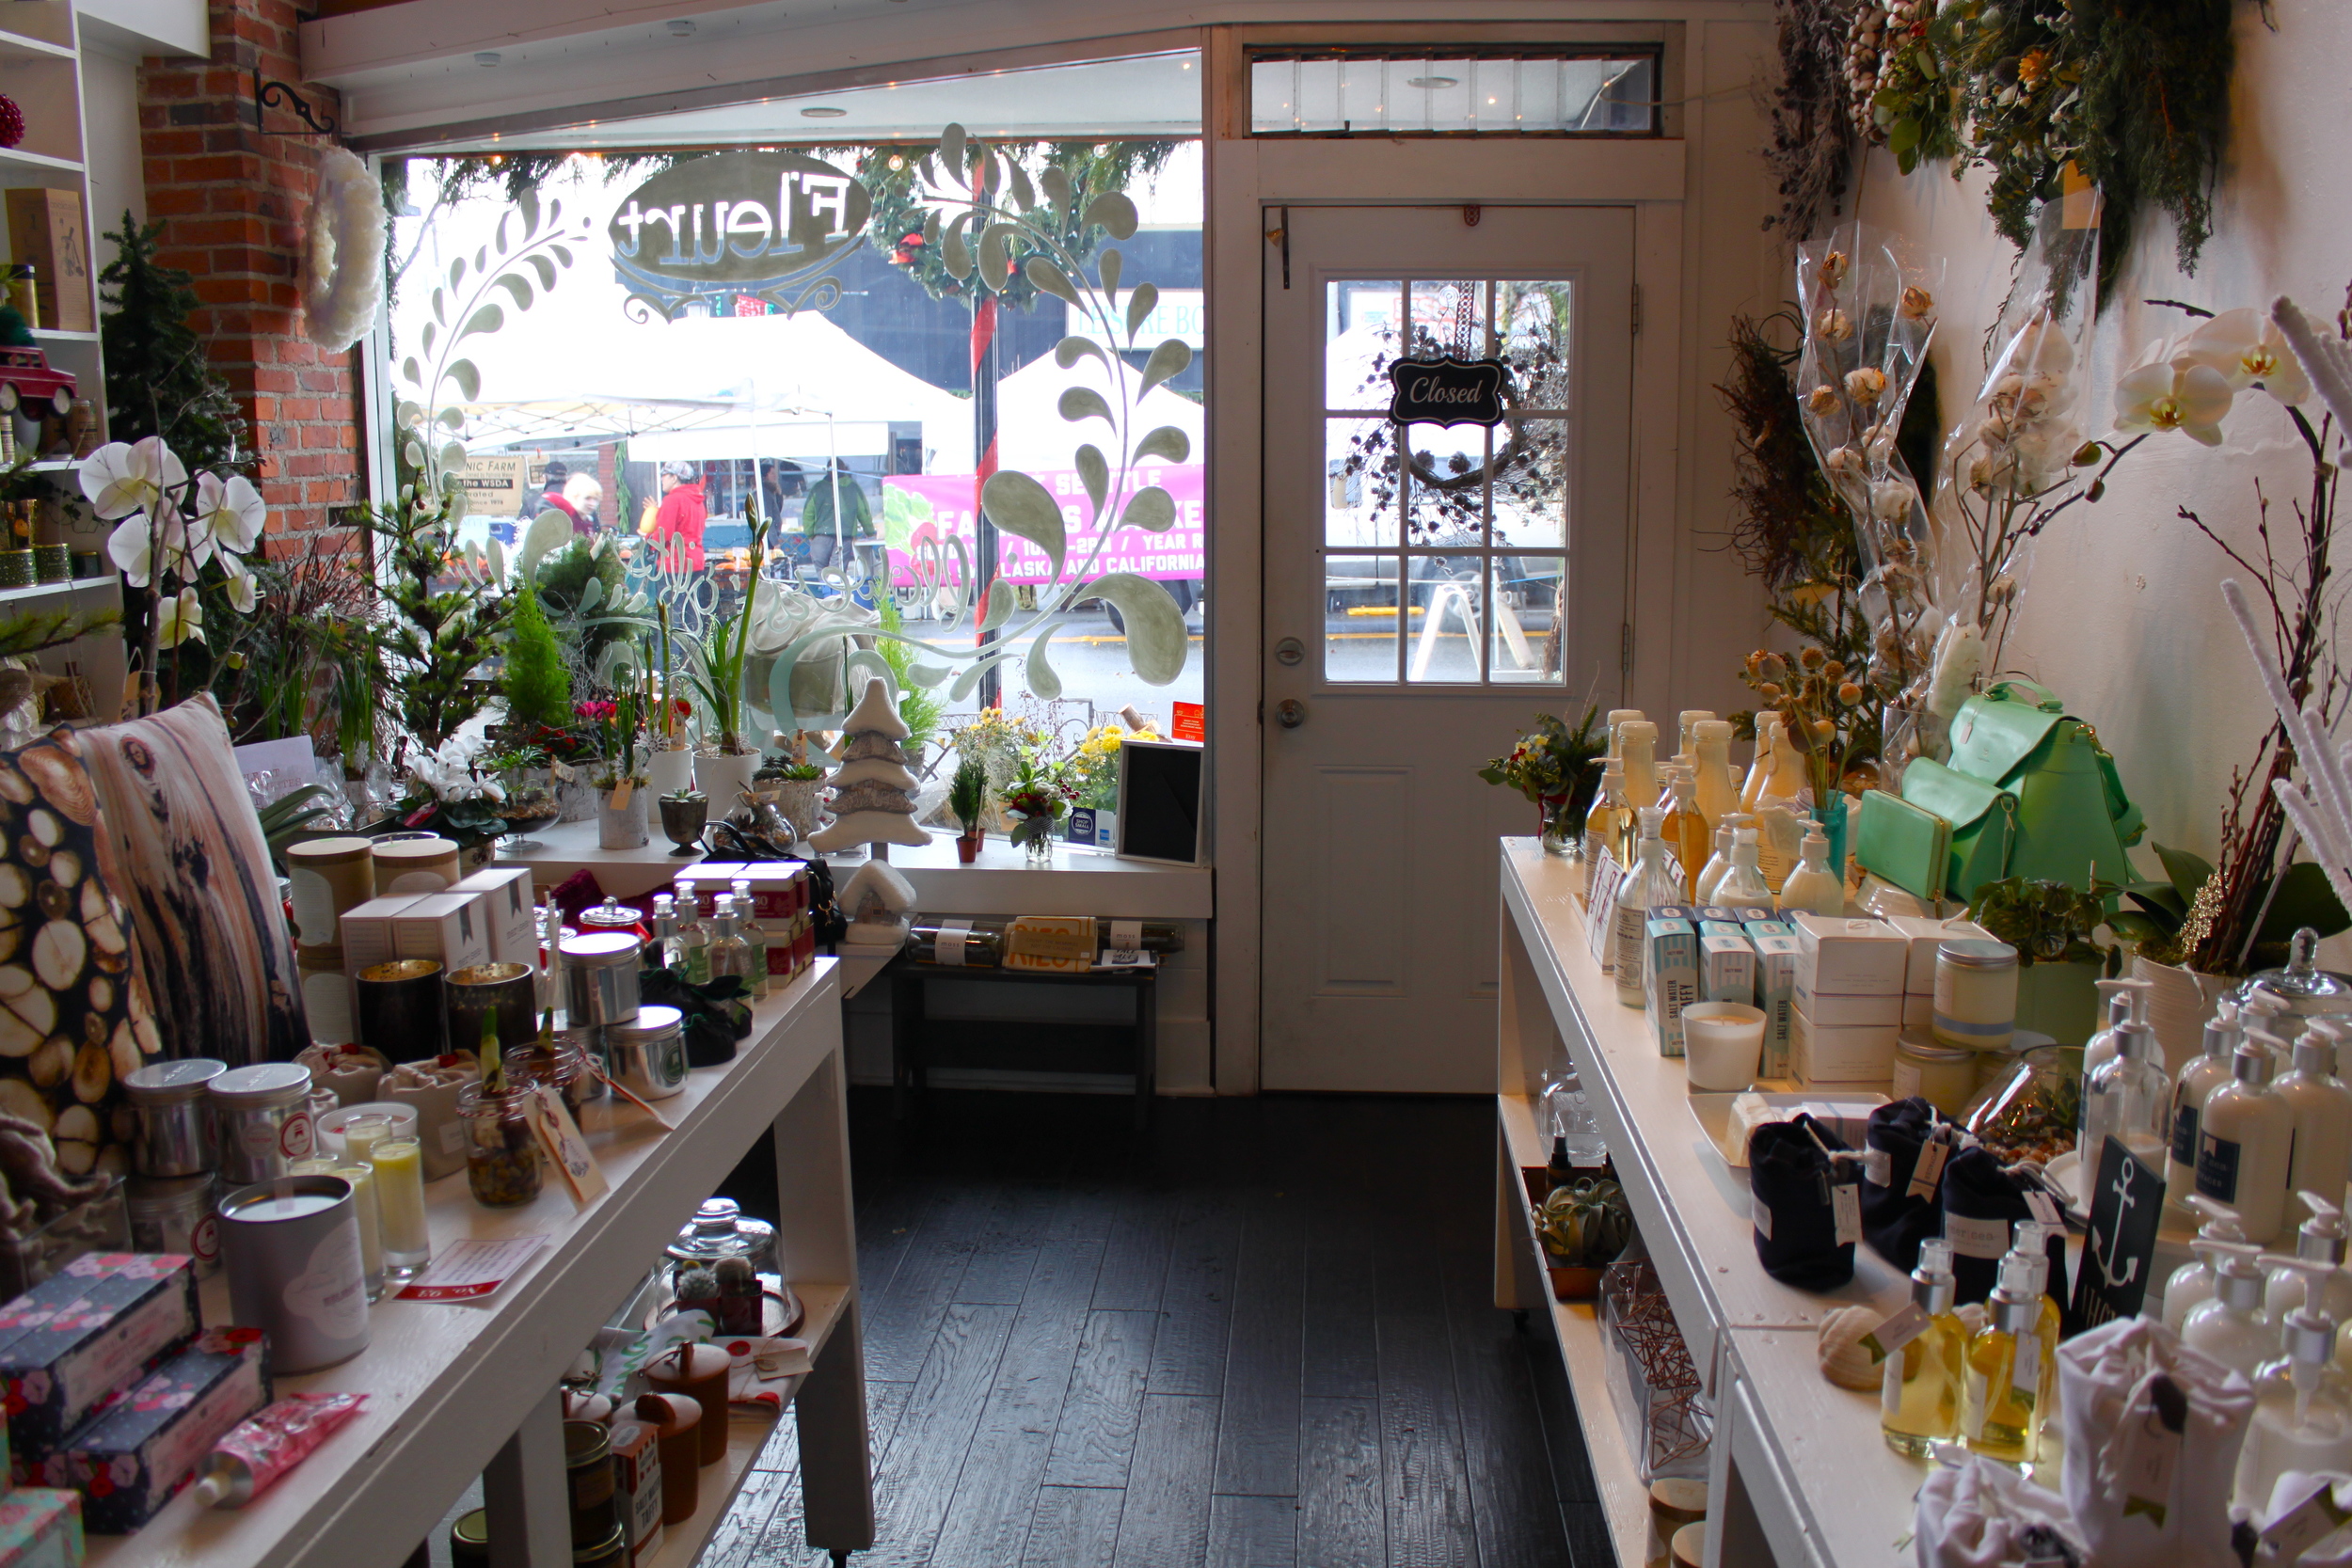
fleurt is probably the cutest shop in all the land. i could spend a very long time in there sniffing every candle and admiring every trinket. they do an amazing job merchandising all the shelves and styling all the displays. i brought sara in there so she could see its splendor :)
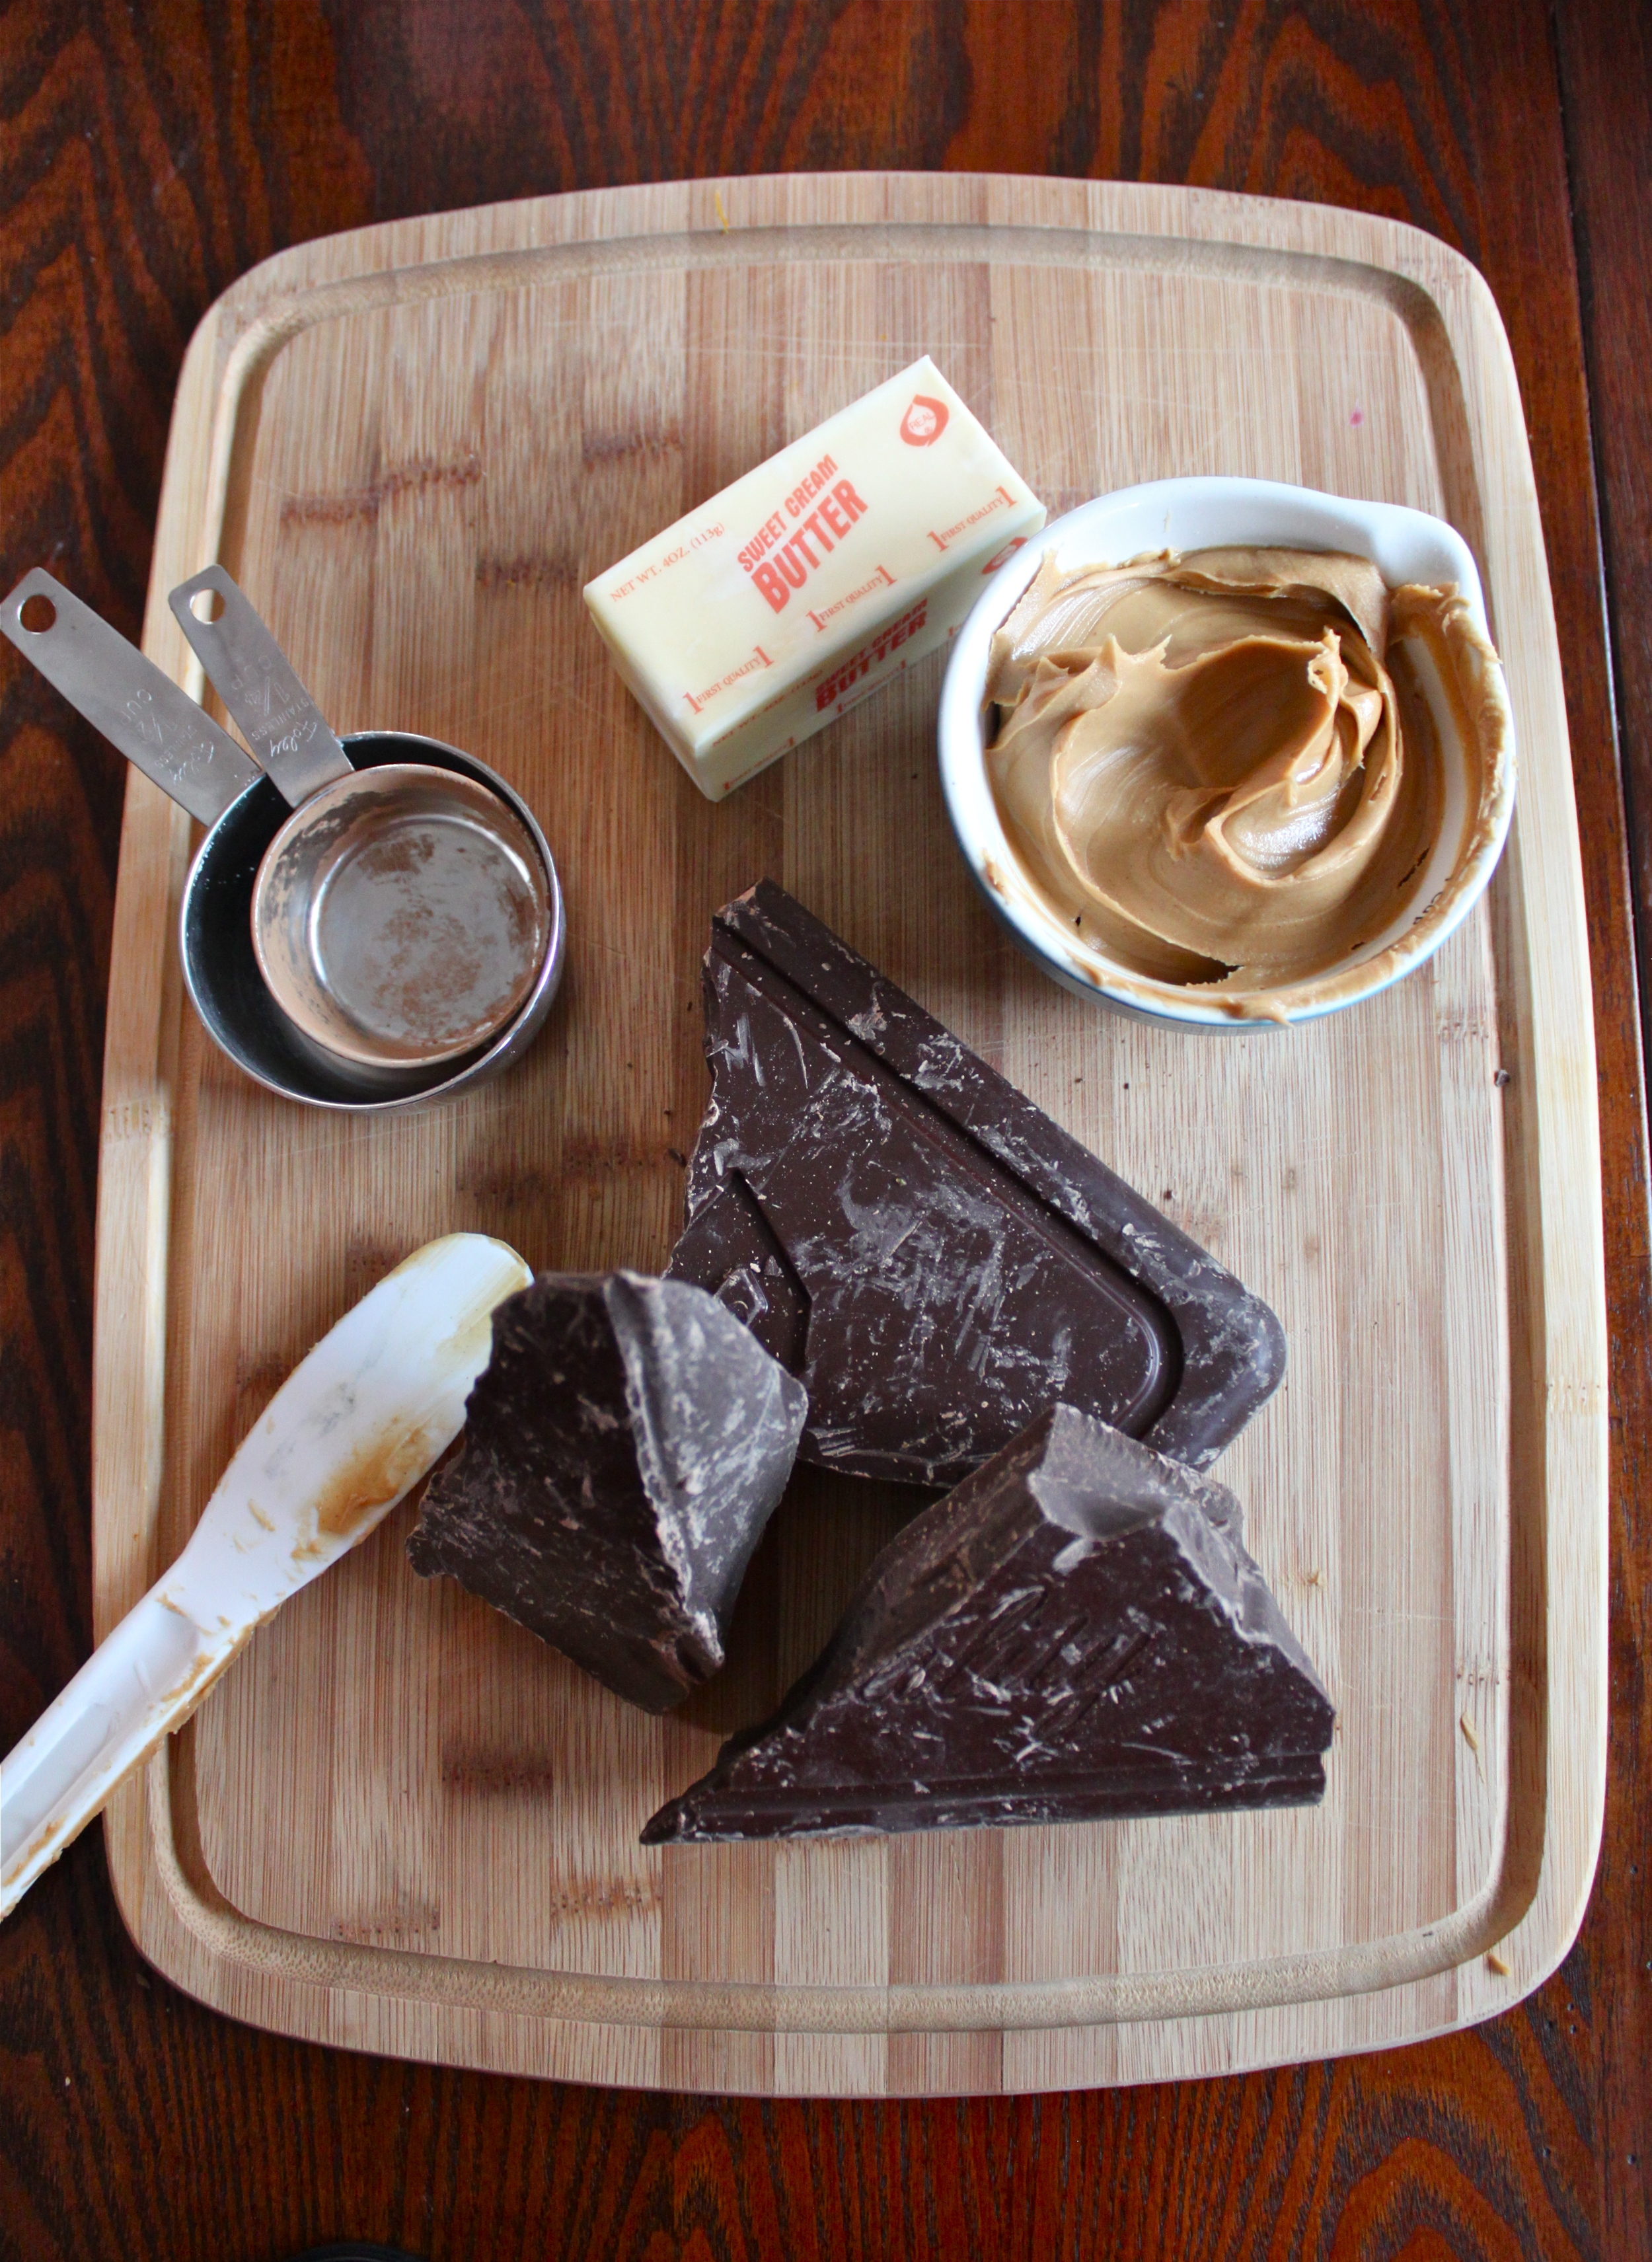
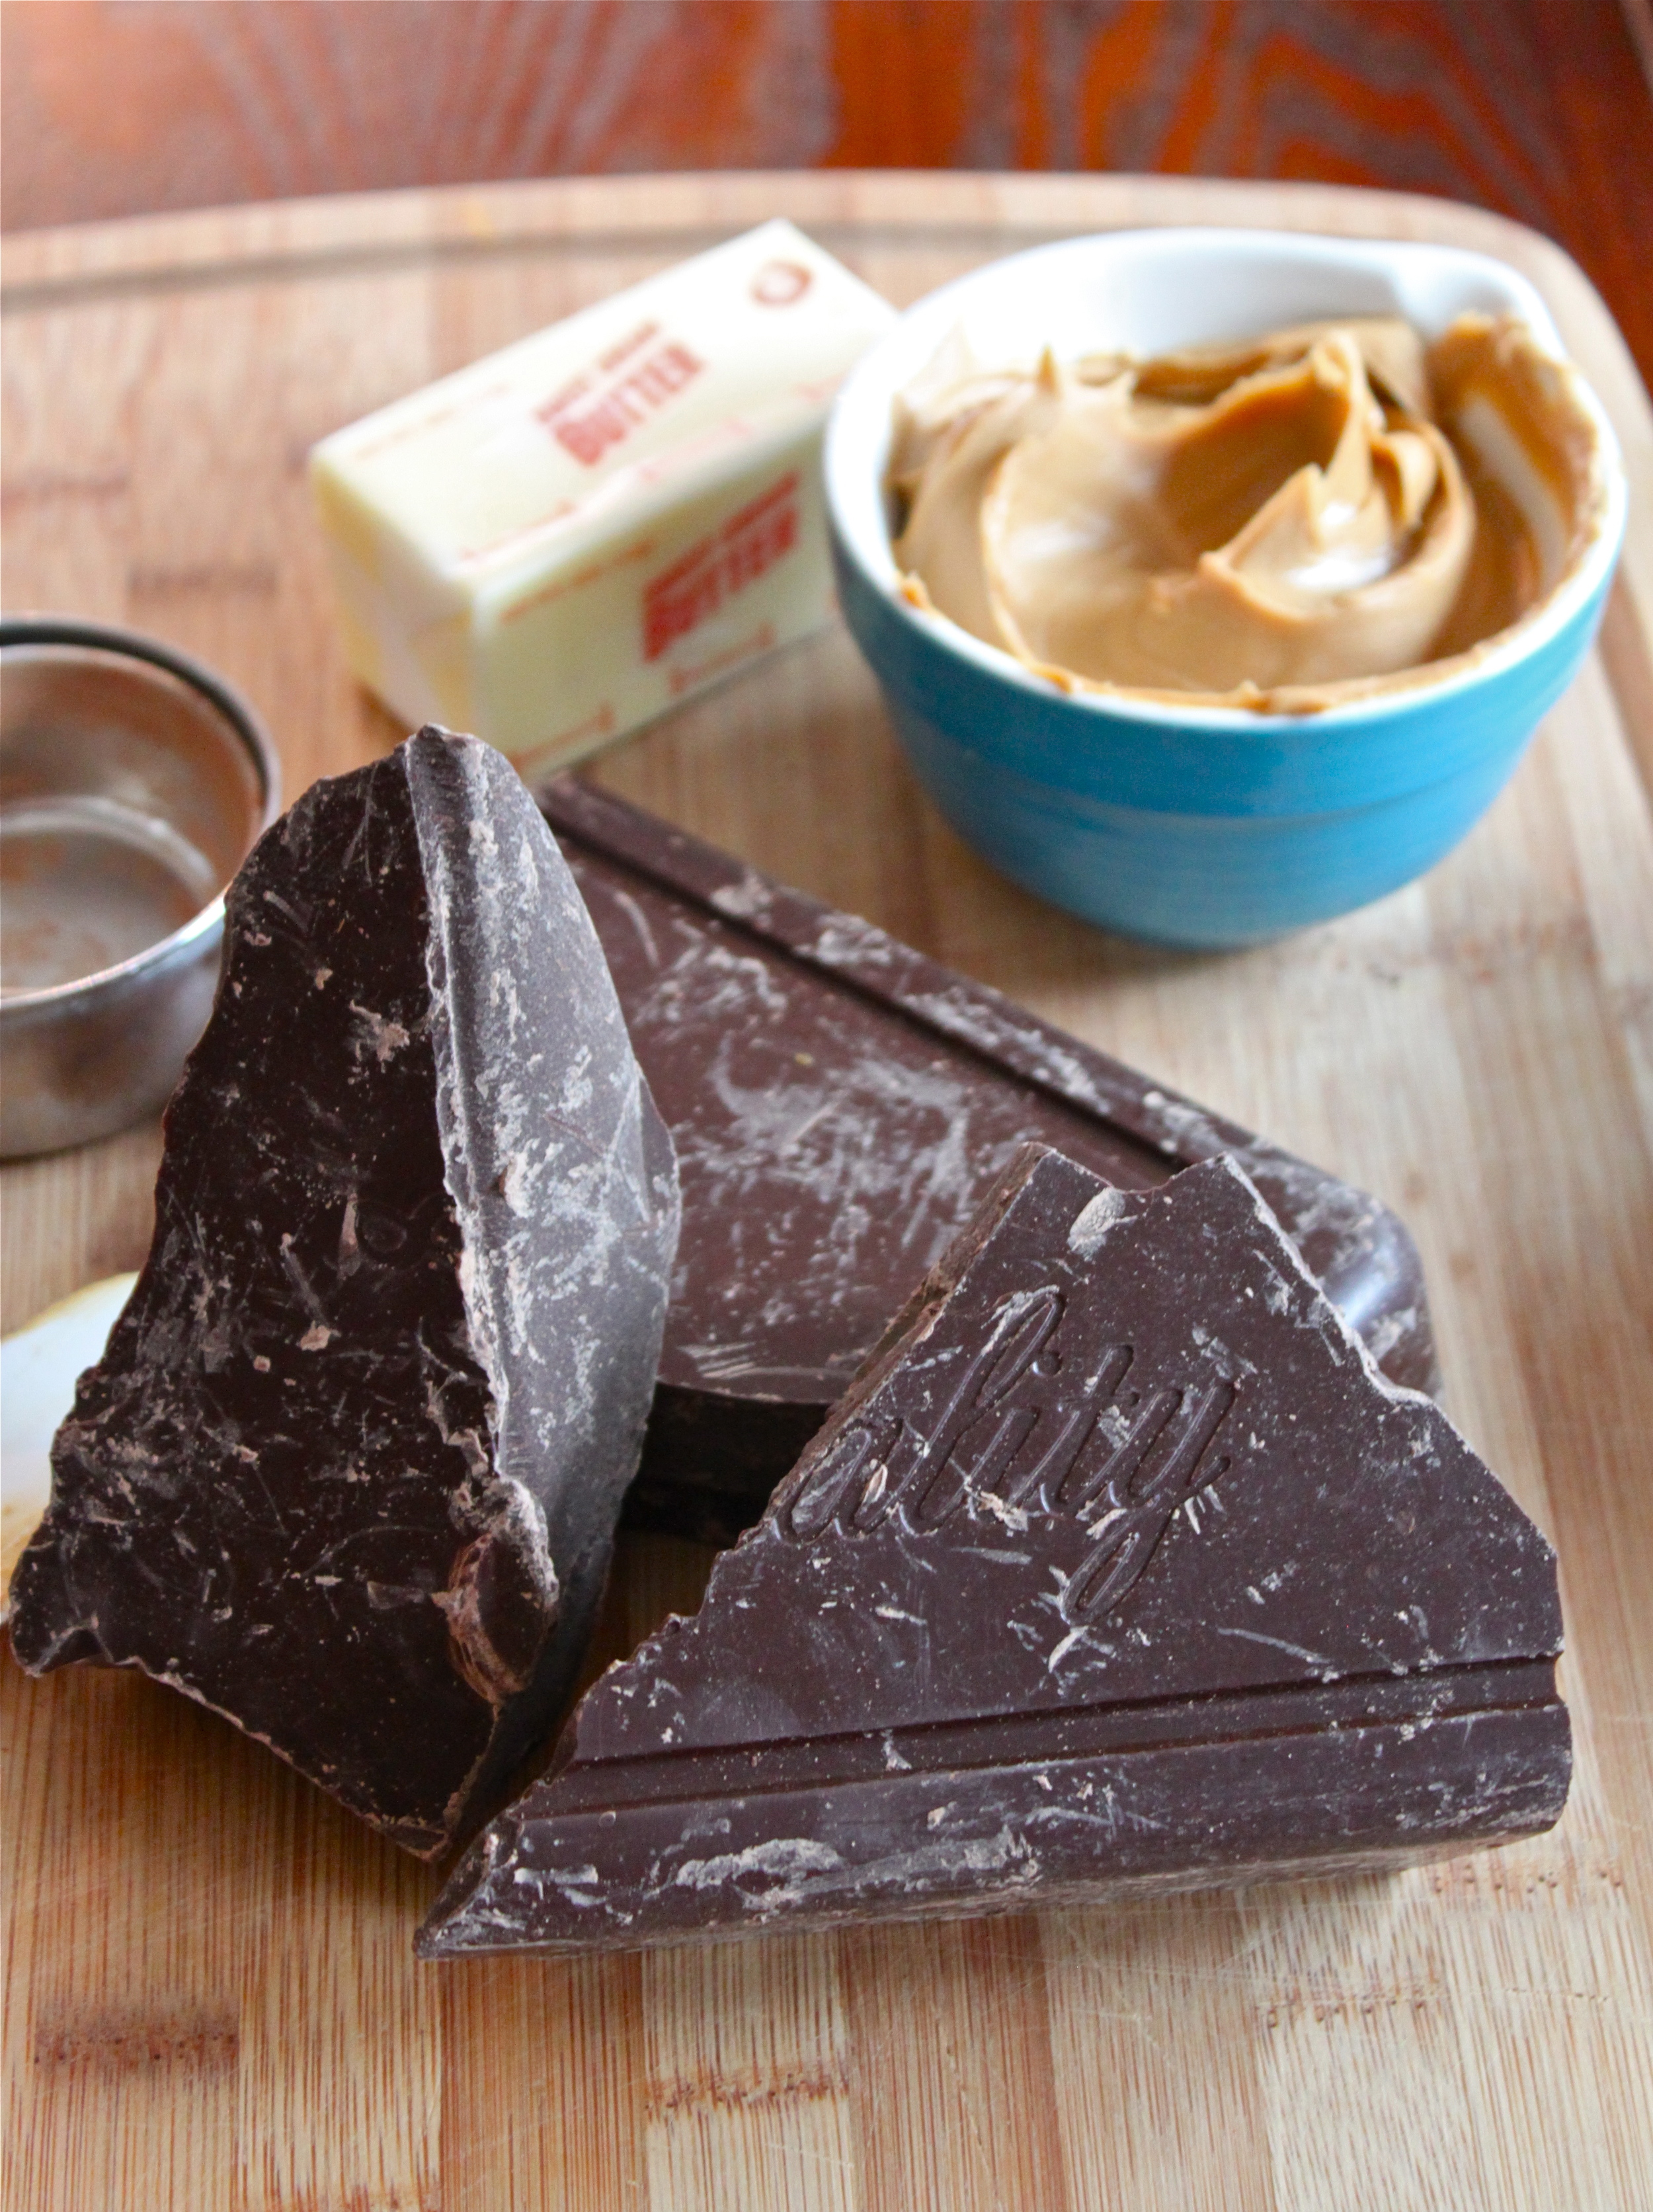
we popped into the husky deli and bought some chocolate for our baking and spices for our potpourri.
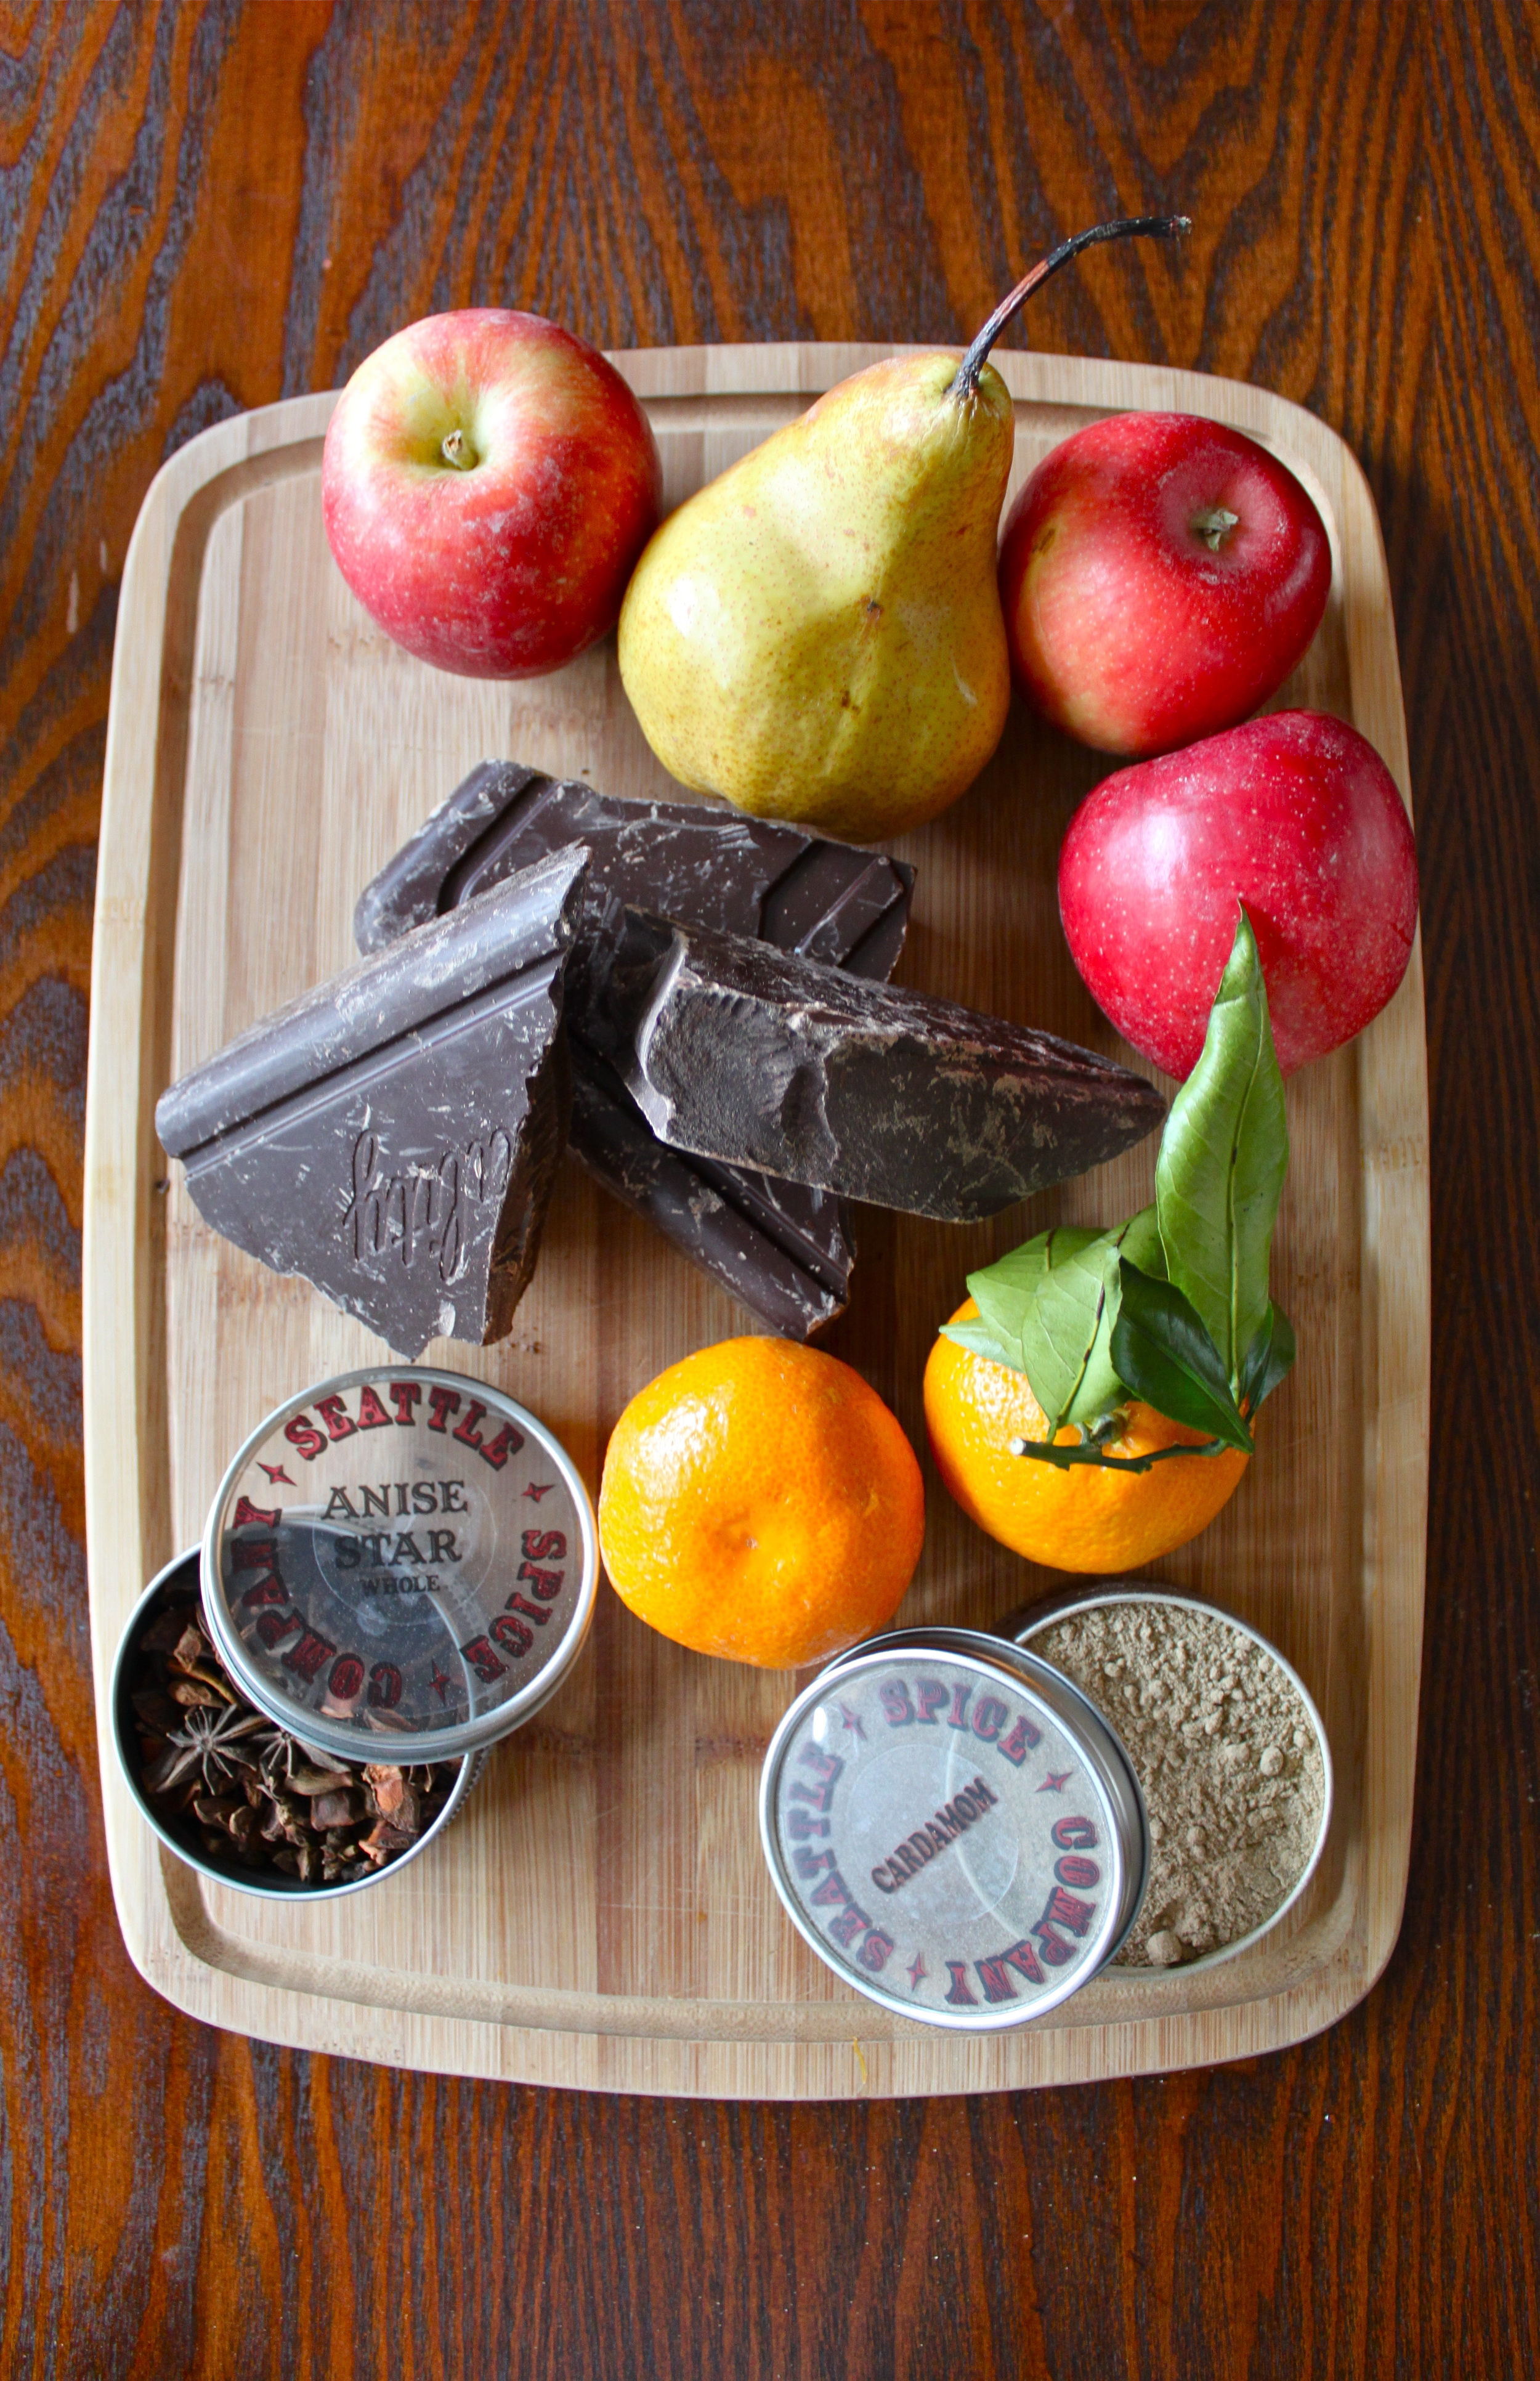
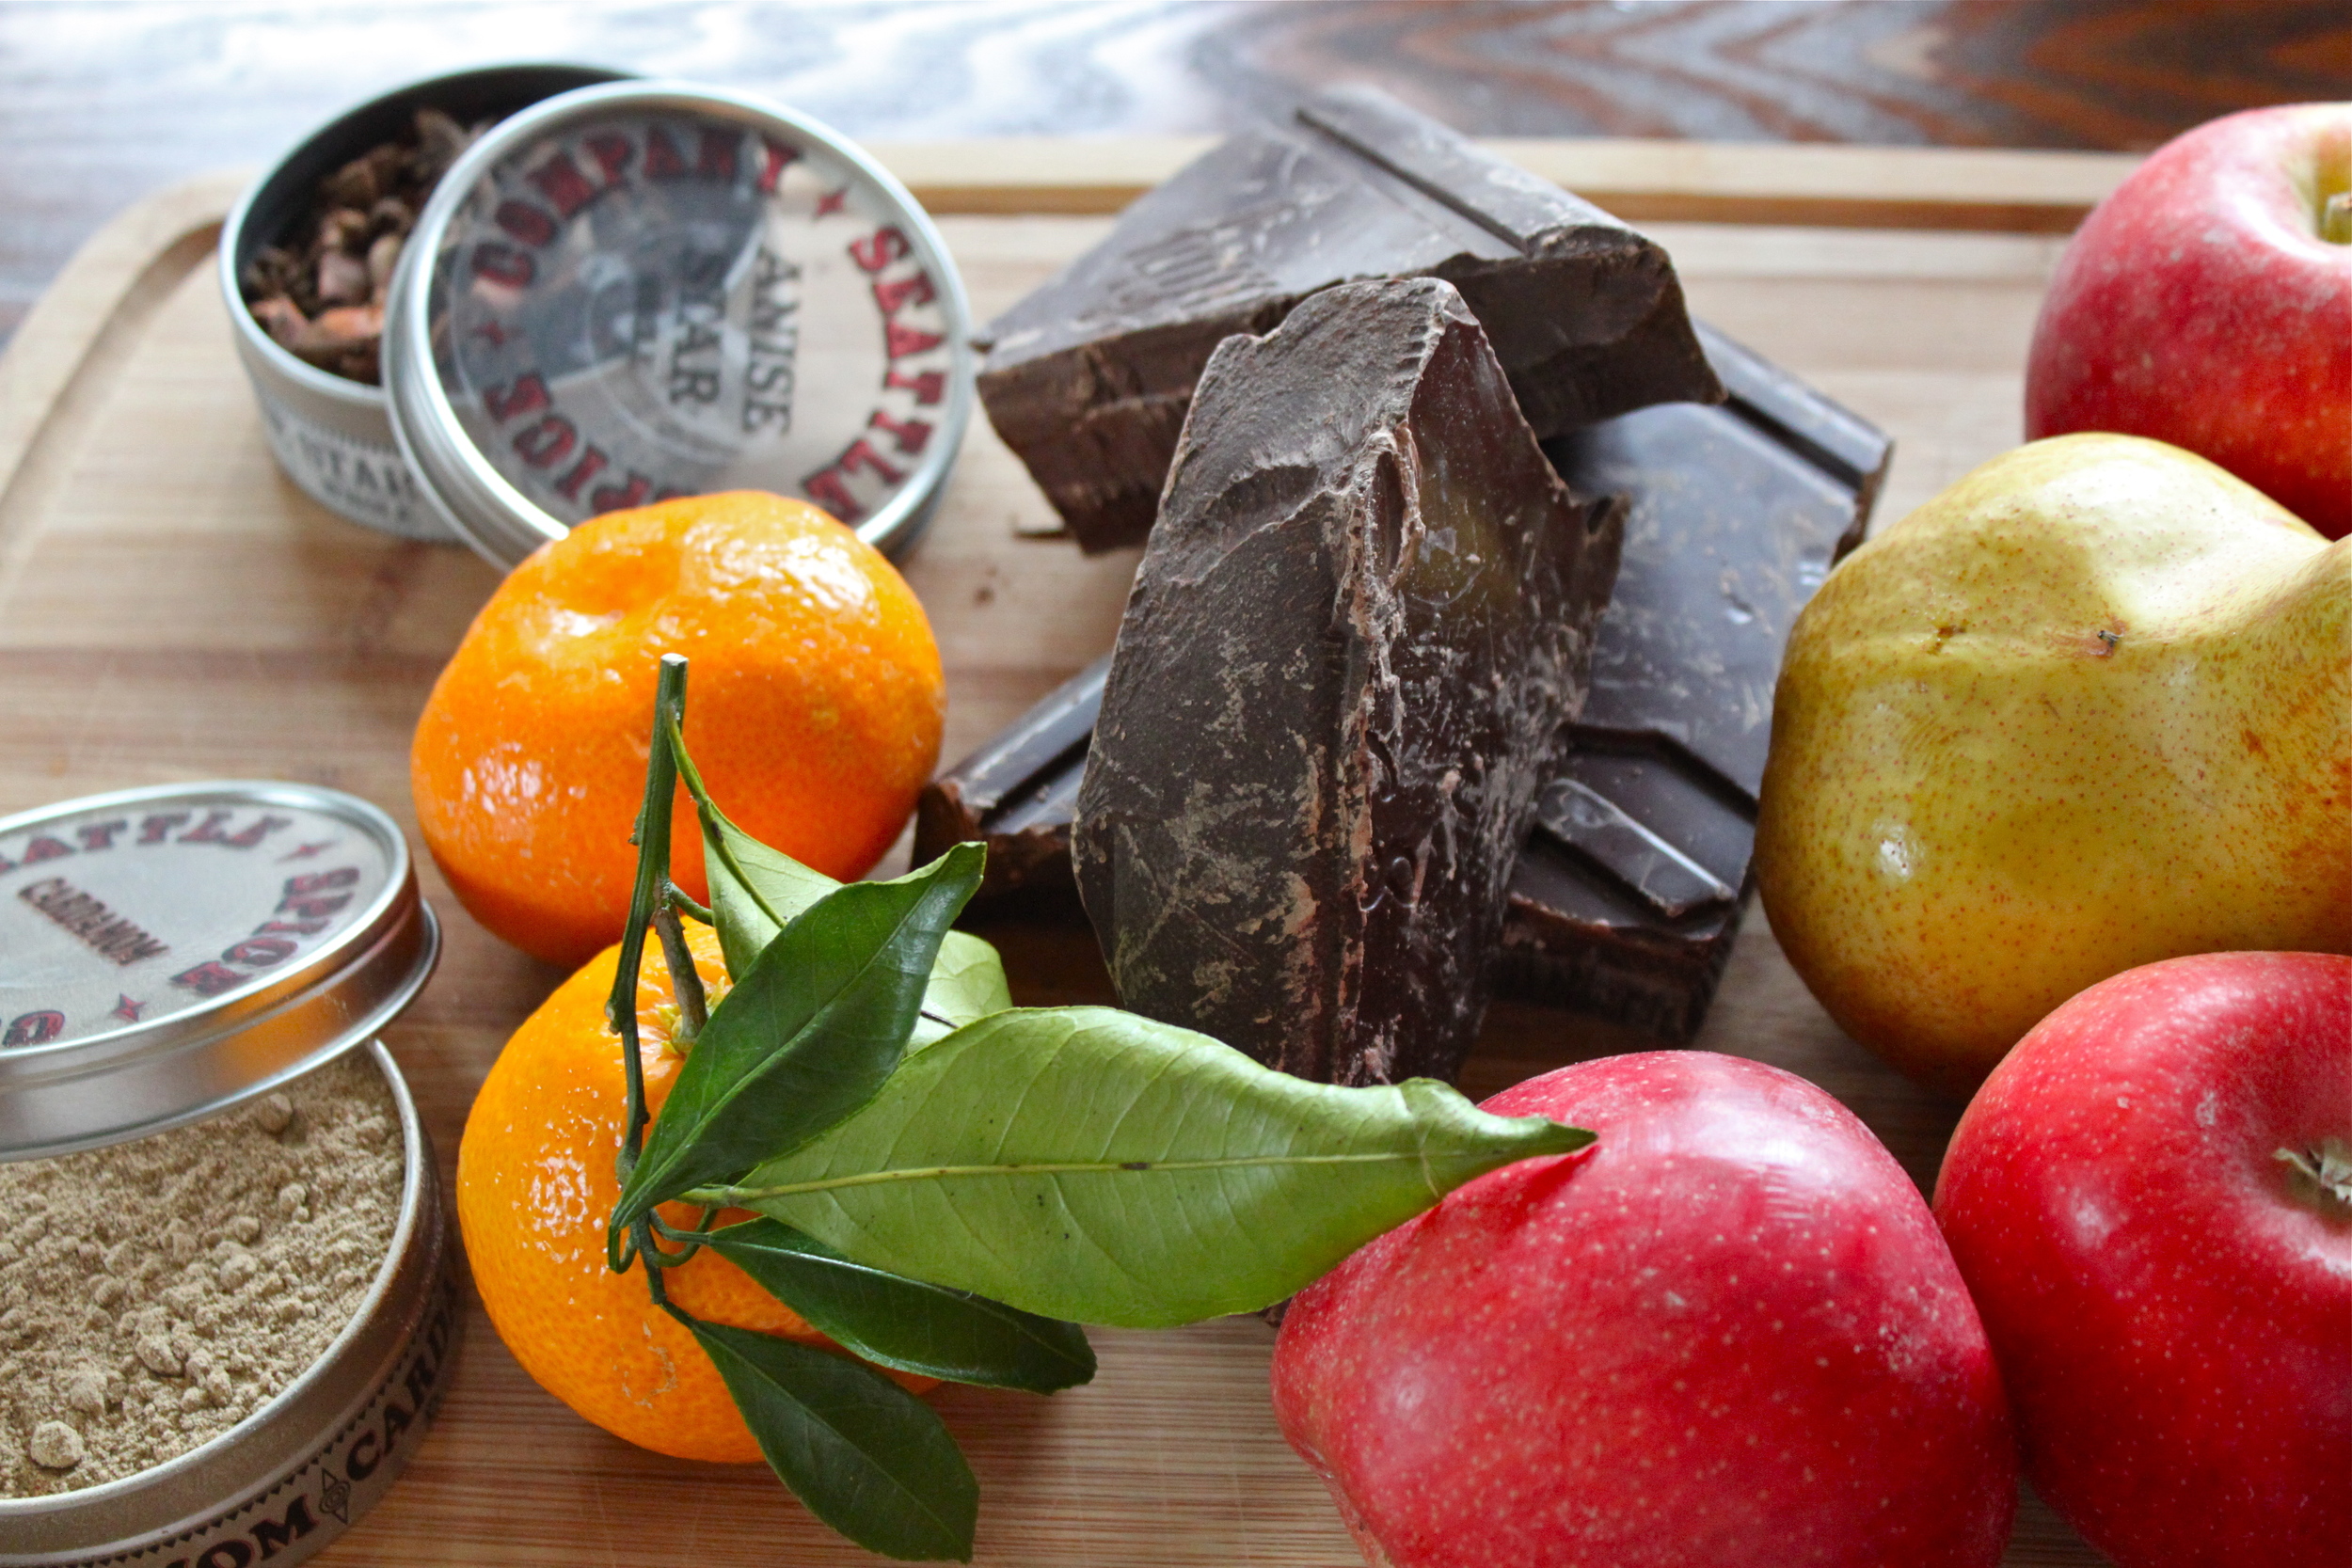
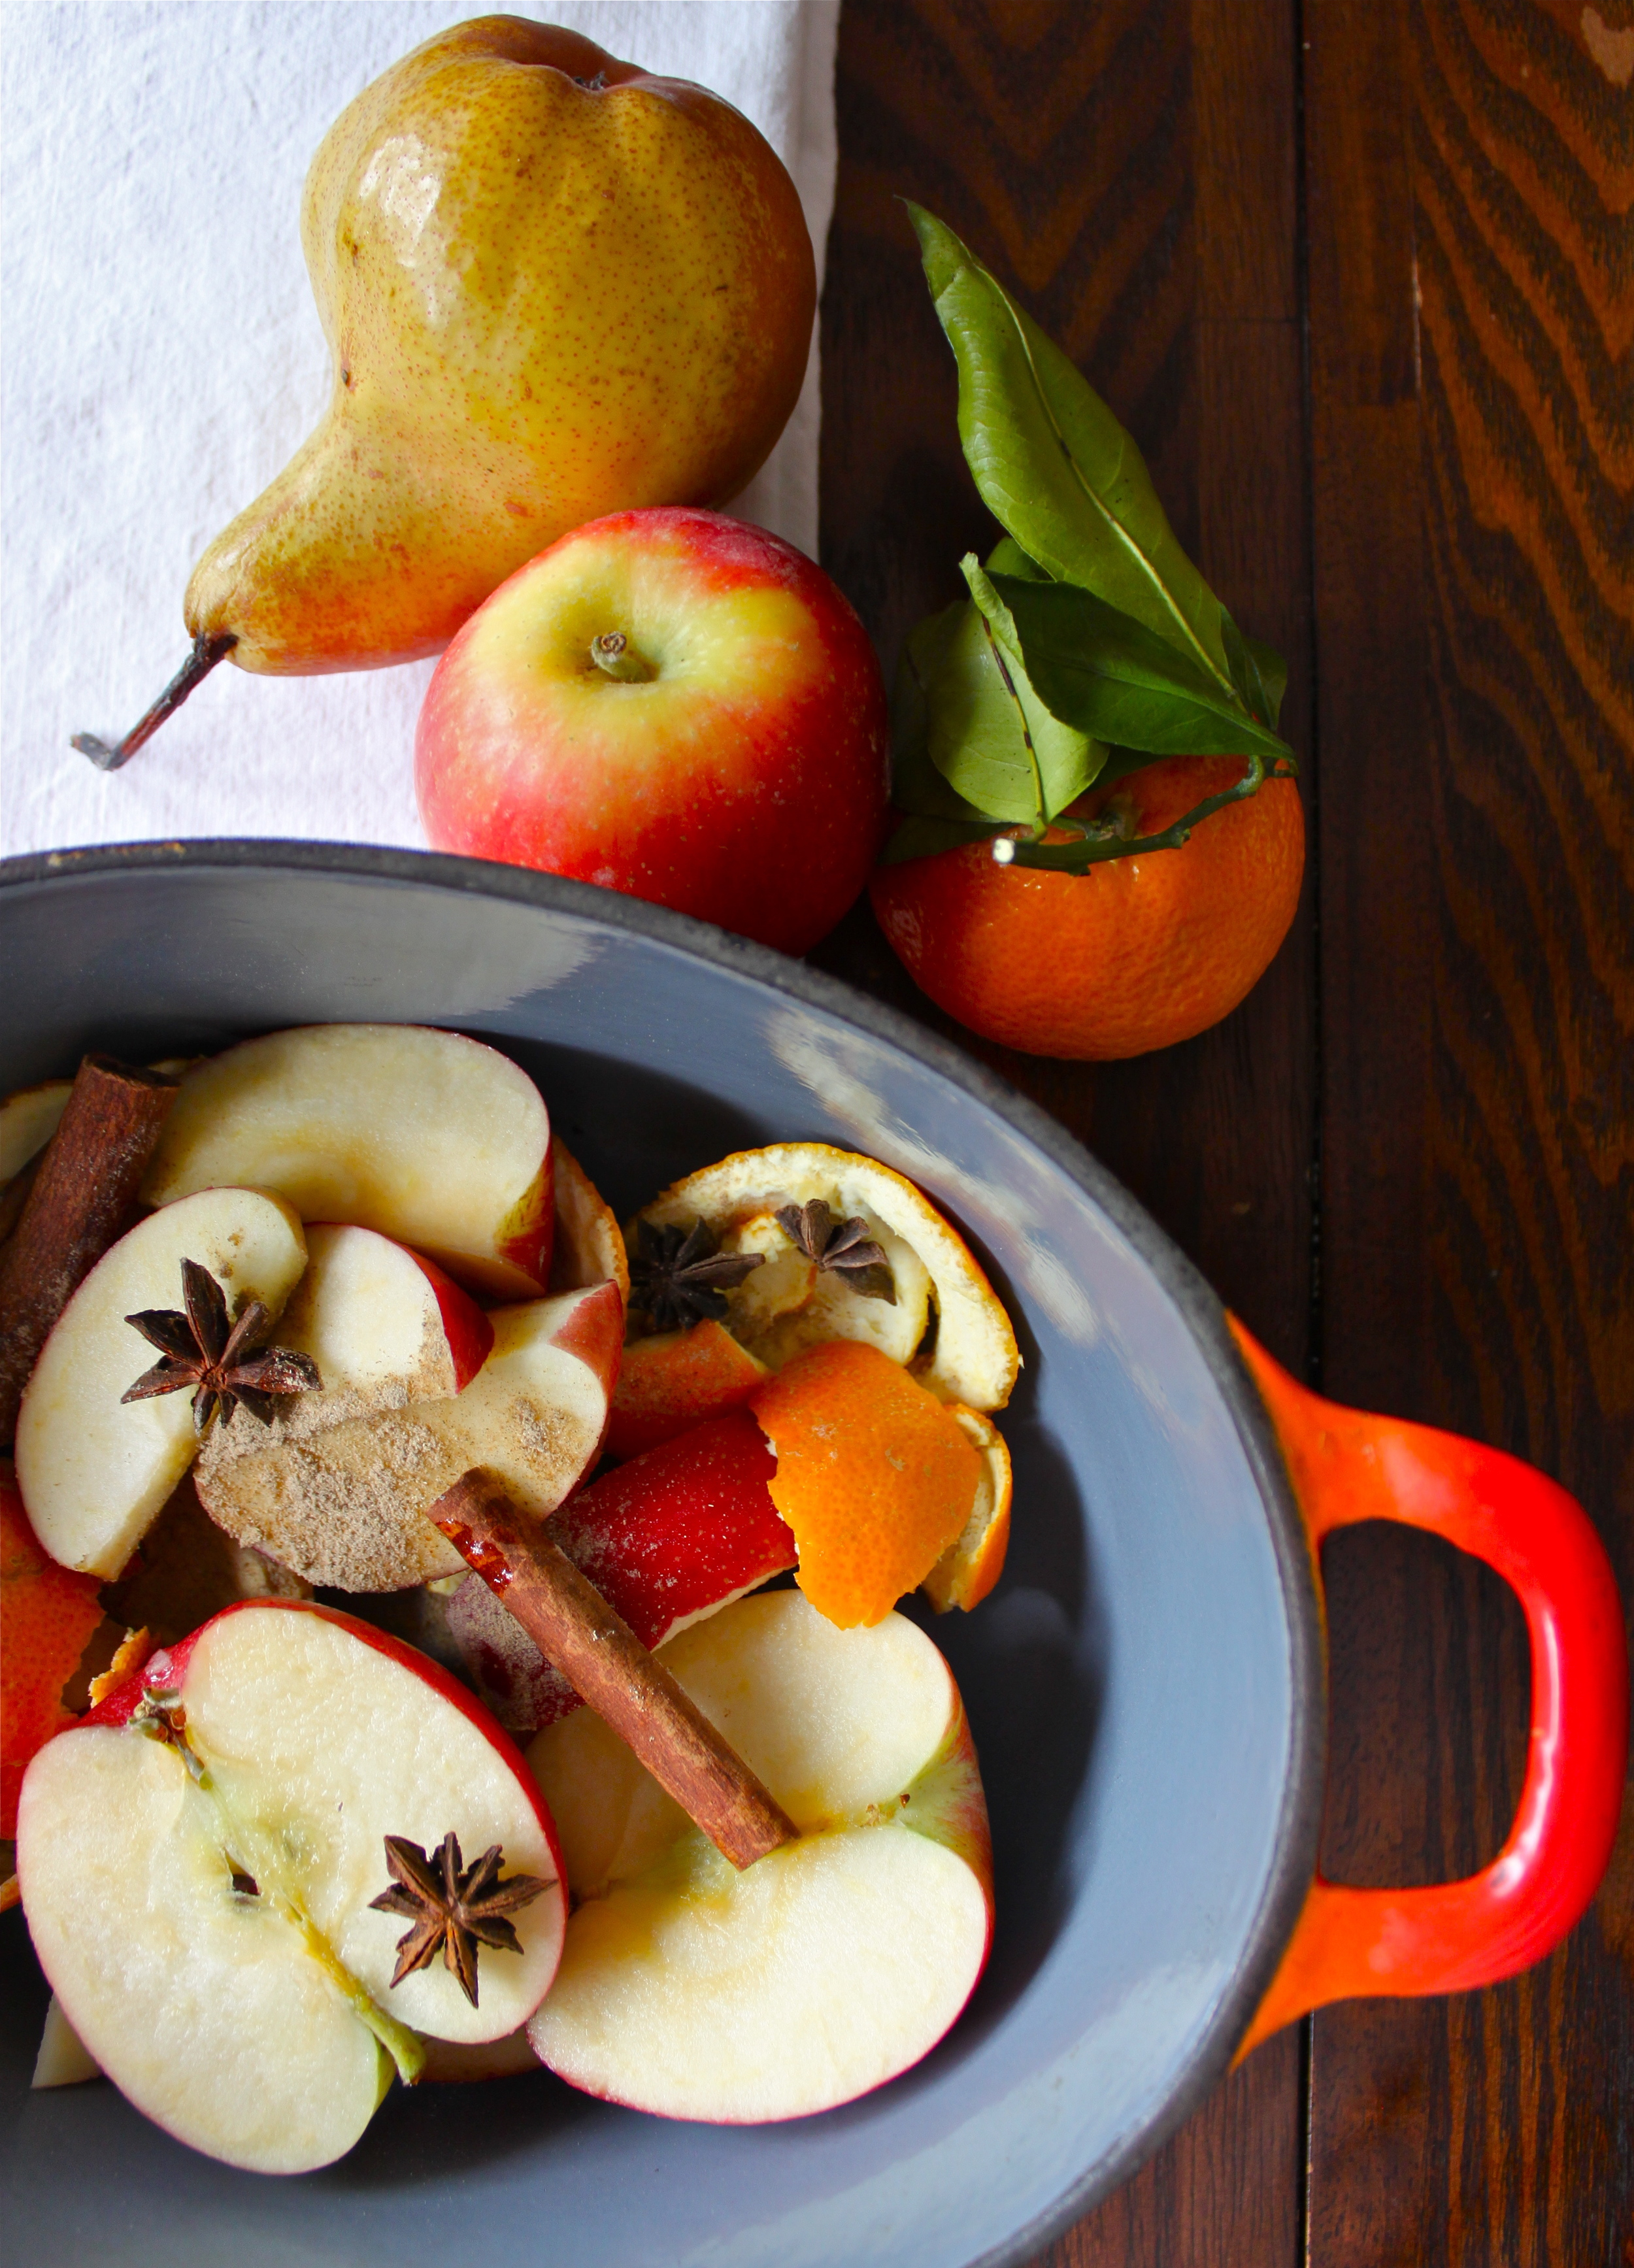

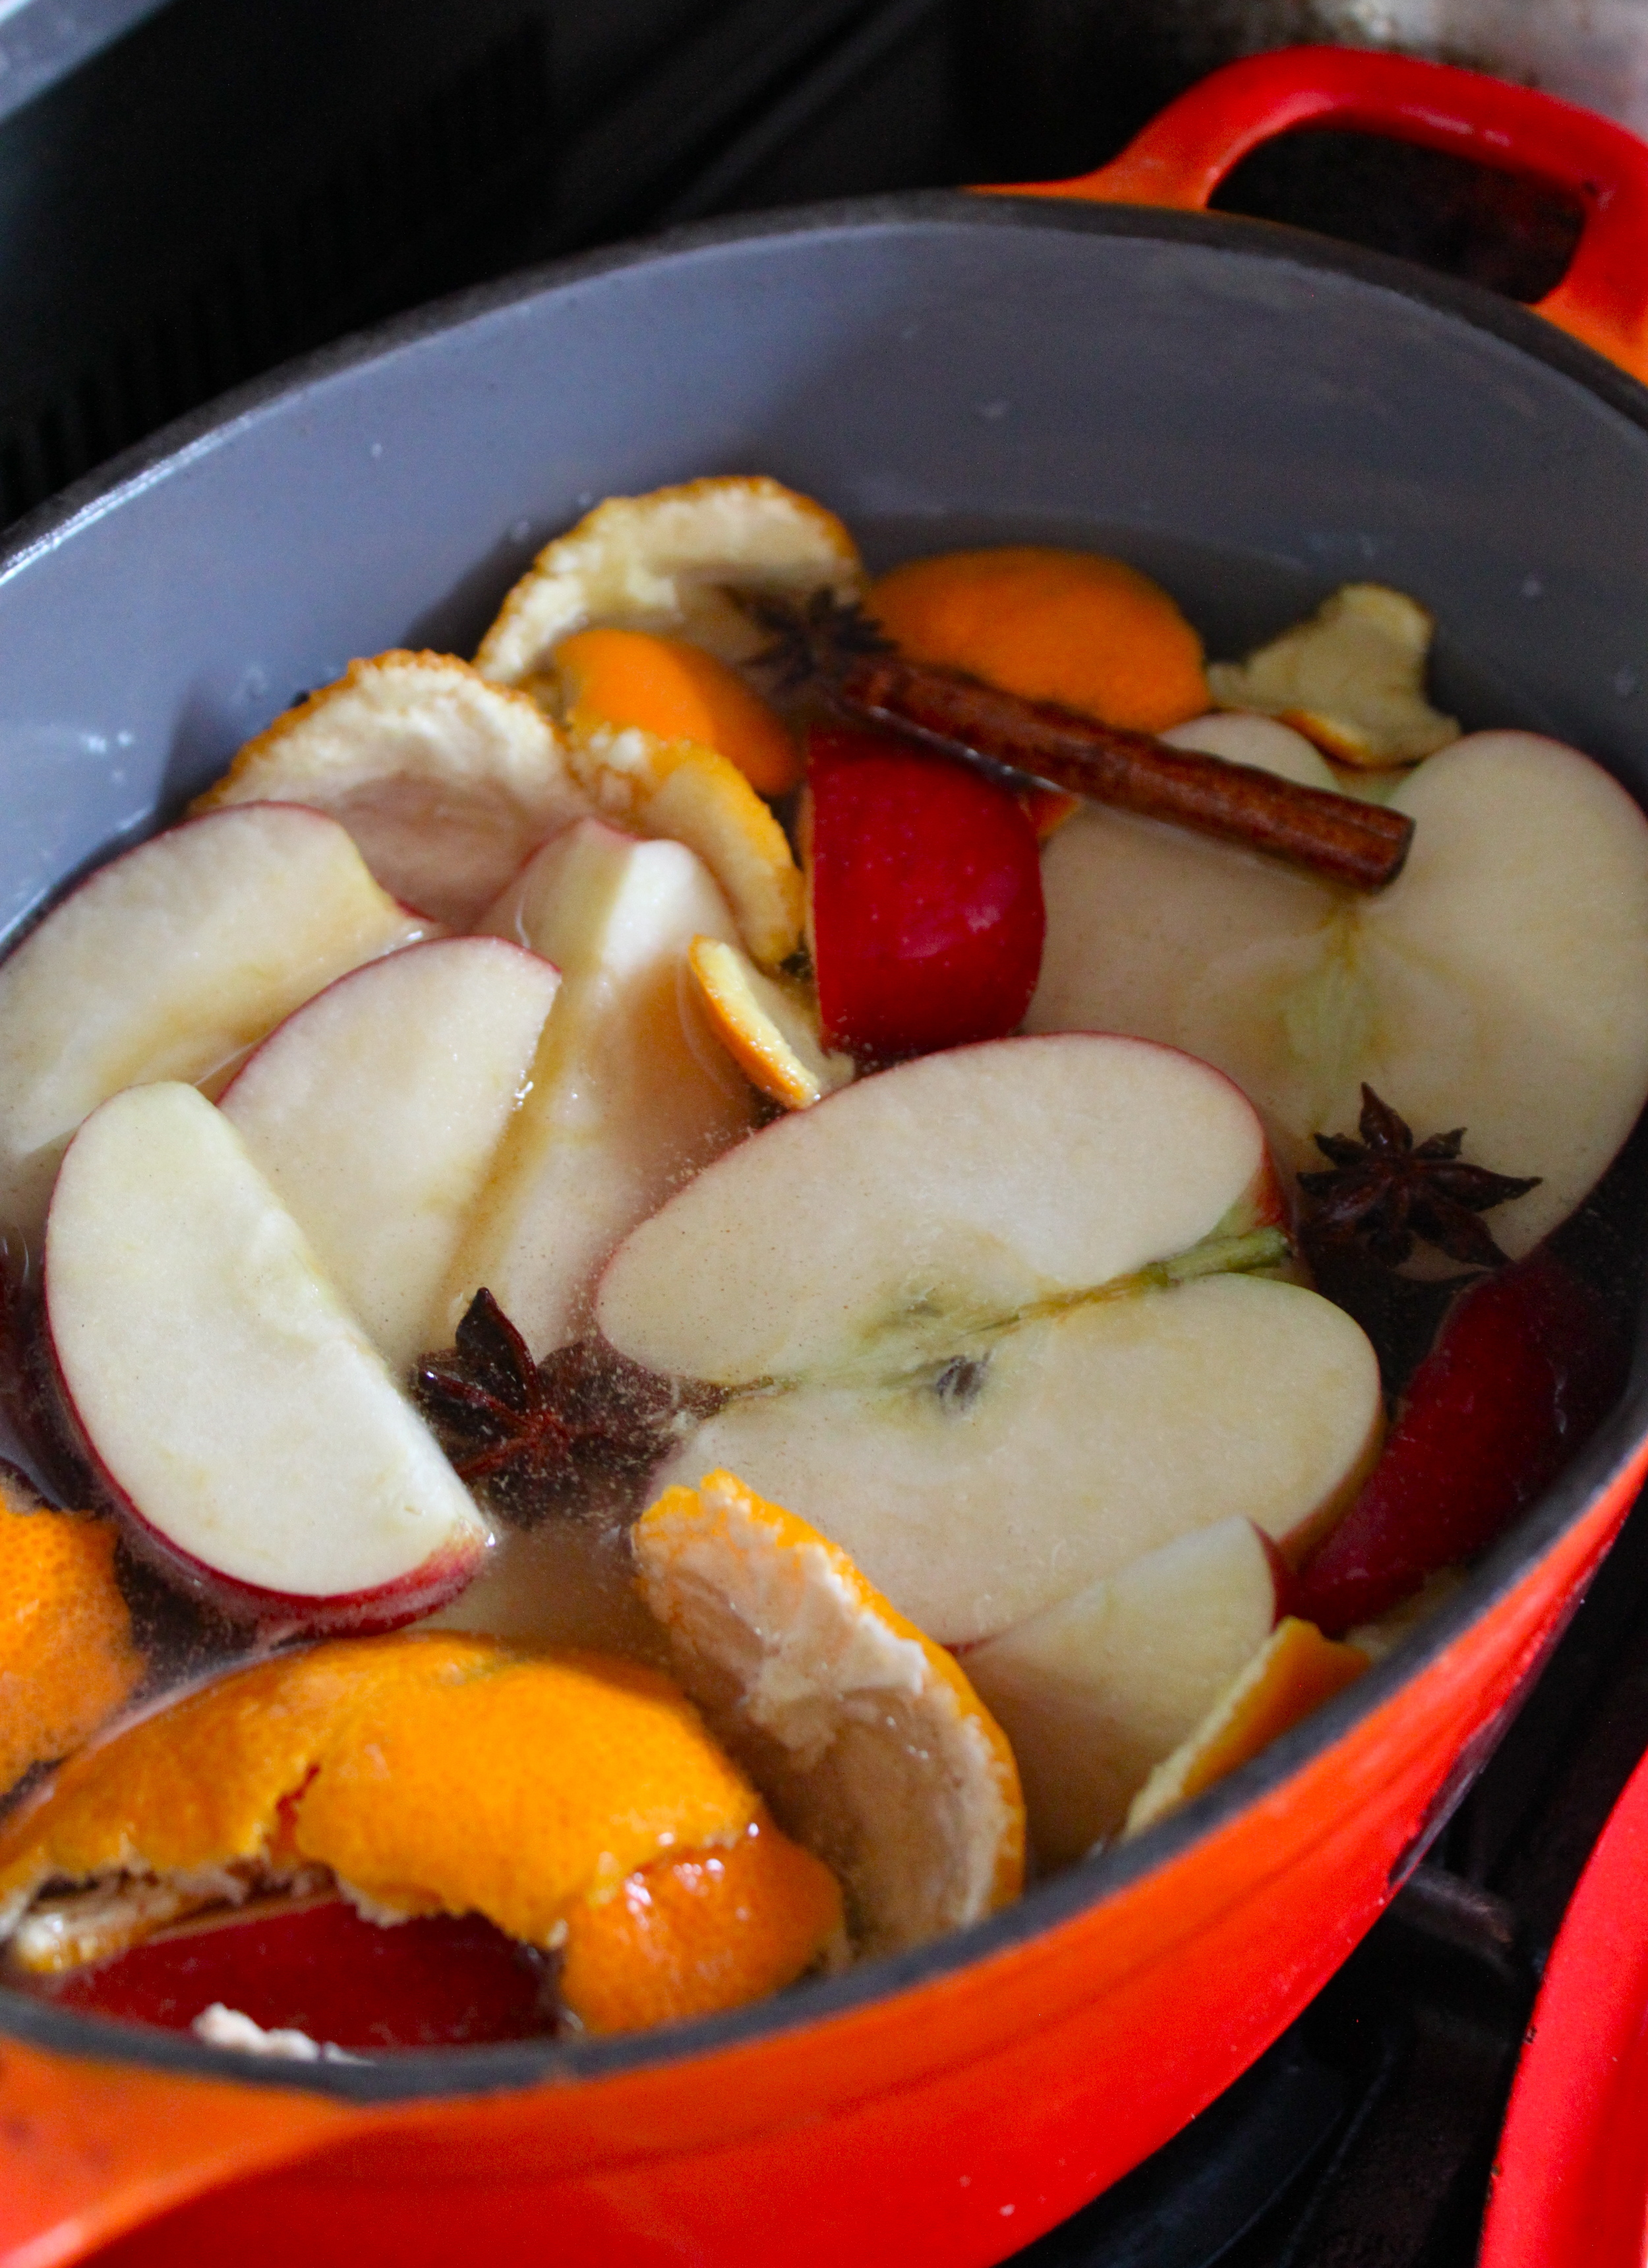
the simmering potpourri was awesome! i had satsumas from the west seattle produce company that we used as well. it was simple to put together in about five minutes. we used apples, satsumas, cinnamon sticks, fresh ginger, cardamom, and star anise with water. it smelled amazing. and looked really pretty, too!
it could be pretty customizable too! we could have put cider in the pot instead of water, for extra fragrance. i could see myself trying a citrusy grapefruit and lemon with fresh-cut herb version in the spring time. we just left it on simmer while we baked, and it added a lovely little extra somethin' somethin' to our kitchen holiday vibes.
inspiration for the recipe we followed came from here. my favorite chick.
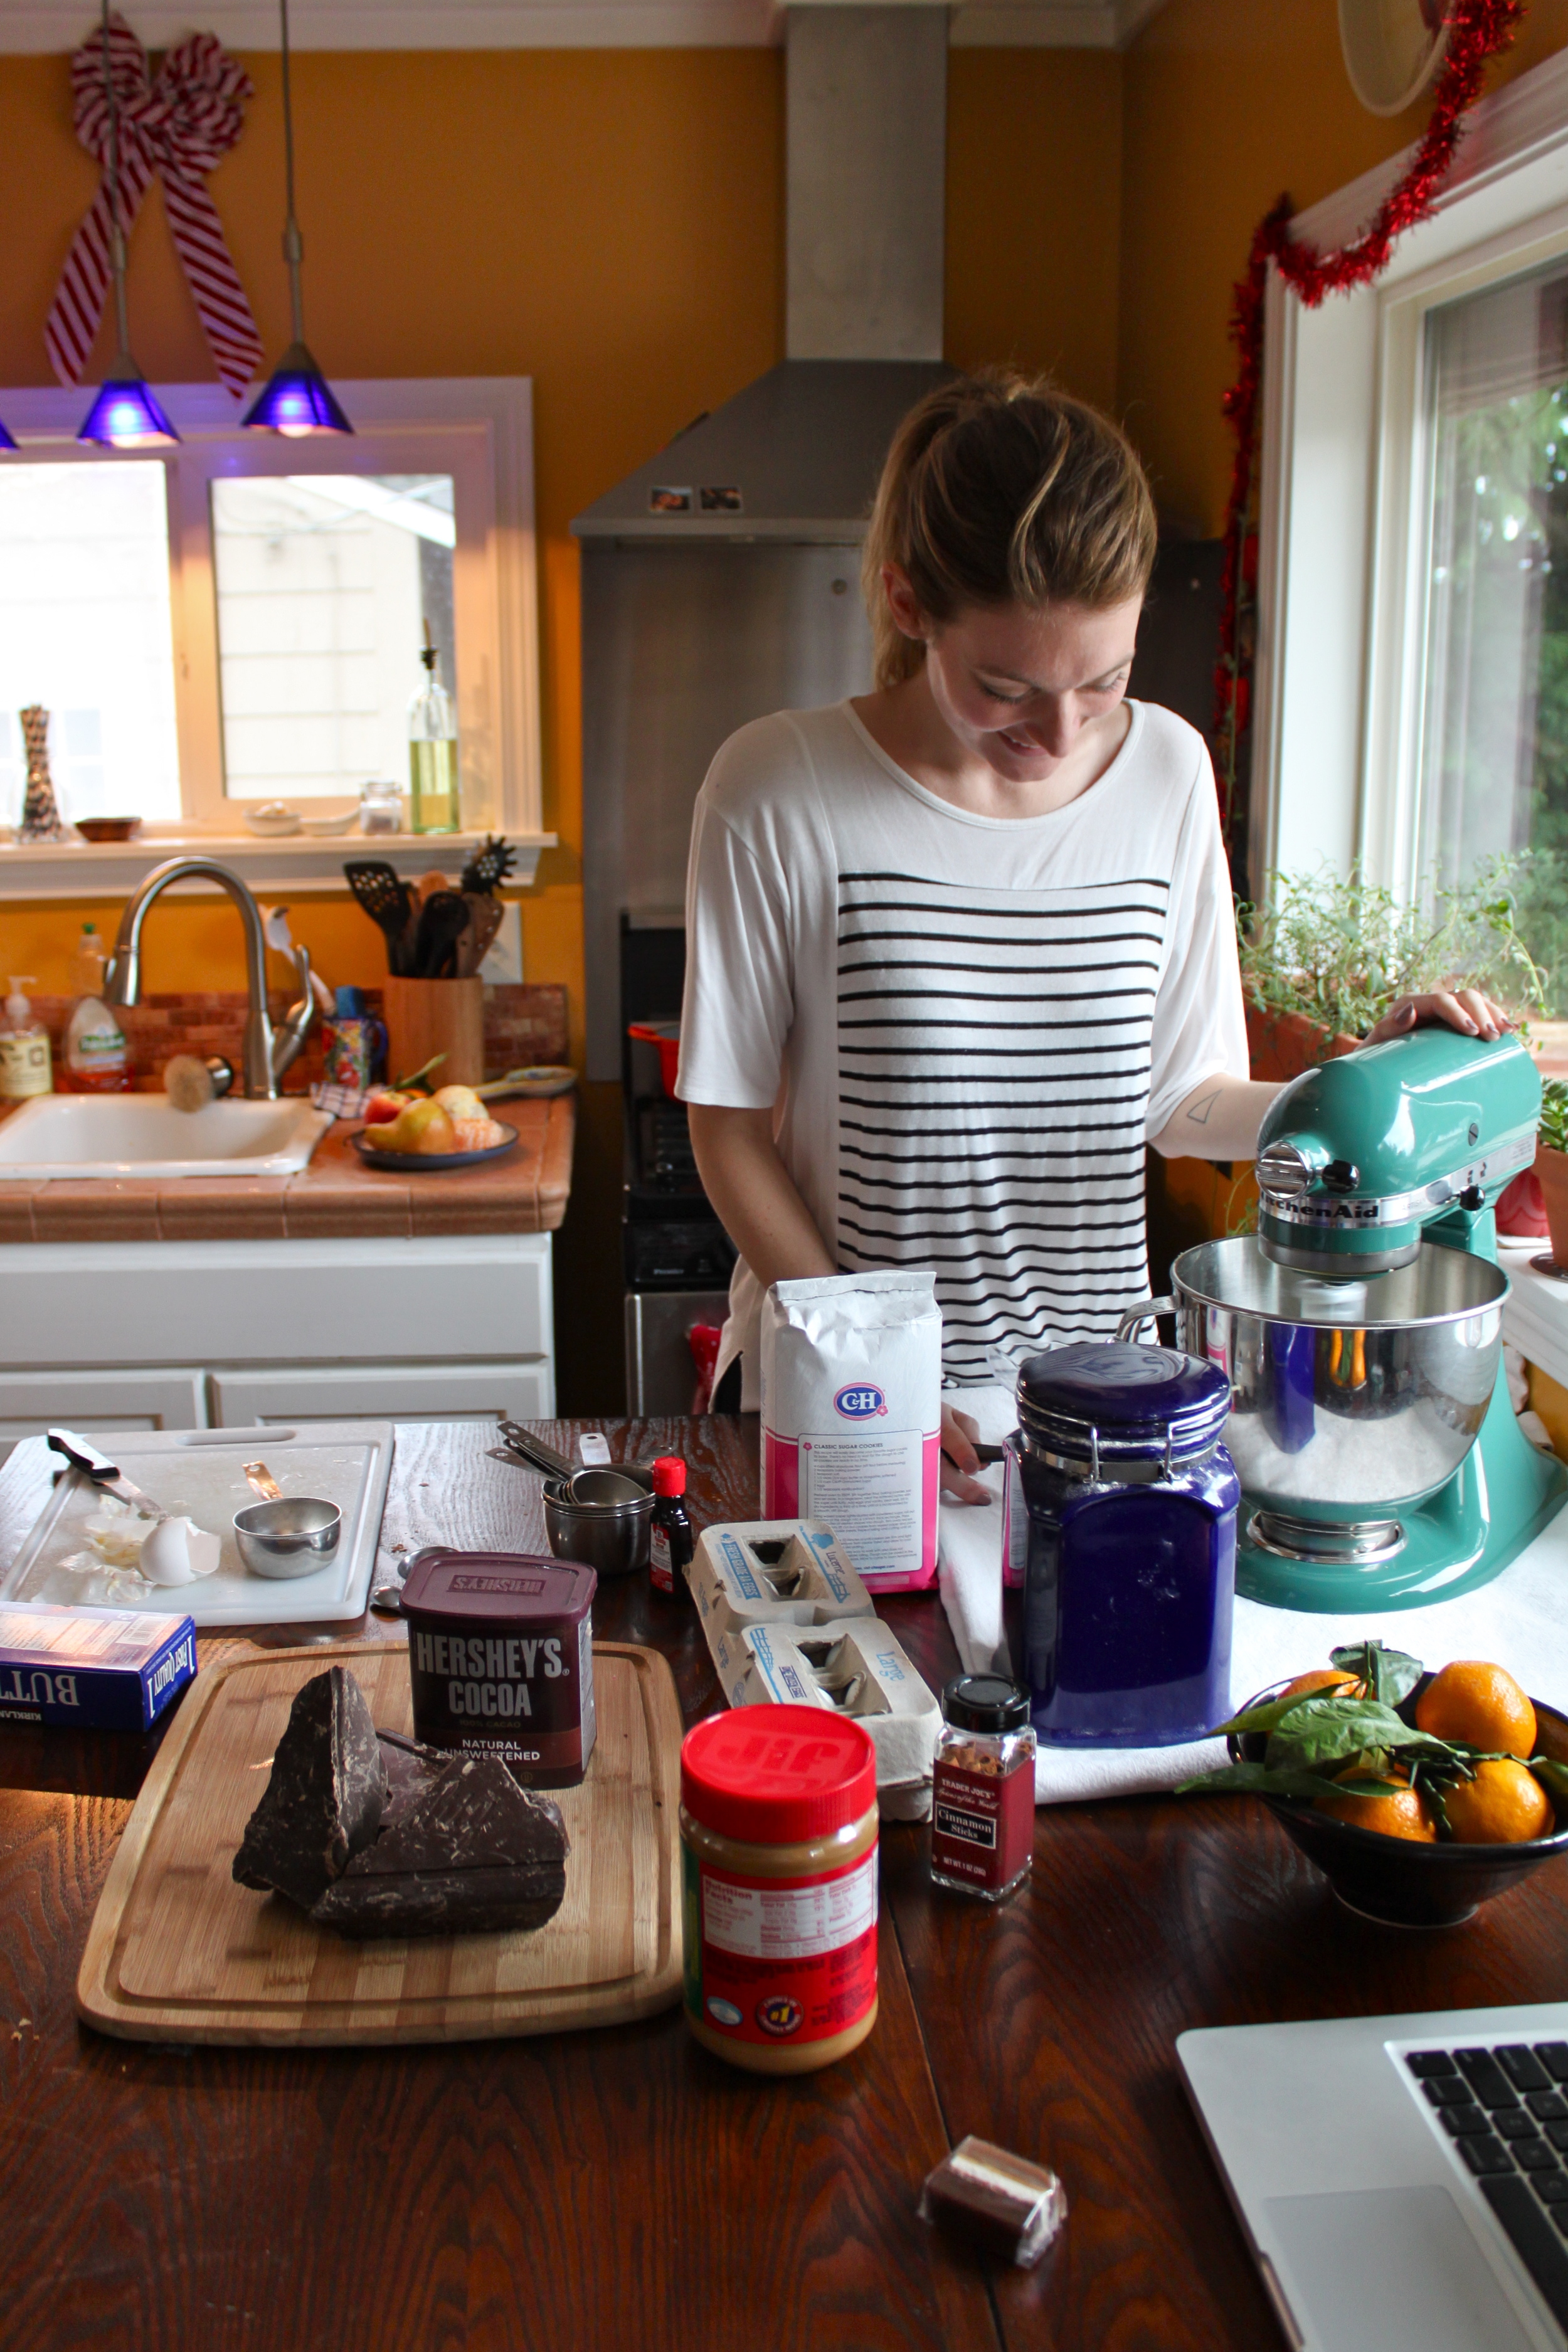
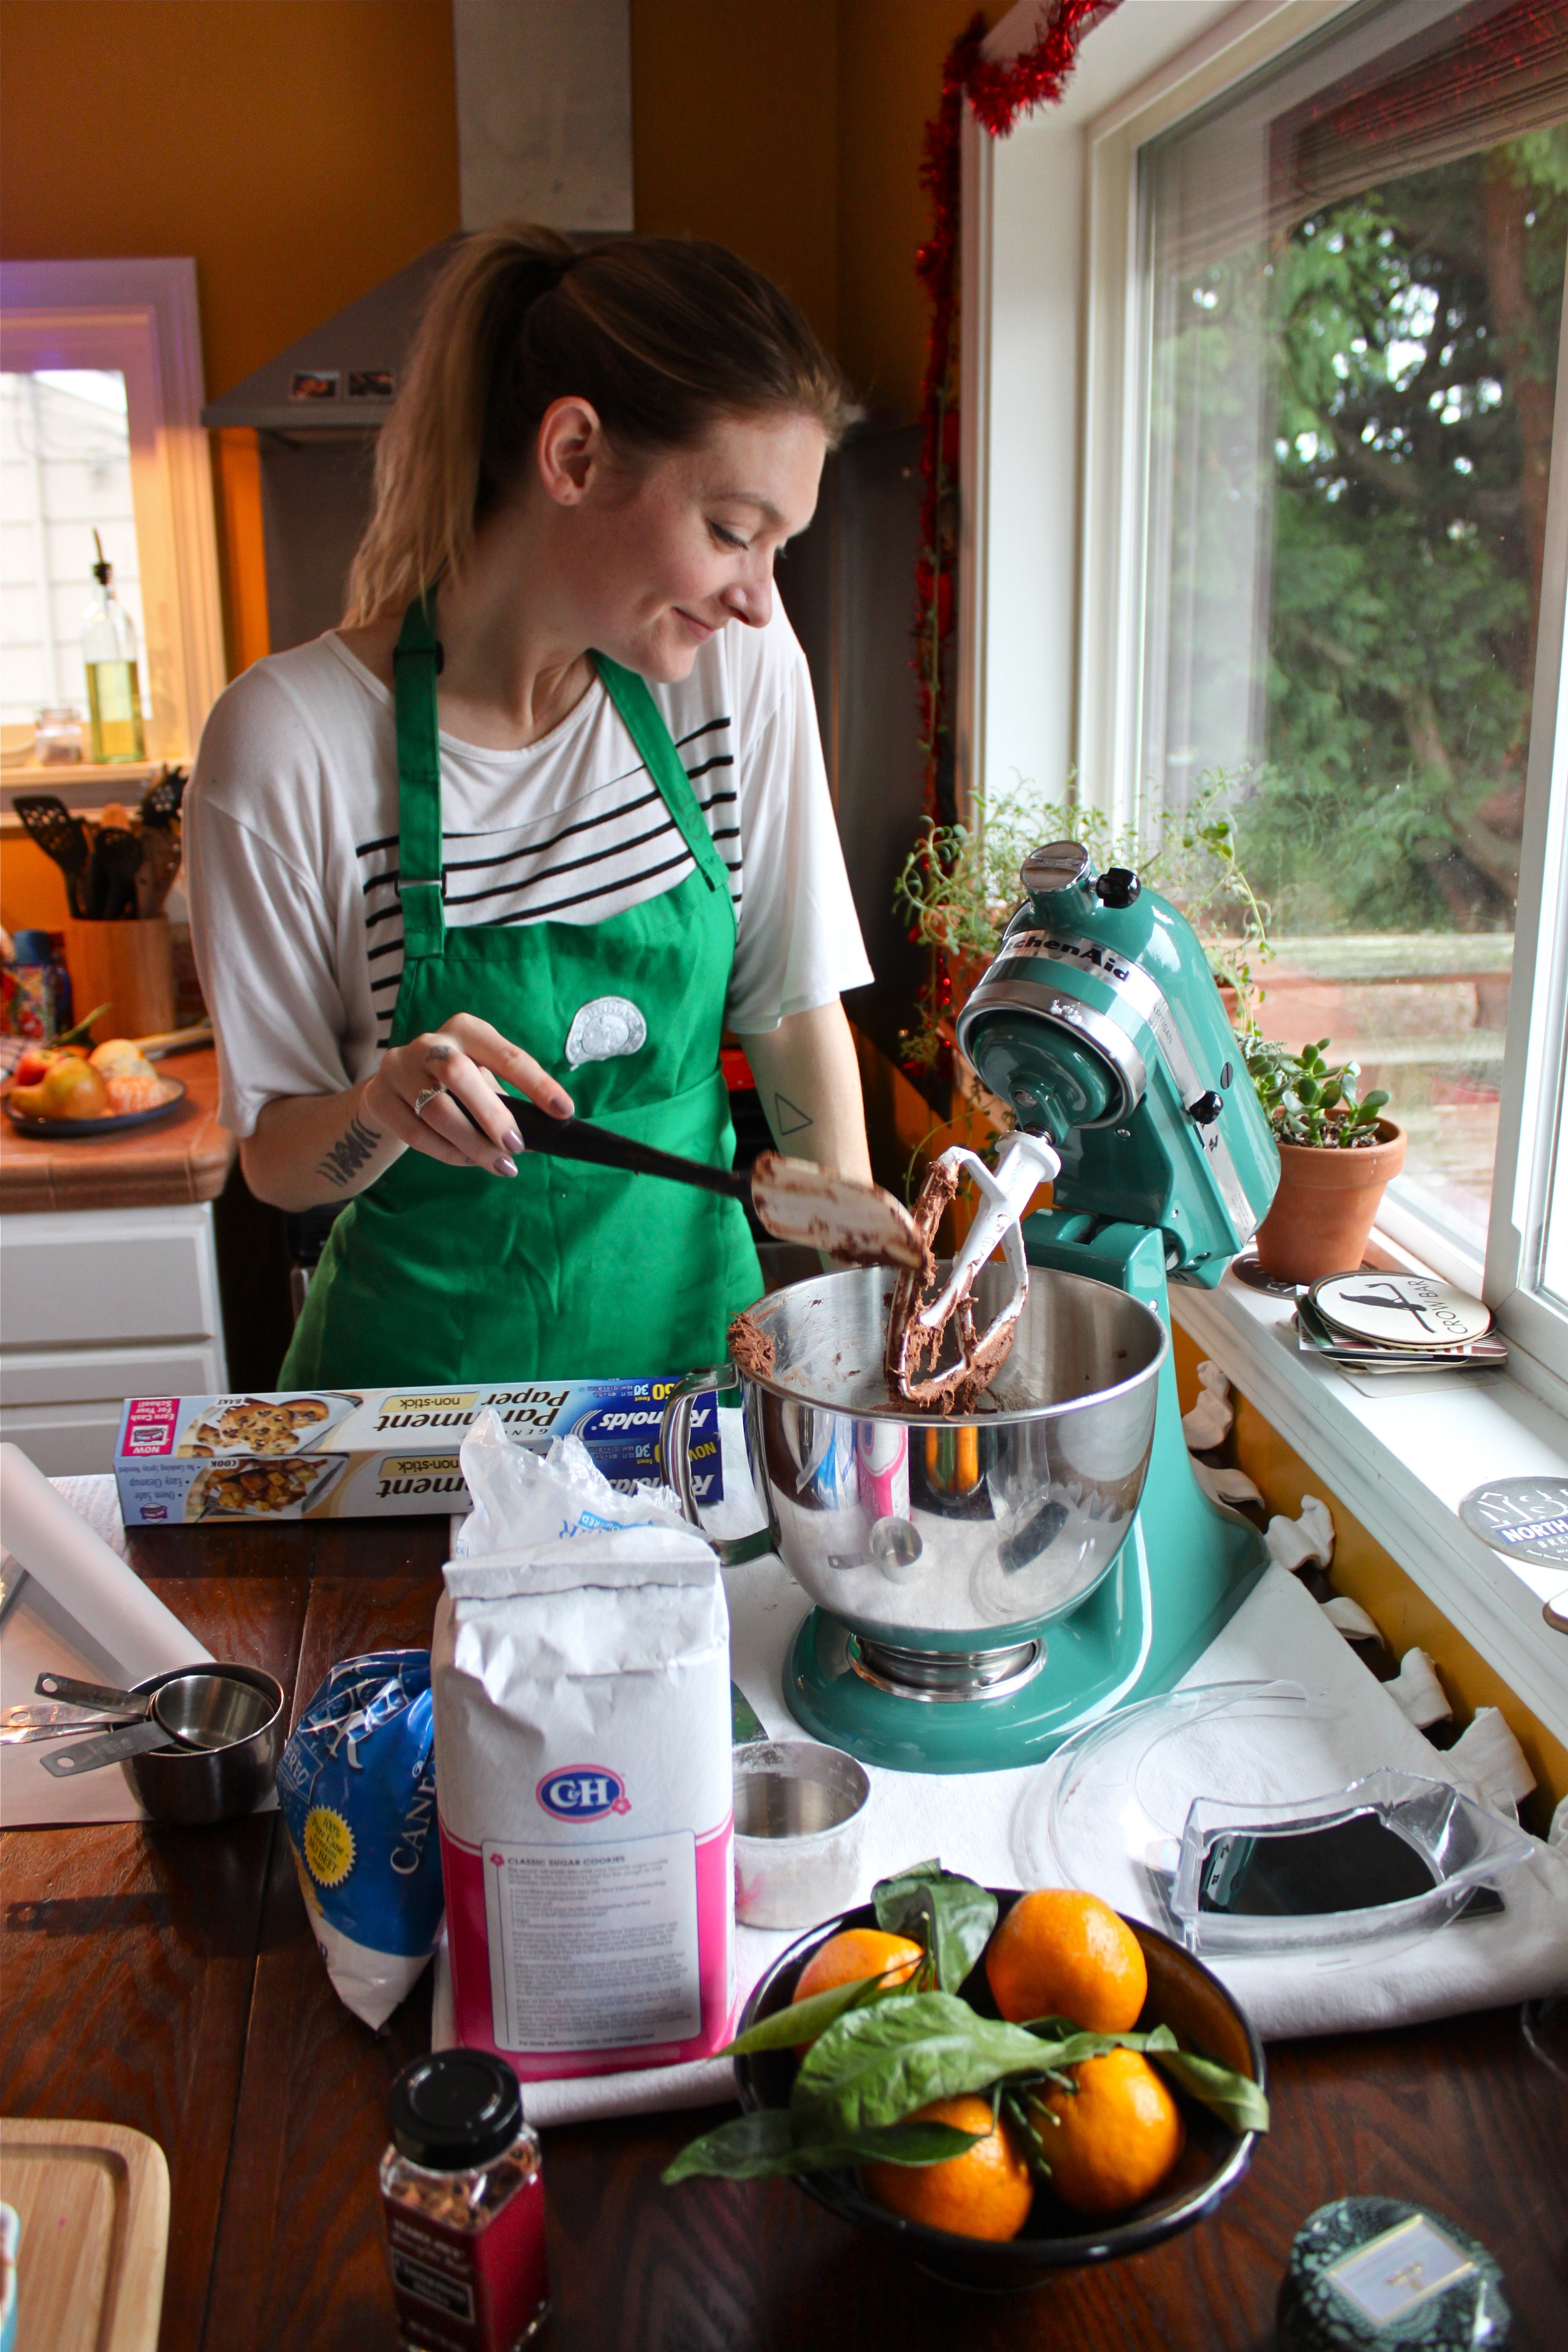
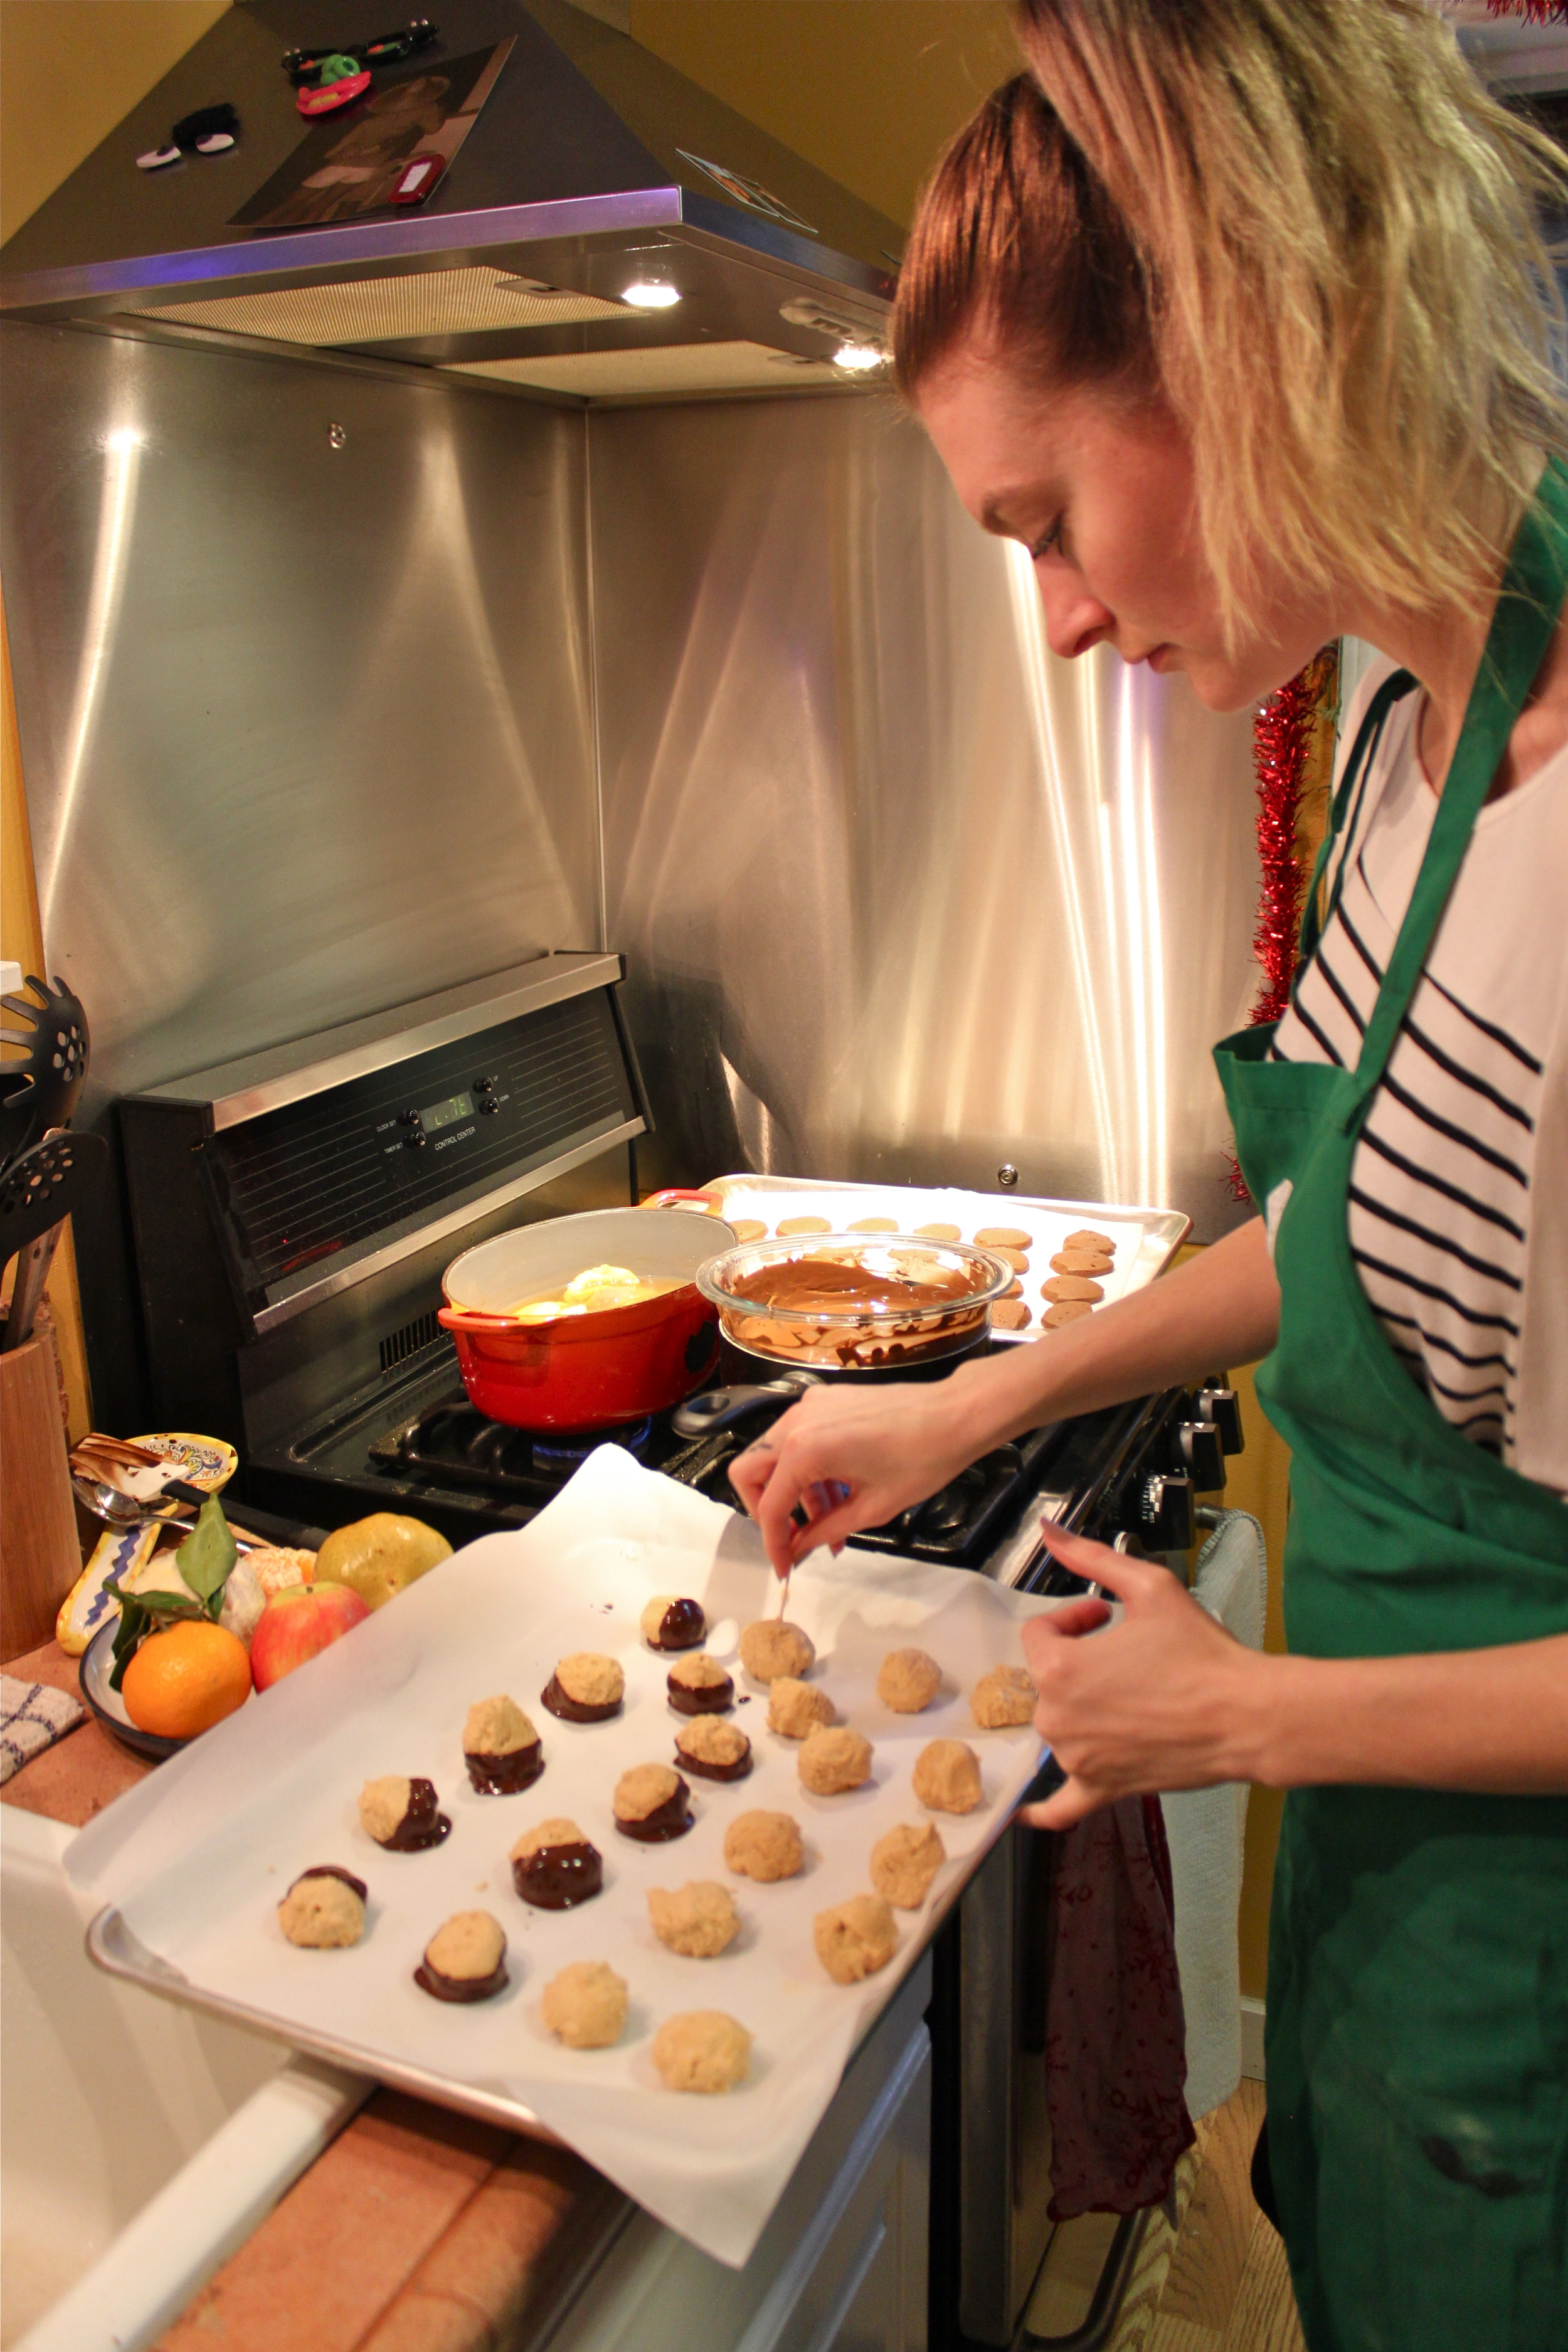
here's cutie patootie sara in my teeny kitchen wearing my old starbucks apron, which used to be my standard everyday outfit for about four years of my life.
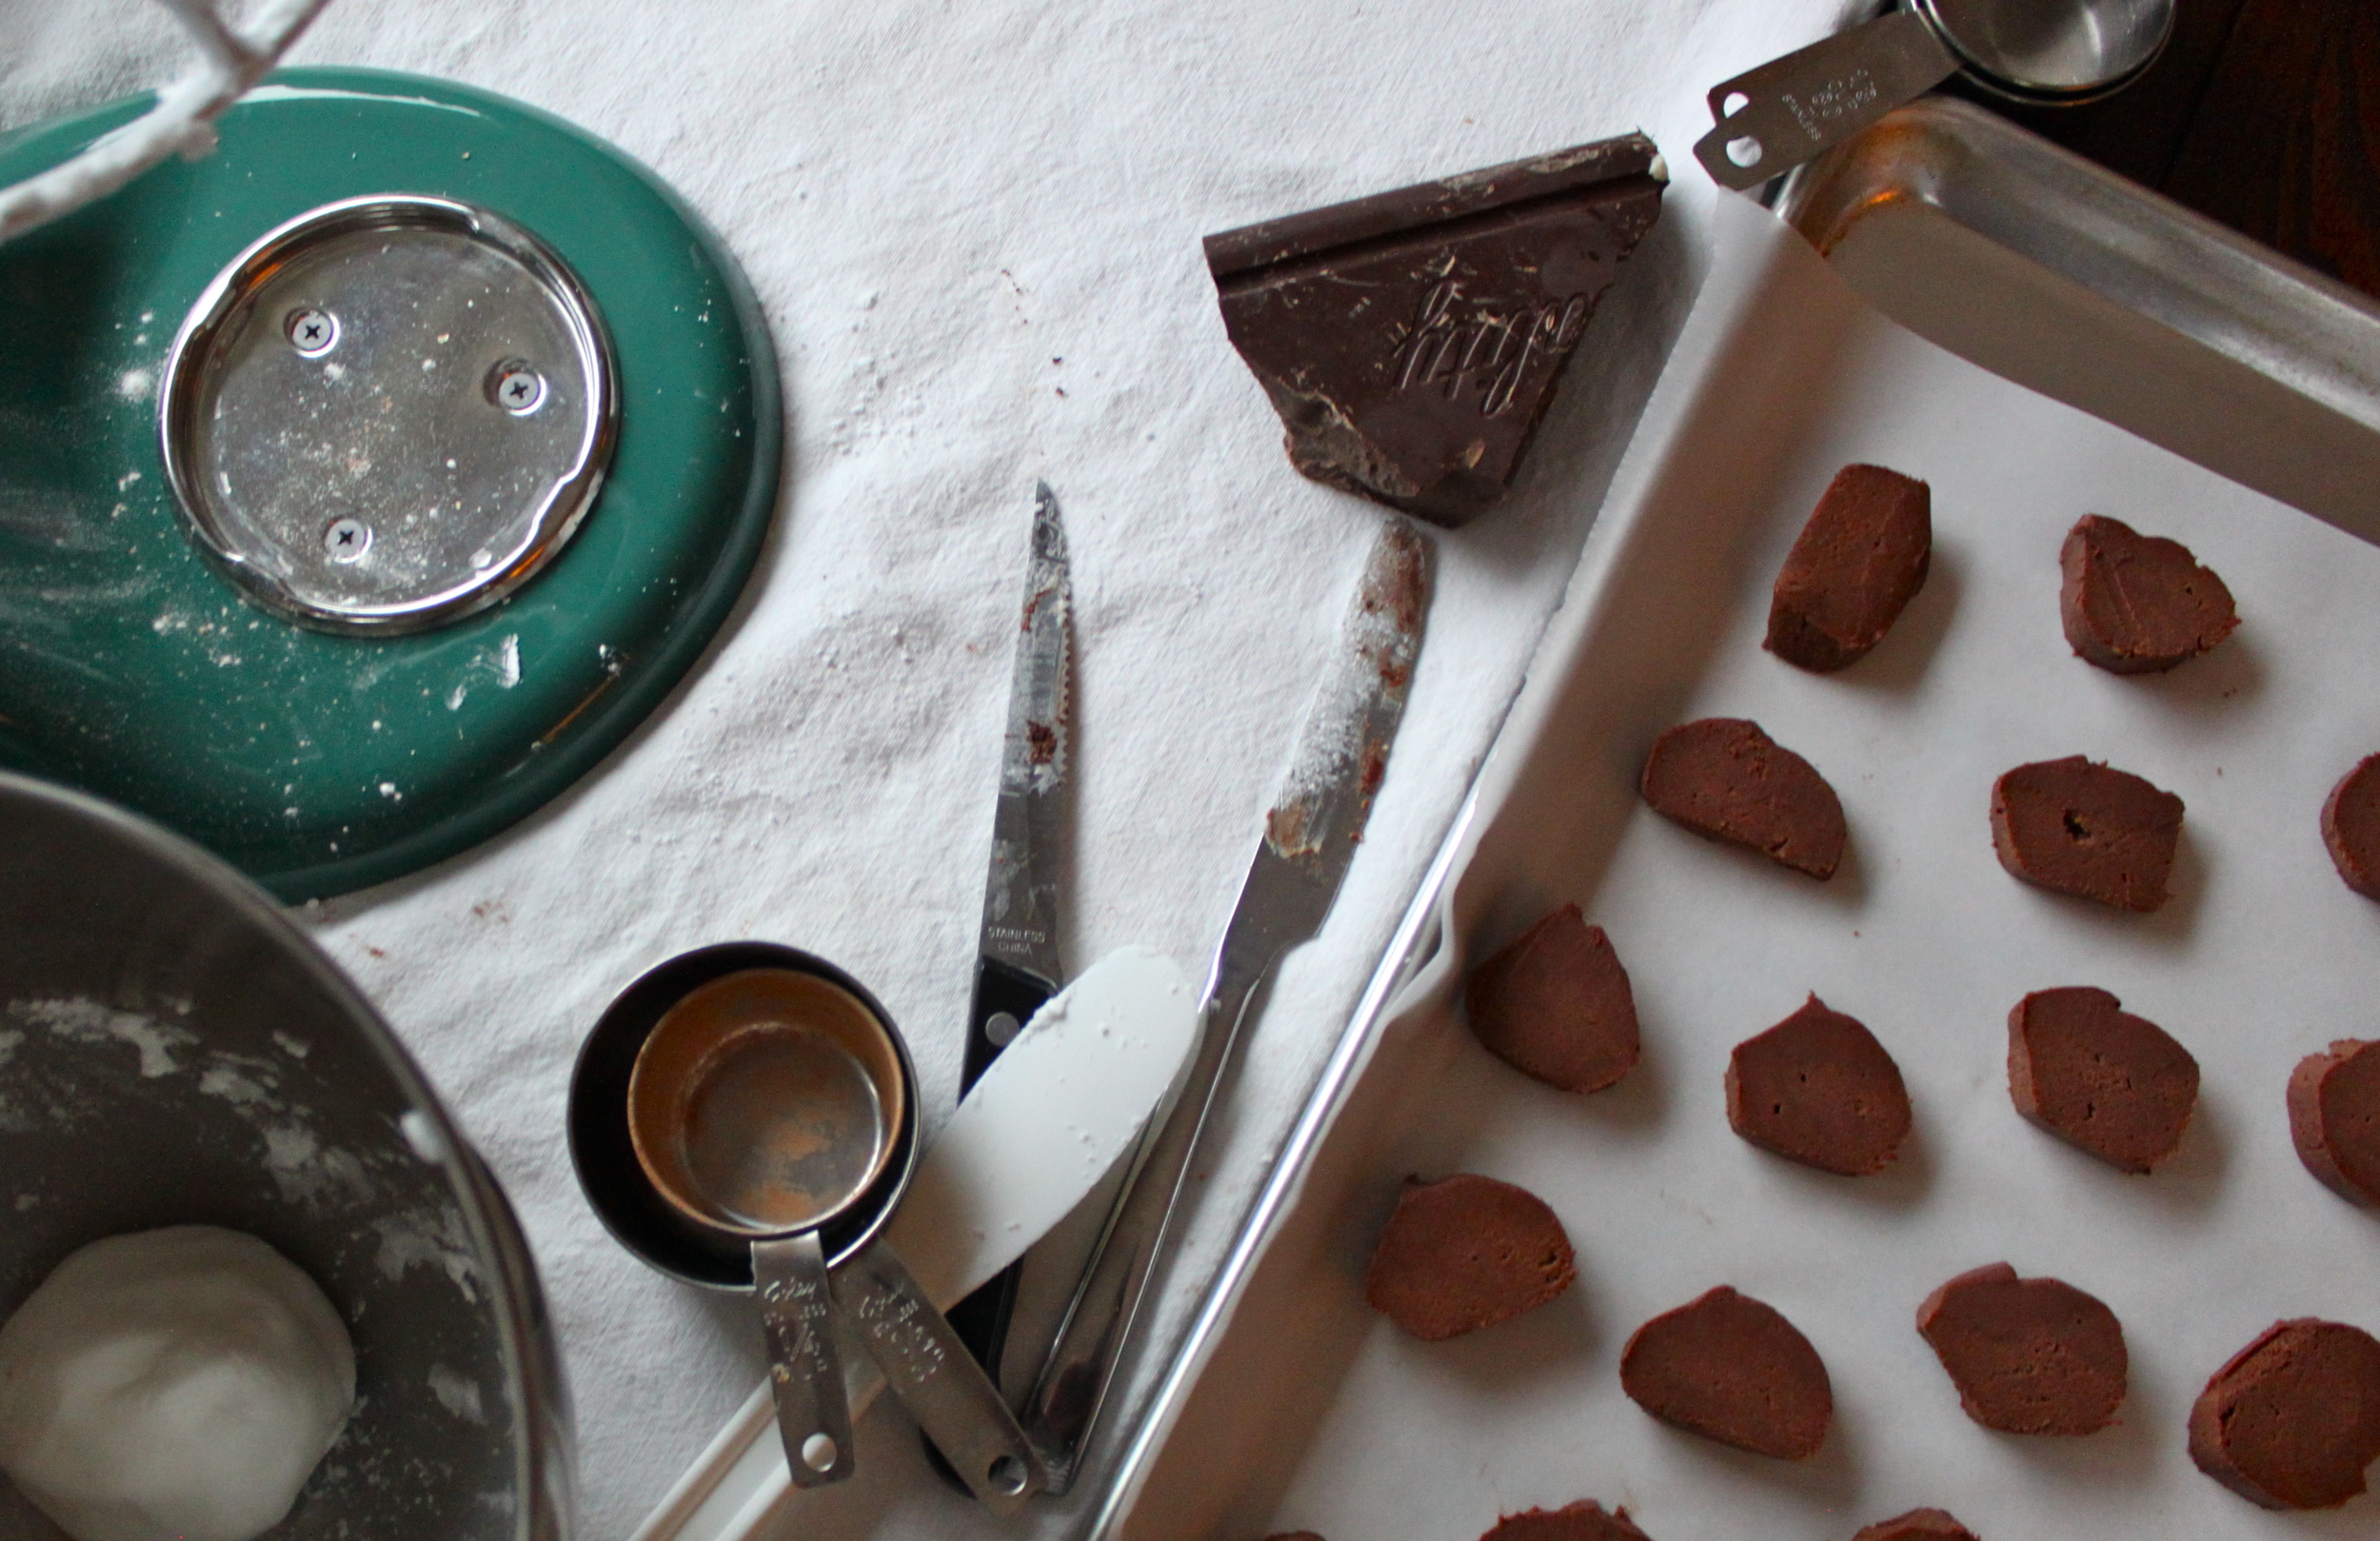
she's whipping up the chocolate cookies that we used to make these thin mints. SOO YUMMY*! we were proud.
*i just now noticed that we made the thin mints differently than the recipe said. we were wondering why they called for 1/2 inch thick cookies. we were like, "oh we are so smart, good thing we noticed this obvious error!!!" haha, turns out we were not paying close attention to what their final product looked like. oh well, either method would work just great!
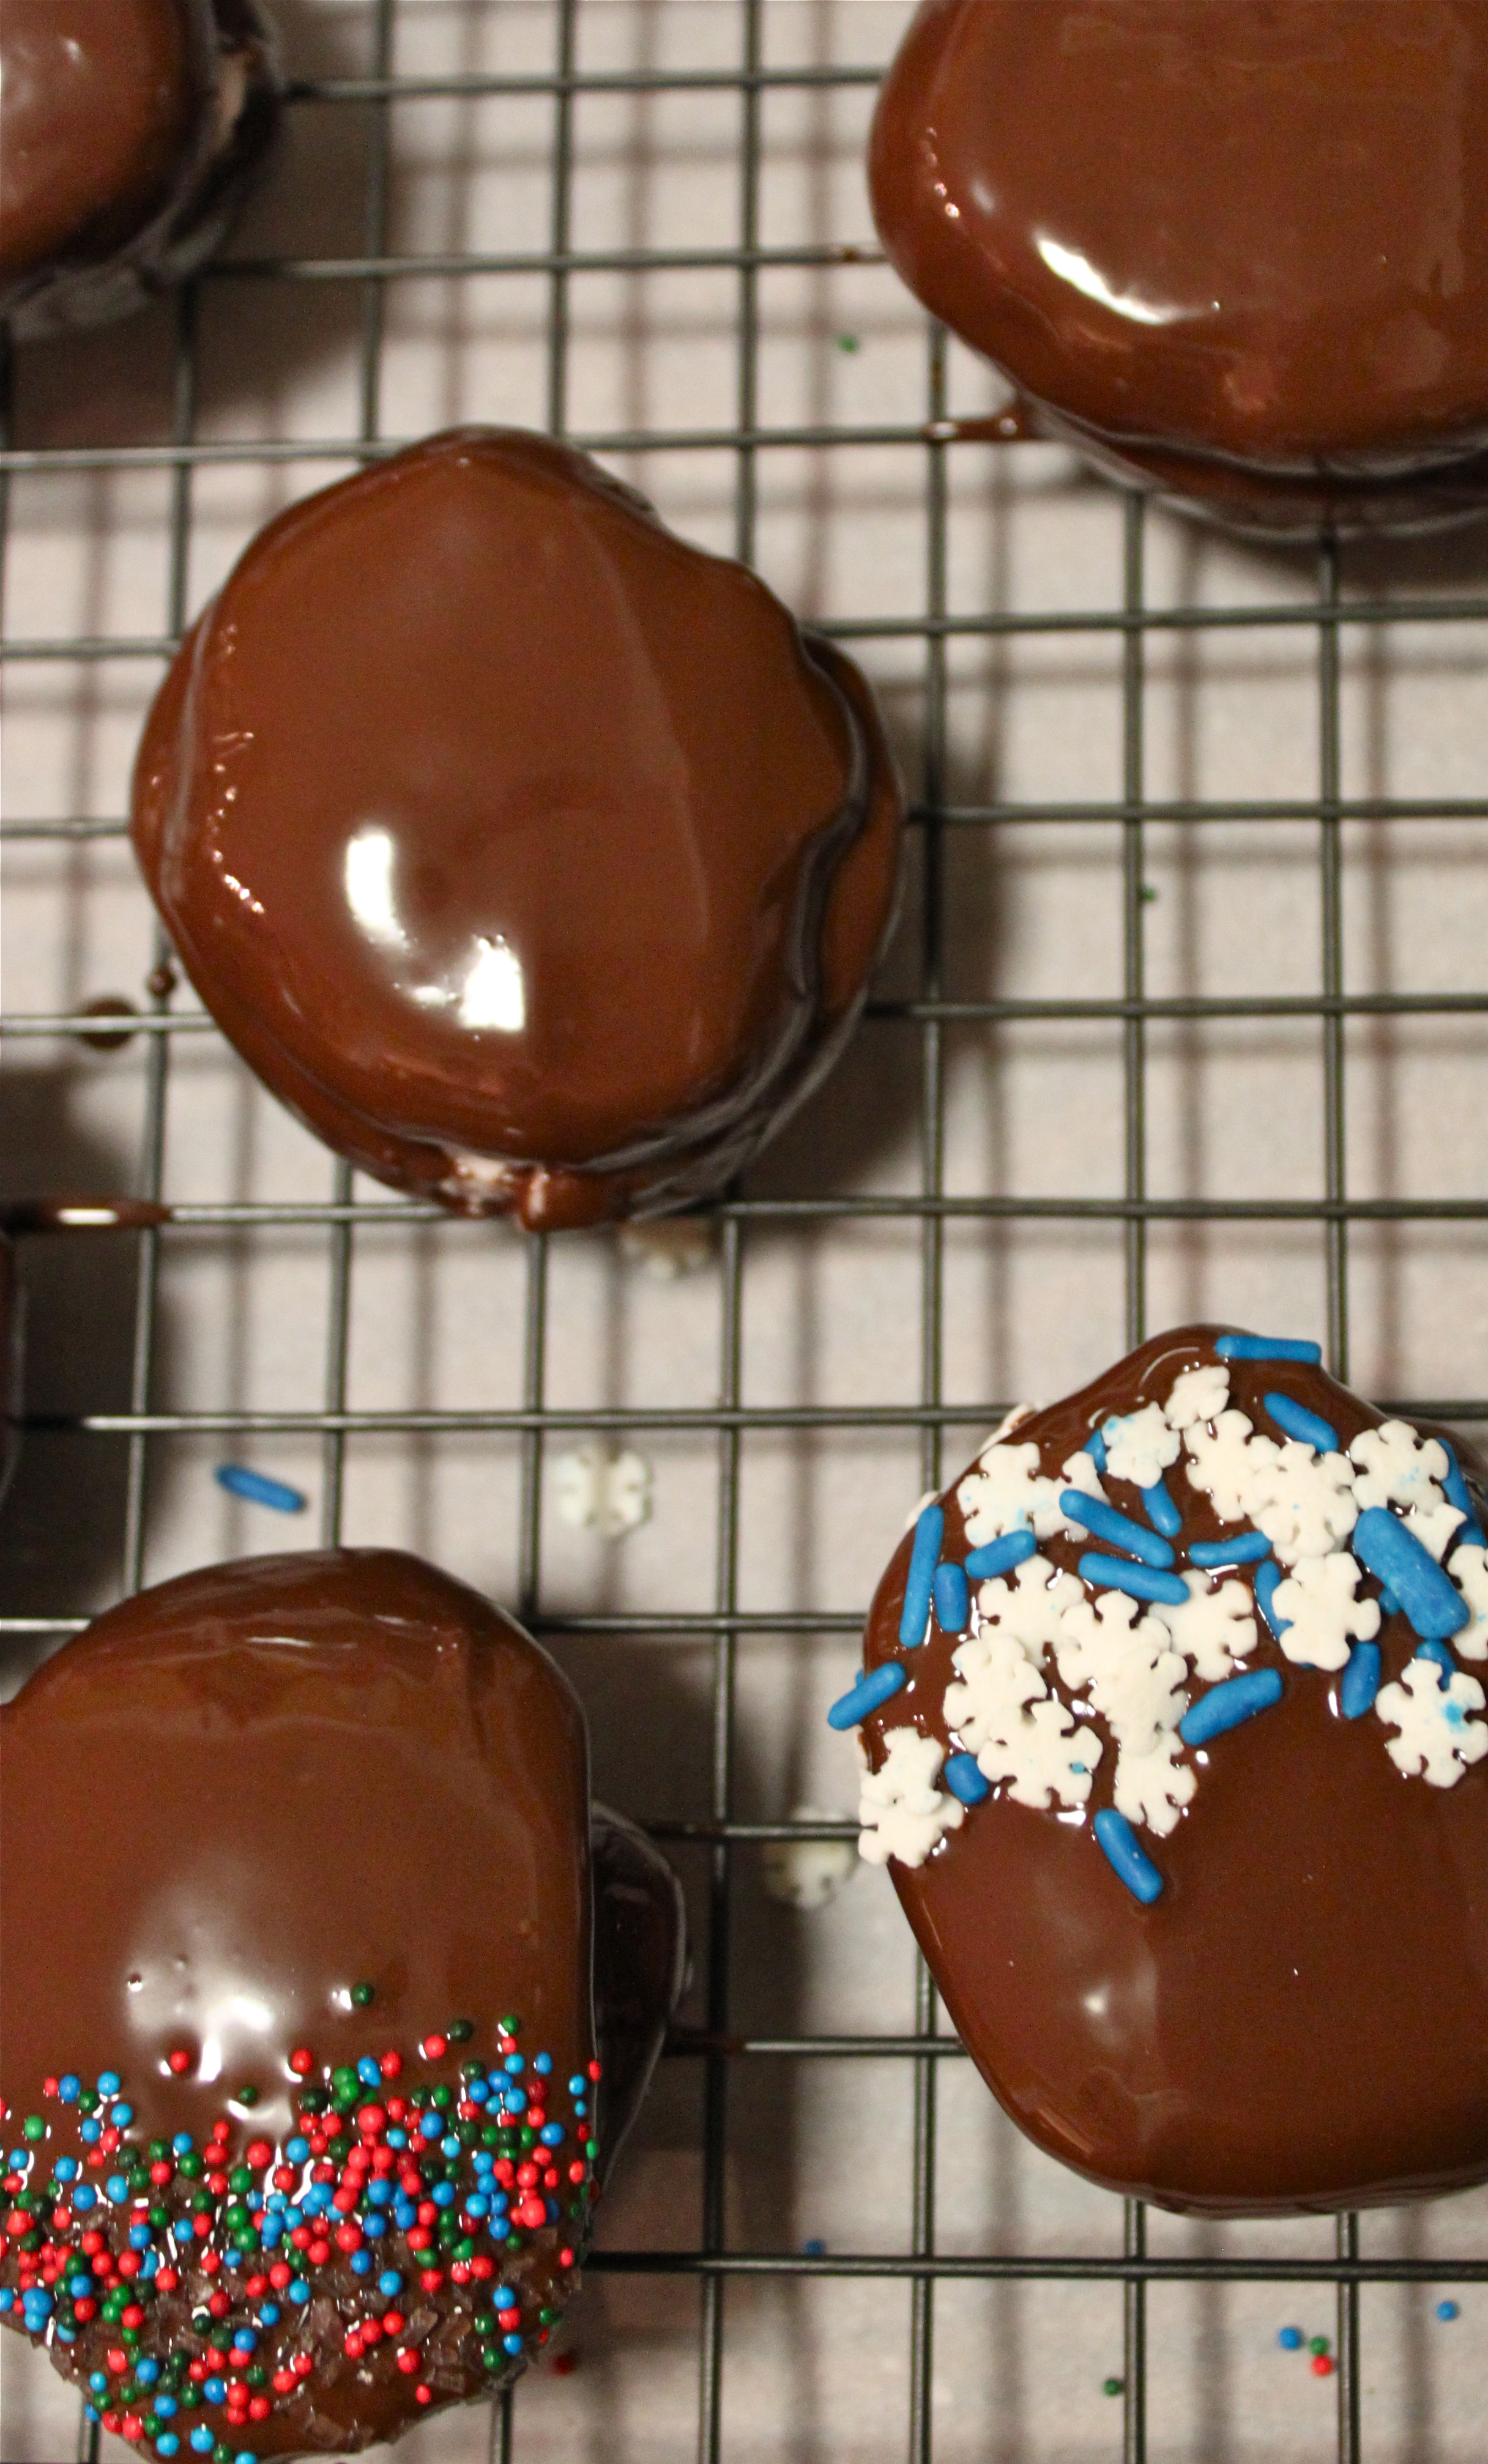
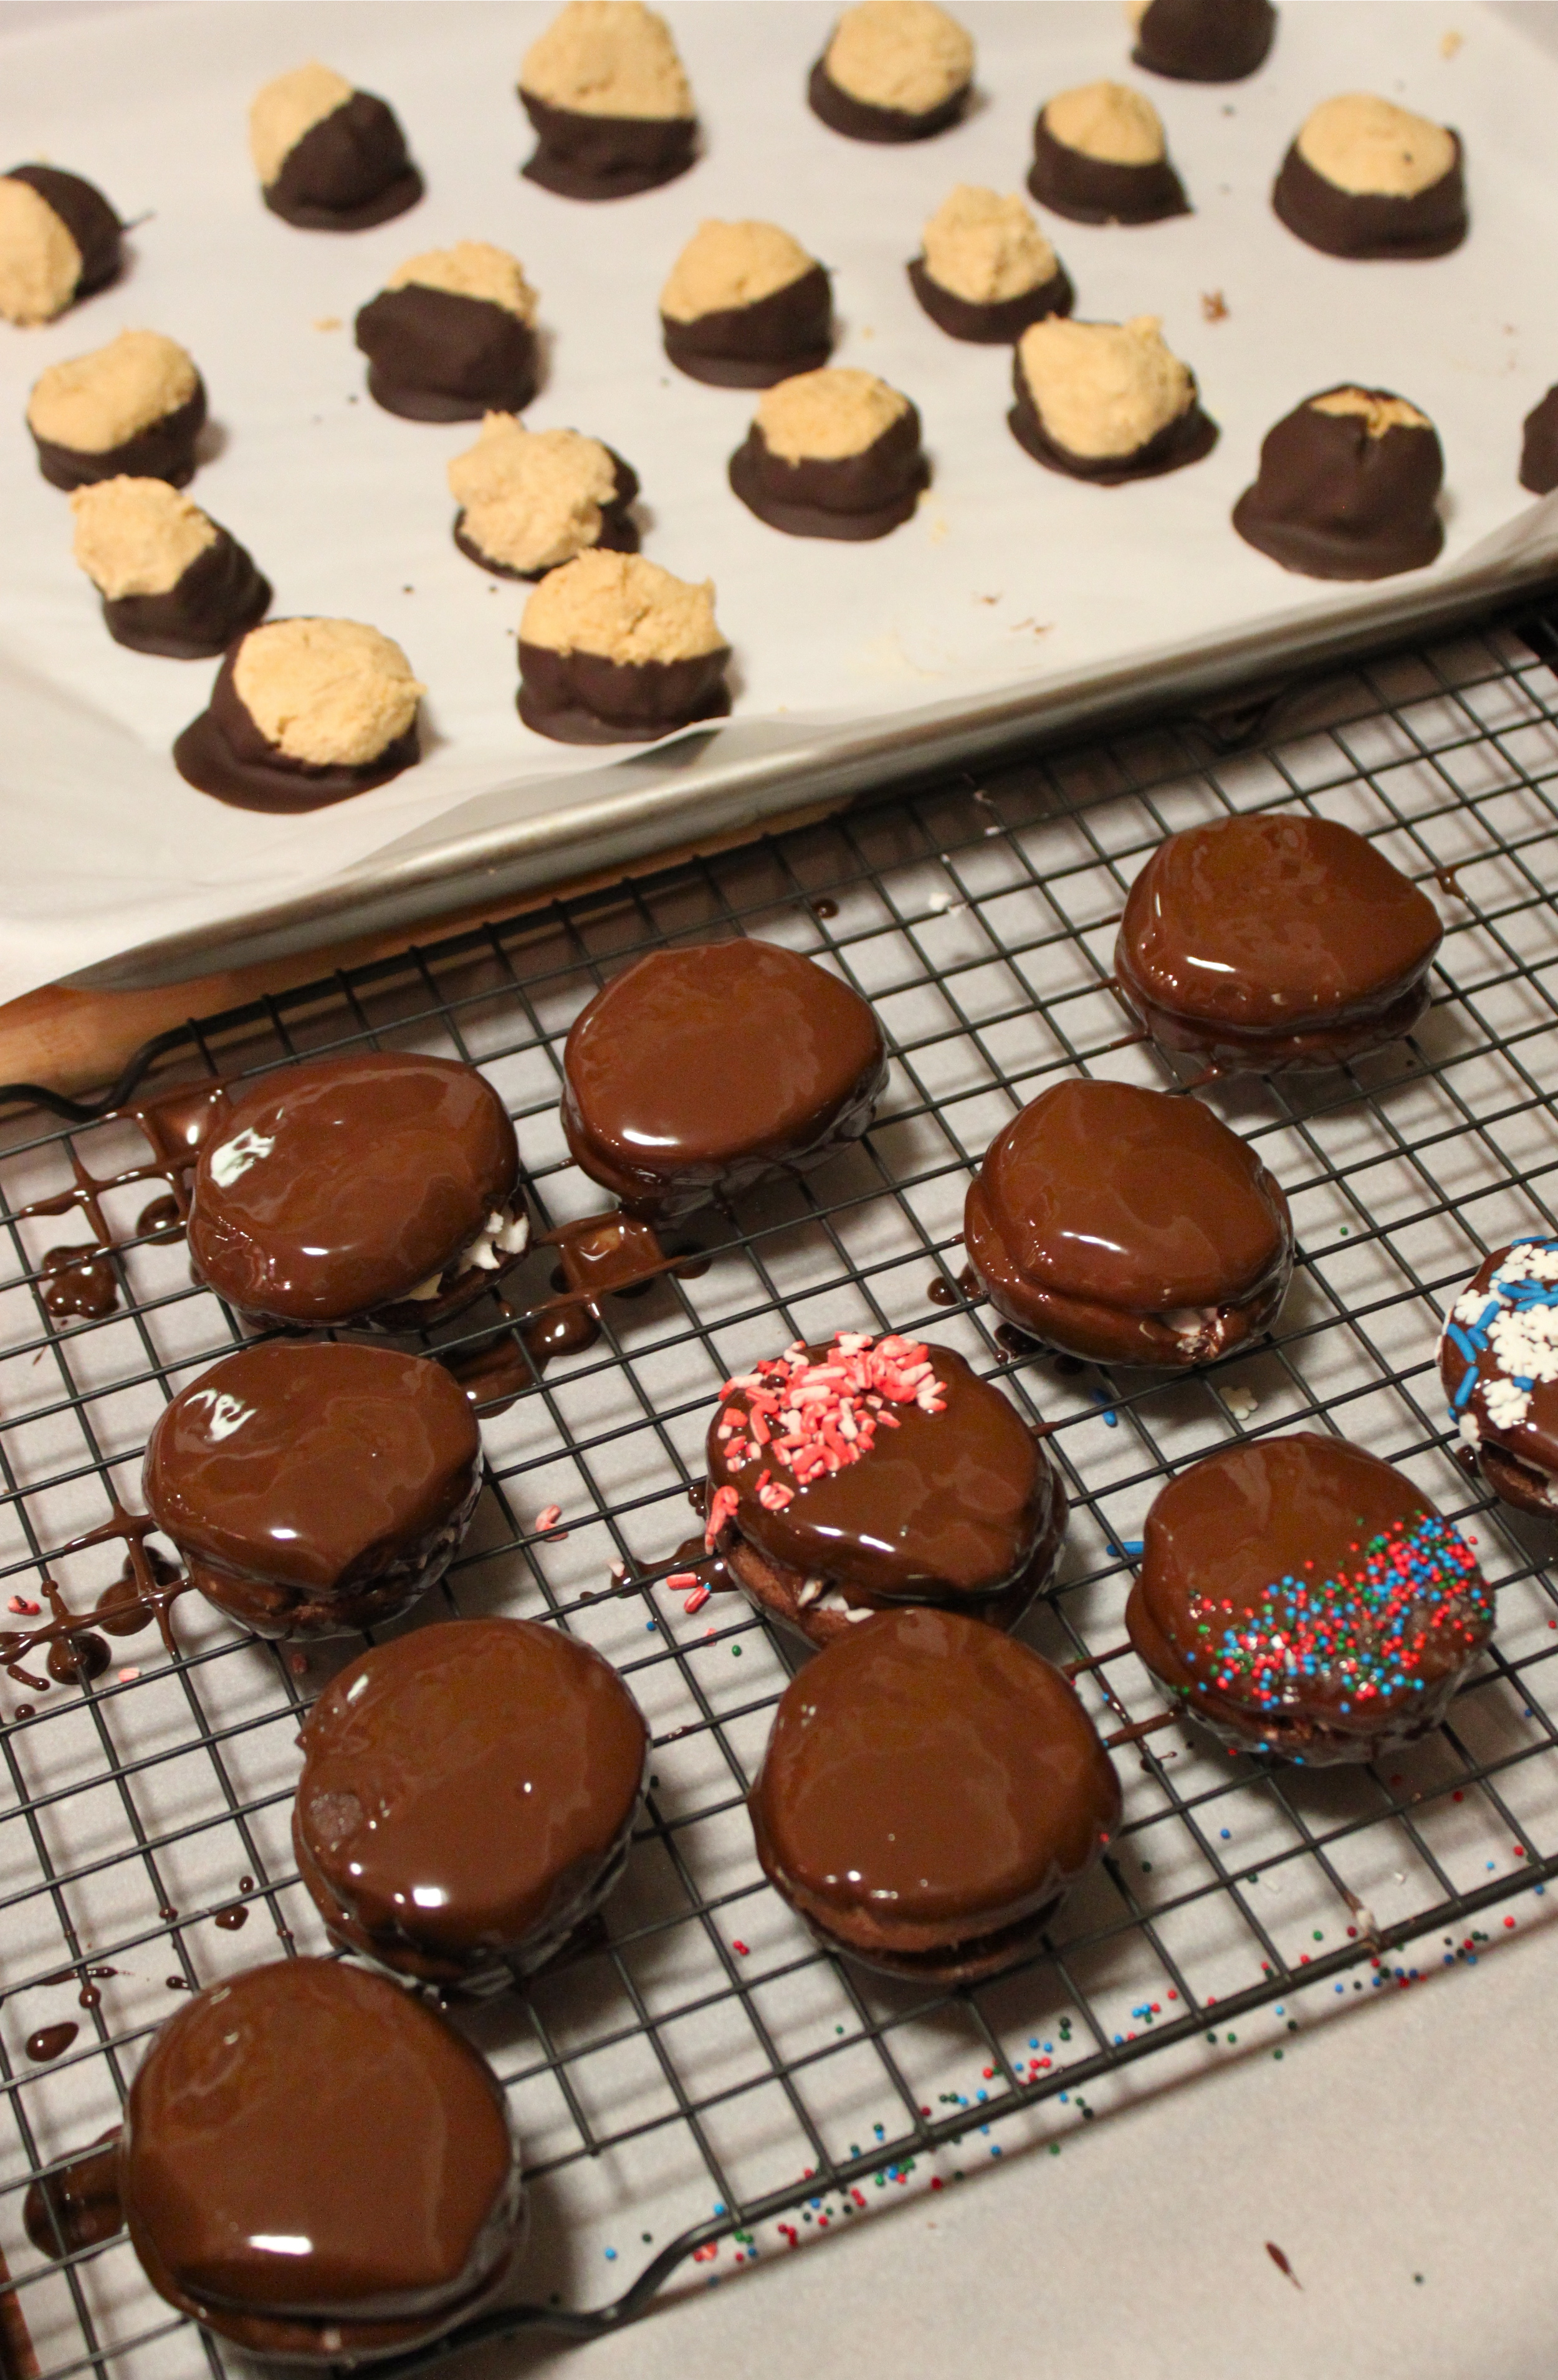
we ended up cutting the cookies into 1/4 inch rounds and making a sandwich with the mint frosting in between before dipping in the melted chocolate. the recipe calls for a thicker cookie spread with a layer of the mint frosting, then dipped in chocolate. ohhhhhh.
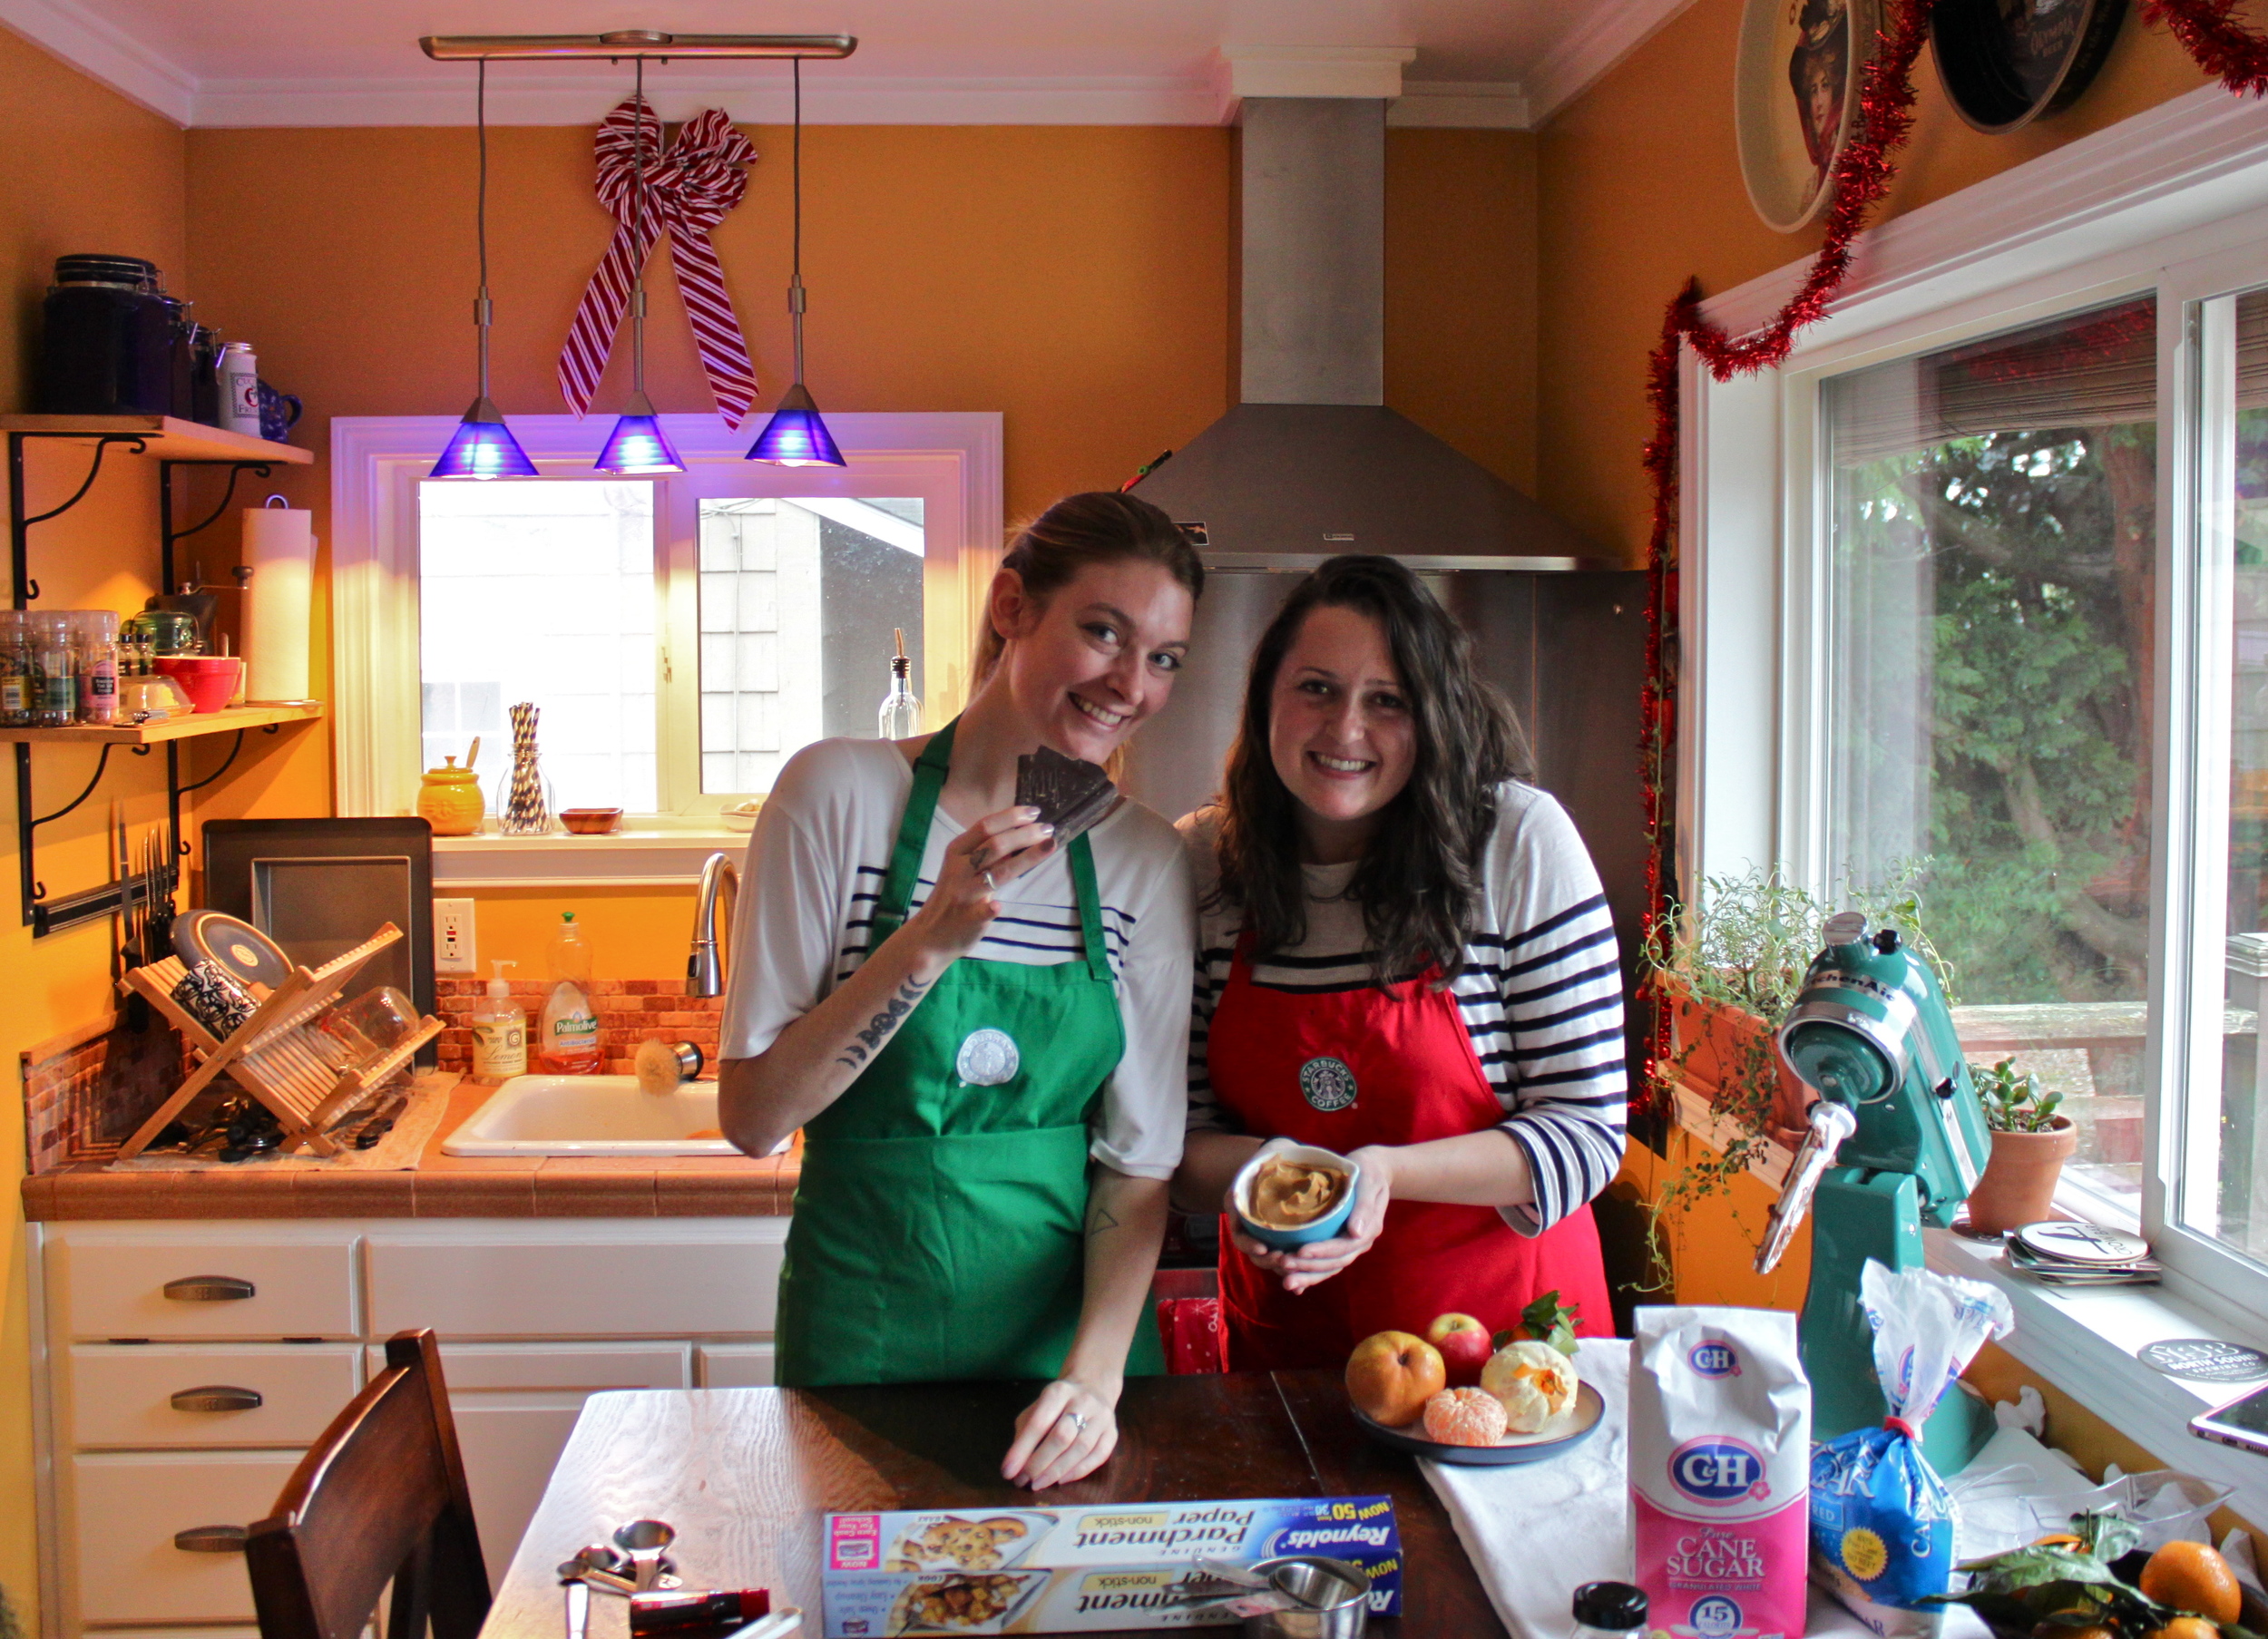
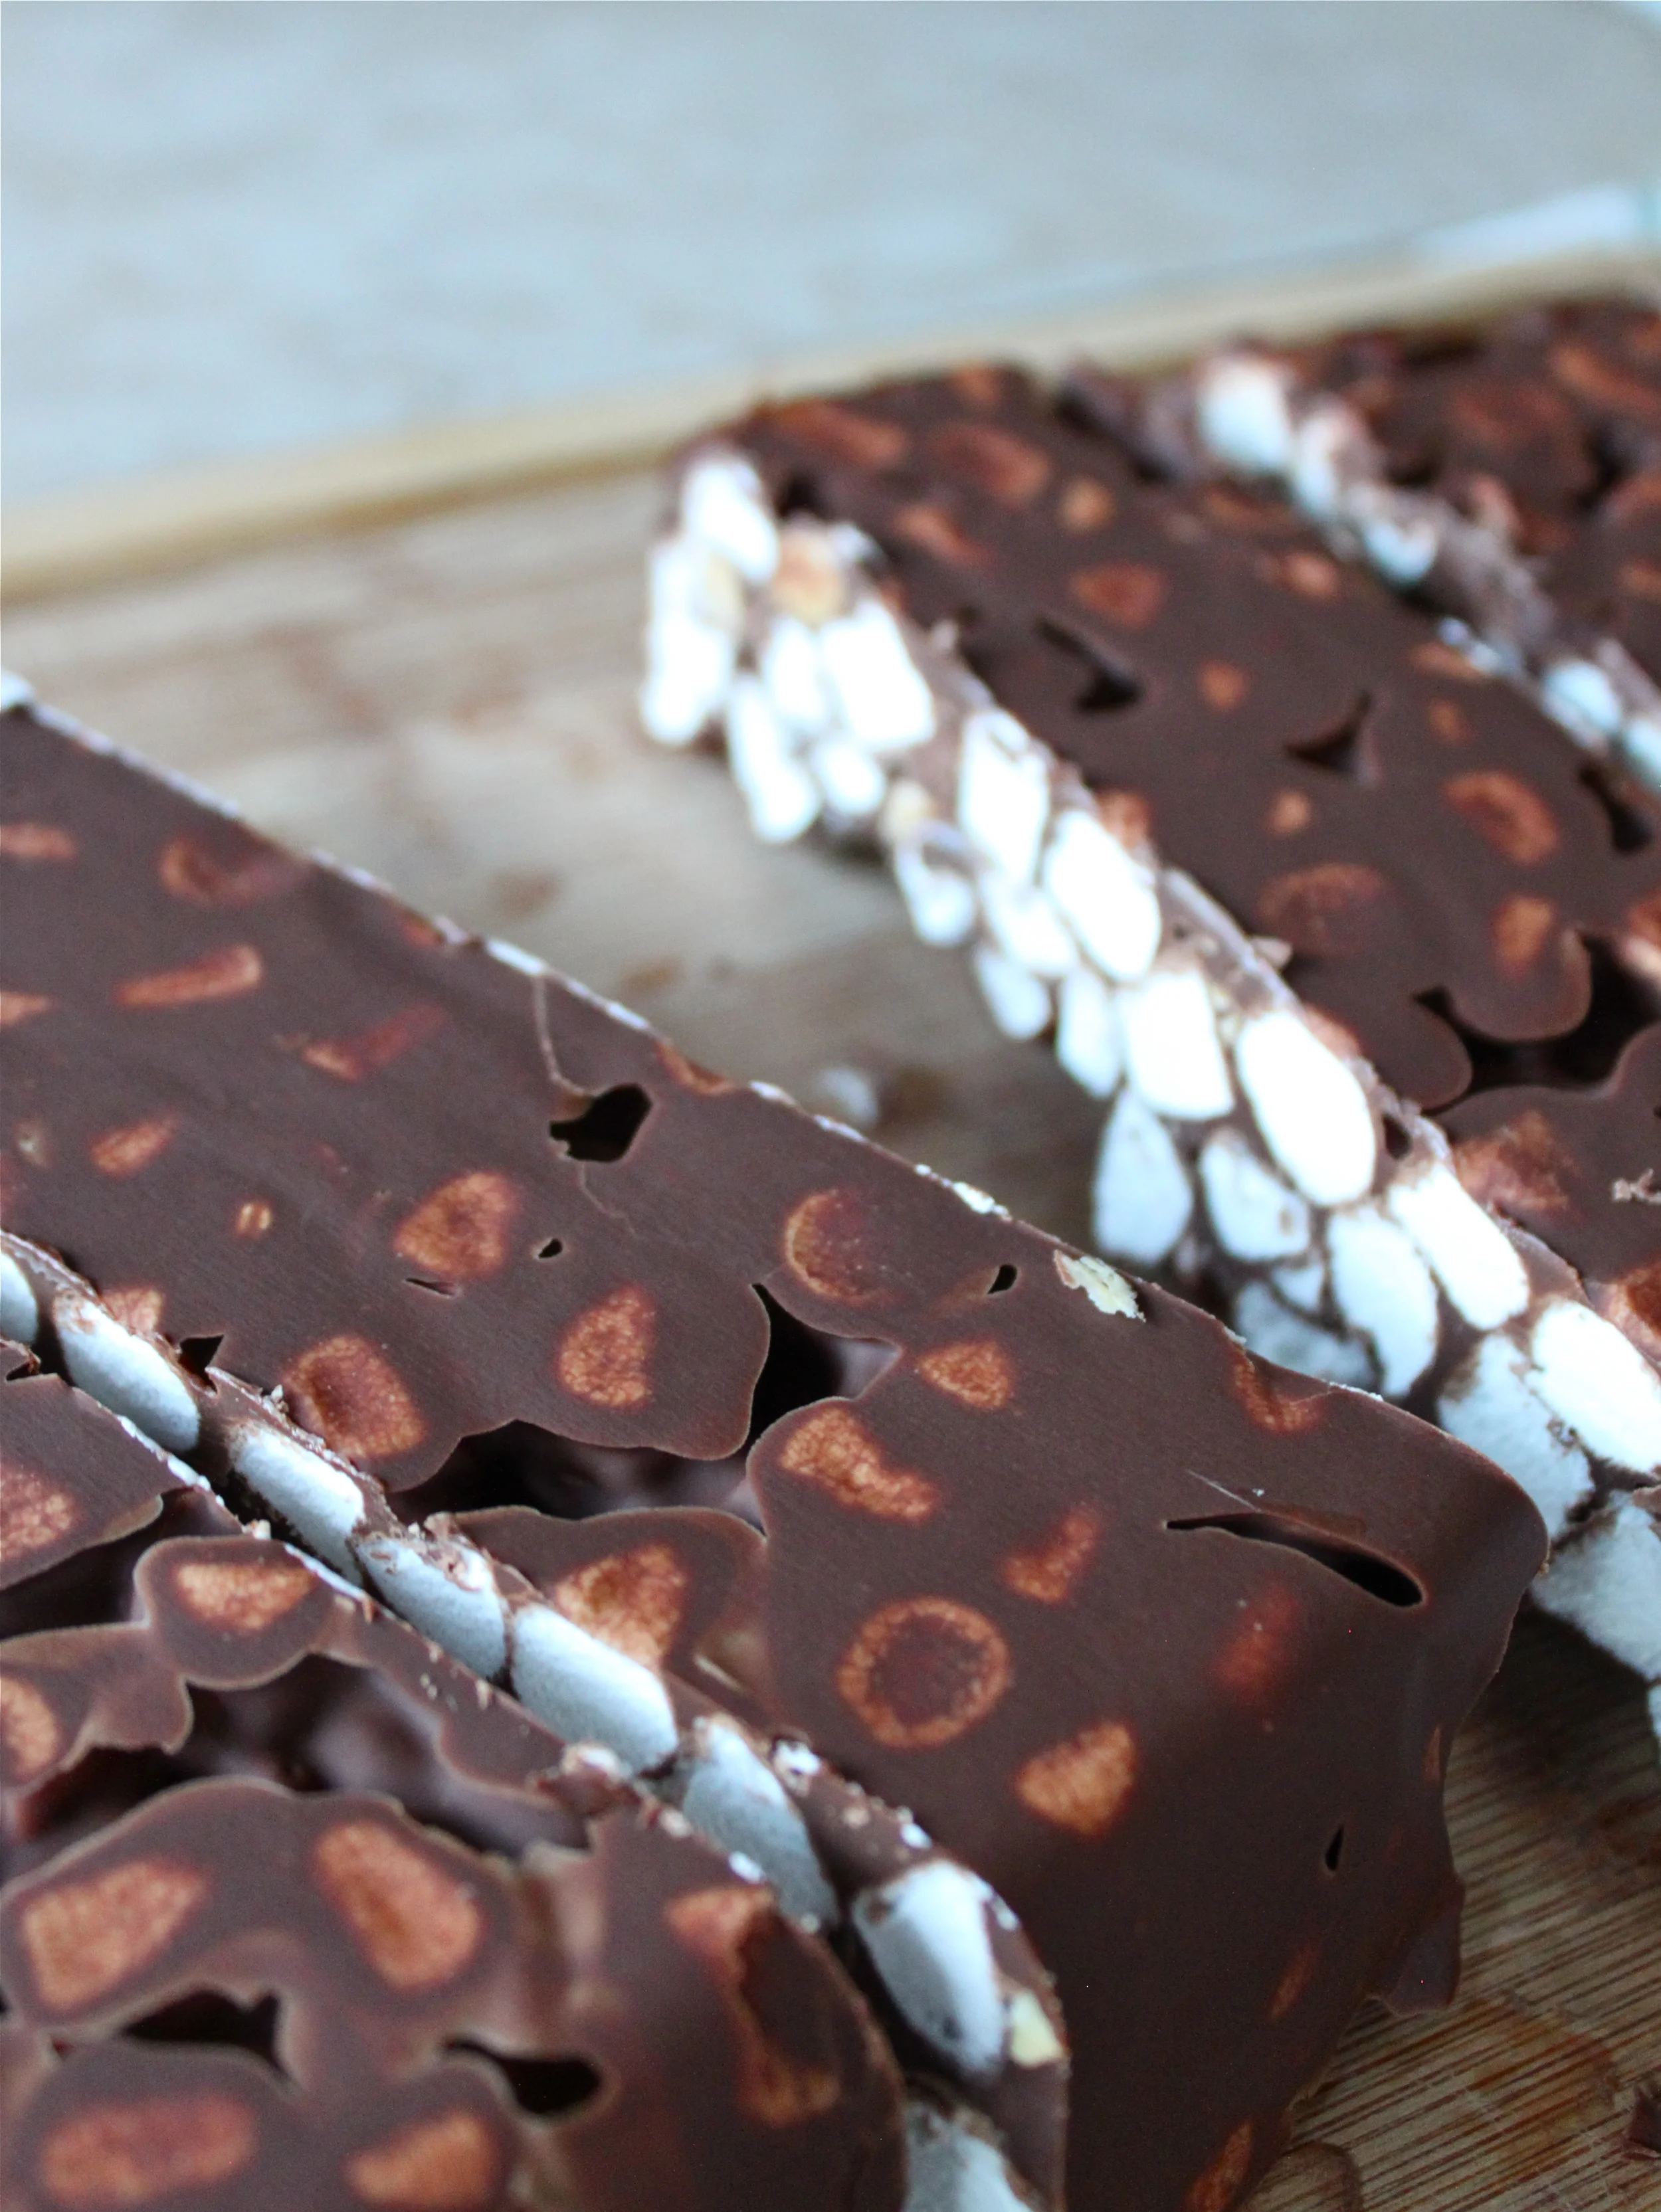
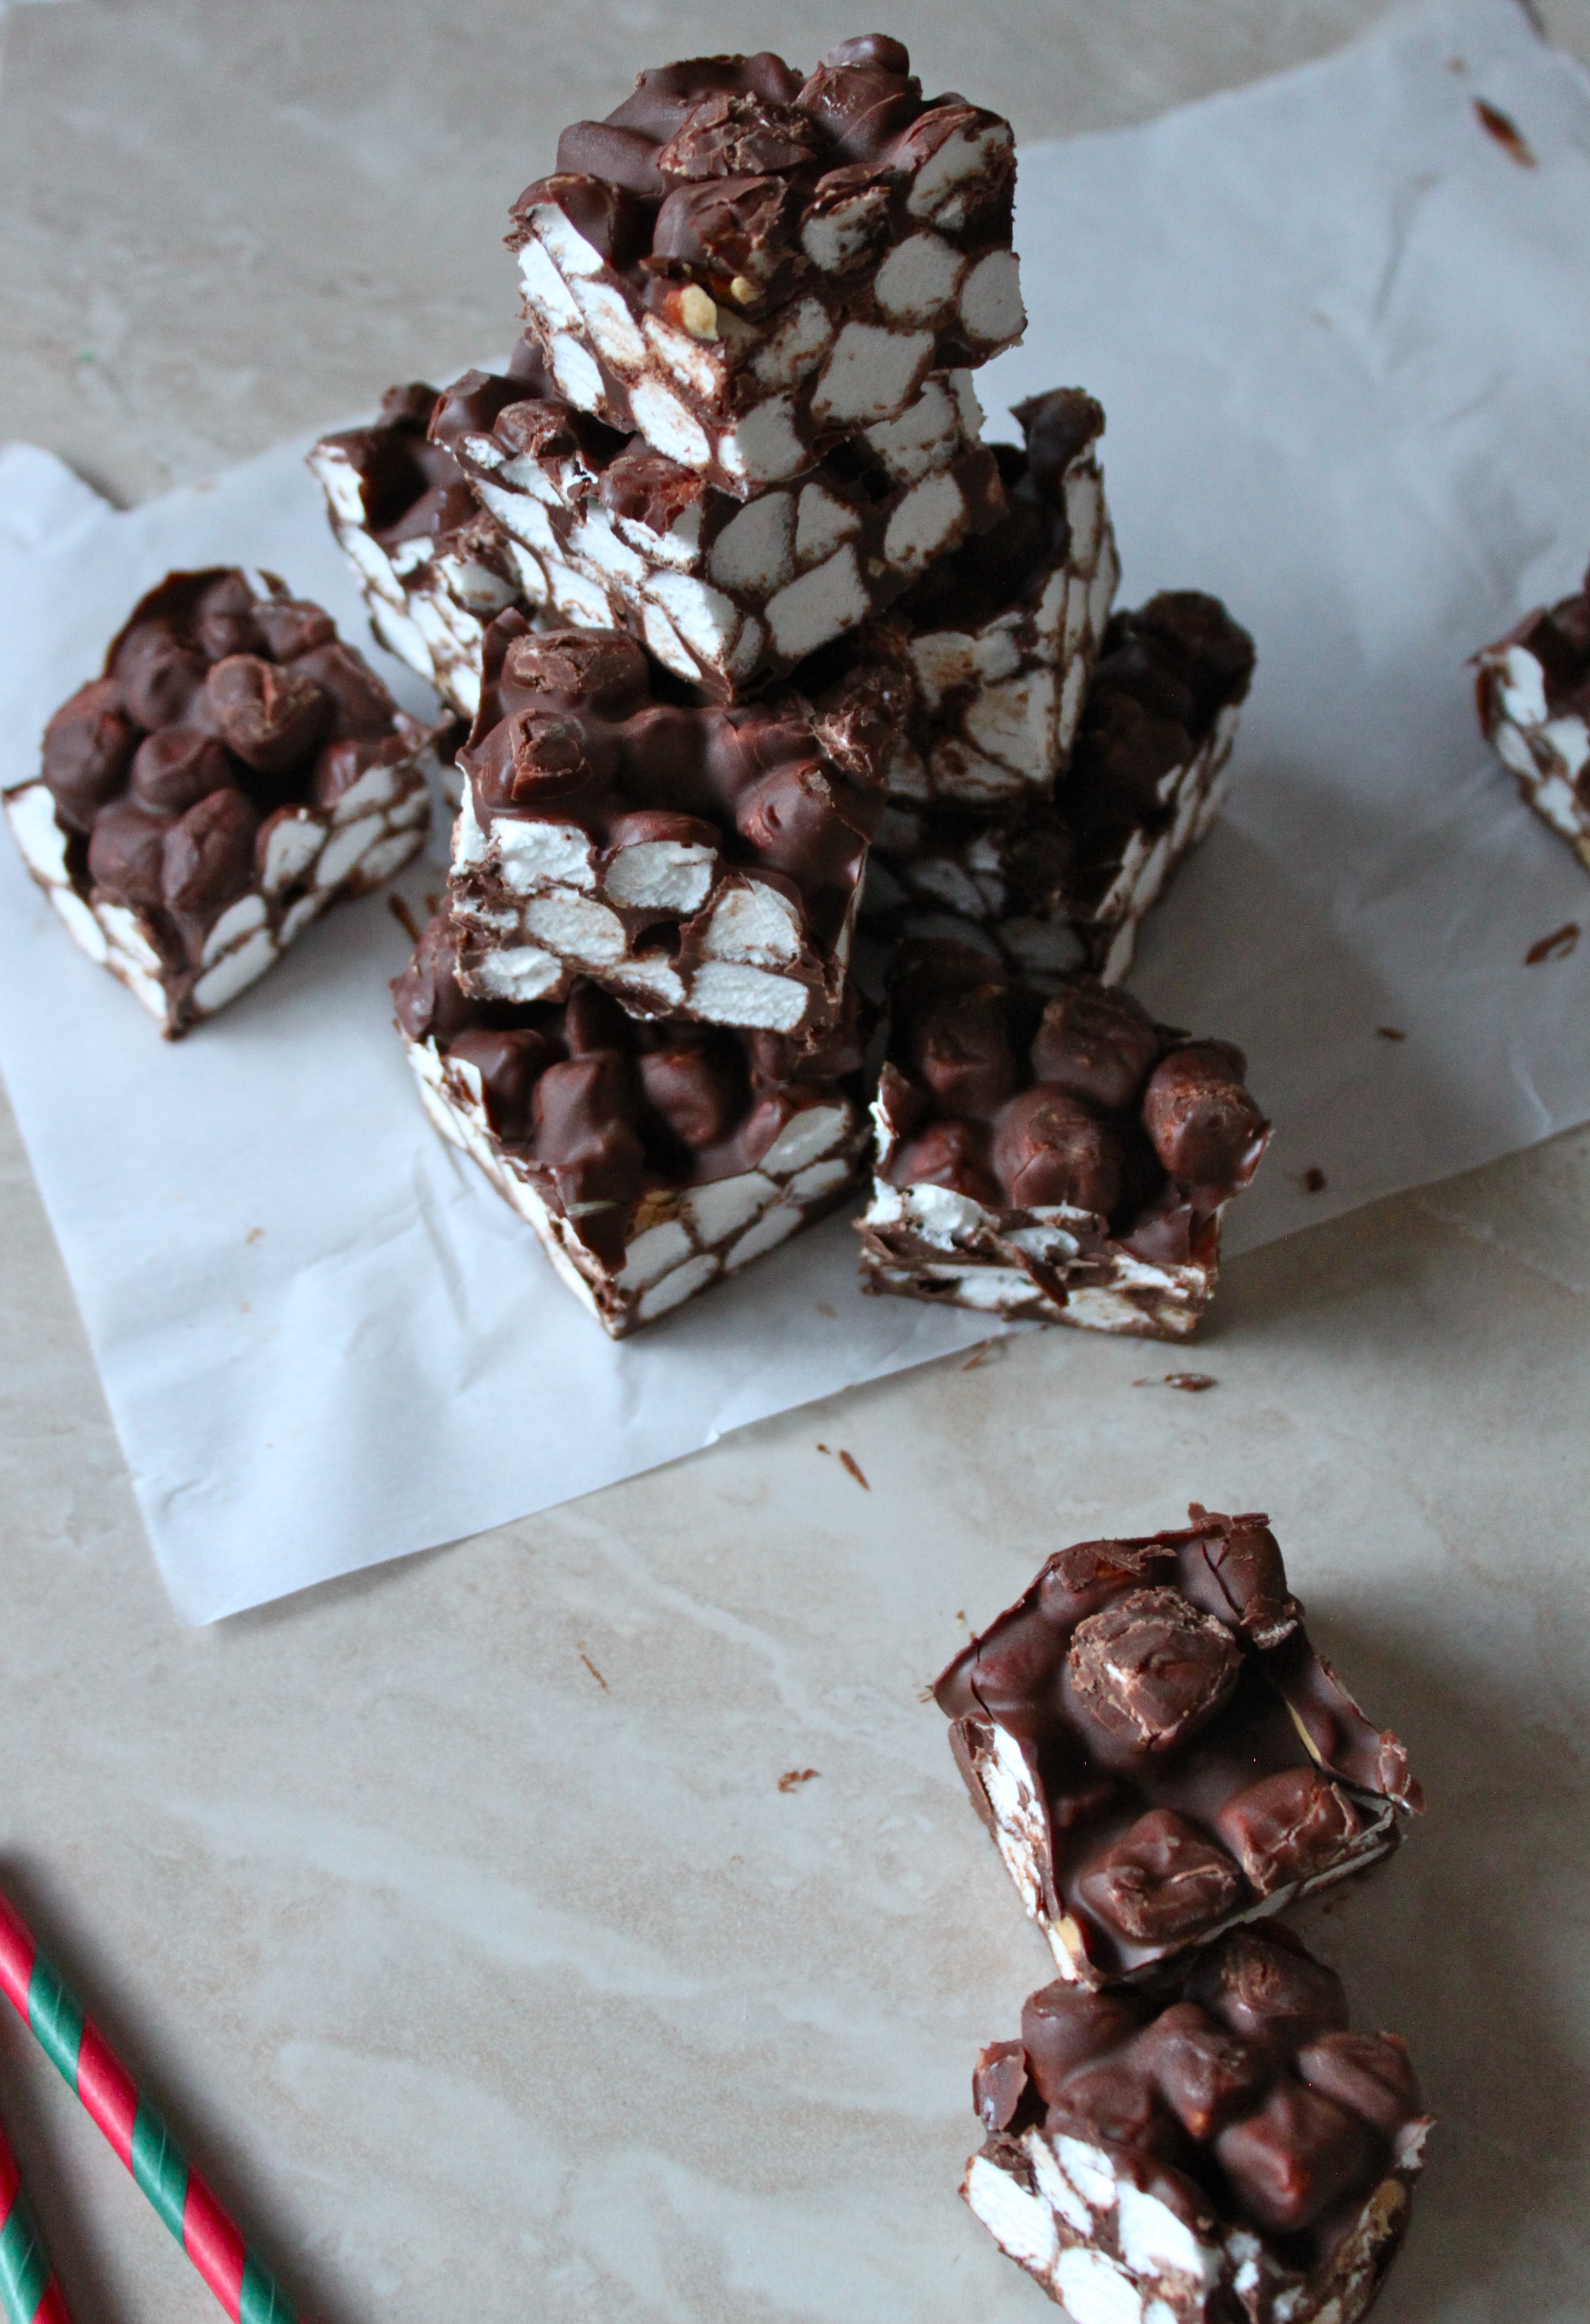
while the cookies for the thin mints baked, we made peanut butter balls*. a classic holiday treat in my mind! didn't plan on both wearing black and white stripes that day. we topped our matchy-ness off with red & green aprons for each of us (my old manager from starbucks will probably shake his fist at the screen if he sees this. tsk tsk, quinn!). ho ho ho, charles!
*we used a recipe from joy the baker. looks like her site is getting a make-over at the moment. will link the recipe we used later!
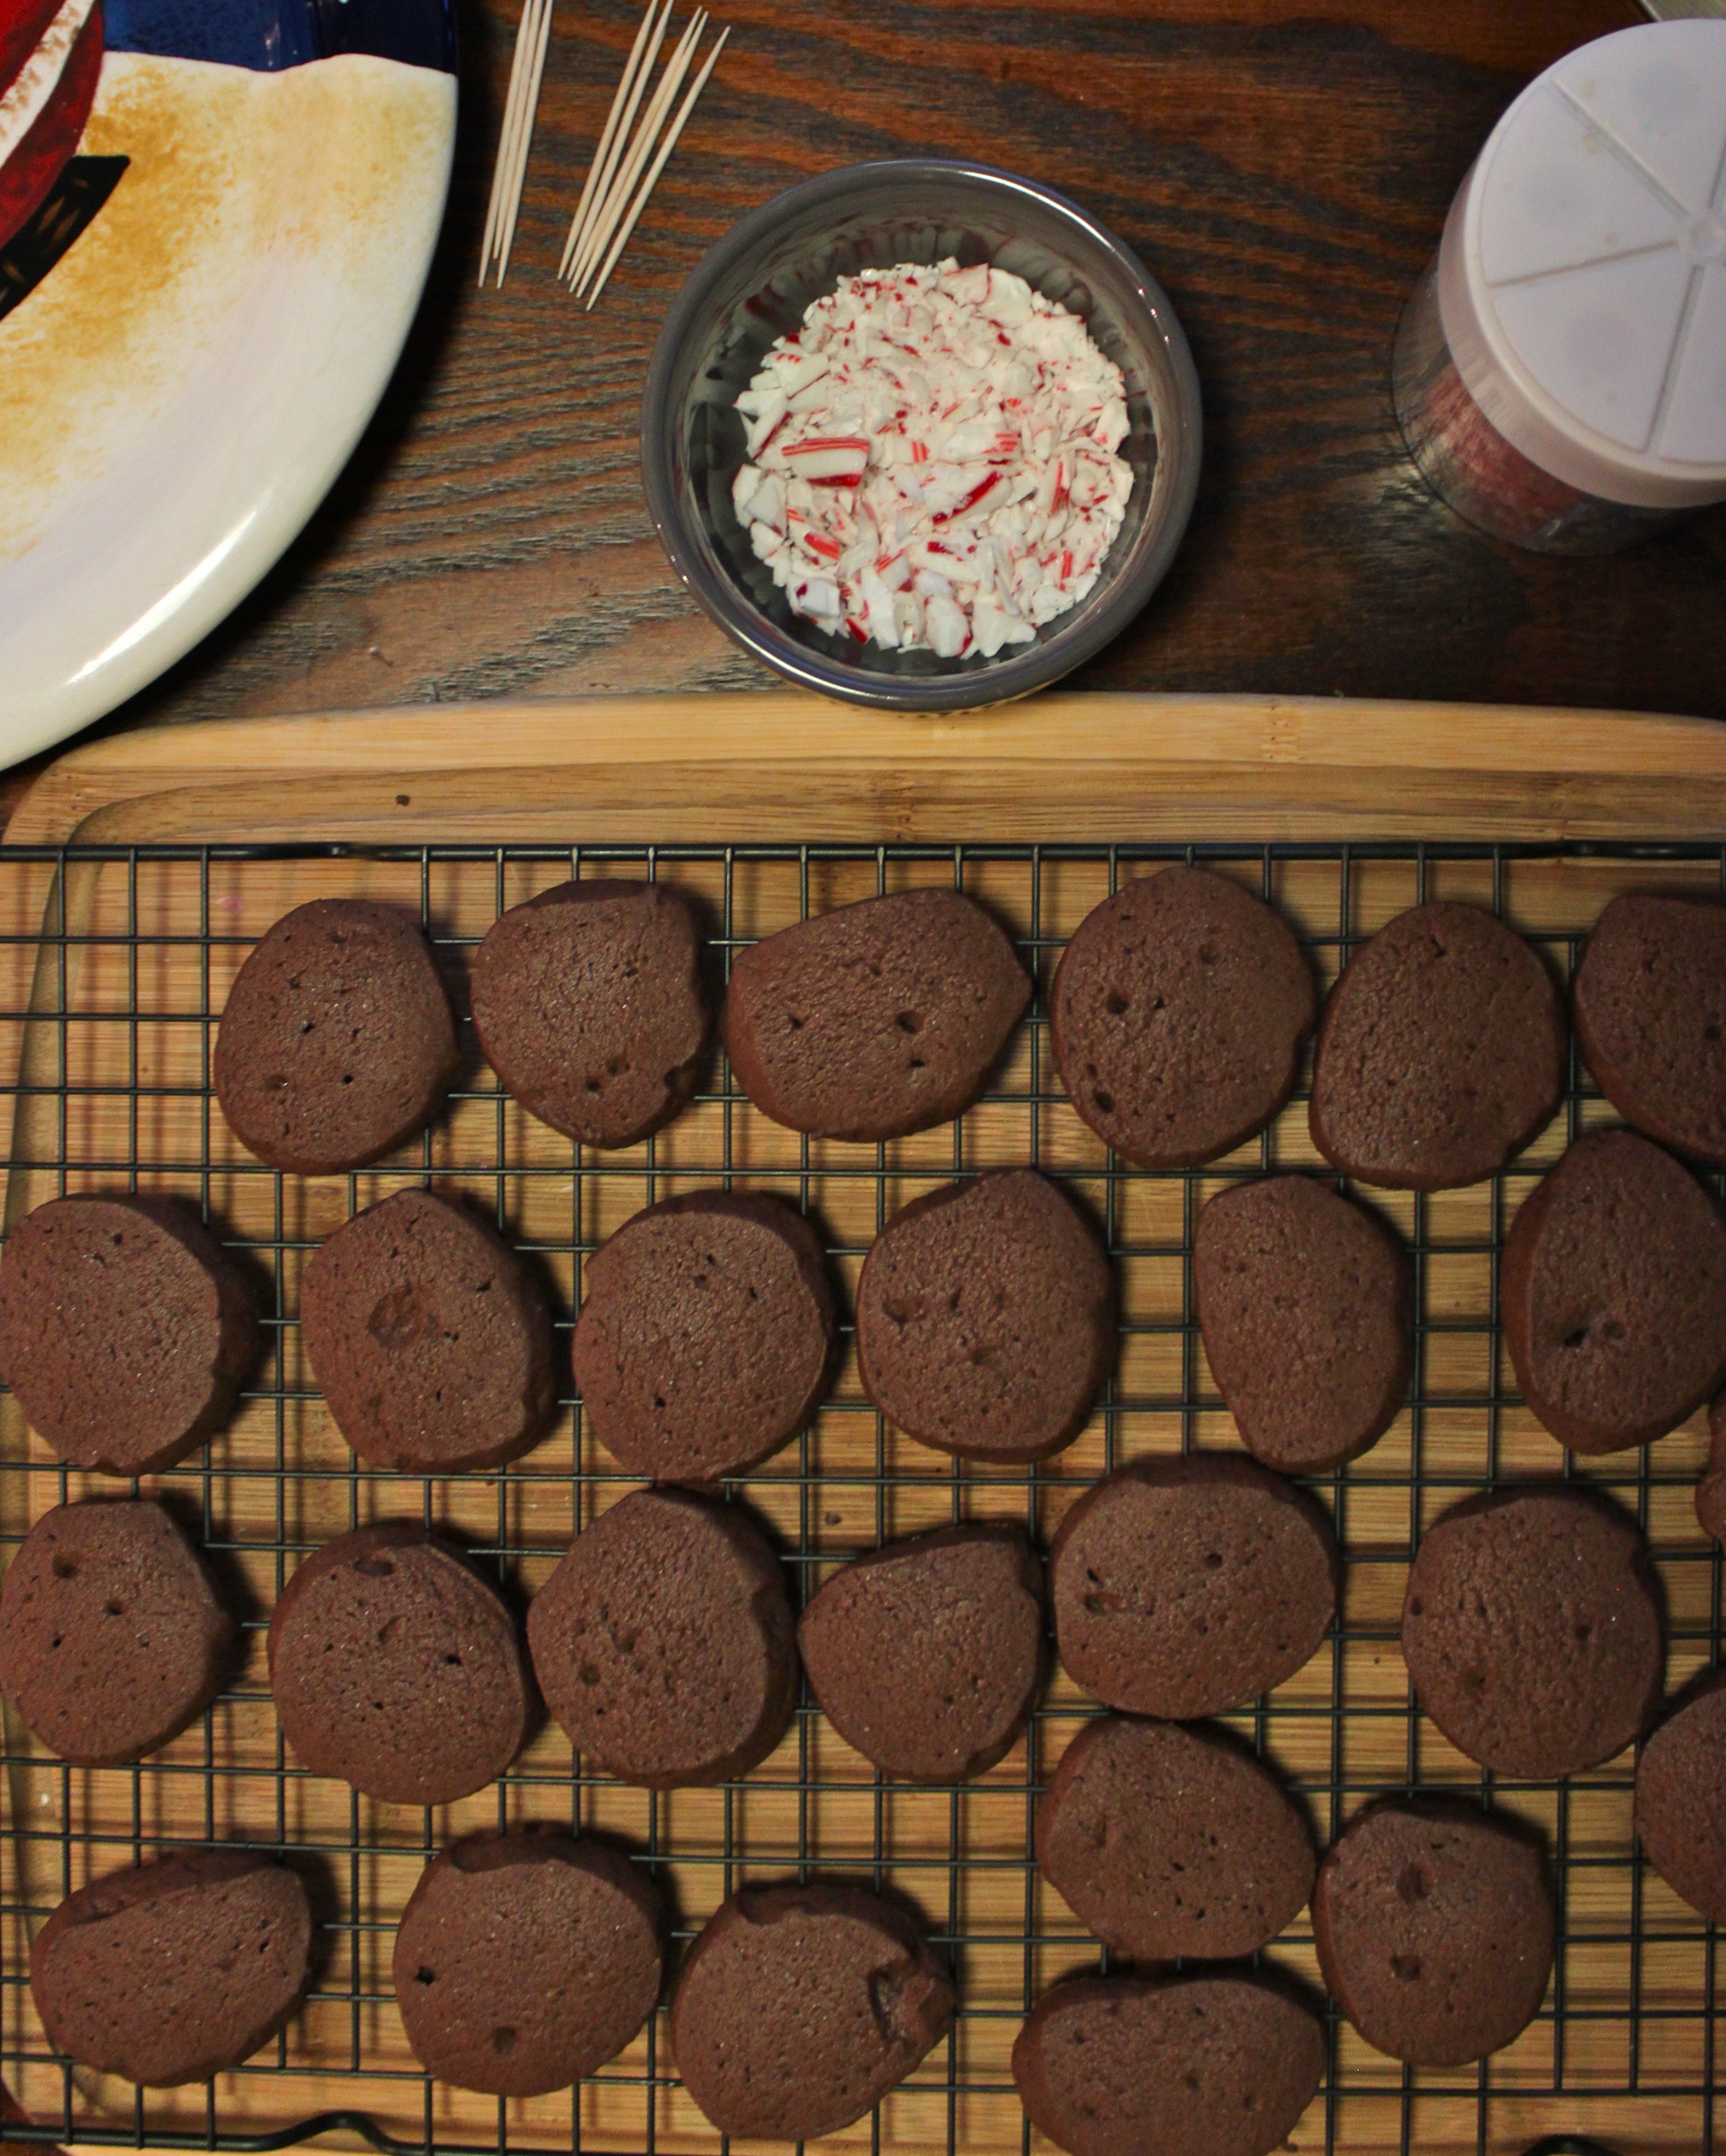
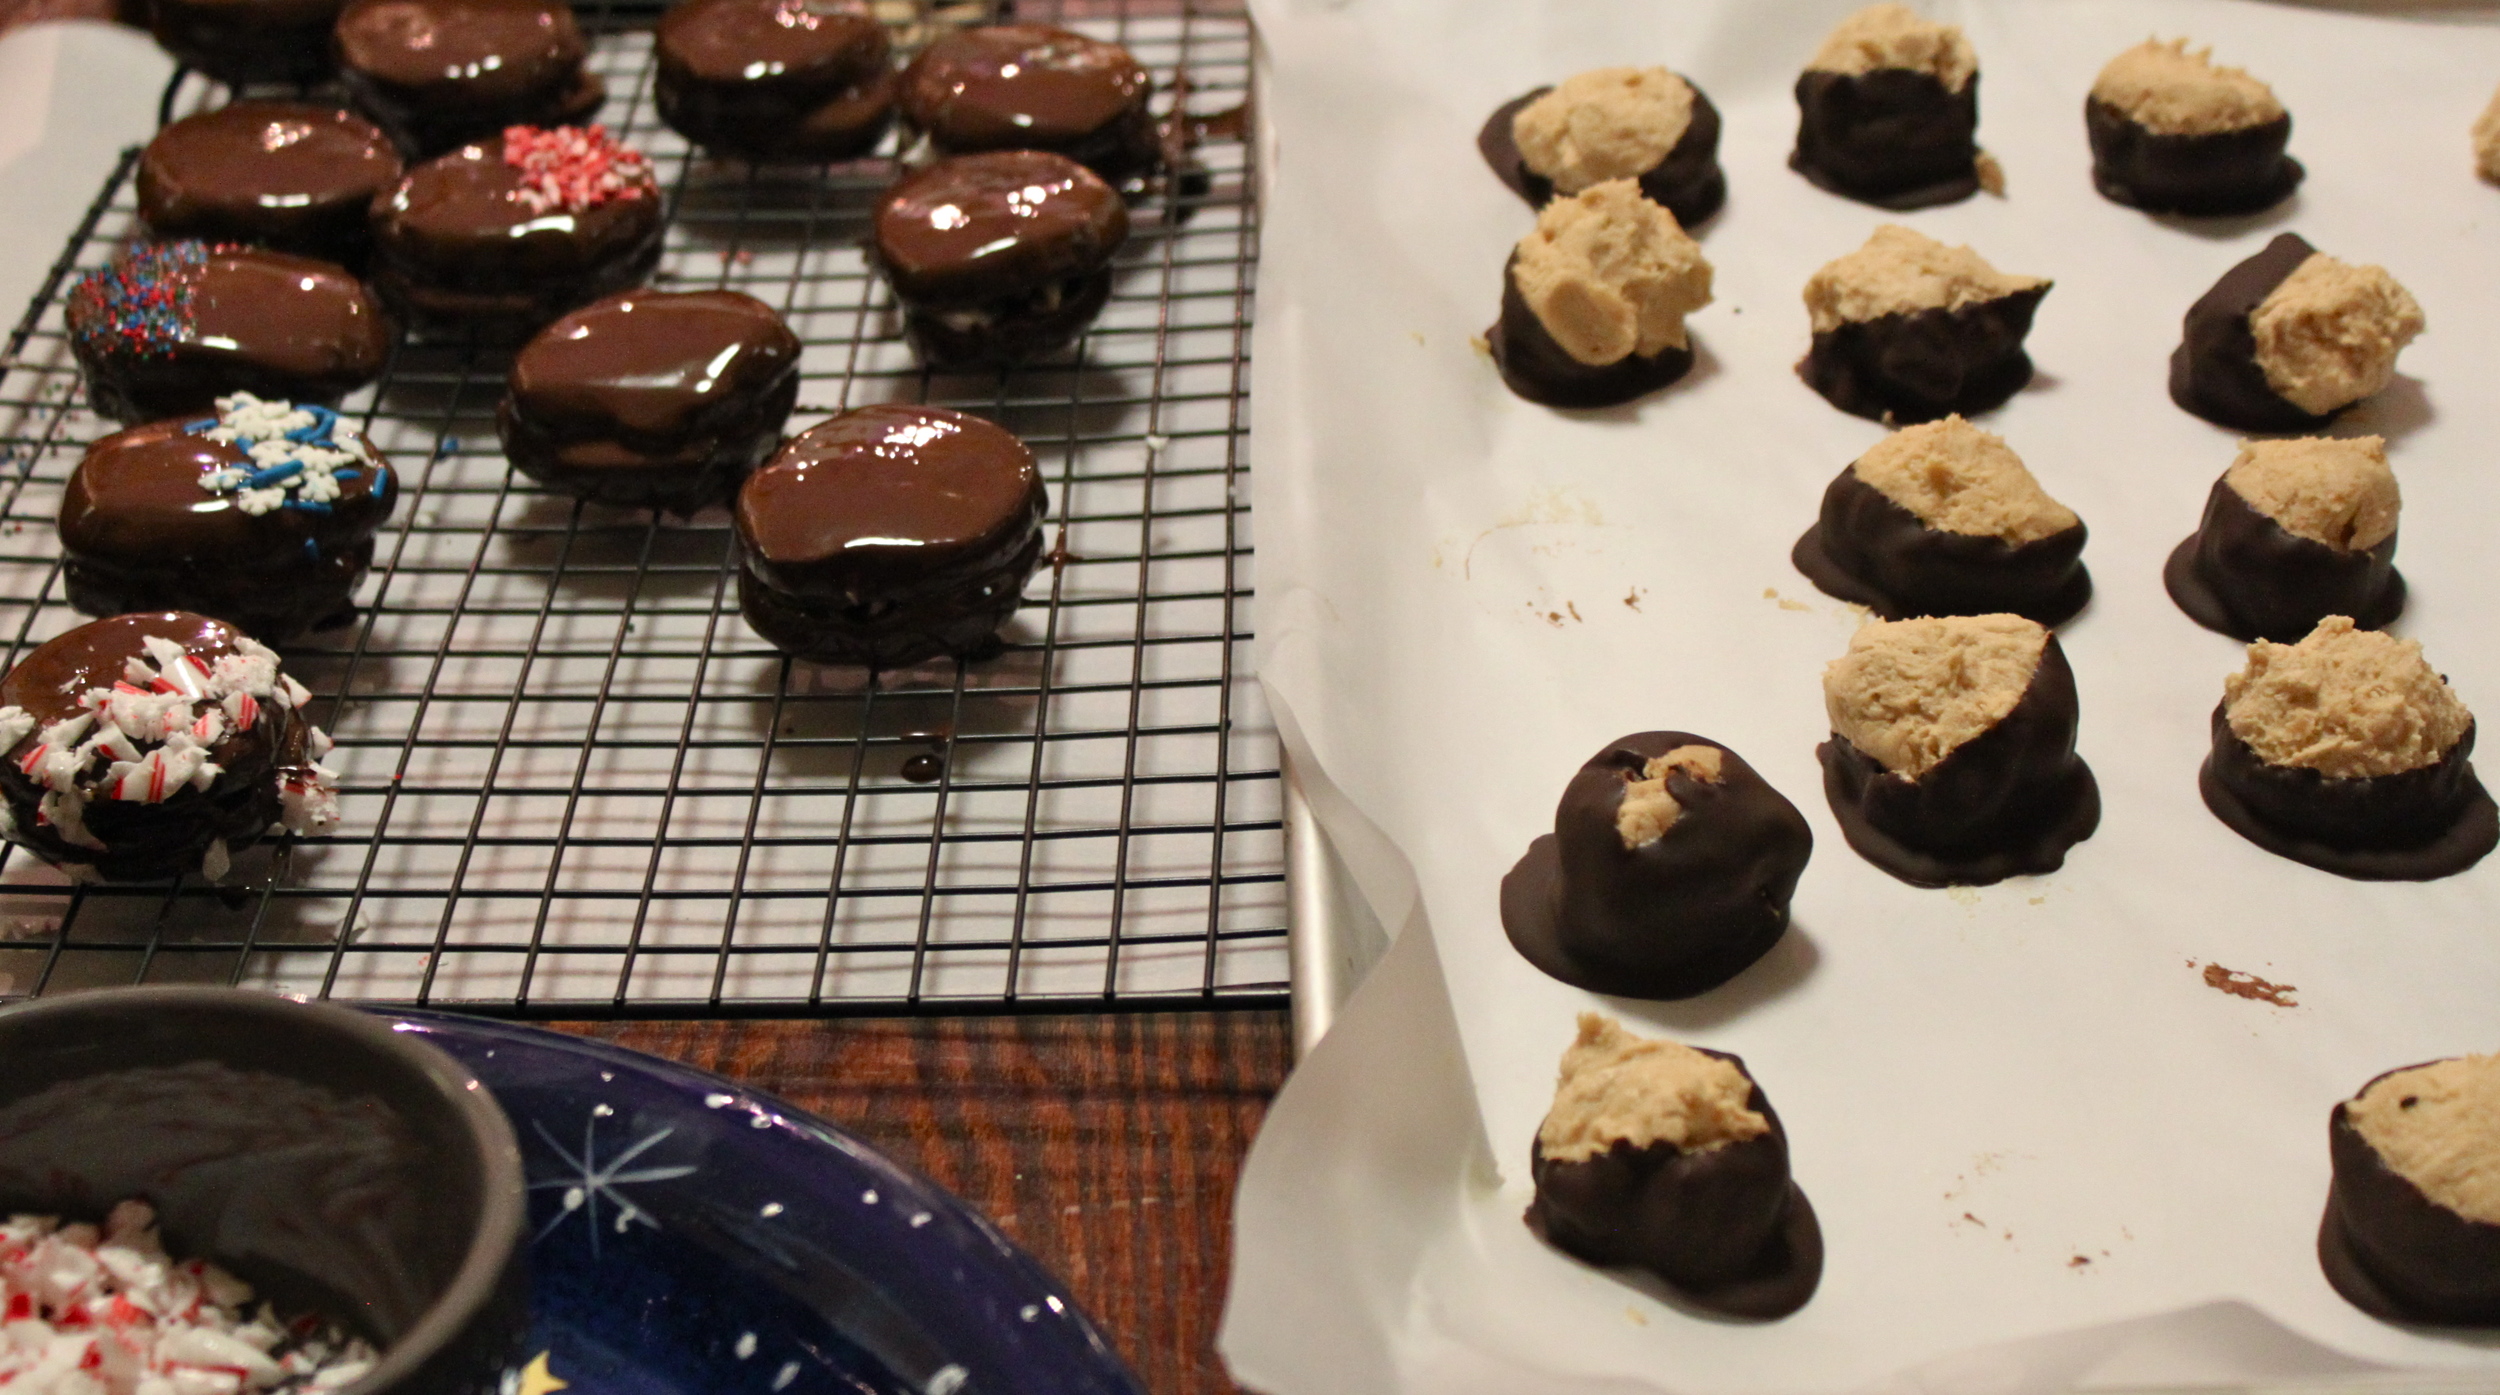
like i said, making cookie sandwiches for the thin mints was not necessary, but i think the finished product was really good! we added some extra water and also some butter to our mint frosting because the recipe we followed was too hard to spread. butter for sure! i tried some crushed candy cane and sprinkles on a handful. need to work on my sprinkling skills before committing to the whole batch.
pb ballz are just freaking delicious if you didn't know already.
i stored both treats in the refrigerator in parchment lined tins. the thin mints stayed chewy and delicious for over a week (i gave them to my bff katie after a week-- she loved. no sign of throwing them out on her watch! i was worried they'd be stale. they weren't). i think the pb balls would have stayed edible for a really long time (didn't get a chance to fully test the shelf life as they got devoured by someone or another).
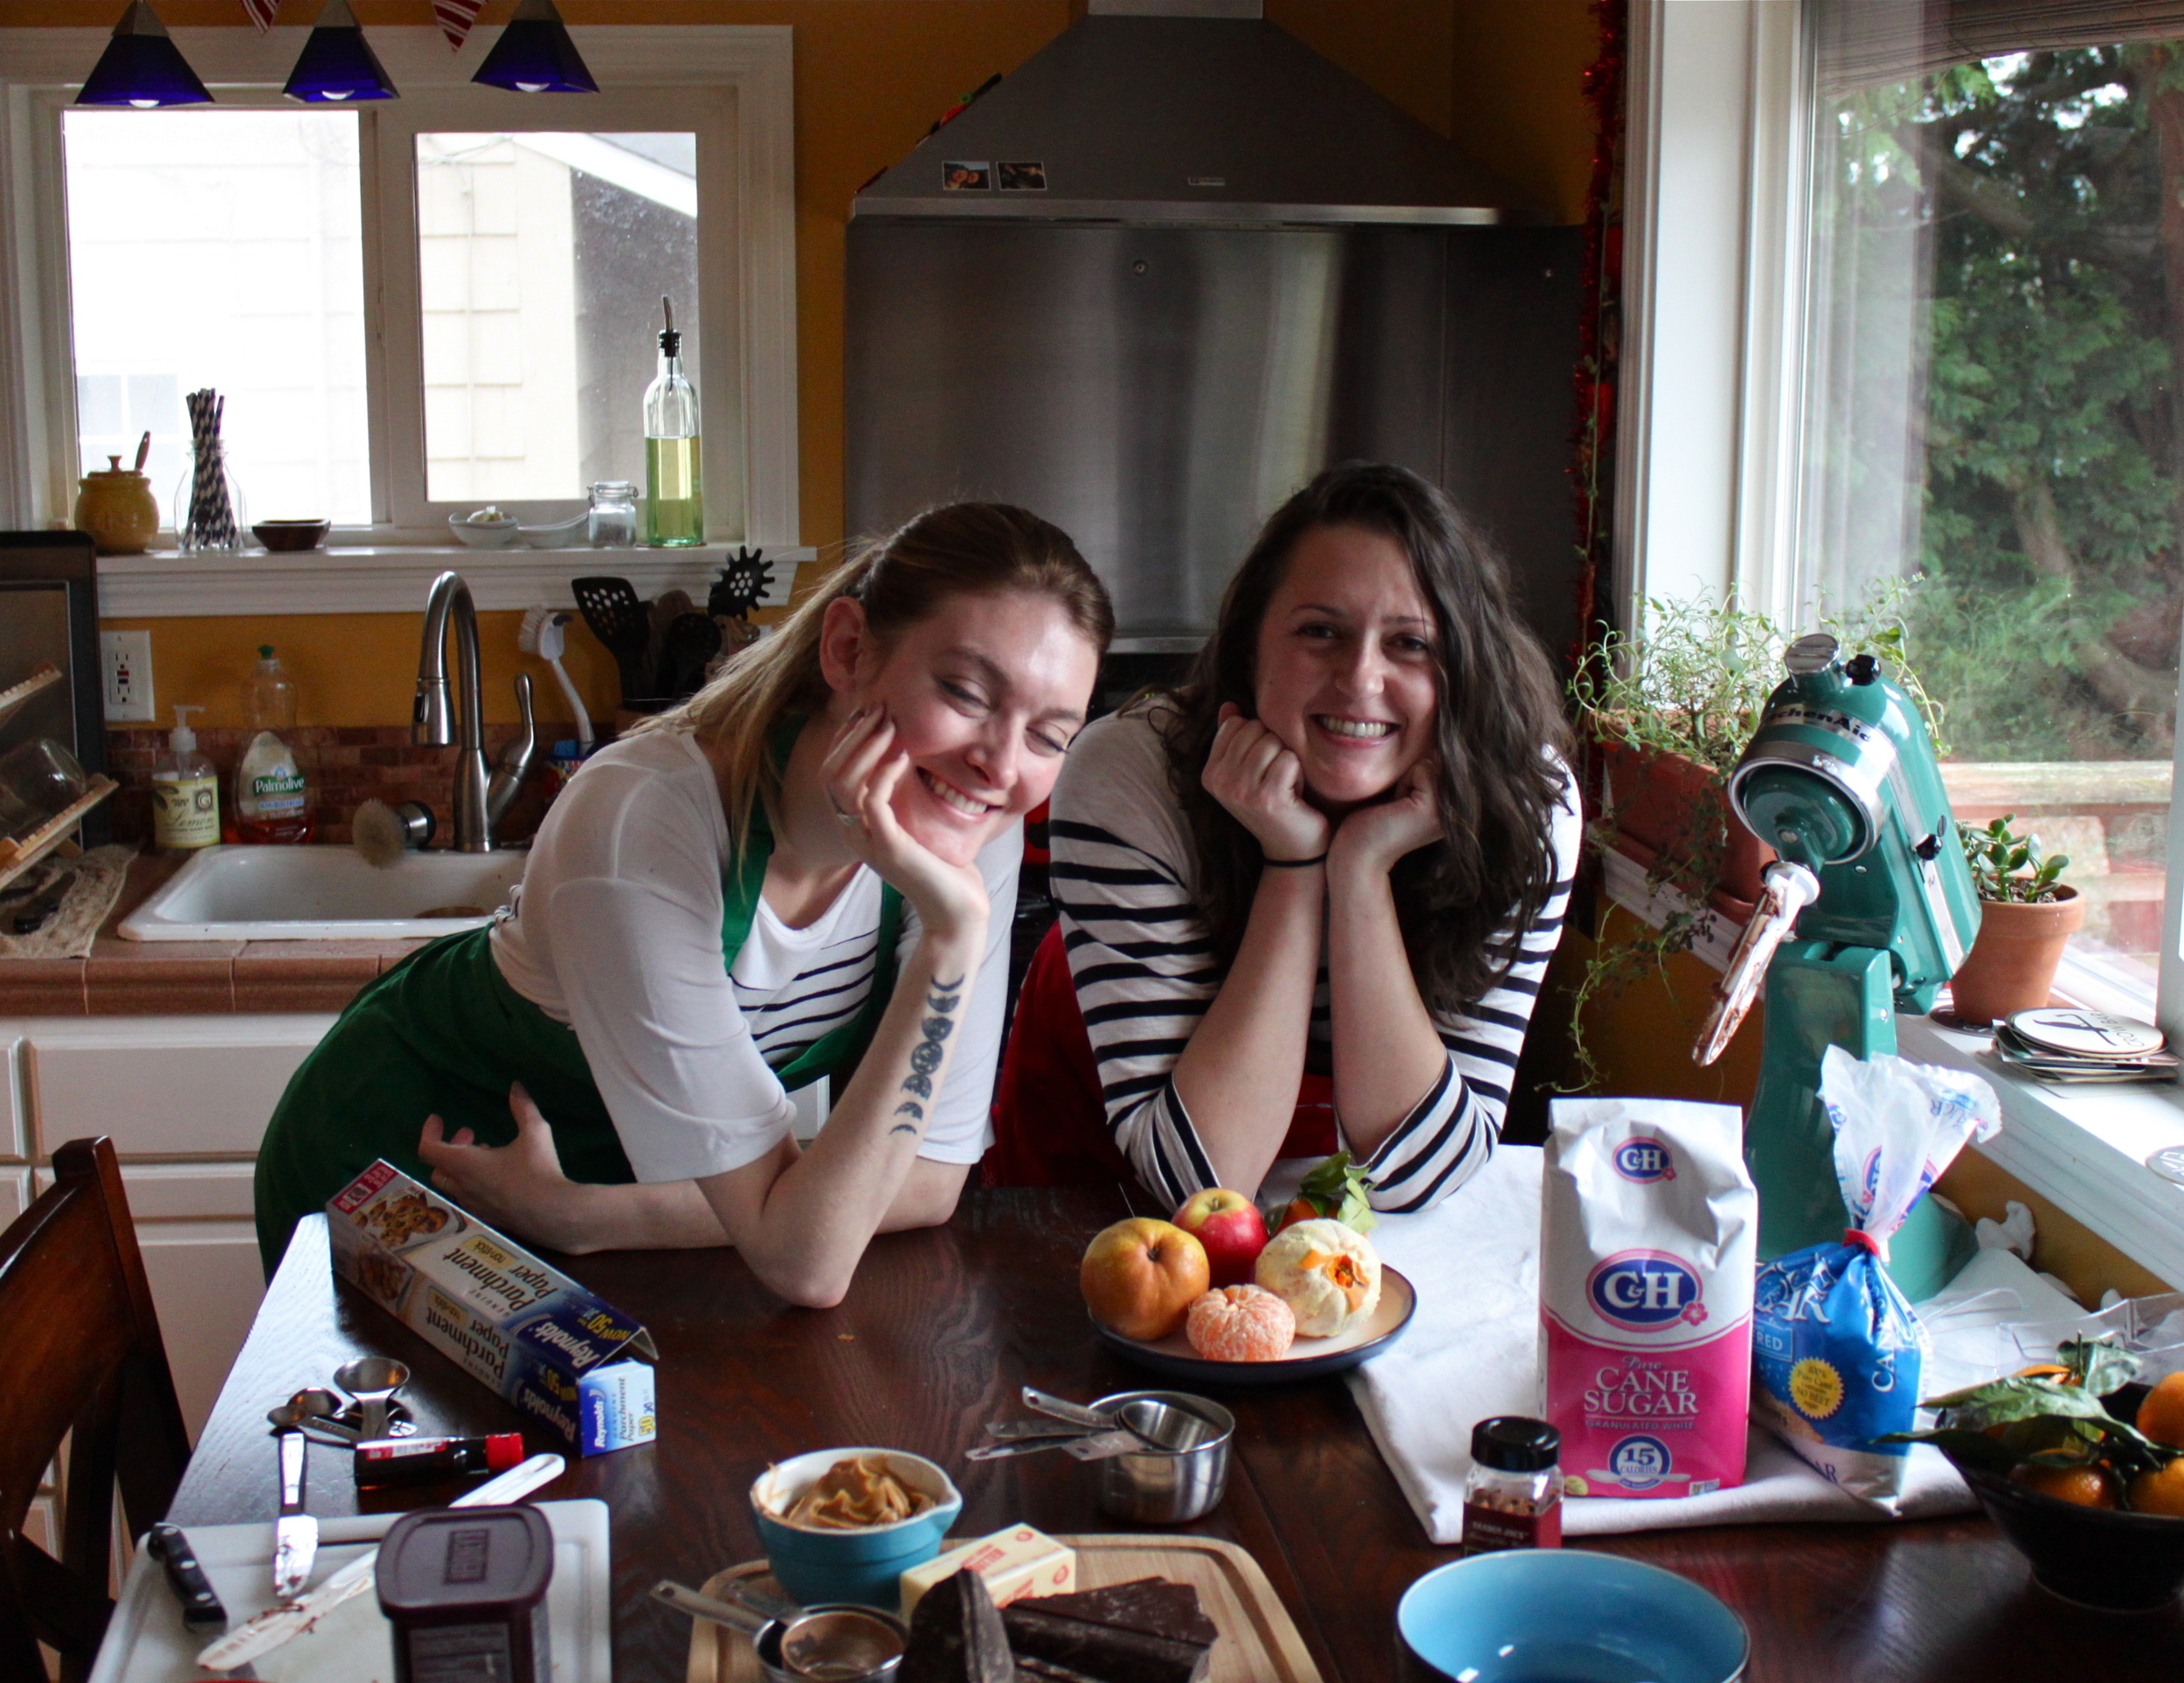
sara and i had such fun shopping and baking and listening to music and chatting! i forget how much fun it is to bake with other people. i used to bake with my best friends all the time and pretend we were on a cooking show---haven't done that in a hot minute. usually its just pete wandering in and taking bites or licks of this or that off whatever i'm making and me saying hey get outta heeeeeere, busterrrrr. so thanks for the fun day, sara!
hope everyone has had a happy, safe and fun holiday season with people that make you laugh! :)
recipe inspiration from these sources:
joy the baker, peanut butter balls
how sweet eats, simmering spices
qp