our main bathroom renovation!
/
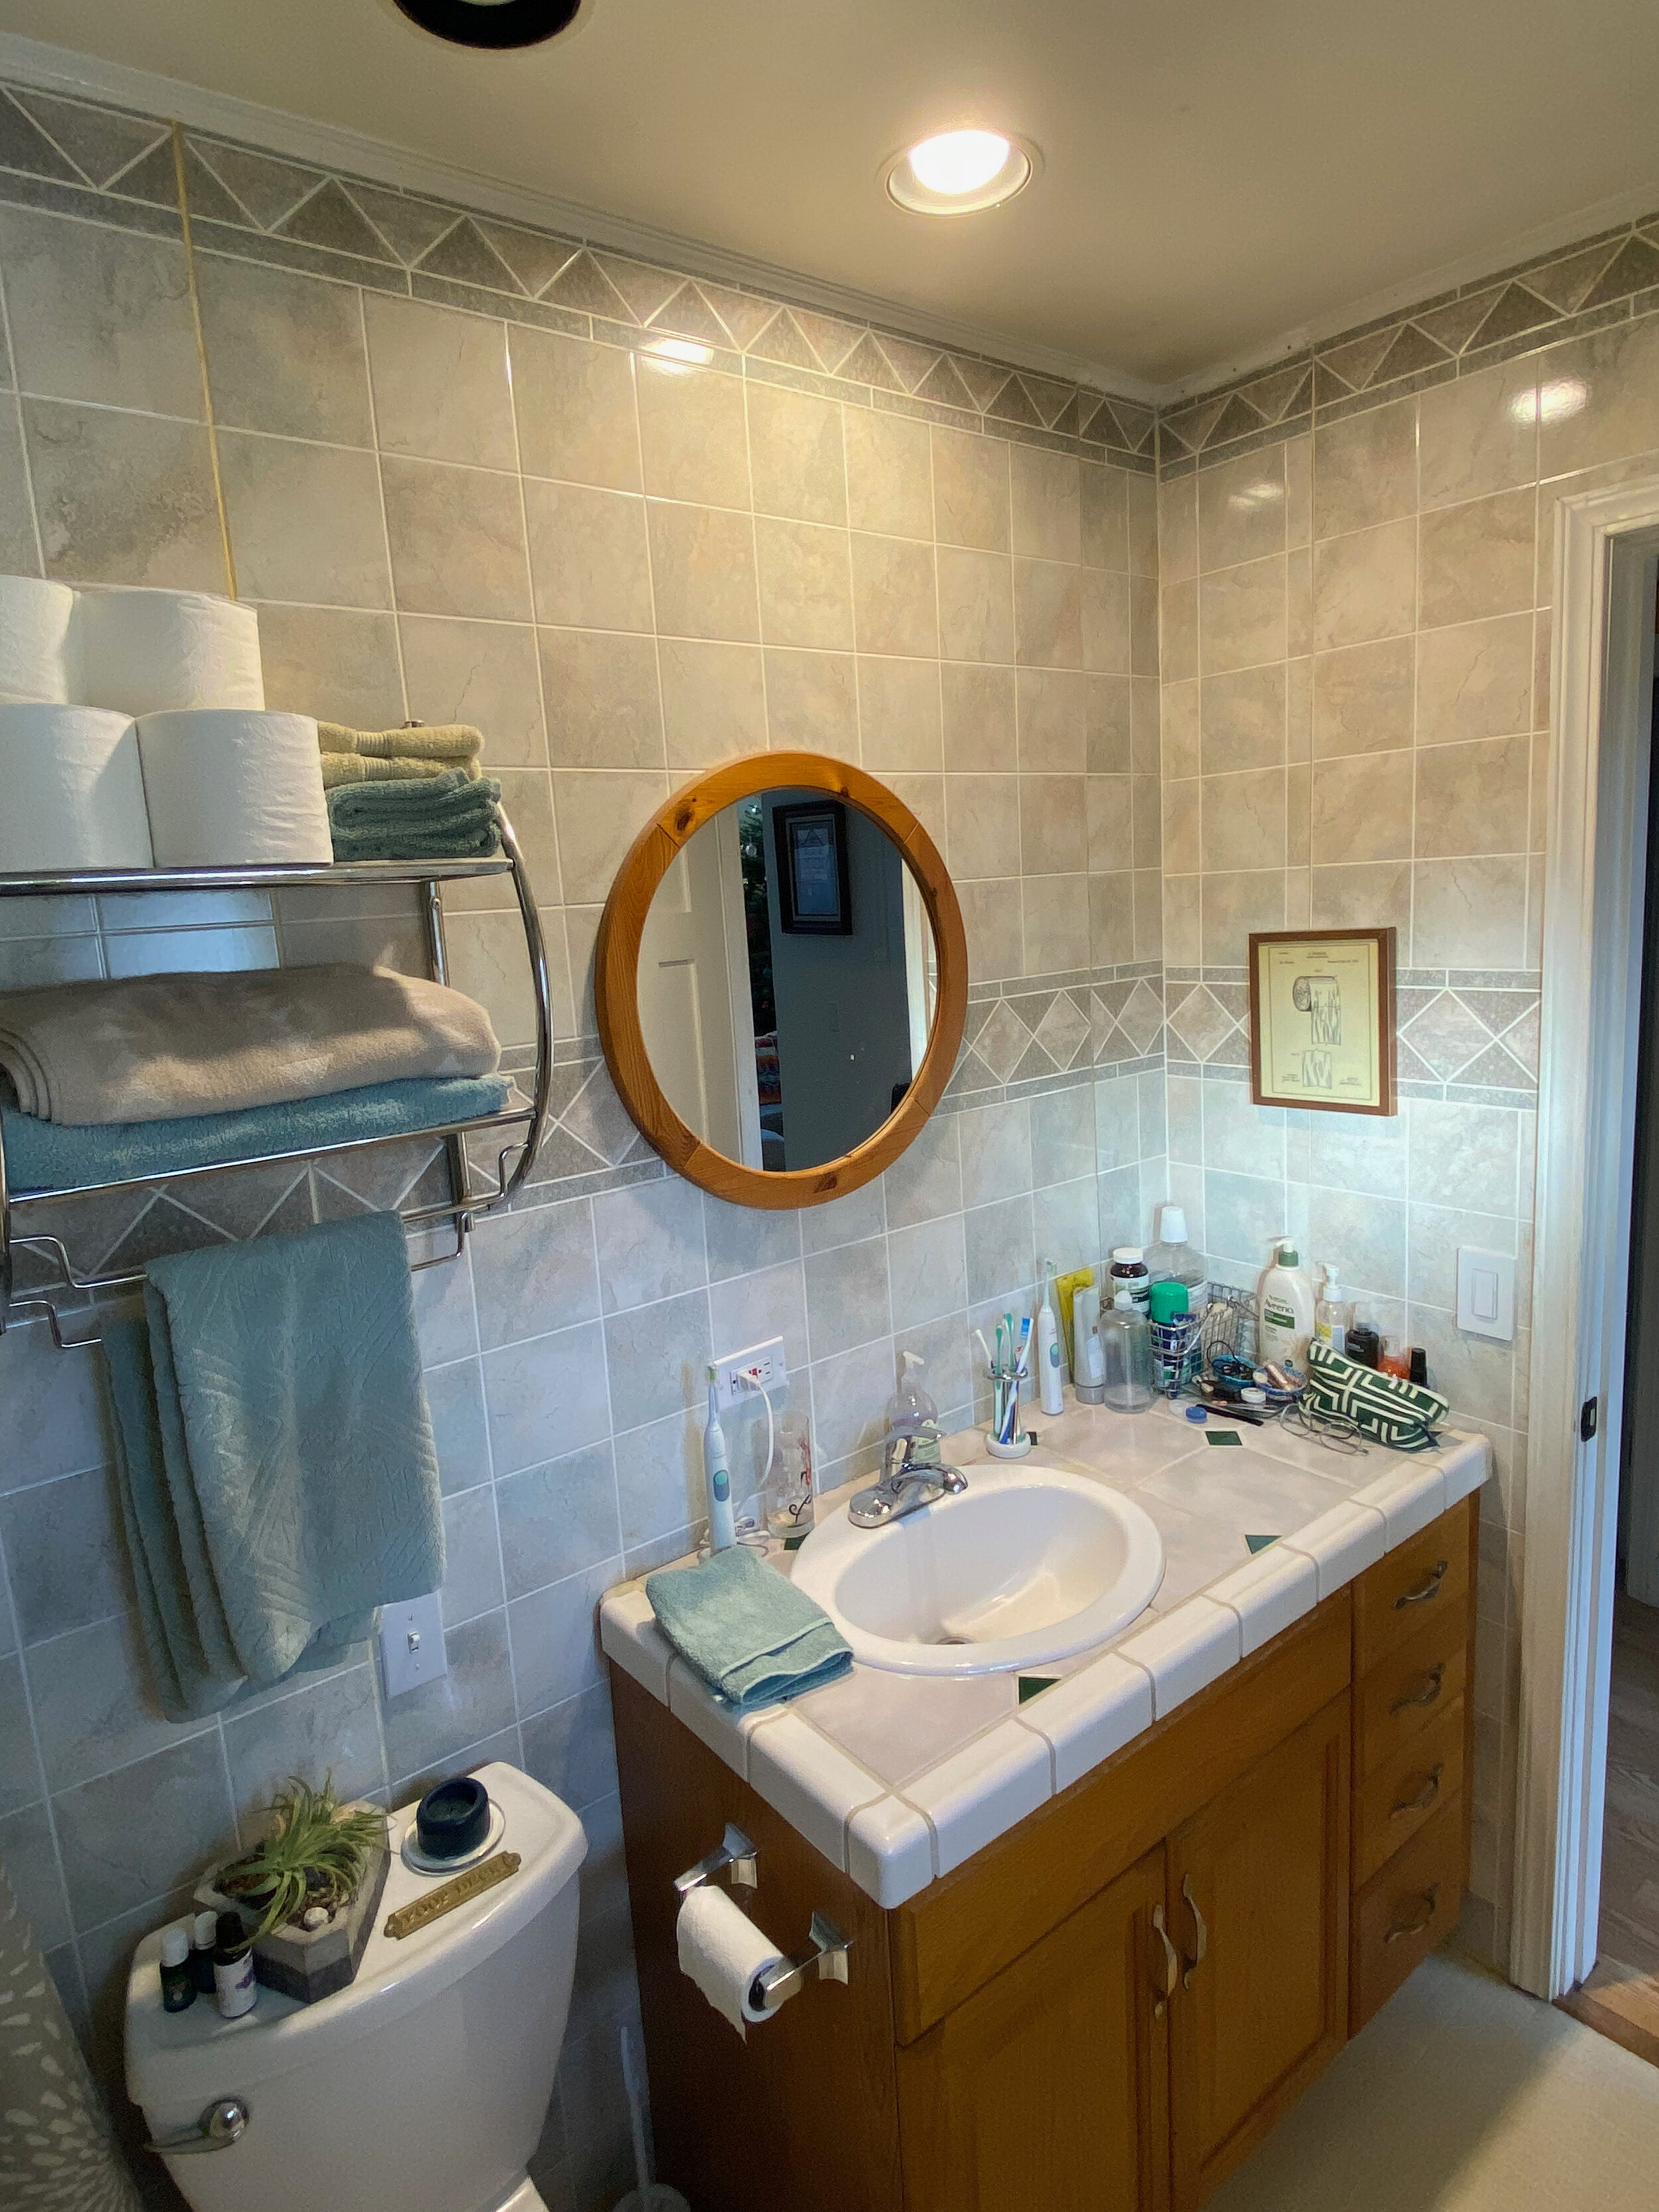
welcome to our earth toned bathroom oasis! 🌿
this new bathroom is so dreamy, feels so much more spacious & clean, and makes me very excited to spend time in here.
we feel so fortunate to have been able to tackle a big renovation this winter during covid quarantining times. our amazing contractor, sam, just so happened to be a part of our little quarantine squad during the last year, so we felt totally comfortable having him in and out of our space all day, every day for several weeks to work on our house. he also helped us make big time updates to our little kitchen, which i’ll share later.
i cannot believe this week marks 1 year since covid changed everything - what a time. it is not lost on us how freaking lucky & privileged we are to have our home, safety, health and have kept working our jobs from home throughout 2020. pete & i have lived in this house for 7 years now and have just come around to making big improvements to it over the last couple of years. the bathroom & kitchen renovations would not have taken place at all had sam not been in our super tight pod of (2) other humans that we’ve been in close contact with over the last year. 🤪anyway, it happened and it’s done and i am thrilled to share it now!
there are a ton of source details & process photos below - but first, a ton of pictures of the final results, the inspiration behind this room, and before & after images.

💖💖💖💖💖💖💖💖💖💖
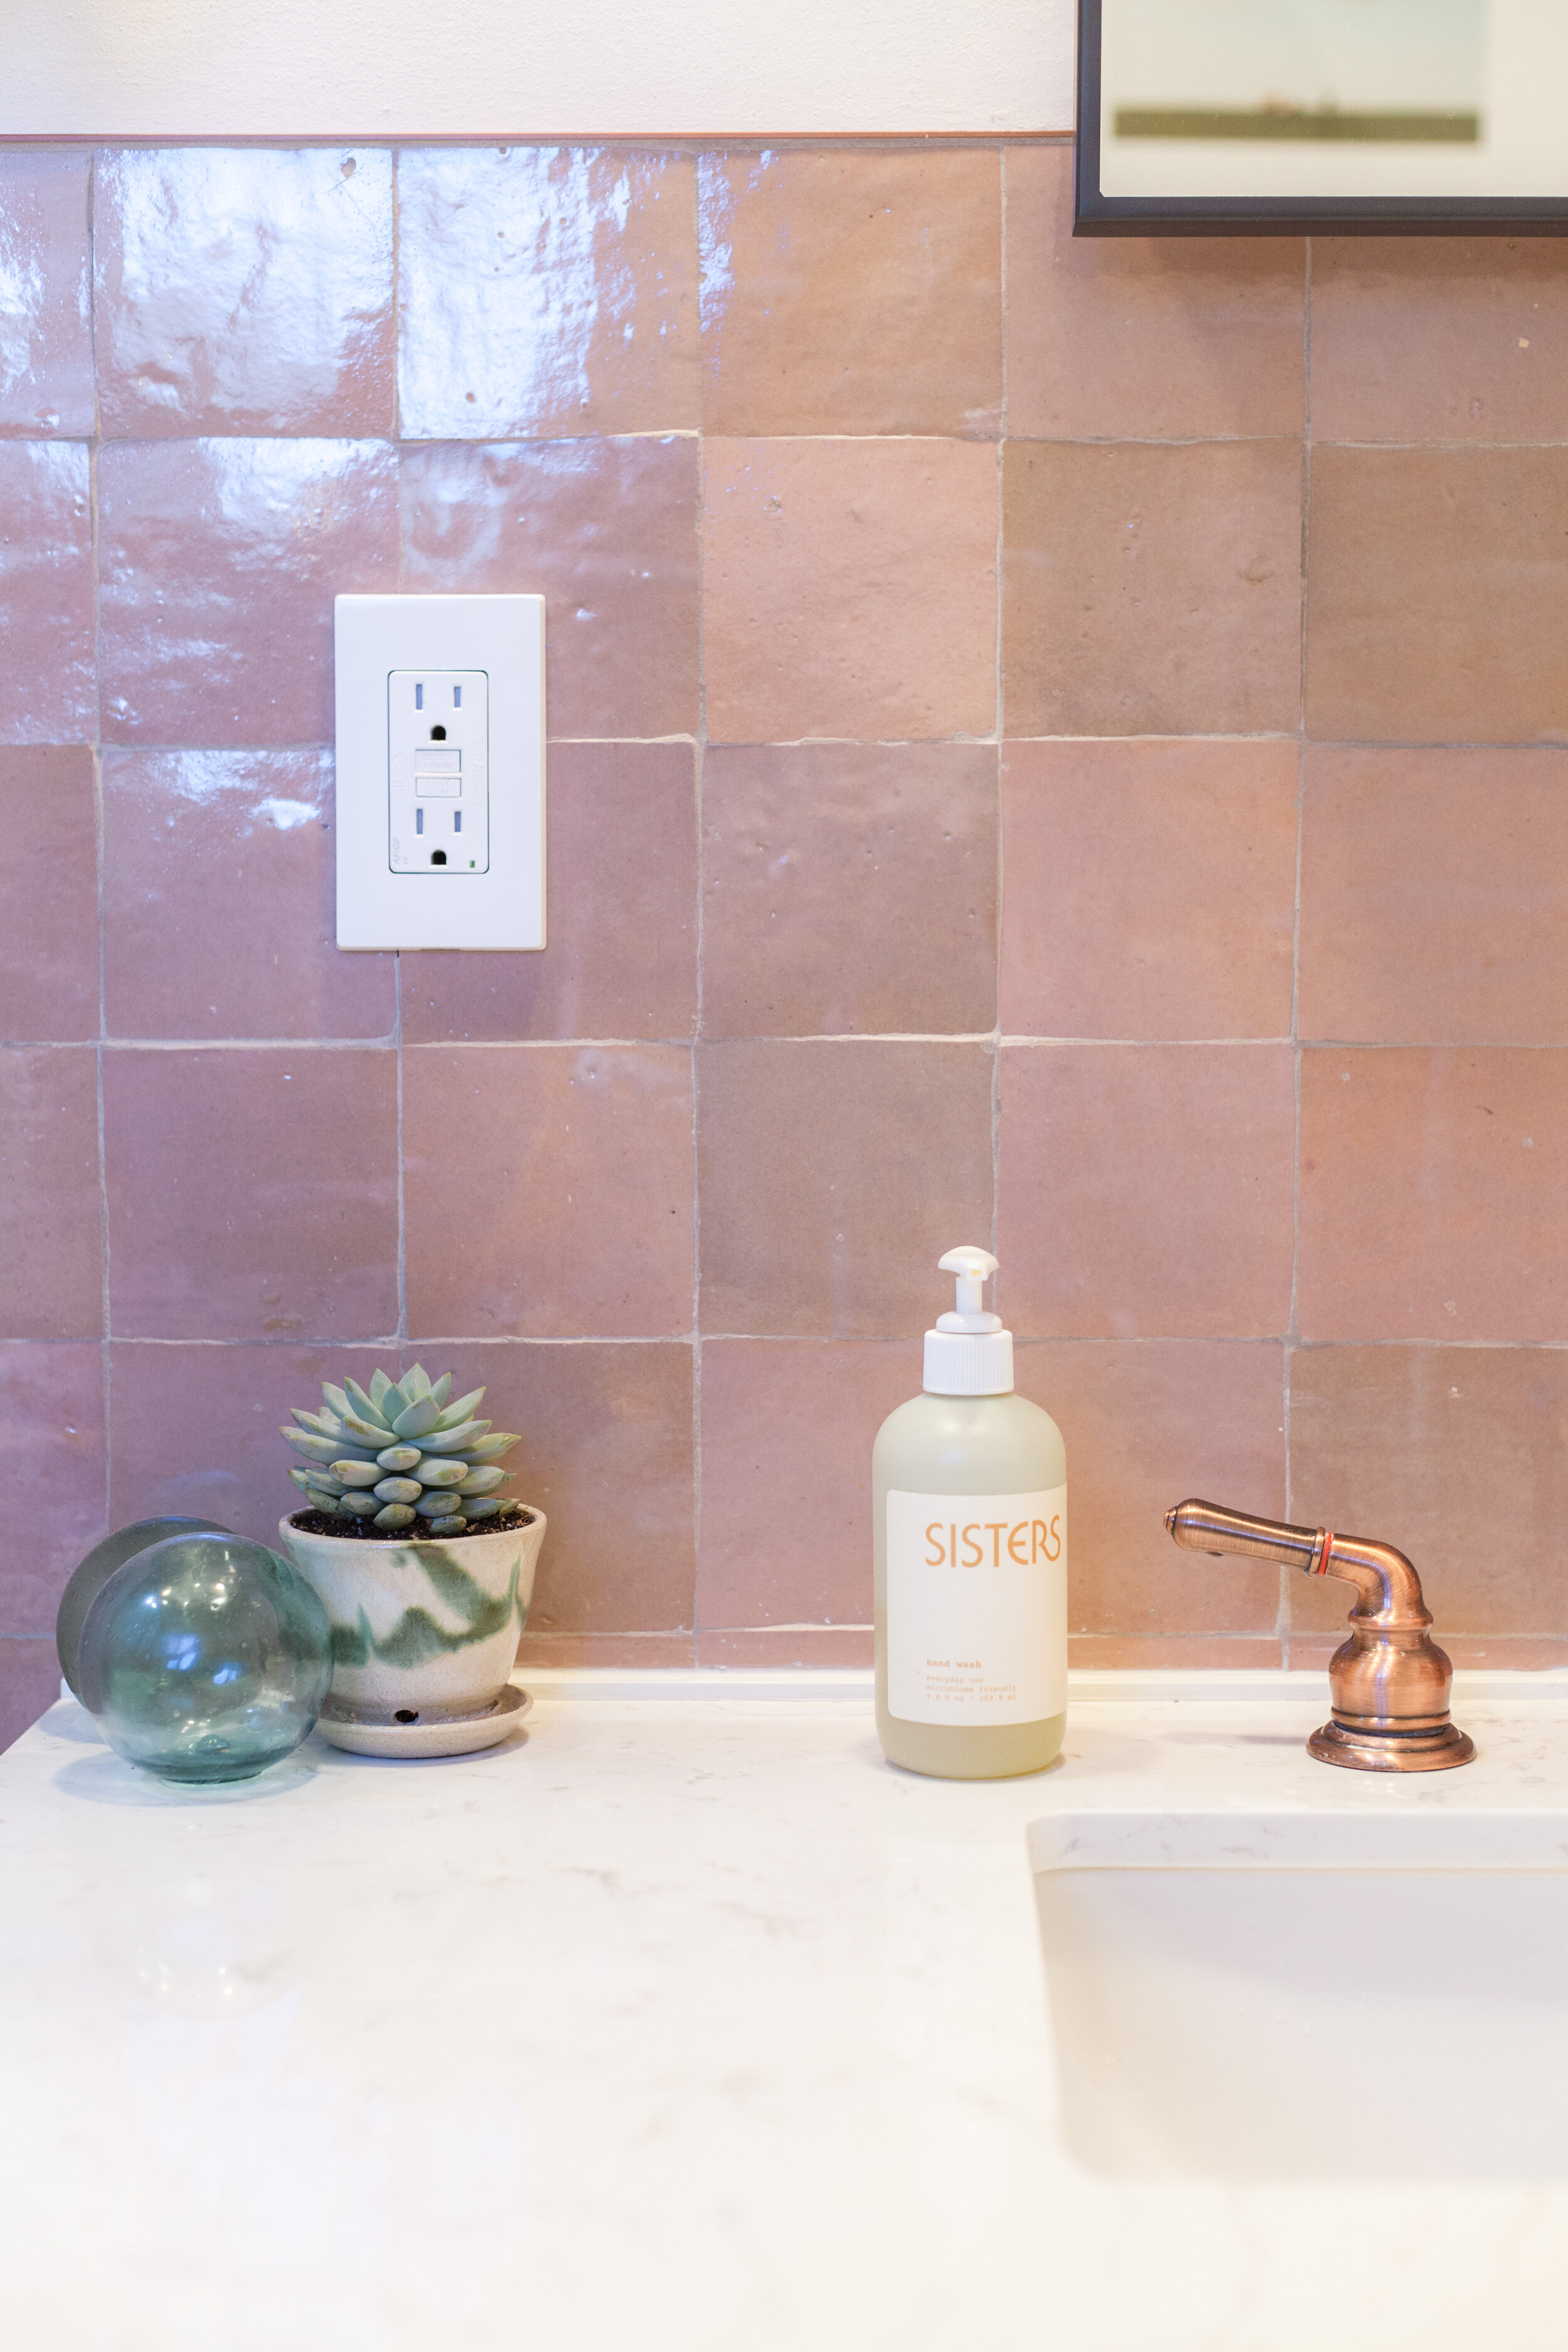
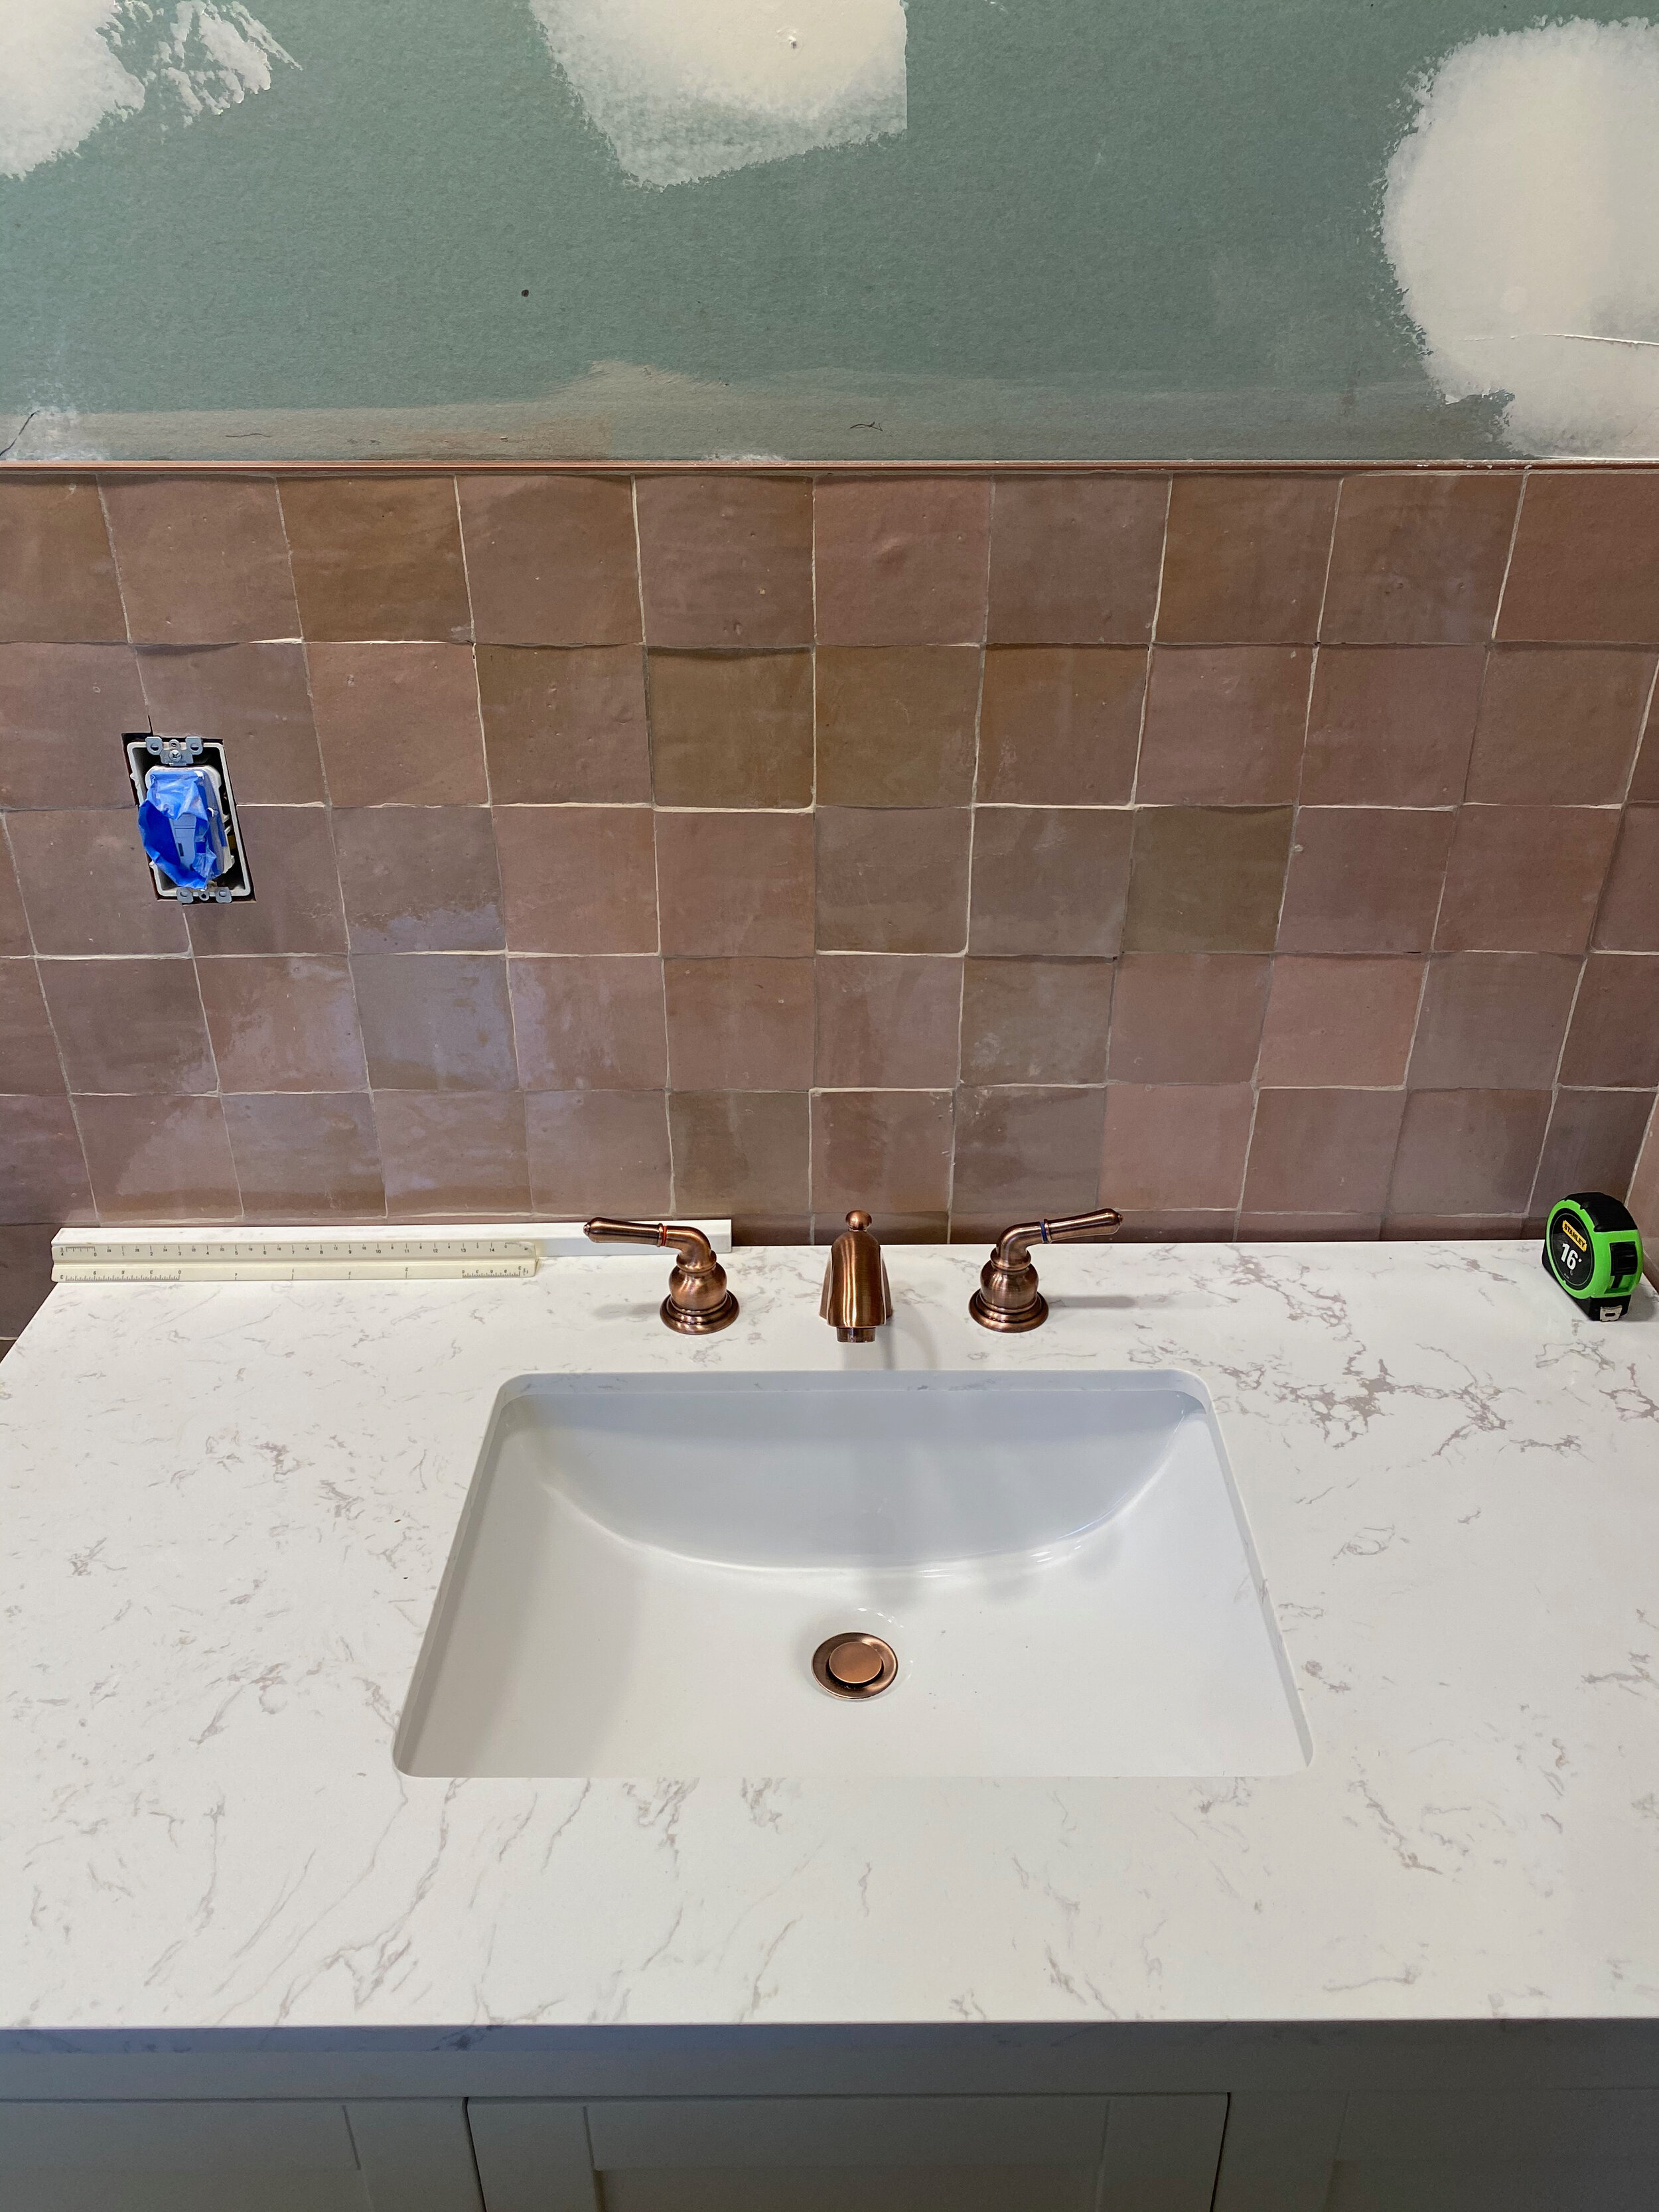
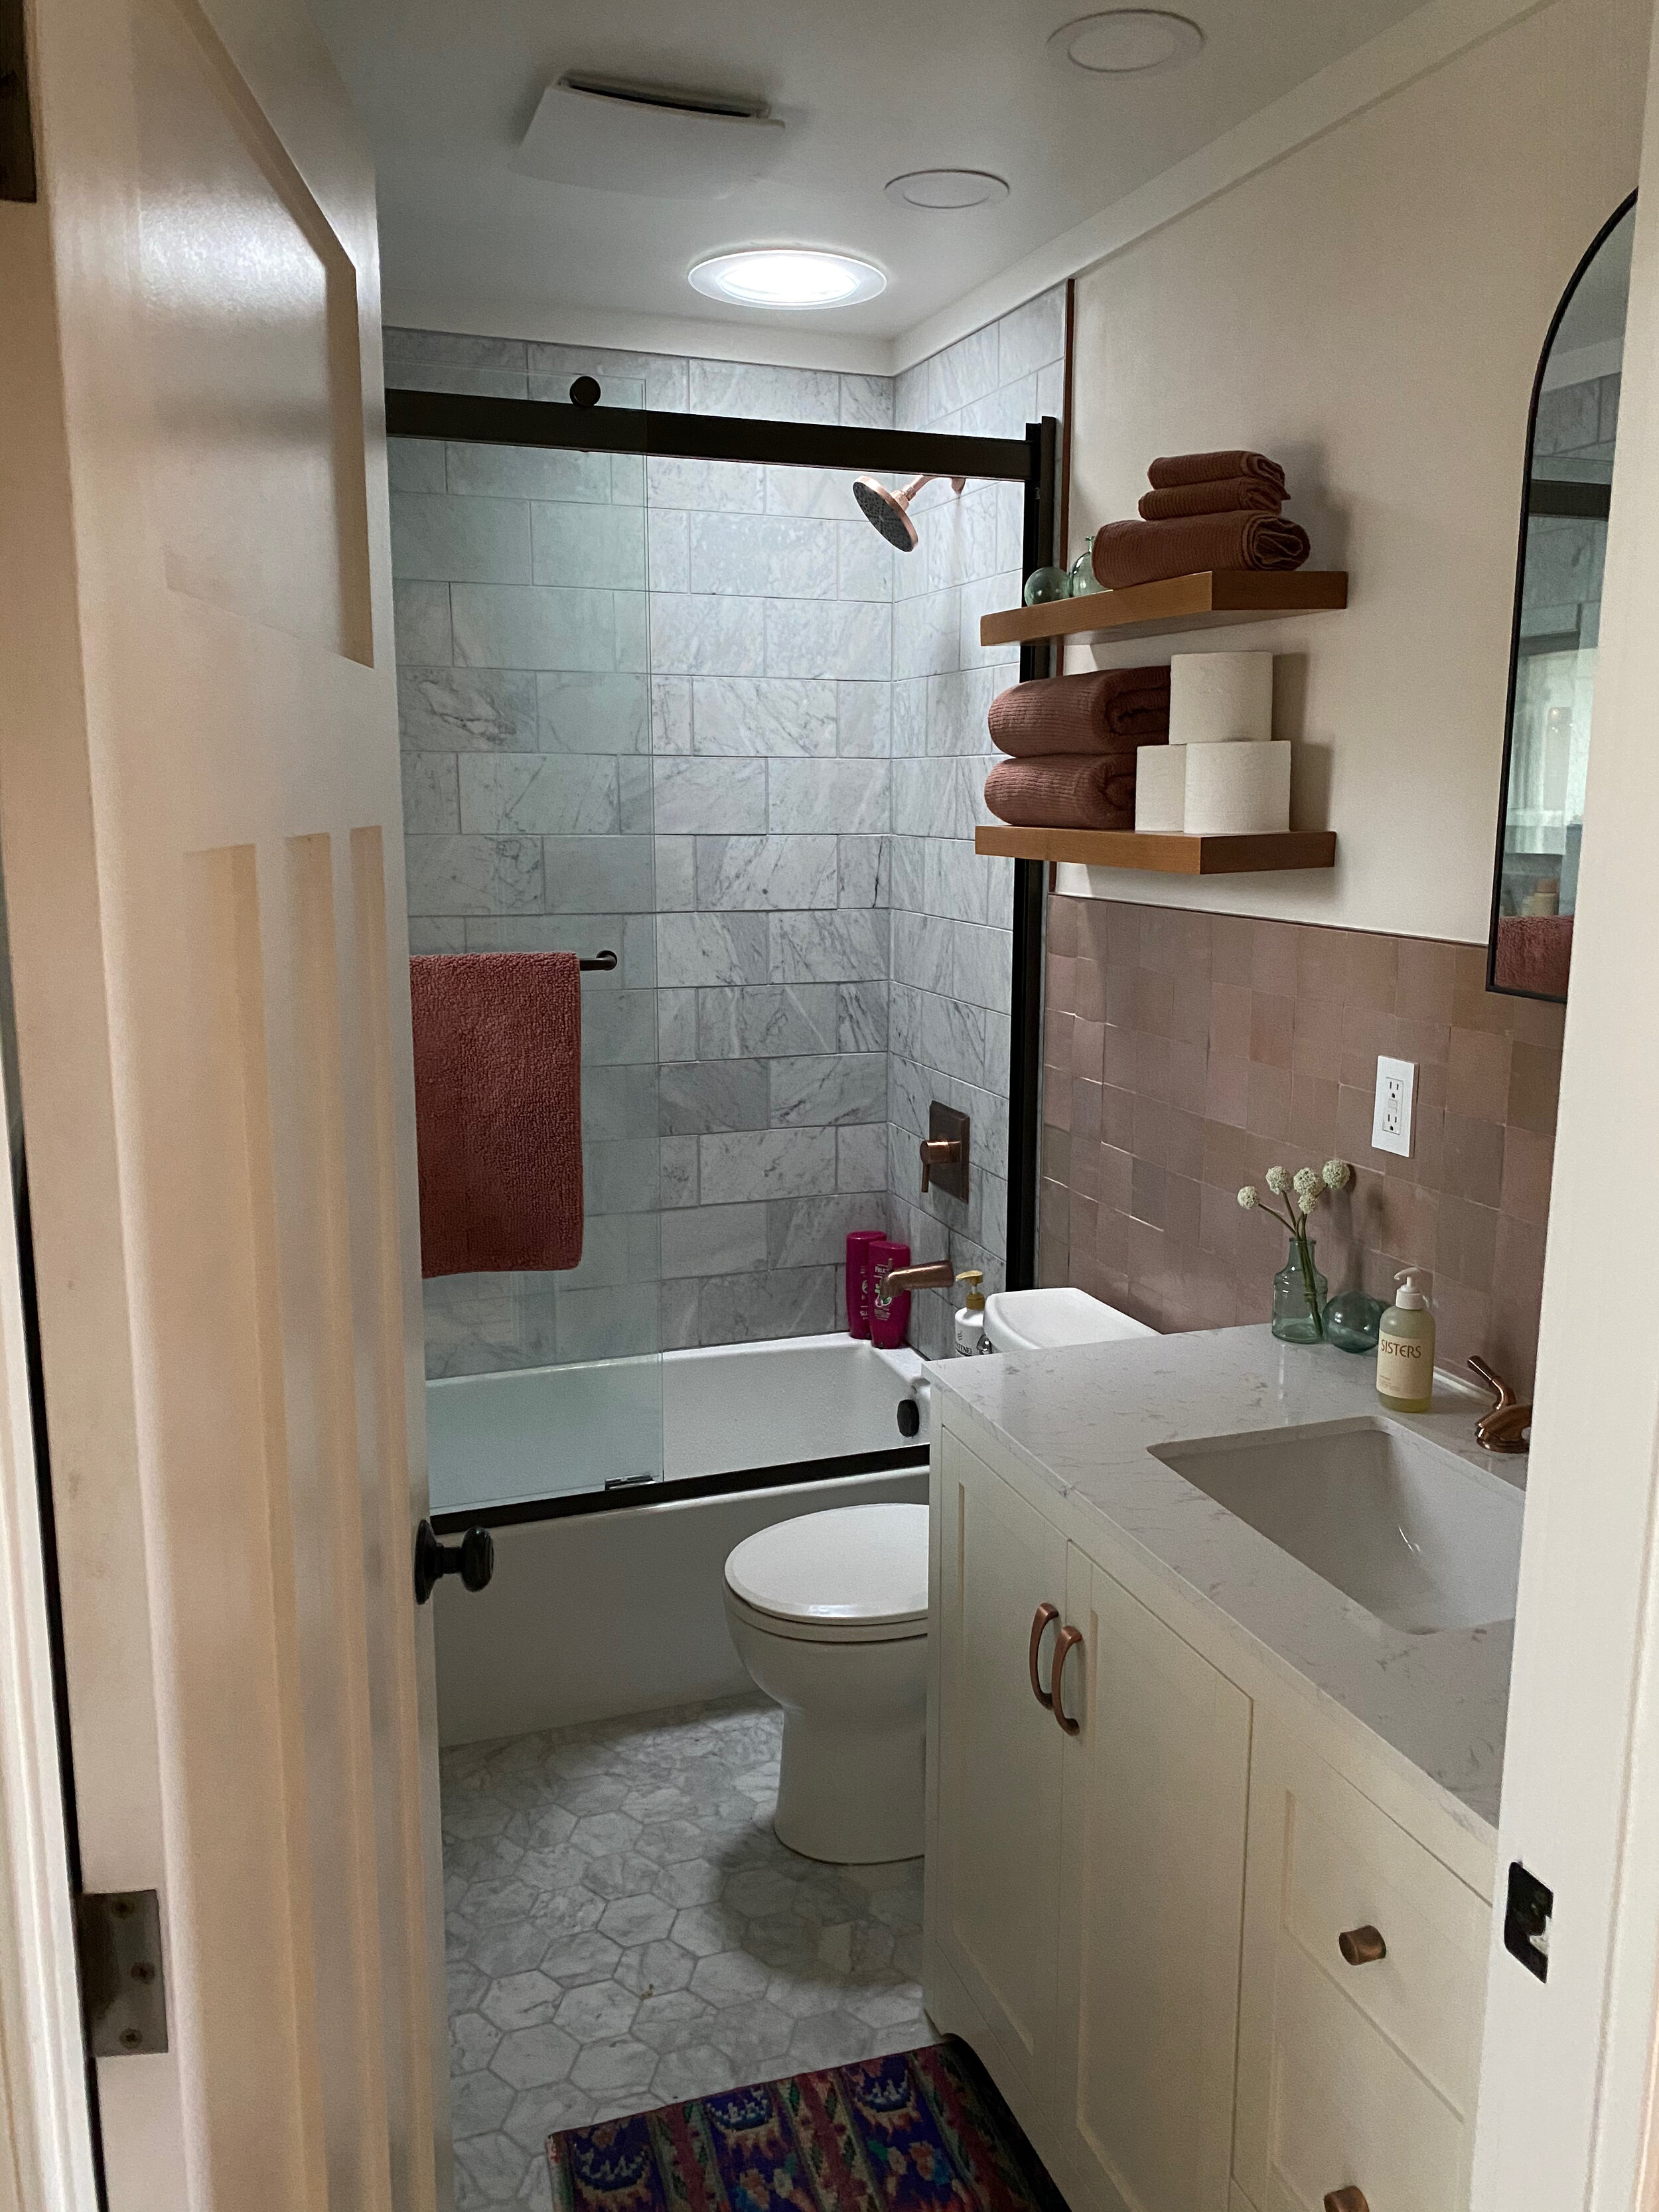
4” square zellige tile in ‘desert bloom’ from zia tile!
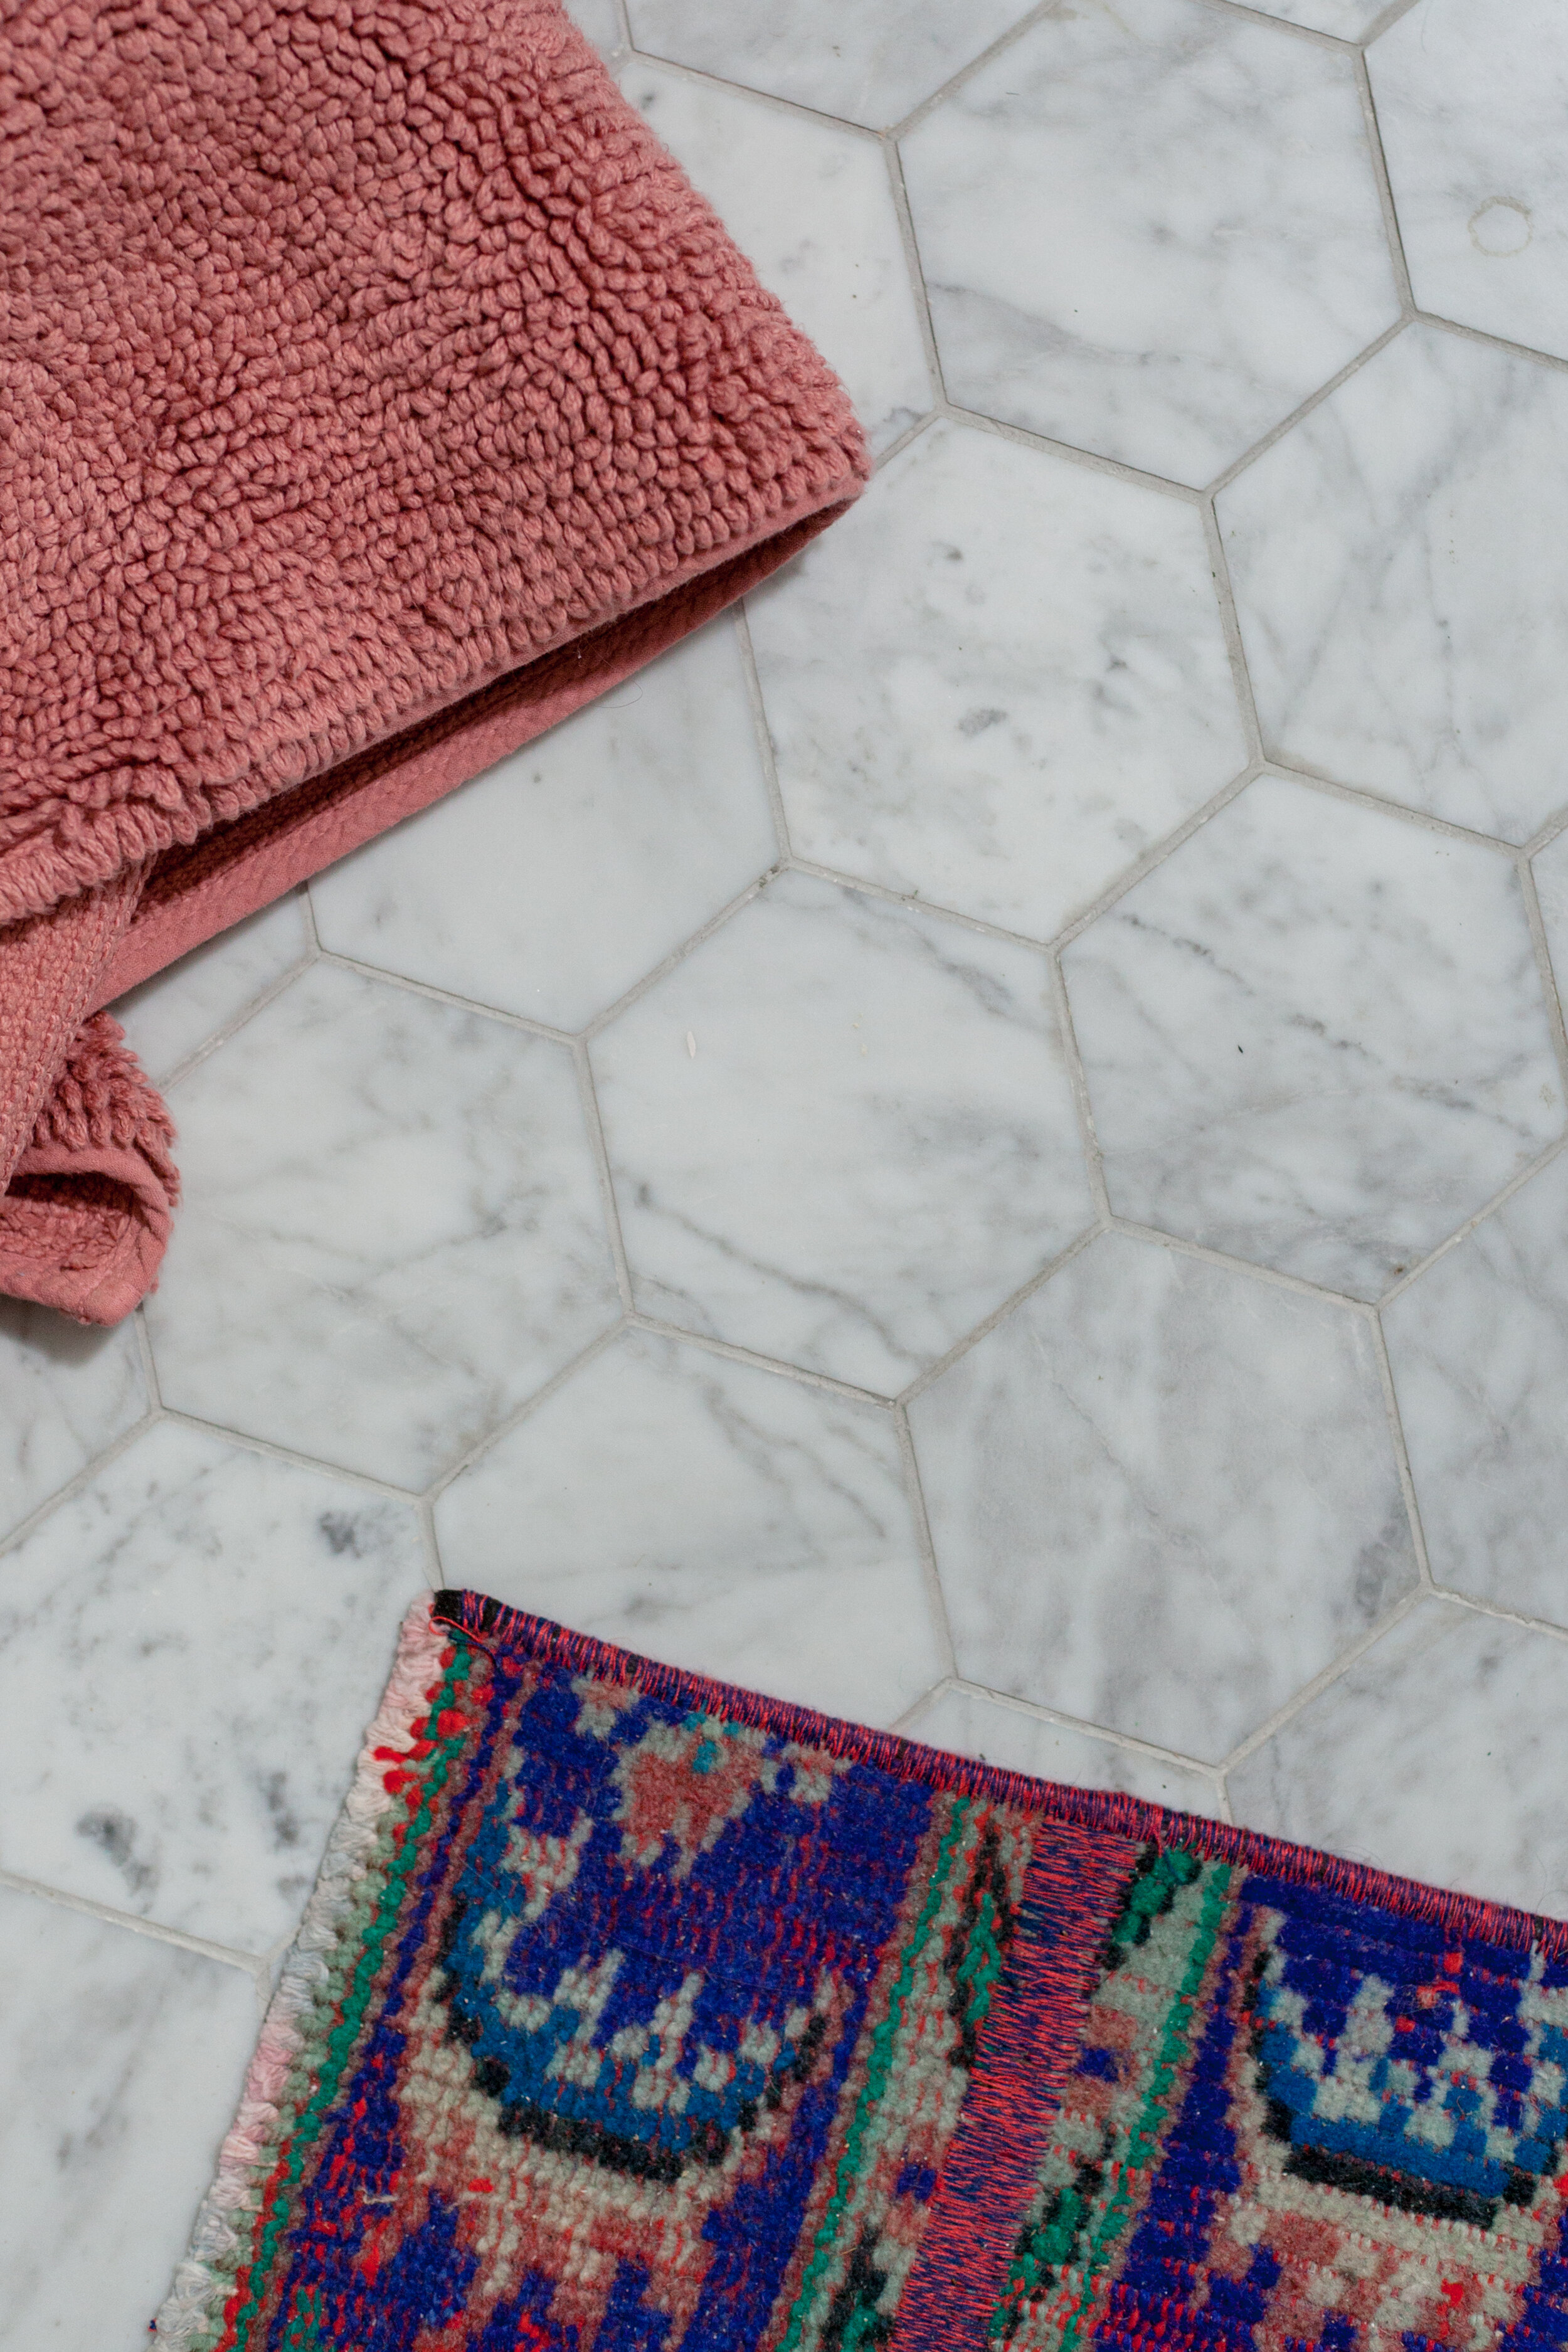
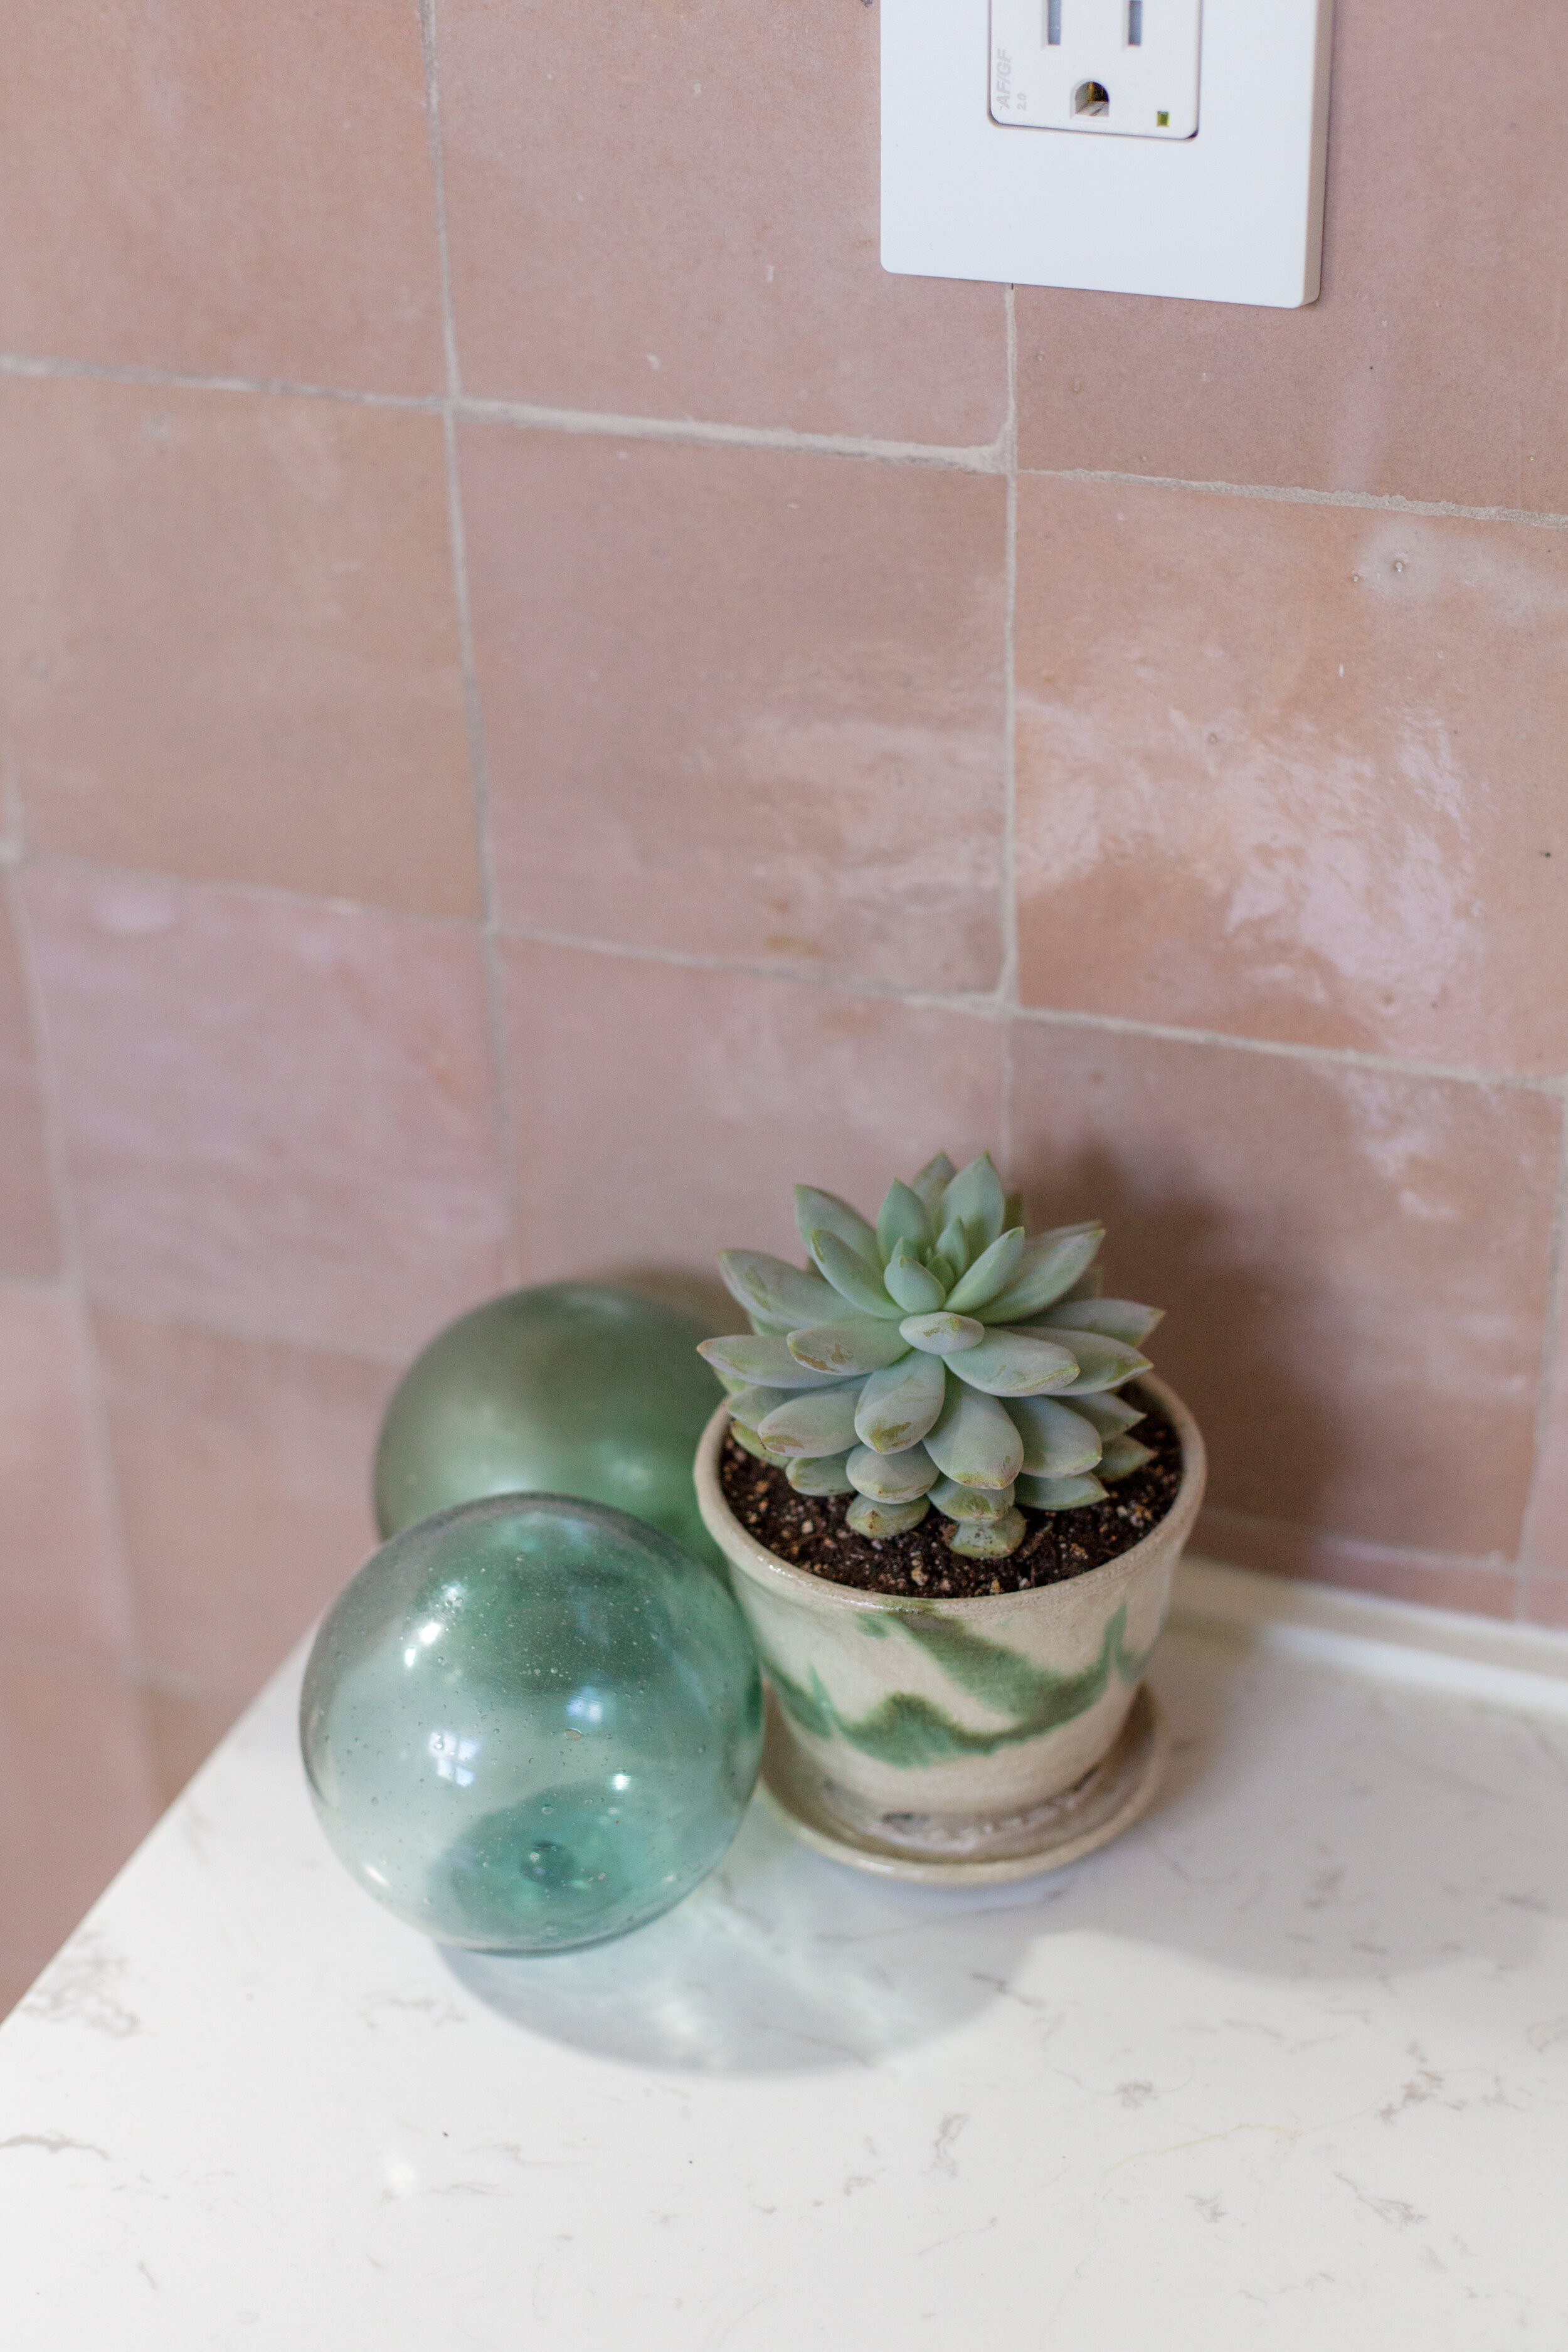
beach glass balls from pete’s grandpa!
the zellige tiles were the first component of my bathroom dreams & visions, and i am so glad to have been able to experiment with them over the last couple of months. i ordered zellige samples from a couple of different companies and ended up selecting zia tile for this project, as well as our kitchen backsplash. i found the quality of the zia tile samples to be significantly better than the other option and for a reasonable price.
i could have really gone wild with all the color options available, but in my effort to keep this bathroom mostly neutral, i chose “desert bloom,” which is a super pretty variety of blush pink, tan, & brown. yes, i consider blush pink to be “neutral.” 😎

10” velux sun tunnel skylight from seattle skylights
the sun tunnel skylight was sort of unnecessary because we already had a decent amount of daylight from the main bathroom window - but i knew it would really make an additional impact with so much more natural light coming into the shower, which really highlights & accentuates all of the beautiful tile in the room! it also kind of feels like you’re showering outdoors if you use it during the day time, which is fun.
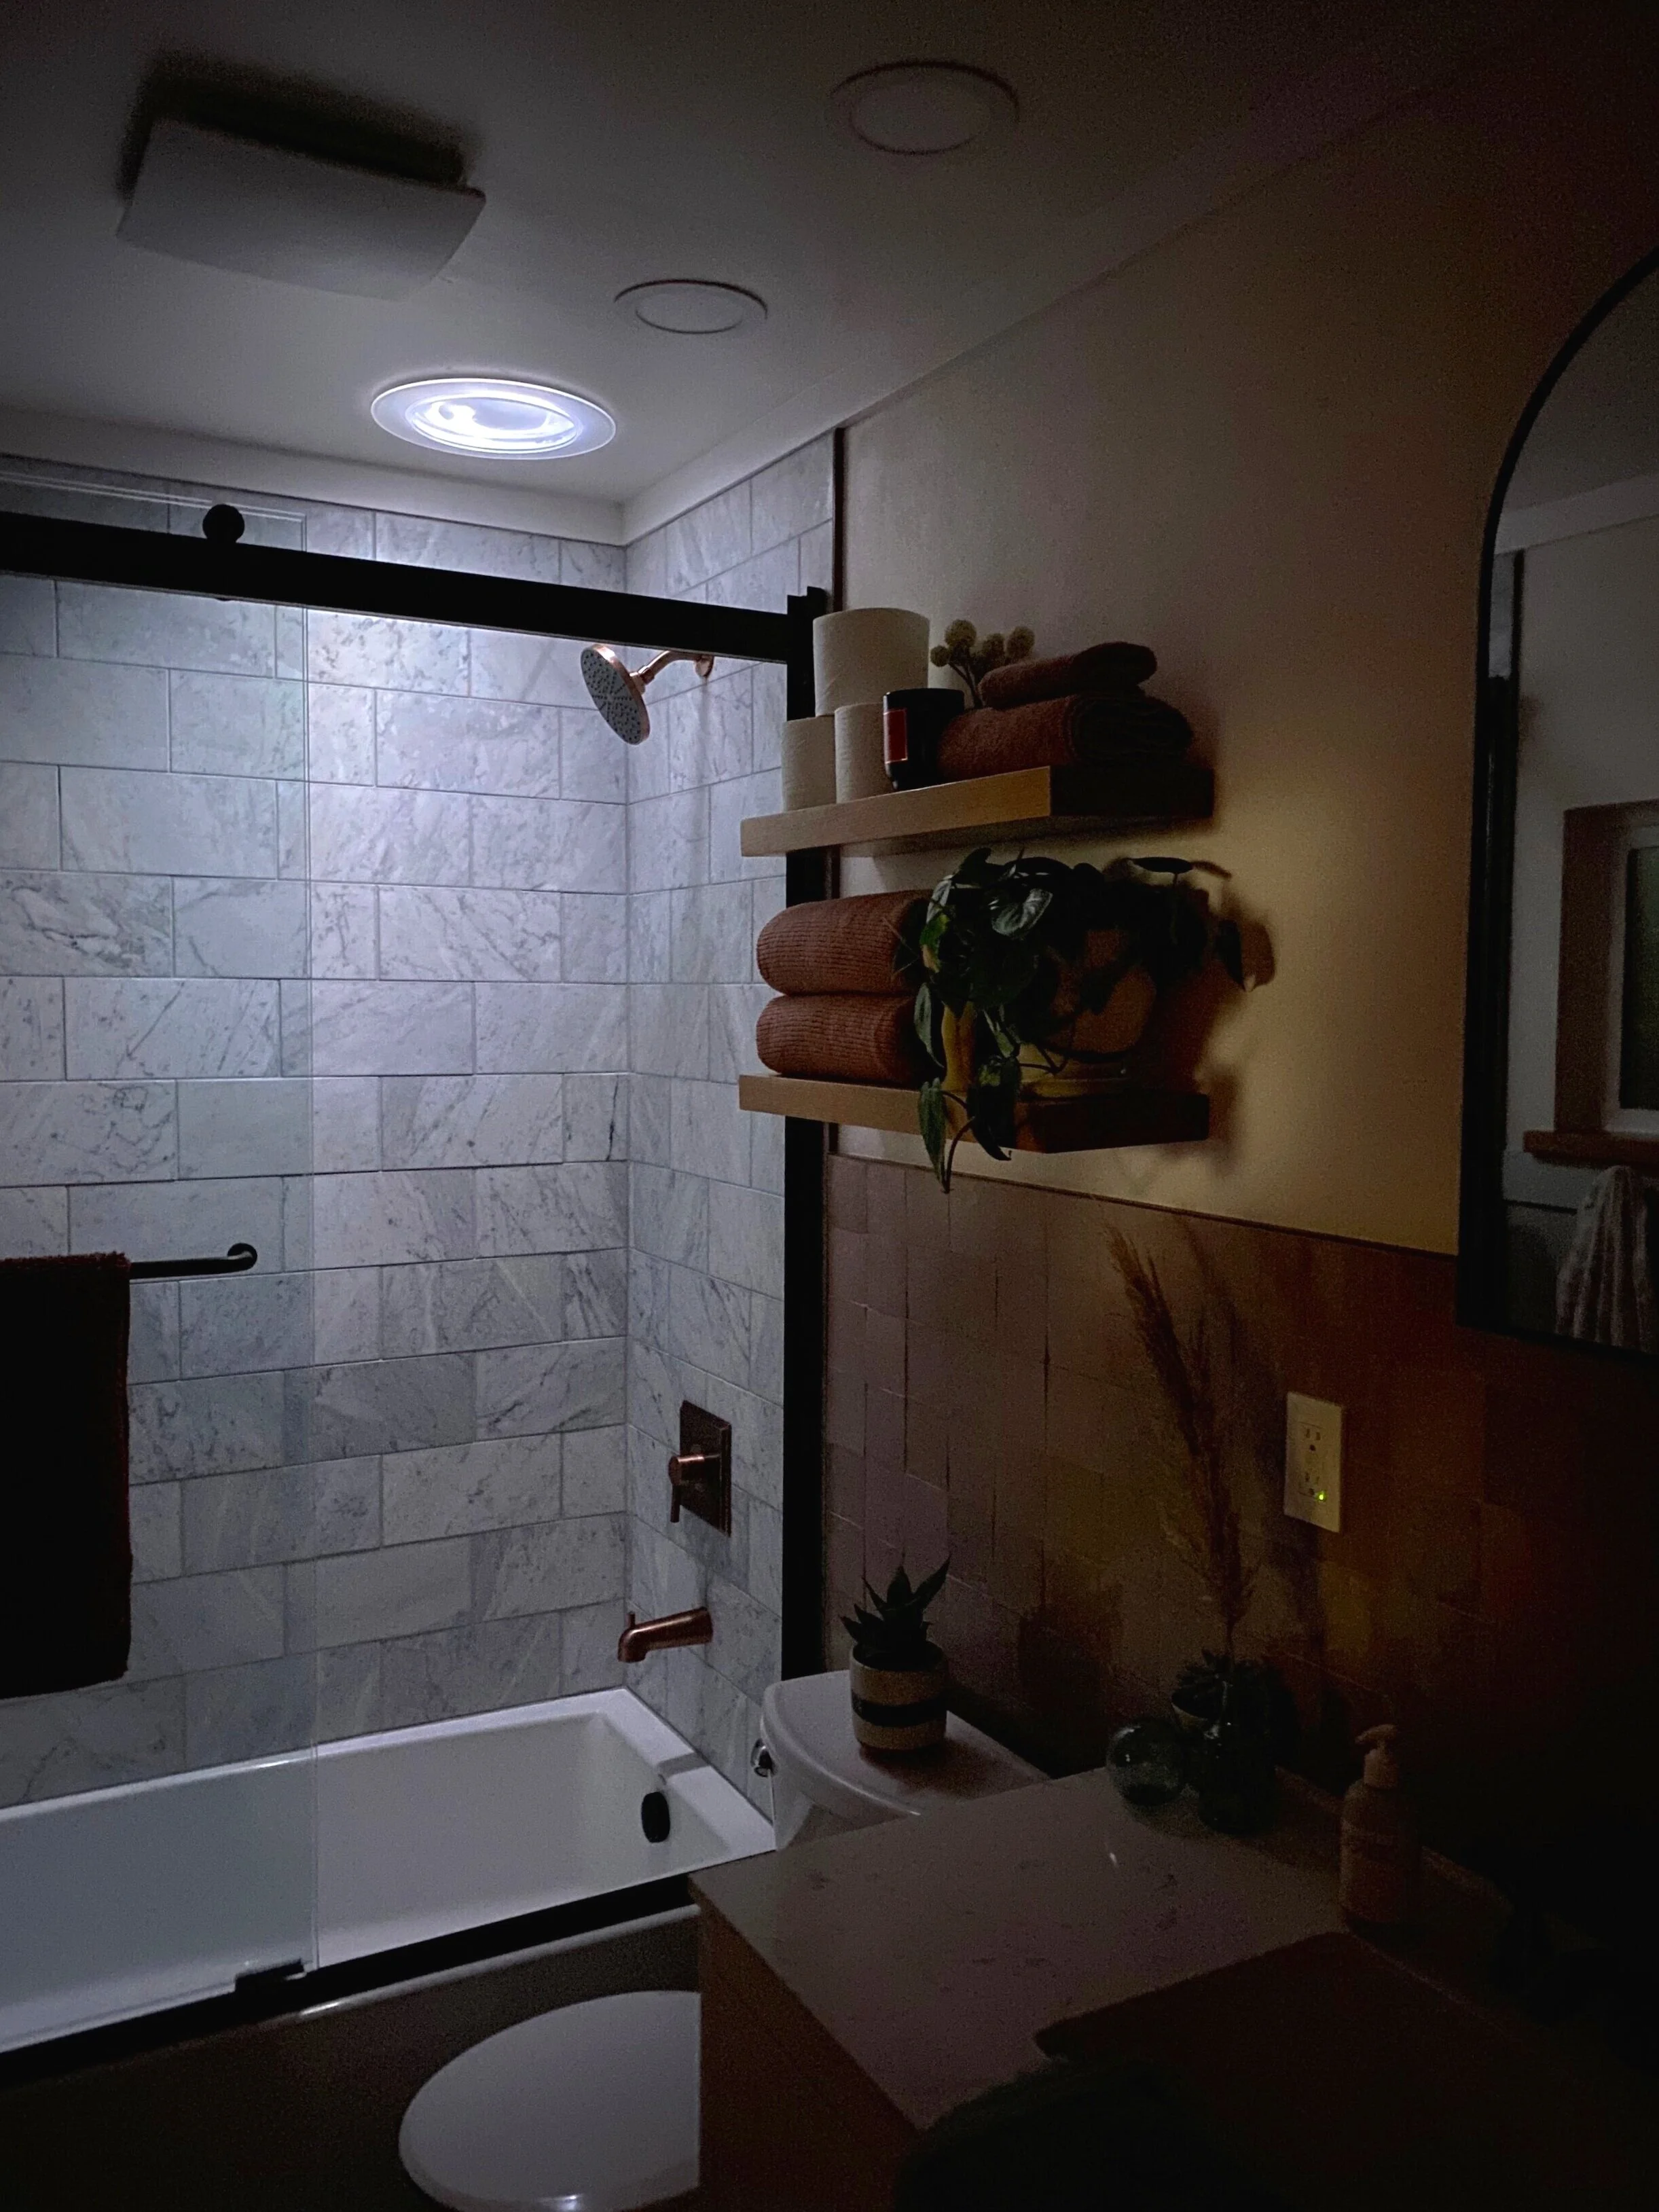
and it’s a solar tube - so theres an LED glow in the tube when it gets dark outside, which was a big bonus for me because i despise turning on lights if i have to use the bathroom in the middle of the night. i would mostly just stumble around in the dark because i cannot stand the bright lights when i’m still sleeping - so the glow from the skylight is amazing and truly feels like you’re whizzing in the moonlight!

-beeswax hug candle, by rani ban - i interned with rani at an art gallery in college and it’s been so fun to watch her grow her business and all her studio & farm life happenings via instagram.
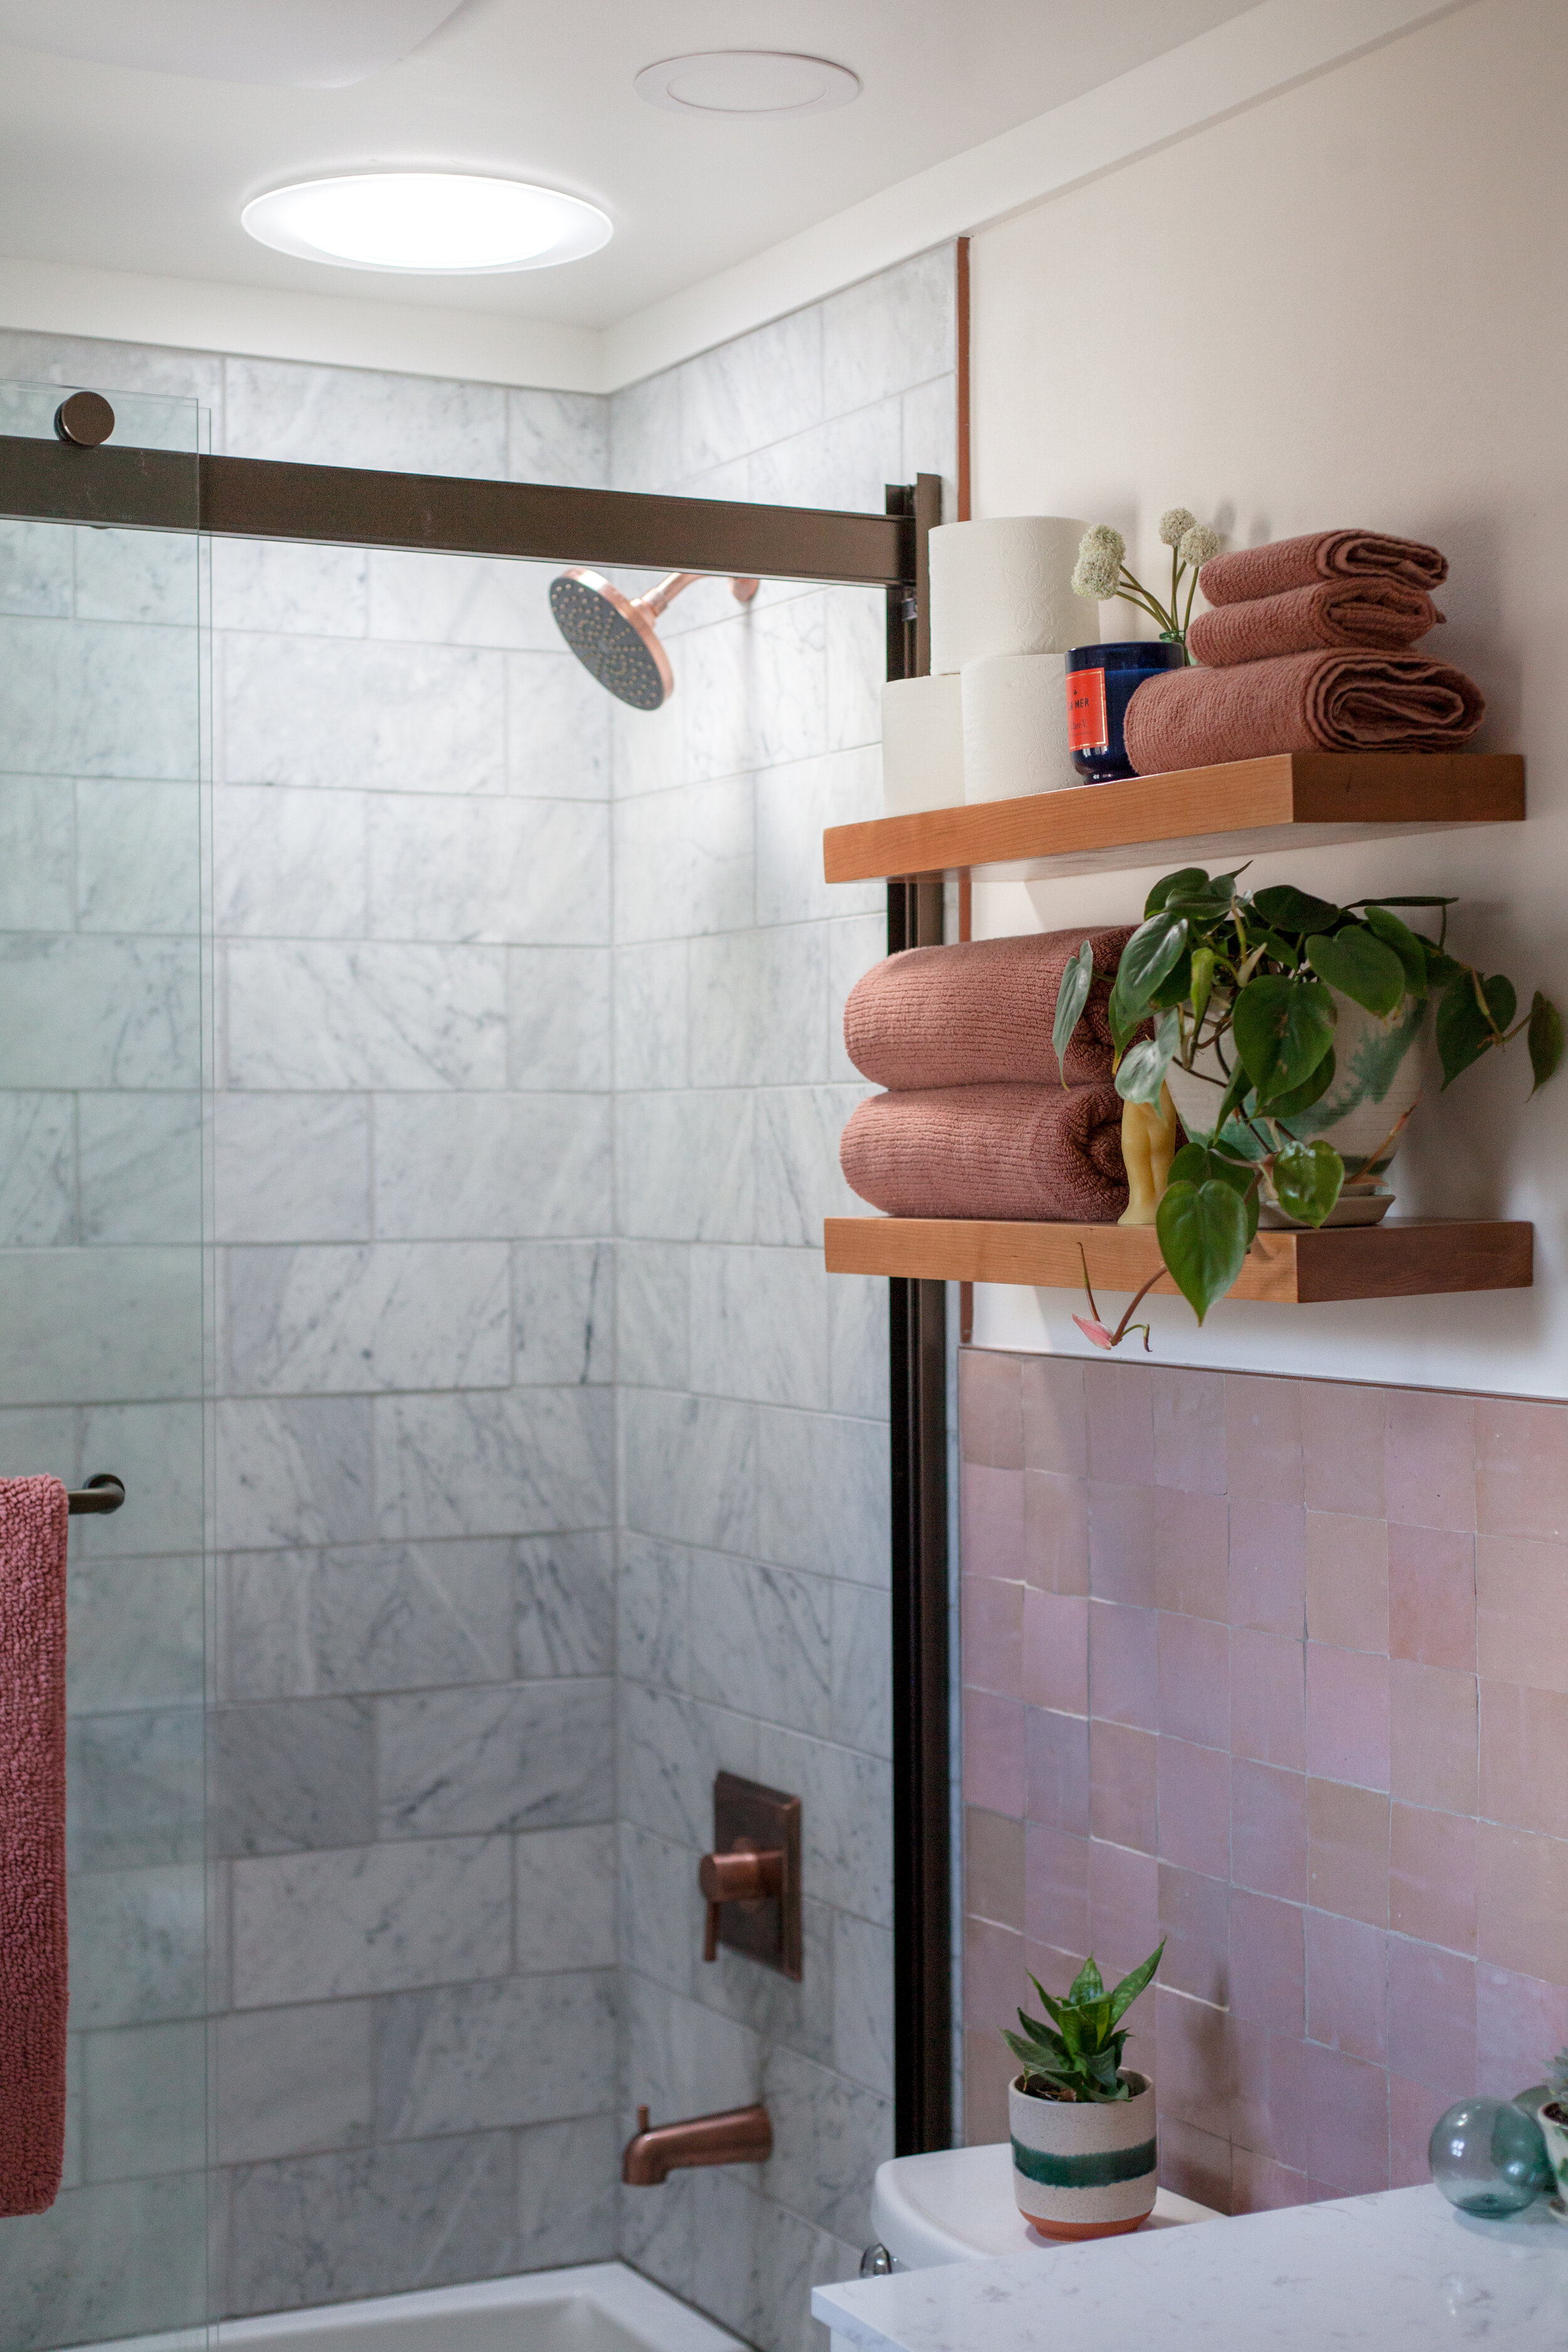
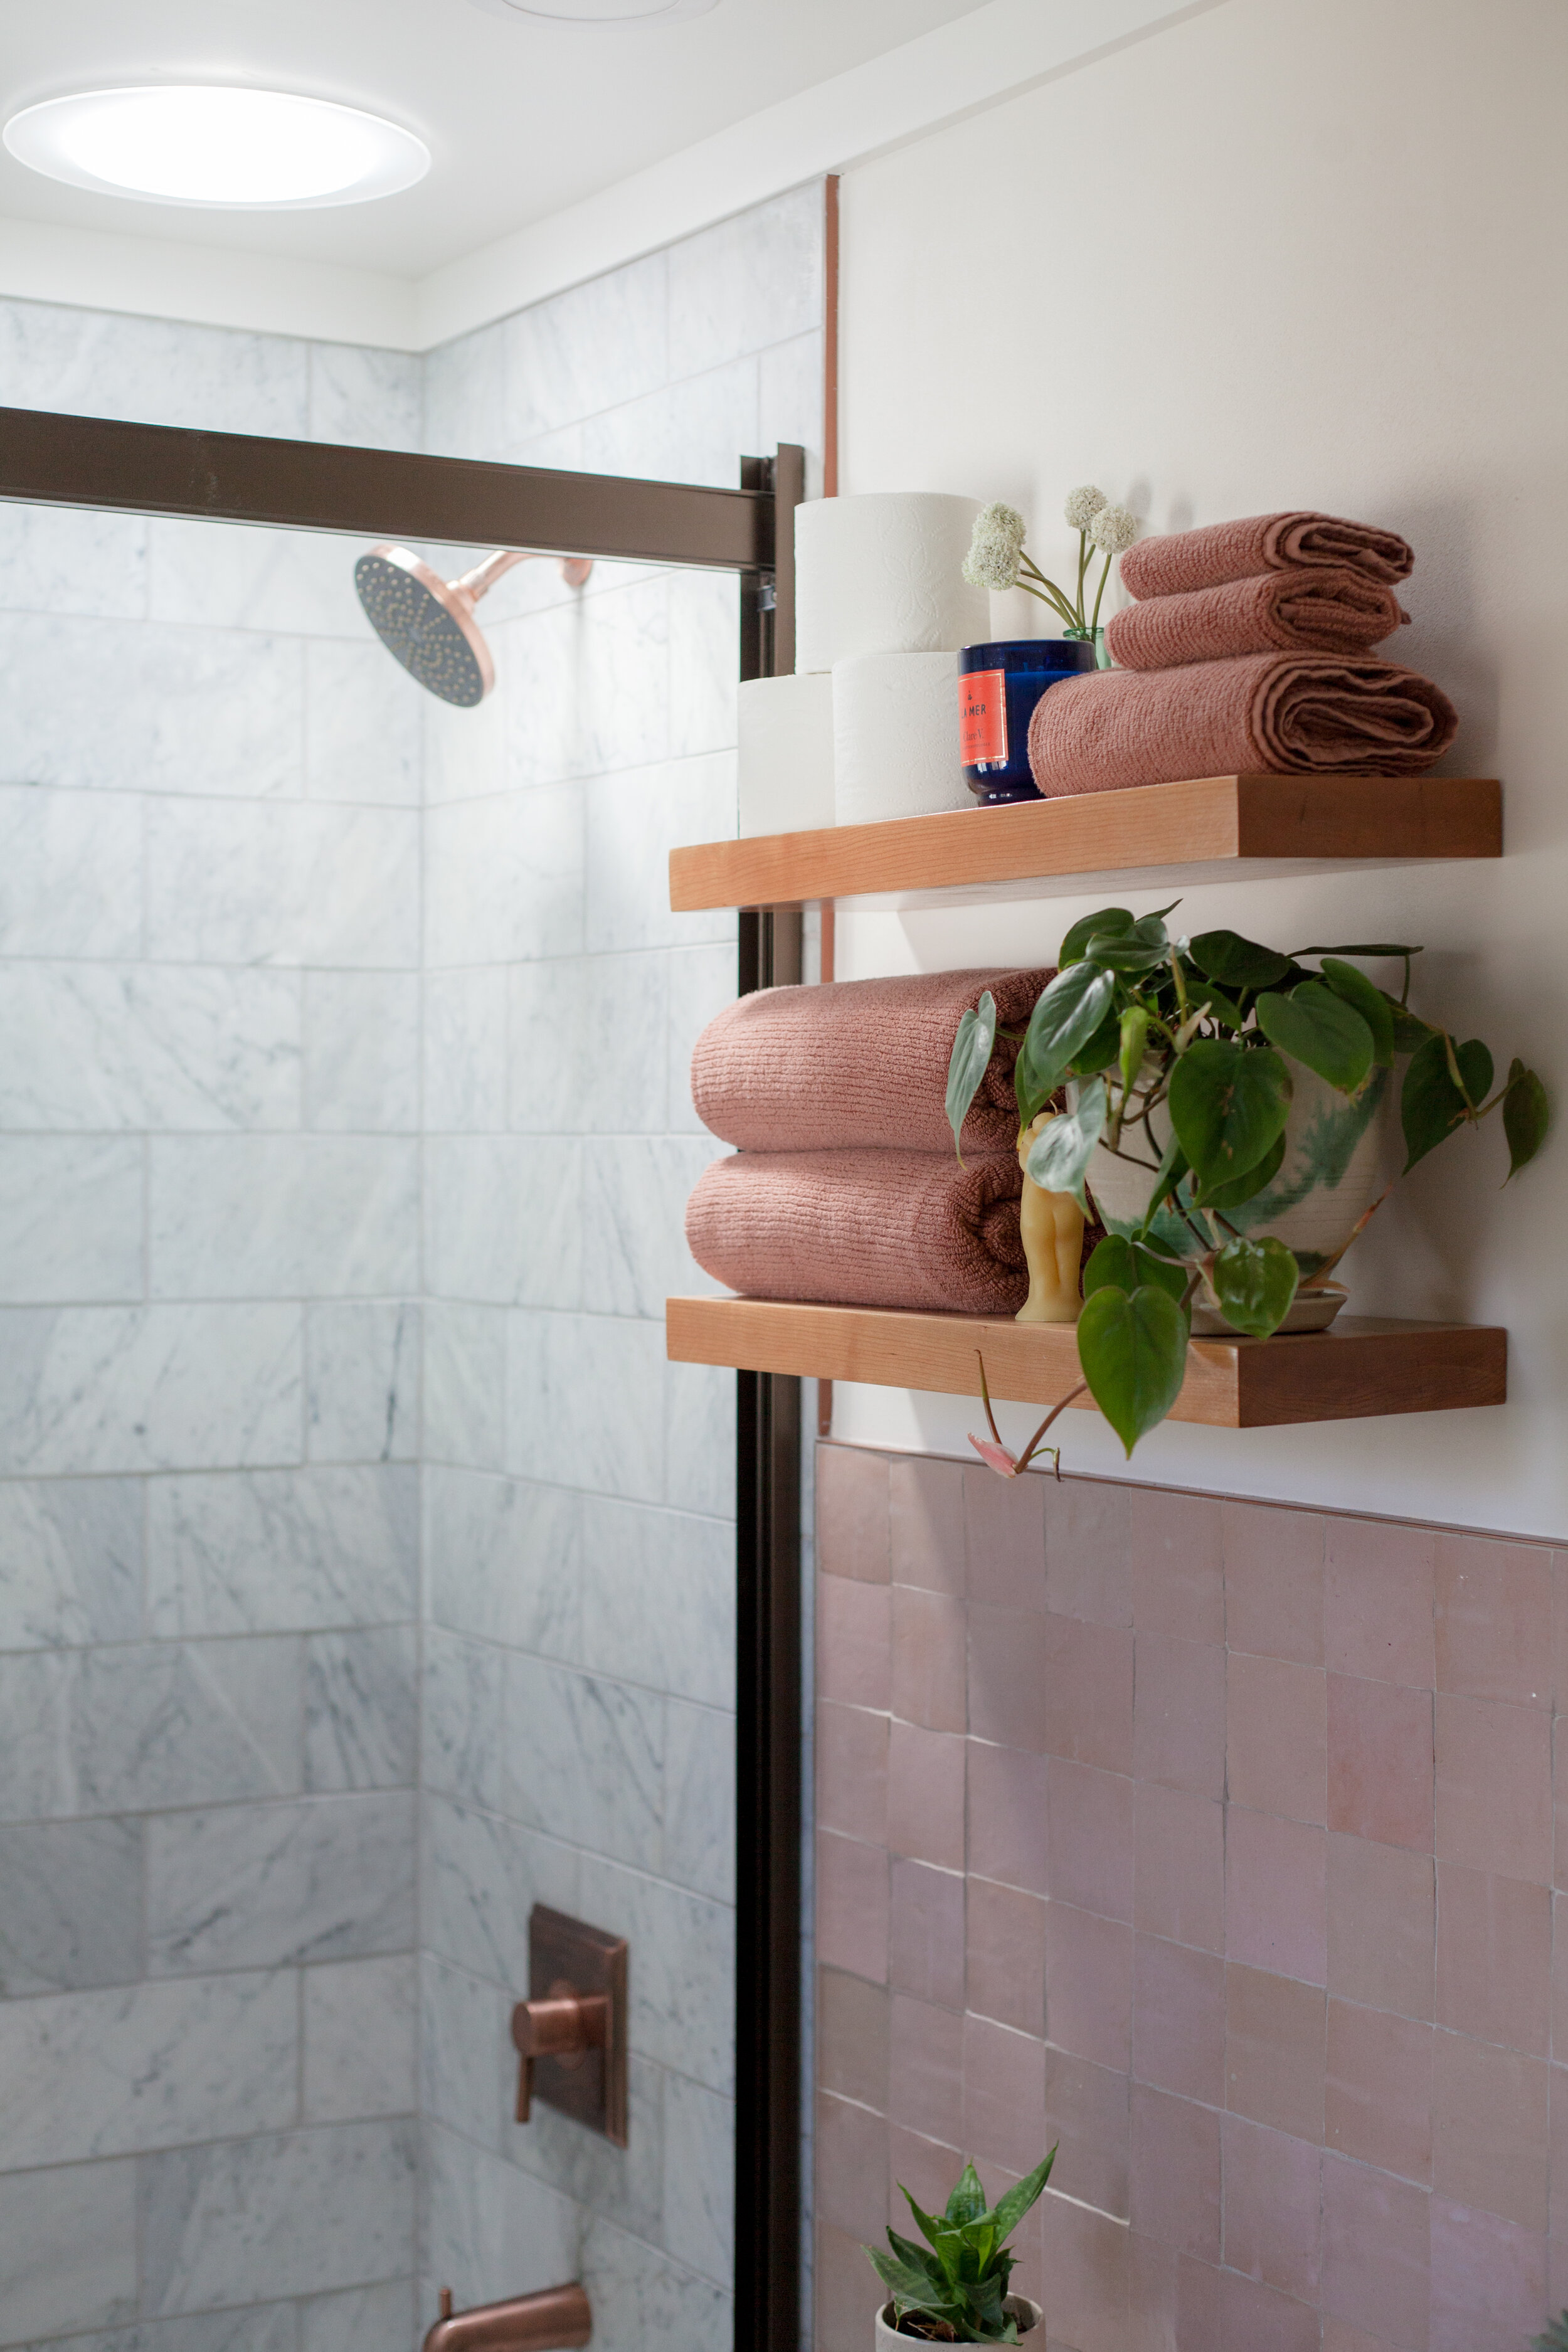
-soft rib towels in ‘clay’, from parachute home
-aqua green bud vases from world market

these ribbed towels are sooo soft and to die for. and the ‘clay’ colorway couldn’t have been released at a more perfect time for me to snatch them up!
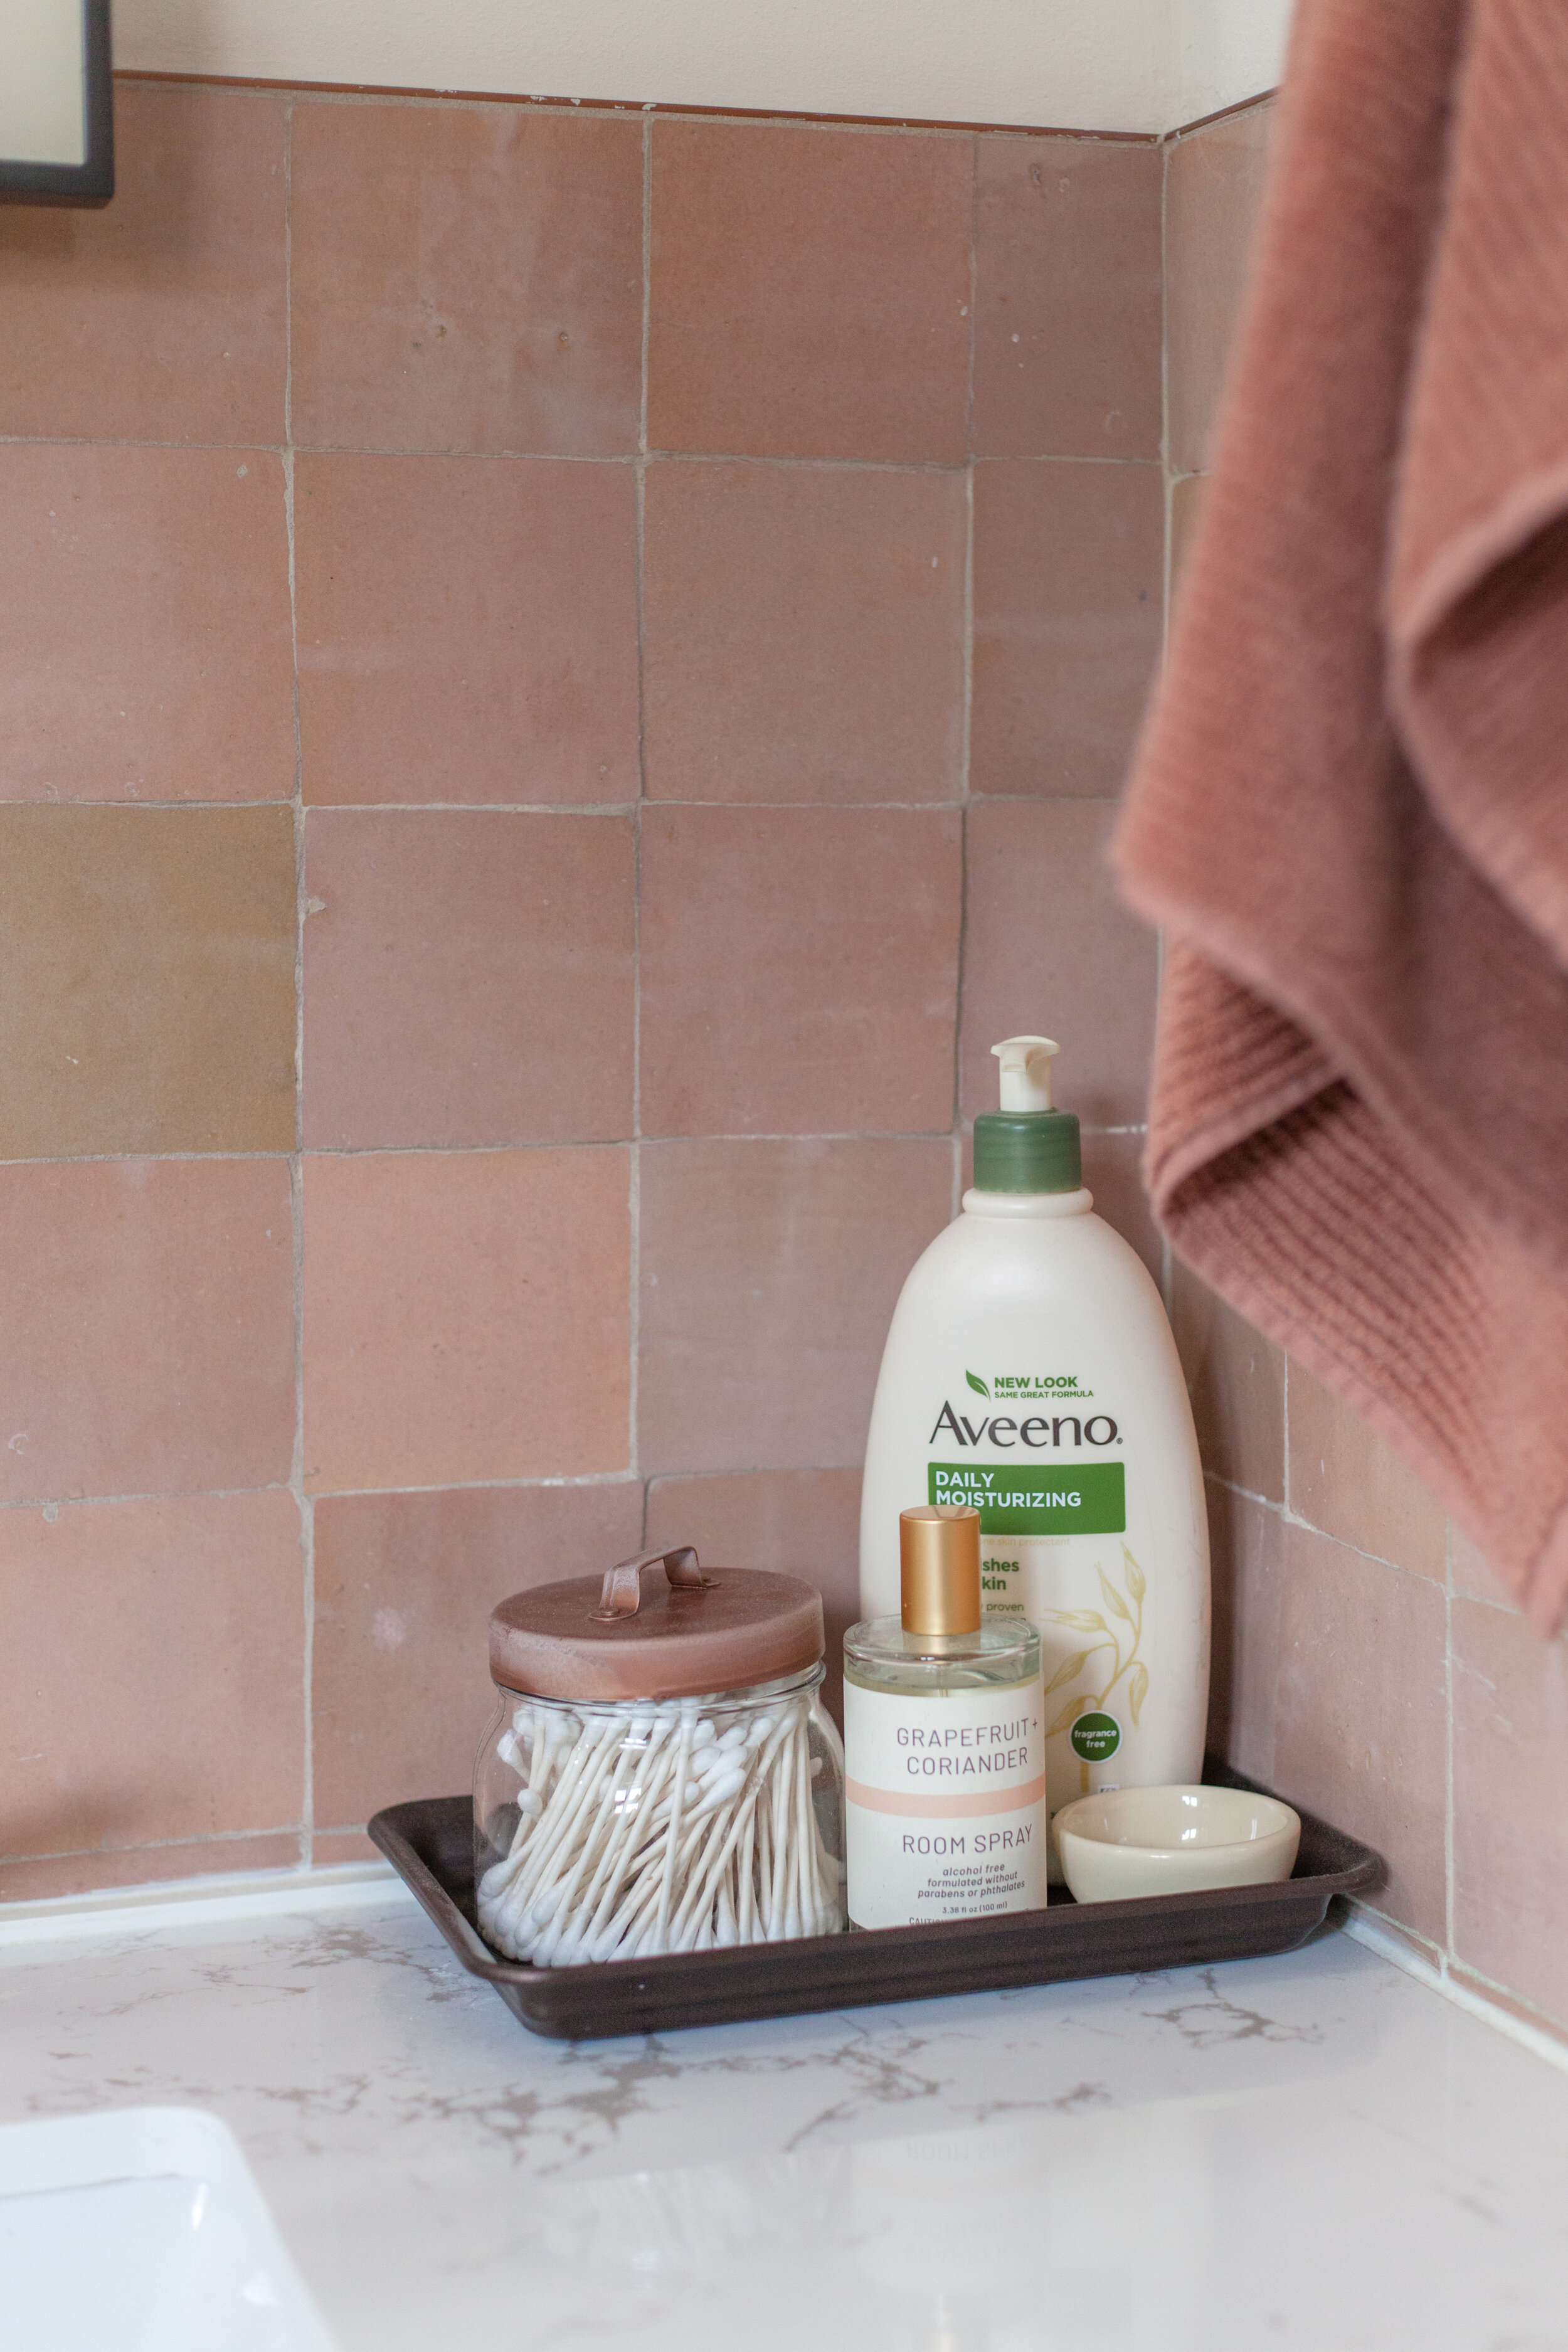
i spray painted our old coffee canister with the matching copper paint to turn it into a q-tip holder. we are loving having only a few things stored on the countertop.

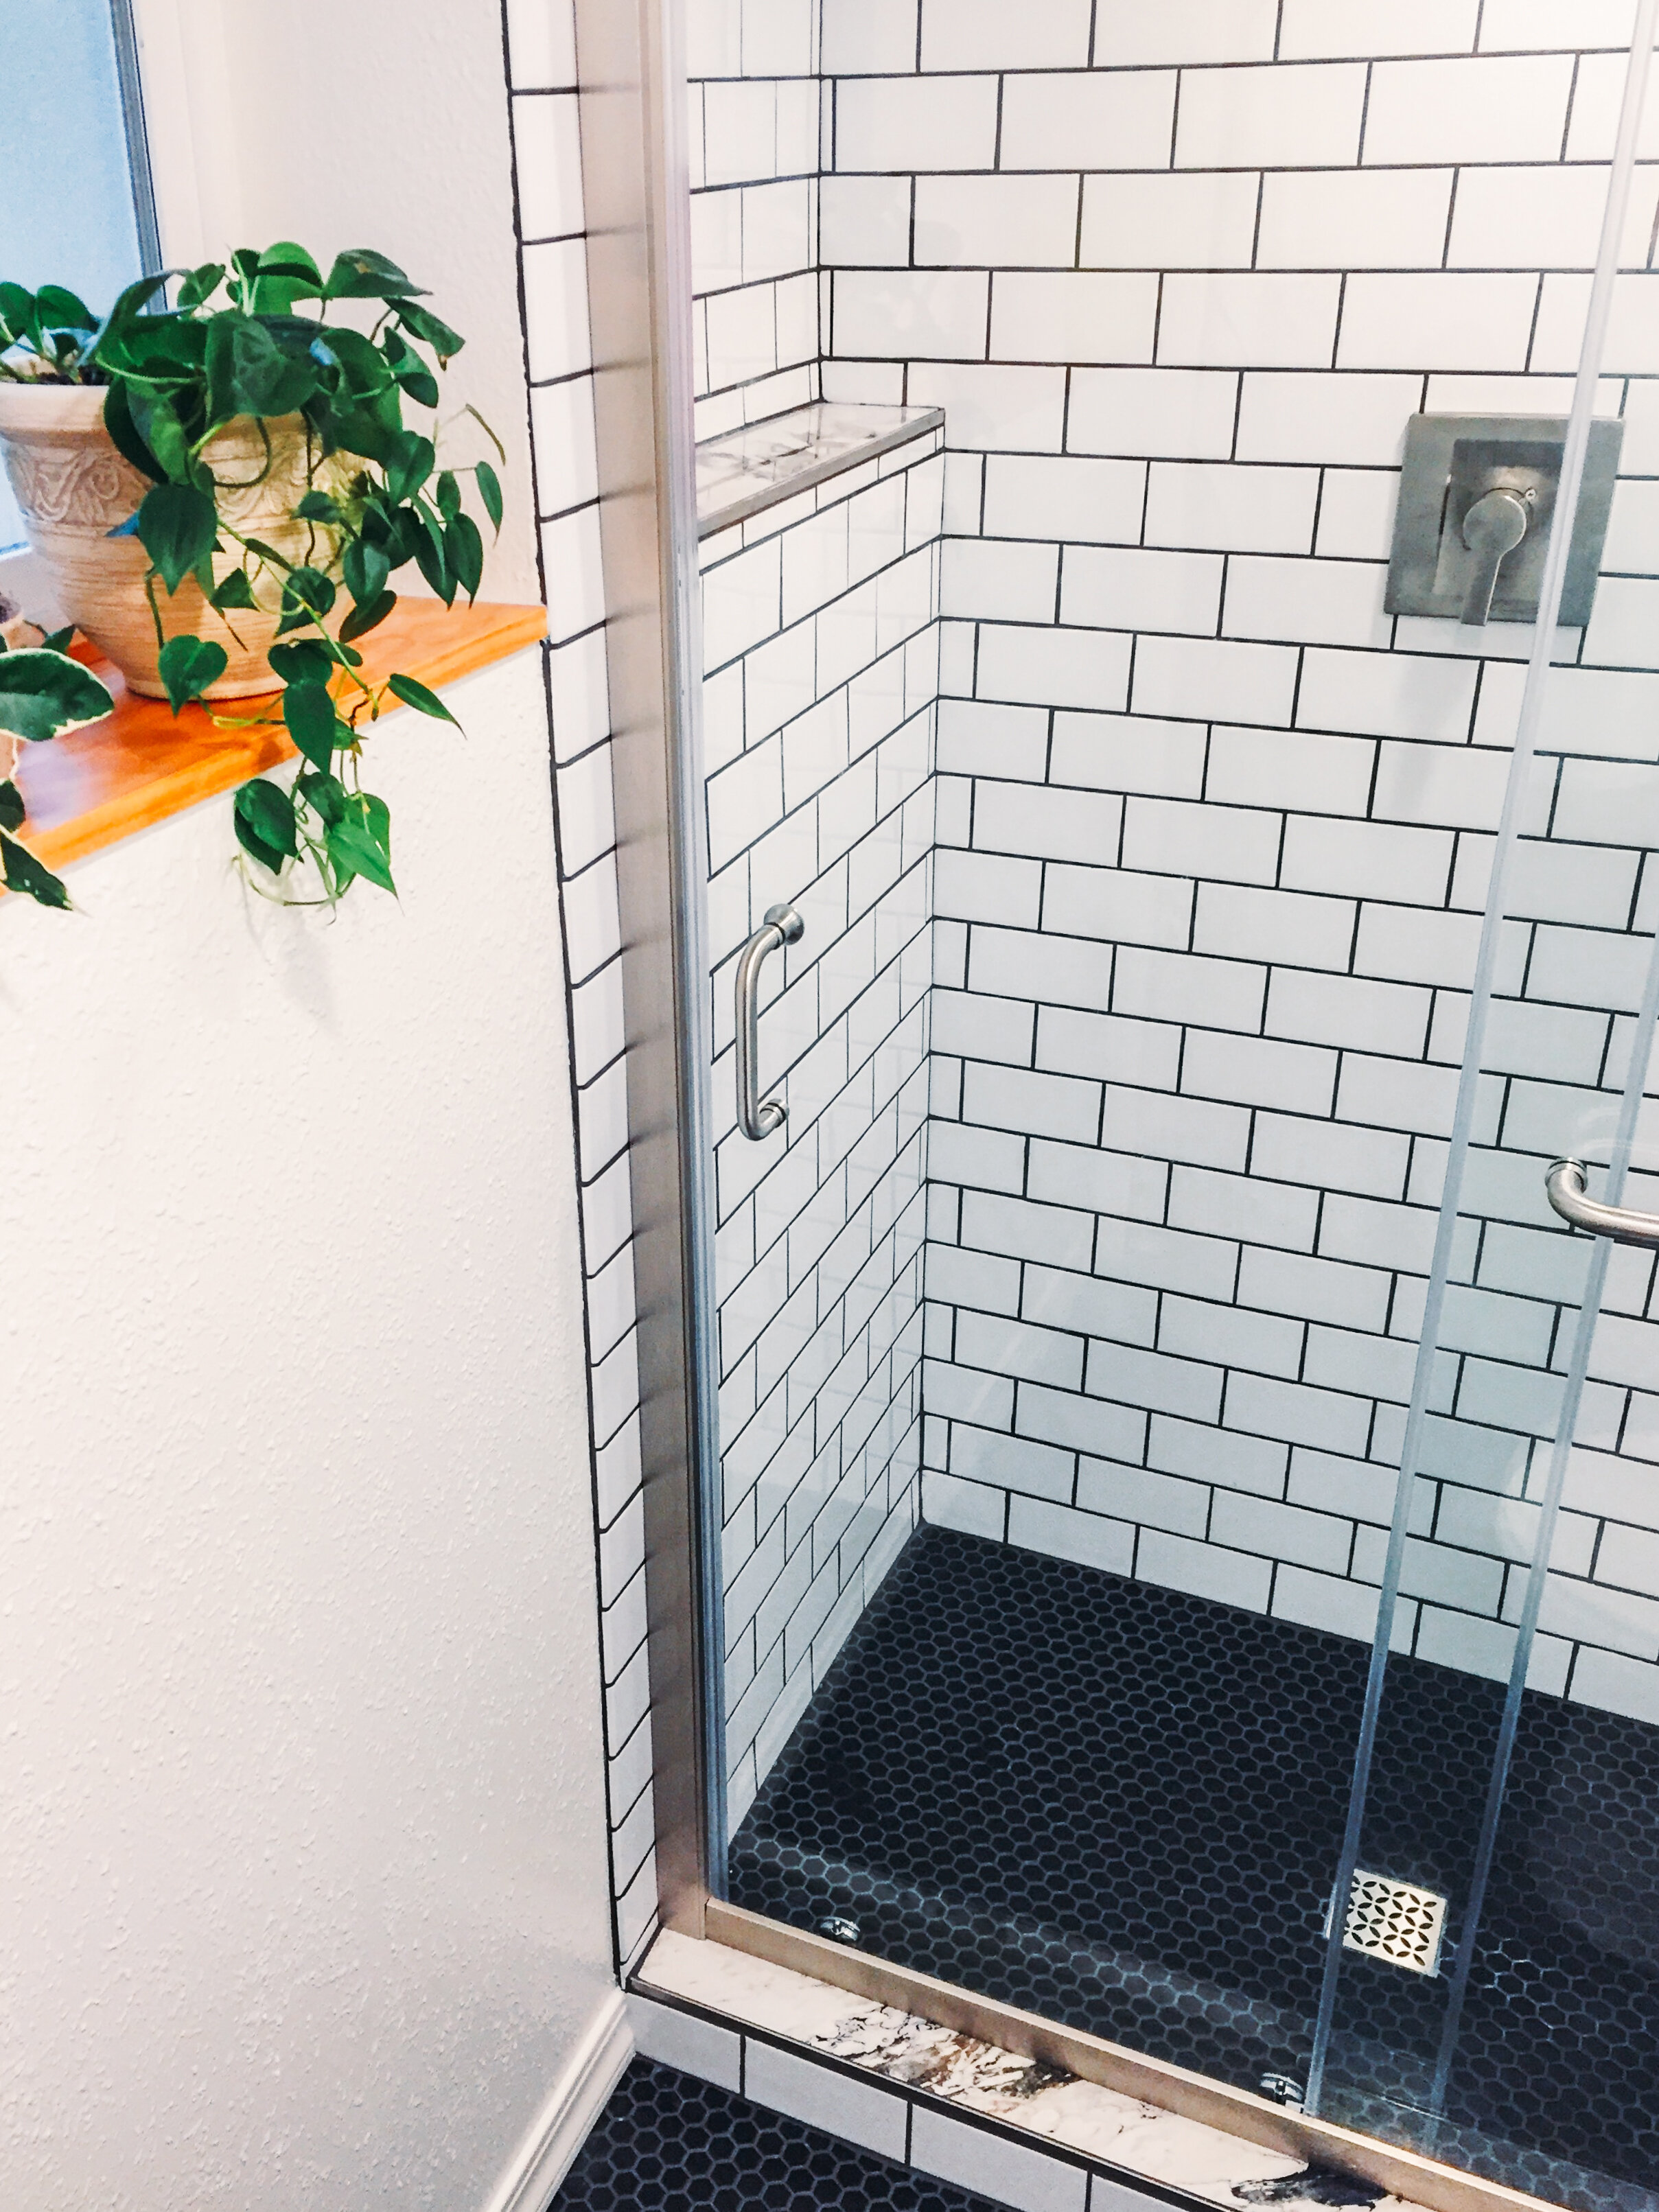
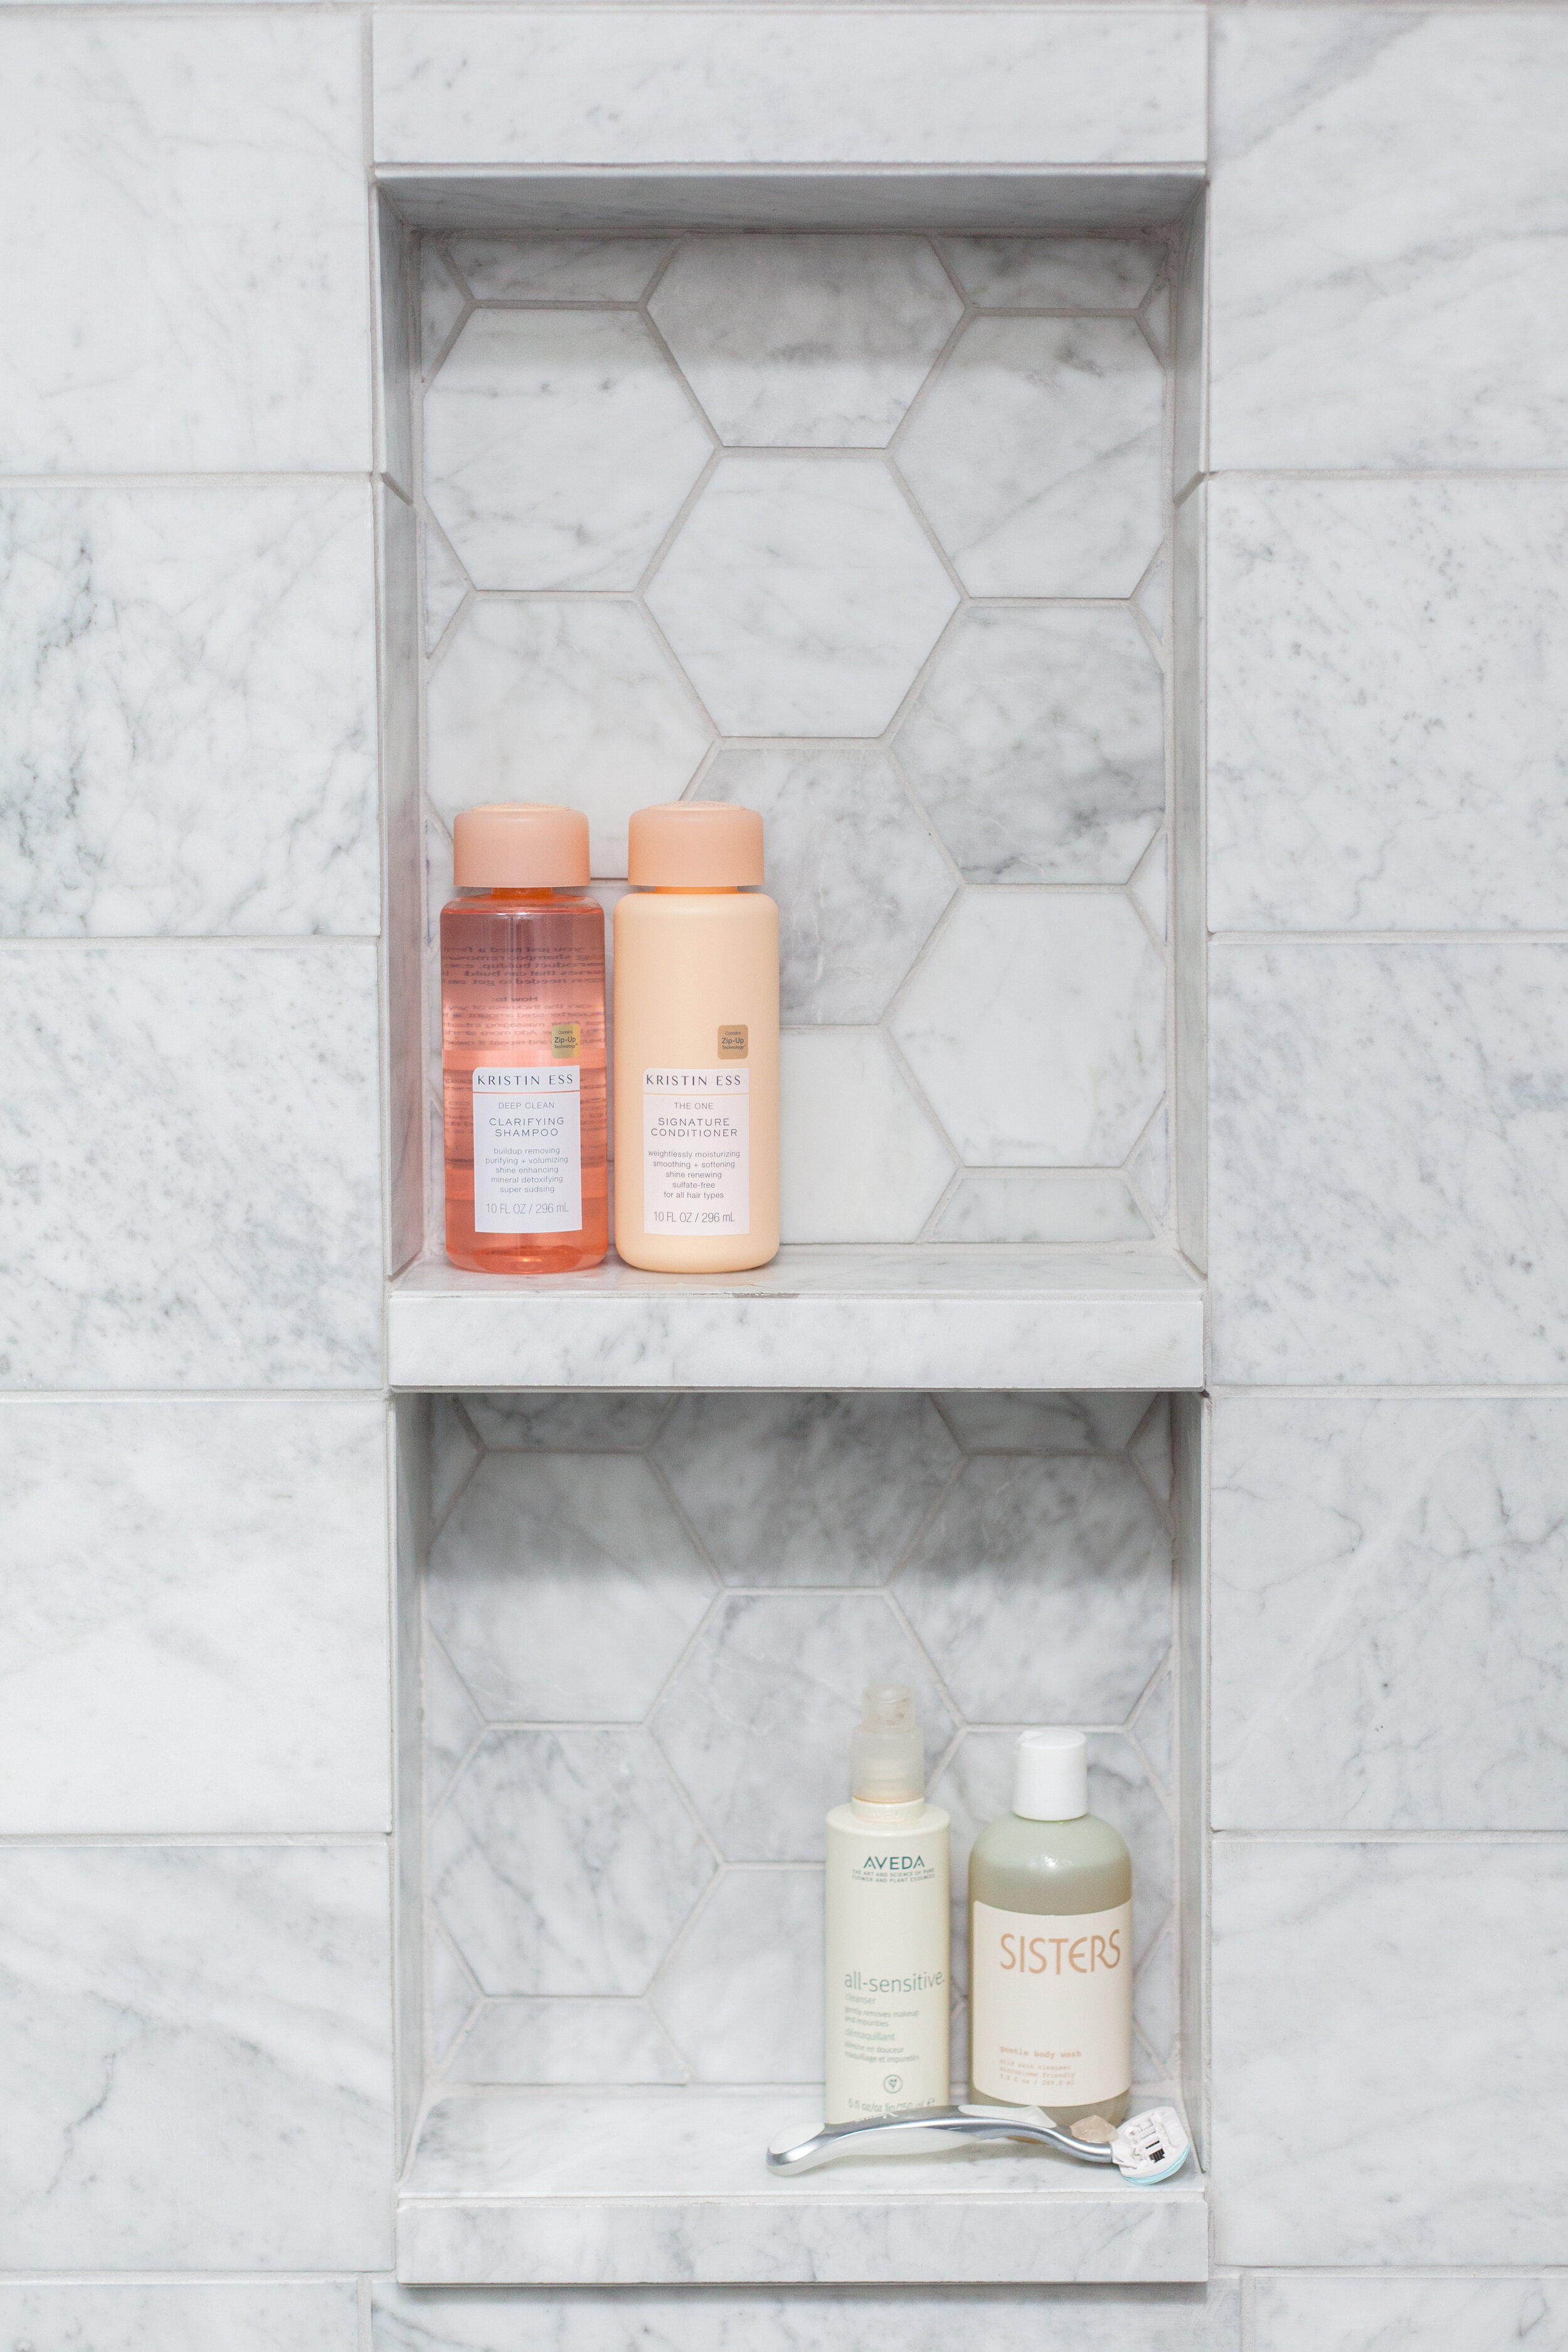
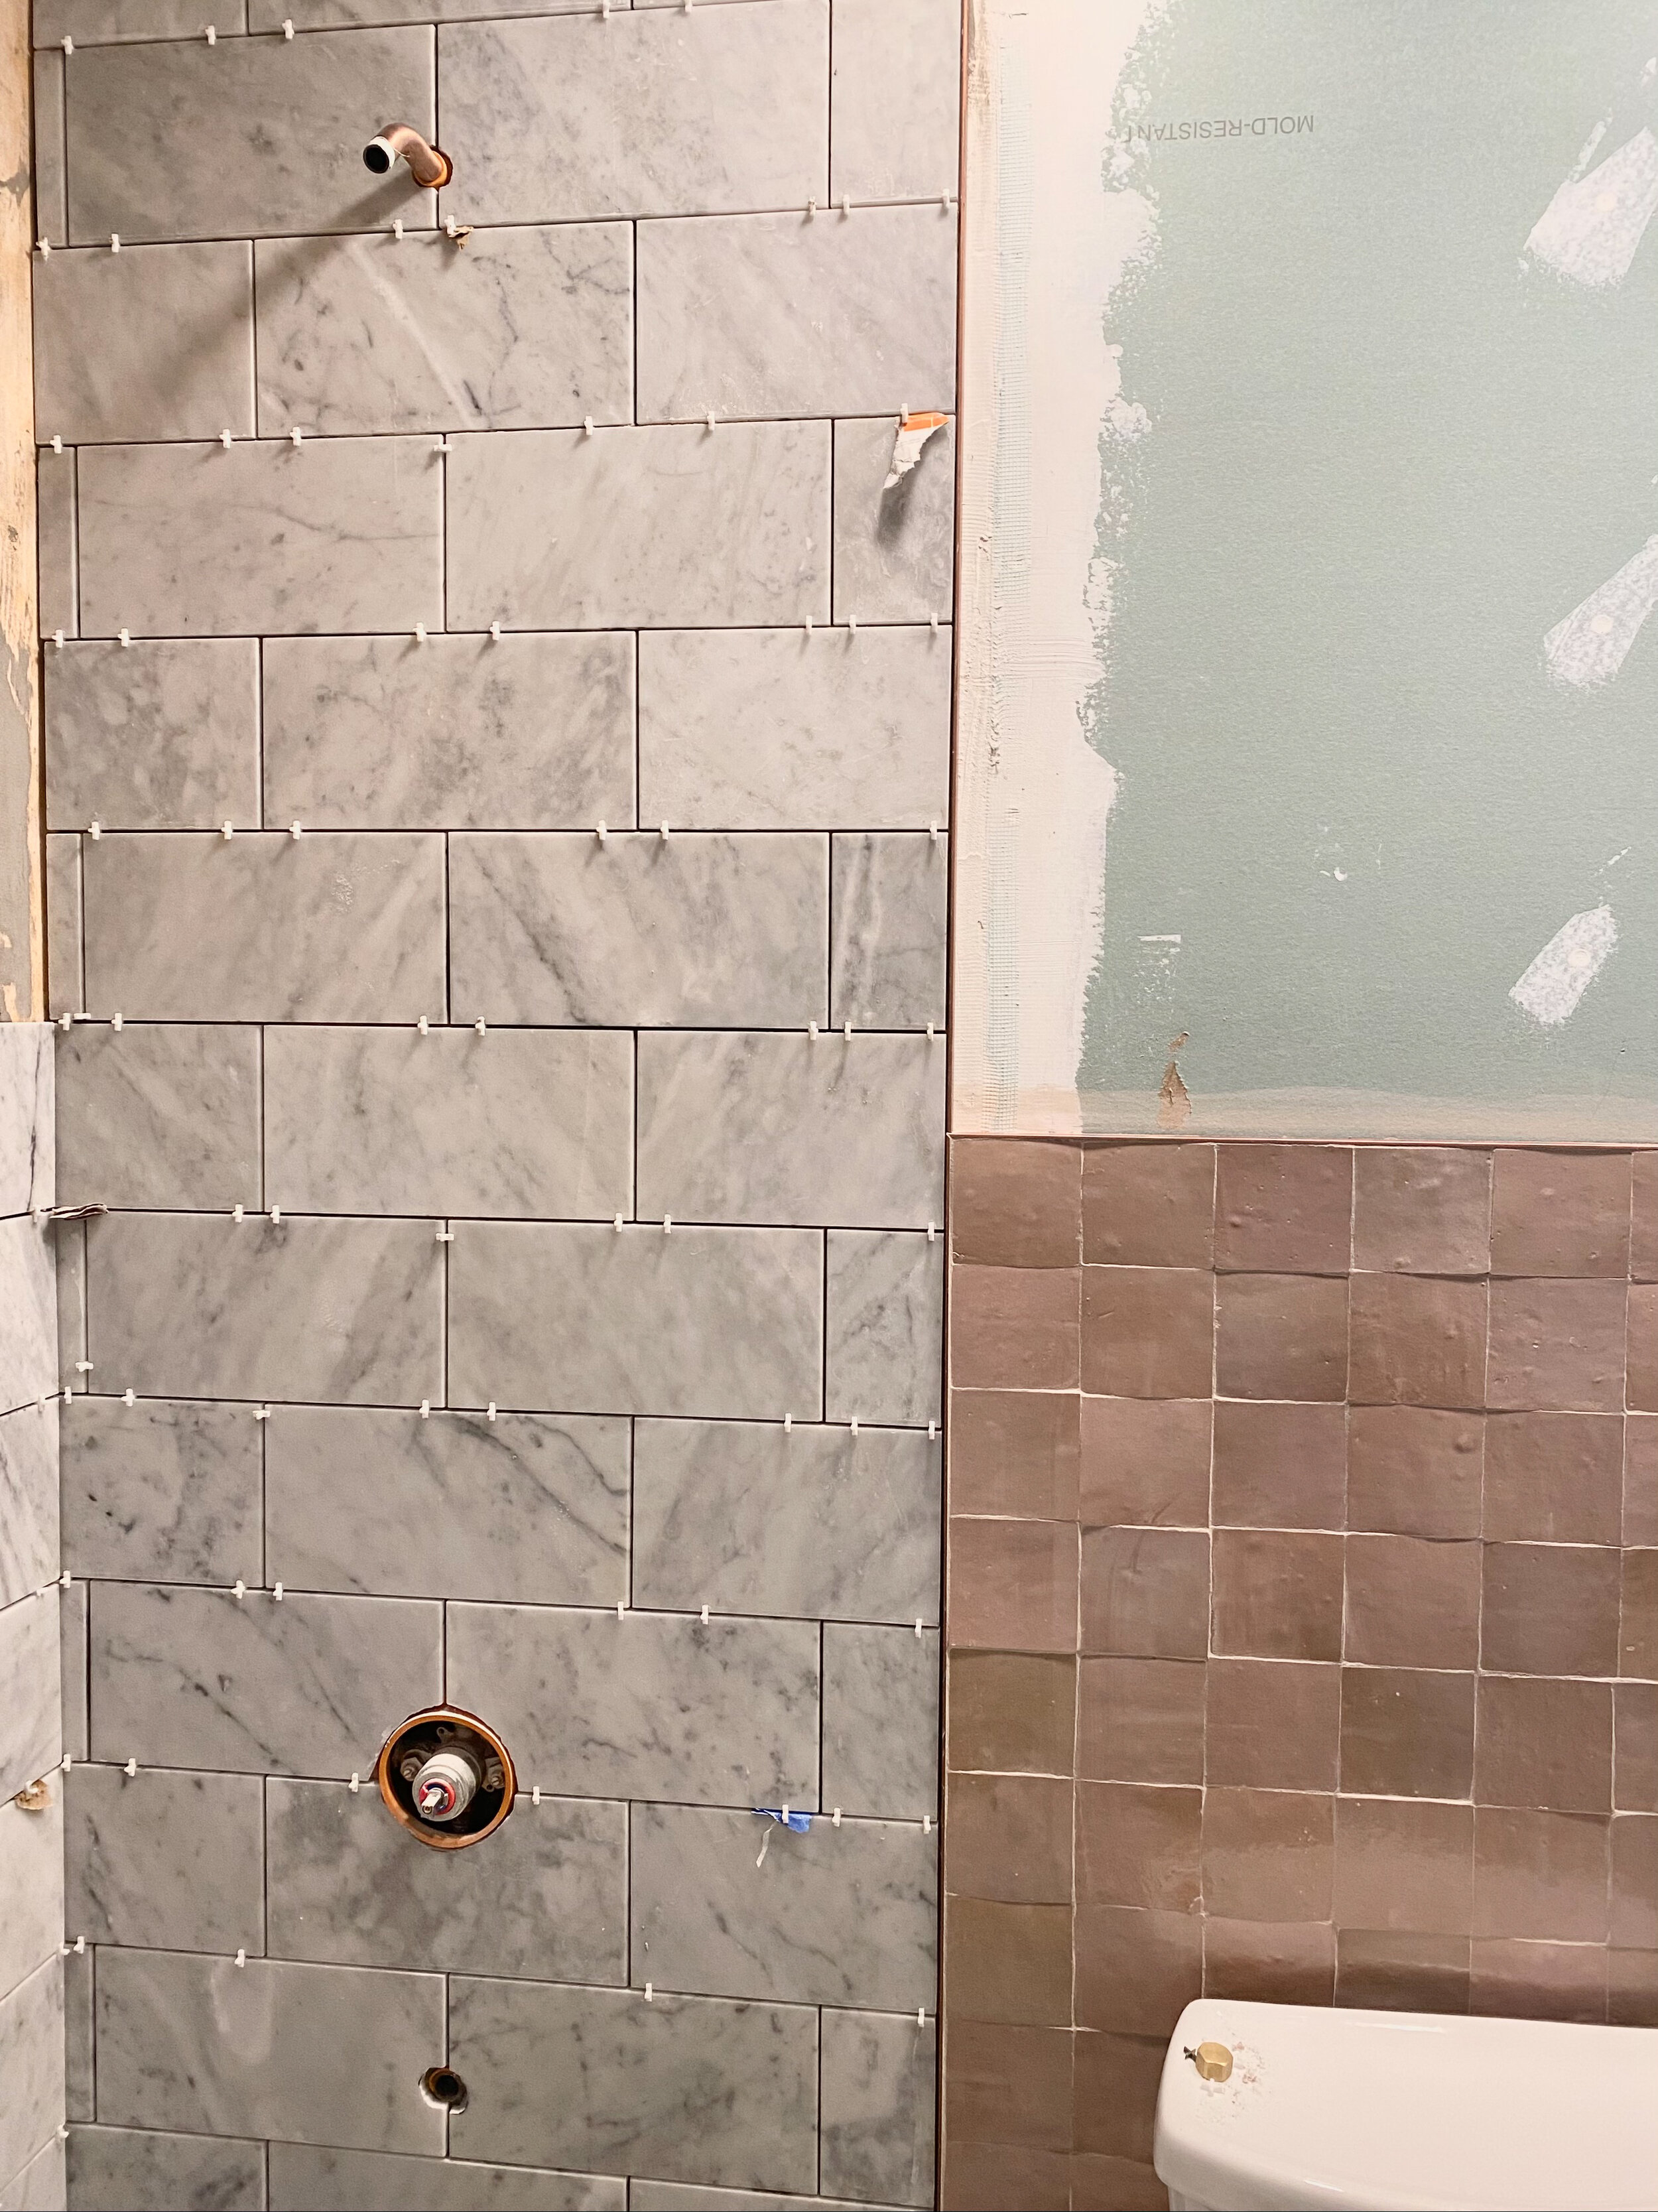
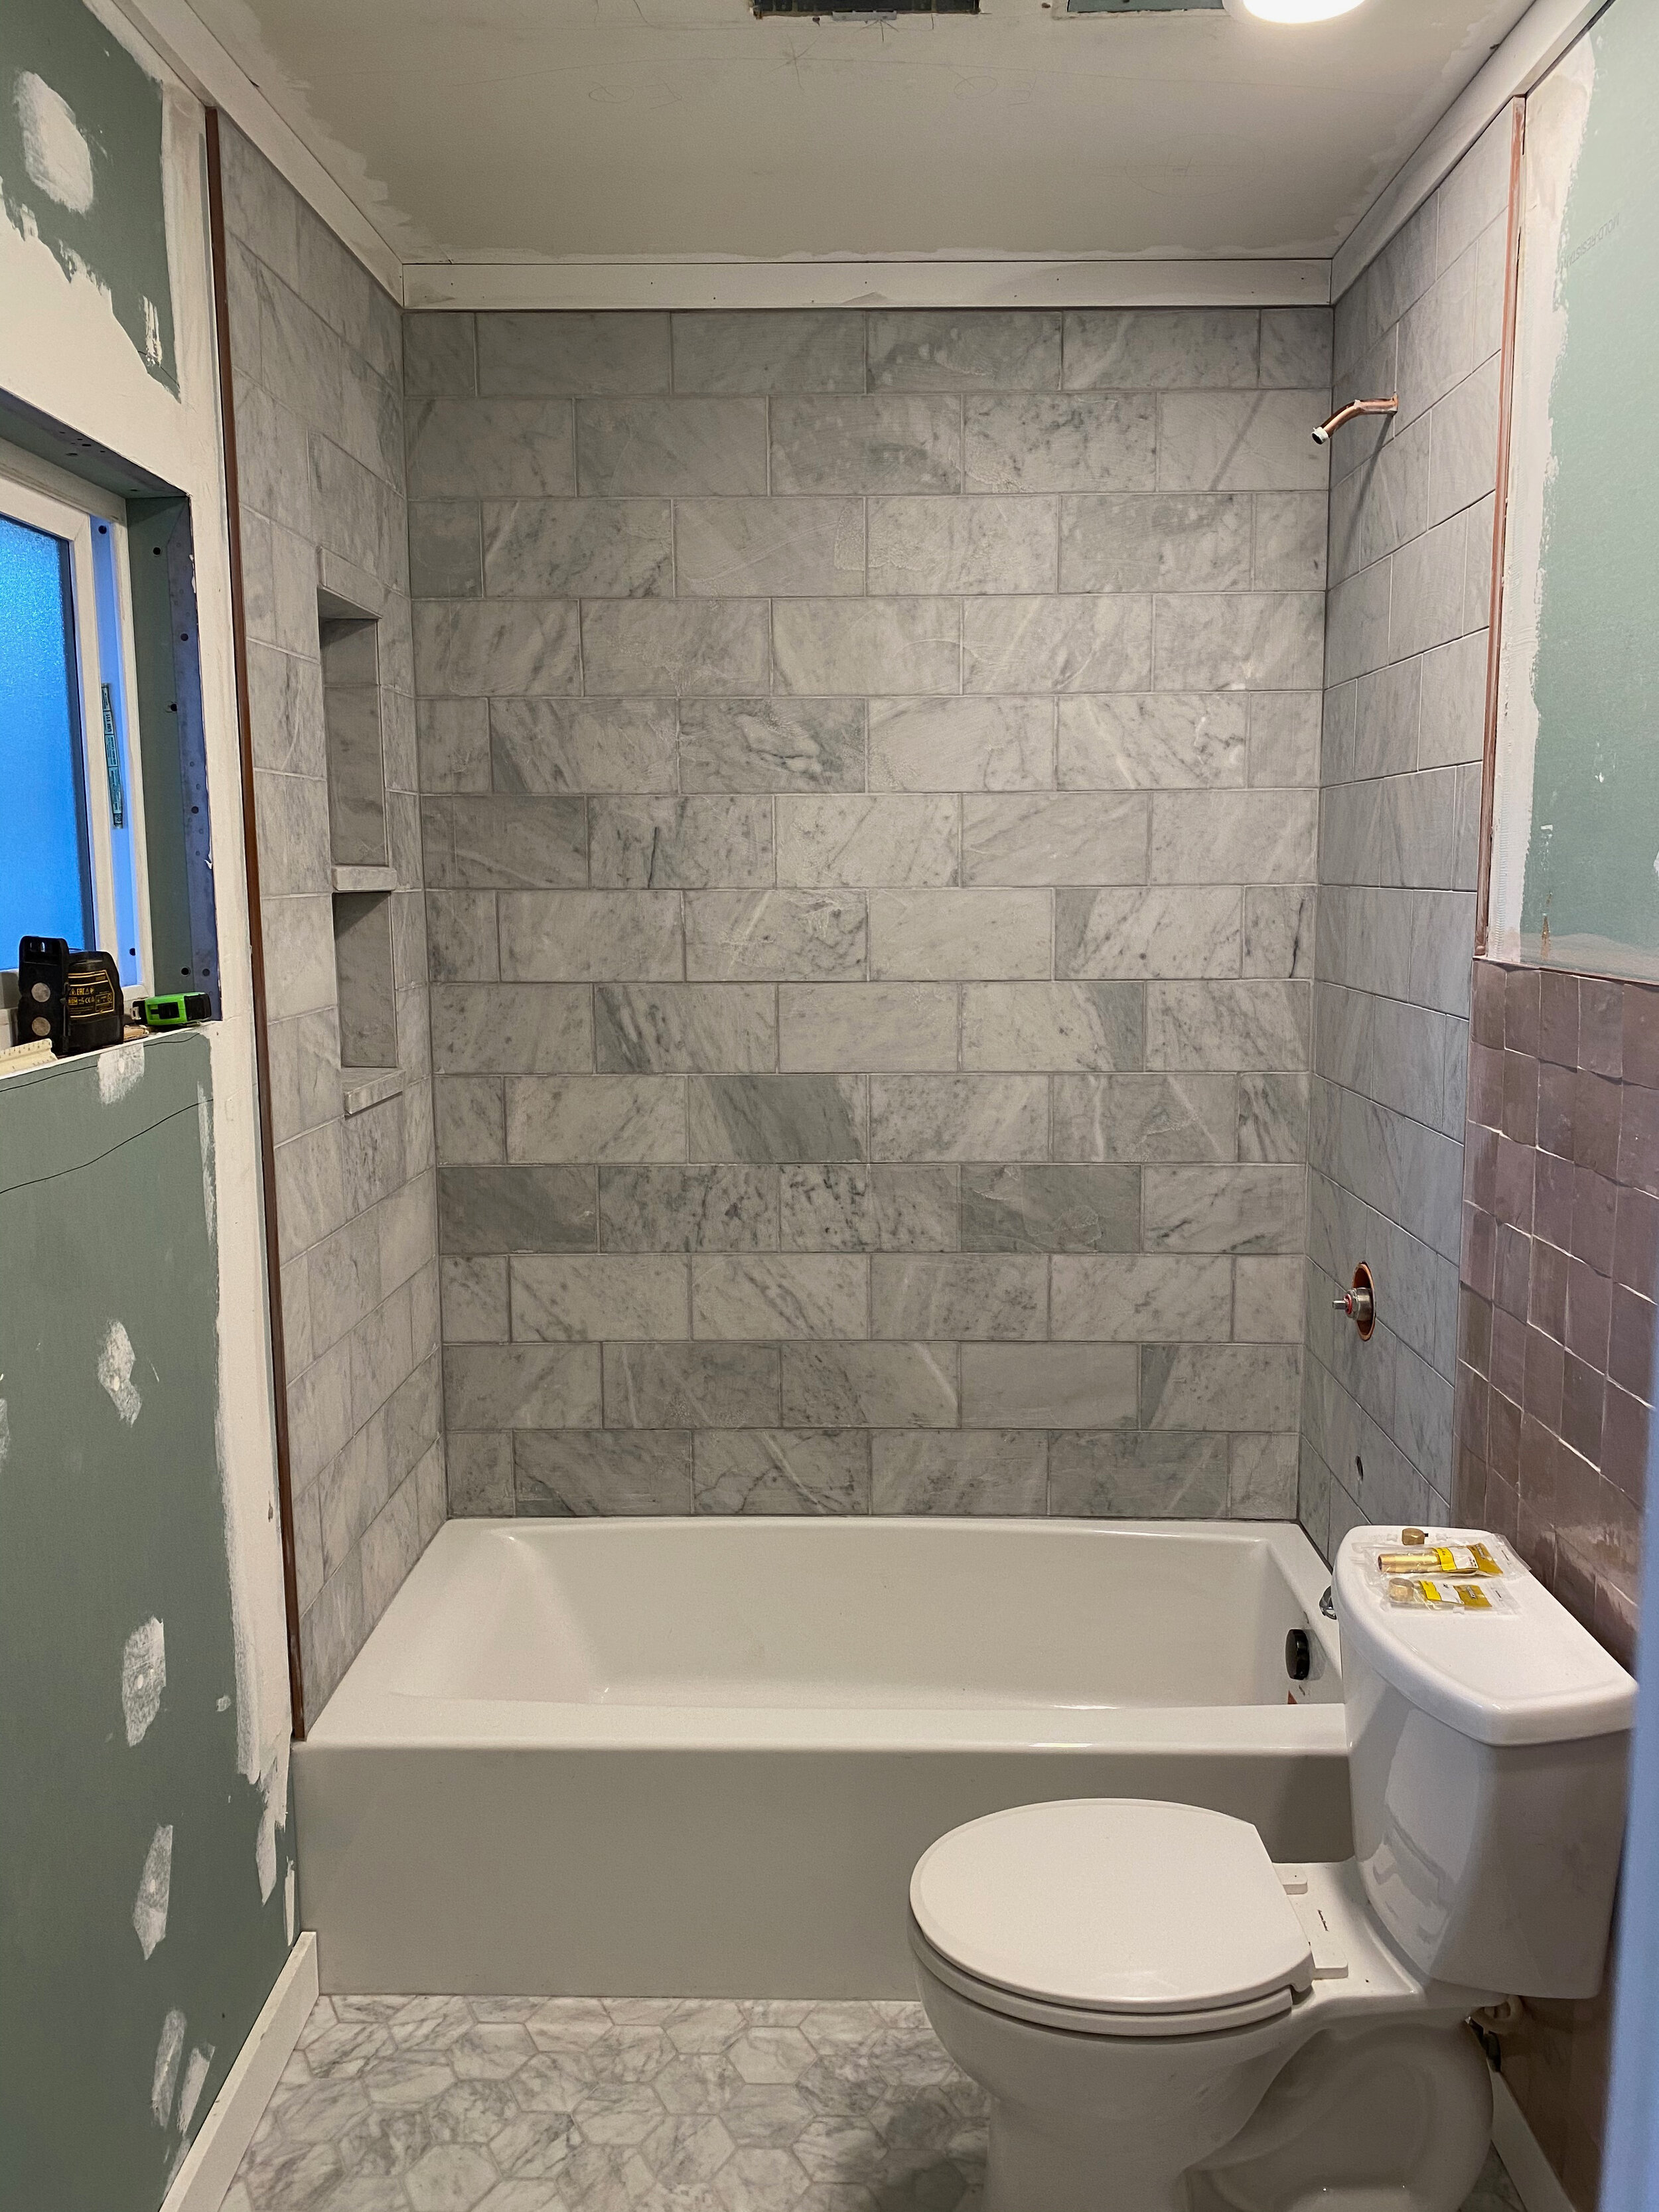
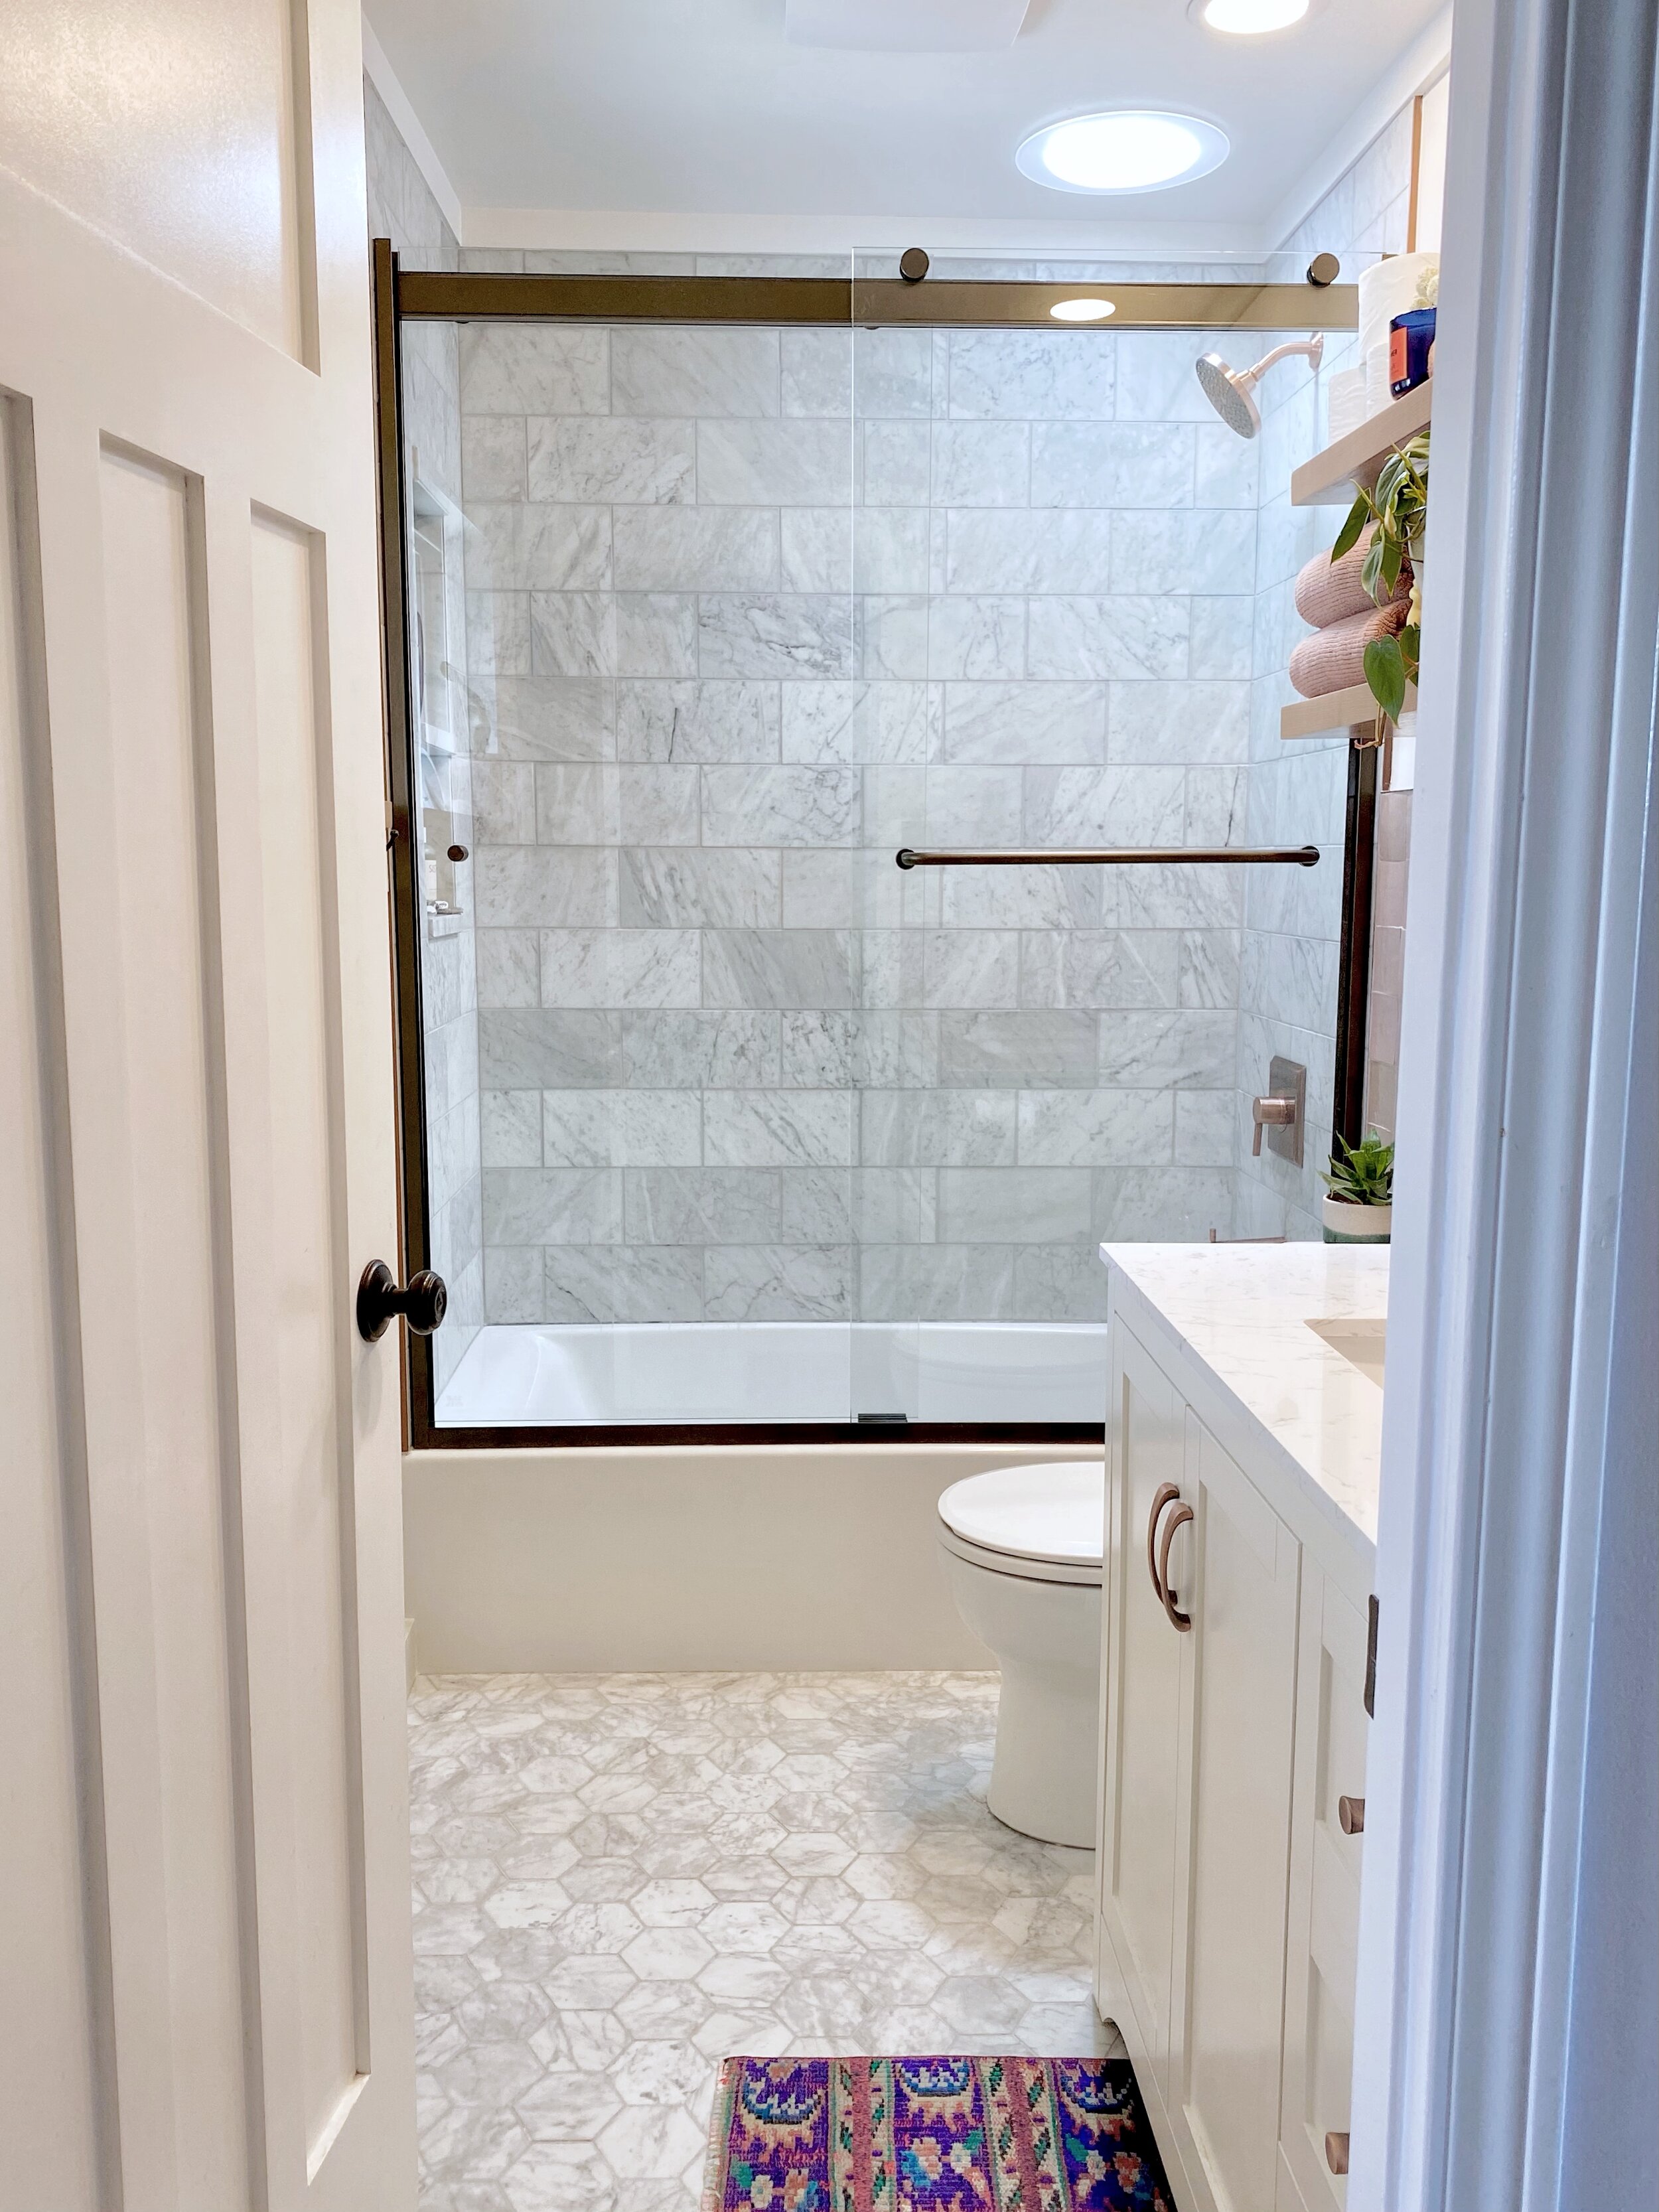
-shower walls: 12x6” honed carrara white italian marble tiles from carrara italia
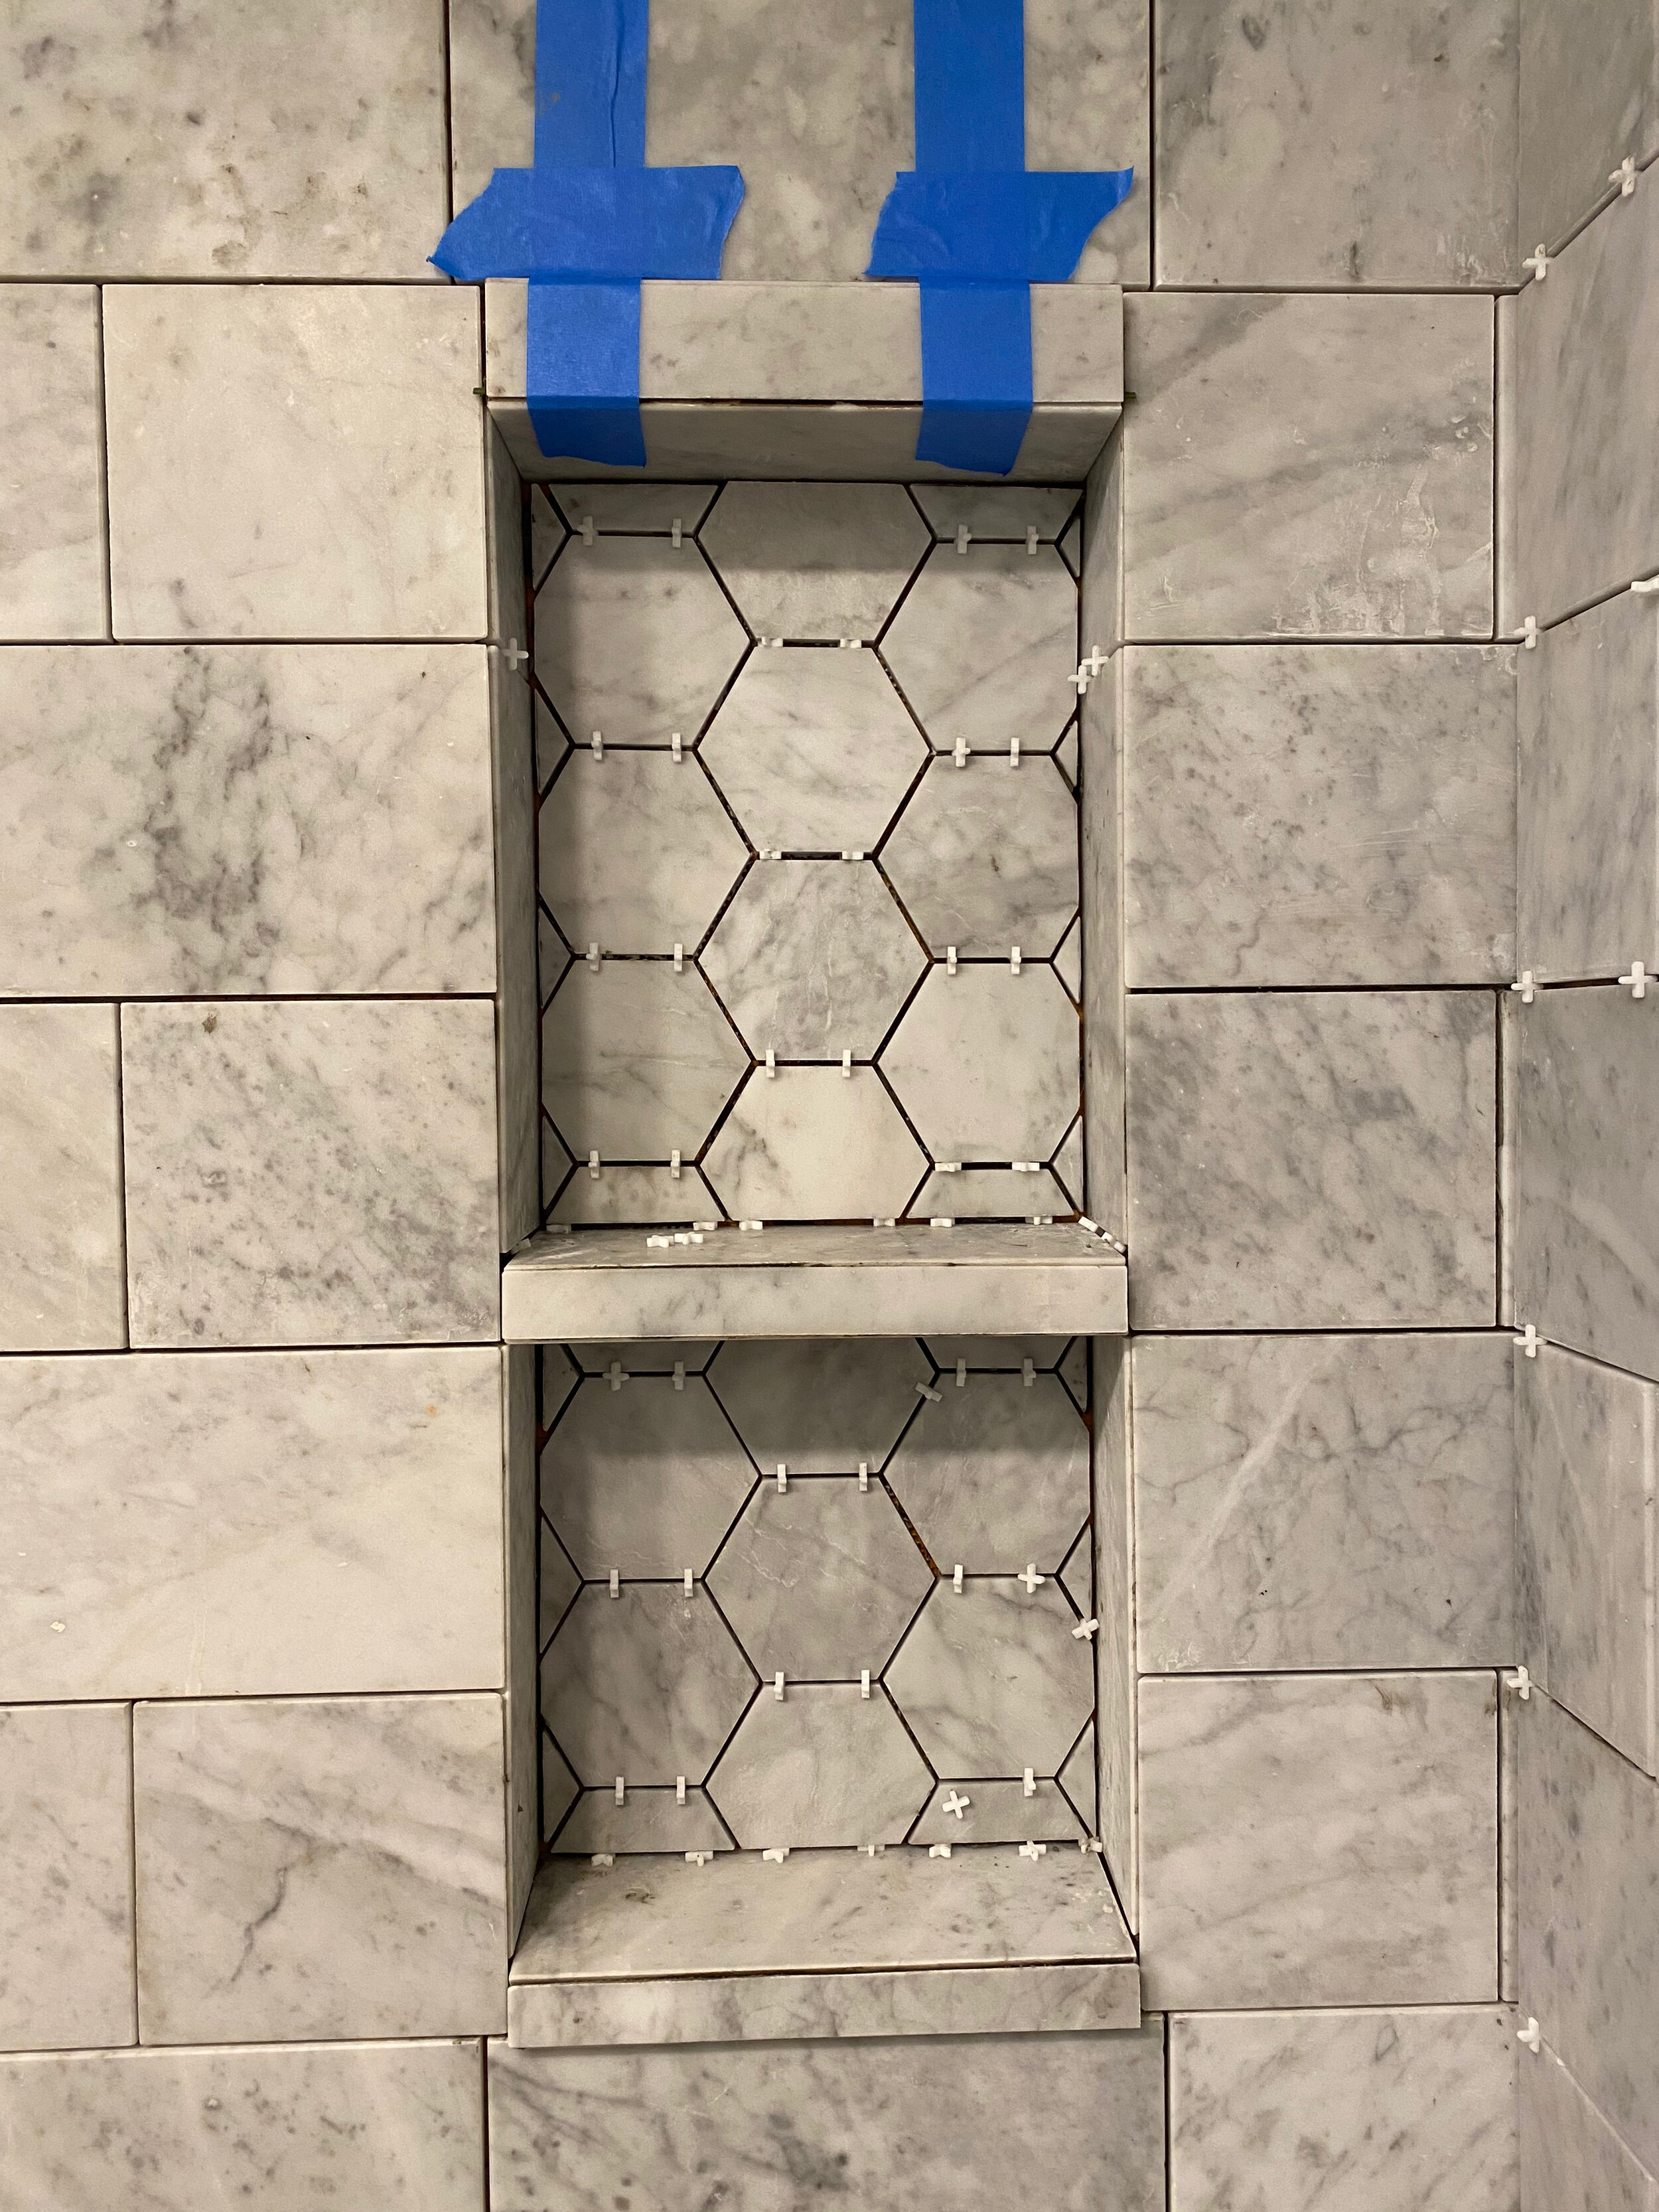
-floor & shower shelf recessed wall: 4” honed carrara white italian marble hexagon mosaic tile from carrara italia

-board & batten paint color is ‘sea salt’ by sherwin williams
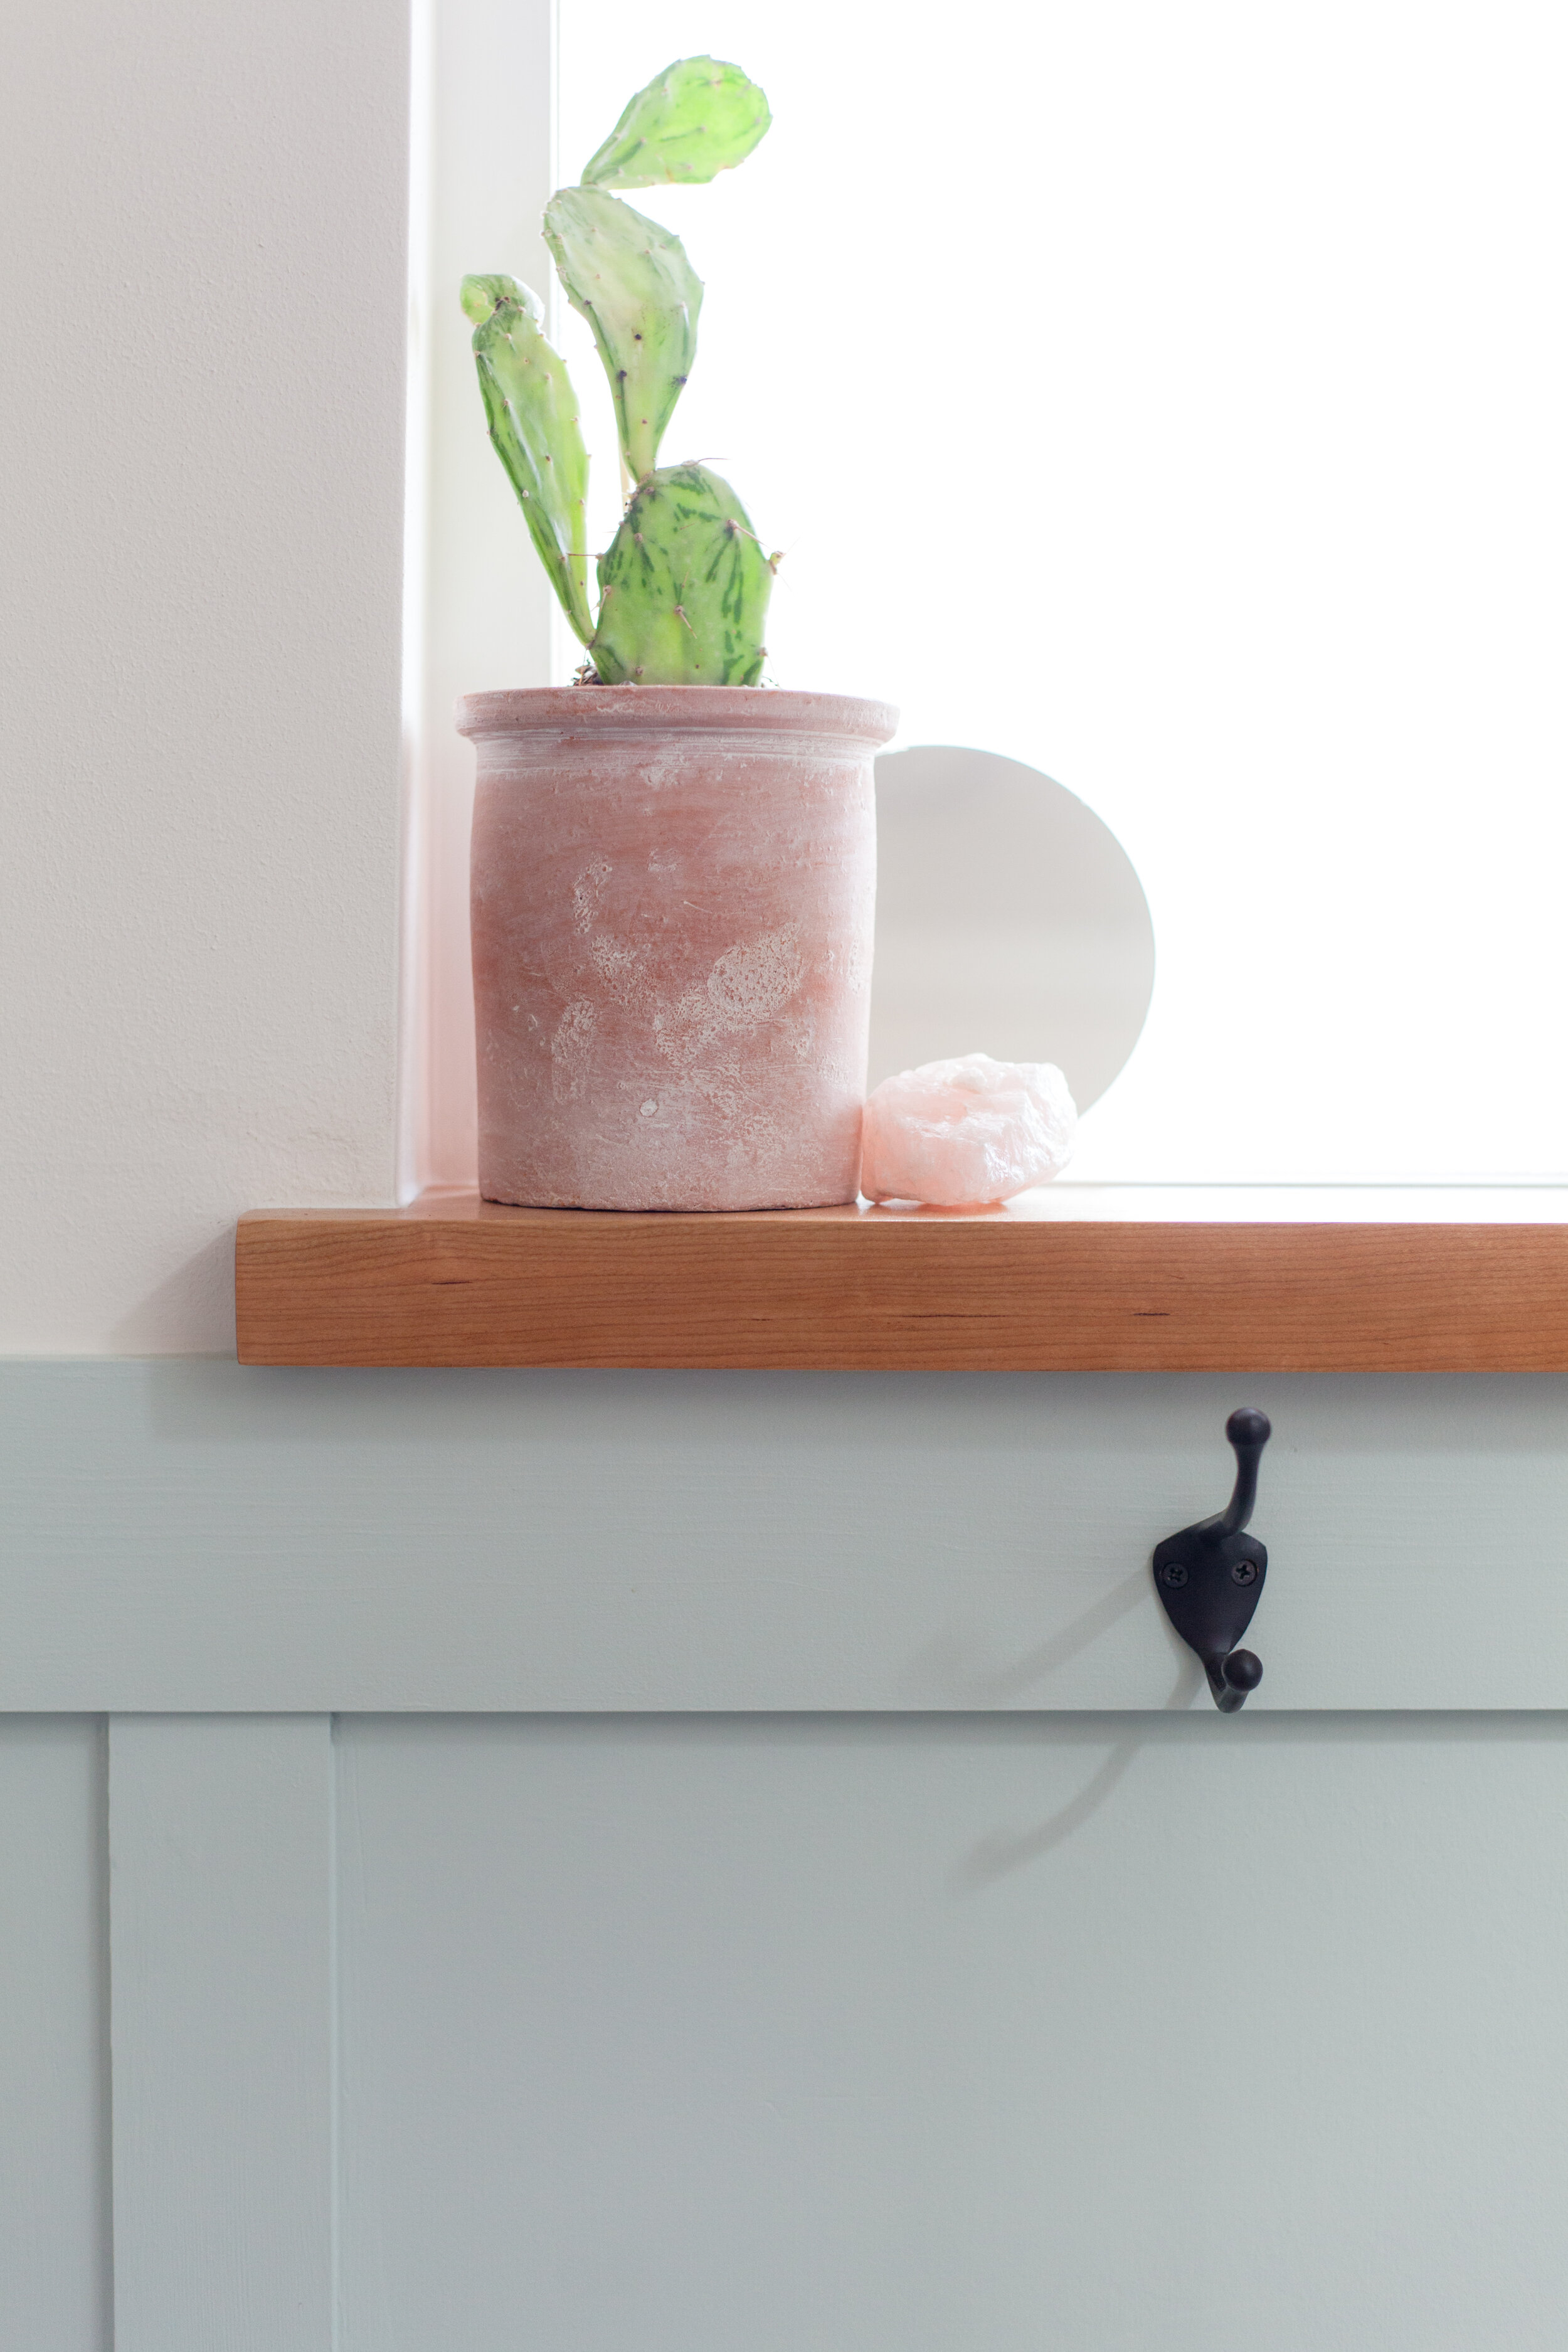
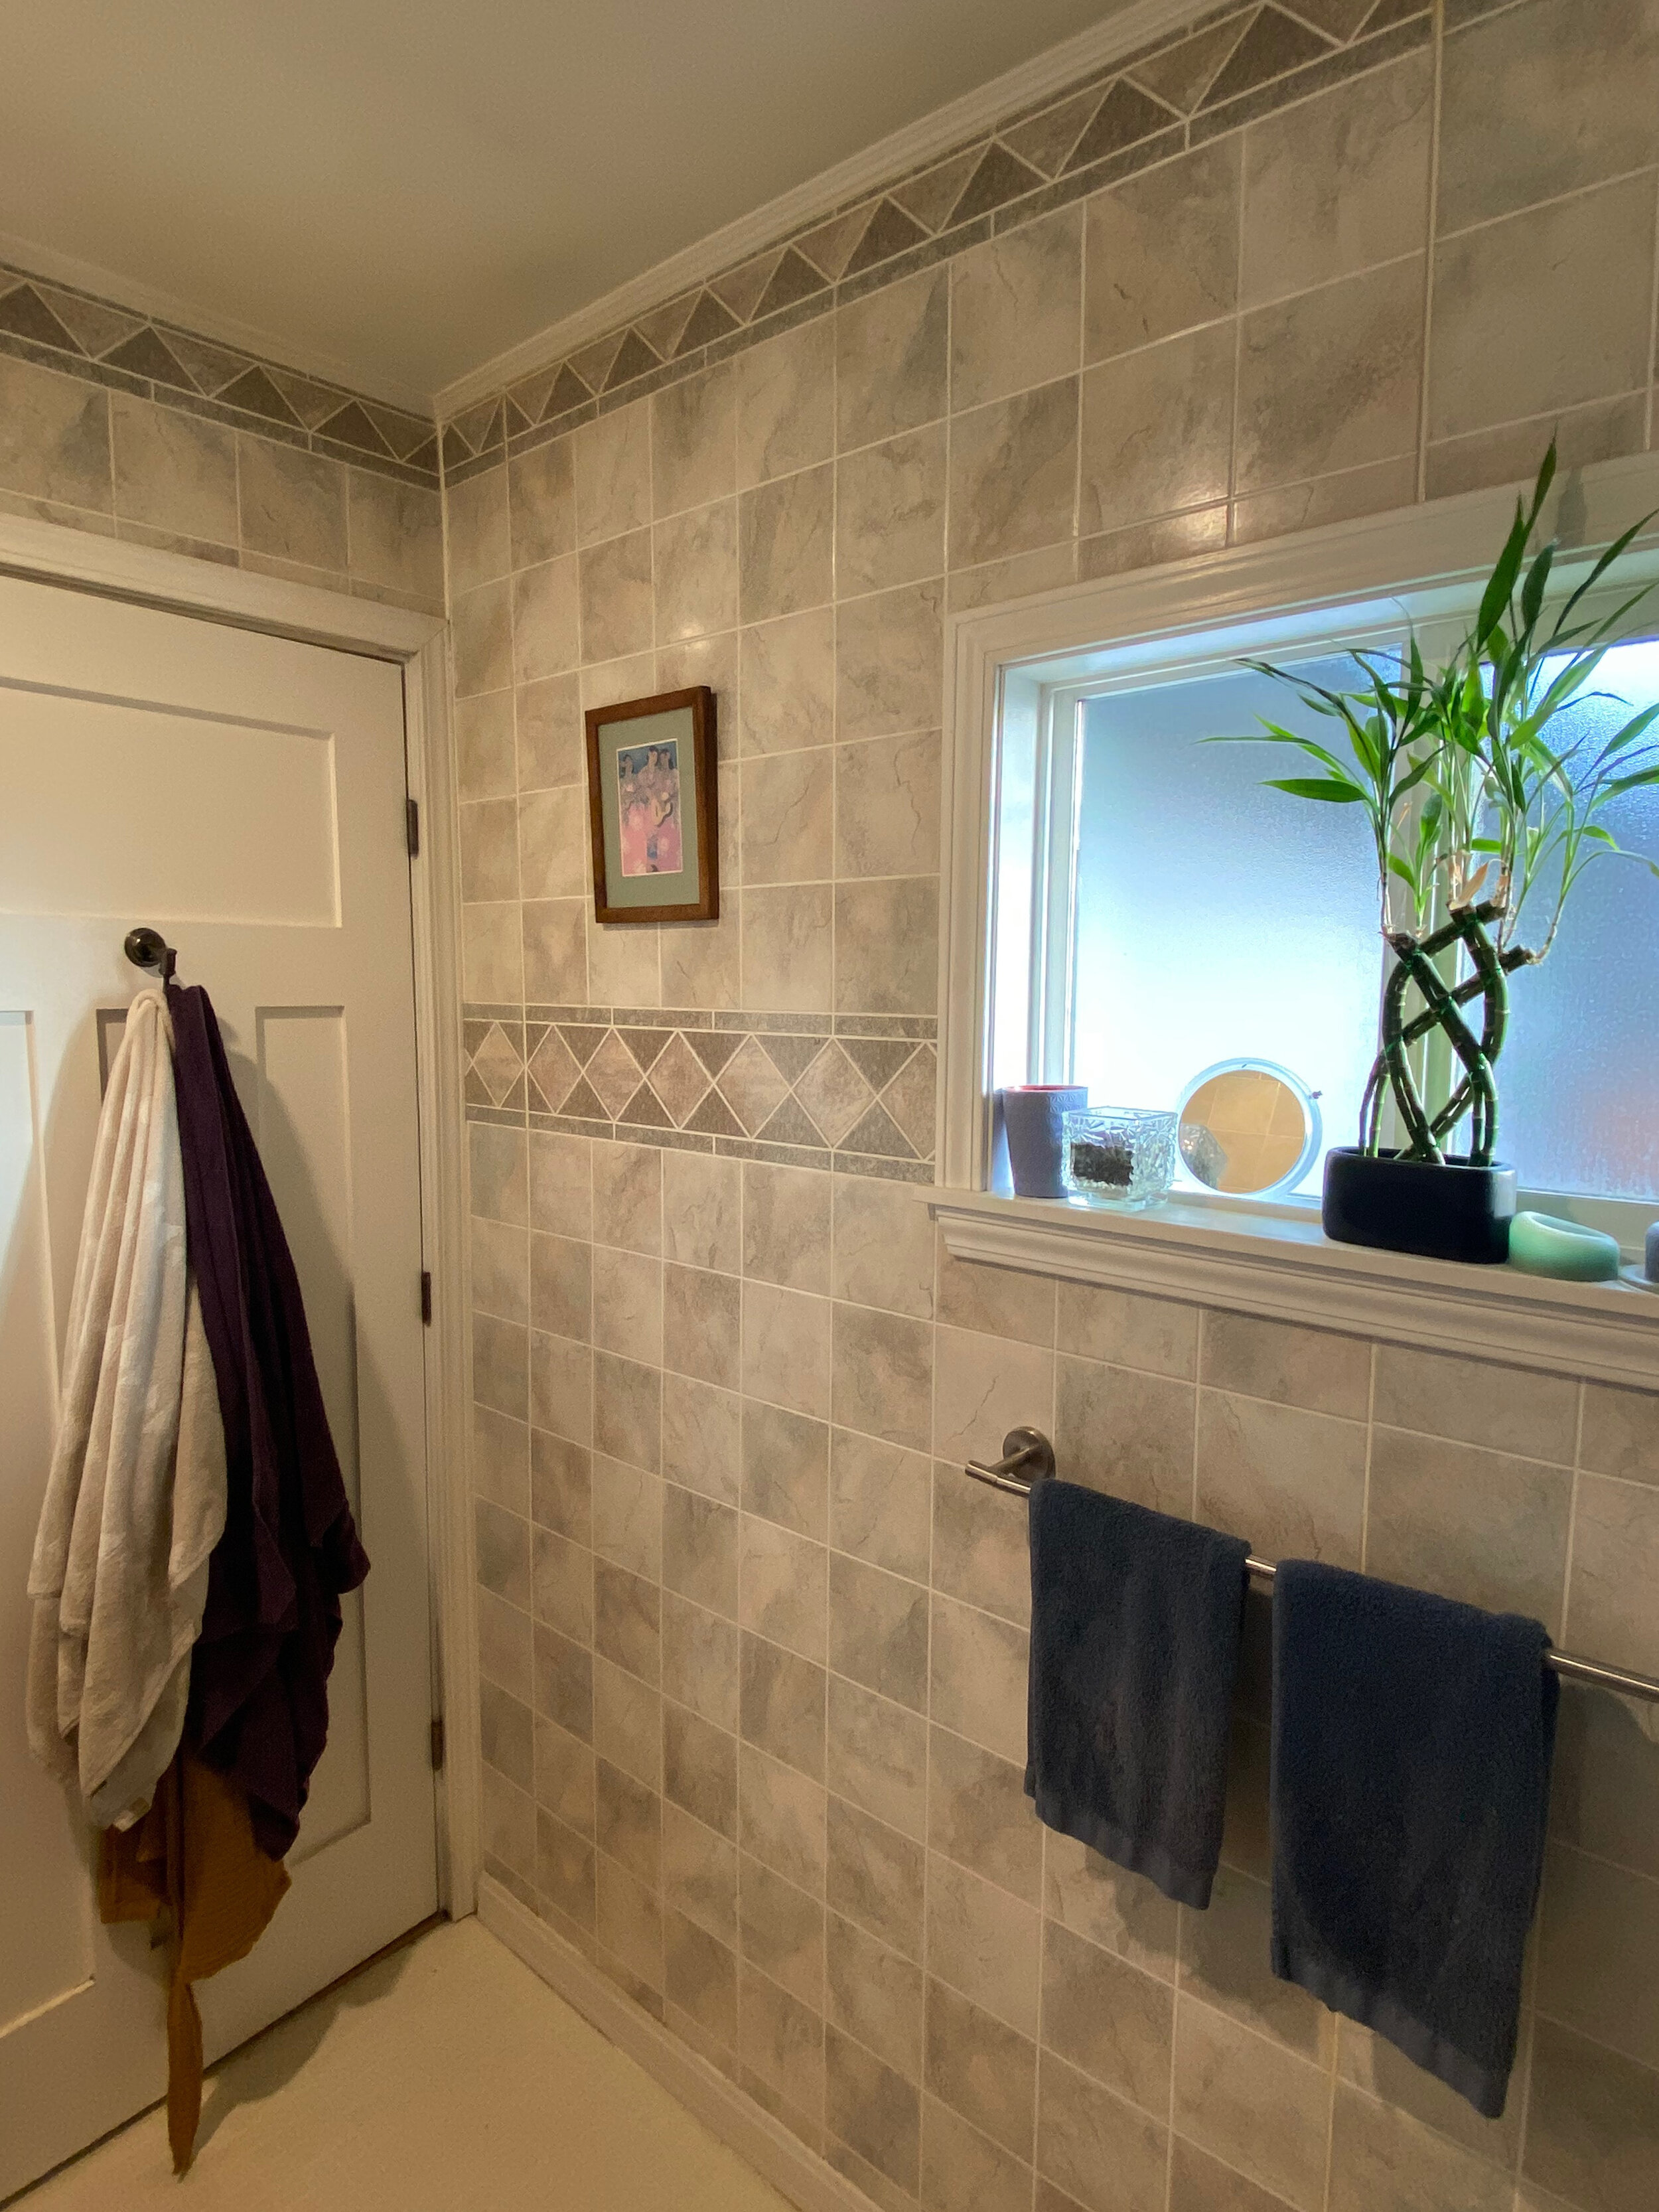
-homemade windowsill & floating shelves by pete & quinn; 2” cherry from crosscut hardwoods in seattle

the zellige tiles have such a different look whether the overhead lights are on or off. they take on entirely different colors in different lighting situations at different times a day - which is soooo pretty and fun to see how it changes.
^ here it is in its’ midday epic glory through the shower skylight ✨
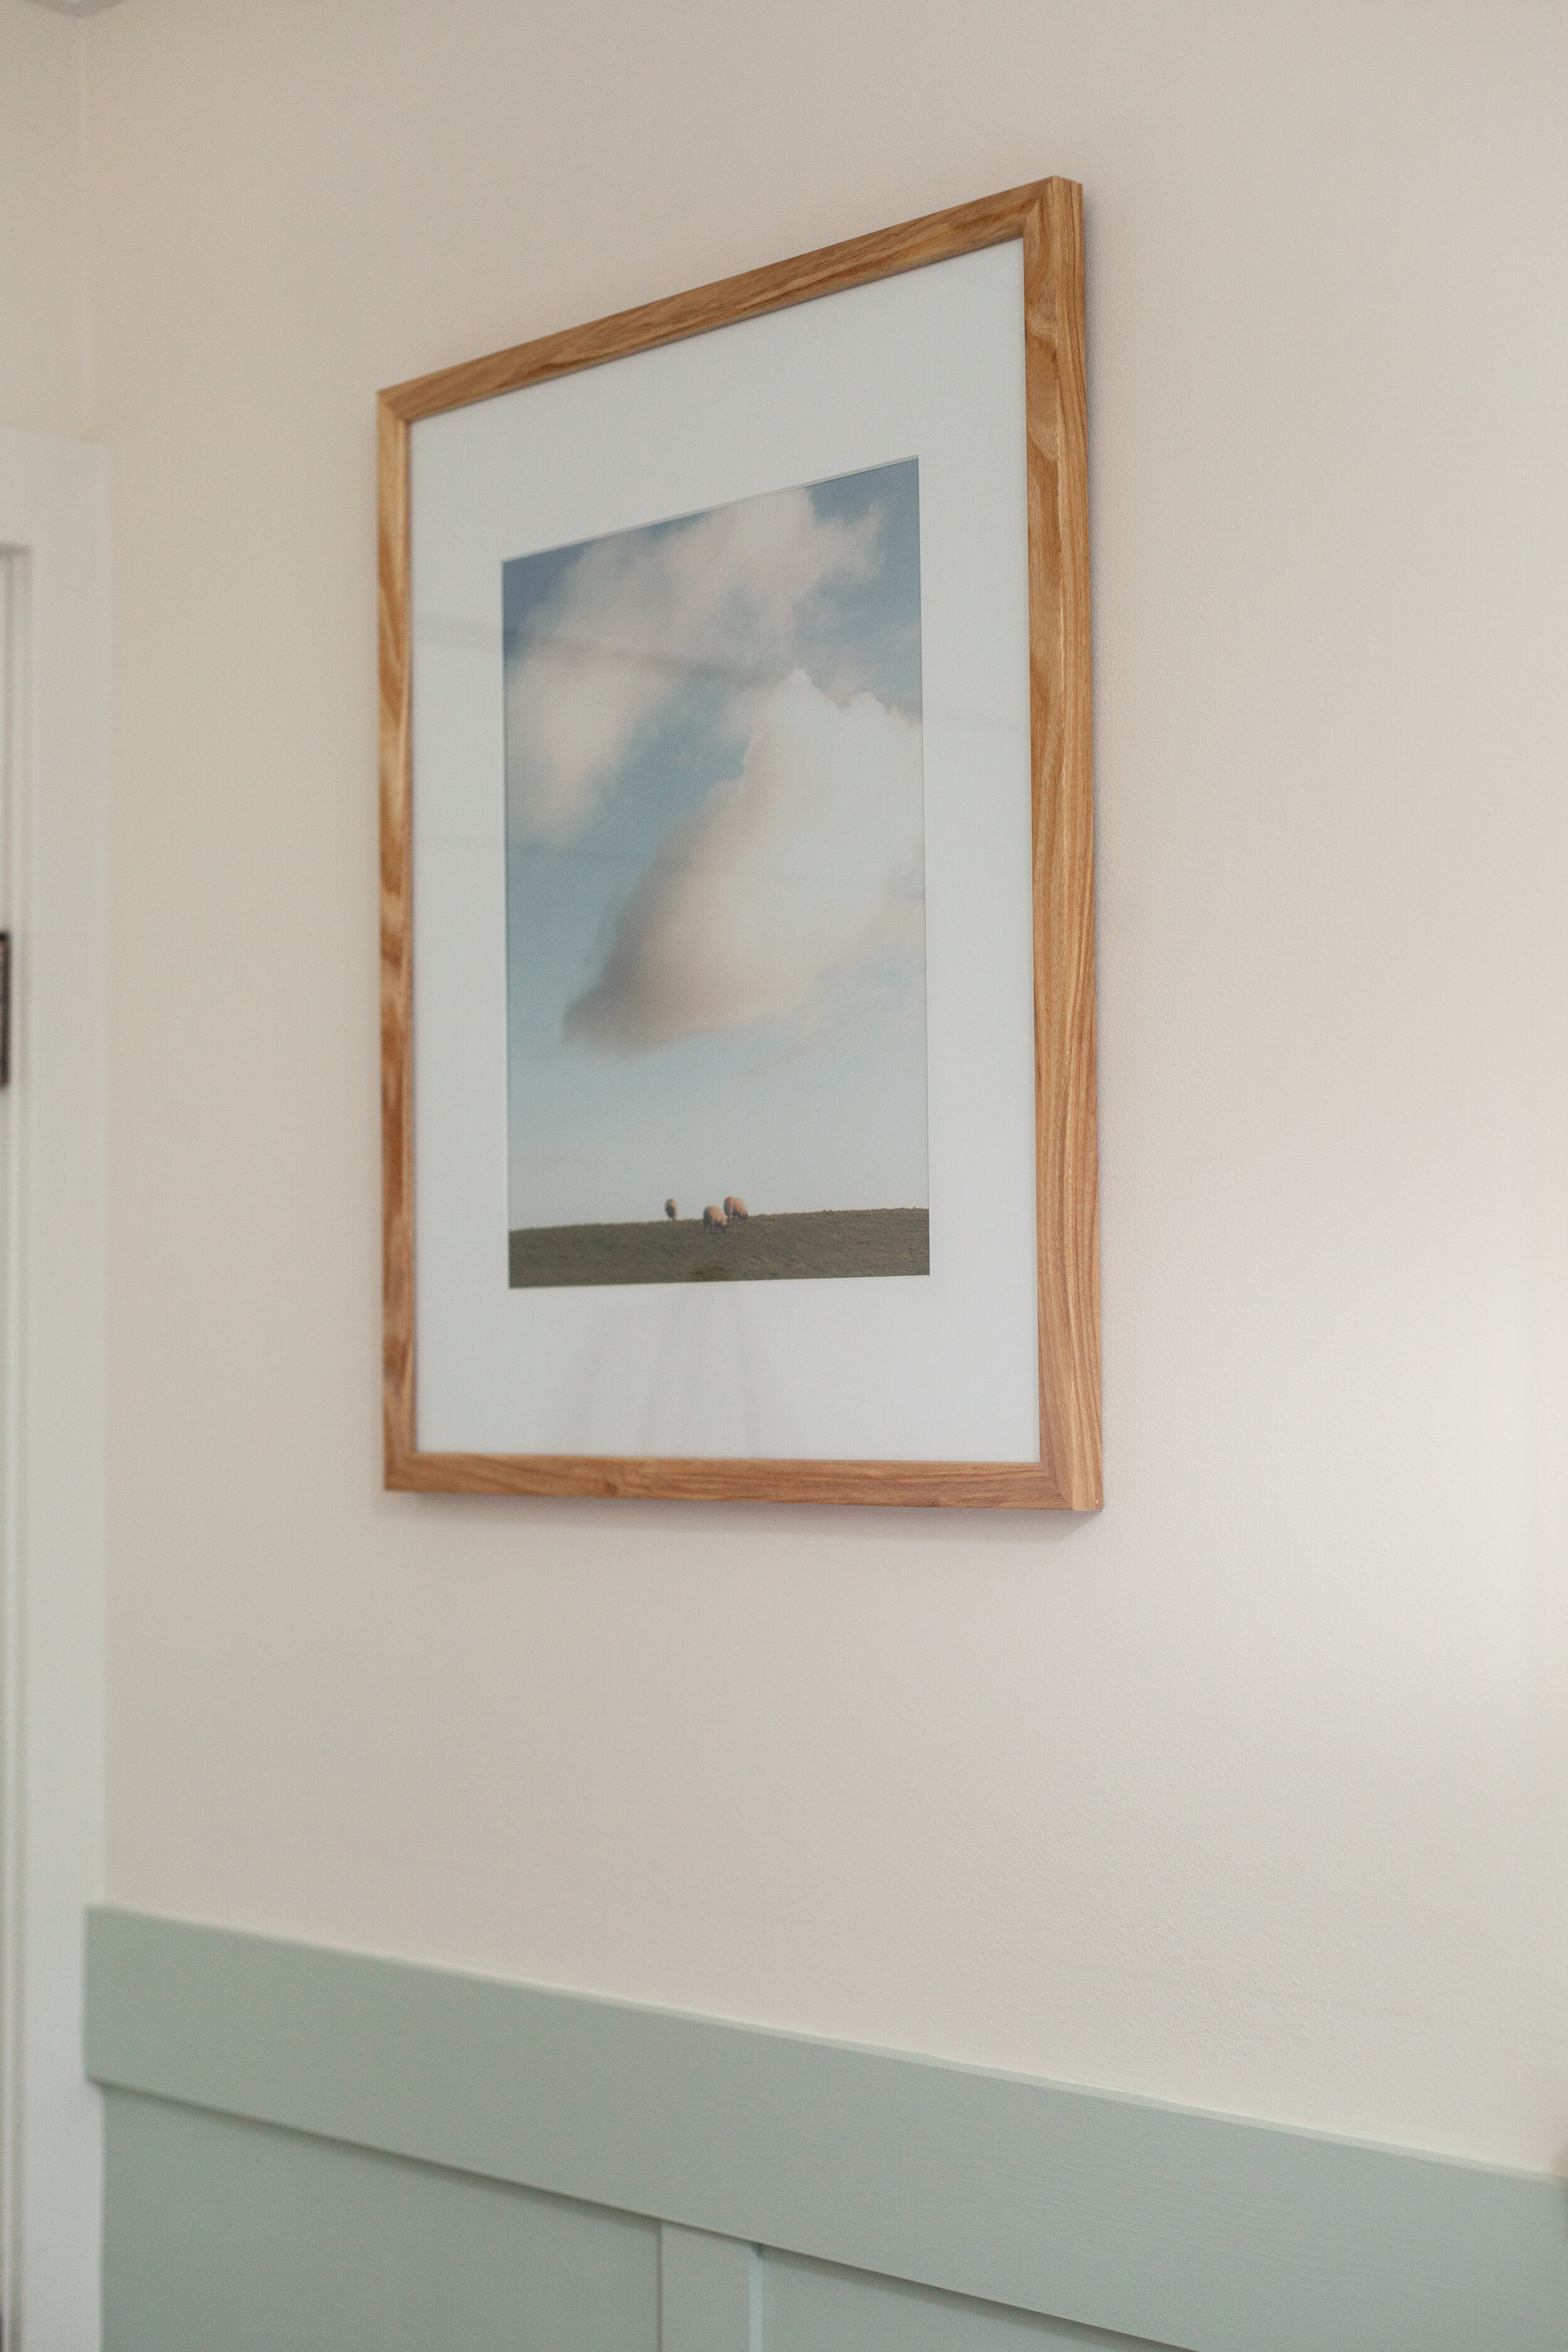

^ cloud & sheep photo from our trip to ireland - this was actually taken the day peter & i got engaged. 💞 i searched high & low for an art print i would like enough to see every day and eventually just went back to a super simple photo that i always liked a lot. this photo kind of rounded out the “earth tone” vibe that the bathroom had started to take on.
the floating wood shelves helped warm up the space with all the cool white marble tile on the floor and in the shower - thank you to my friend jenny for tuning in to the saga of this bathroom remodel and helping me solve various design concerns that came up throughout. love ya, jen!

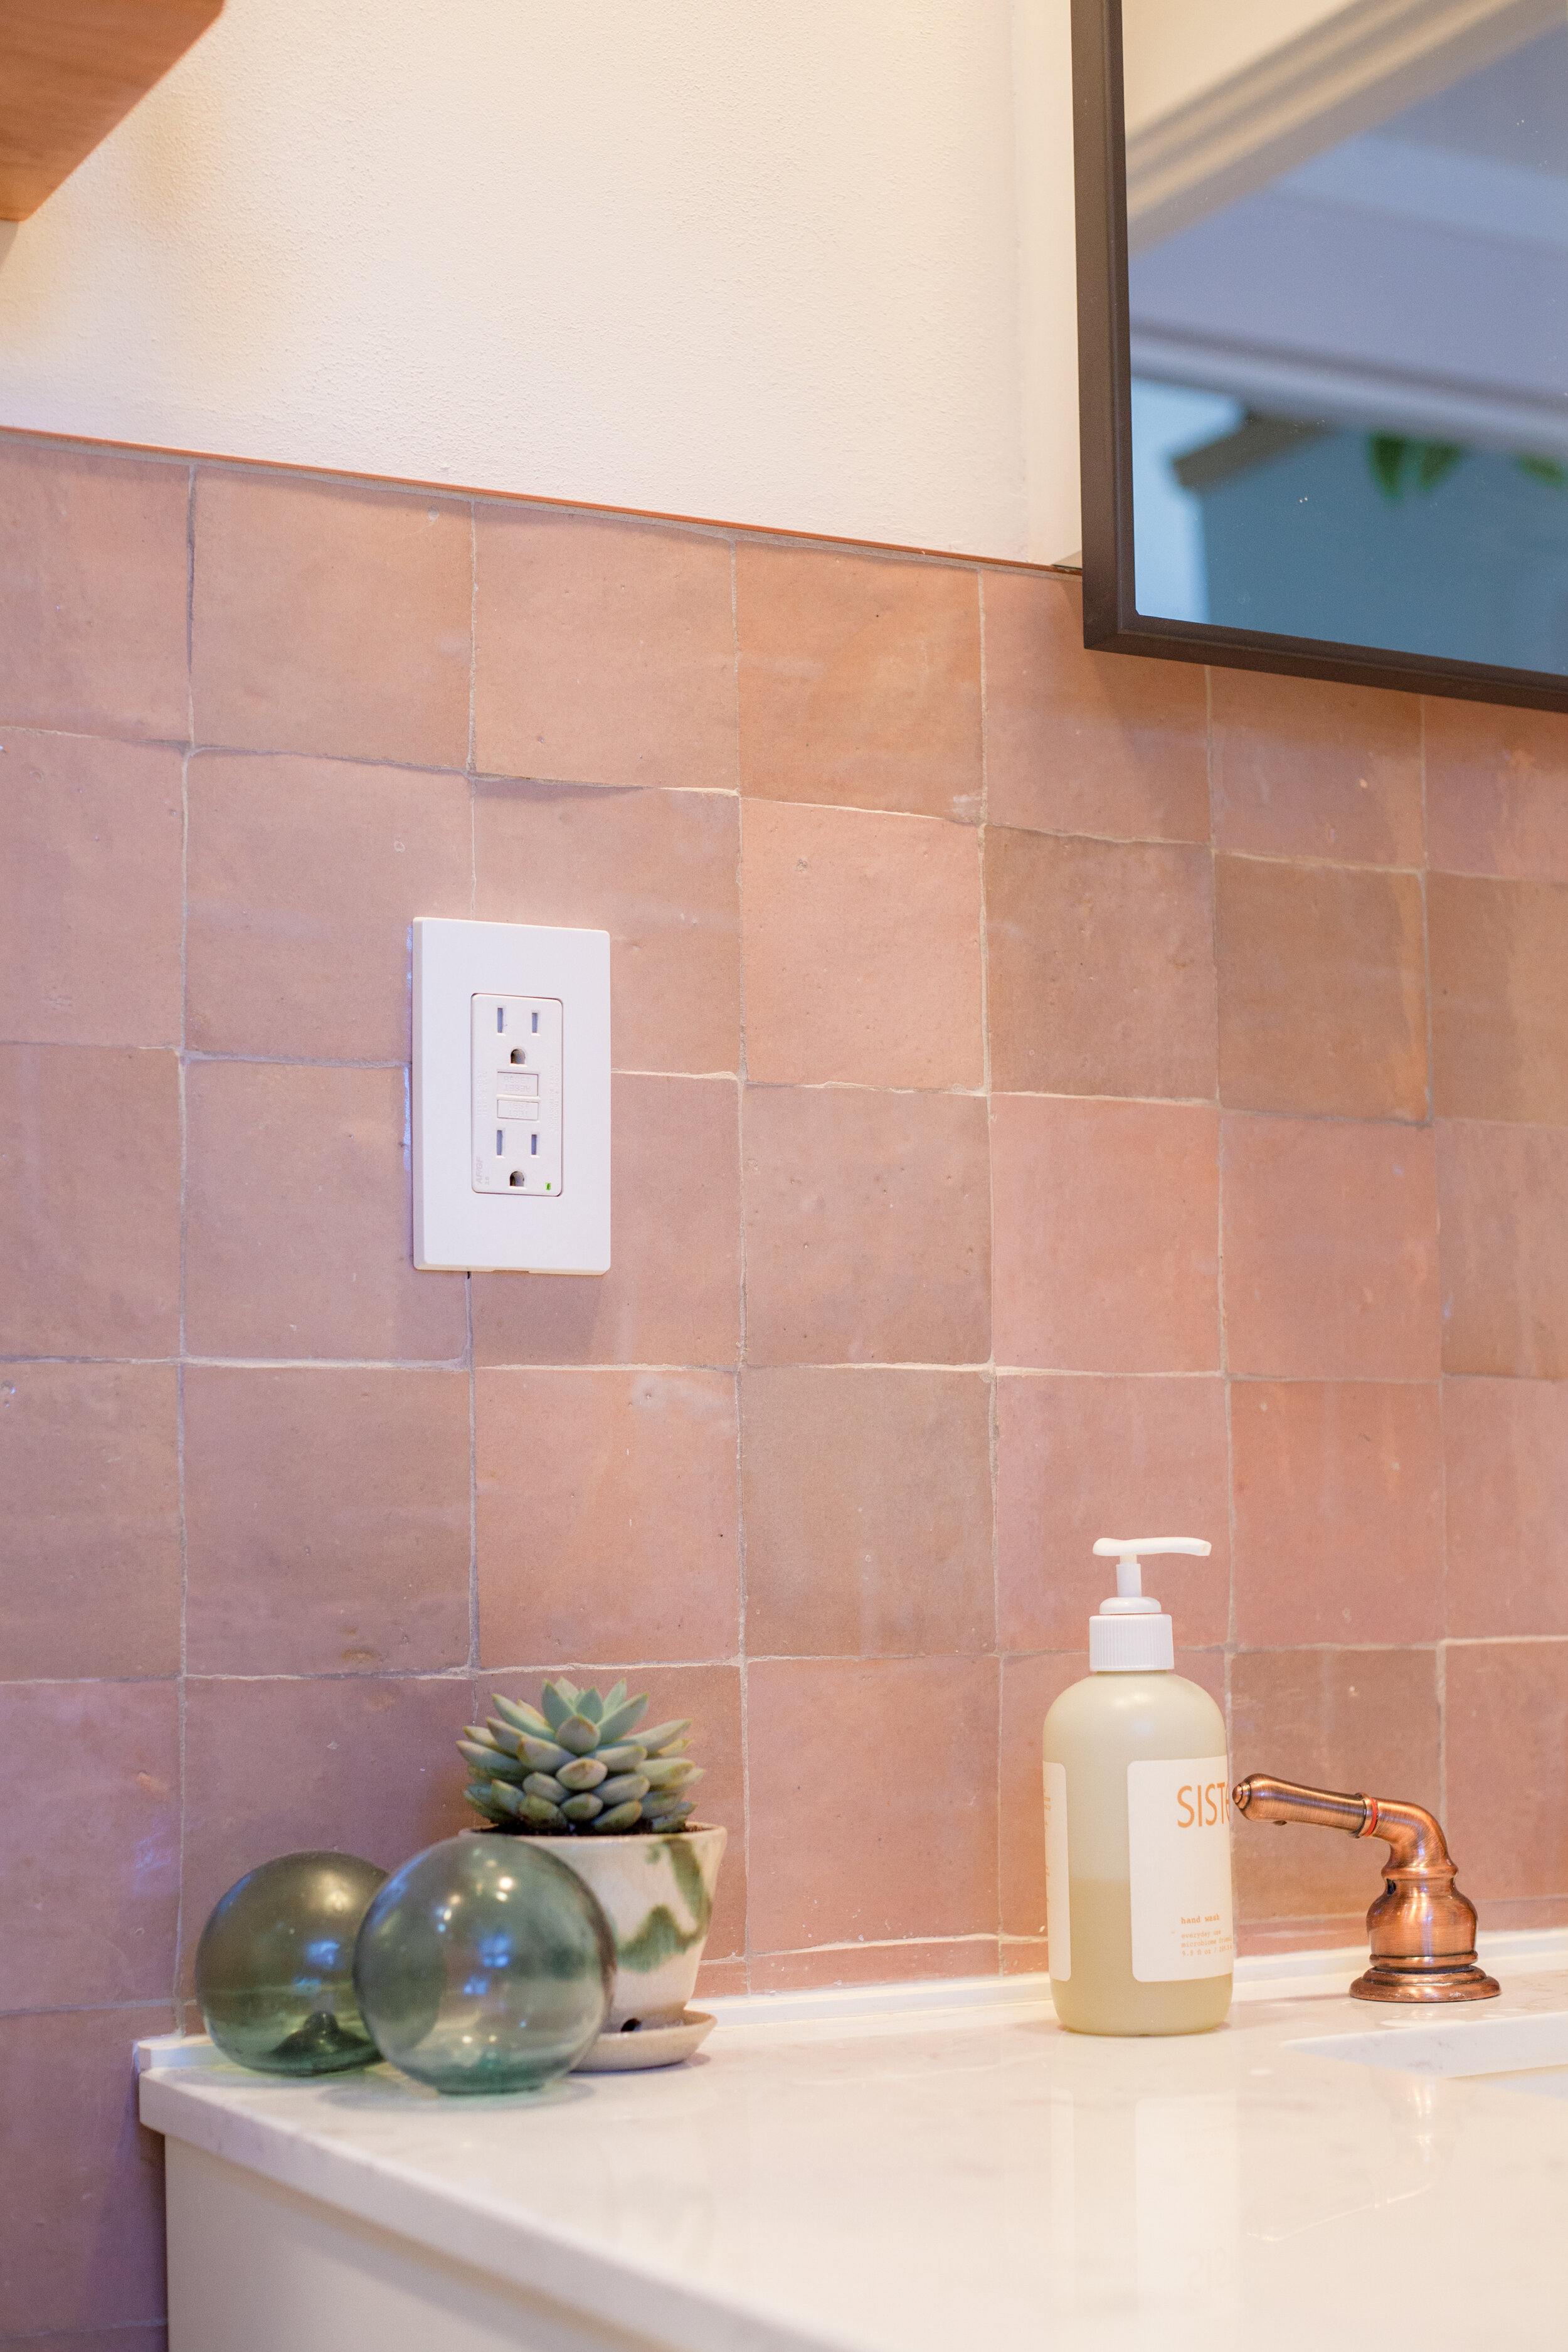
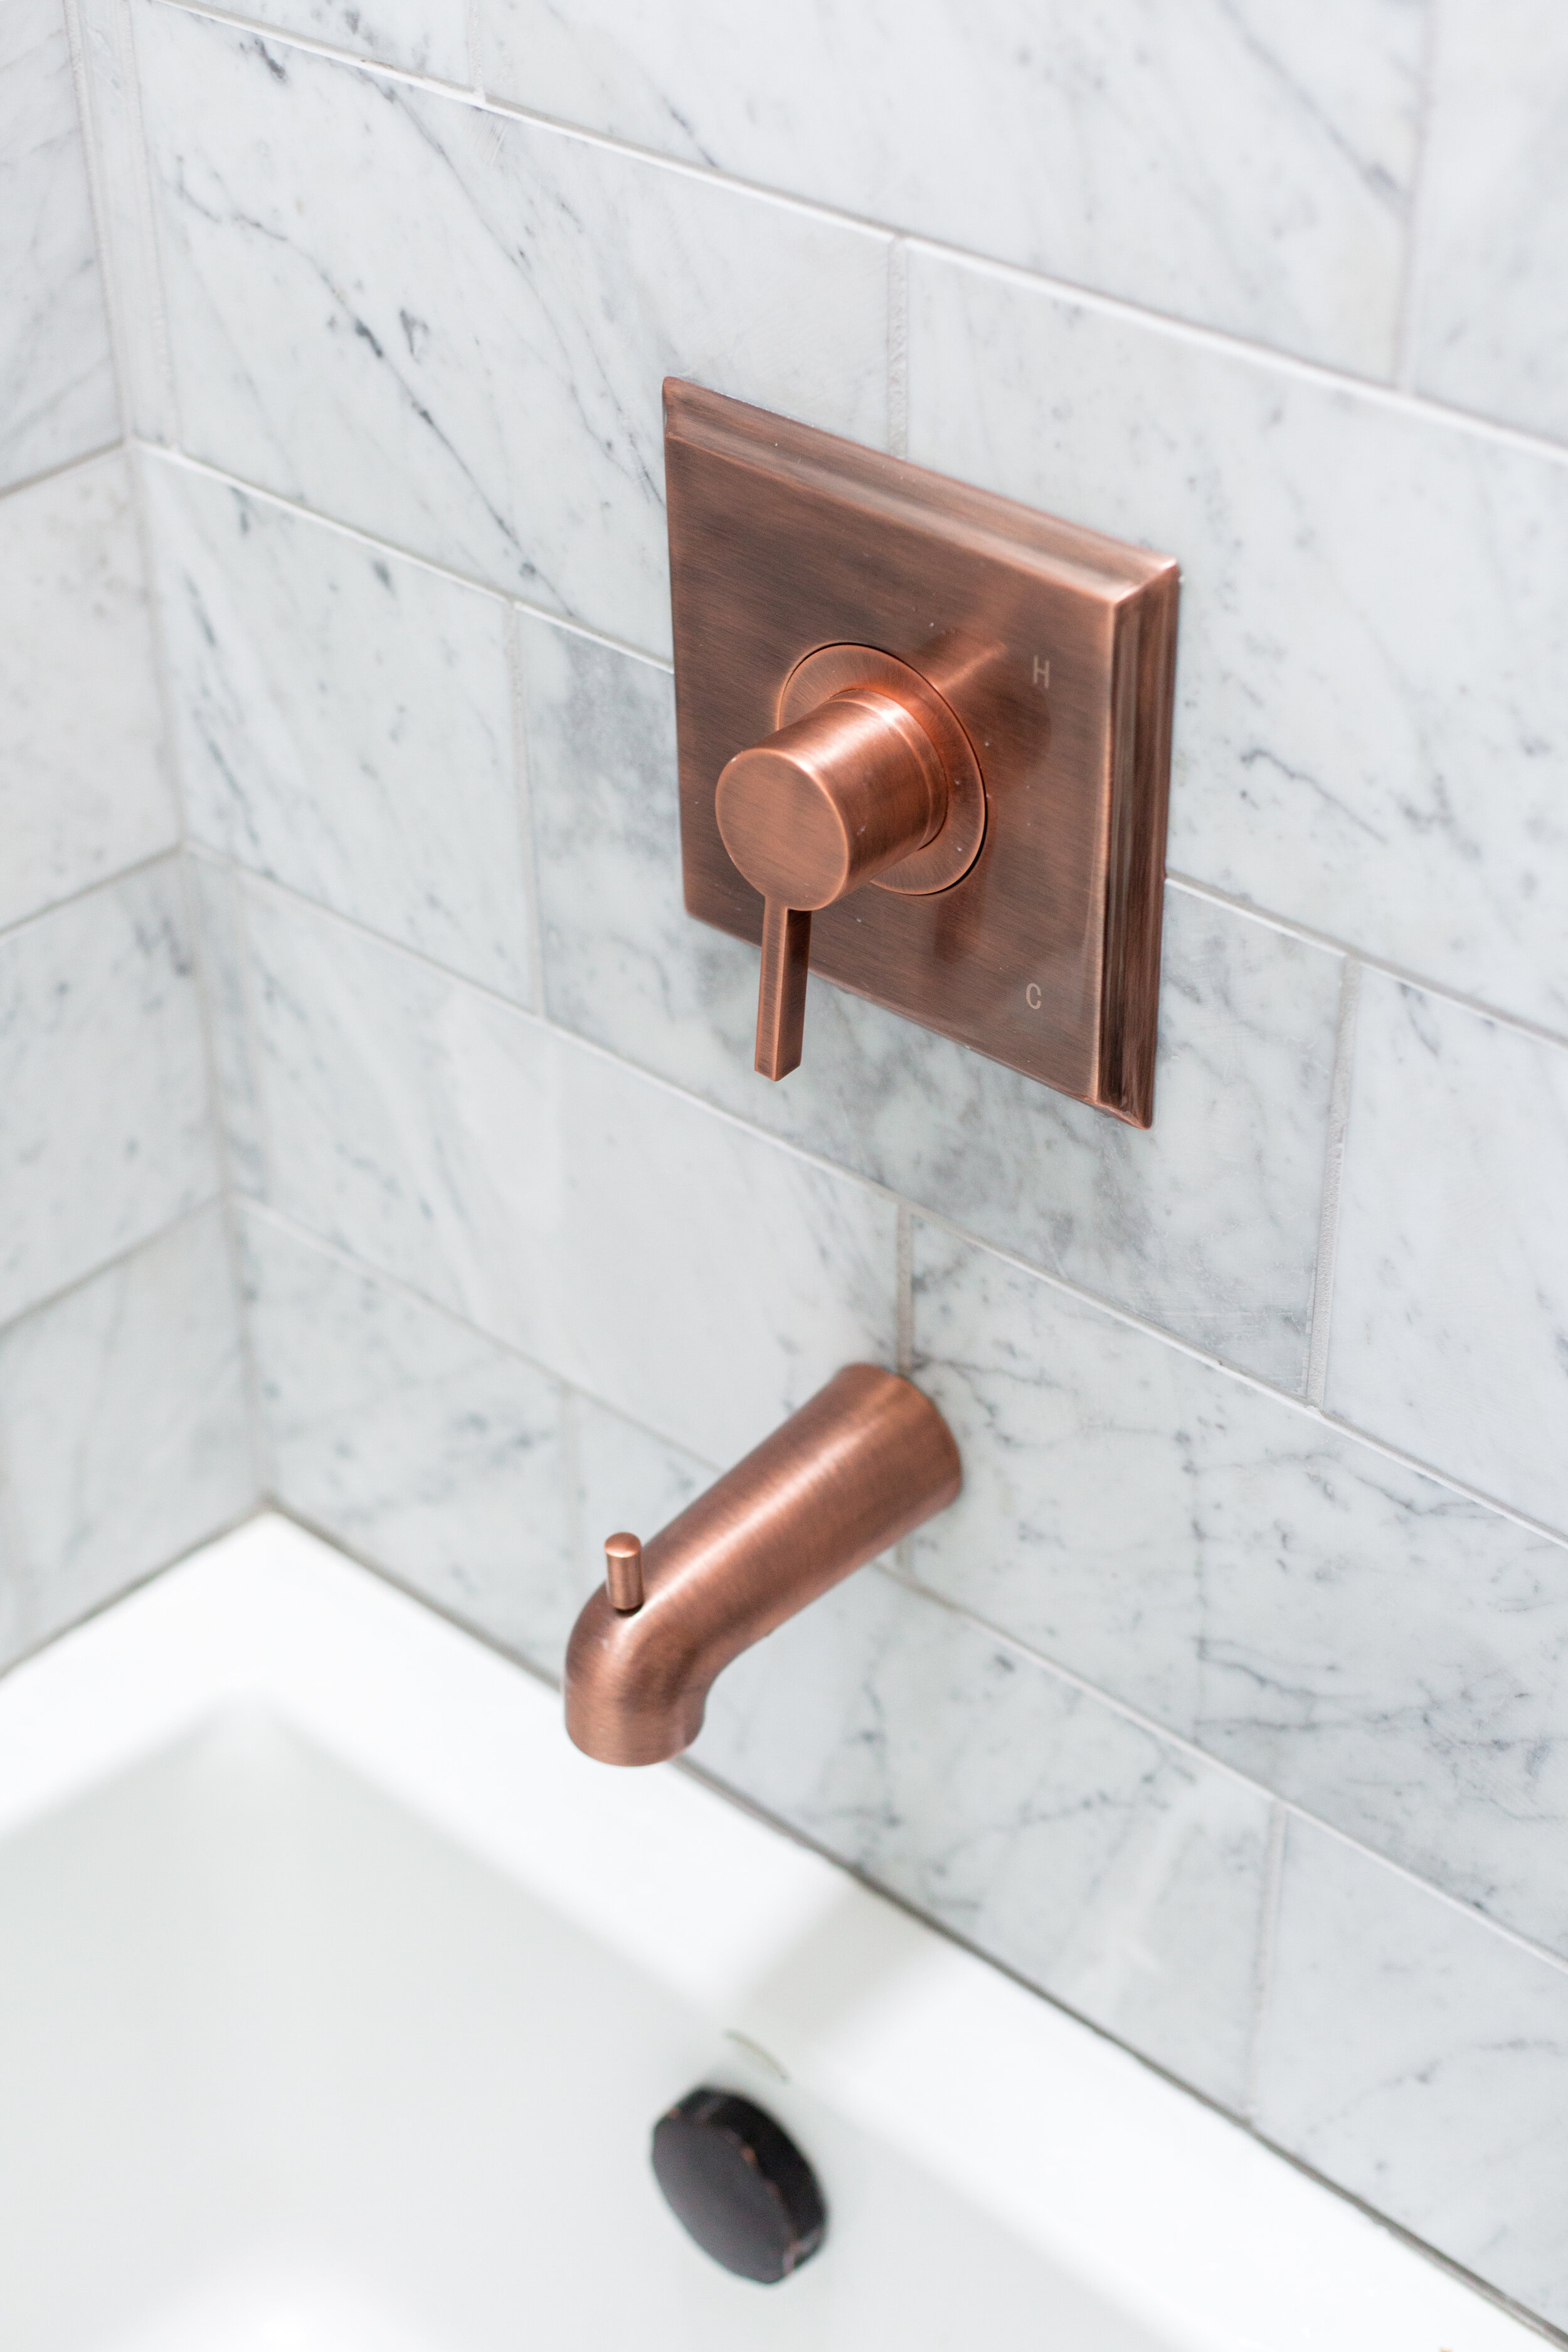
antique copper shower hardware from signature hardware

-hand wash & body wash, by sisters
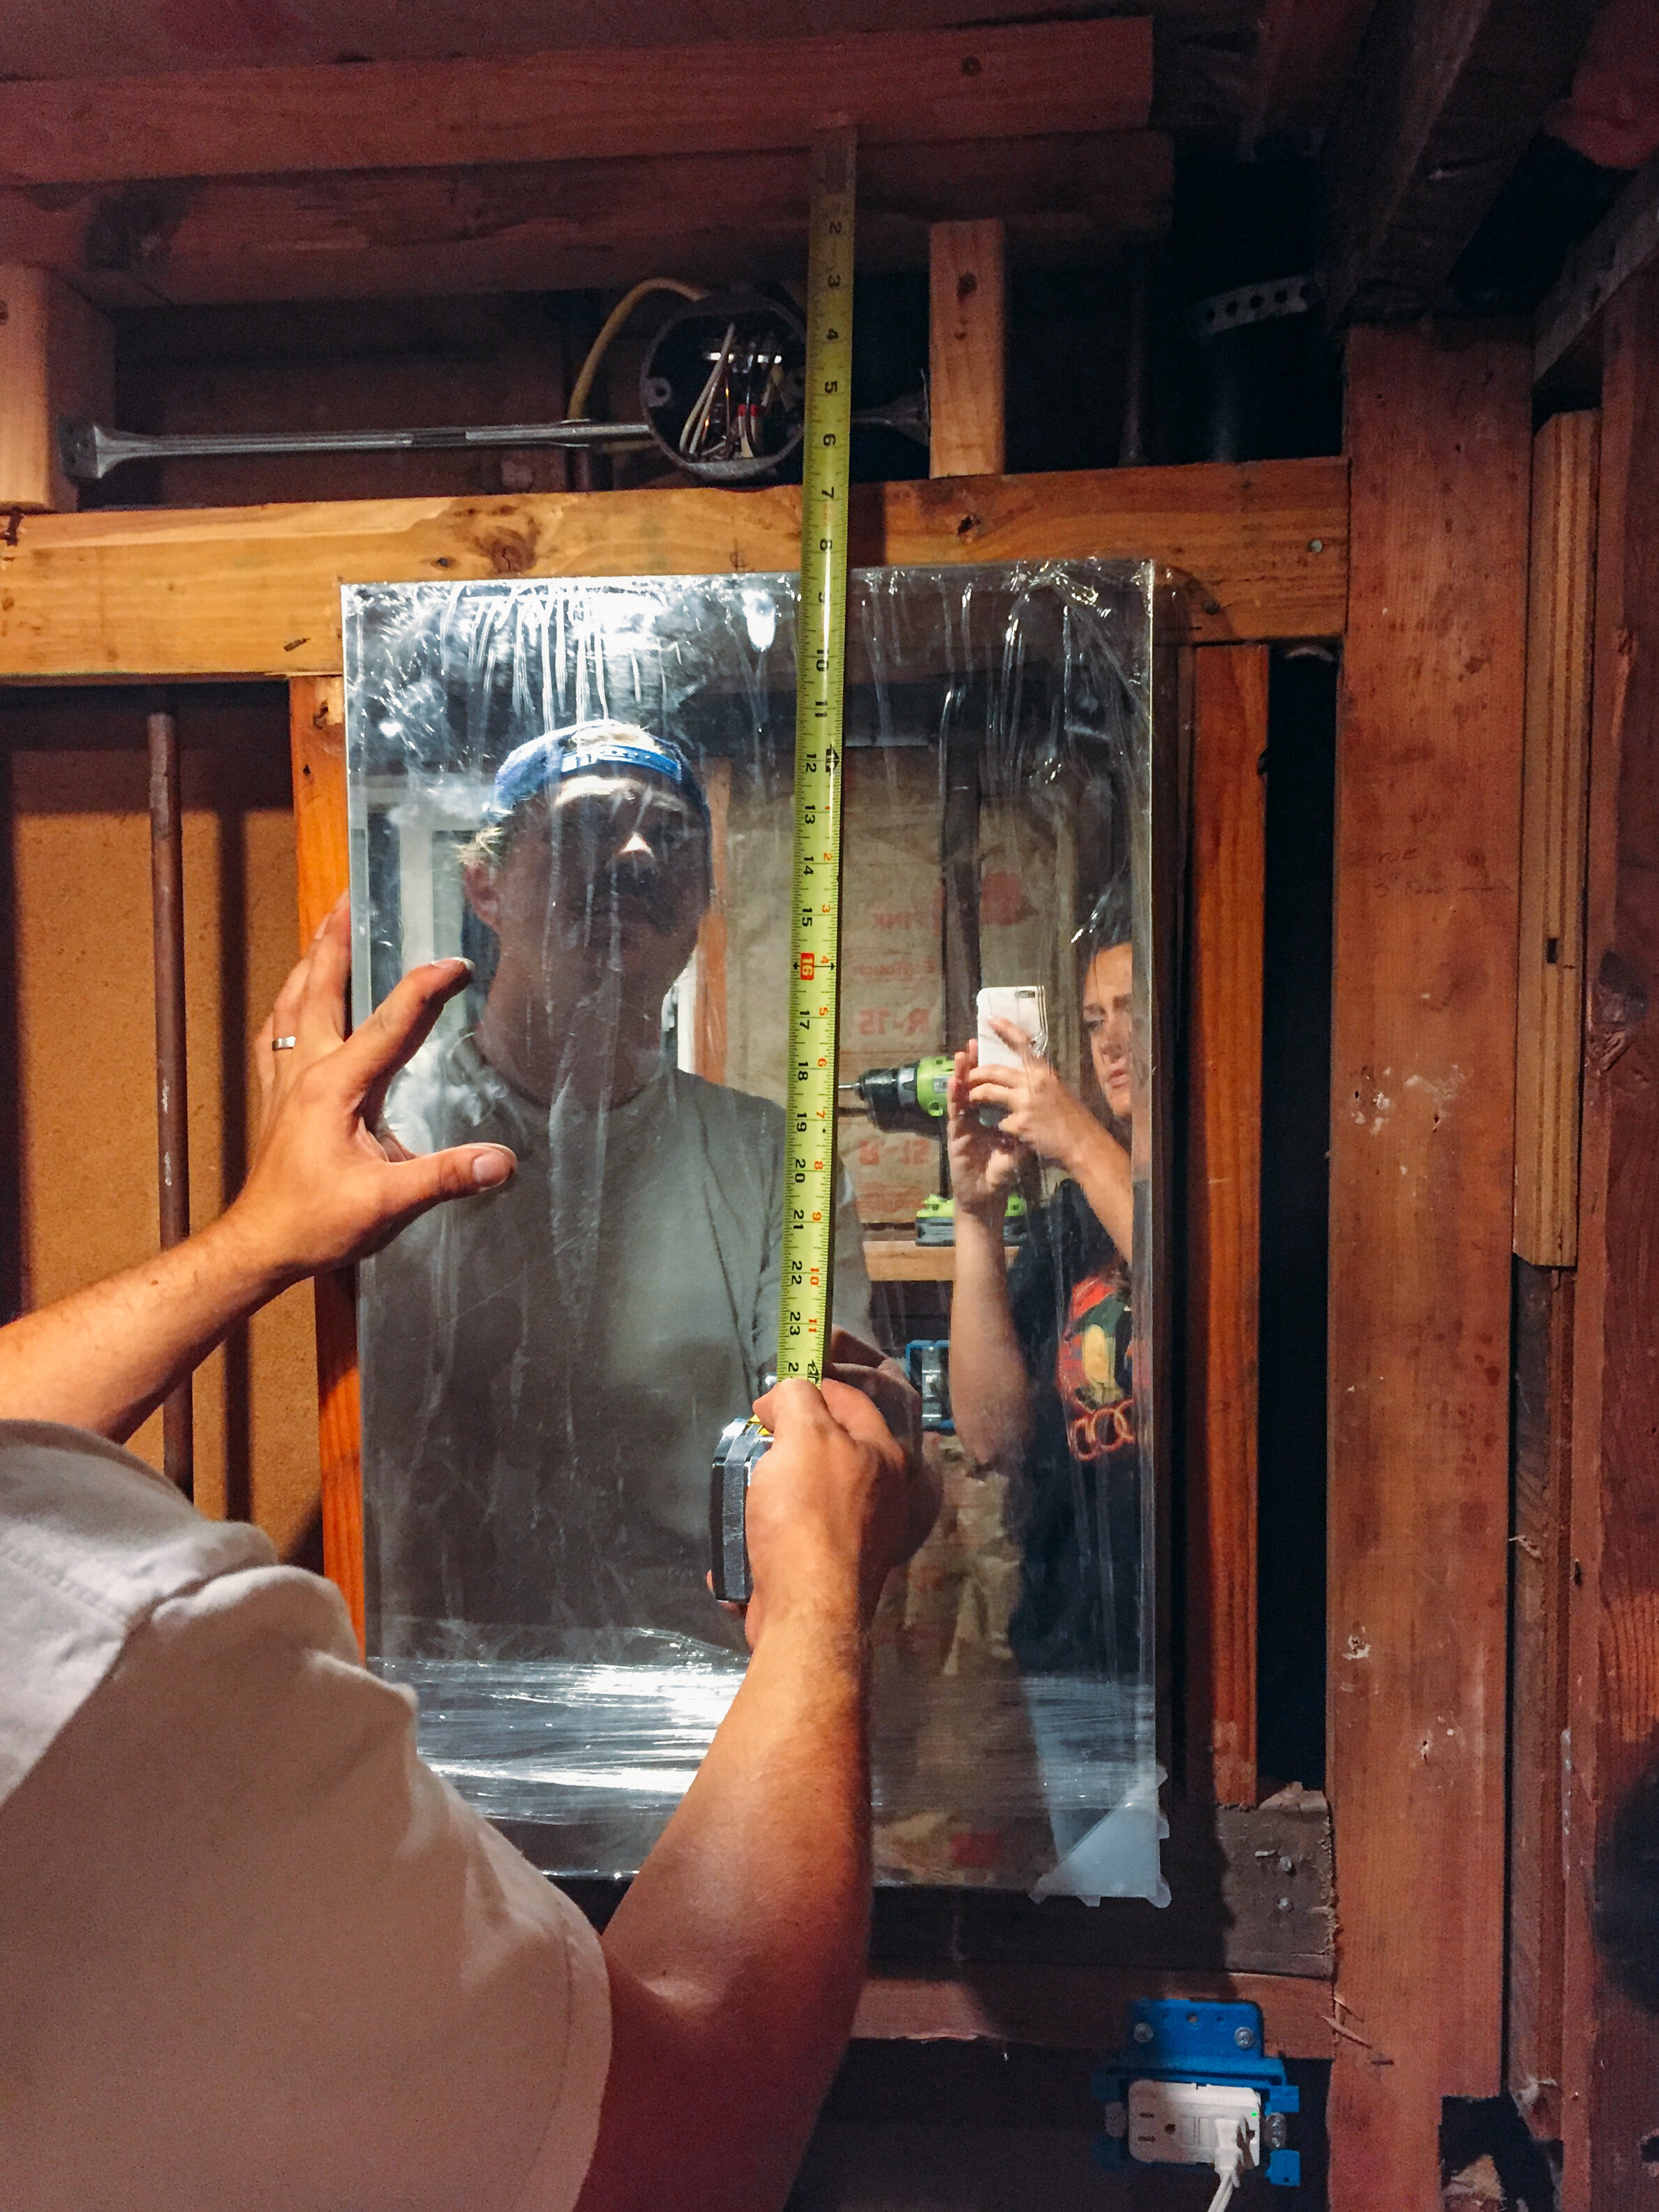
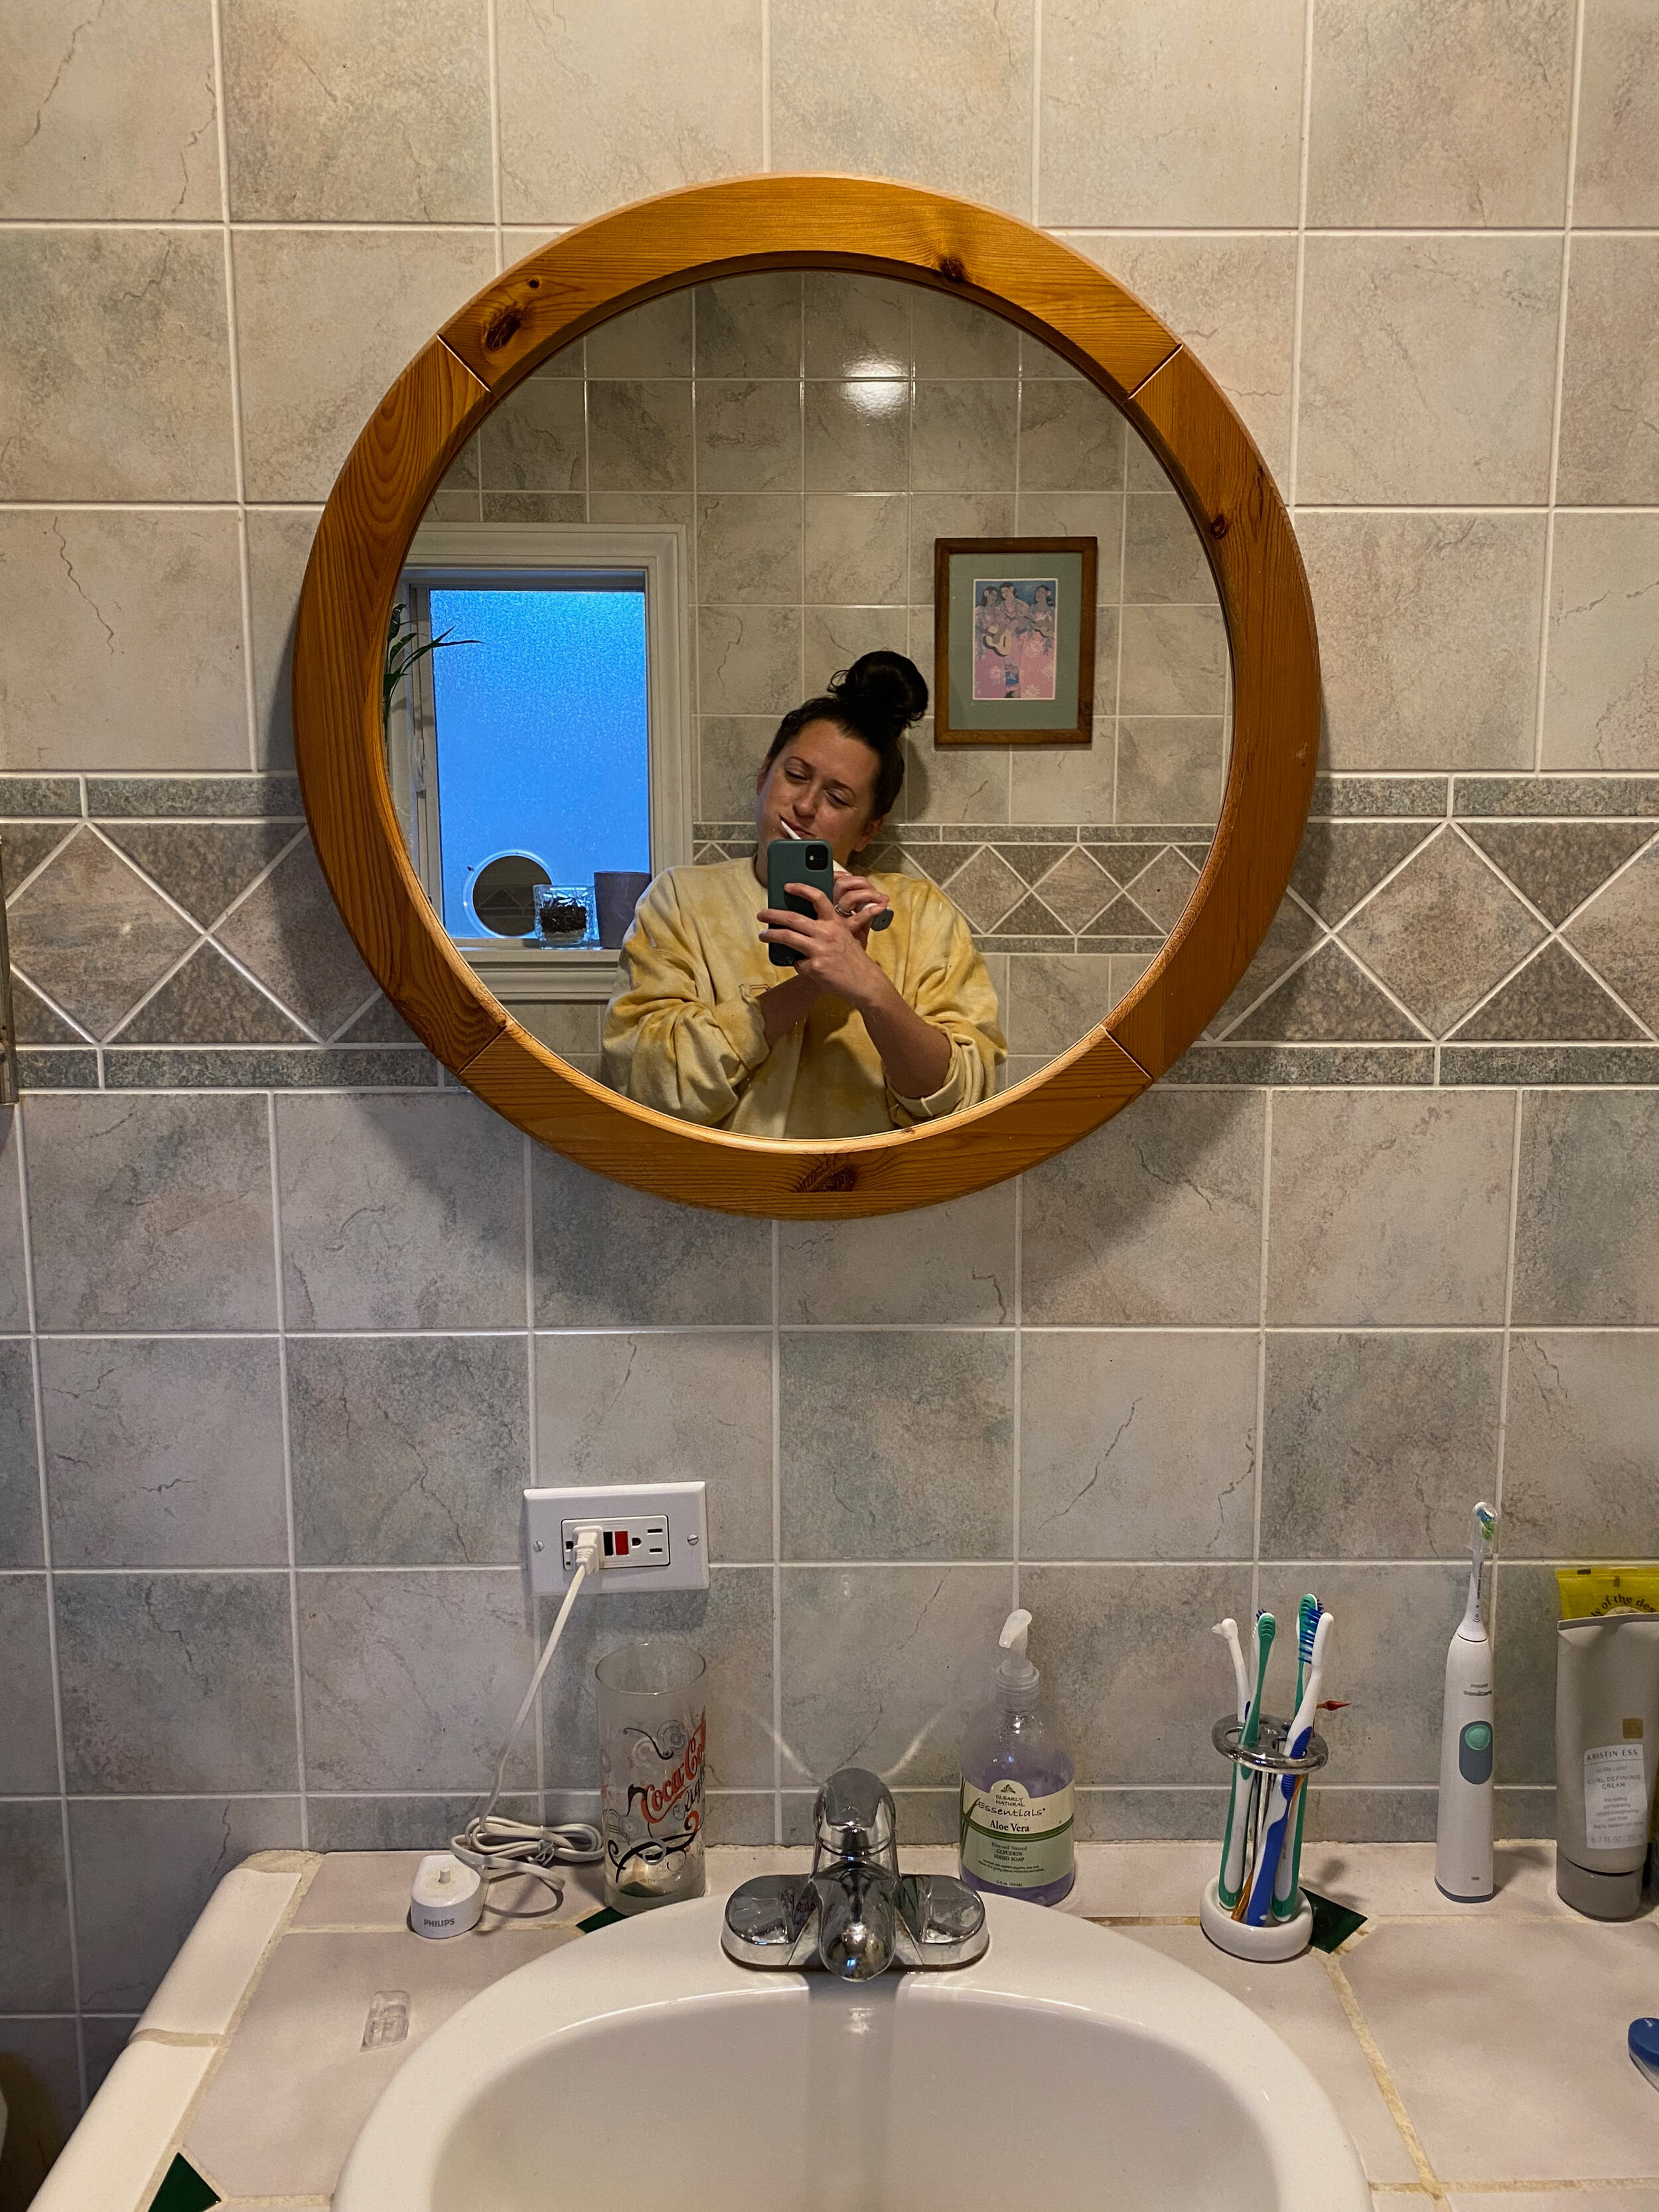
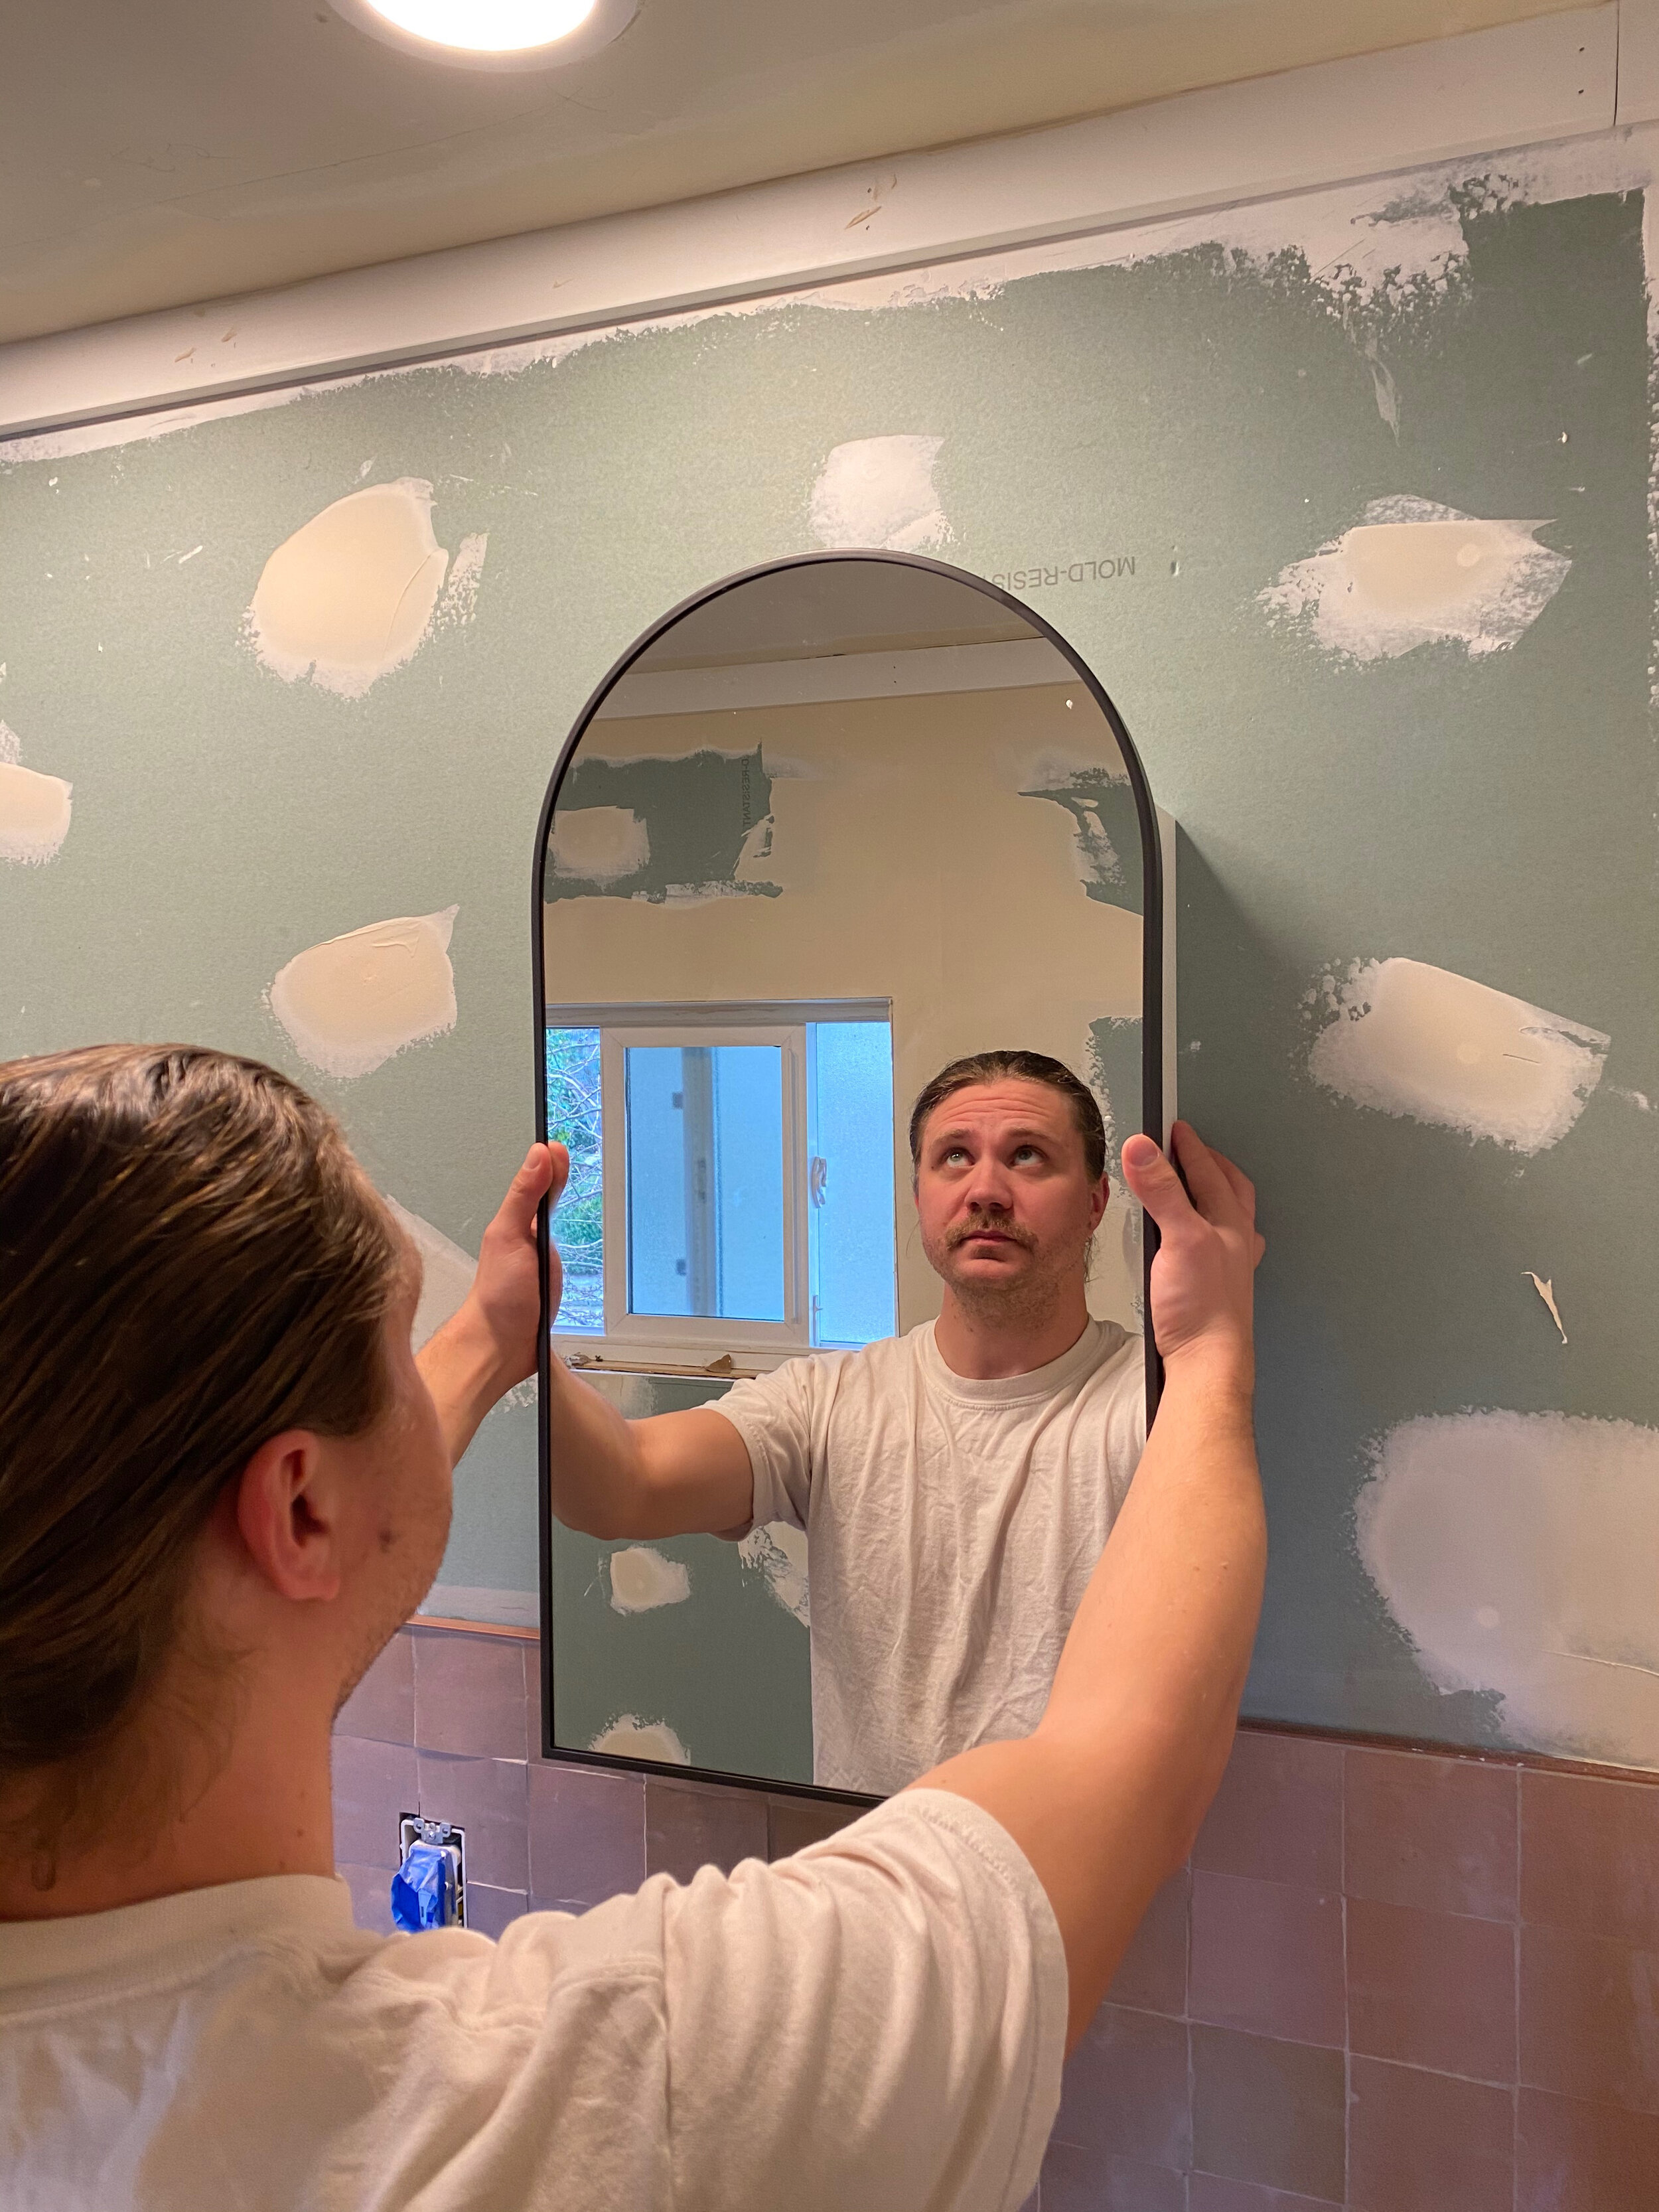
-arched medicine cabinet mirror from west elm

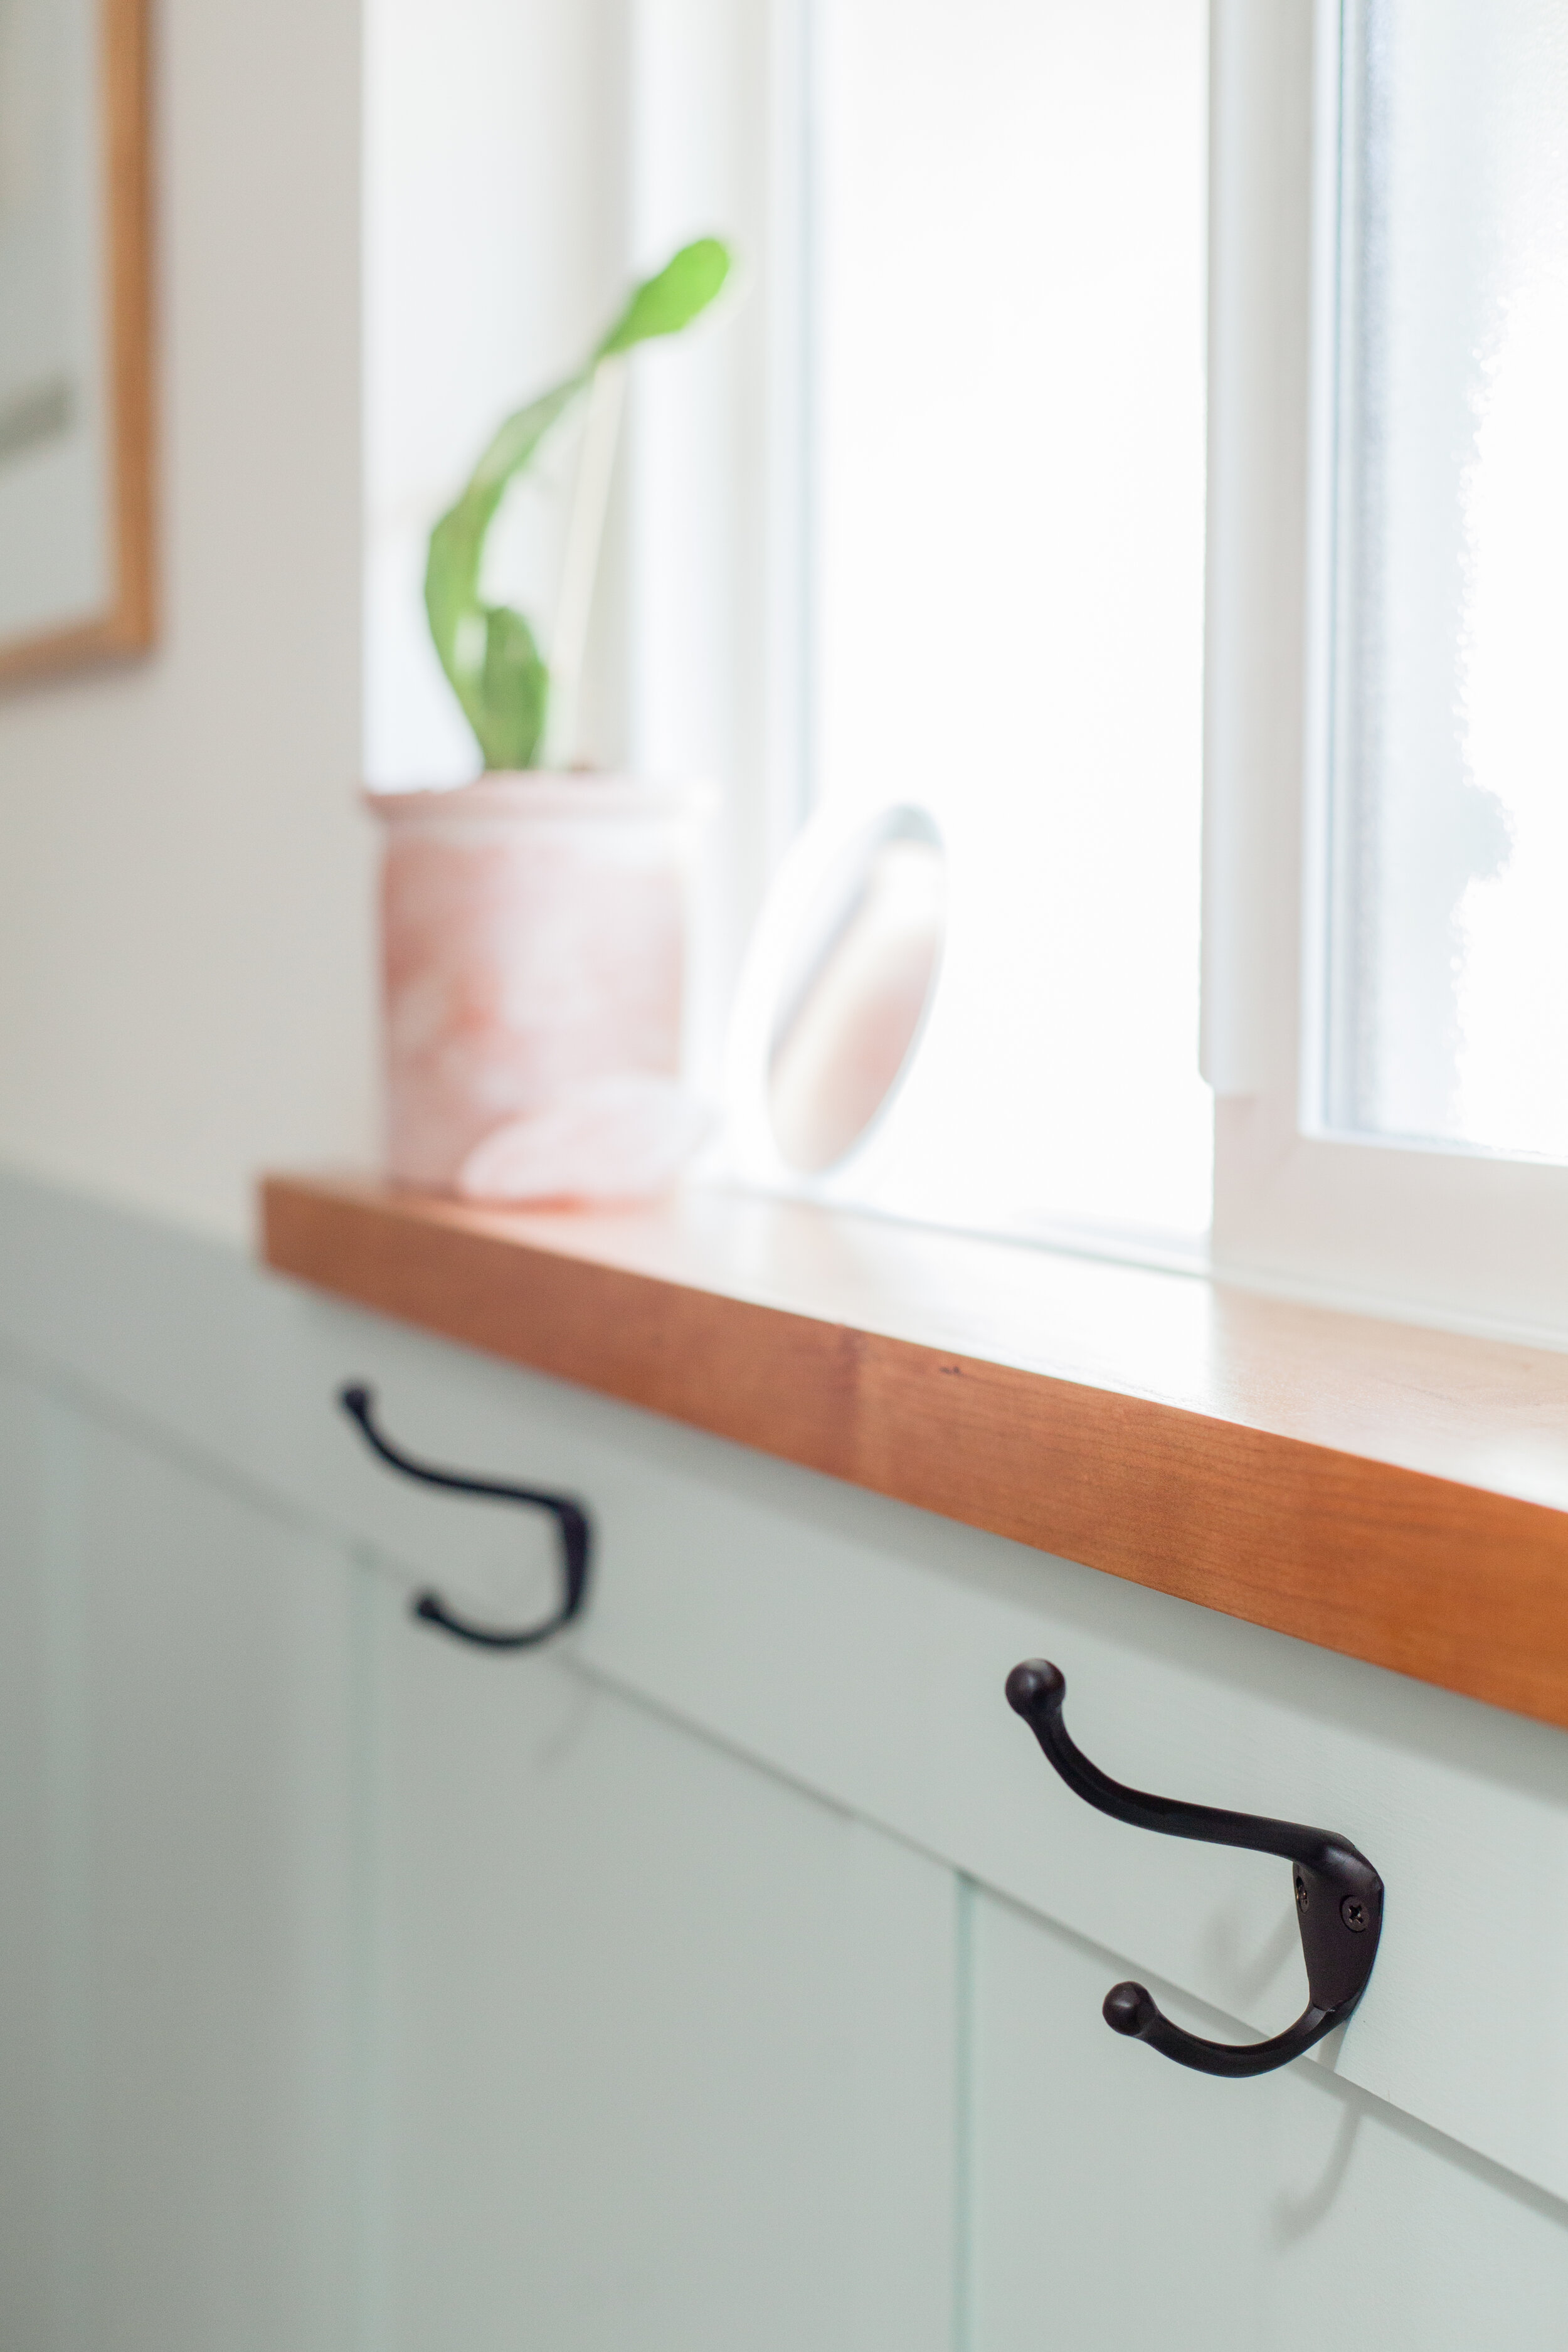
-towel hooks from schoolhouse
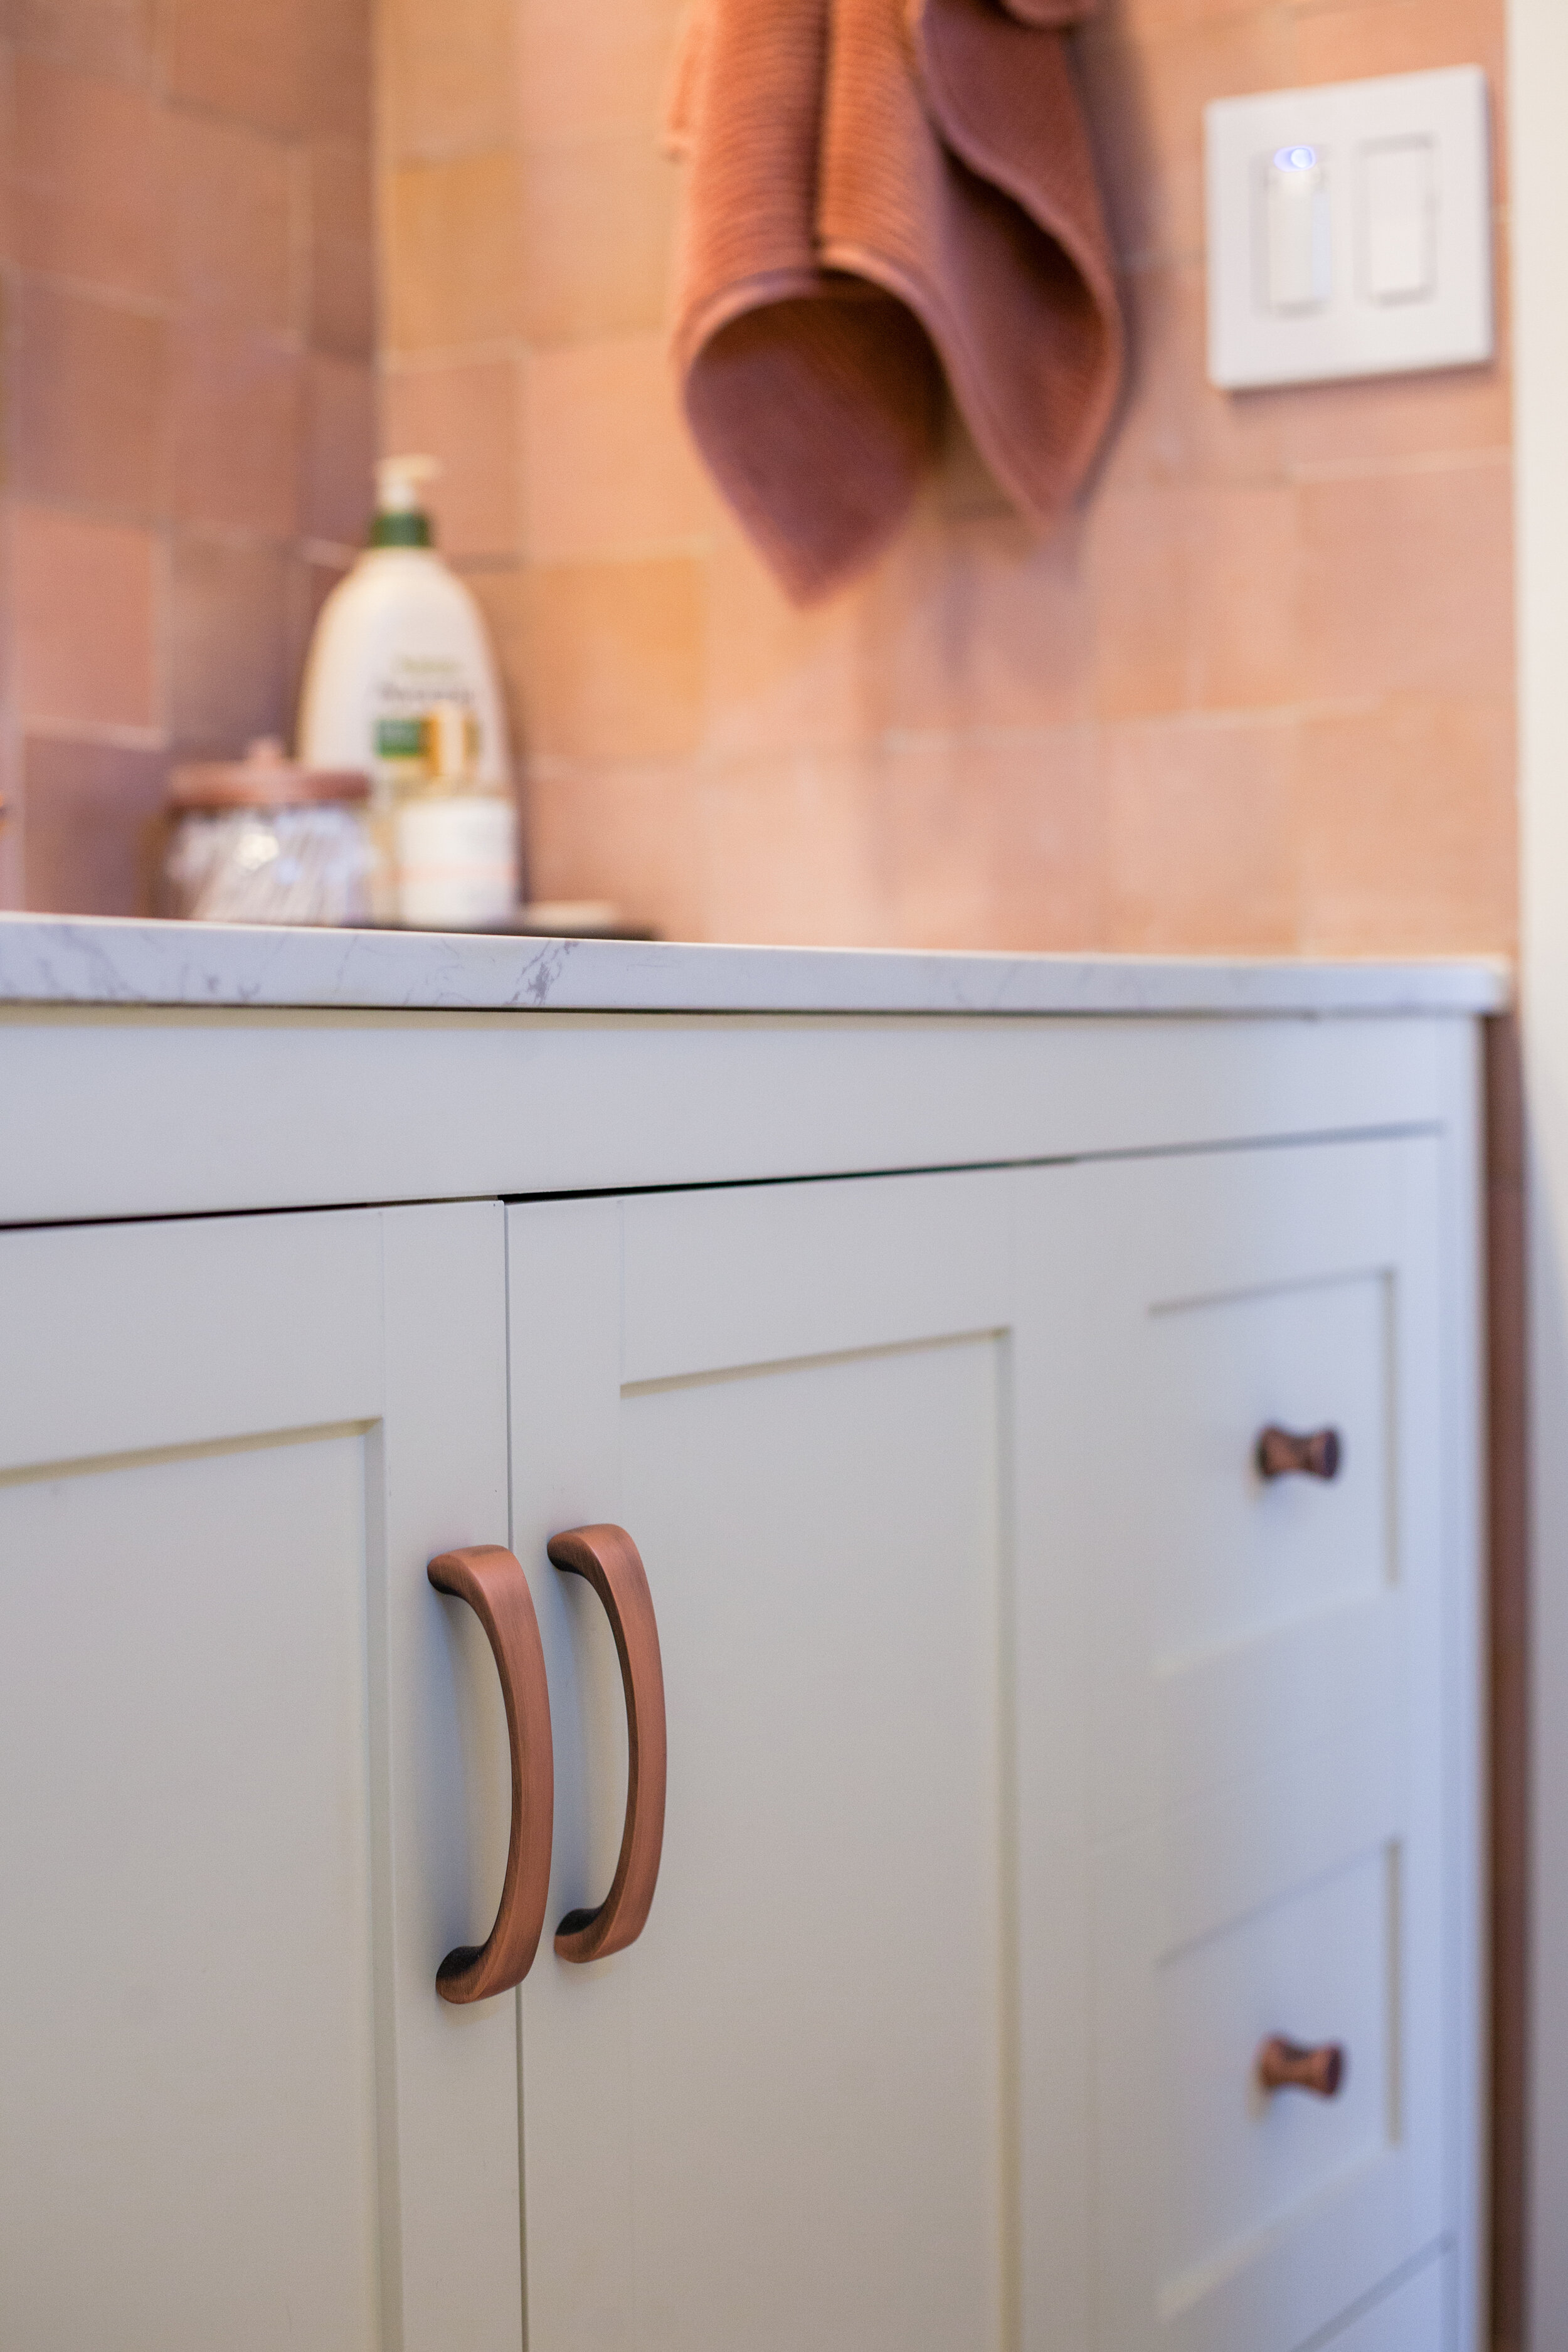
-antique copper cabinet hardware from etsy
-copper faucet from the builders supply

something kind of wild about this project is that we purchased every single item sight unseen off of the internet. i am so glad everything arrived in one piece and came together well as far as the design goes. i think just a few items came from target and an art store where i actually shopped at in-person.
if you’re reading this post way in the future - this renovation happened during a time when people were not going out shopping in public for frivolous items. luckily, we were able to successfully source everything online and coordinated the timing of all arrivals accordingly.

the sun shines (sometimes, lol) into the bathroom window in the morning and brightens up the whole backsplash, making it feel warm & cozy.
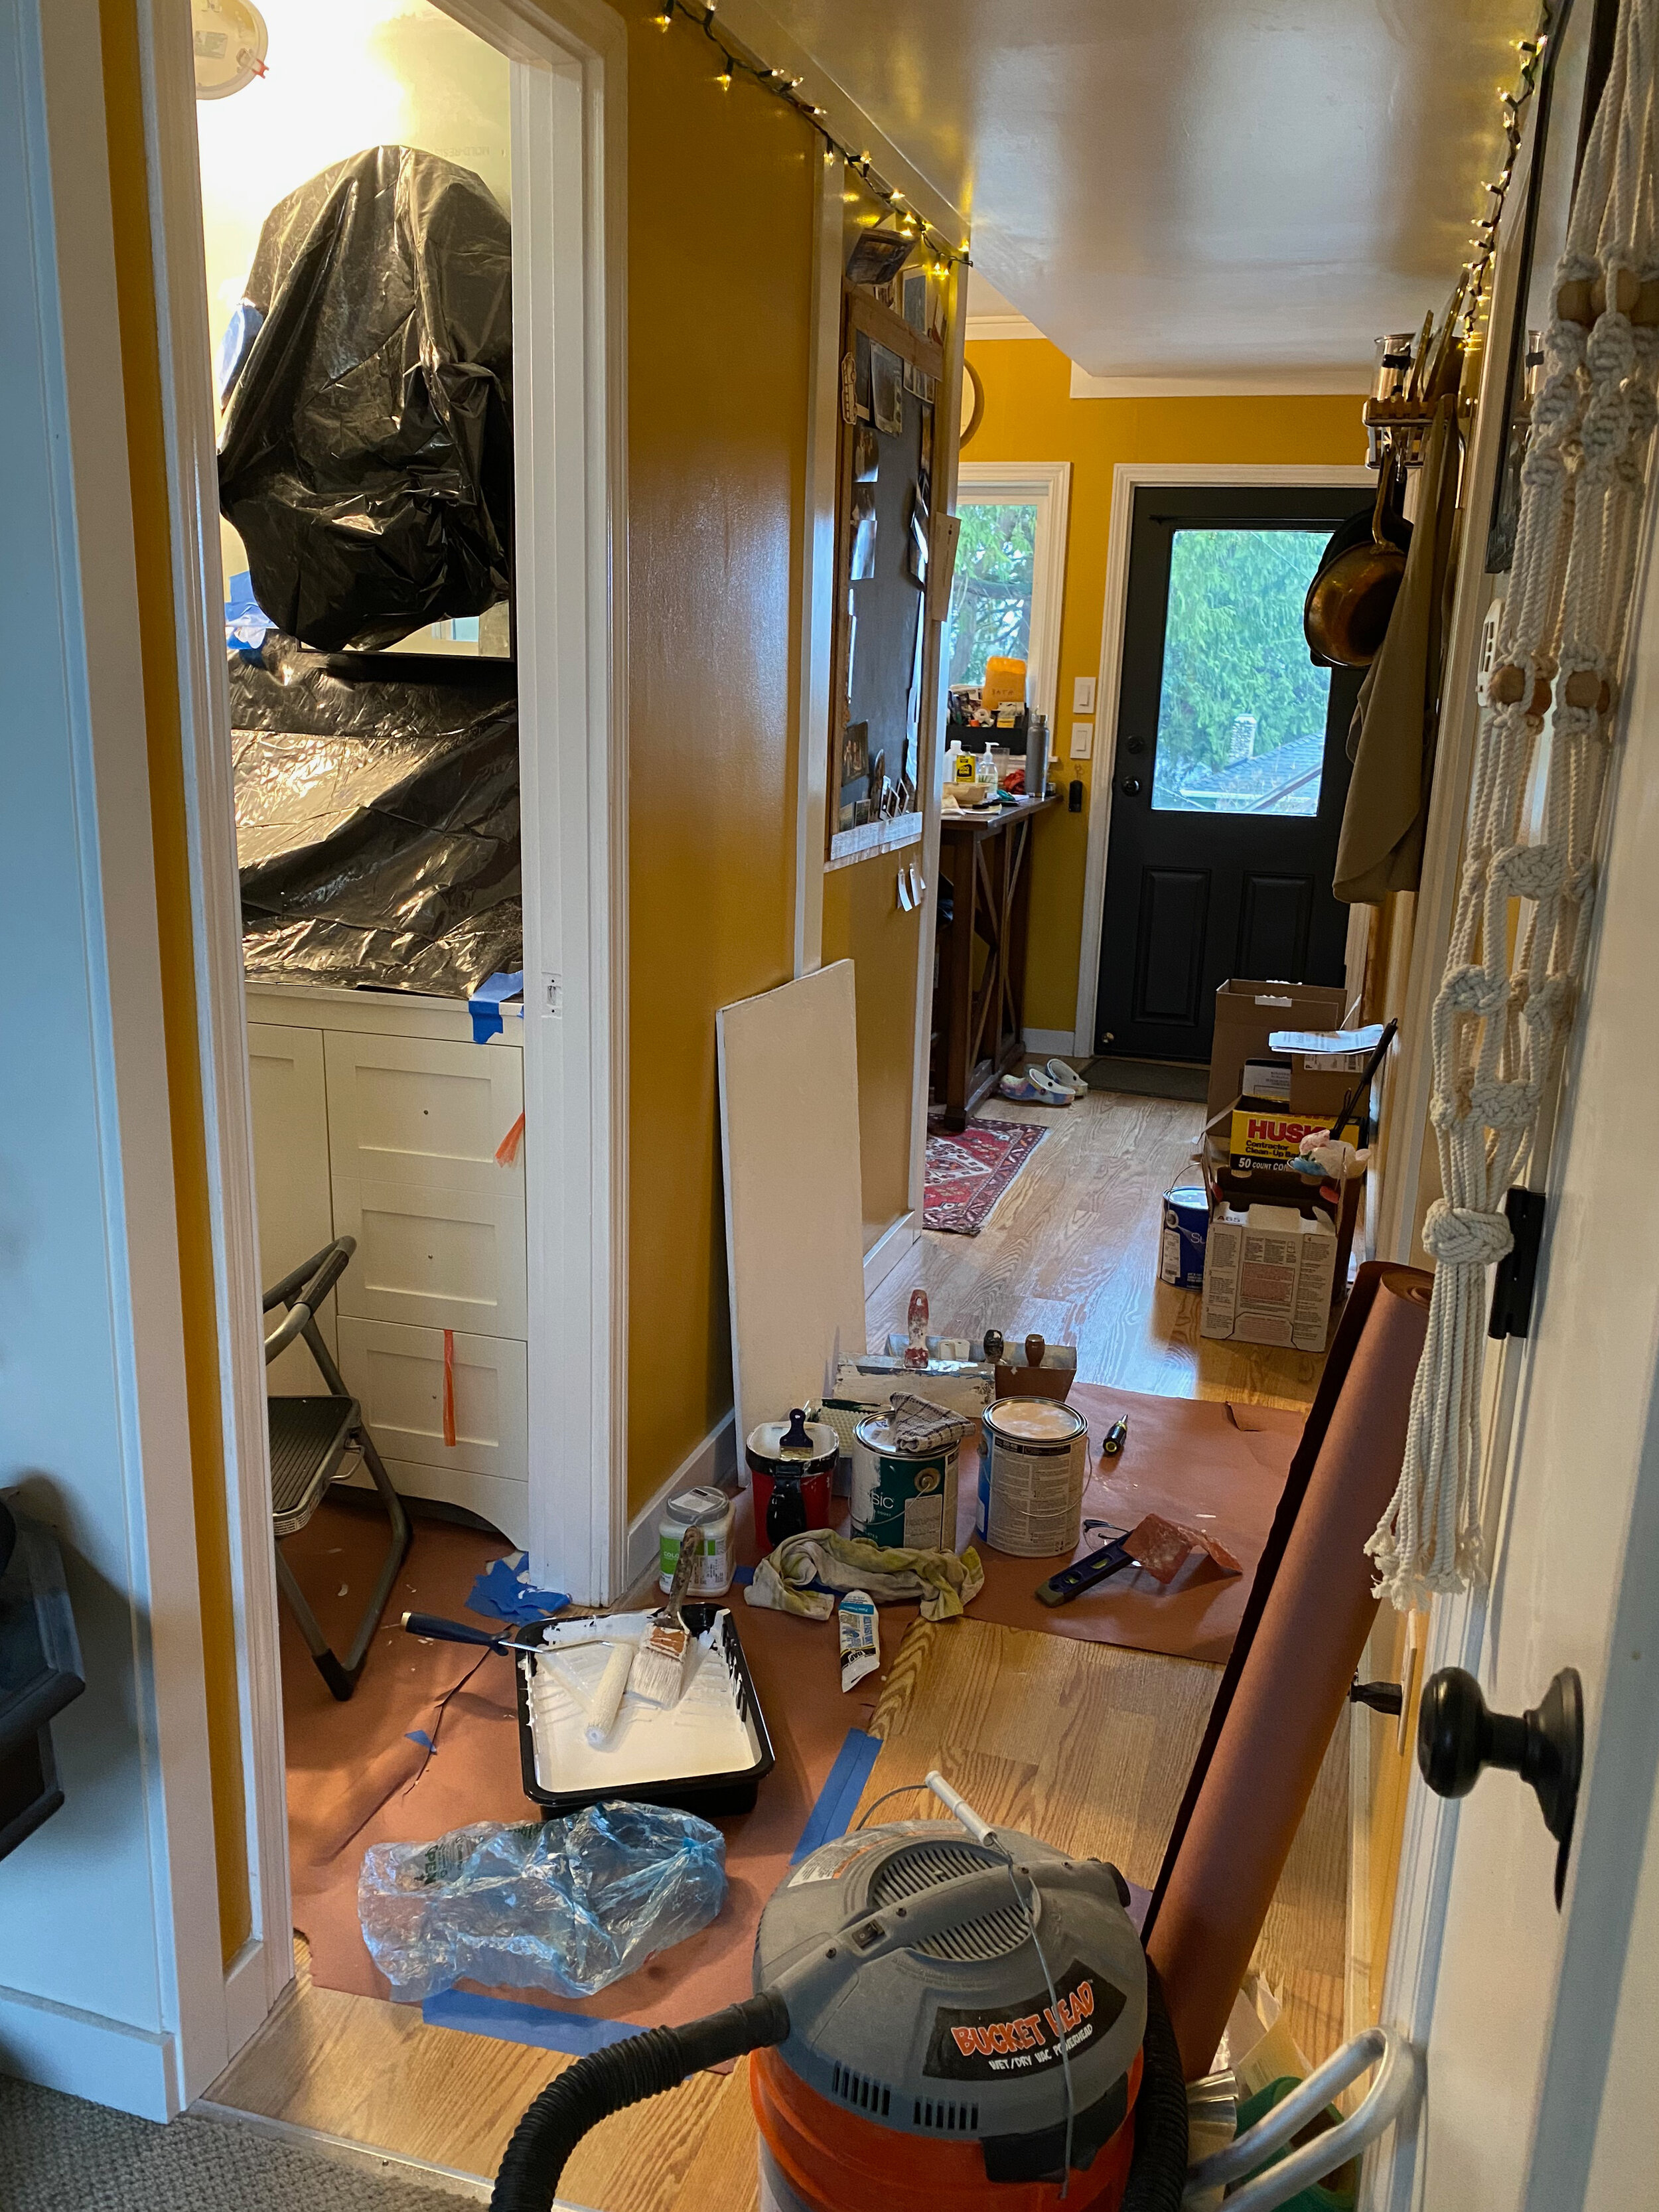
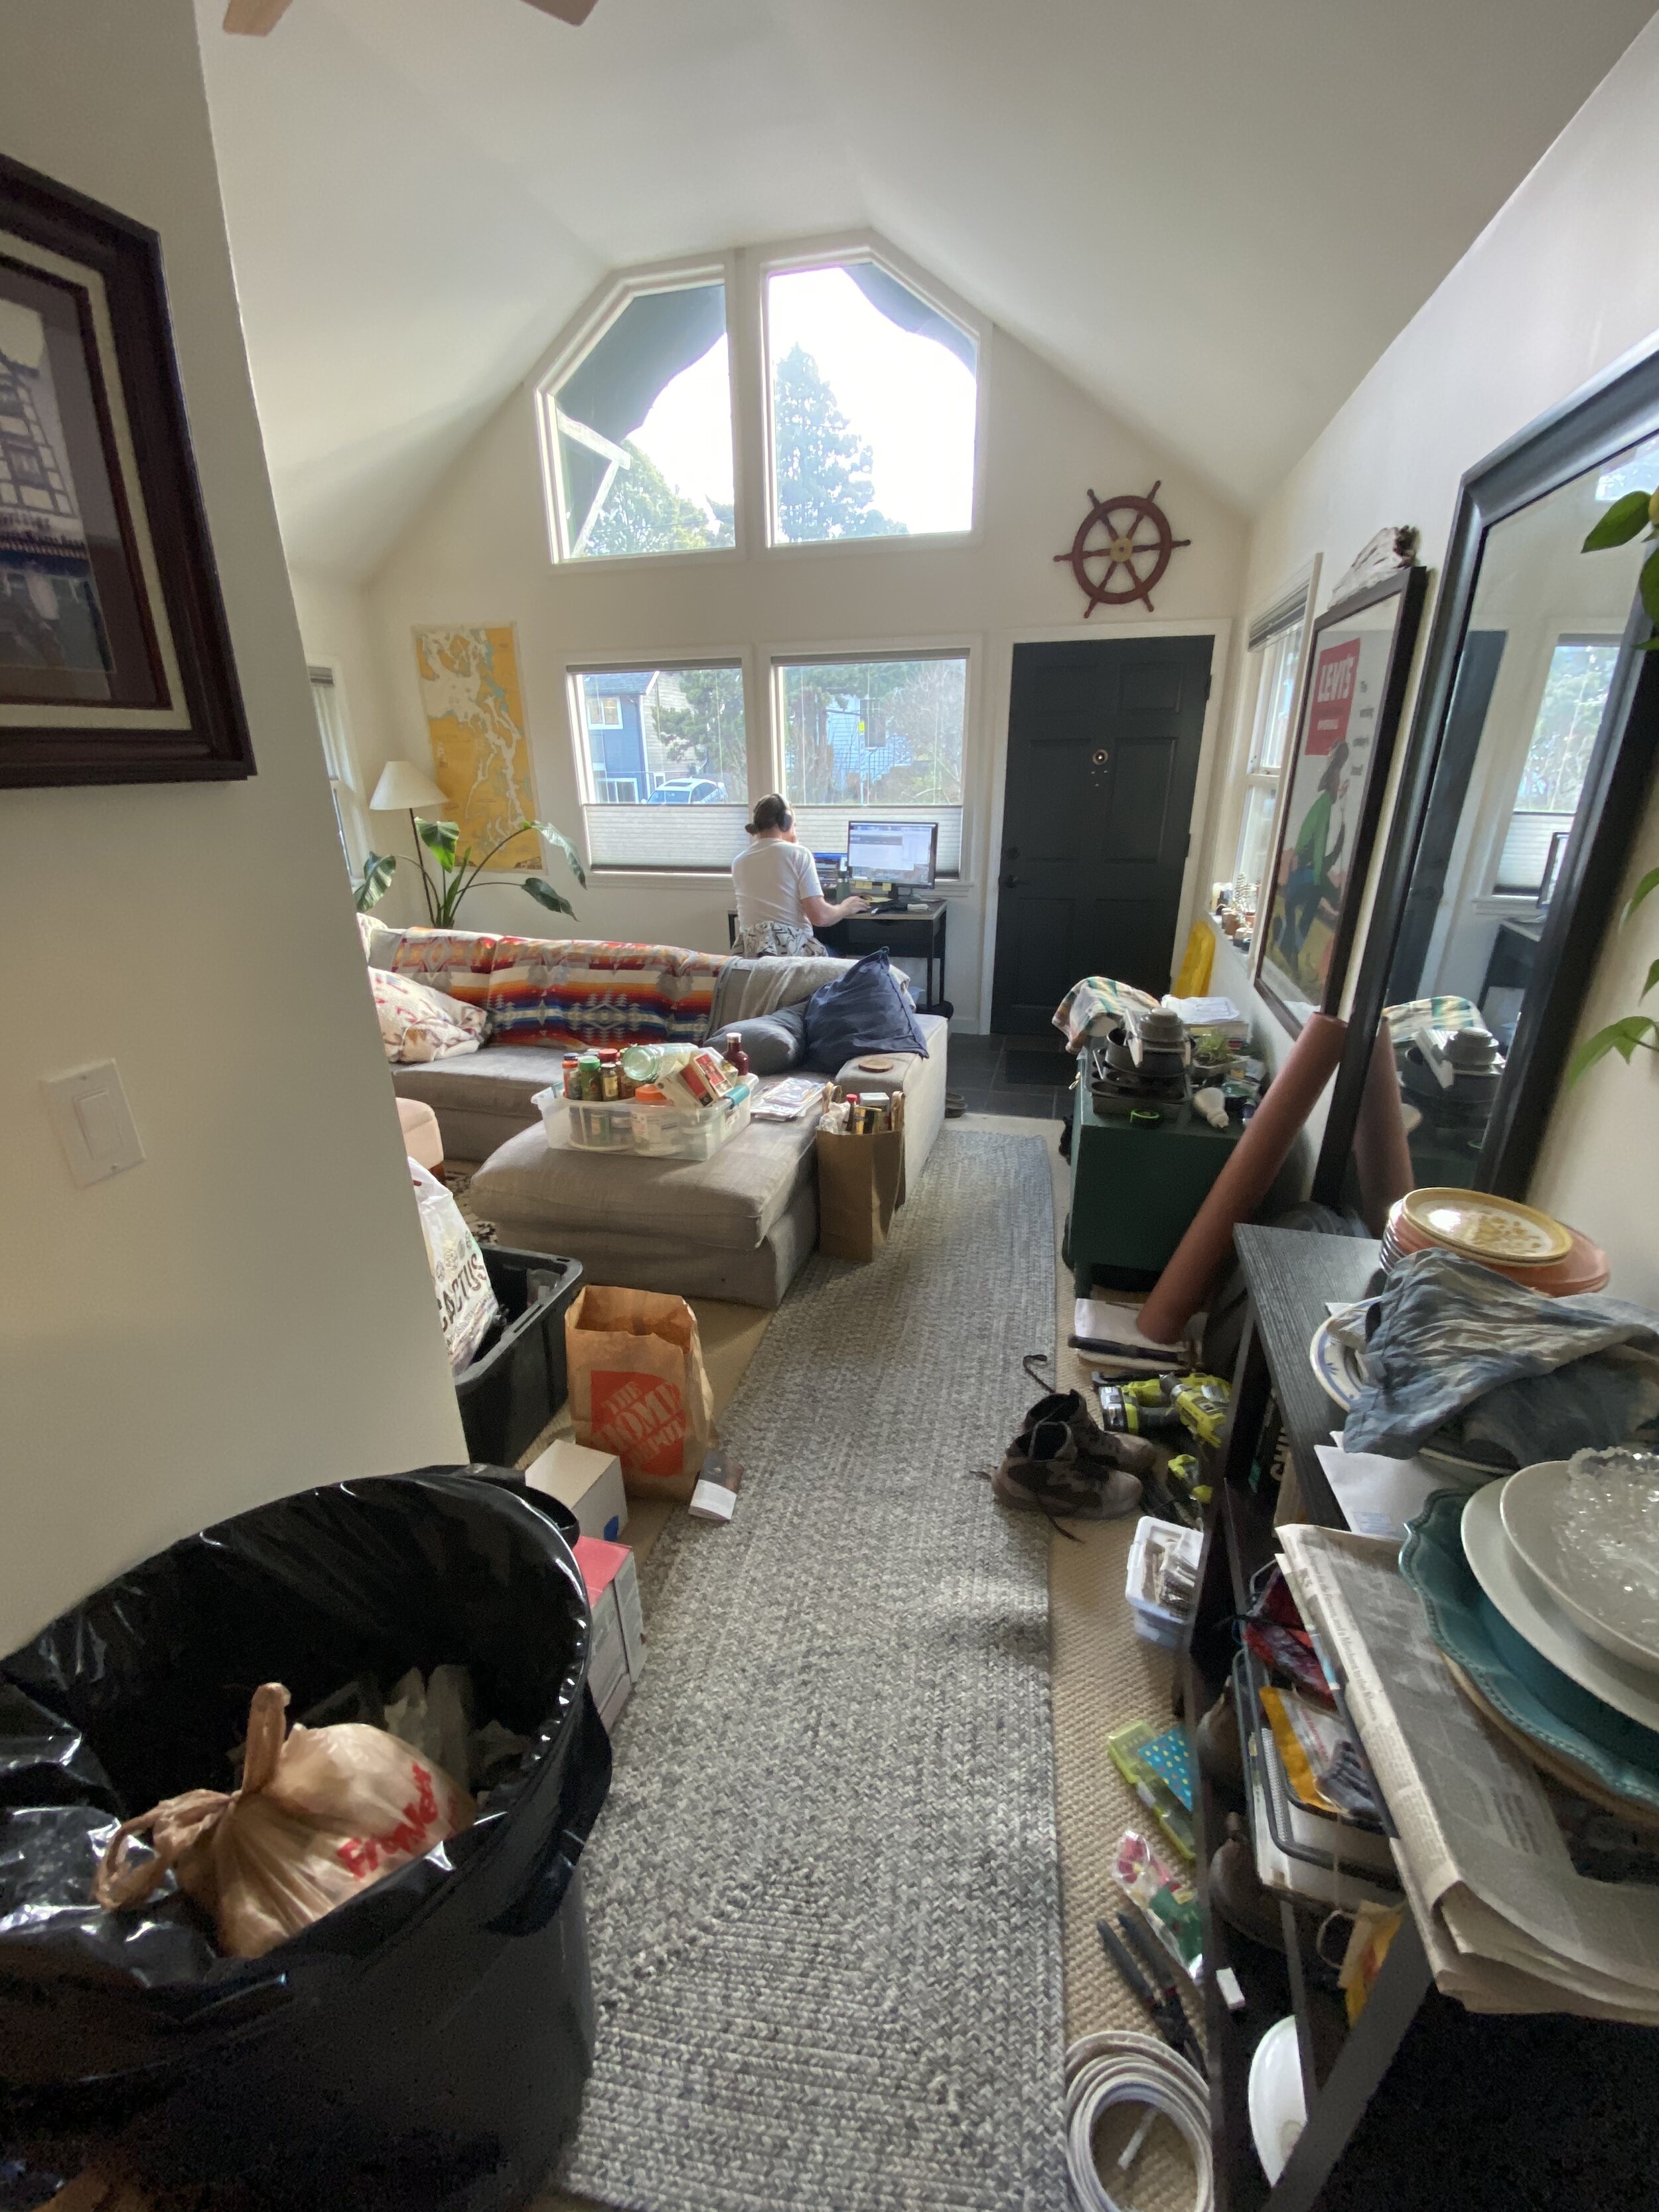
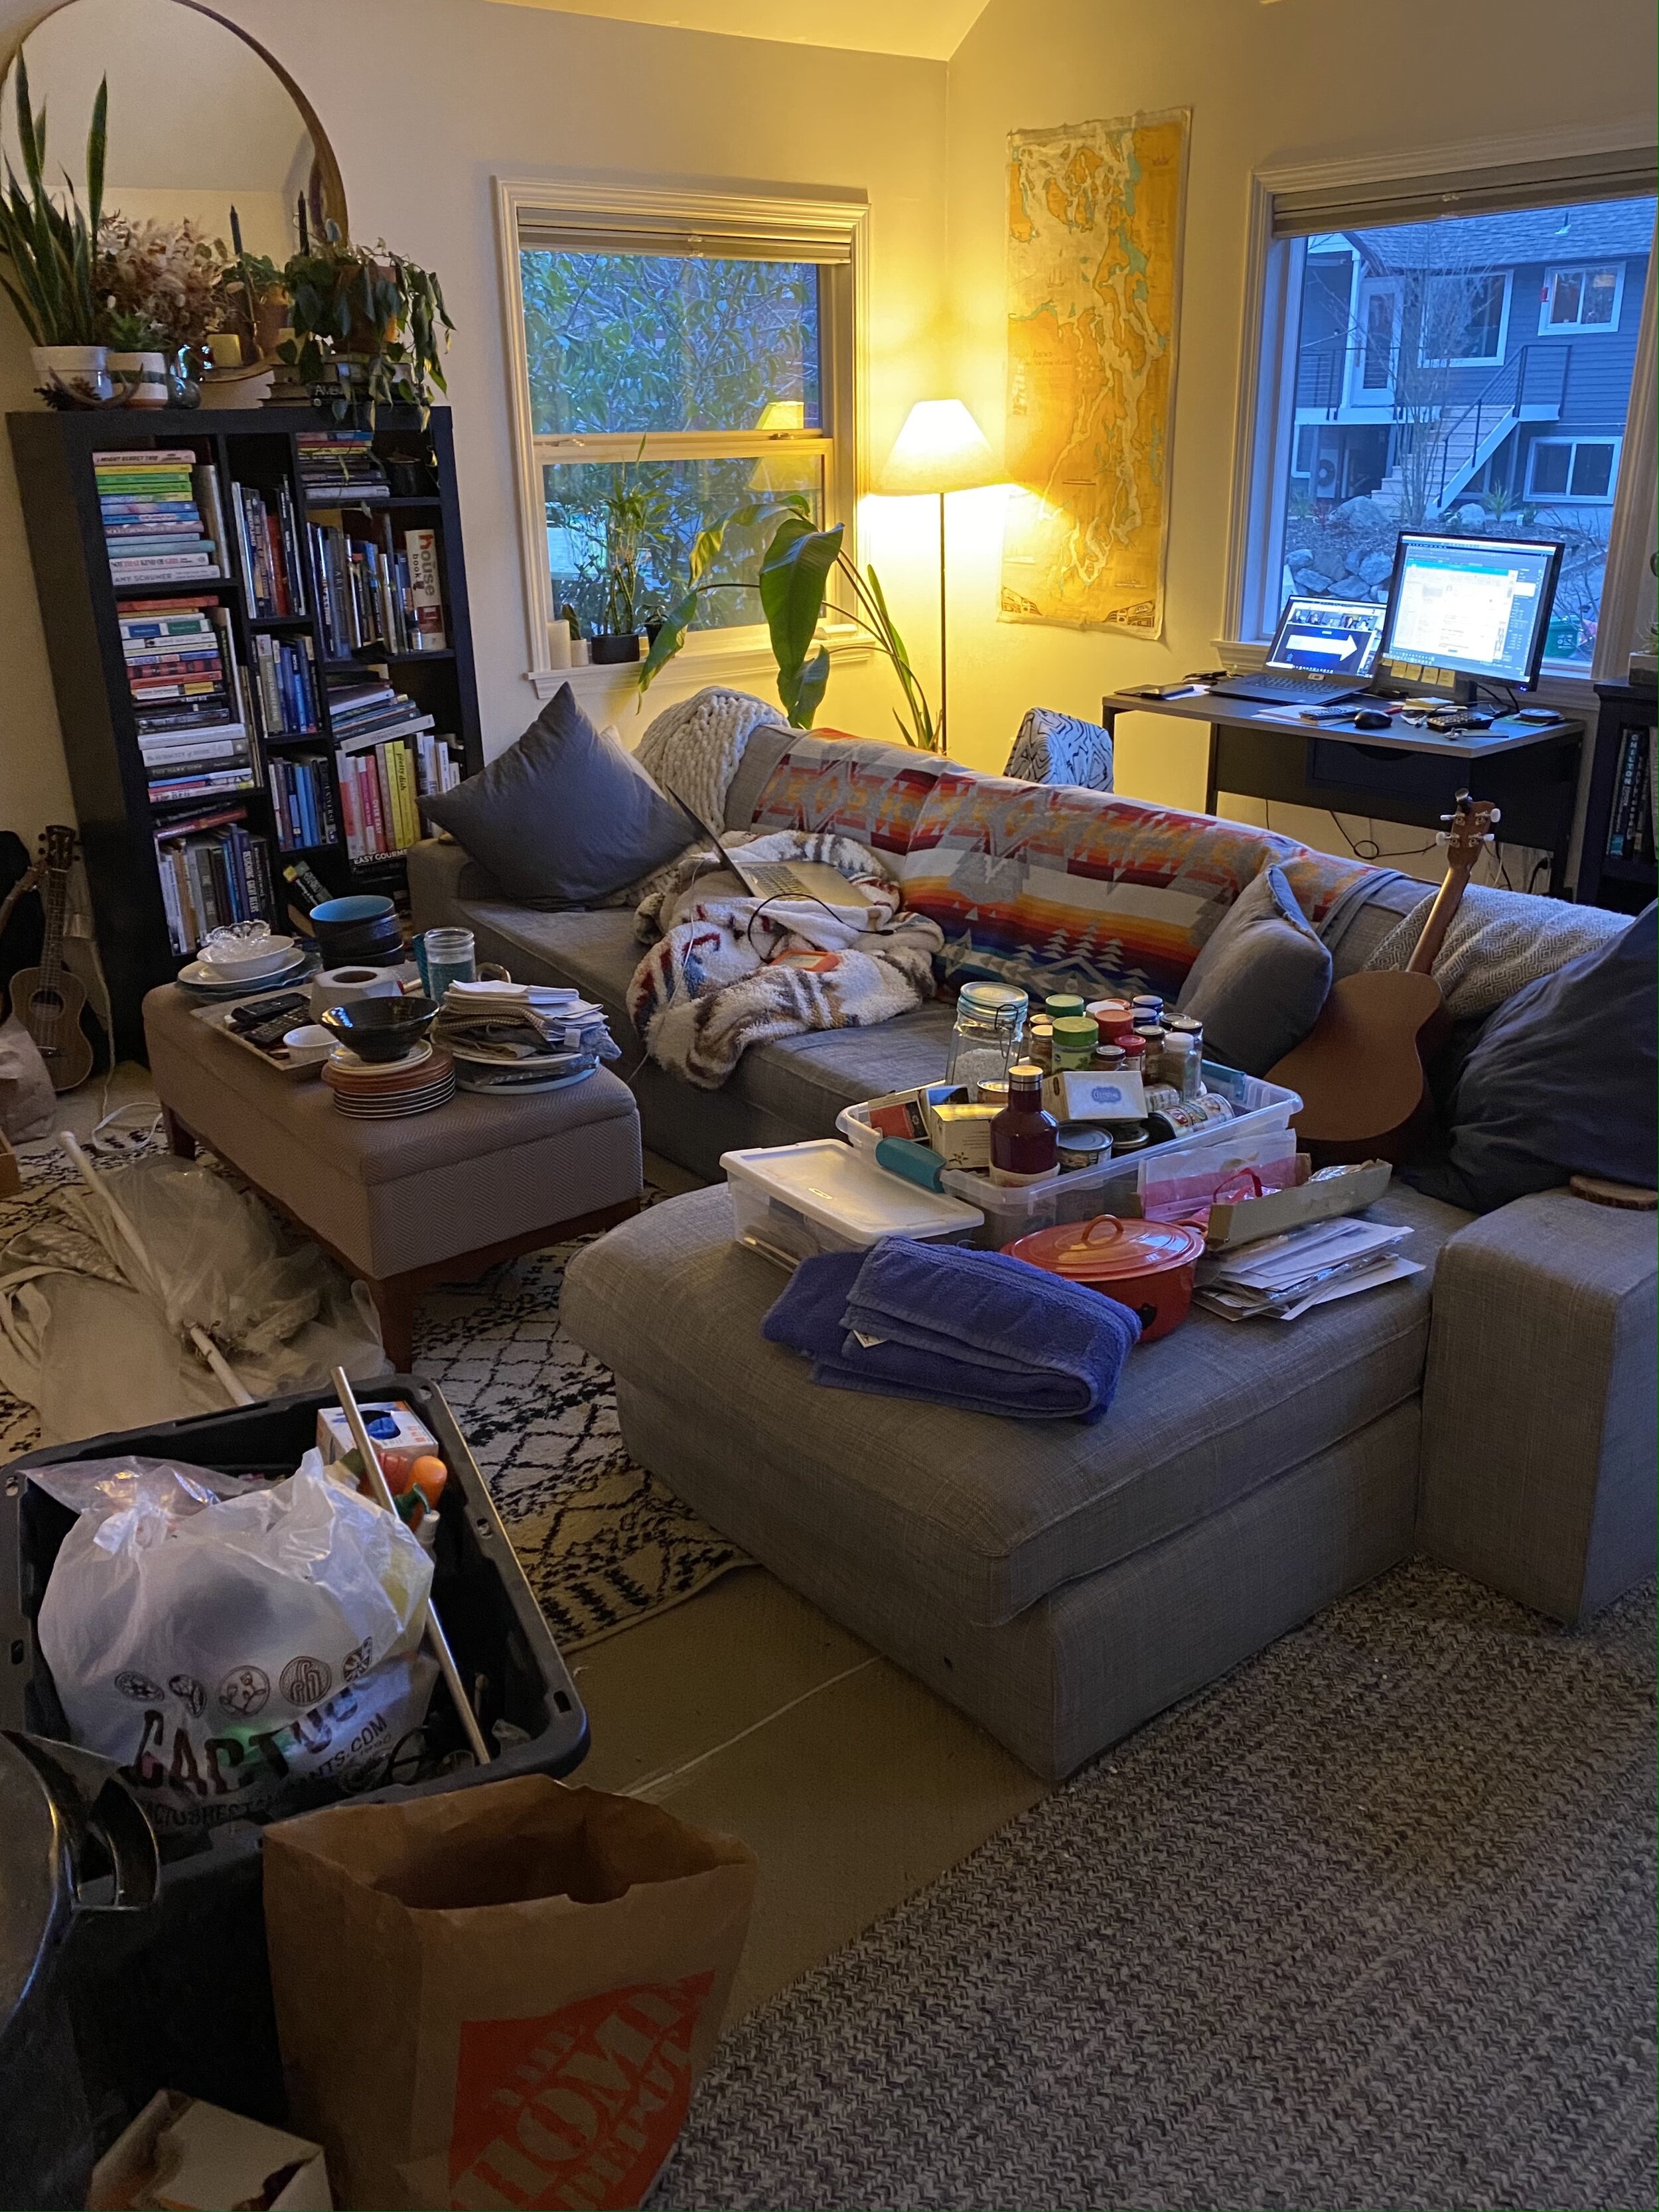
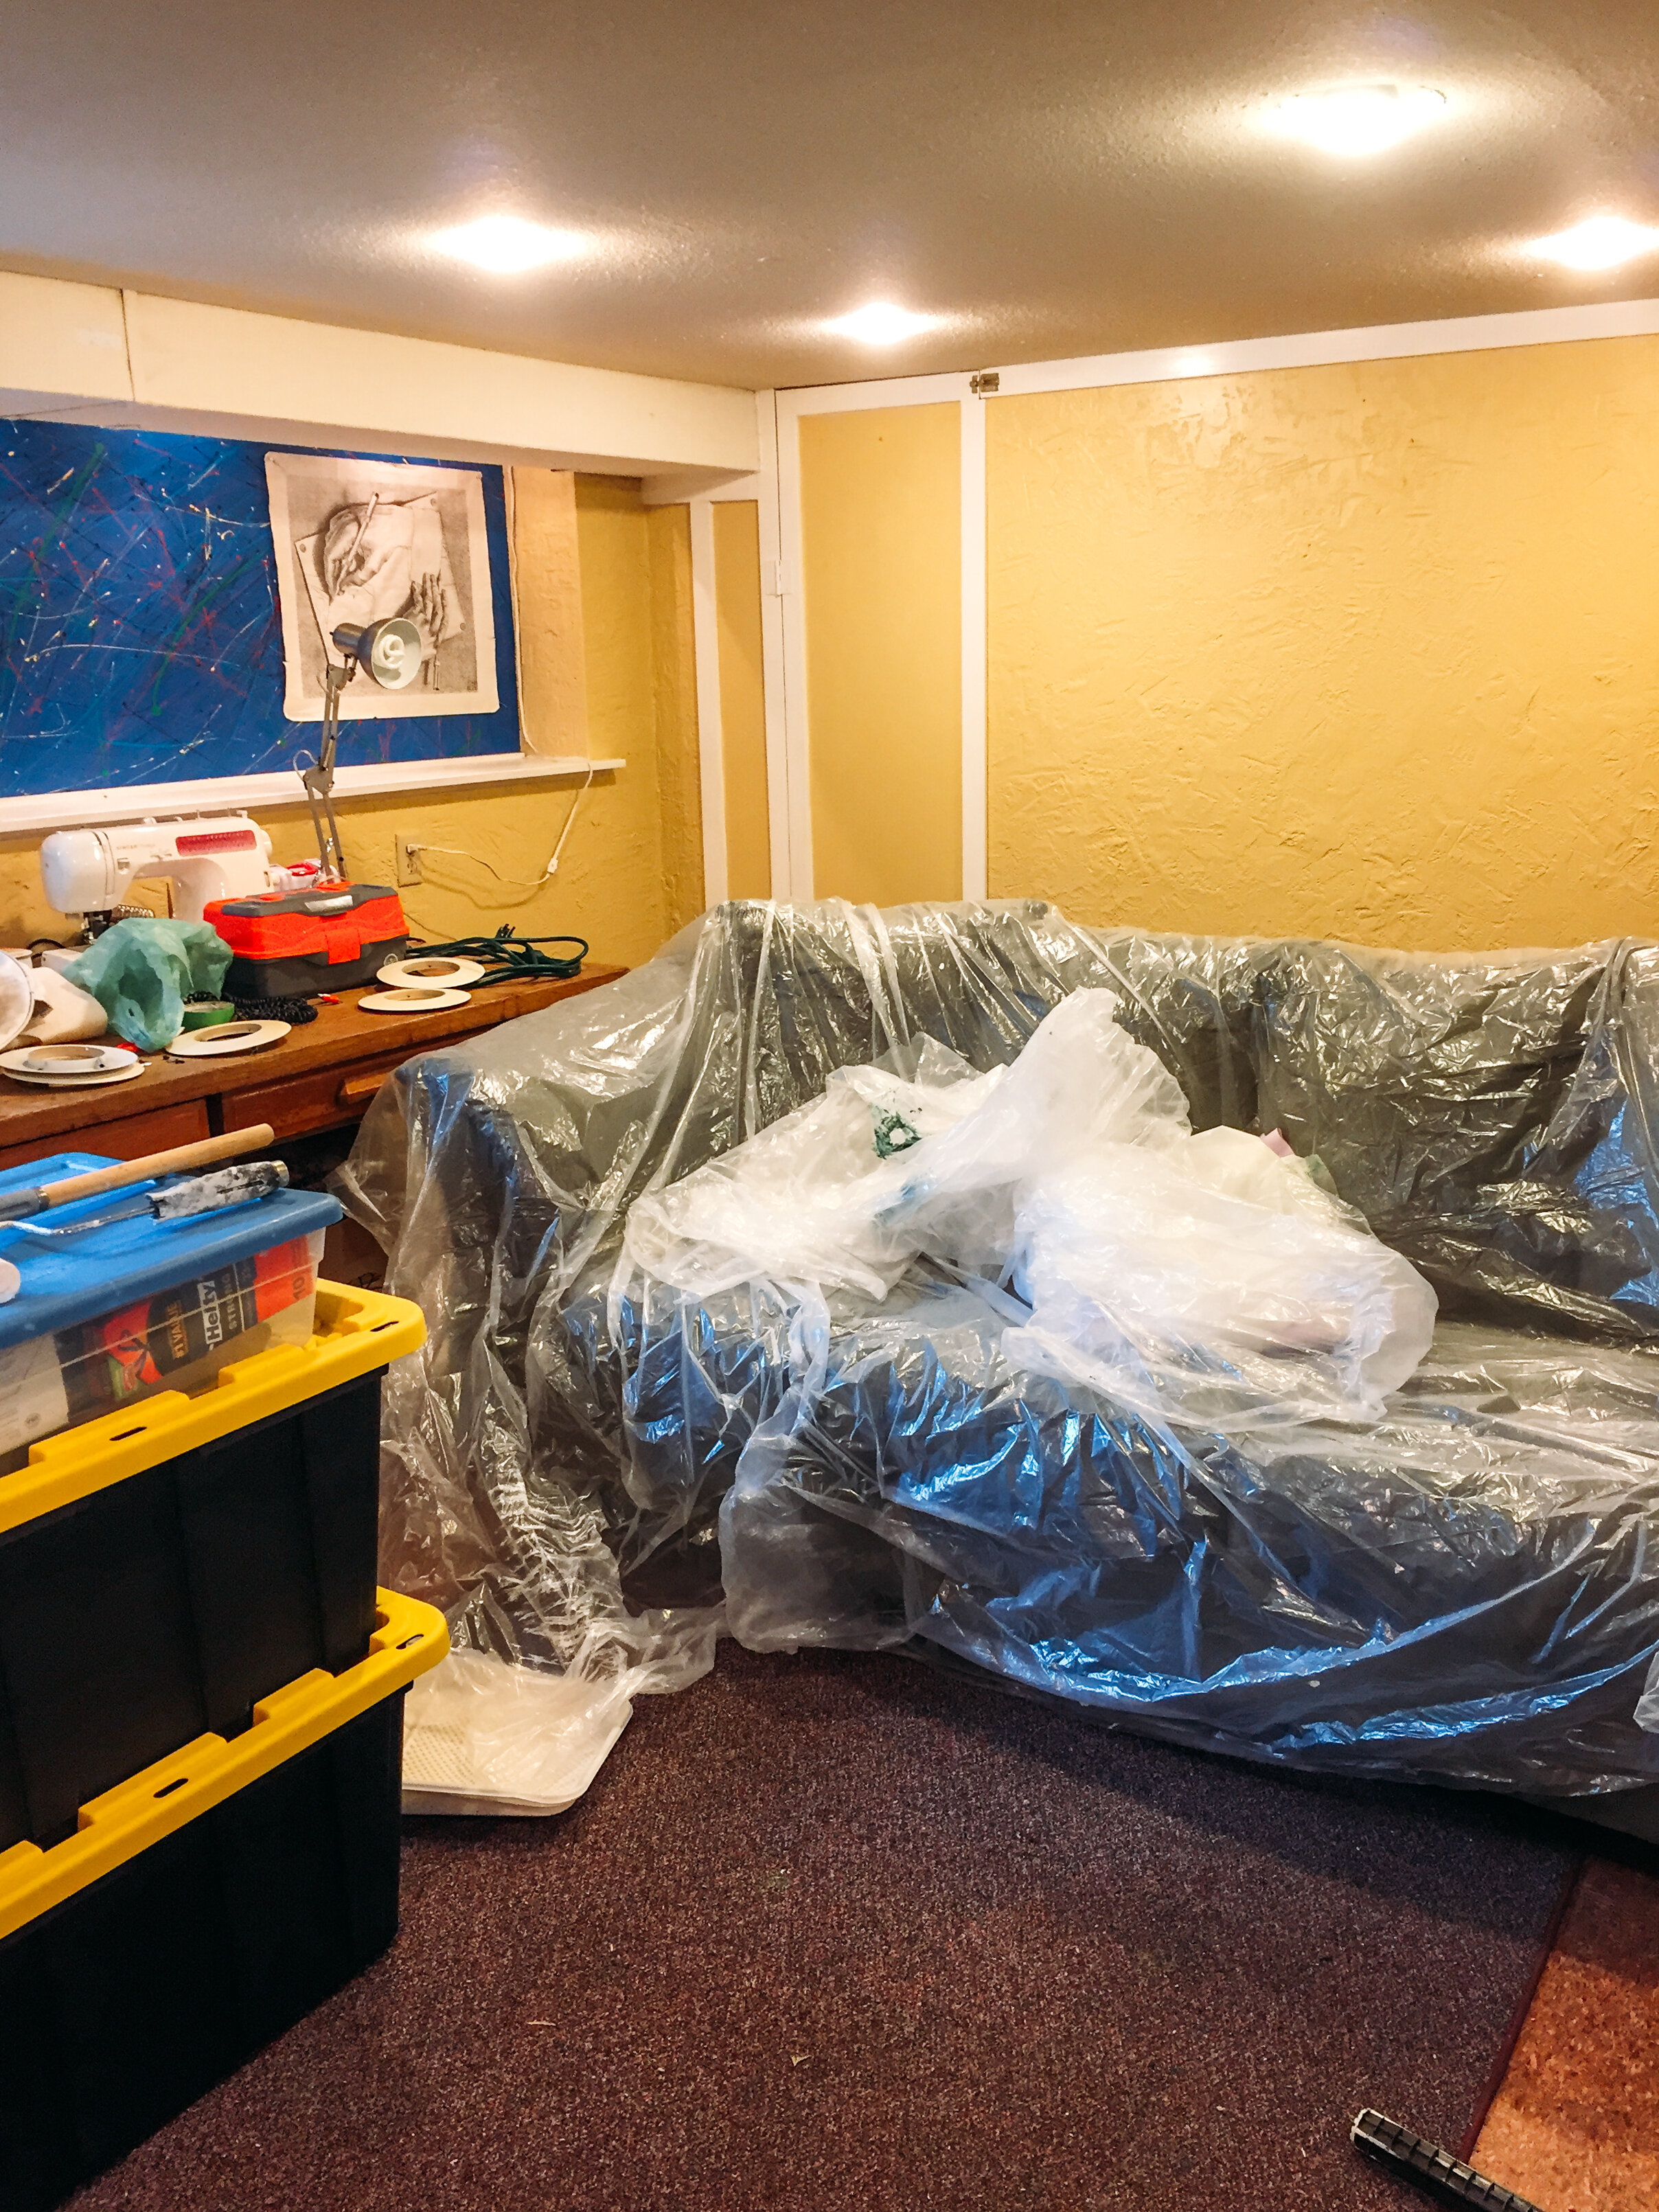
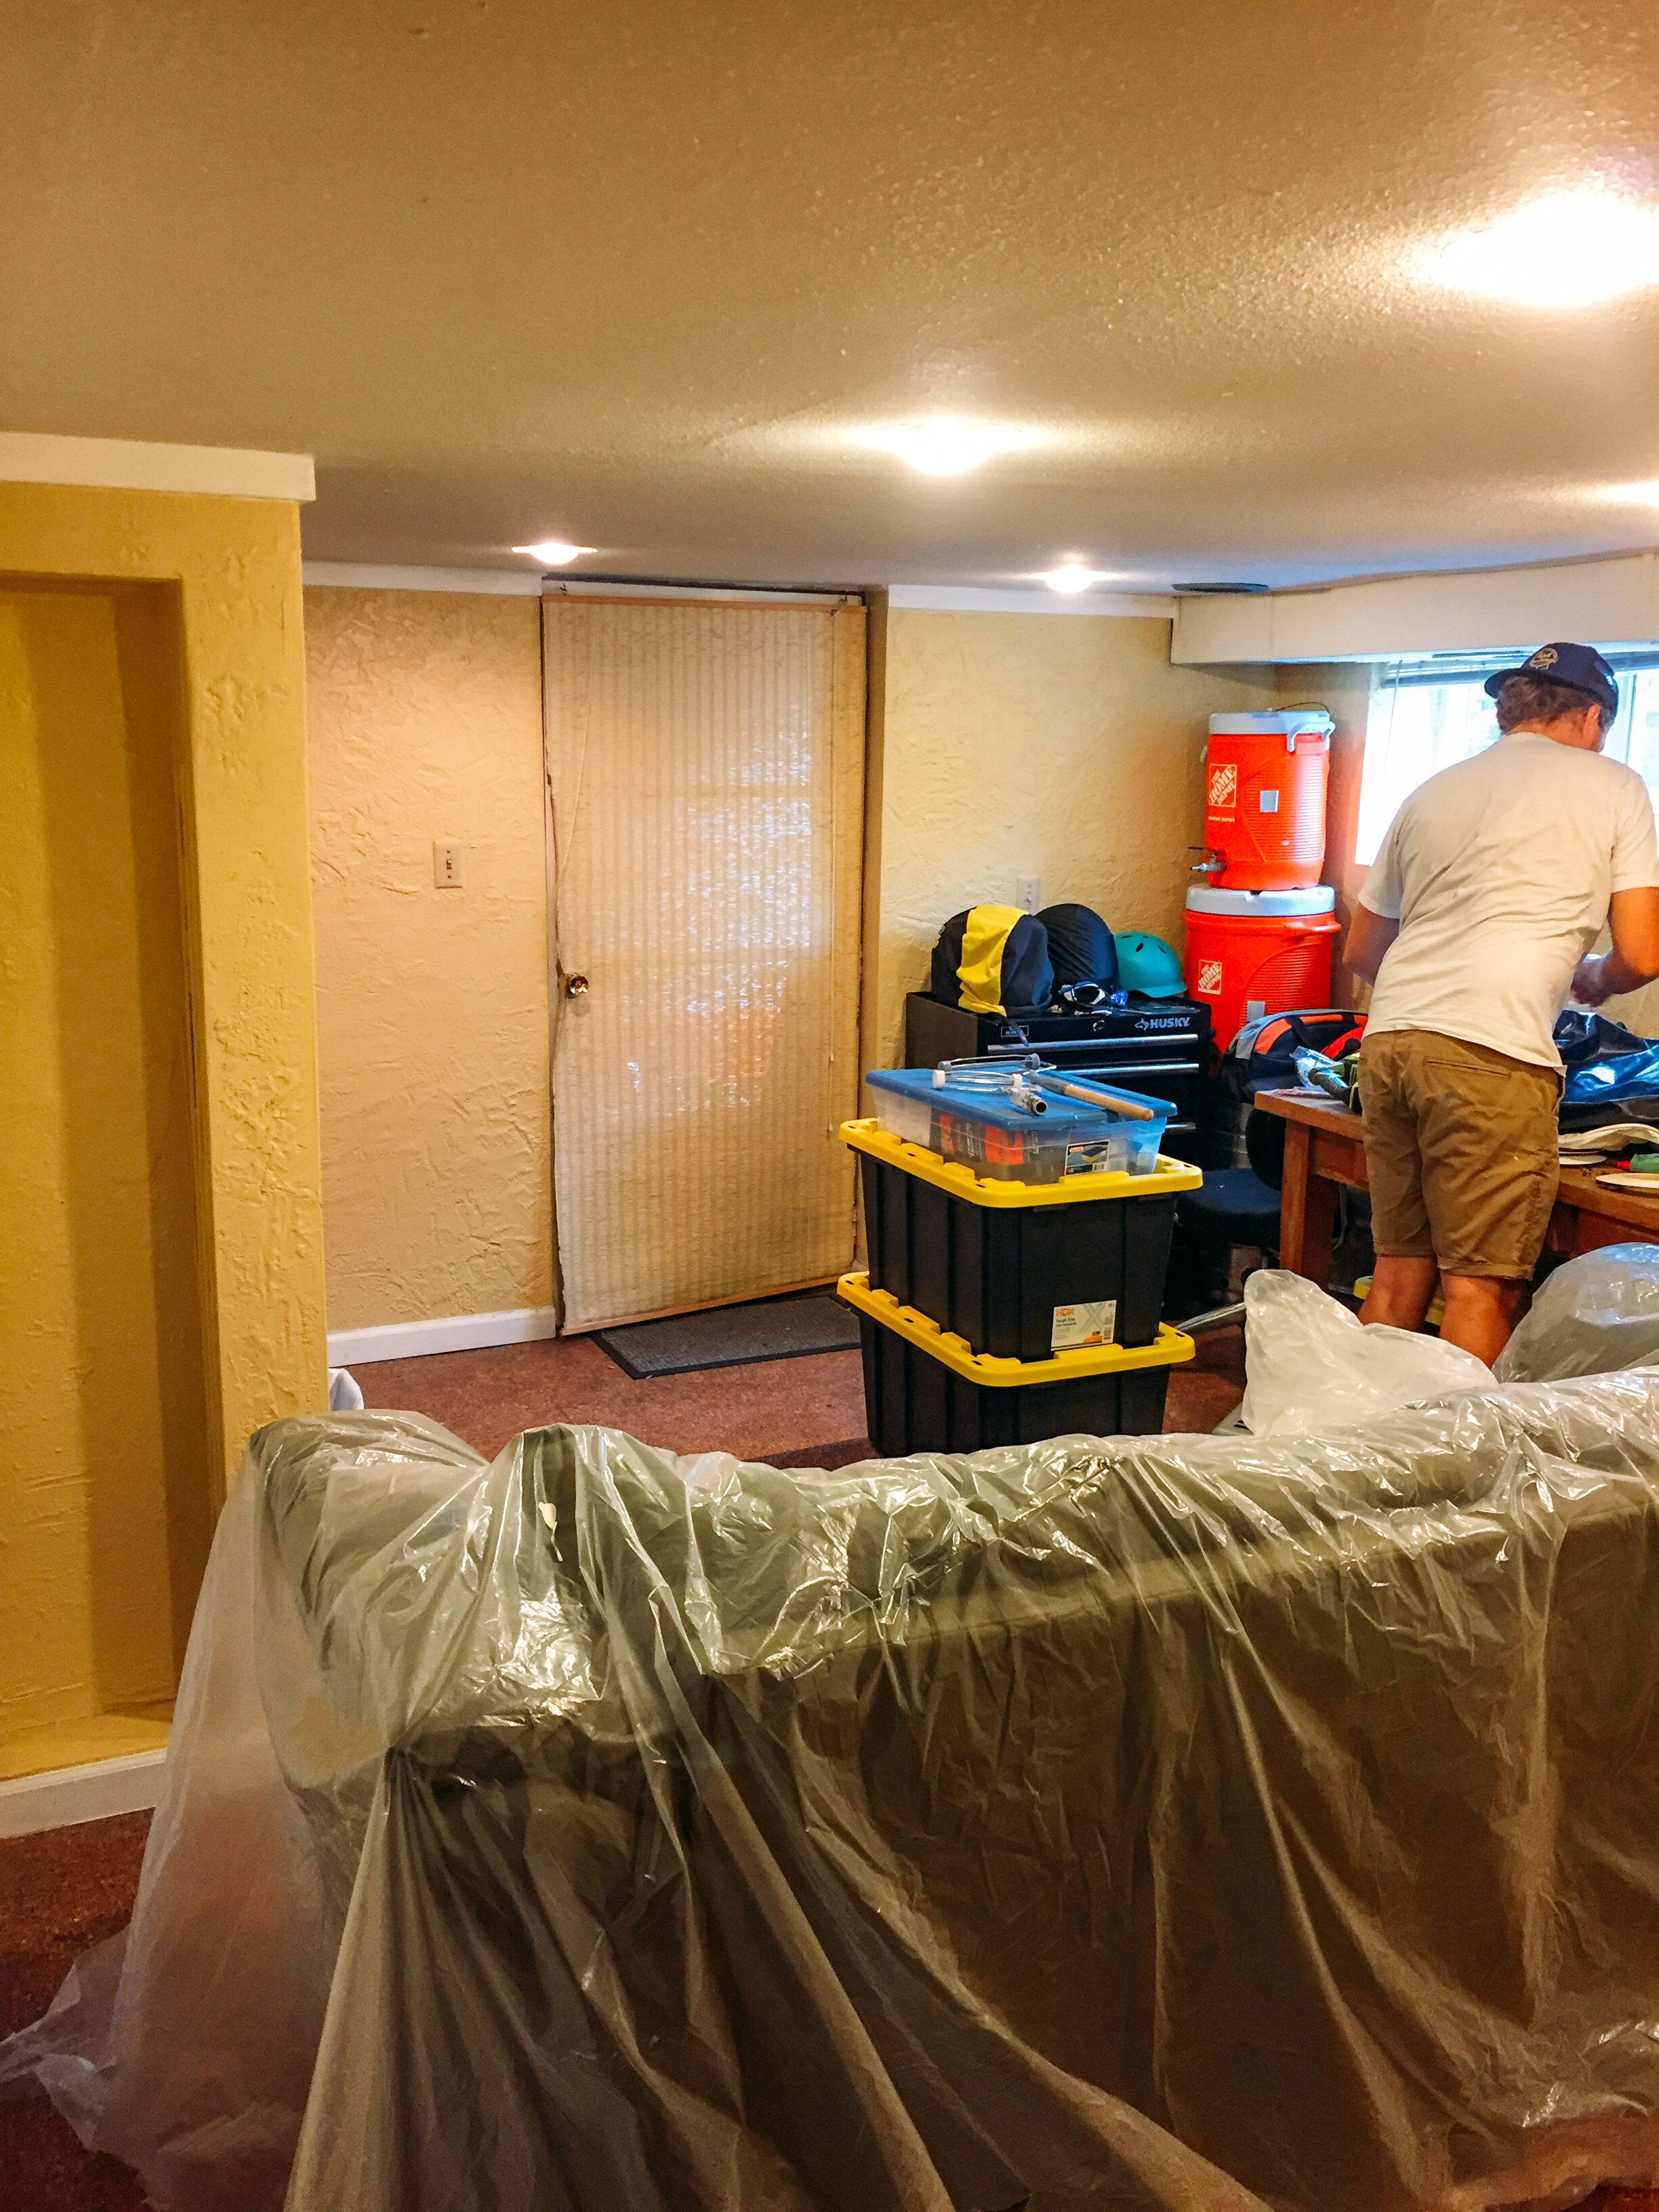
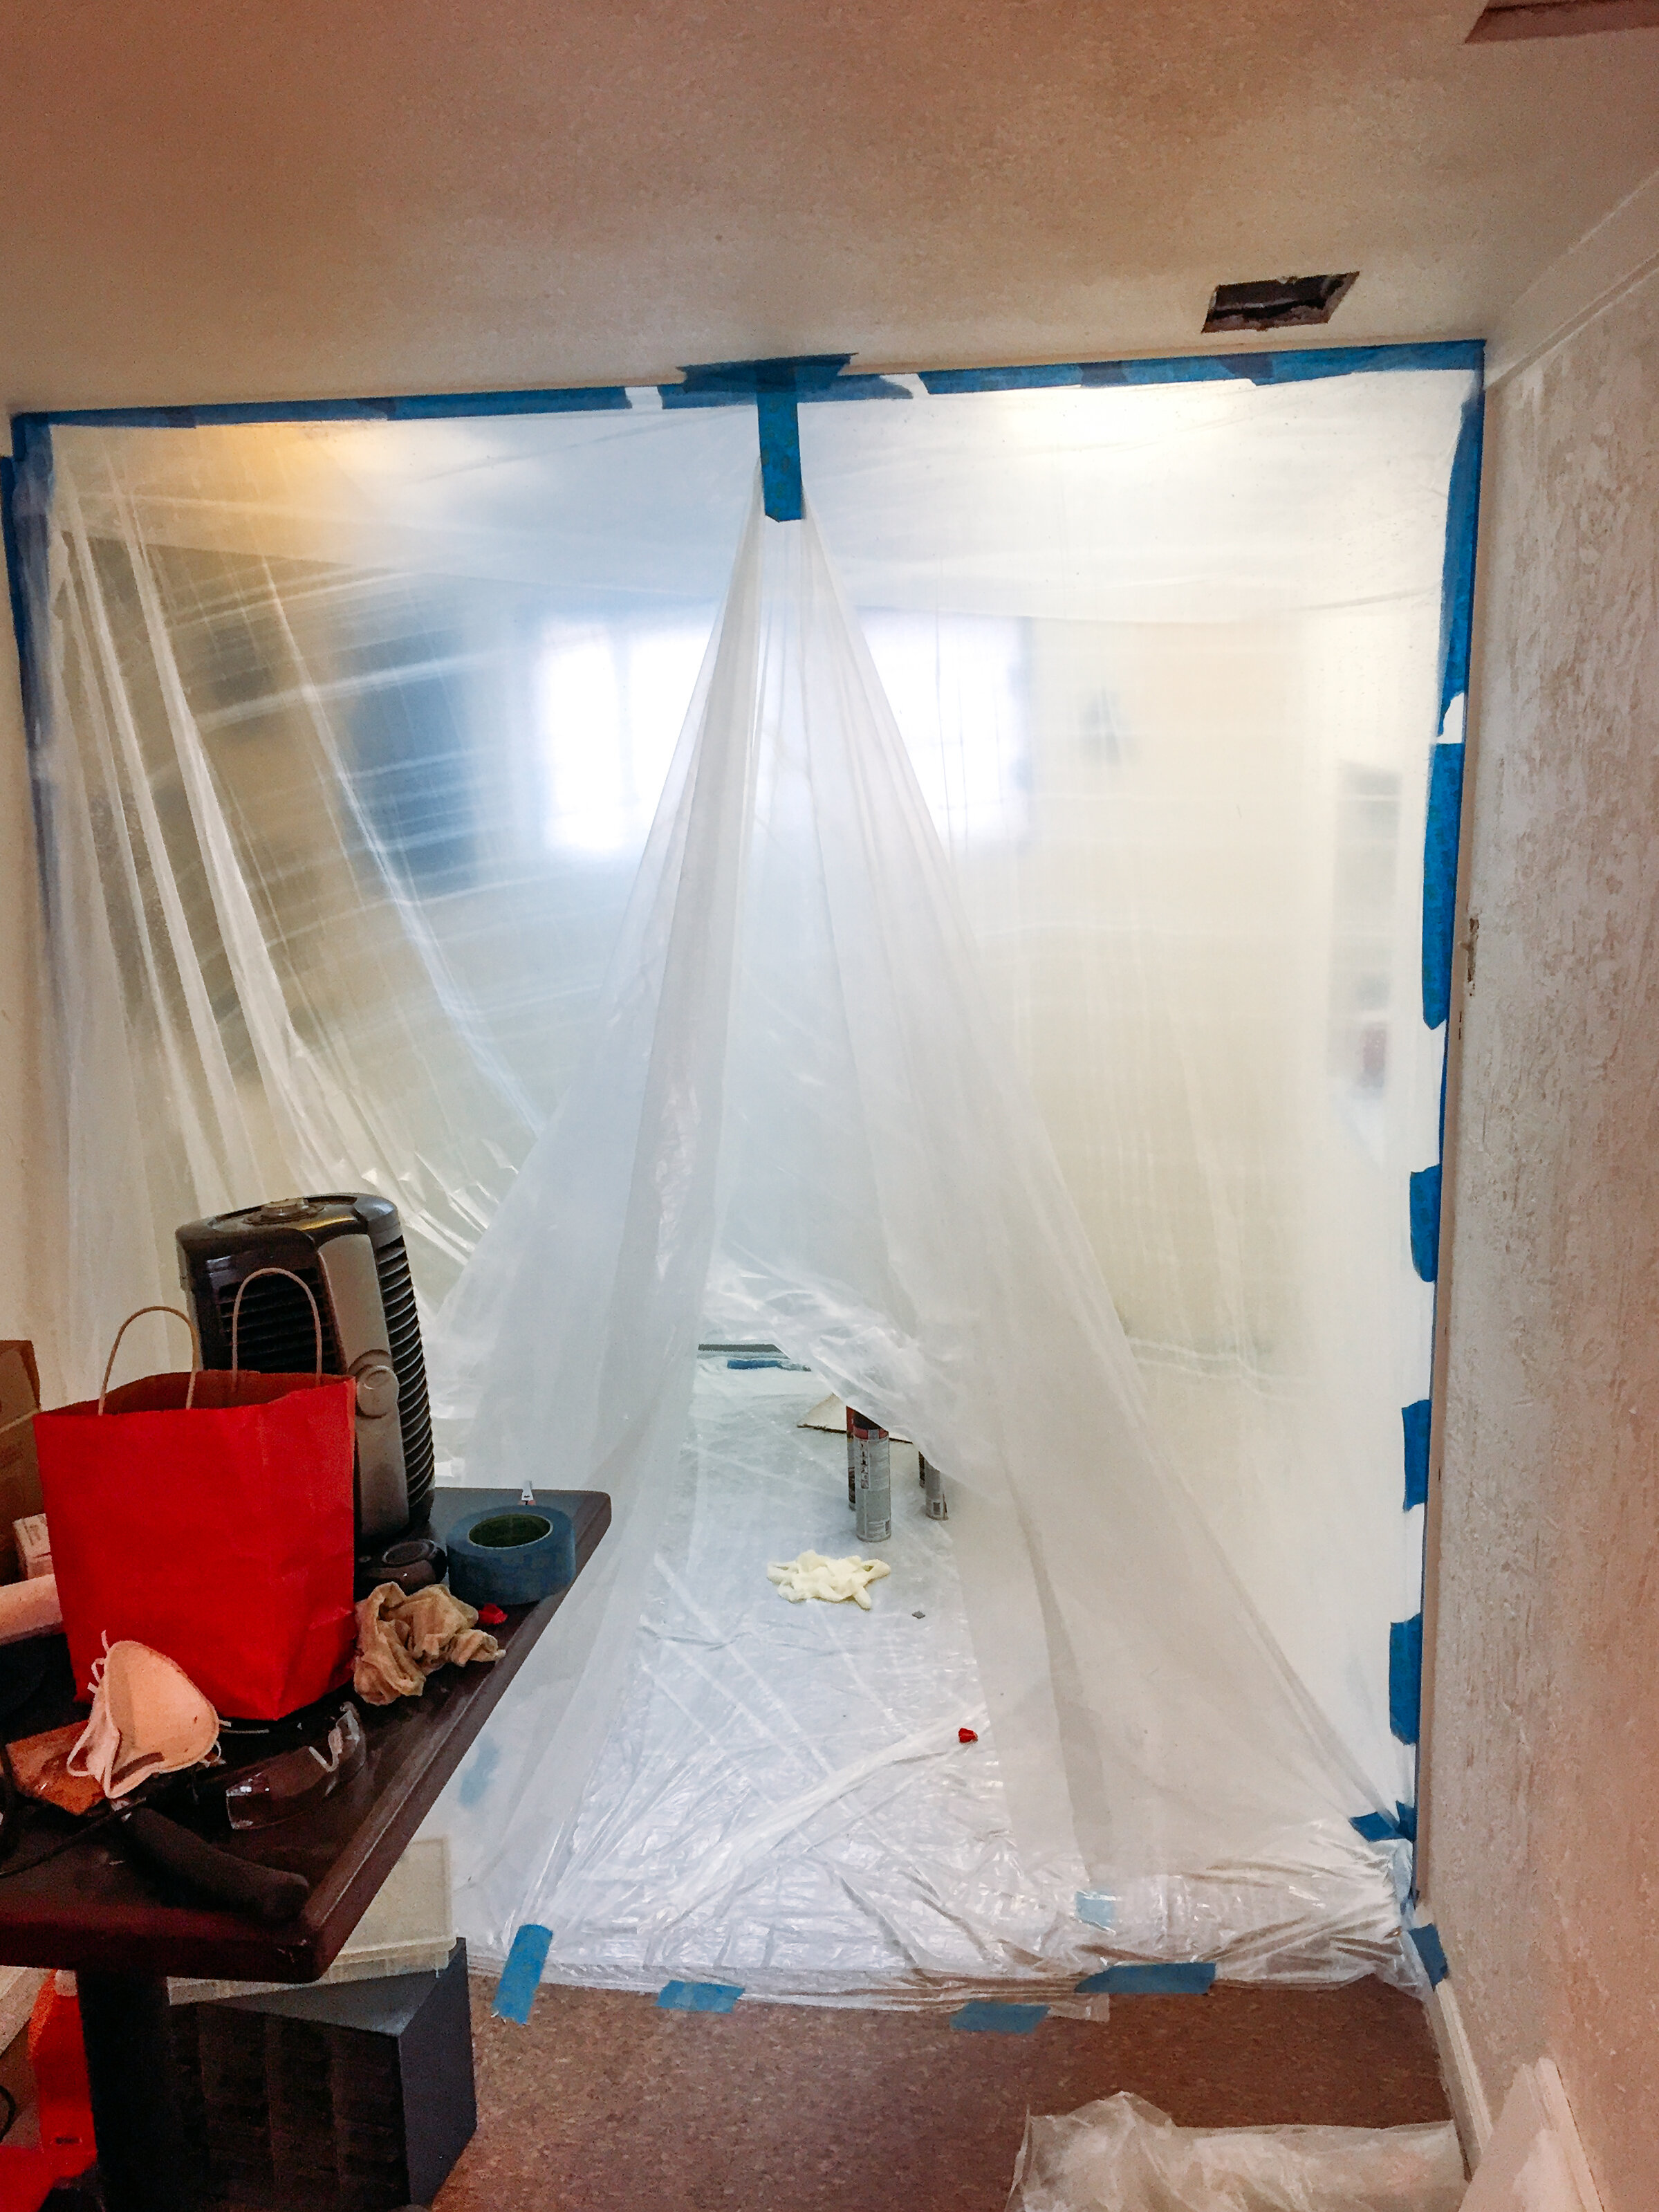
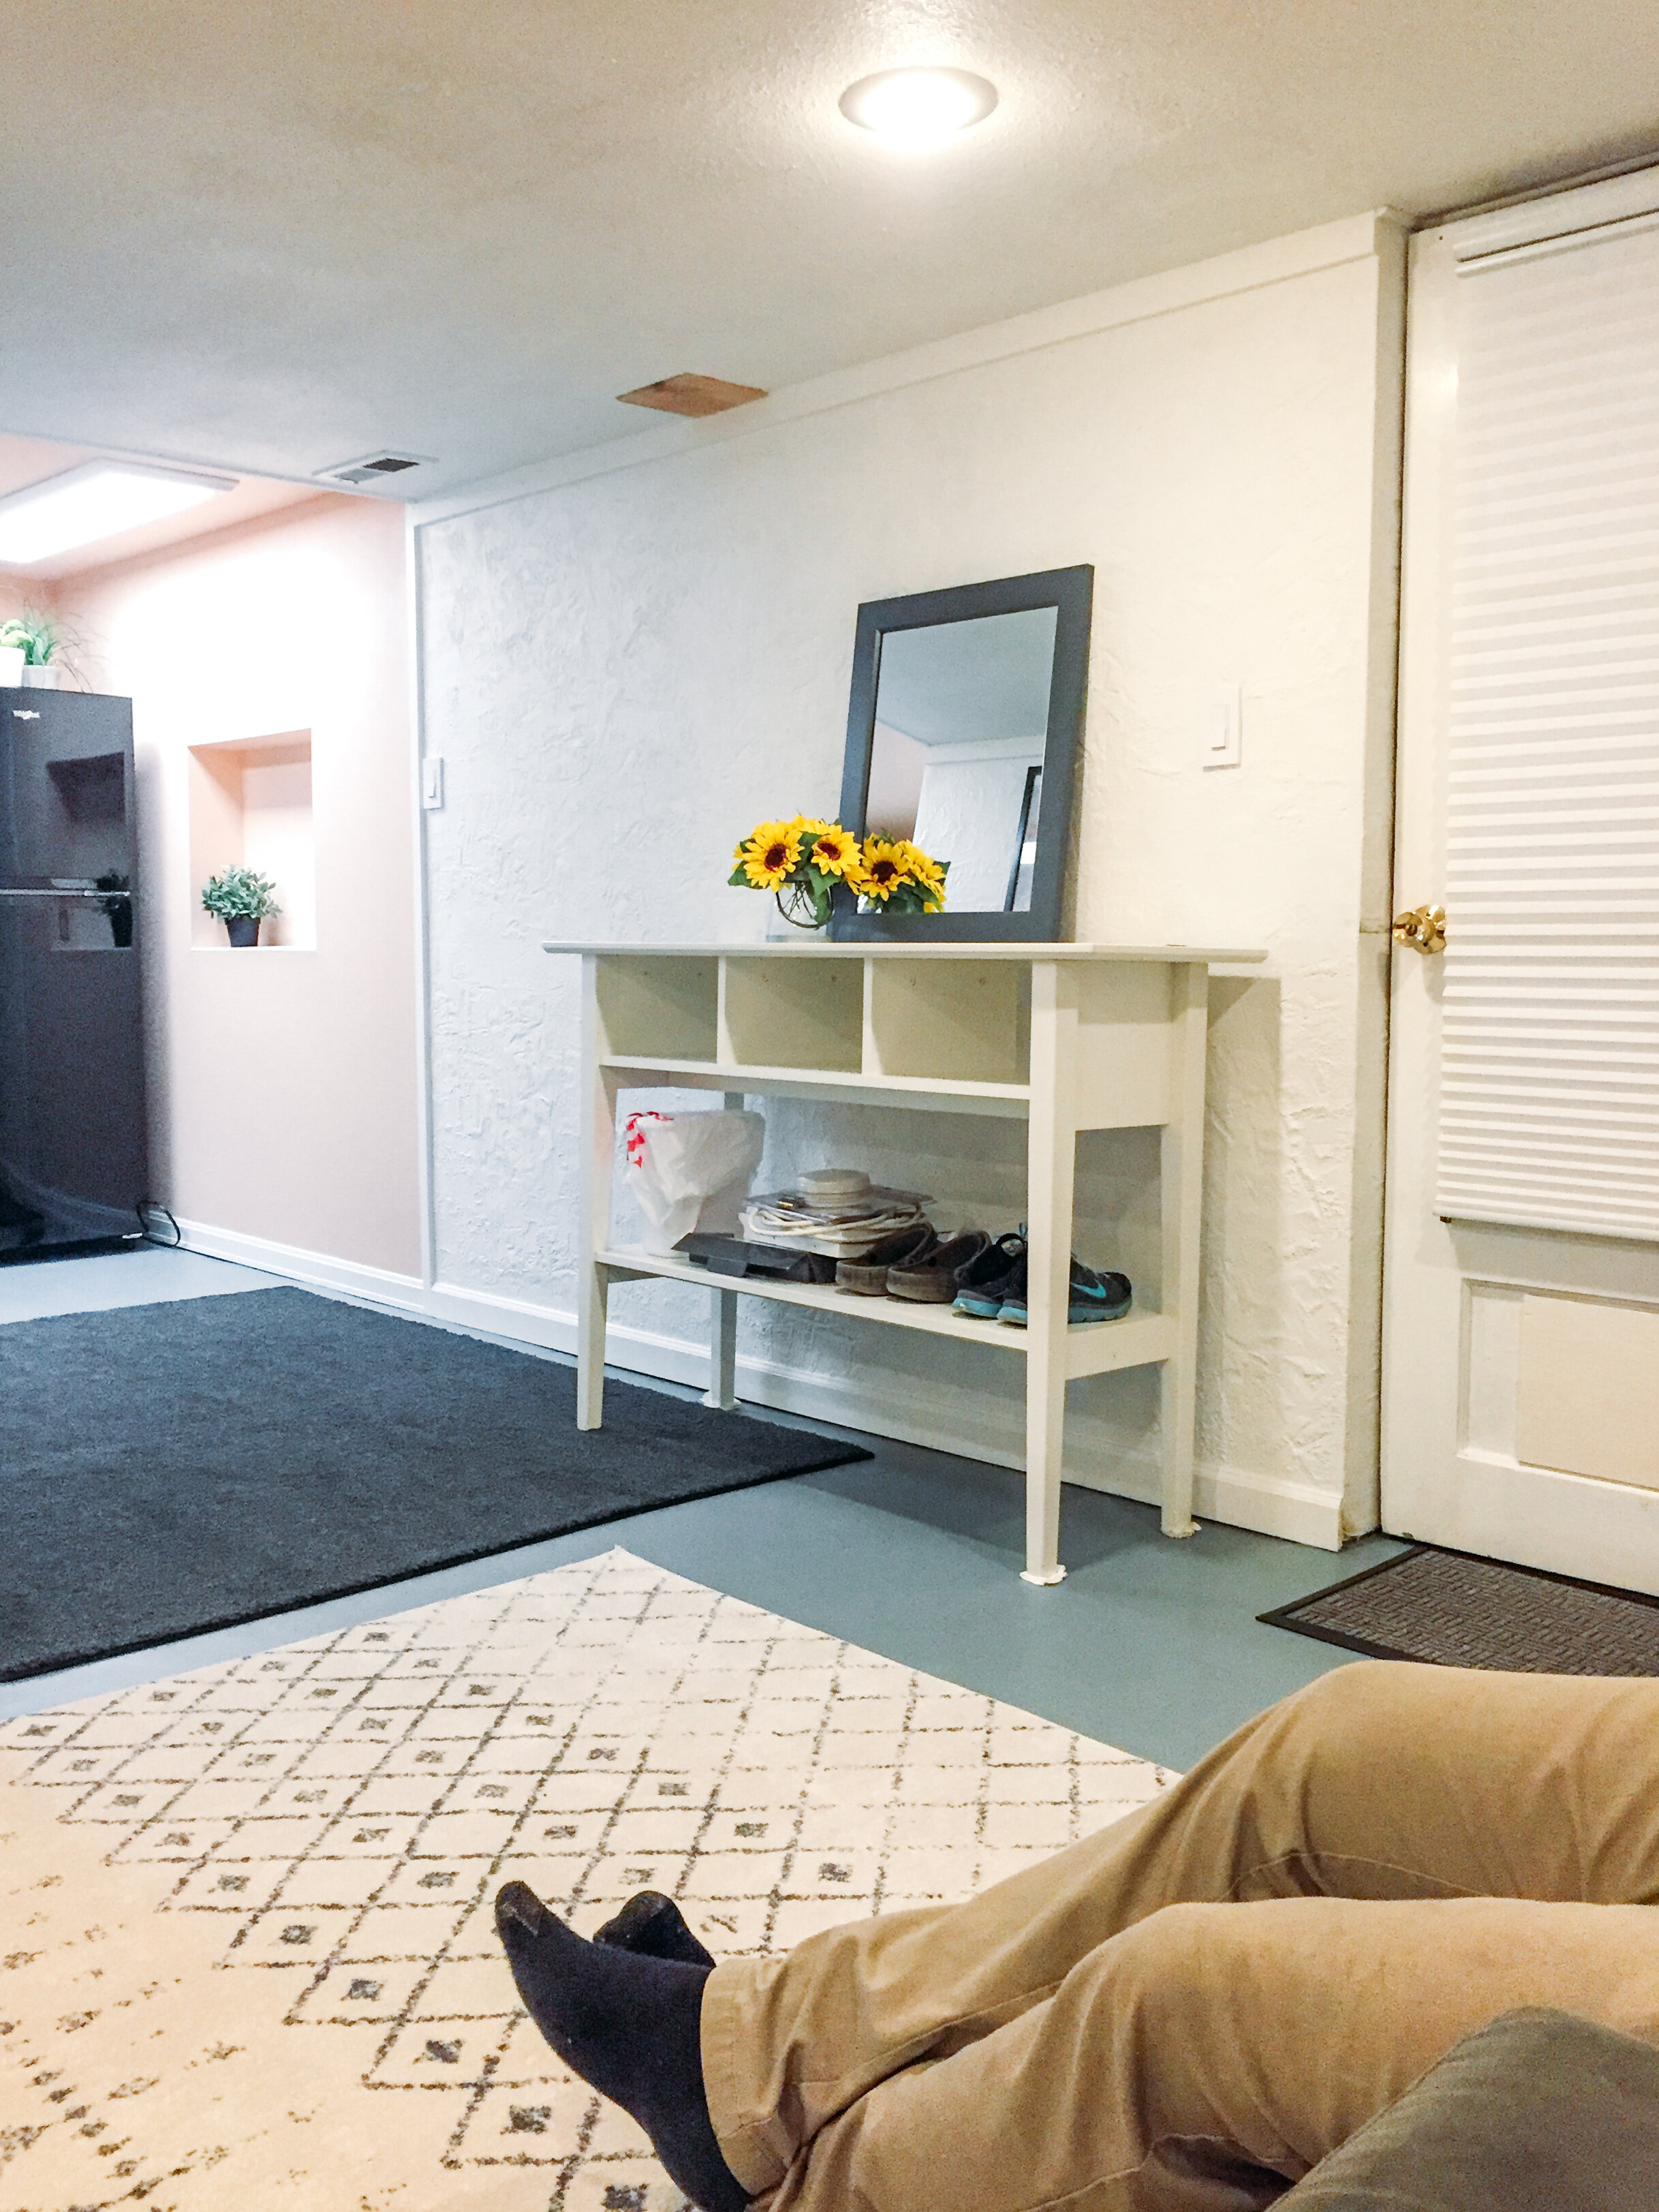
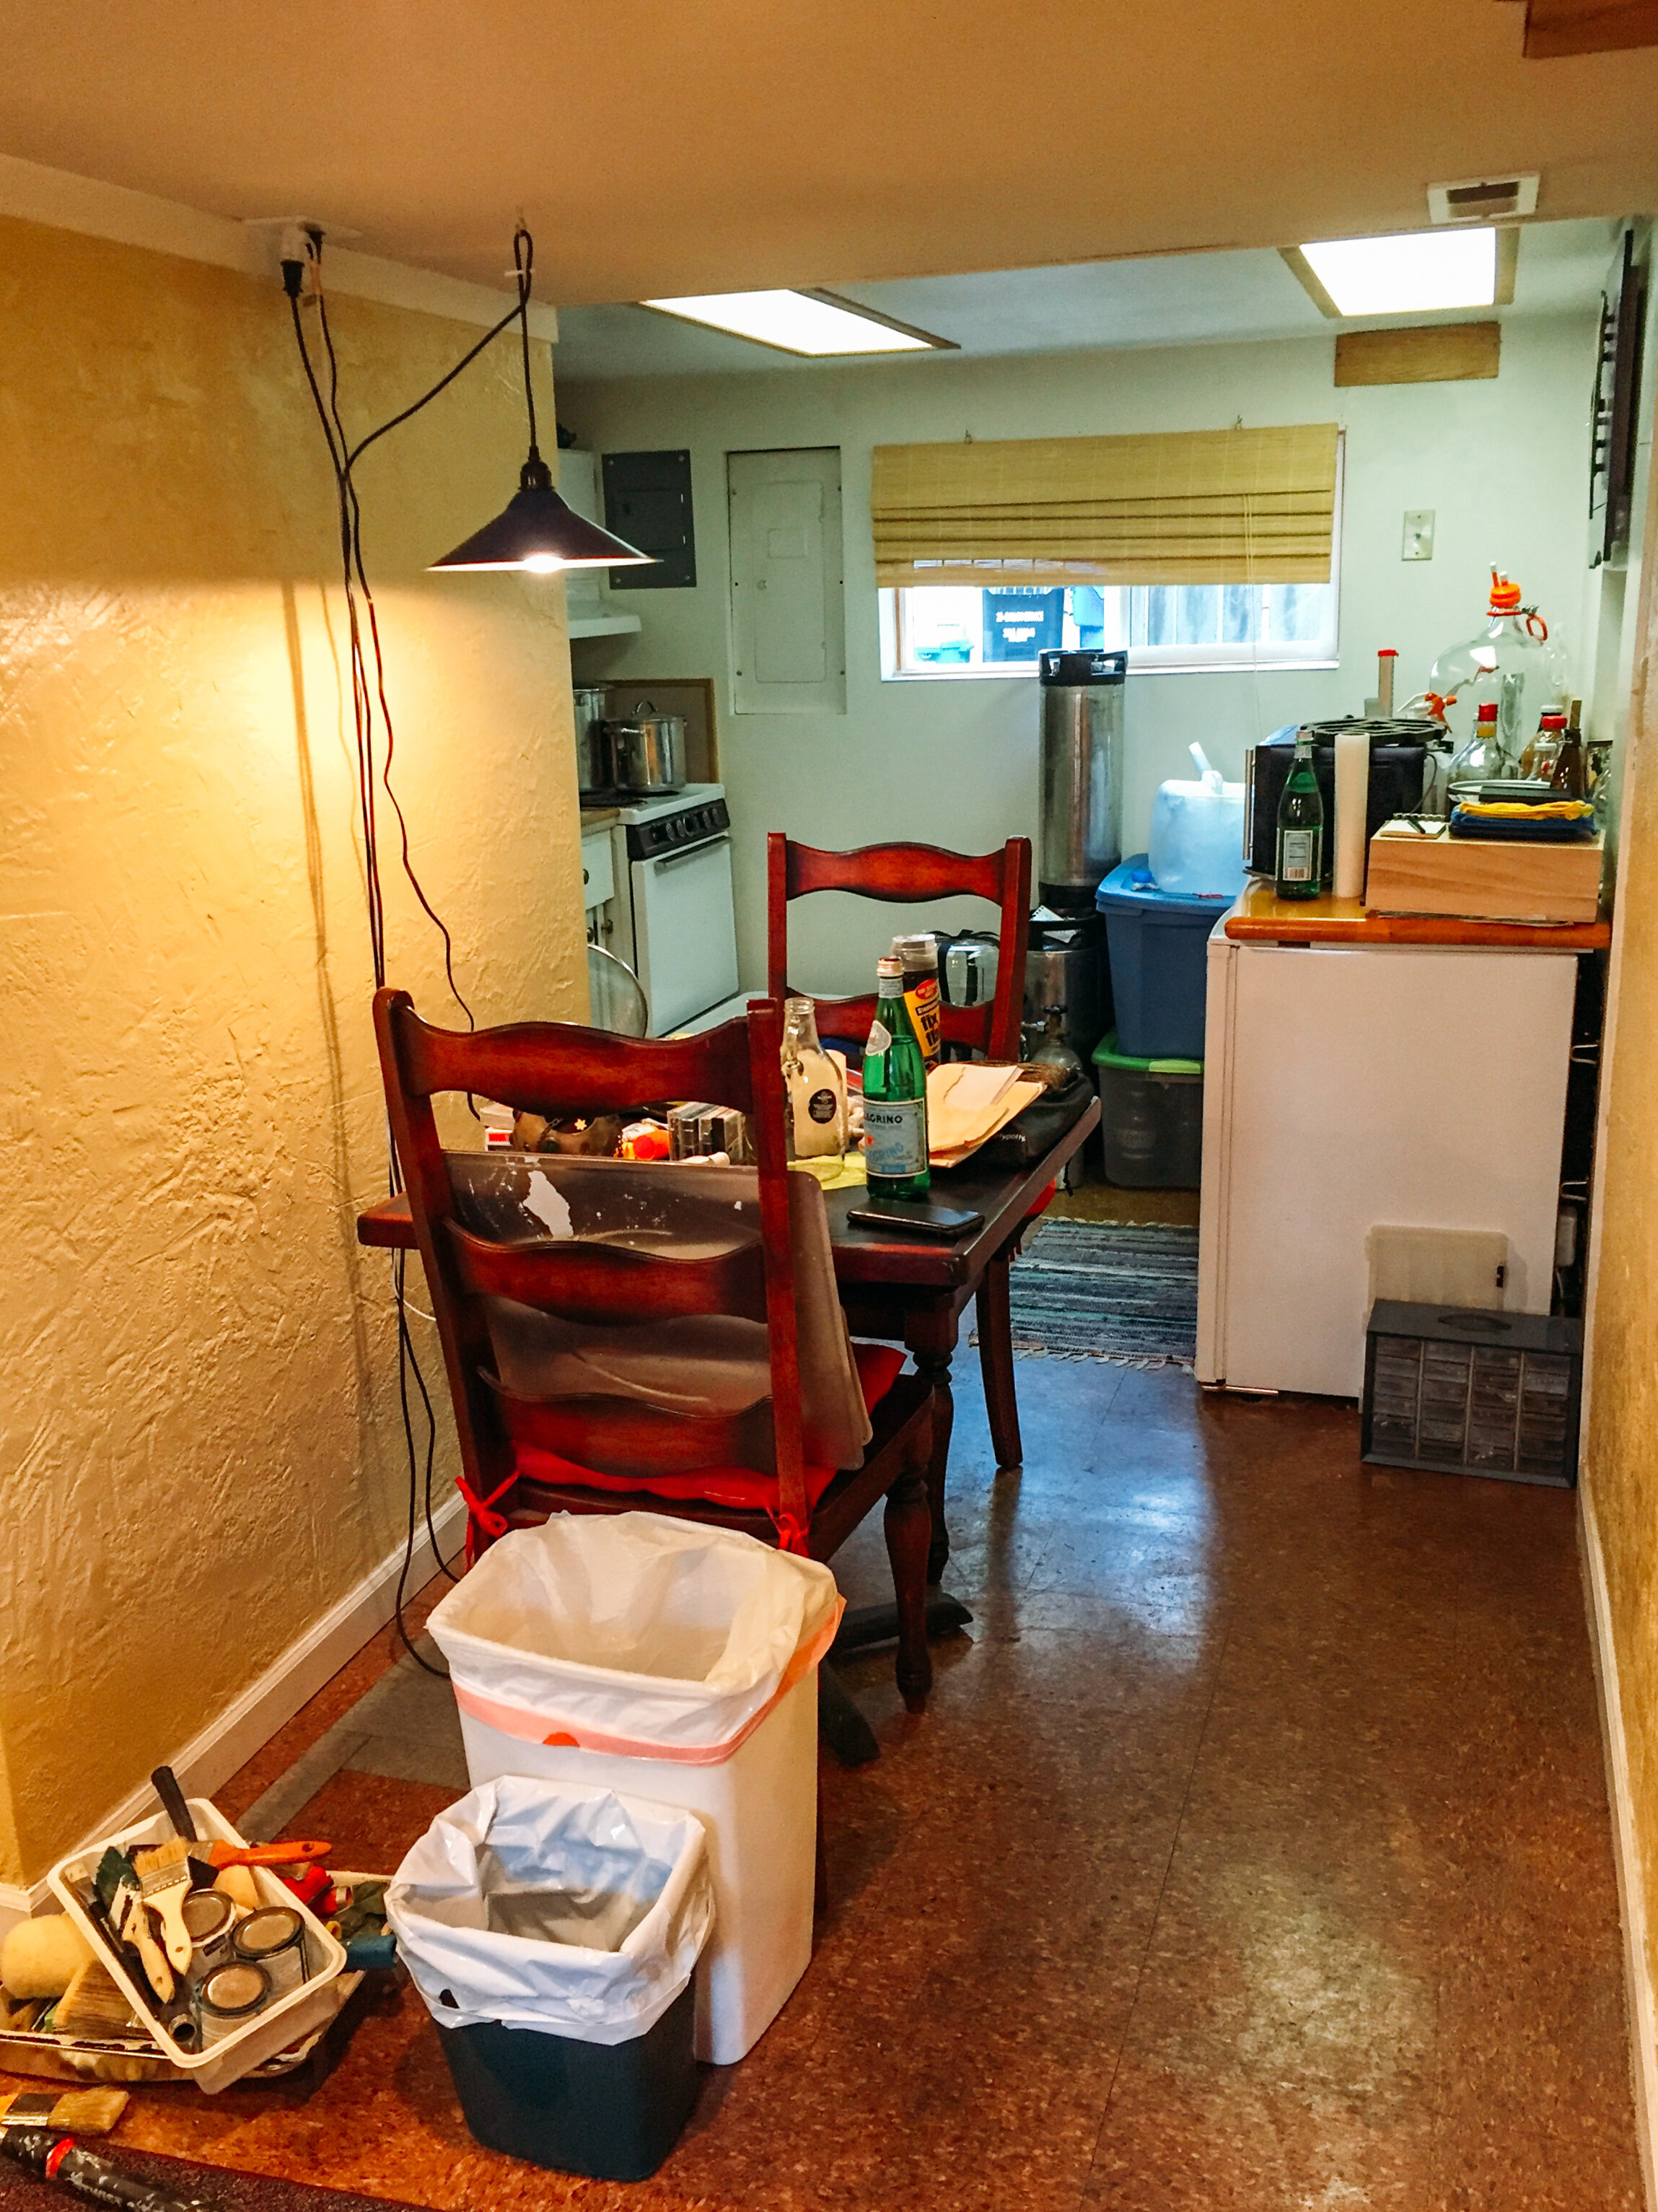
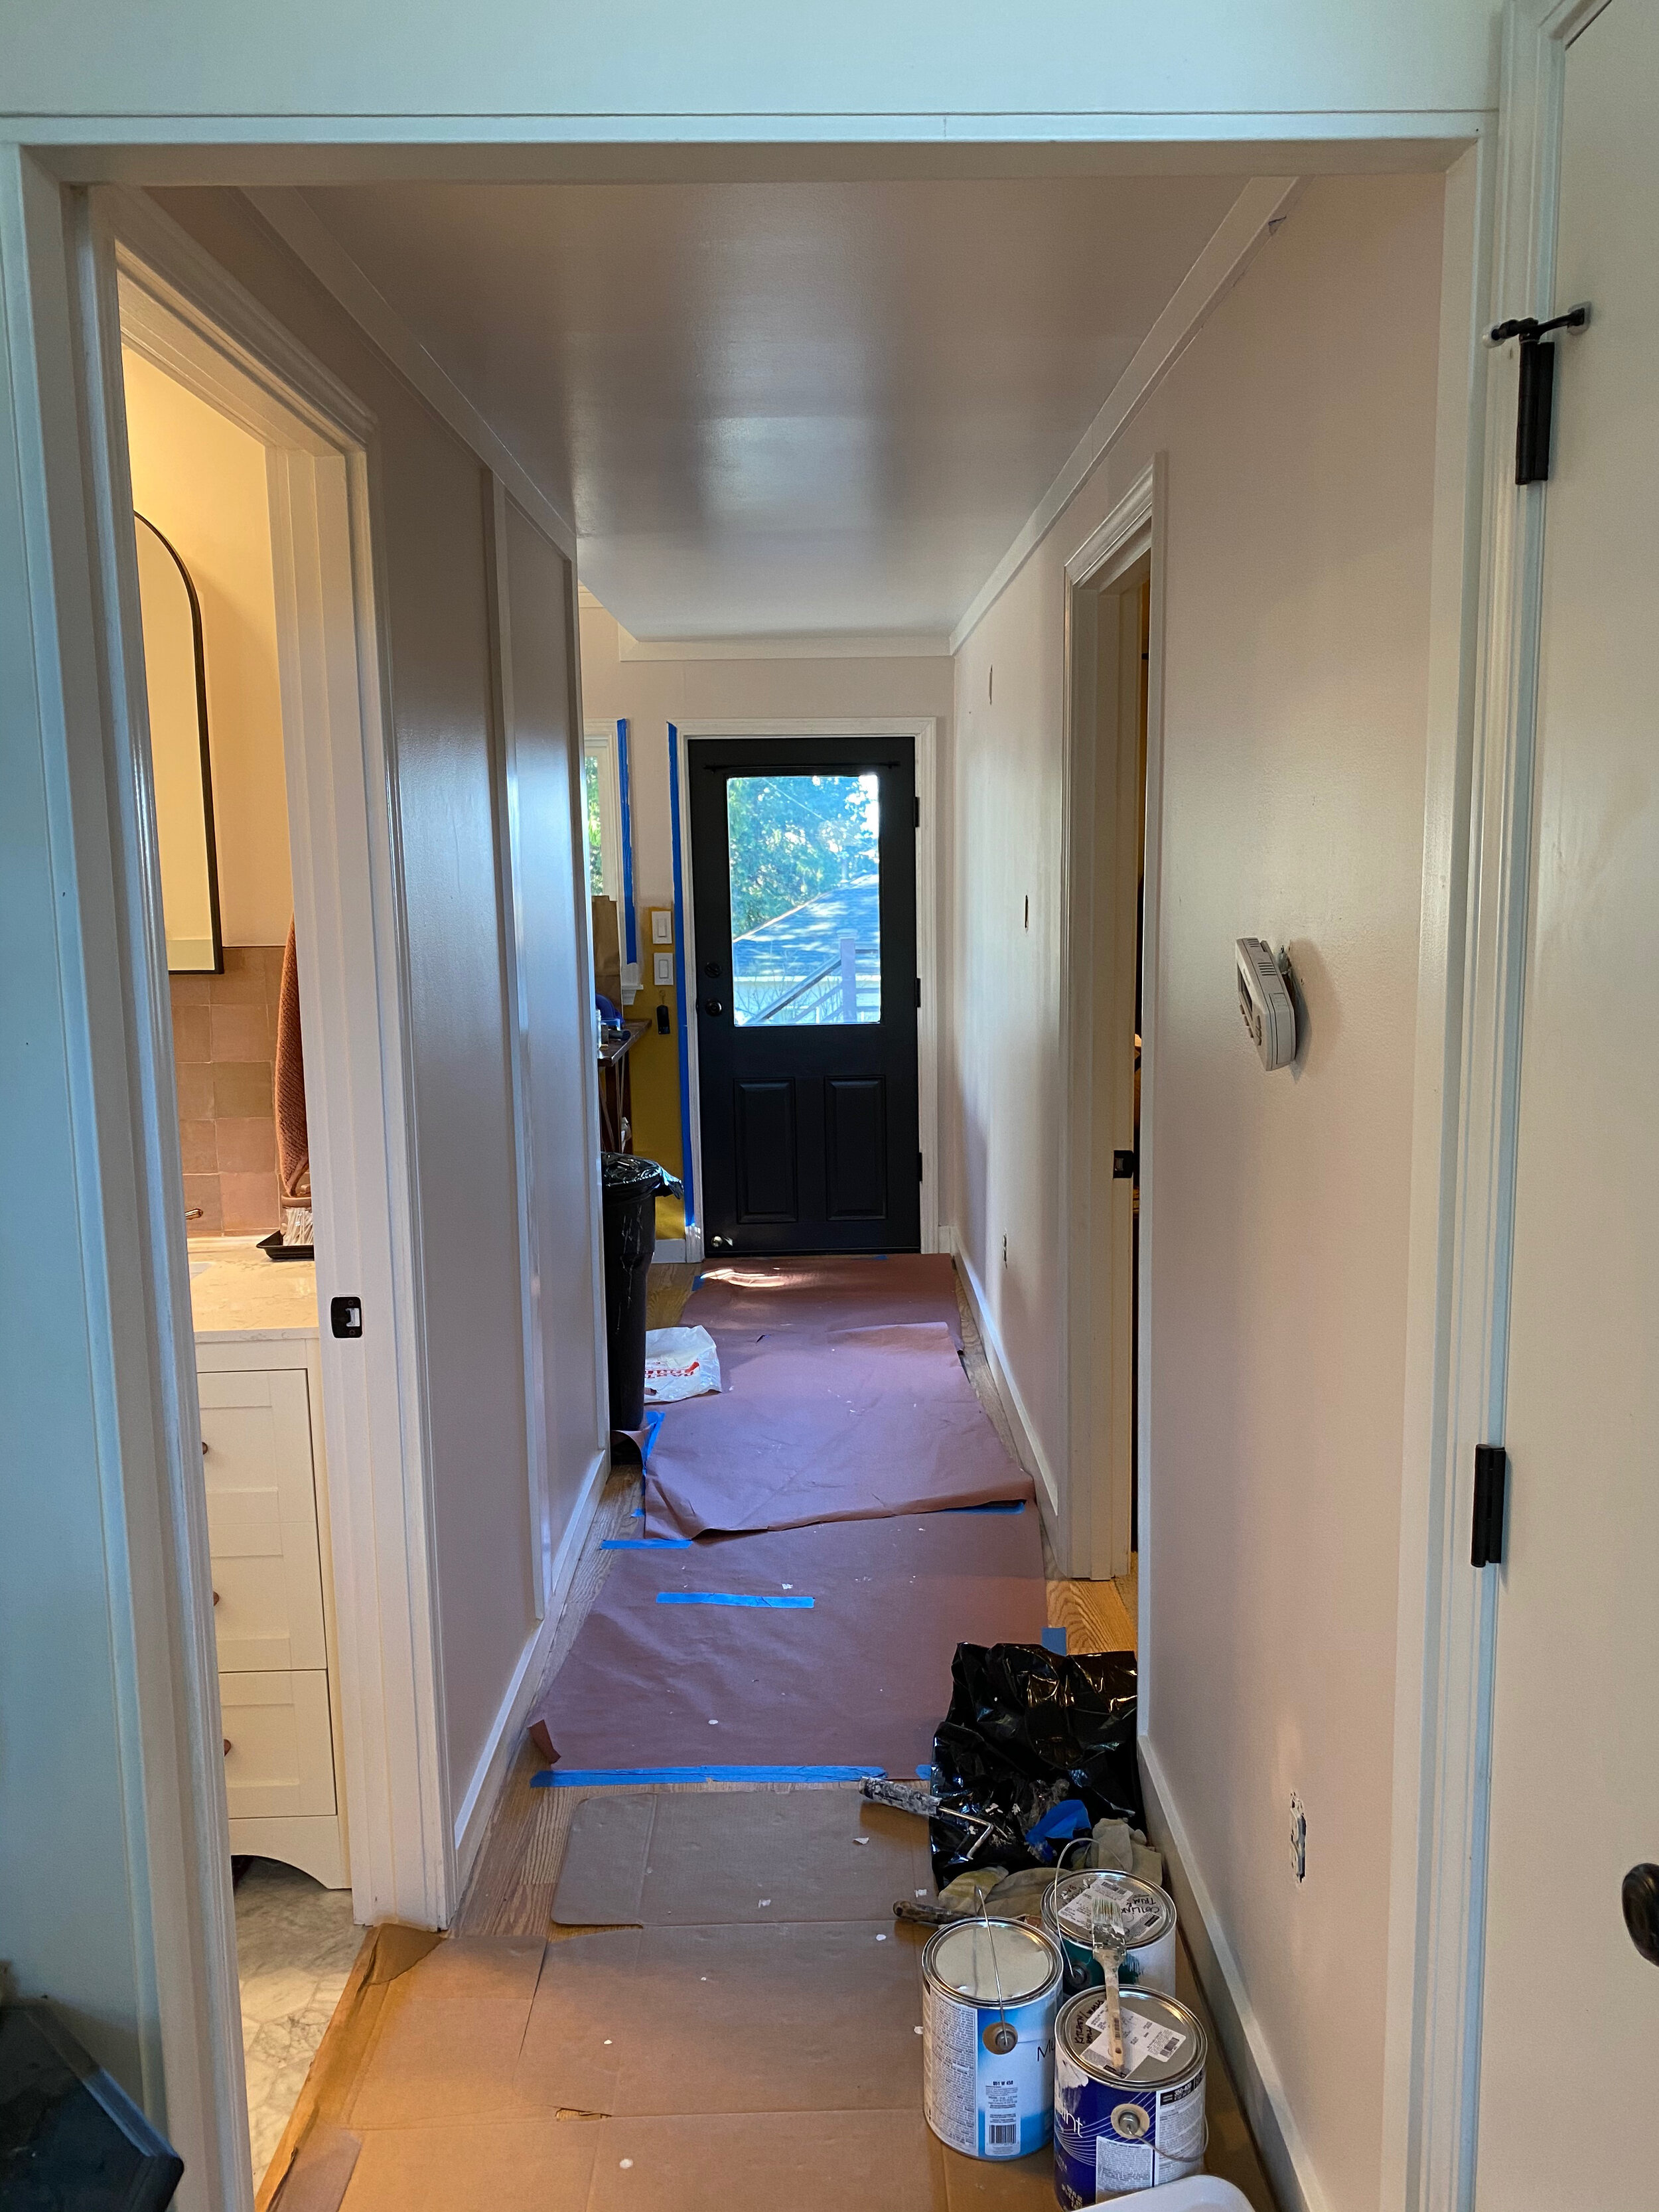
our living room, hallway, staircase & bedroom have been a total shithole staging/holding areas for the last two months, but it was fiiine - i just had to be at peace with the piles. small space issues are REAL, though - we don’t have an extra room like an office to shut everything away in, so we just had to live amongst the mess. it felt so good earlier this week to organize everything and finally put tools away and put things back where they belong!!

-planters & plants from west seattle nursery in my neighborhood
-single fallen pampas floof also from around the neighborhood :)

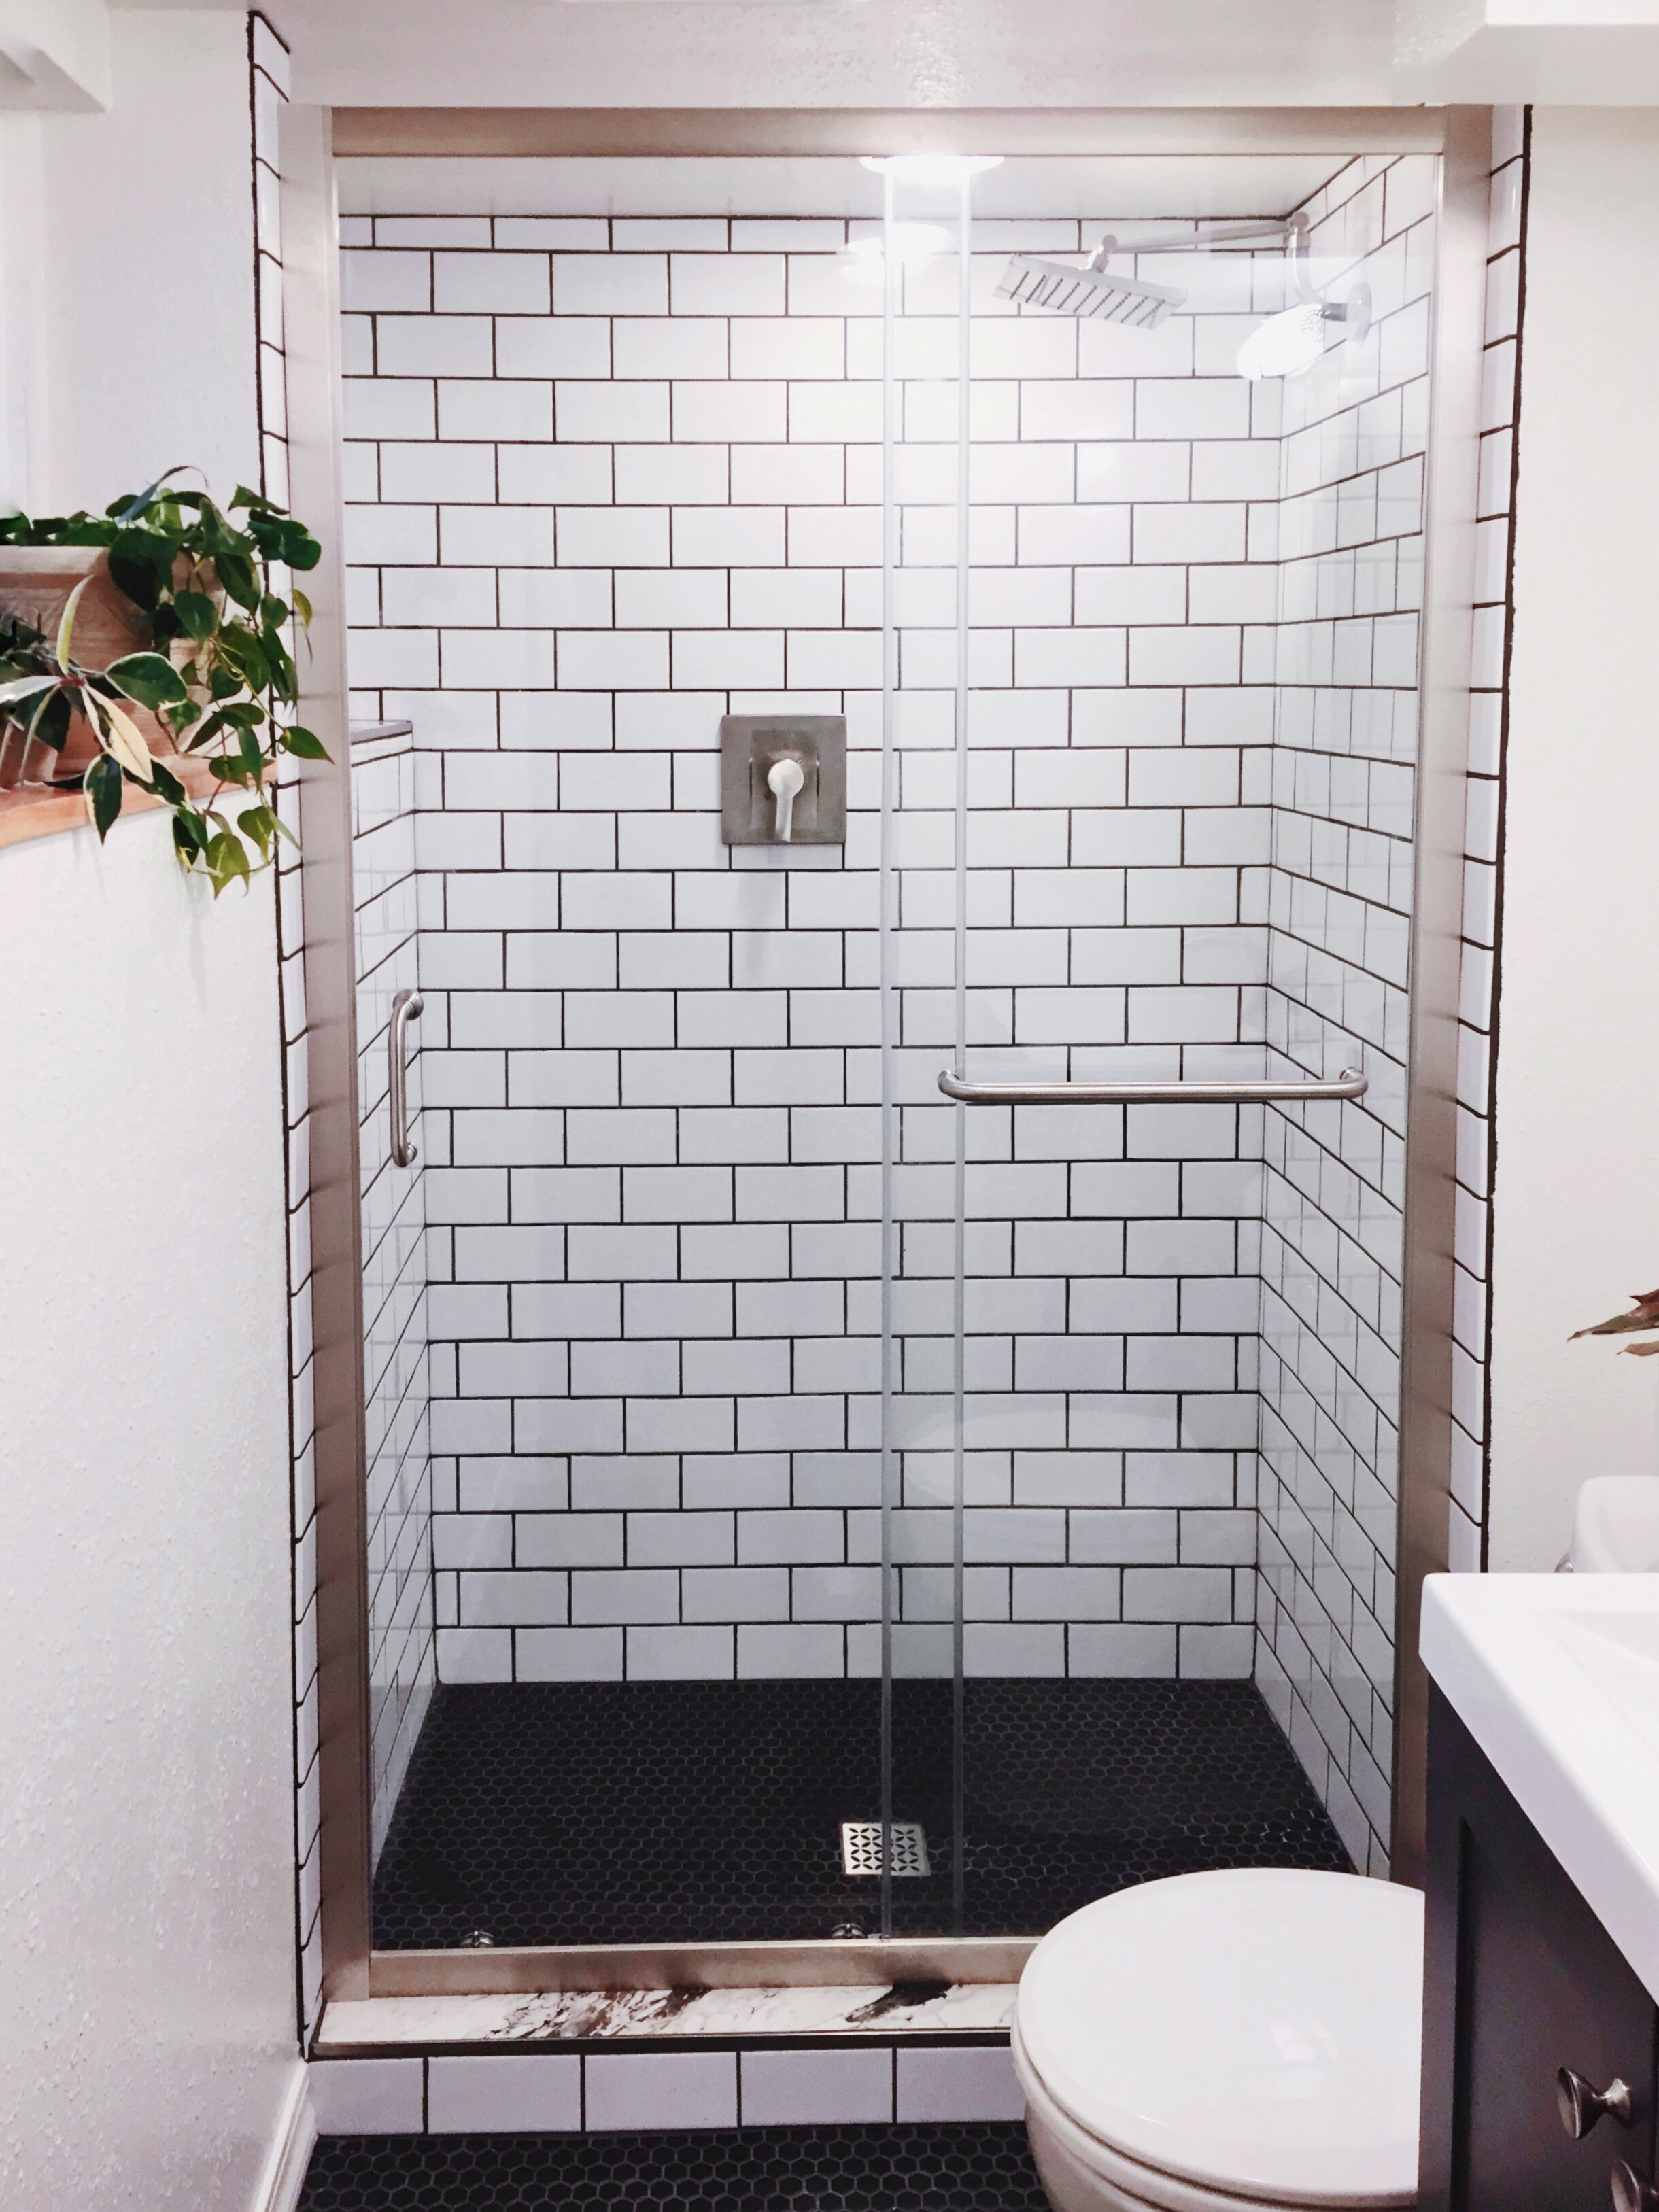
love being able to see right into the shower and see all the pretty marble. we are big fans of the clear sliding shower doors in a home like ours with smaller rooms.
^ see how the ‘desert bloom’ zellige can appear purply, pink, tan, brown & blush all at the same time? 🤩 somehow this blush color still feels neutral to me even though it takes on a lot of different shades.
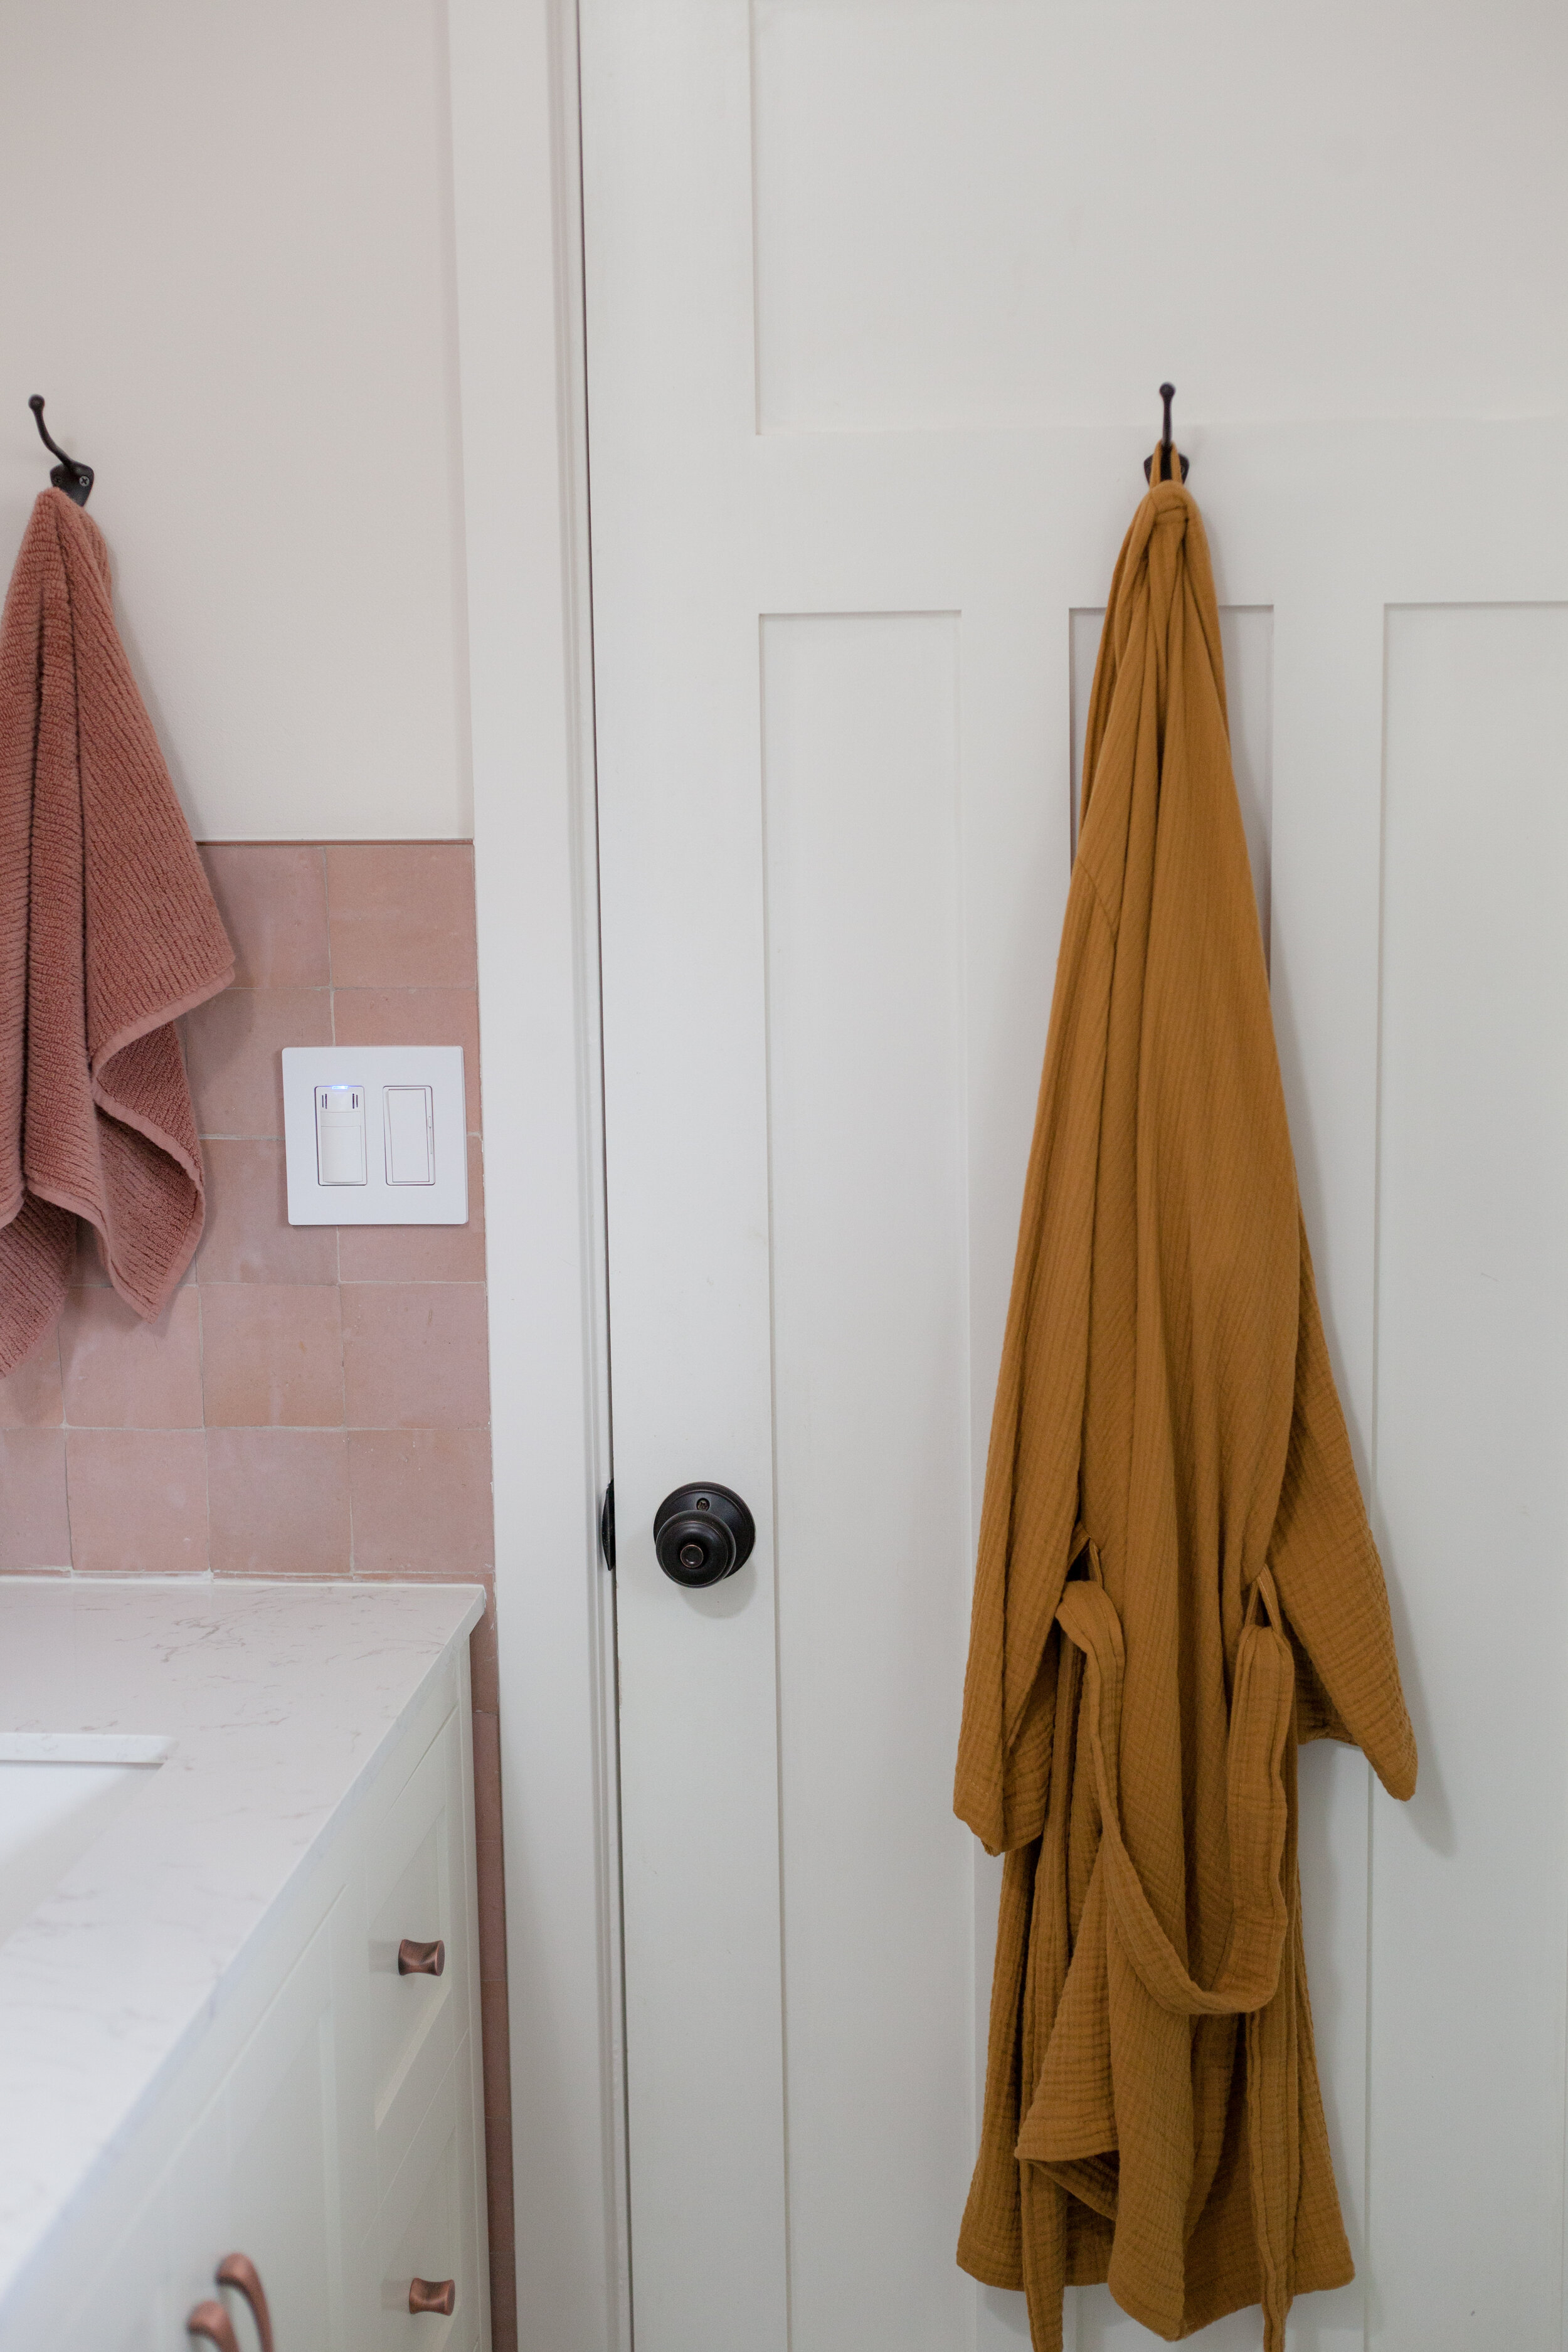

-cloud cotton bathrobe in ‘amber,’ from parachute home
-i know it’s ‘taboo’ or whatever to show what’s inside your medicine cabinet (or was that just a trope from 90’s sitcoms where people would discover someone else’s darkest secrets by snooping in their medicine cabinet?), but the point of this photo is to show that the inside of the medicine cabinet is also mirrored, which is wonderful!
in an effort to not store anything on the vanity countertop like we used to, the medicine cabinet install was a must! such a great space saver. i love having only a few essentials left on the counter everyday and there’s really no reason to leave stuff all over when everything has its rightful spot.
THE INSPIRATION

^ this is the inspiration photo that got all the wheels turning for me. via bedthreads.
i randomly saw this photo and loved the half wall of square zellige tile. i’d seen zellige tiles before, but didn’t really know what they were all about, or how many styles and colors are available in these handmade moroccan clay tiles. i took a deeper dive to learn about zellige and became obsessed with this half wall idea. also, after i started doing a tiny bit of research, i really zeroed in on all the instances i’d already seen zellige executed before, but never connected the dots about what it was. 💡now i notice it everywhere.
i wanted to go for a mostly neutral desert color palette with blush, tan, white, calm greenish tones, and warm copper finishes. not sure why - probably because we live in seattle and need to pretend like we’re on vacation for about 8 months of the year. 🙃
here’s just a portion of the secret pinterest board i used a TON for collecting every little idea that i was inspired by before & during the remodeling process. having these images saved to refer back to 1000 times (when trying to describe my vision to sam & peter) was so very helpful.
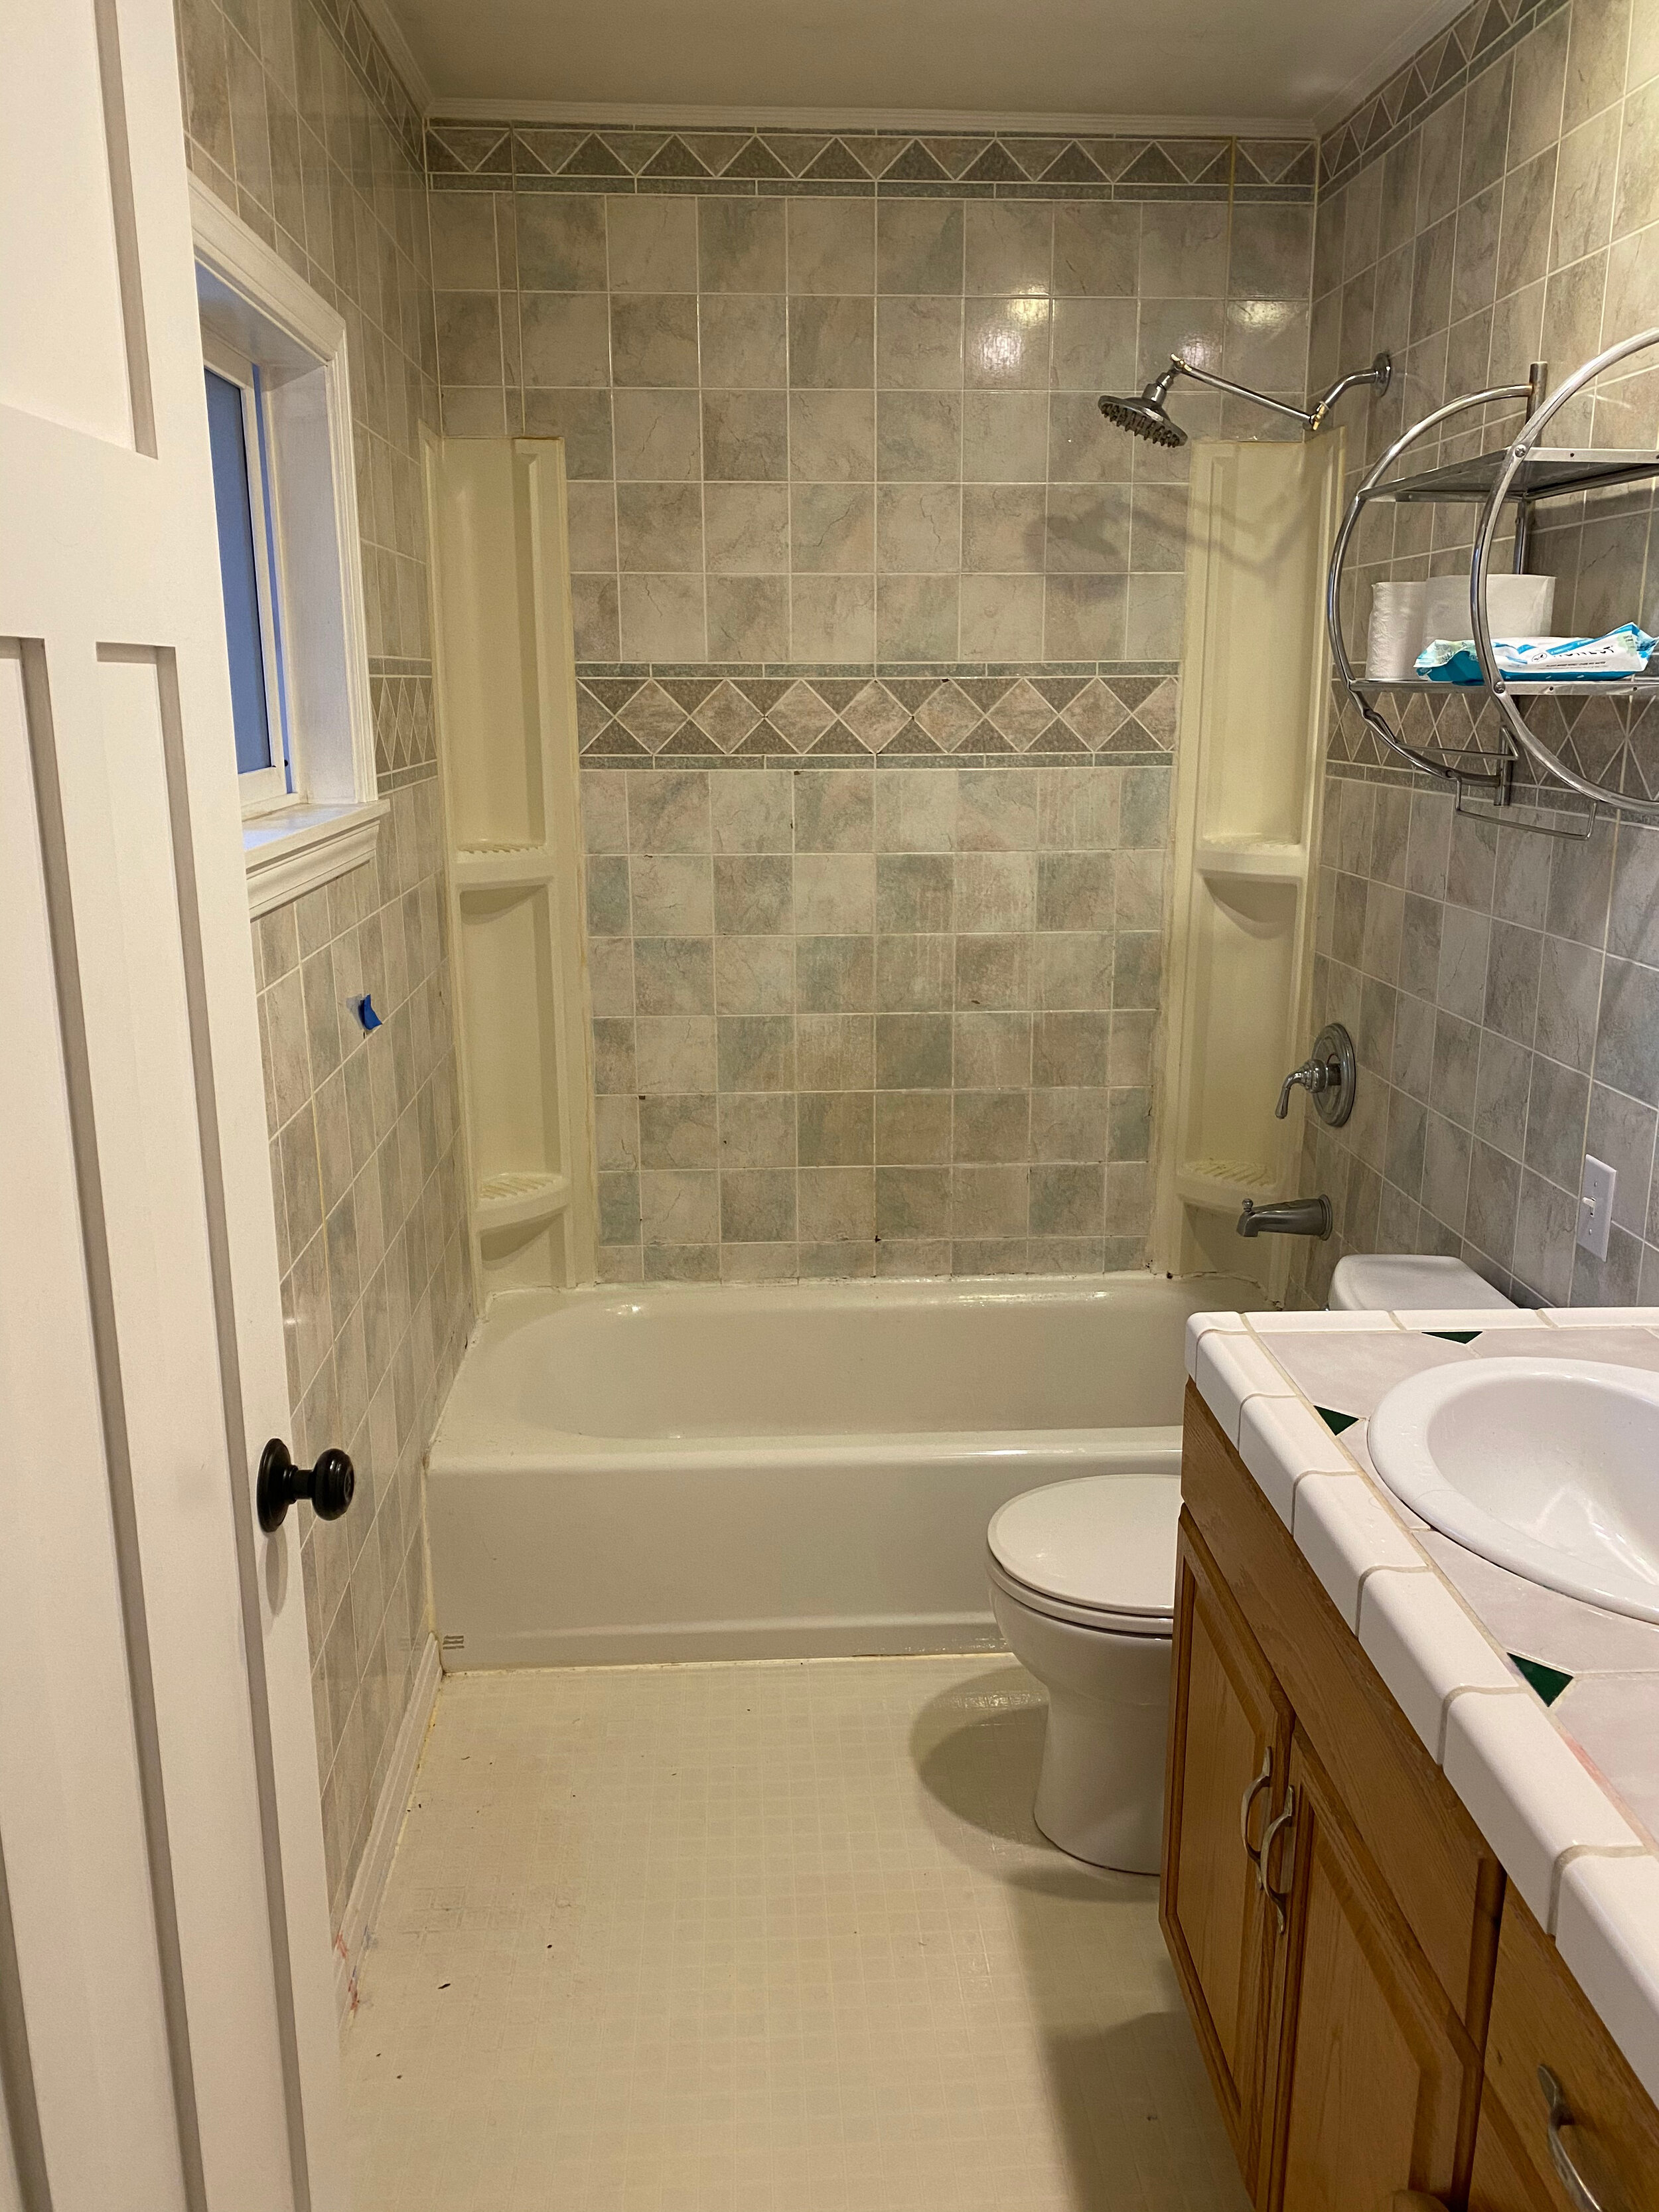
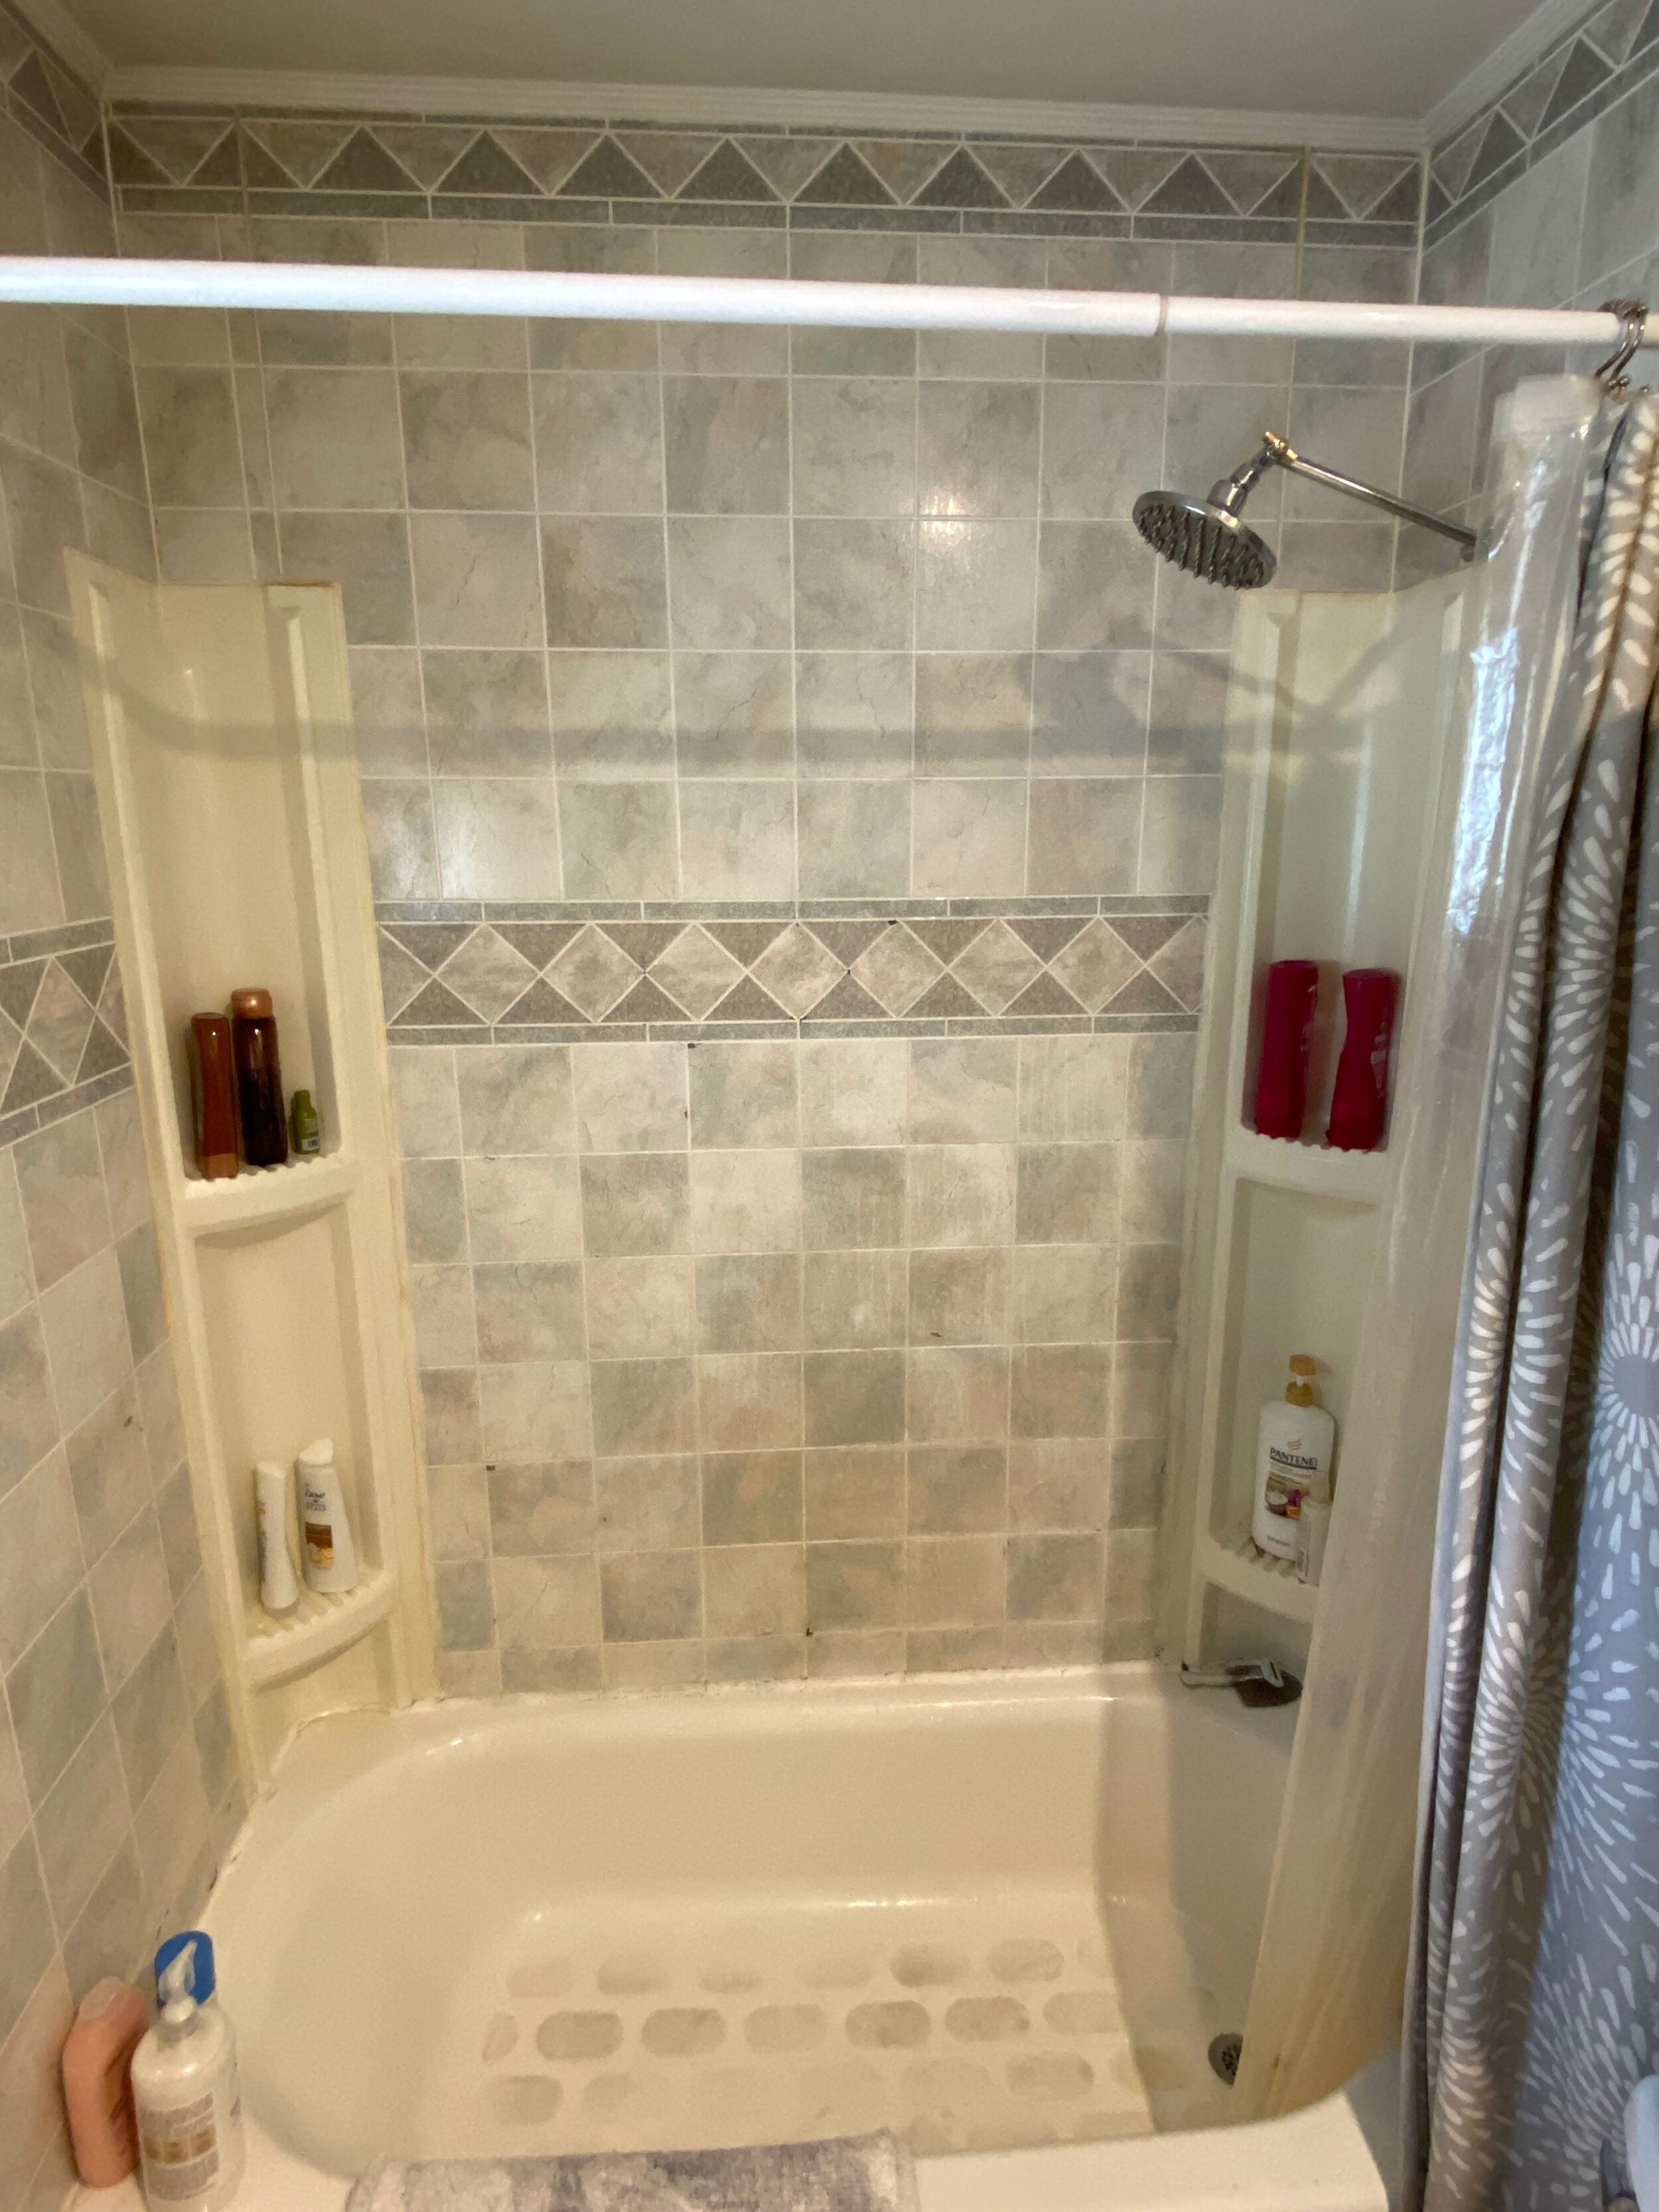
BEFORE & AFTER

helloooooooooo, glow up.
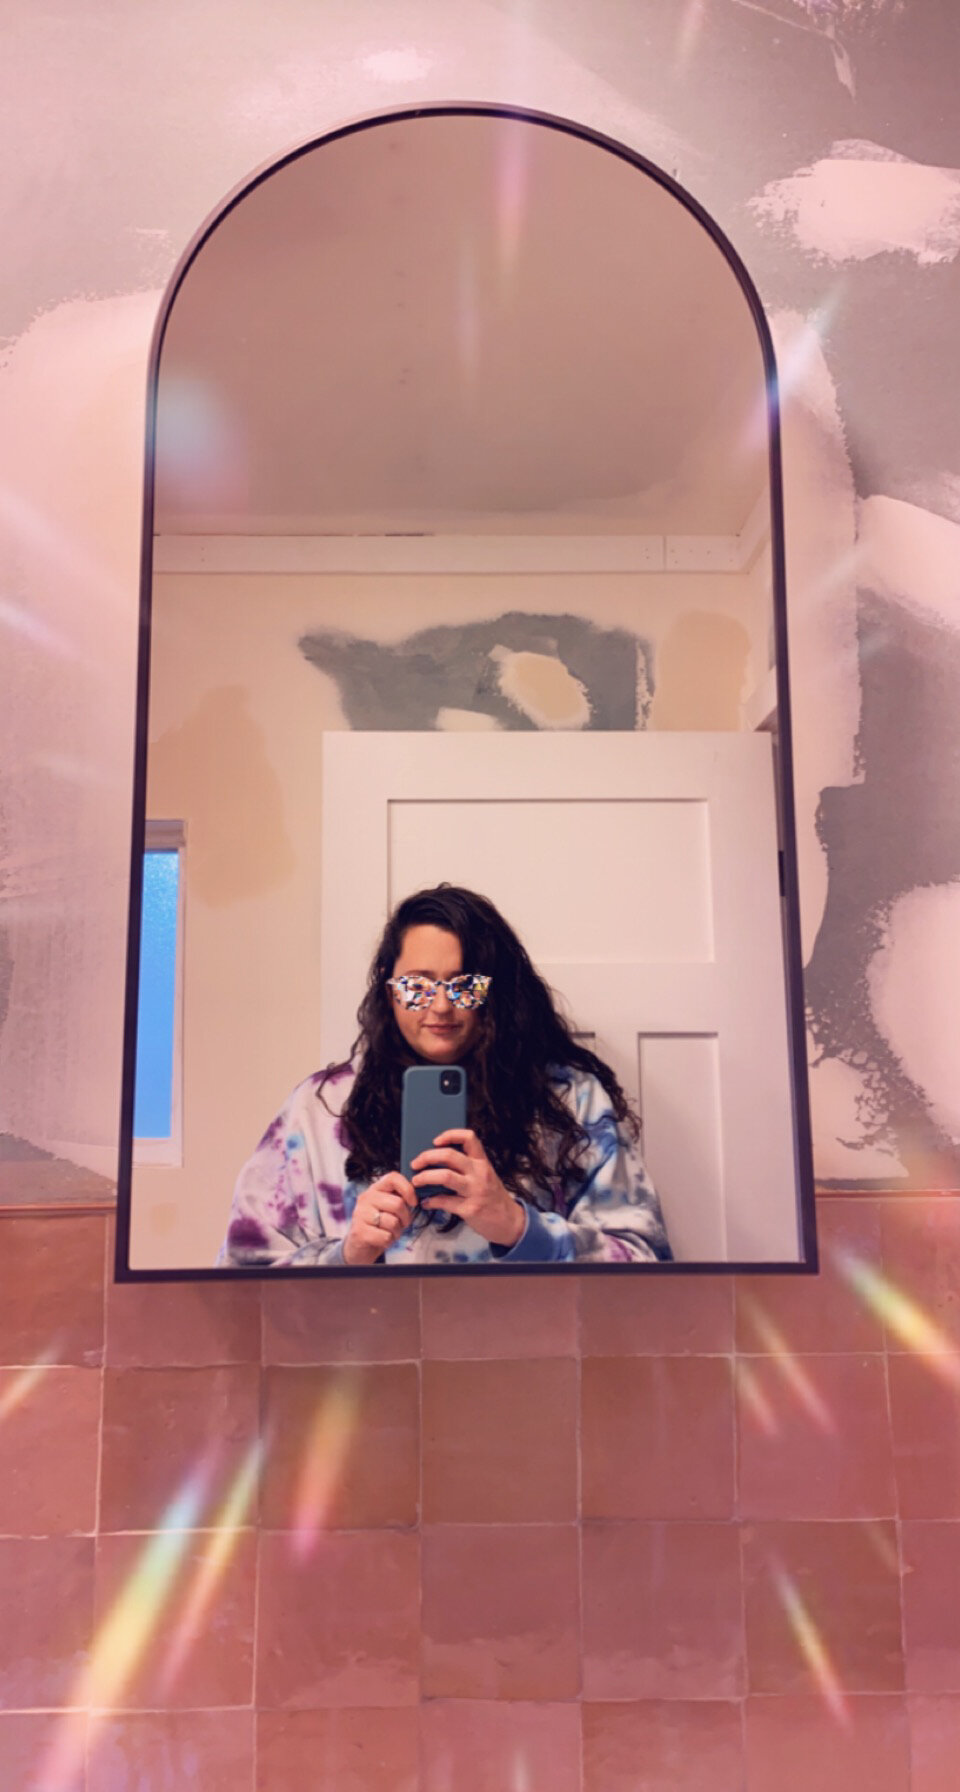
the final week of this old bathtub’s life served as a tie dye factory, which was a great way to go out with stains of purple, blue, green & pink - and we all got a second wave of siqqqq winter loungewear out of it. 🤘

-vintage rug from etsy
-vanity from wayfair

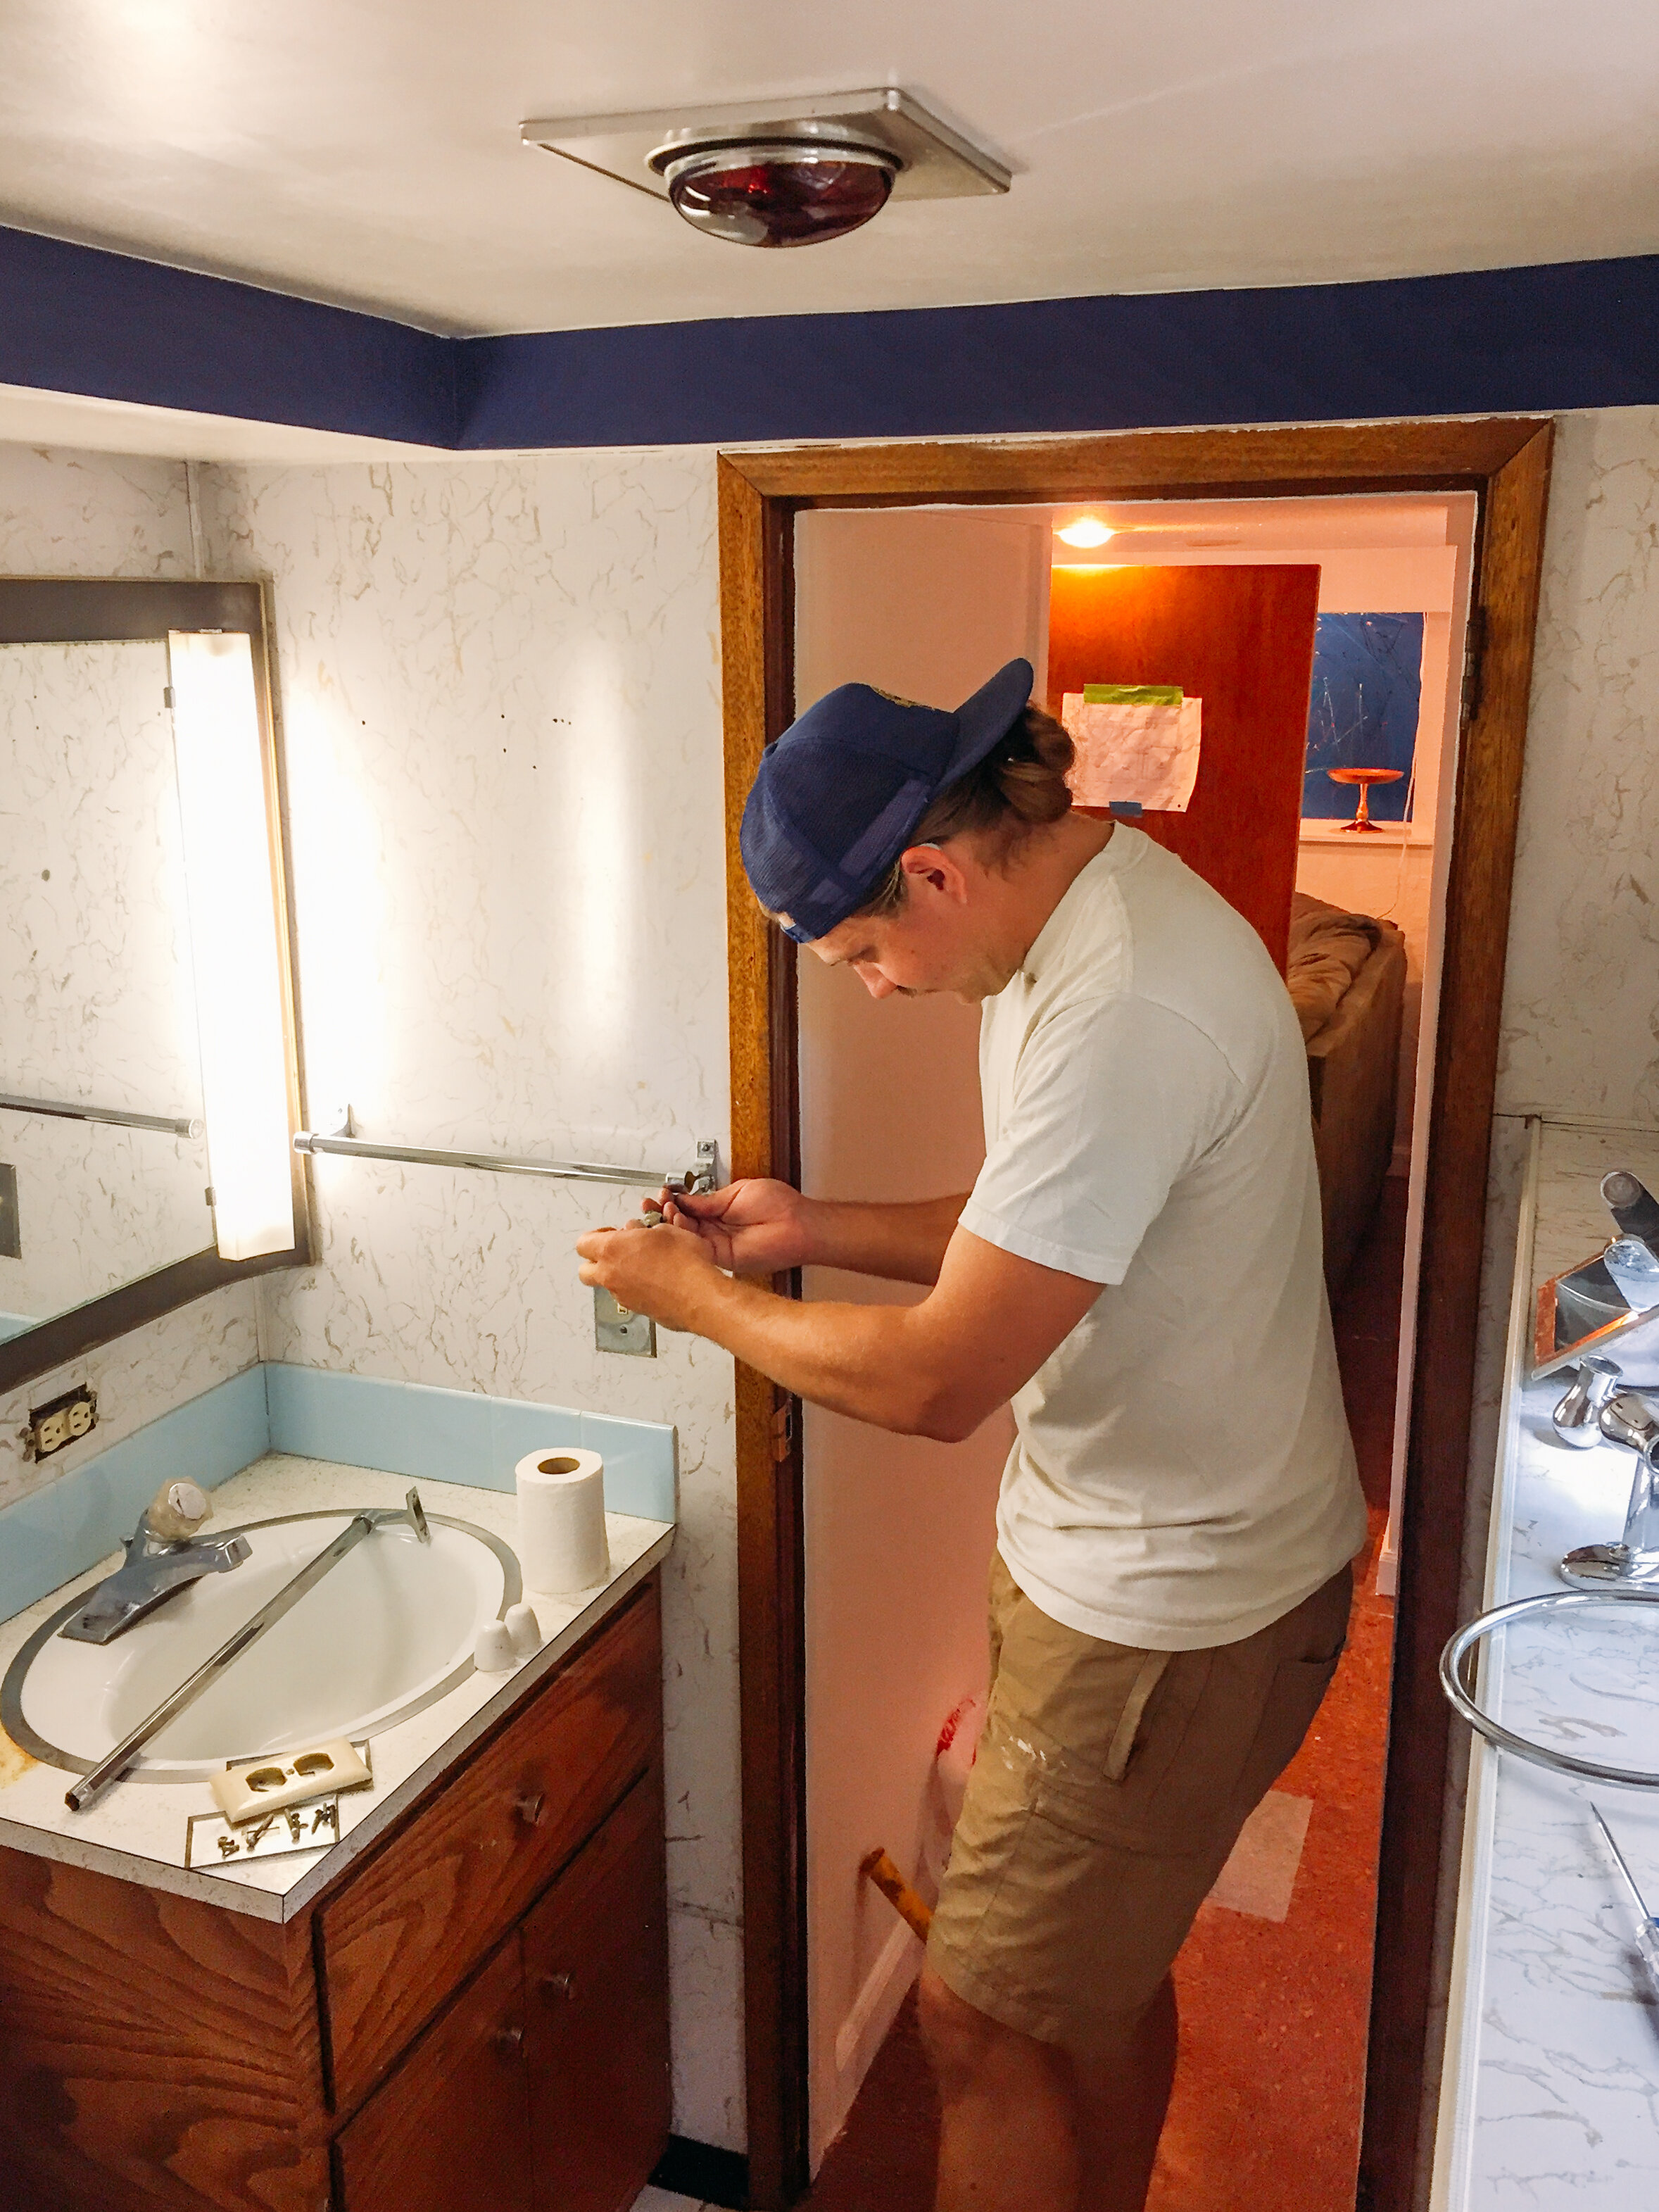
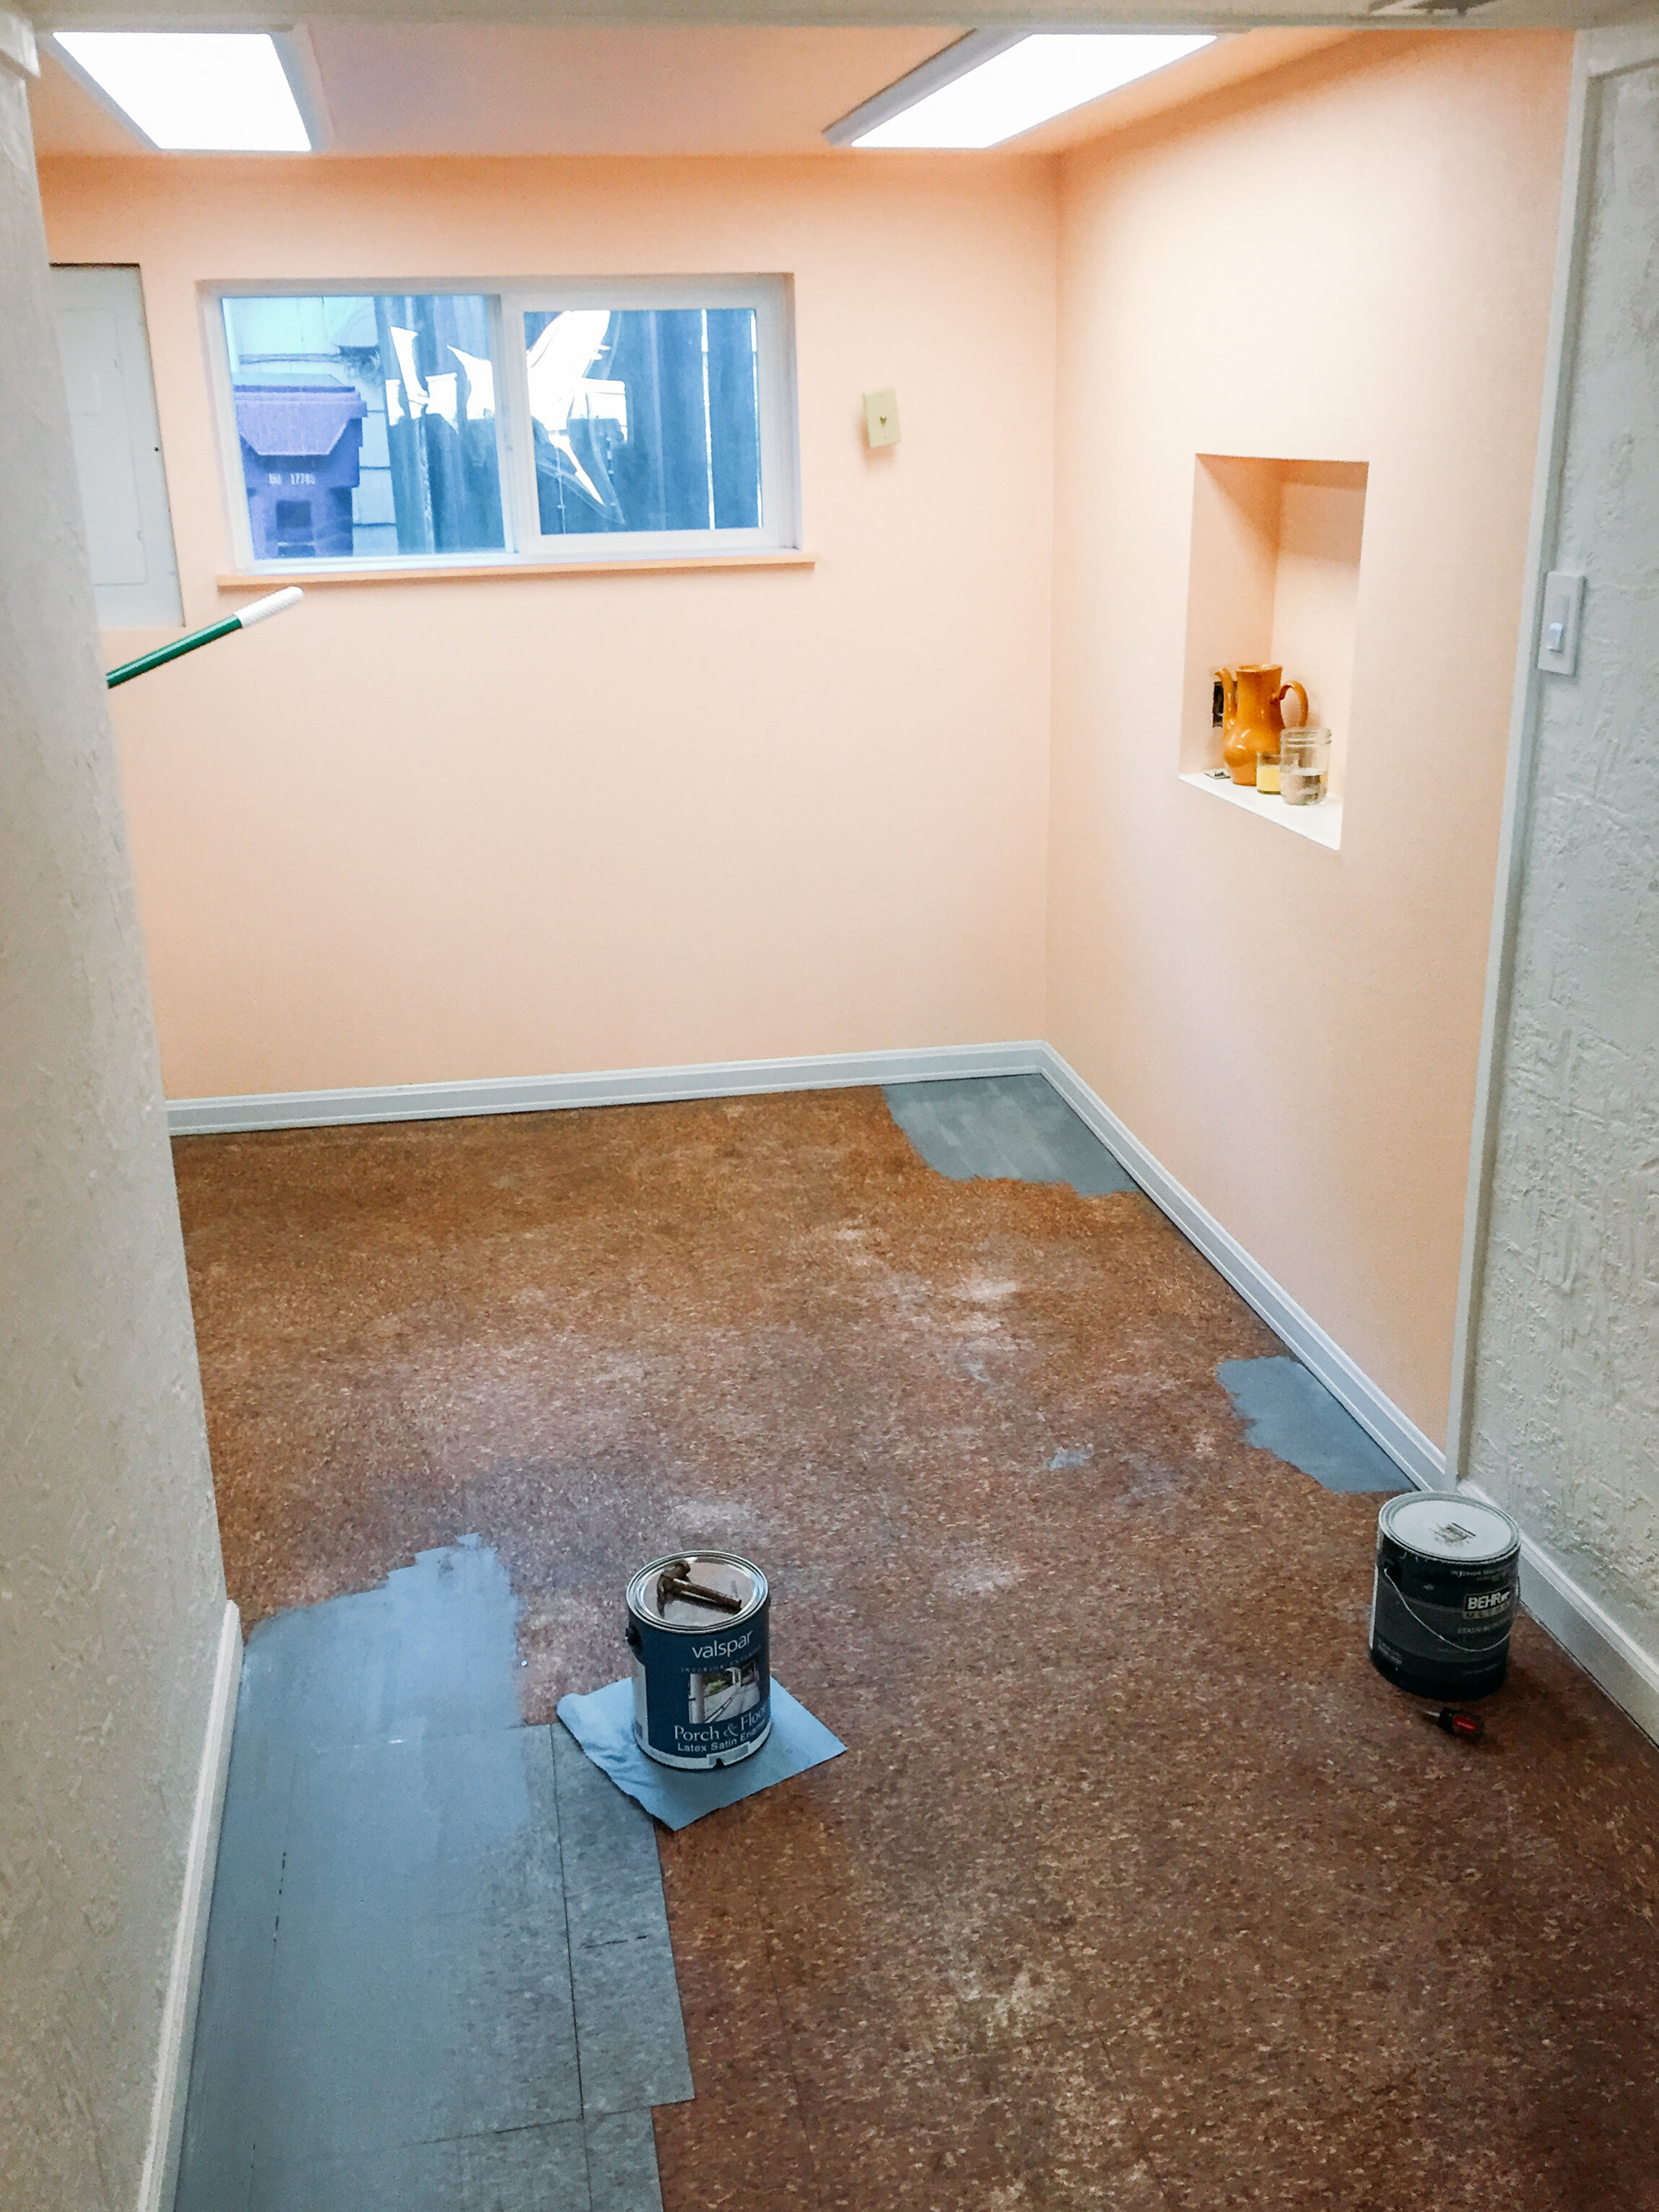
the old bathroom was just fine for us for almost 7 years - i didn’t think too much about how it should be updated until we suddenly decided to go for it quite recently, after having gained the confidence in remodeling our downstairs bathroom a little over a year ago.
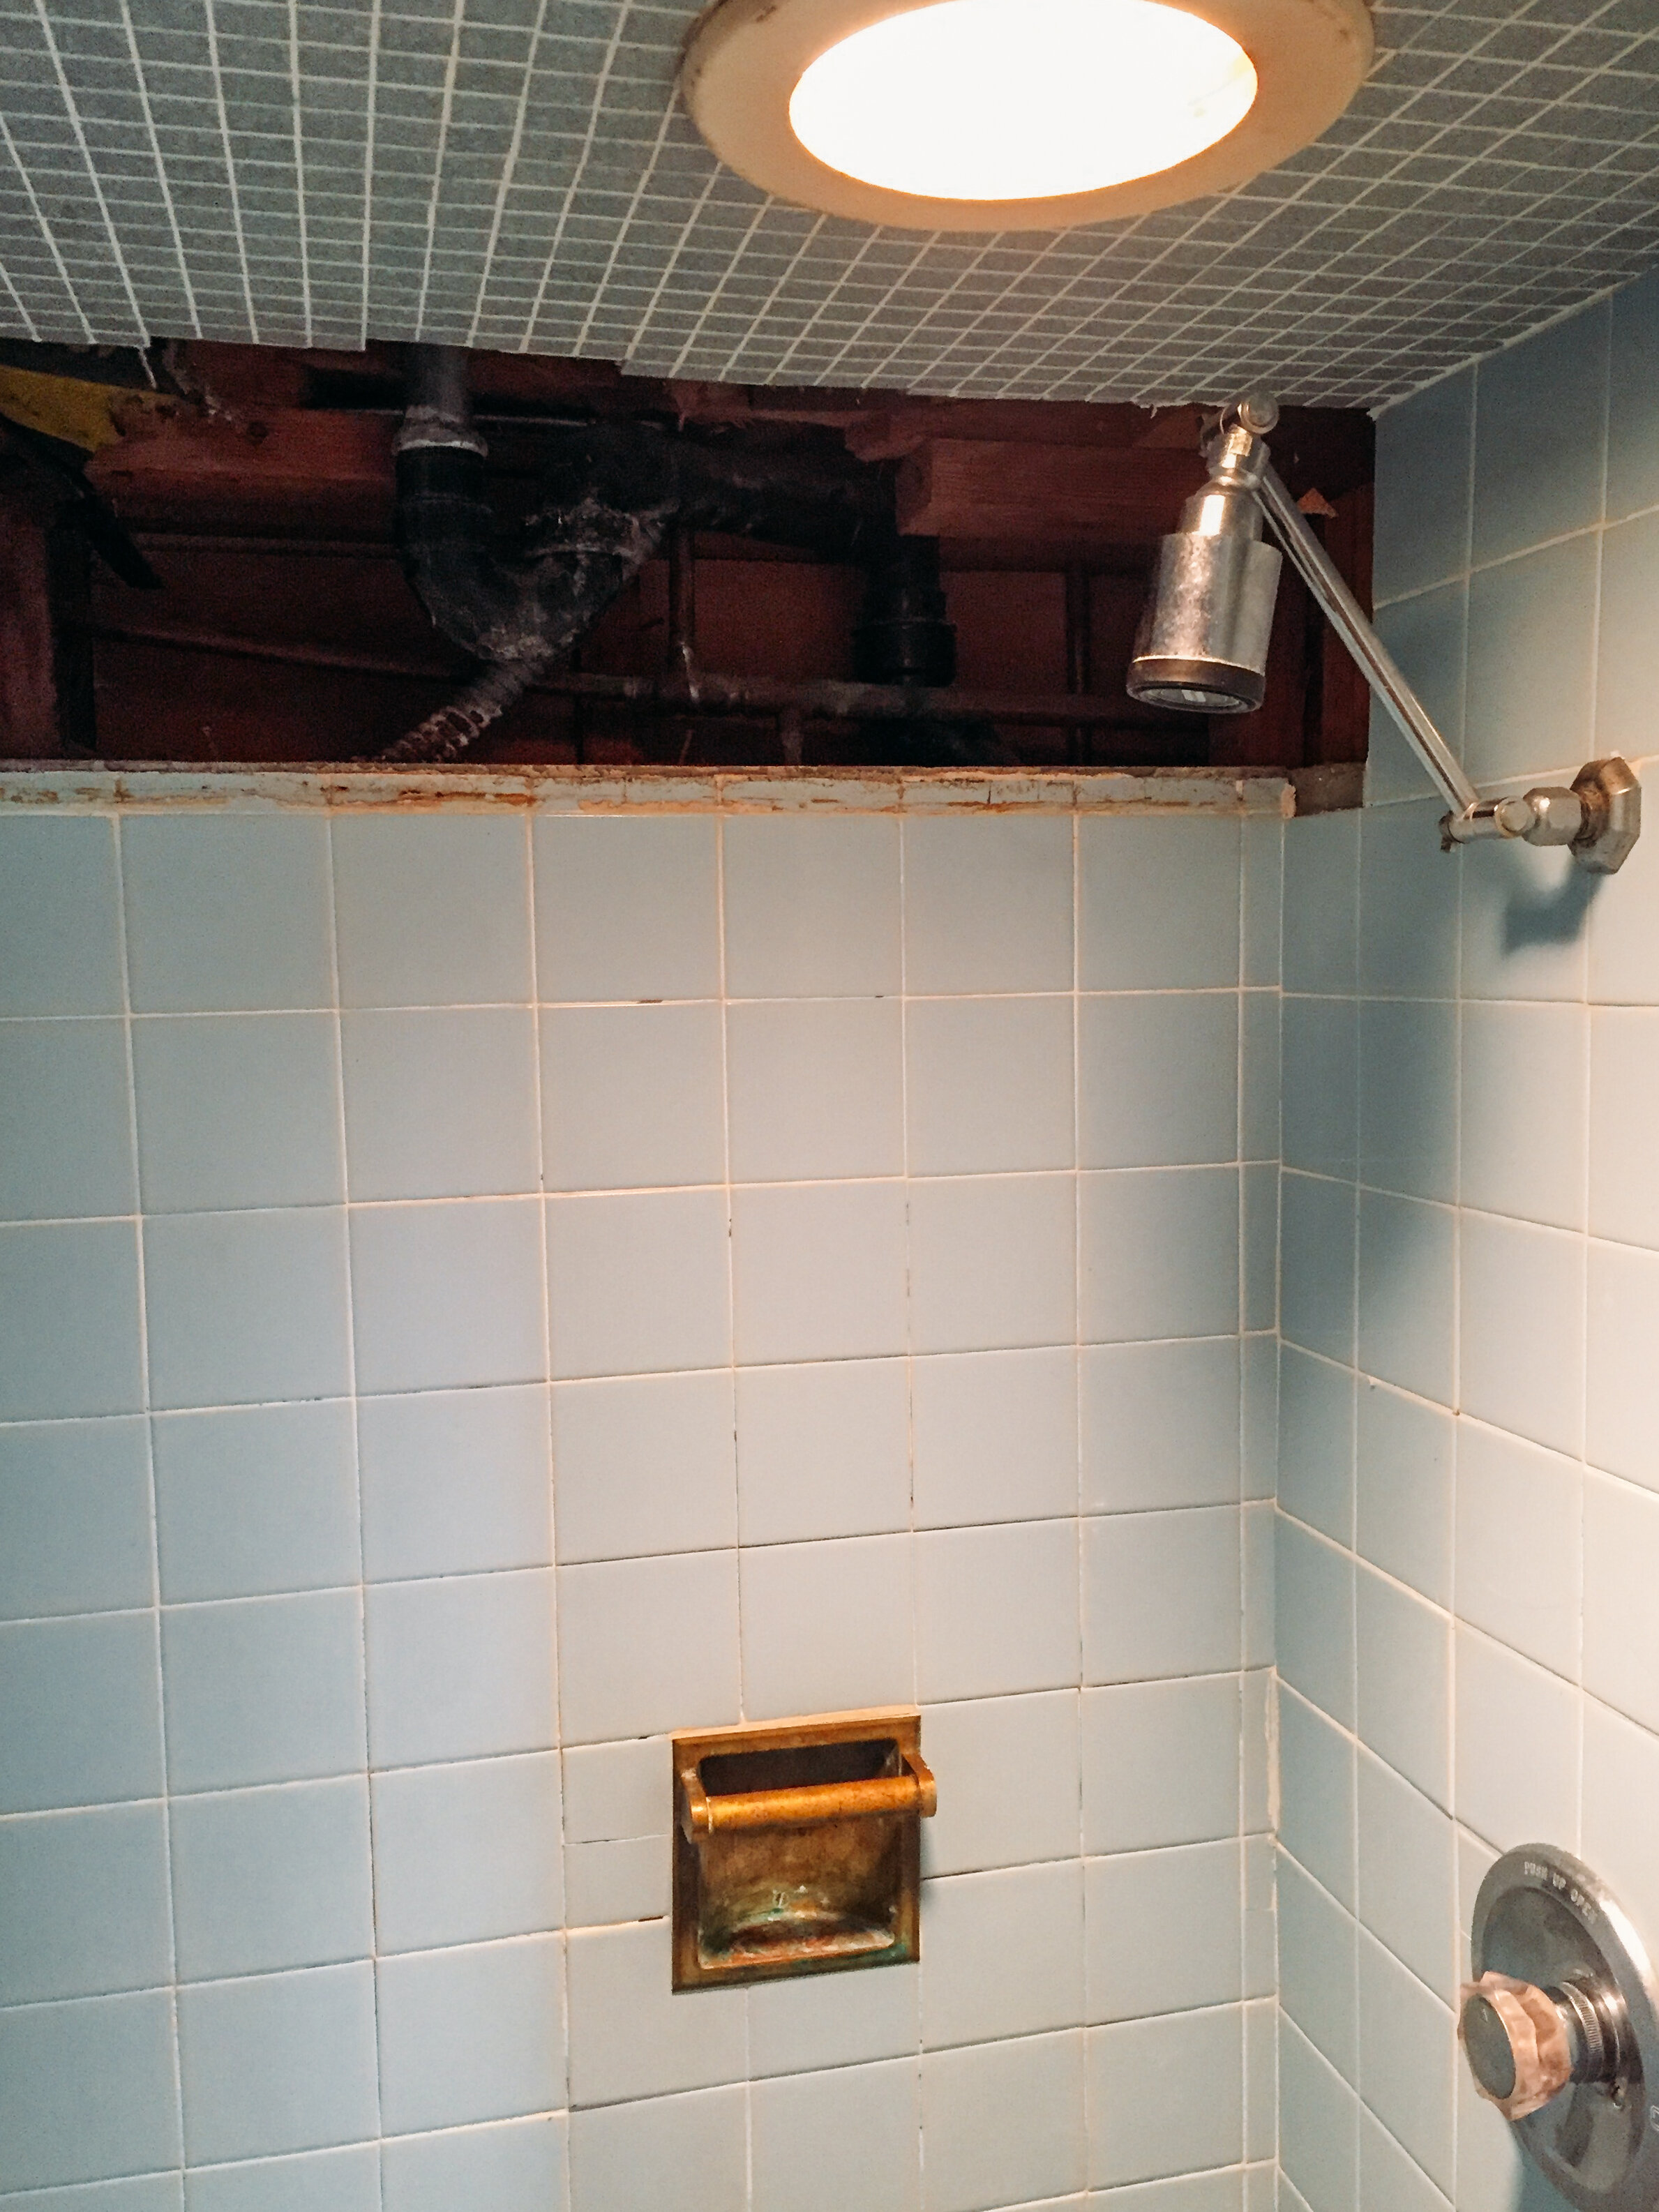
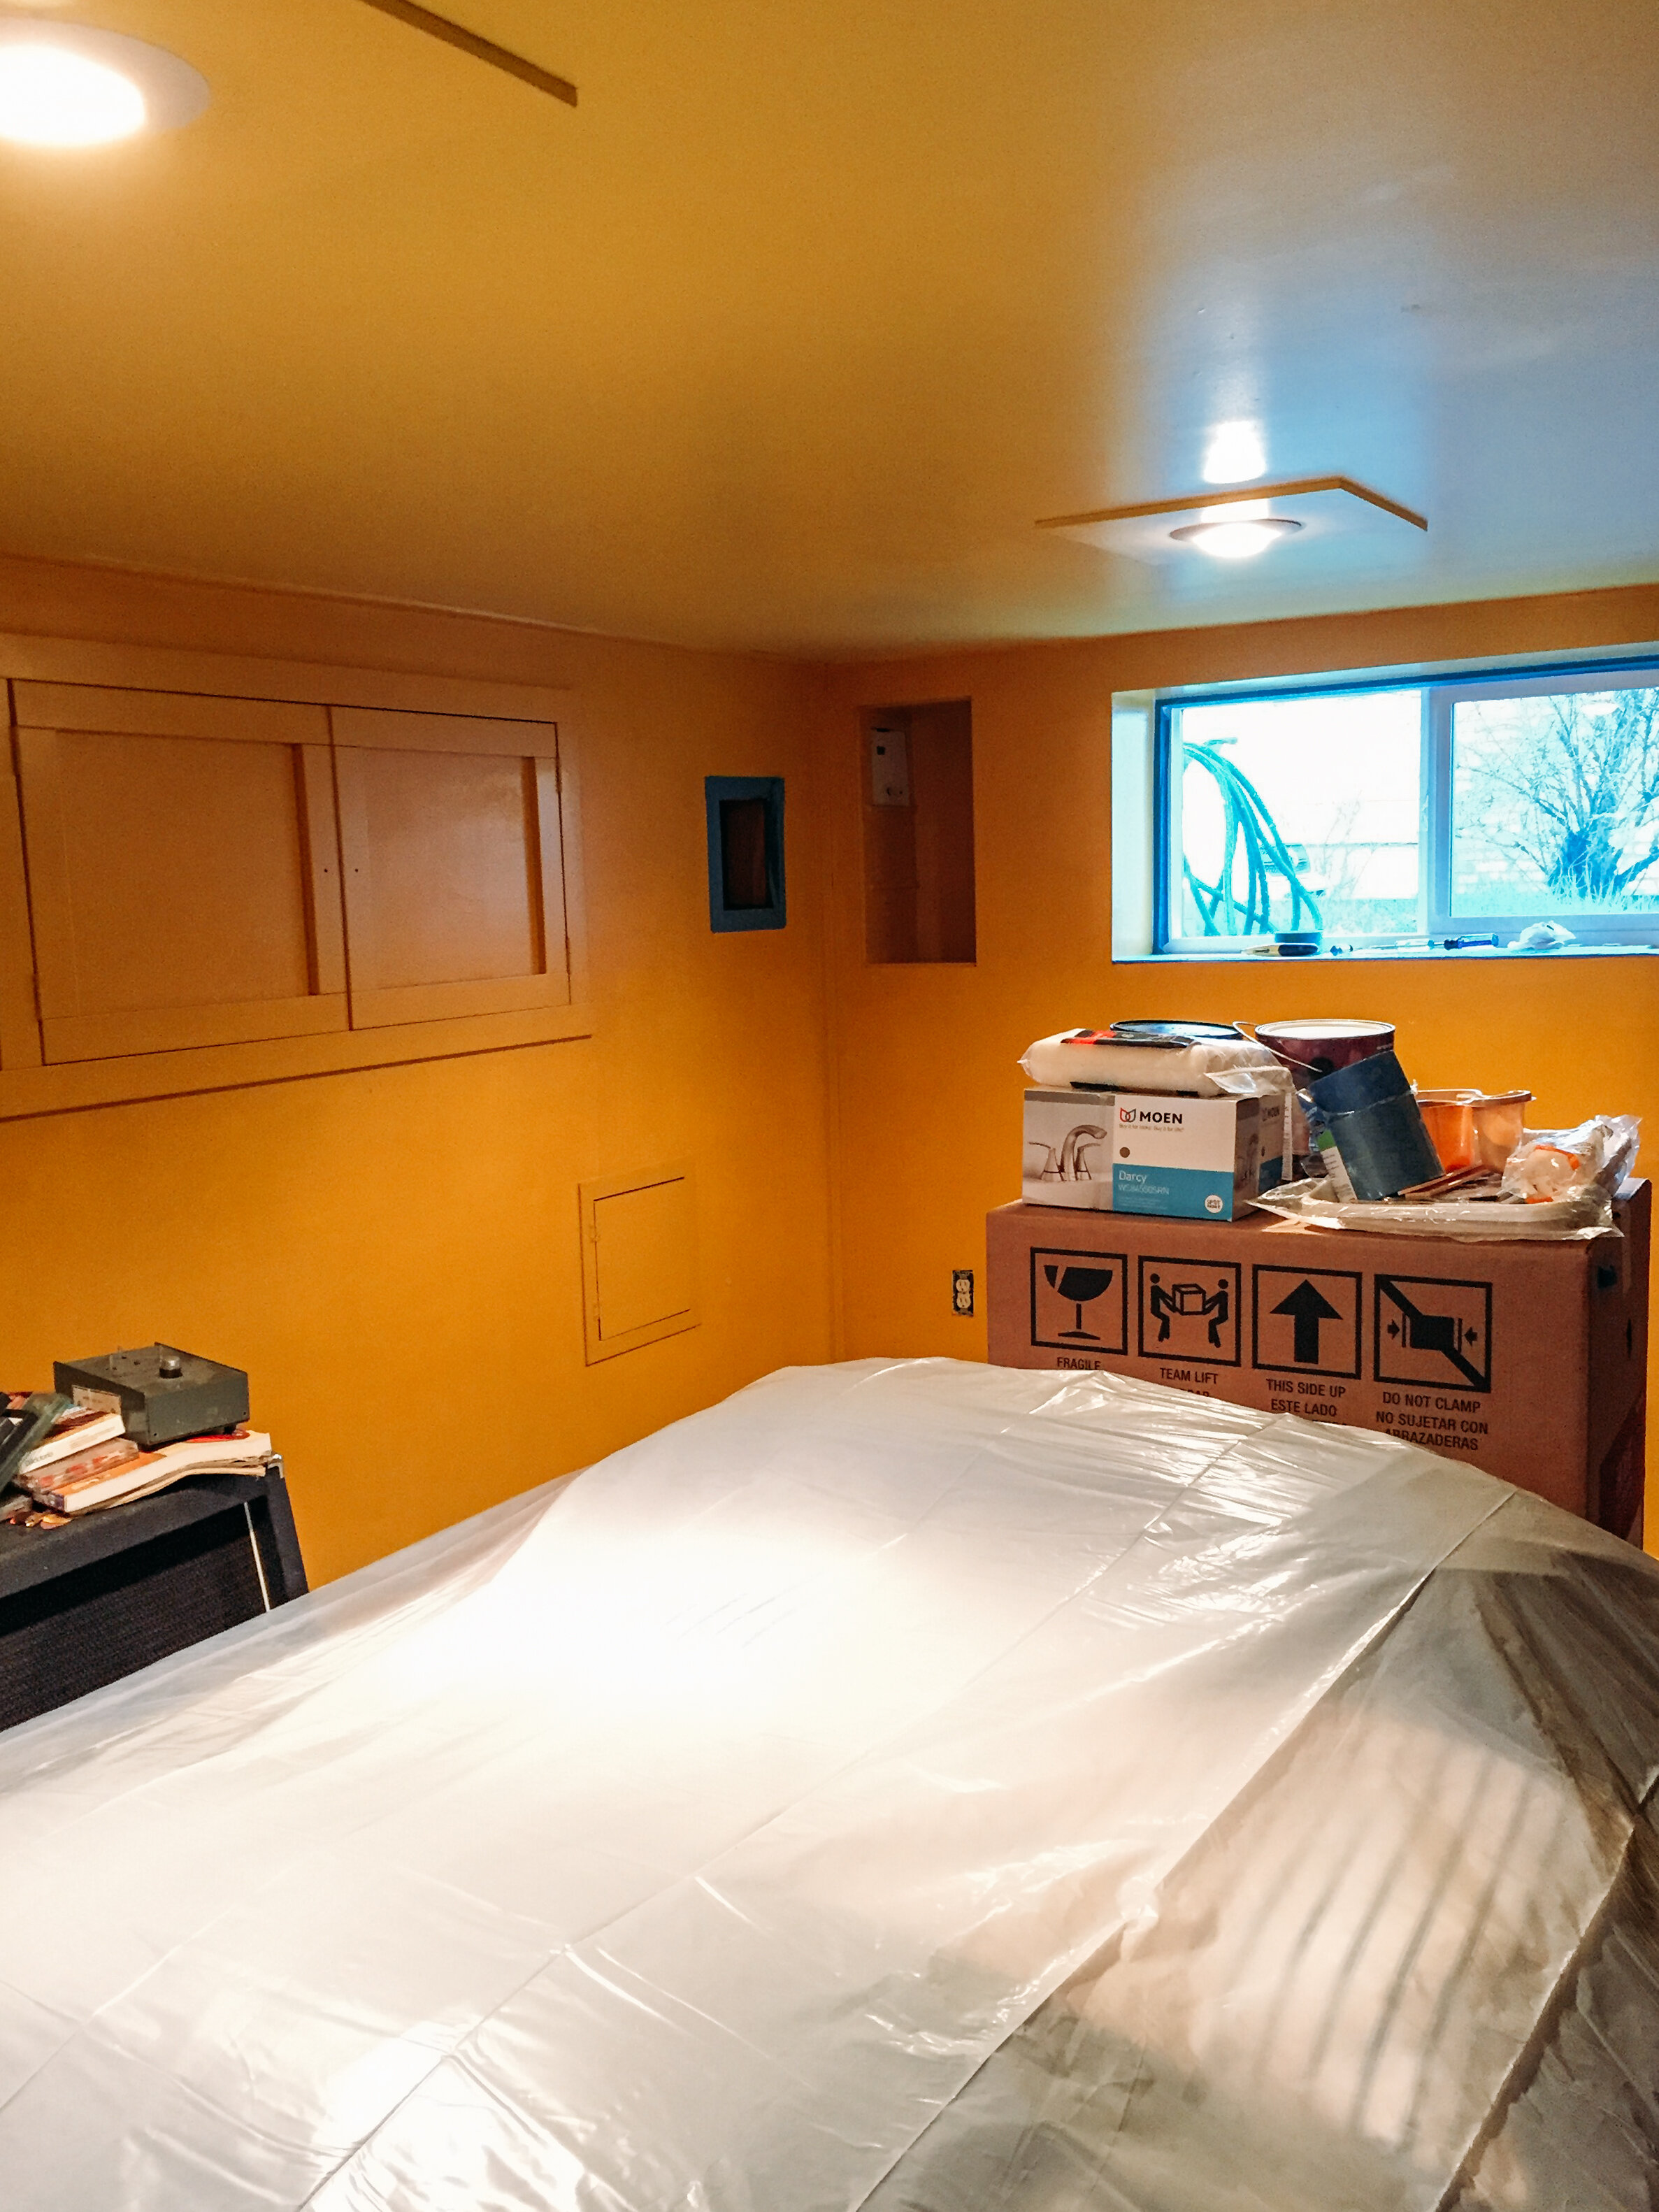
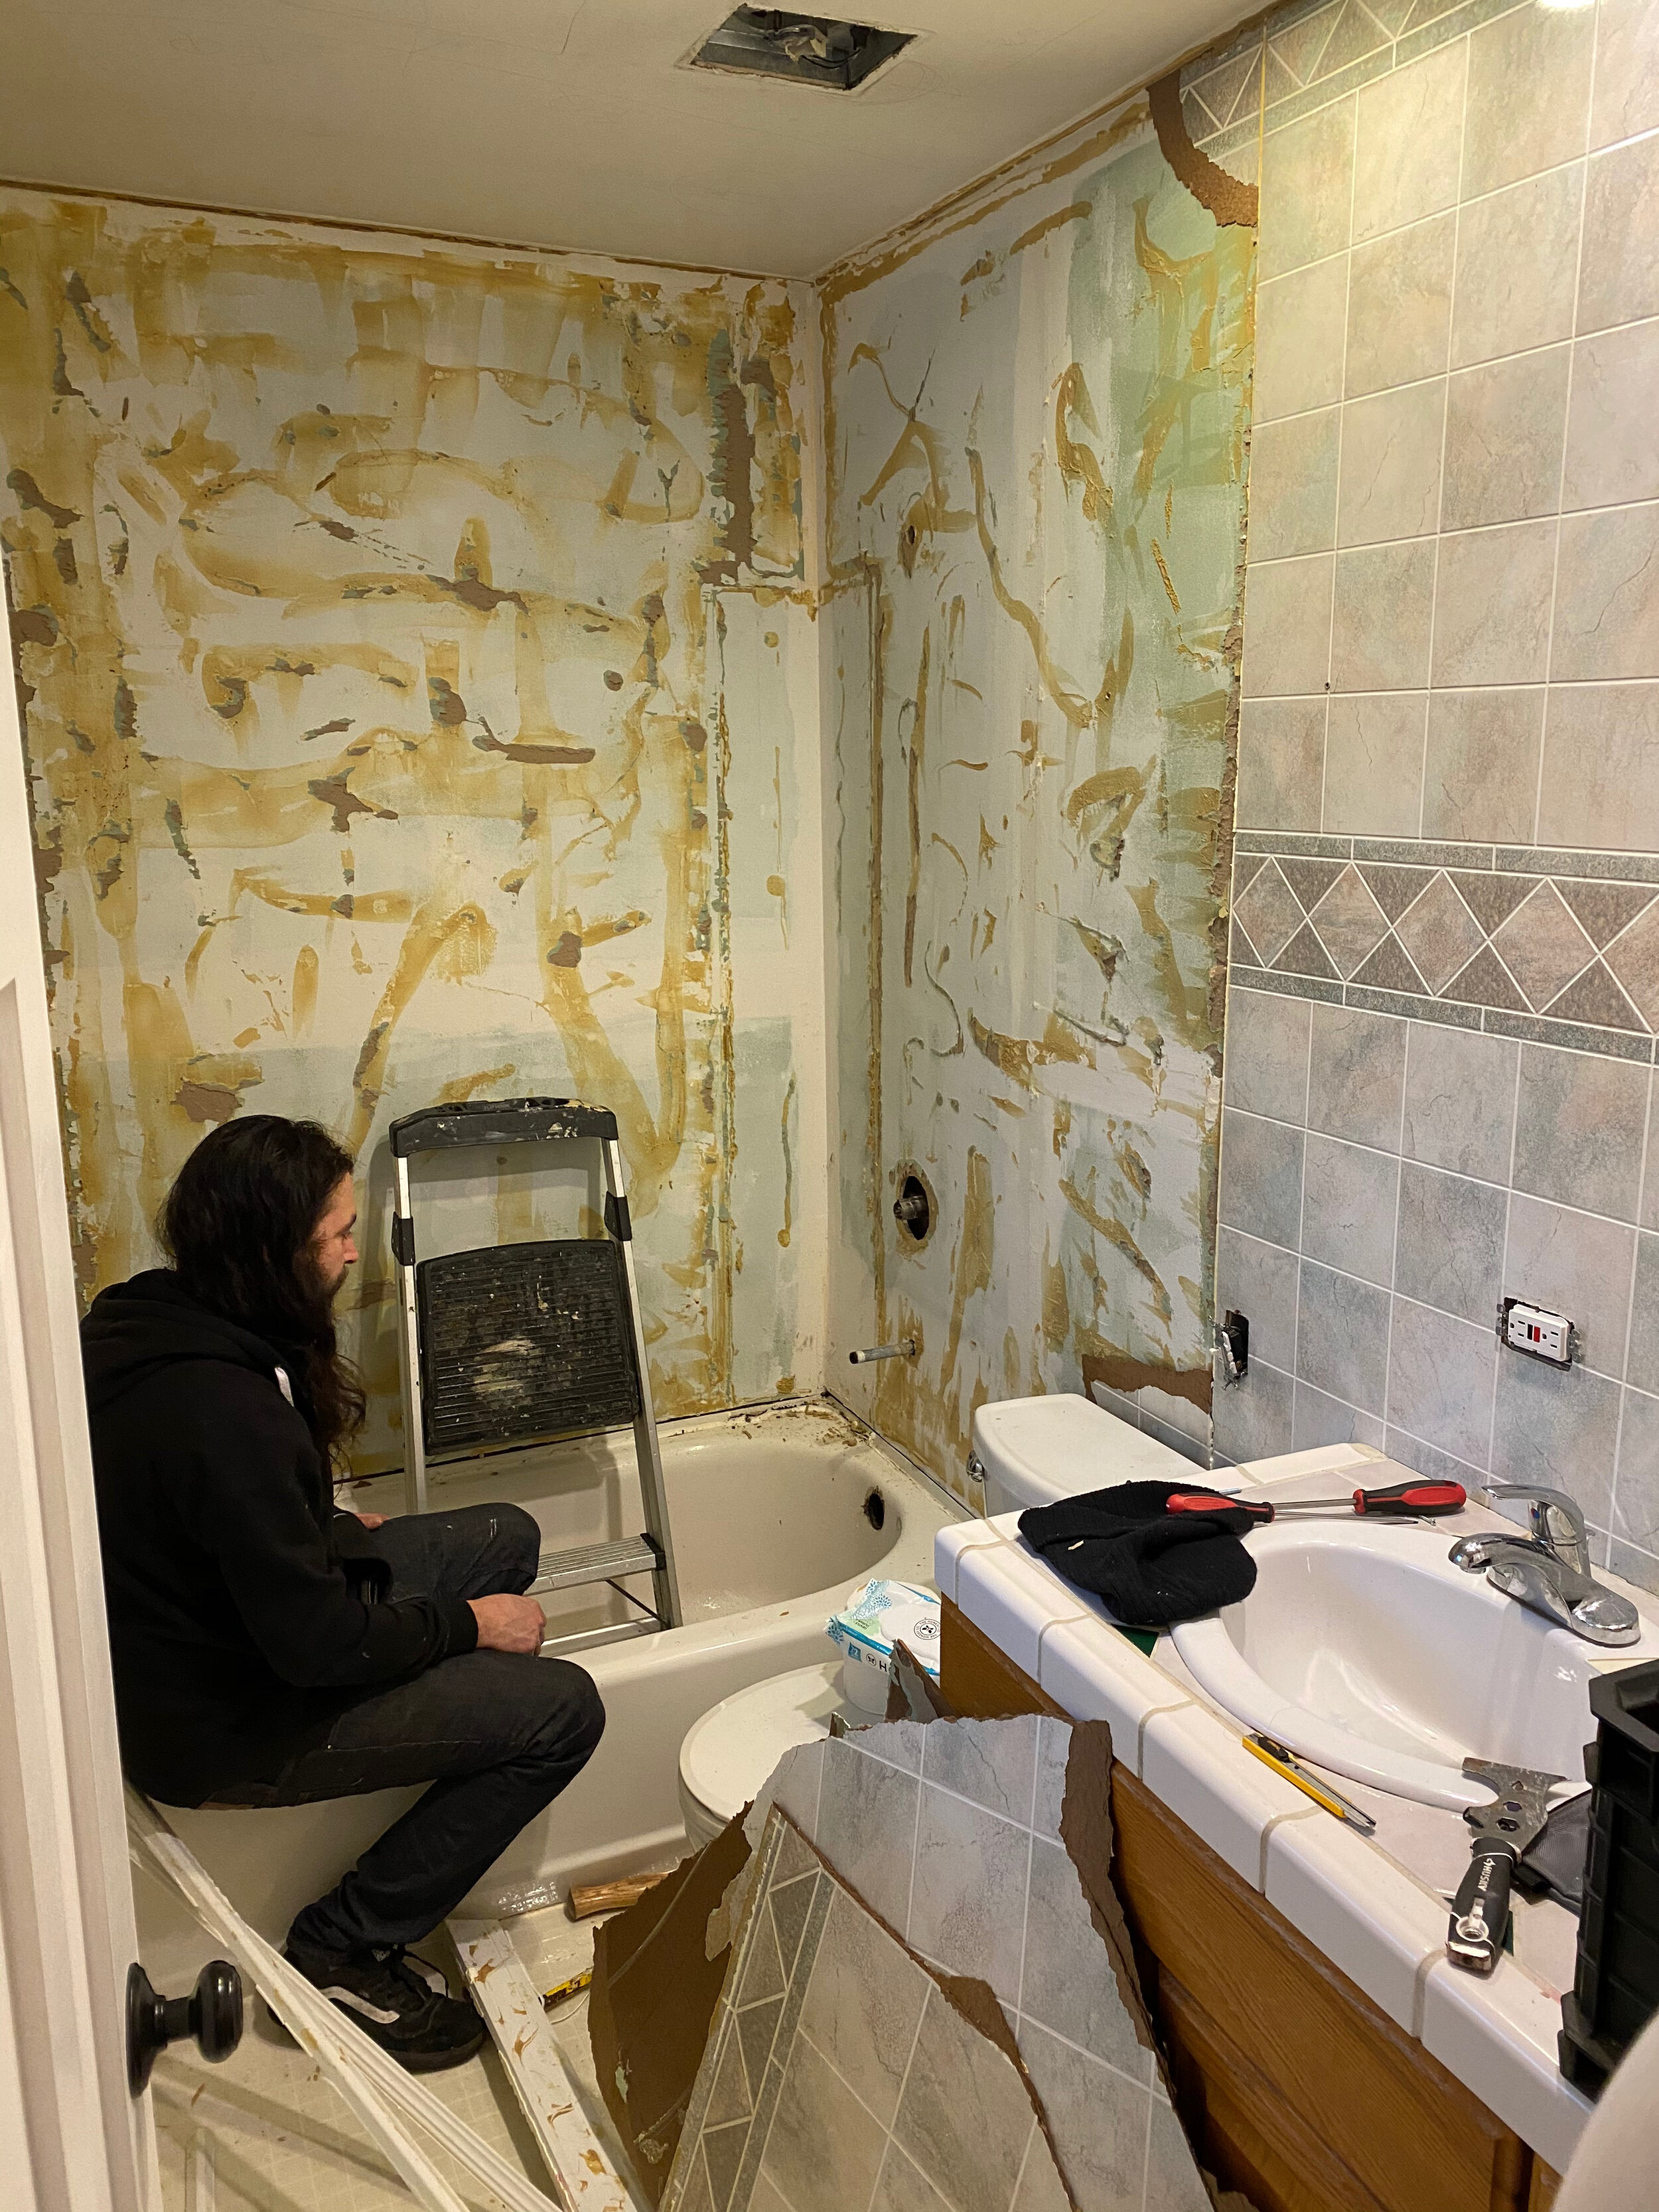
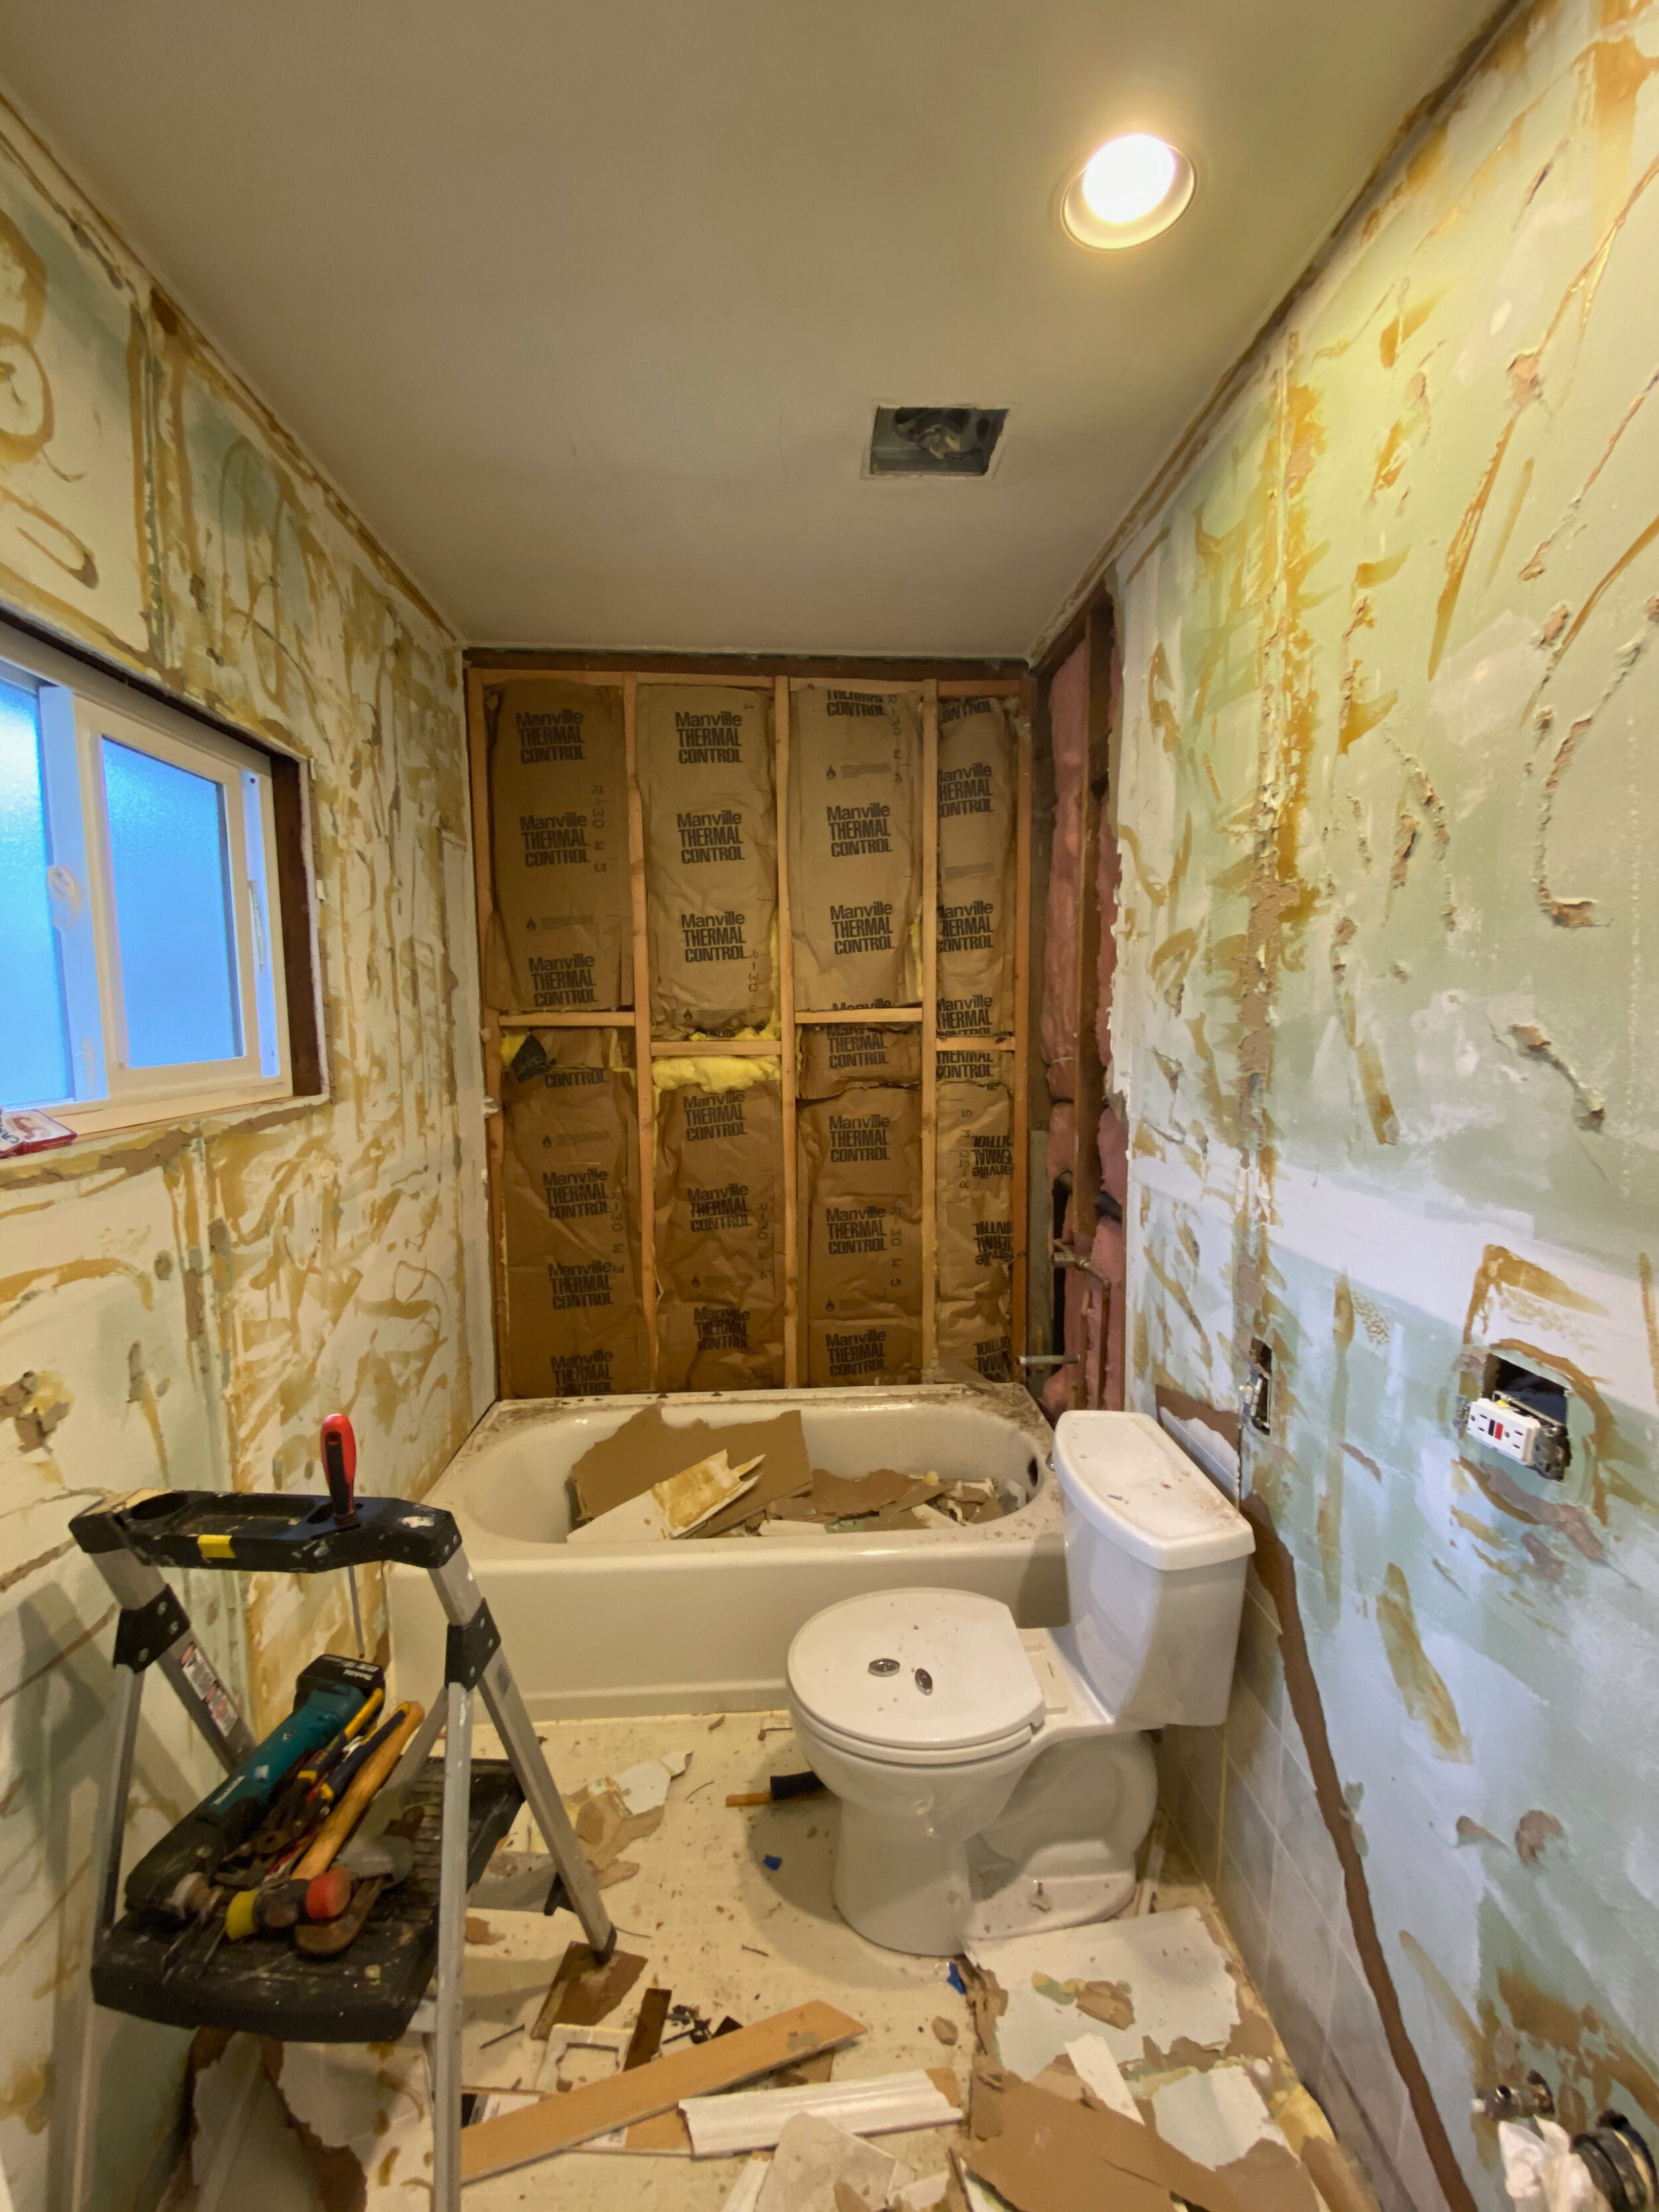
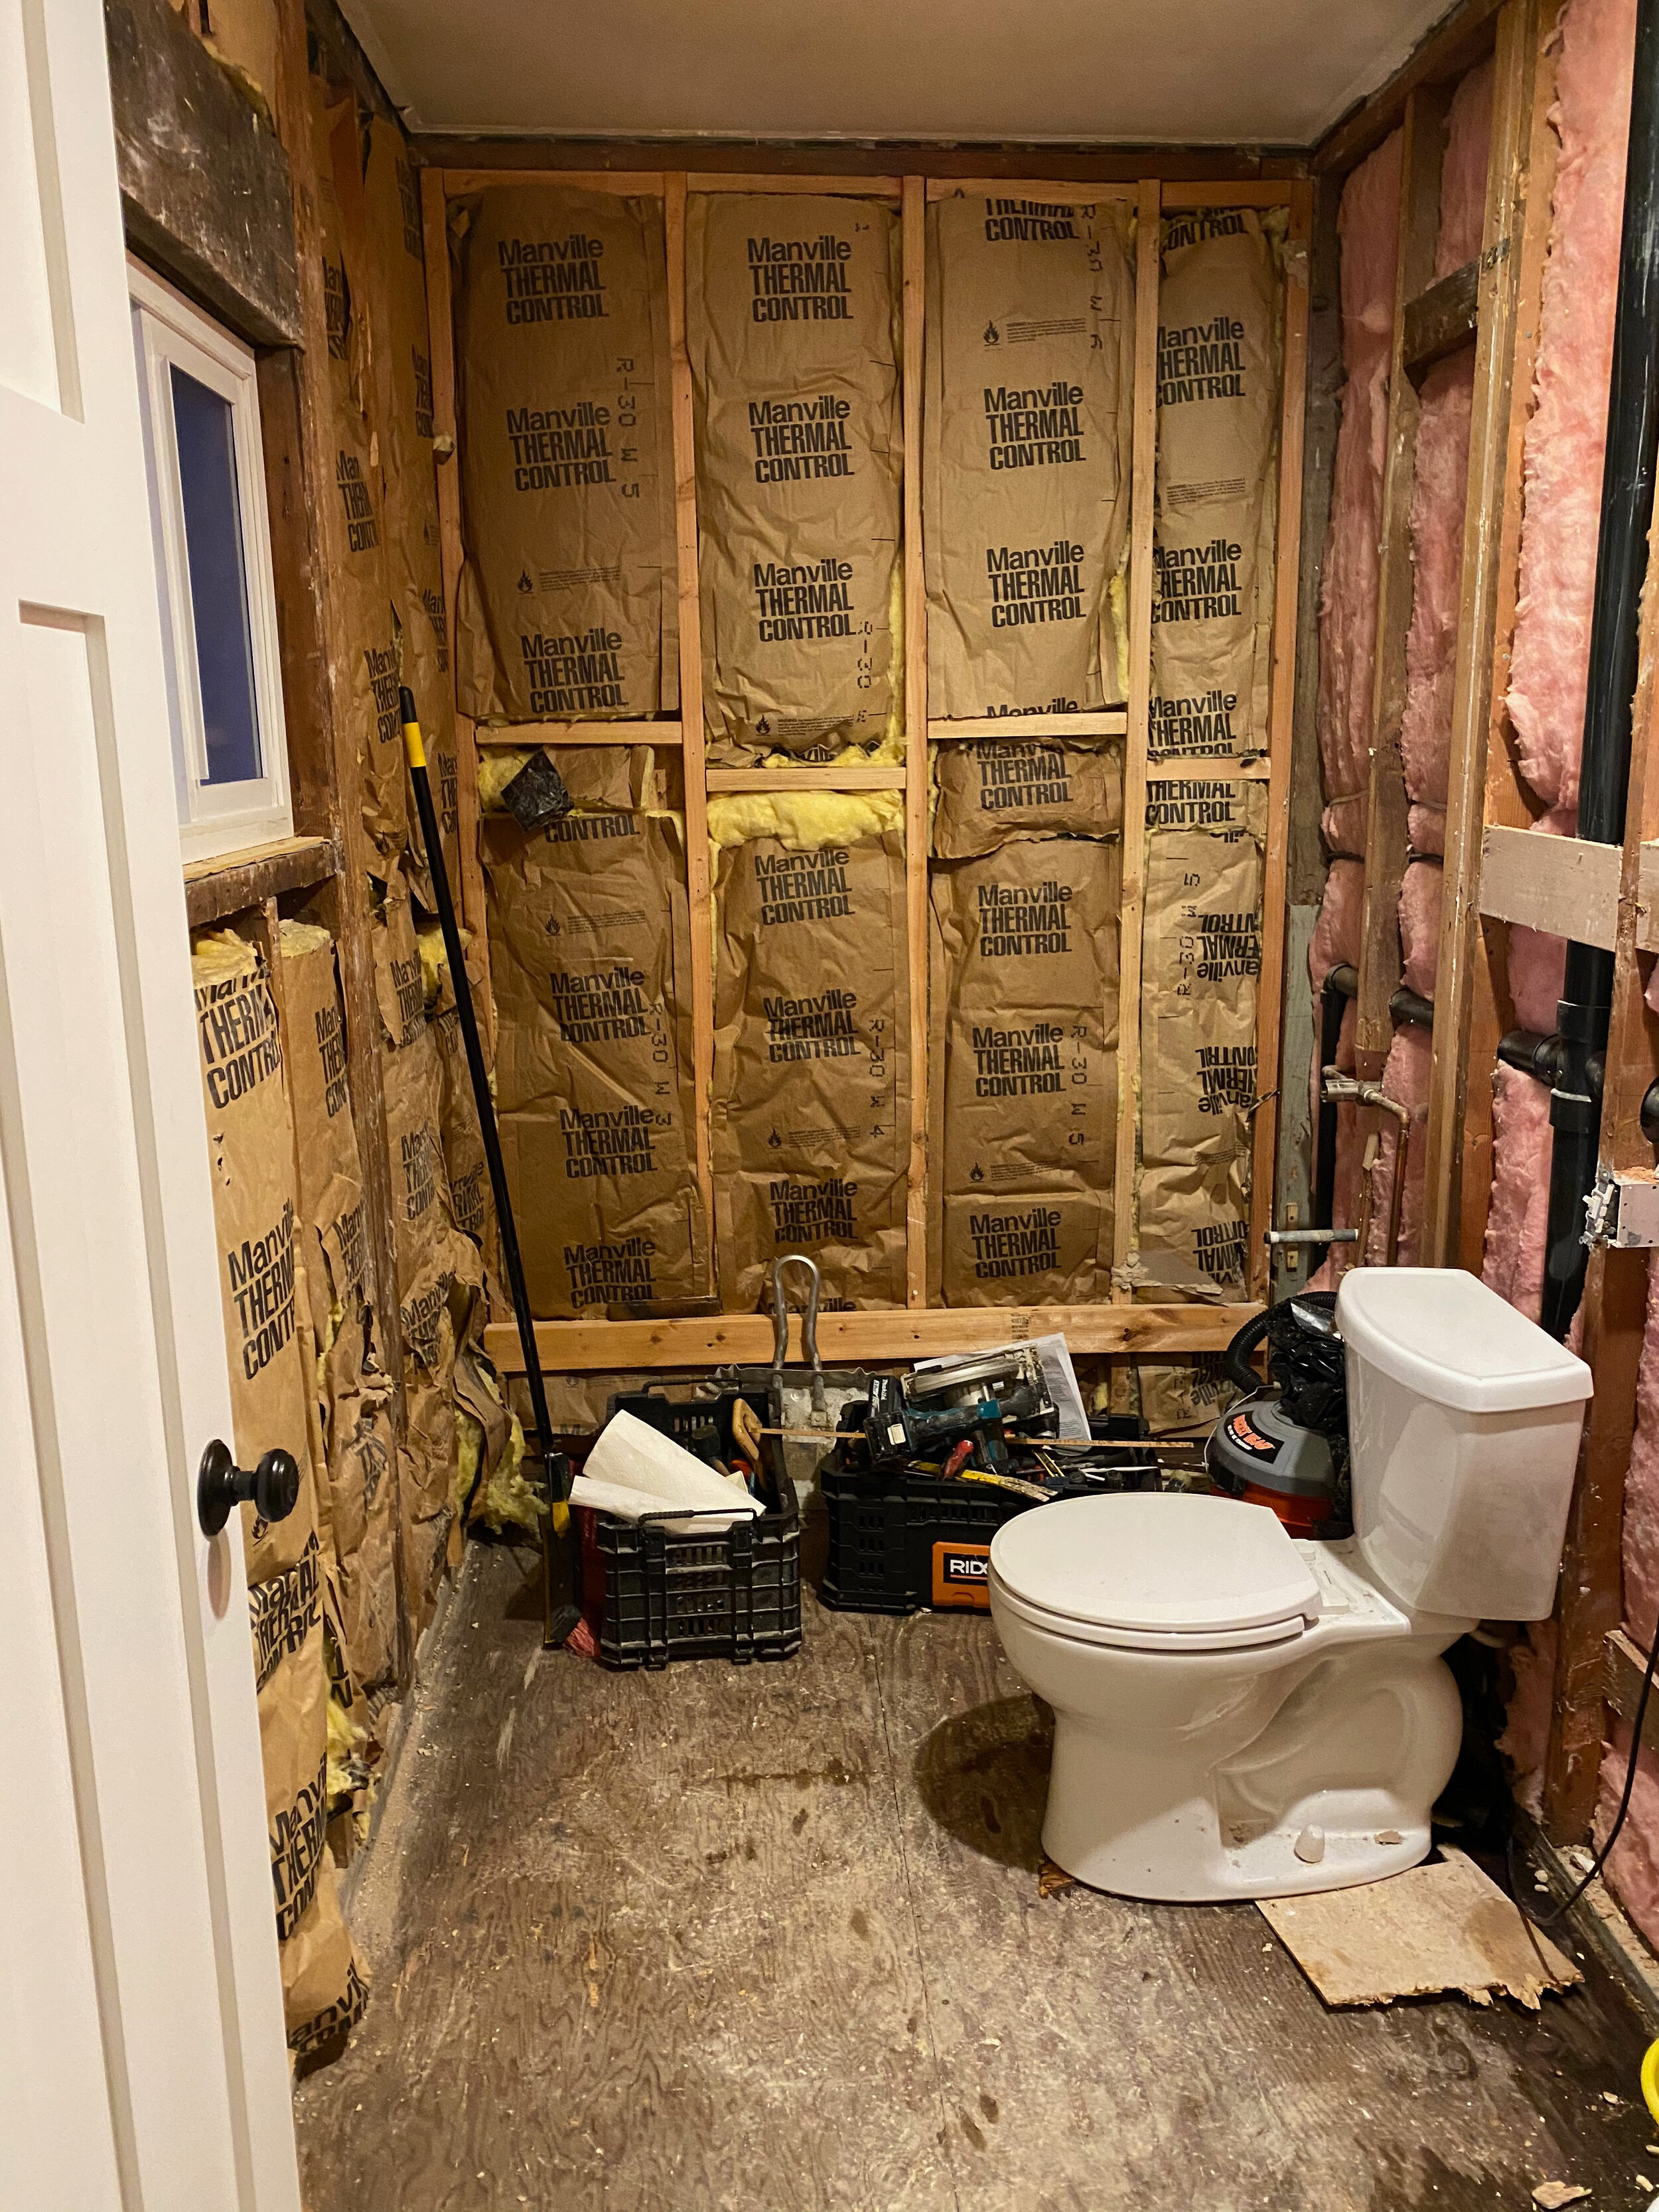
it had the same vinyl fake tile panels from floor to ceiling all over the entire bathroom. the shower and tub had seen better days and were getting pretty gross. tile countertops with huge grout lines are just a no-no. basically, the old bathroom was decent, but definitely outdated.
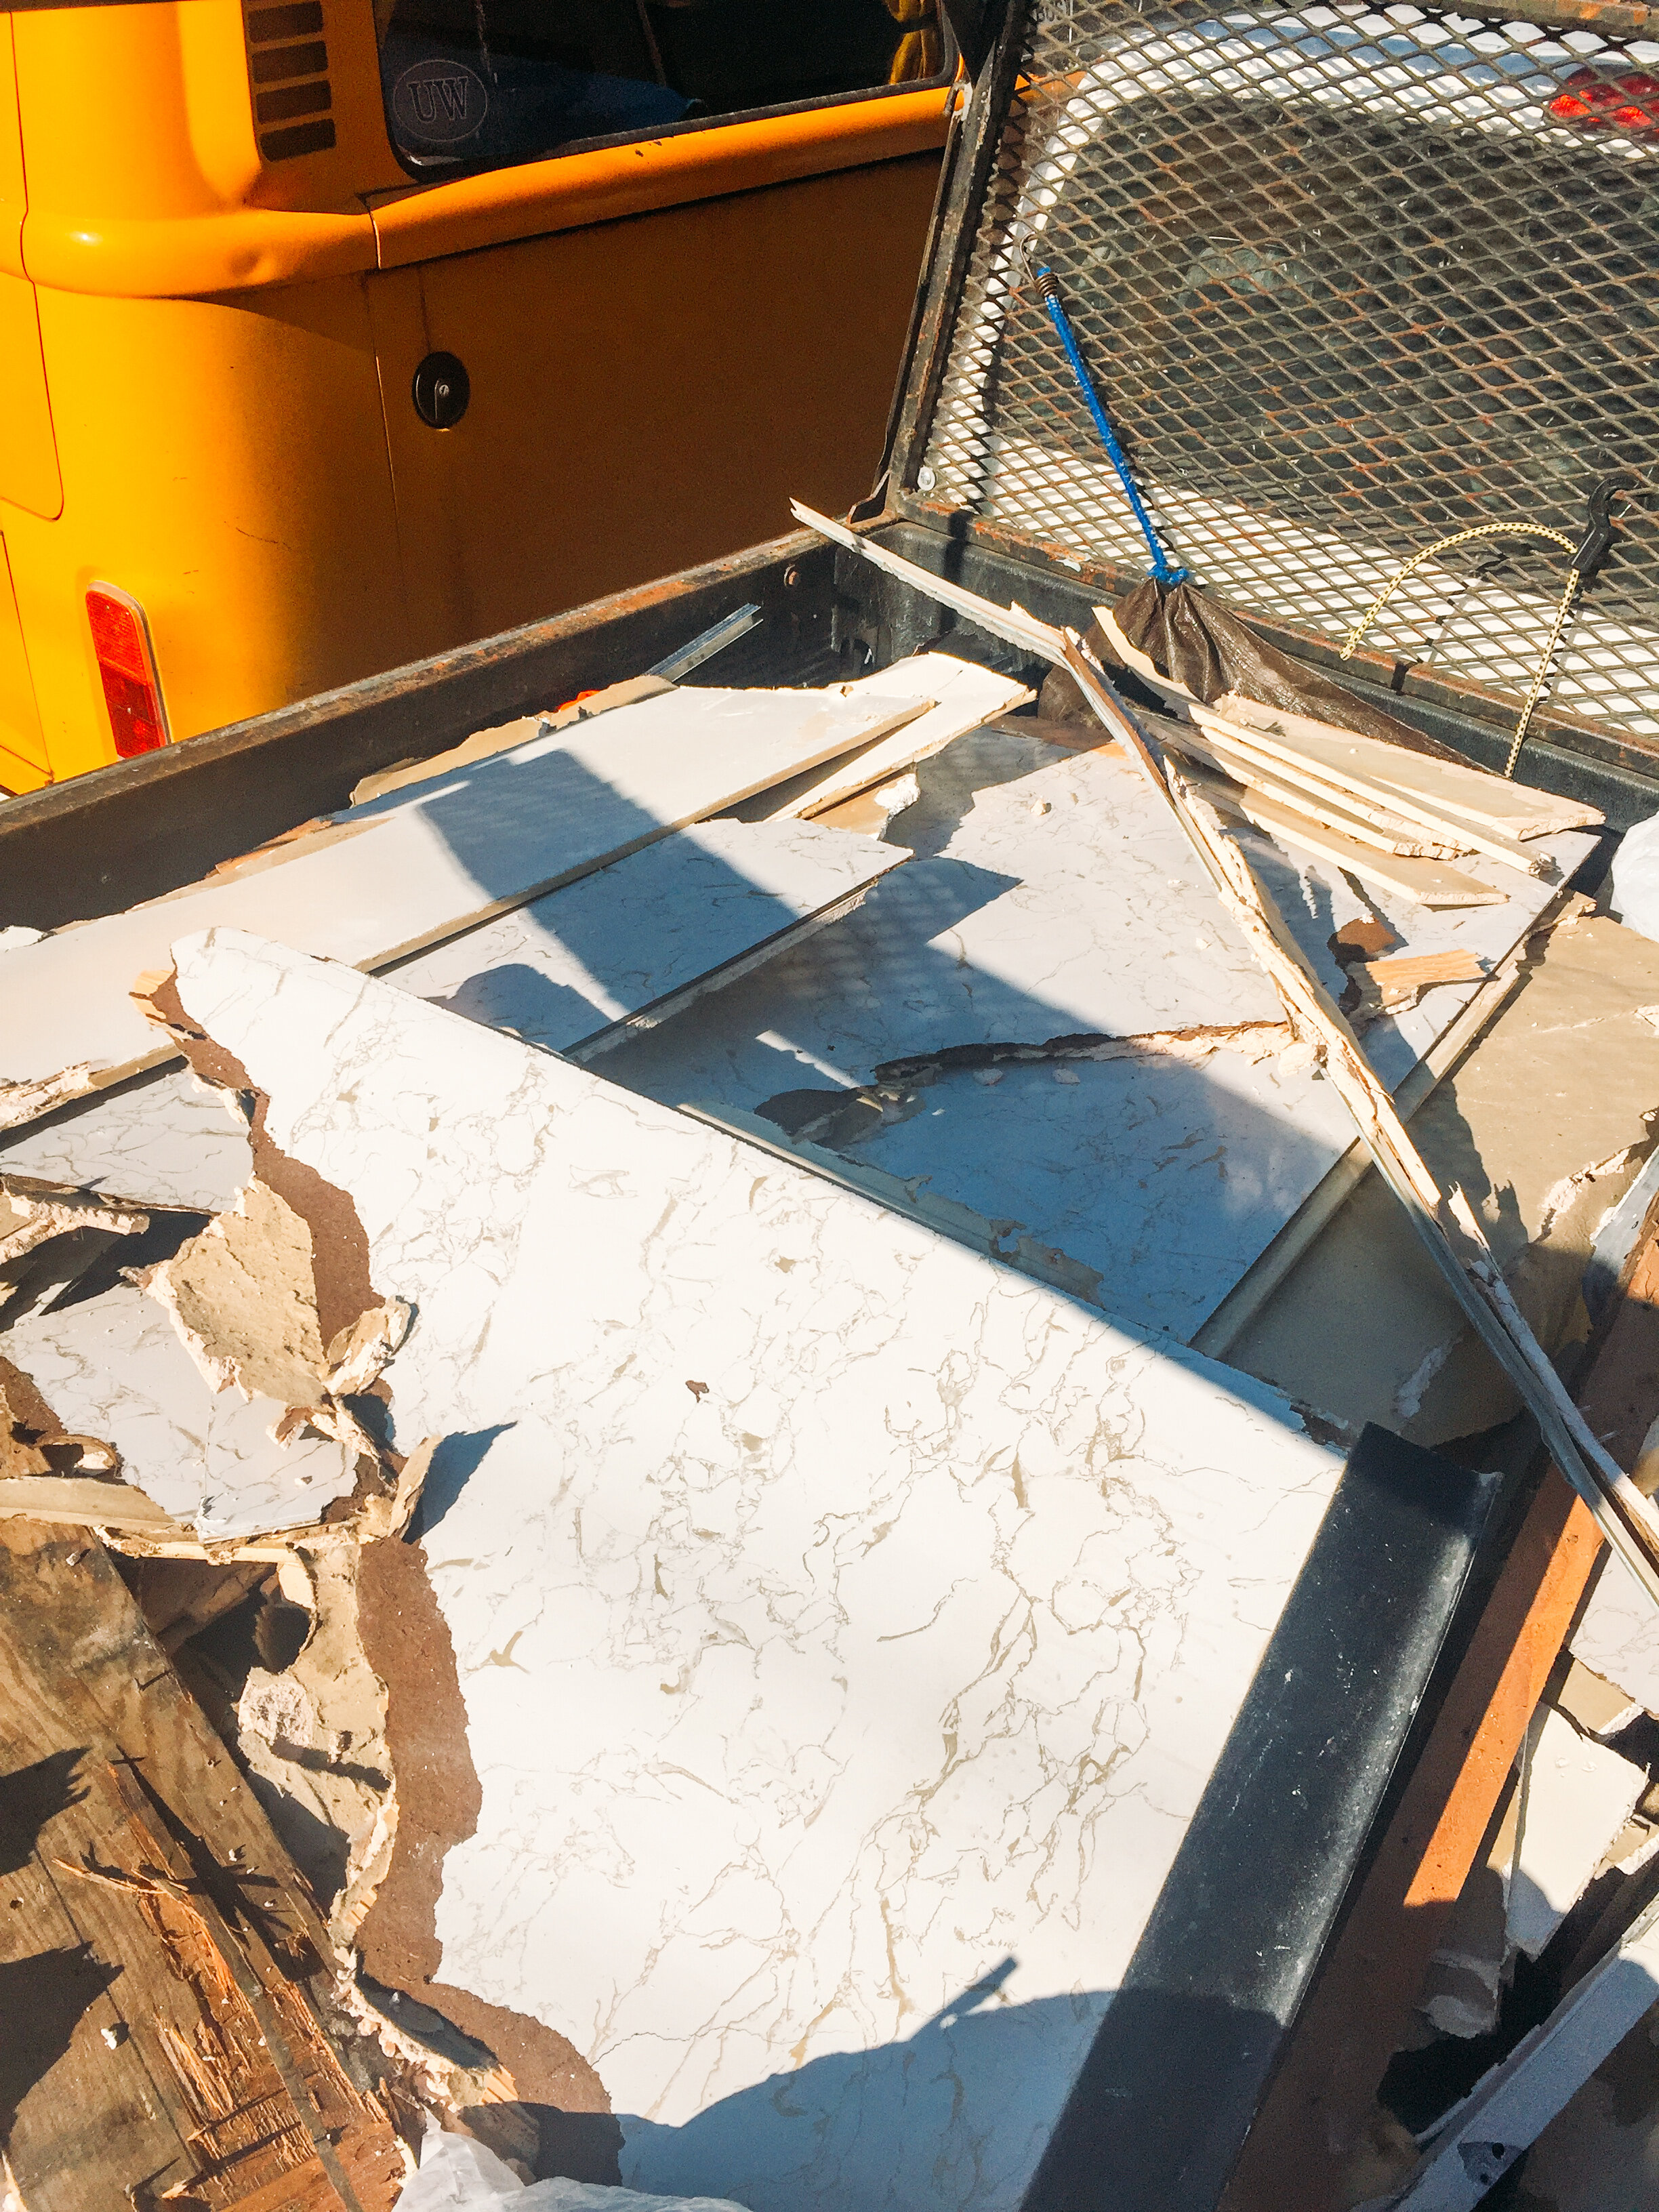
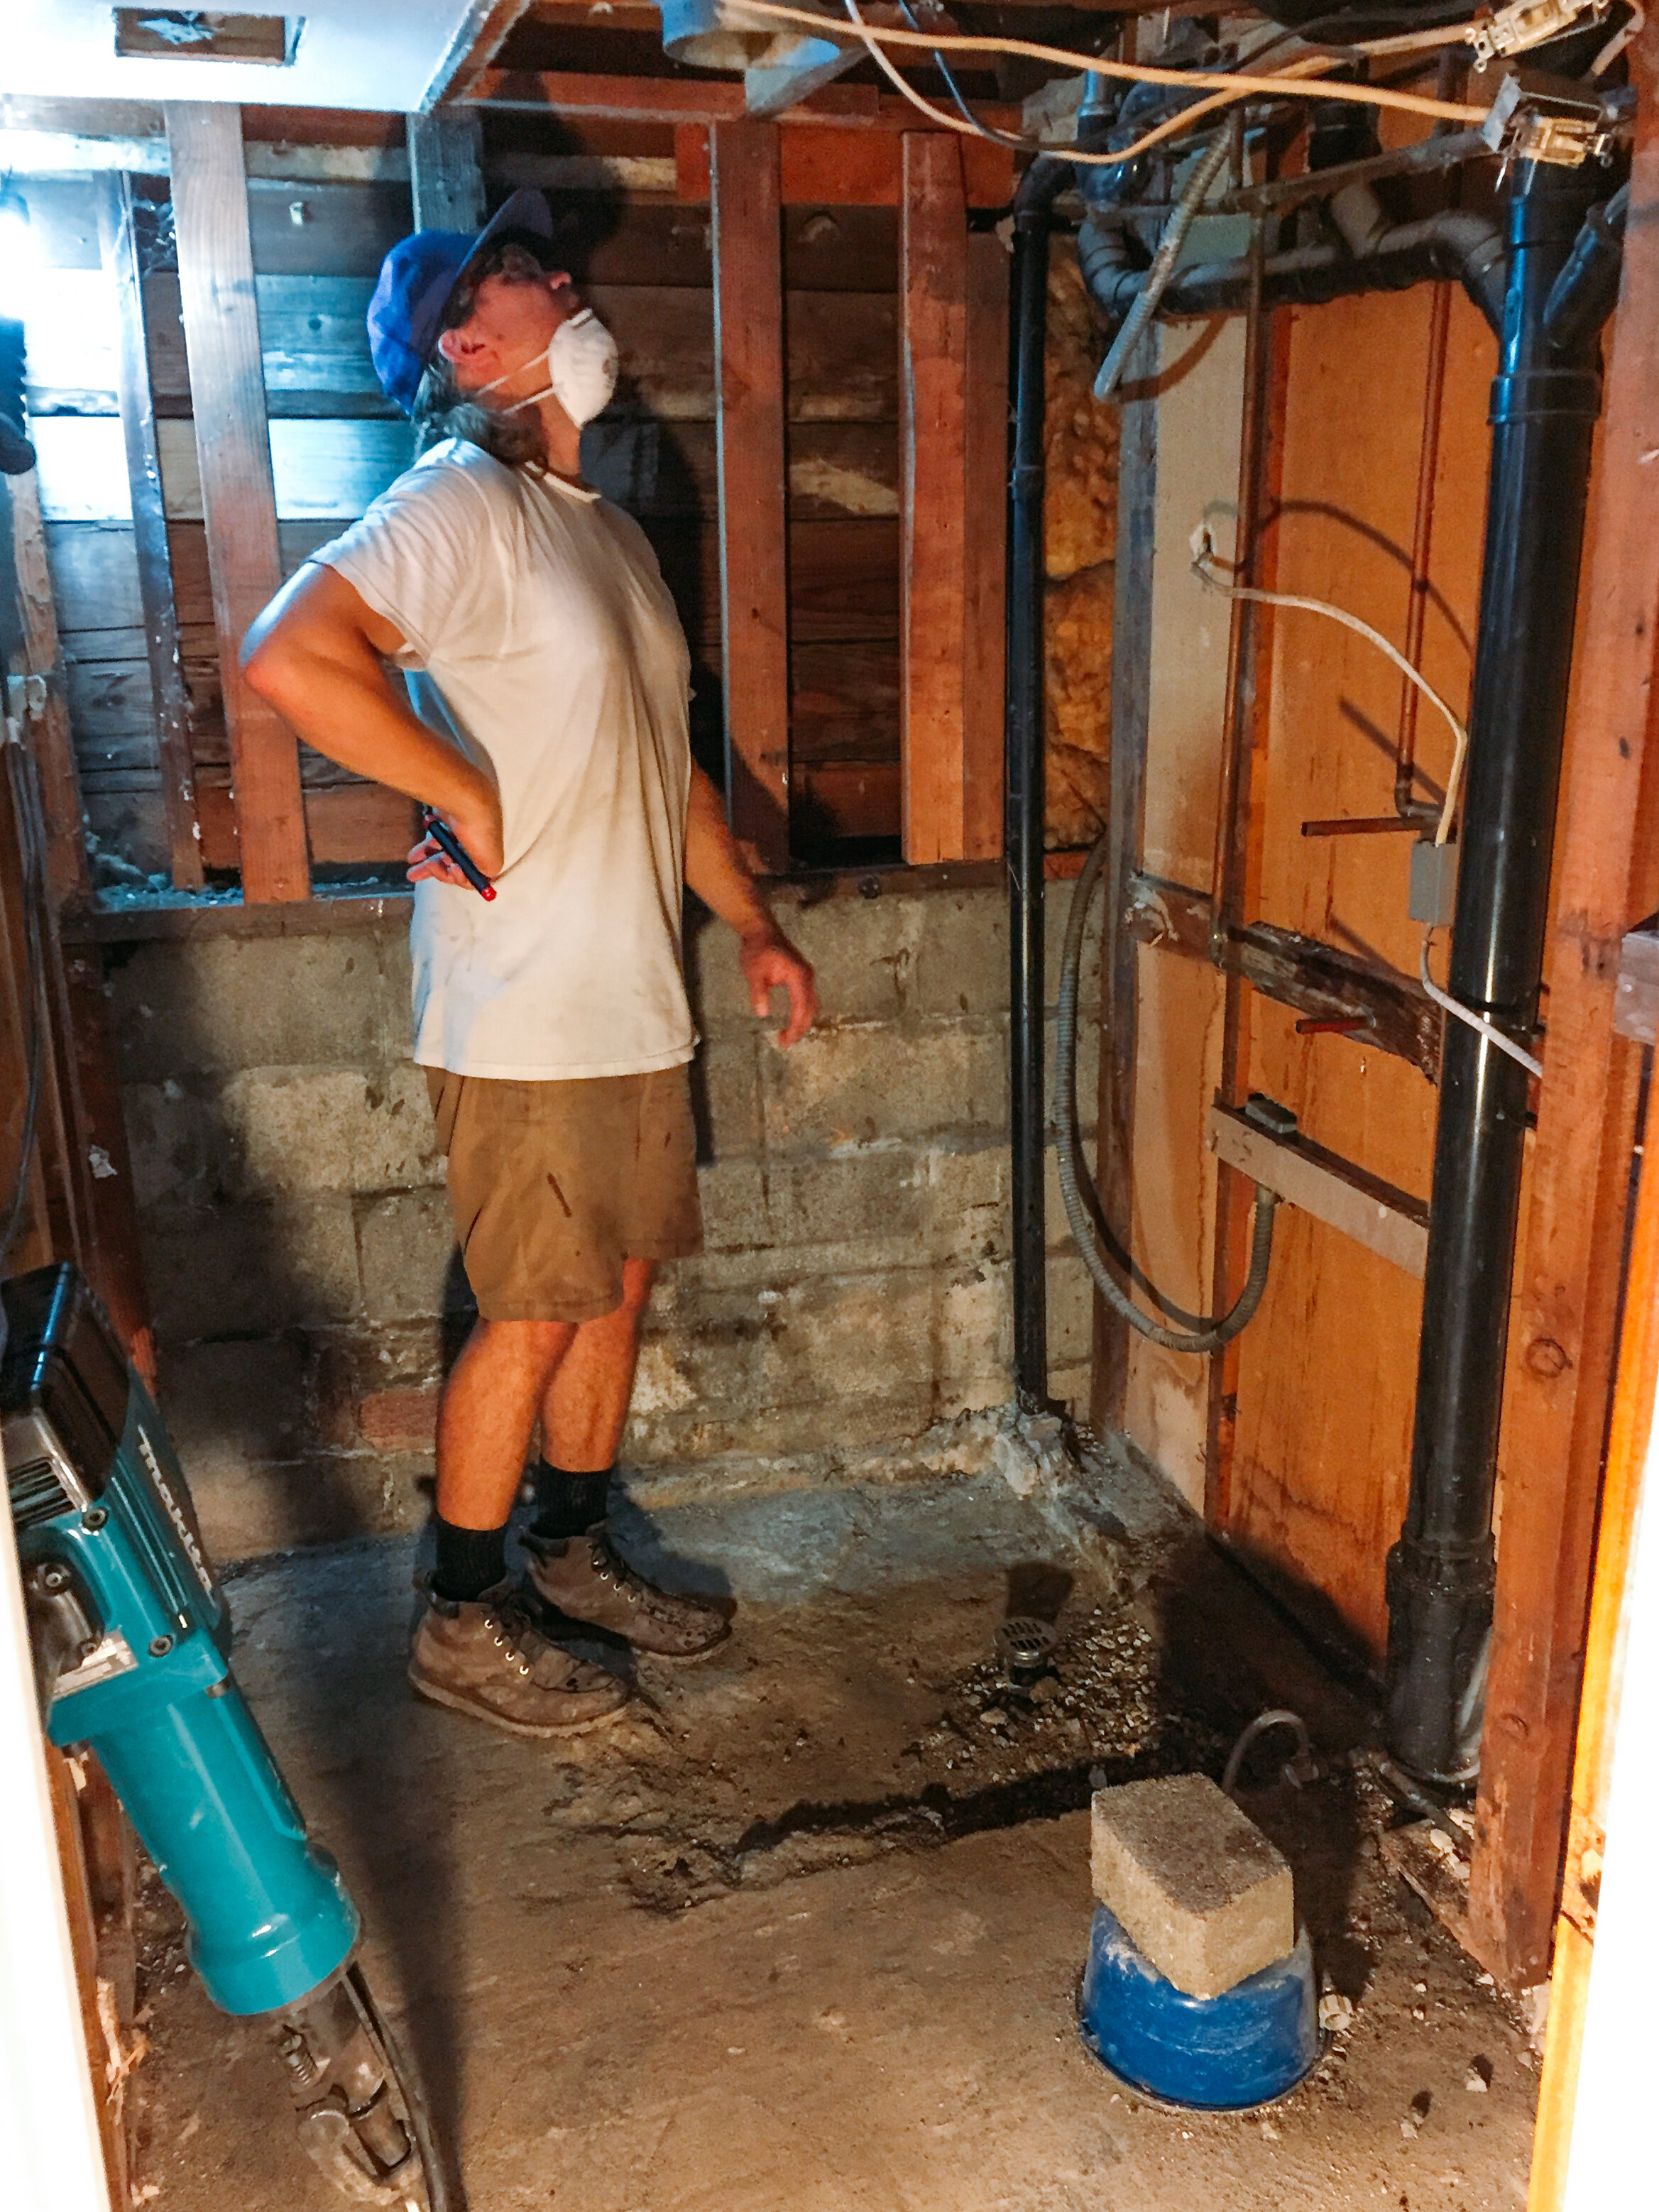
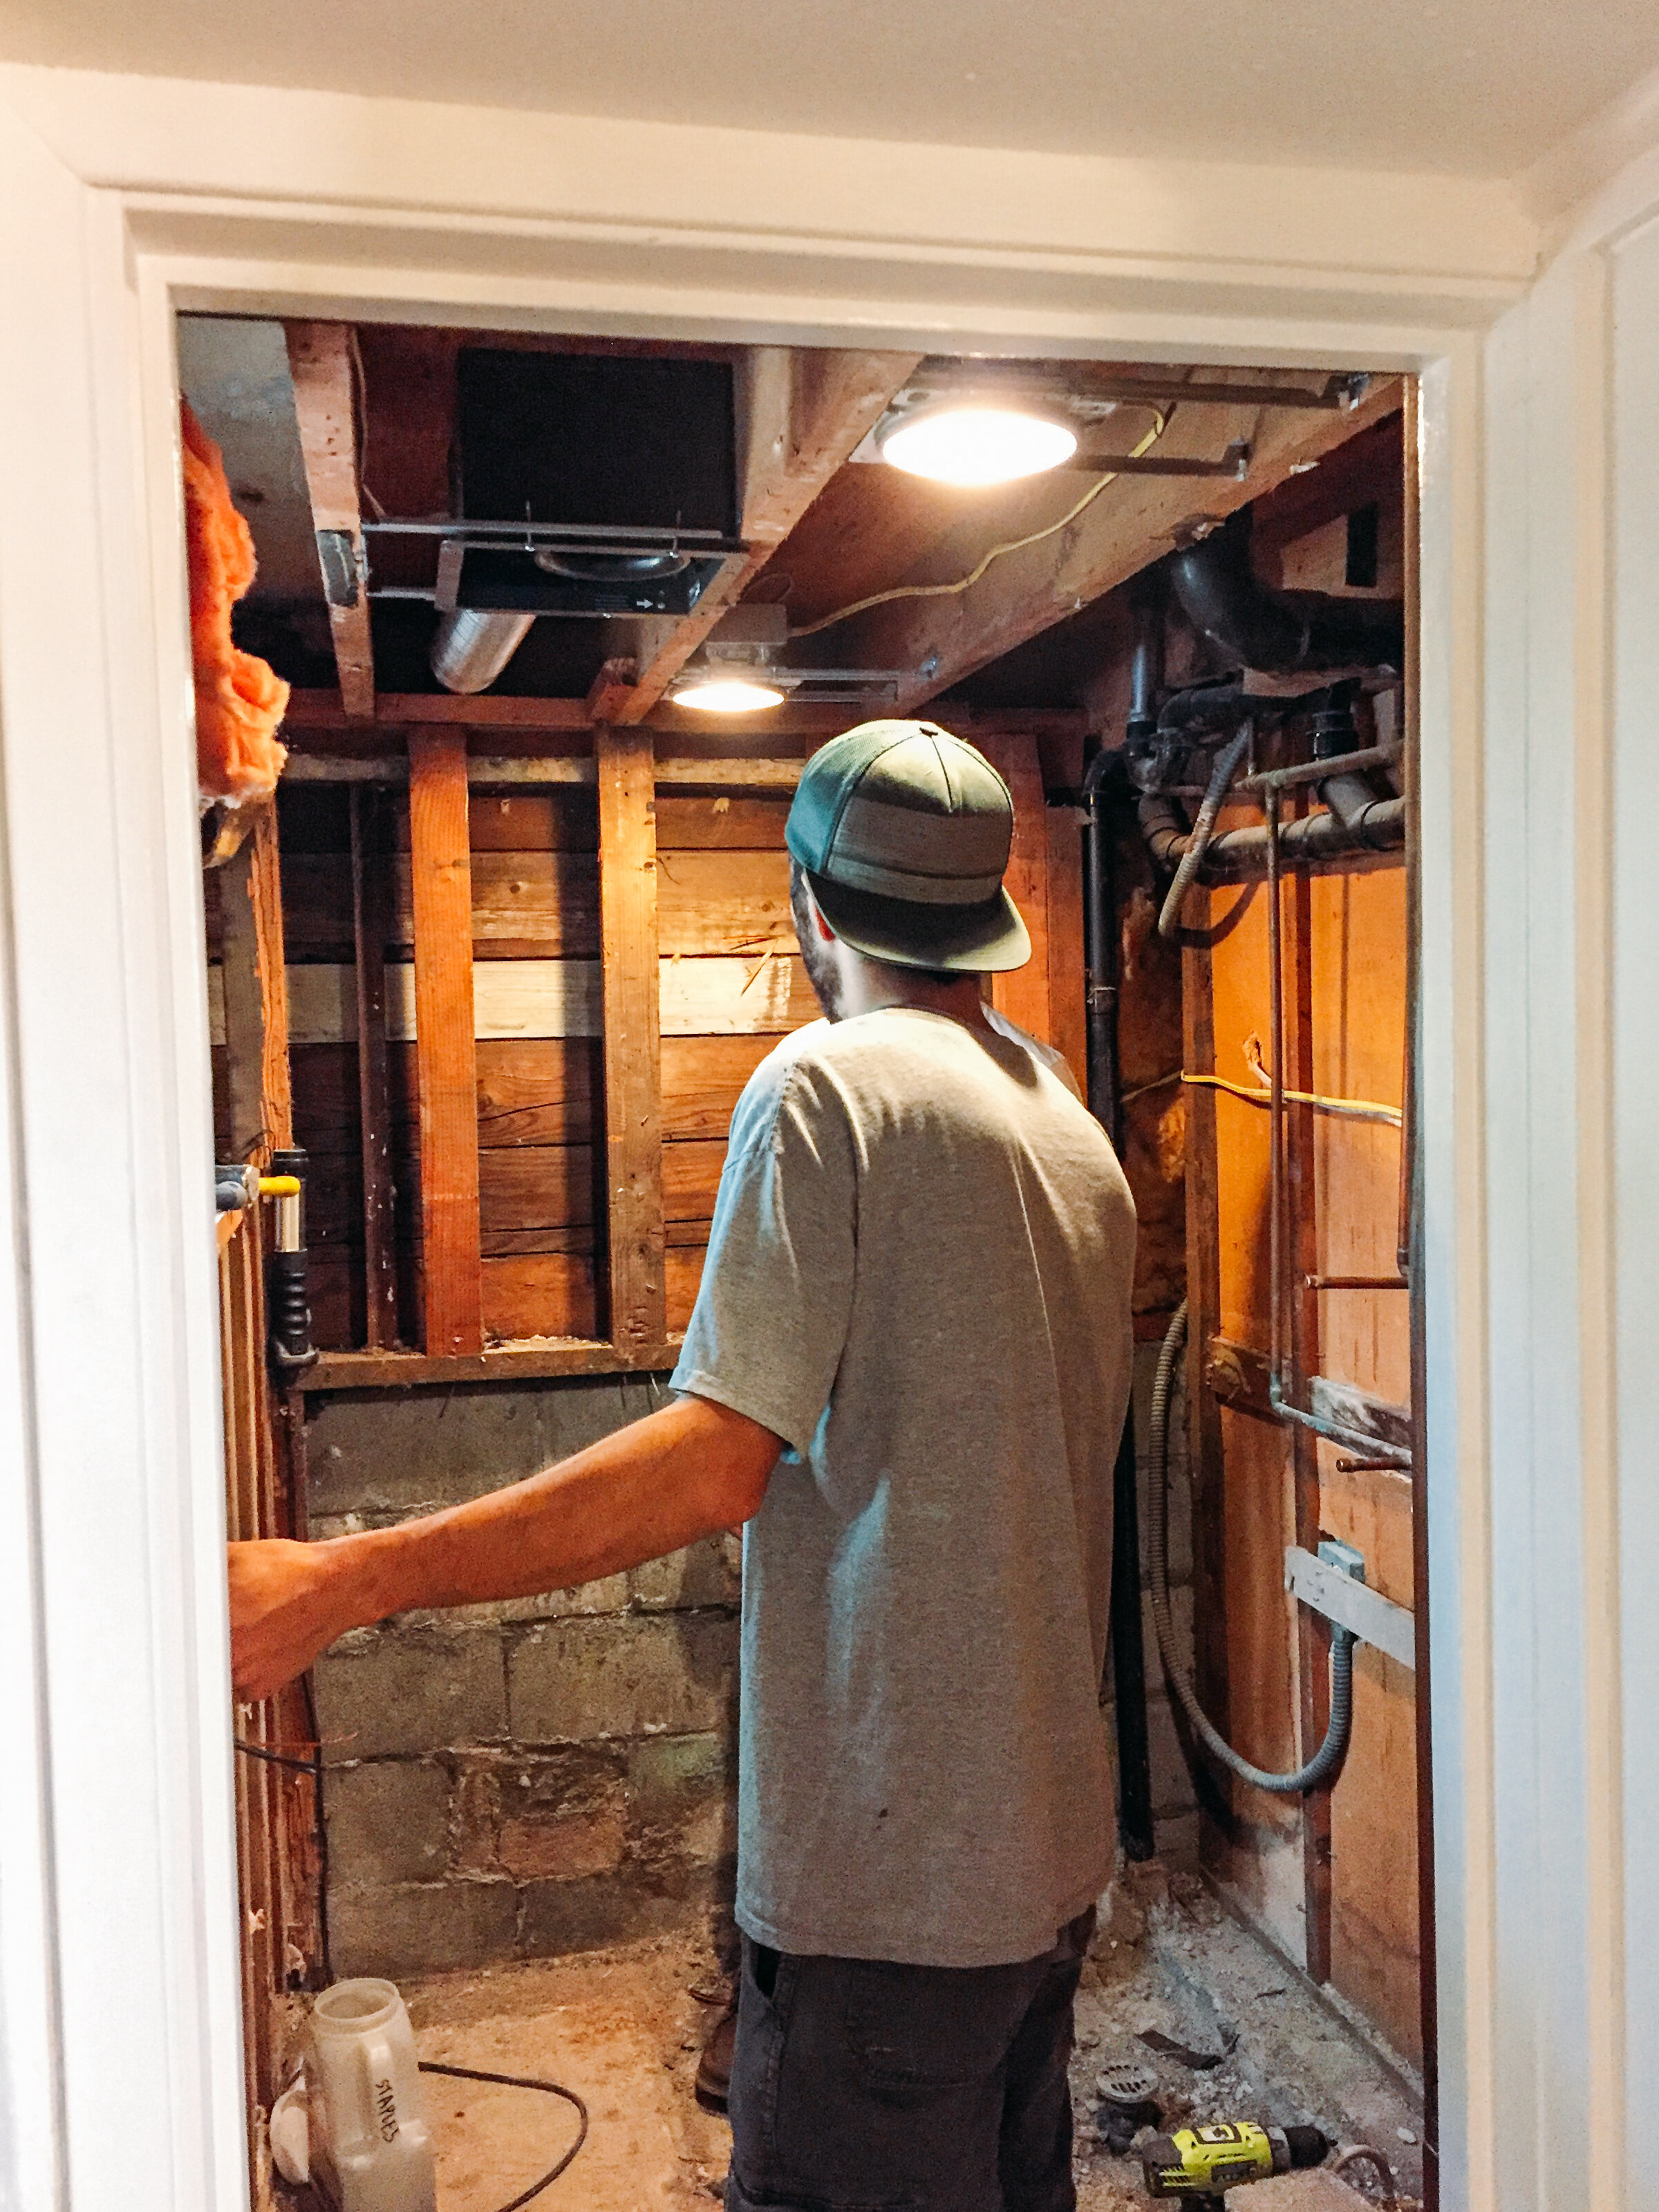
DEMO, DRYWALL, NEW TUB & FLOOR TILE

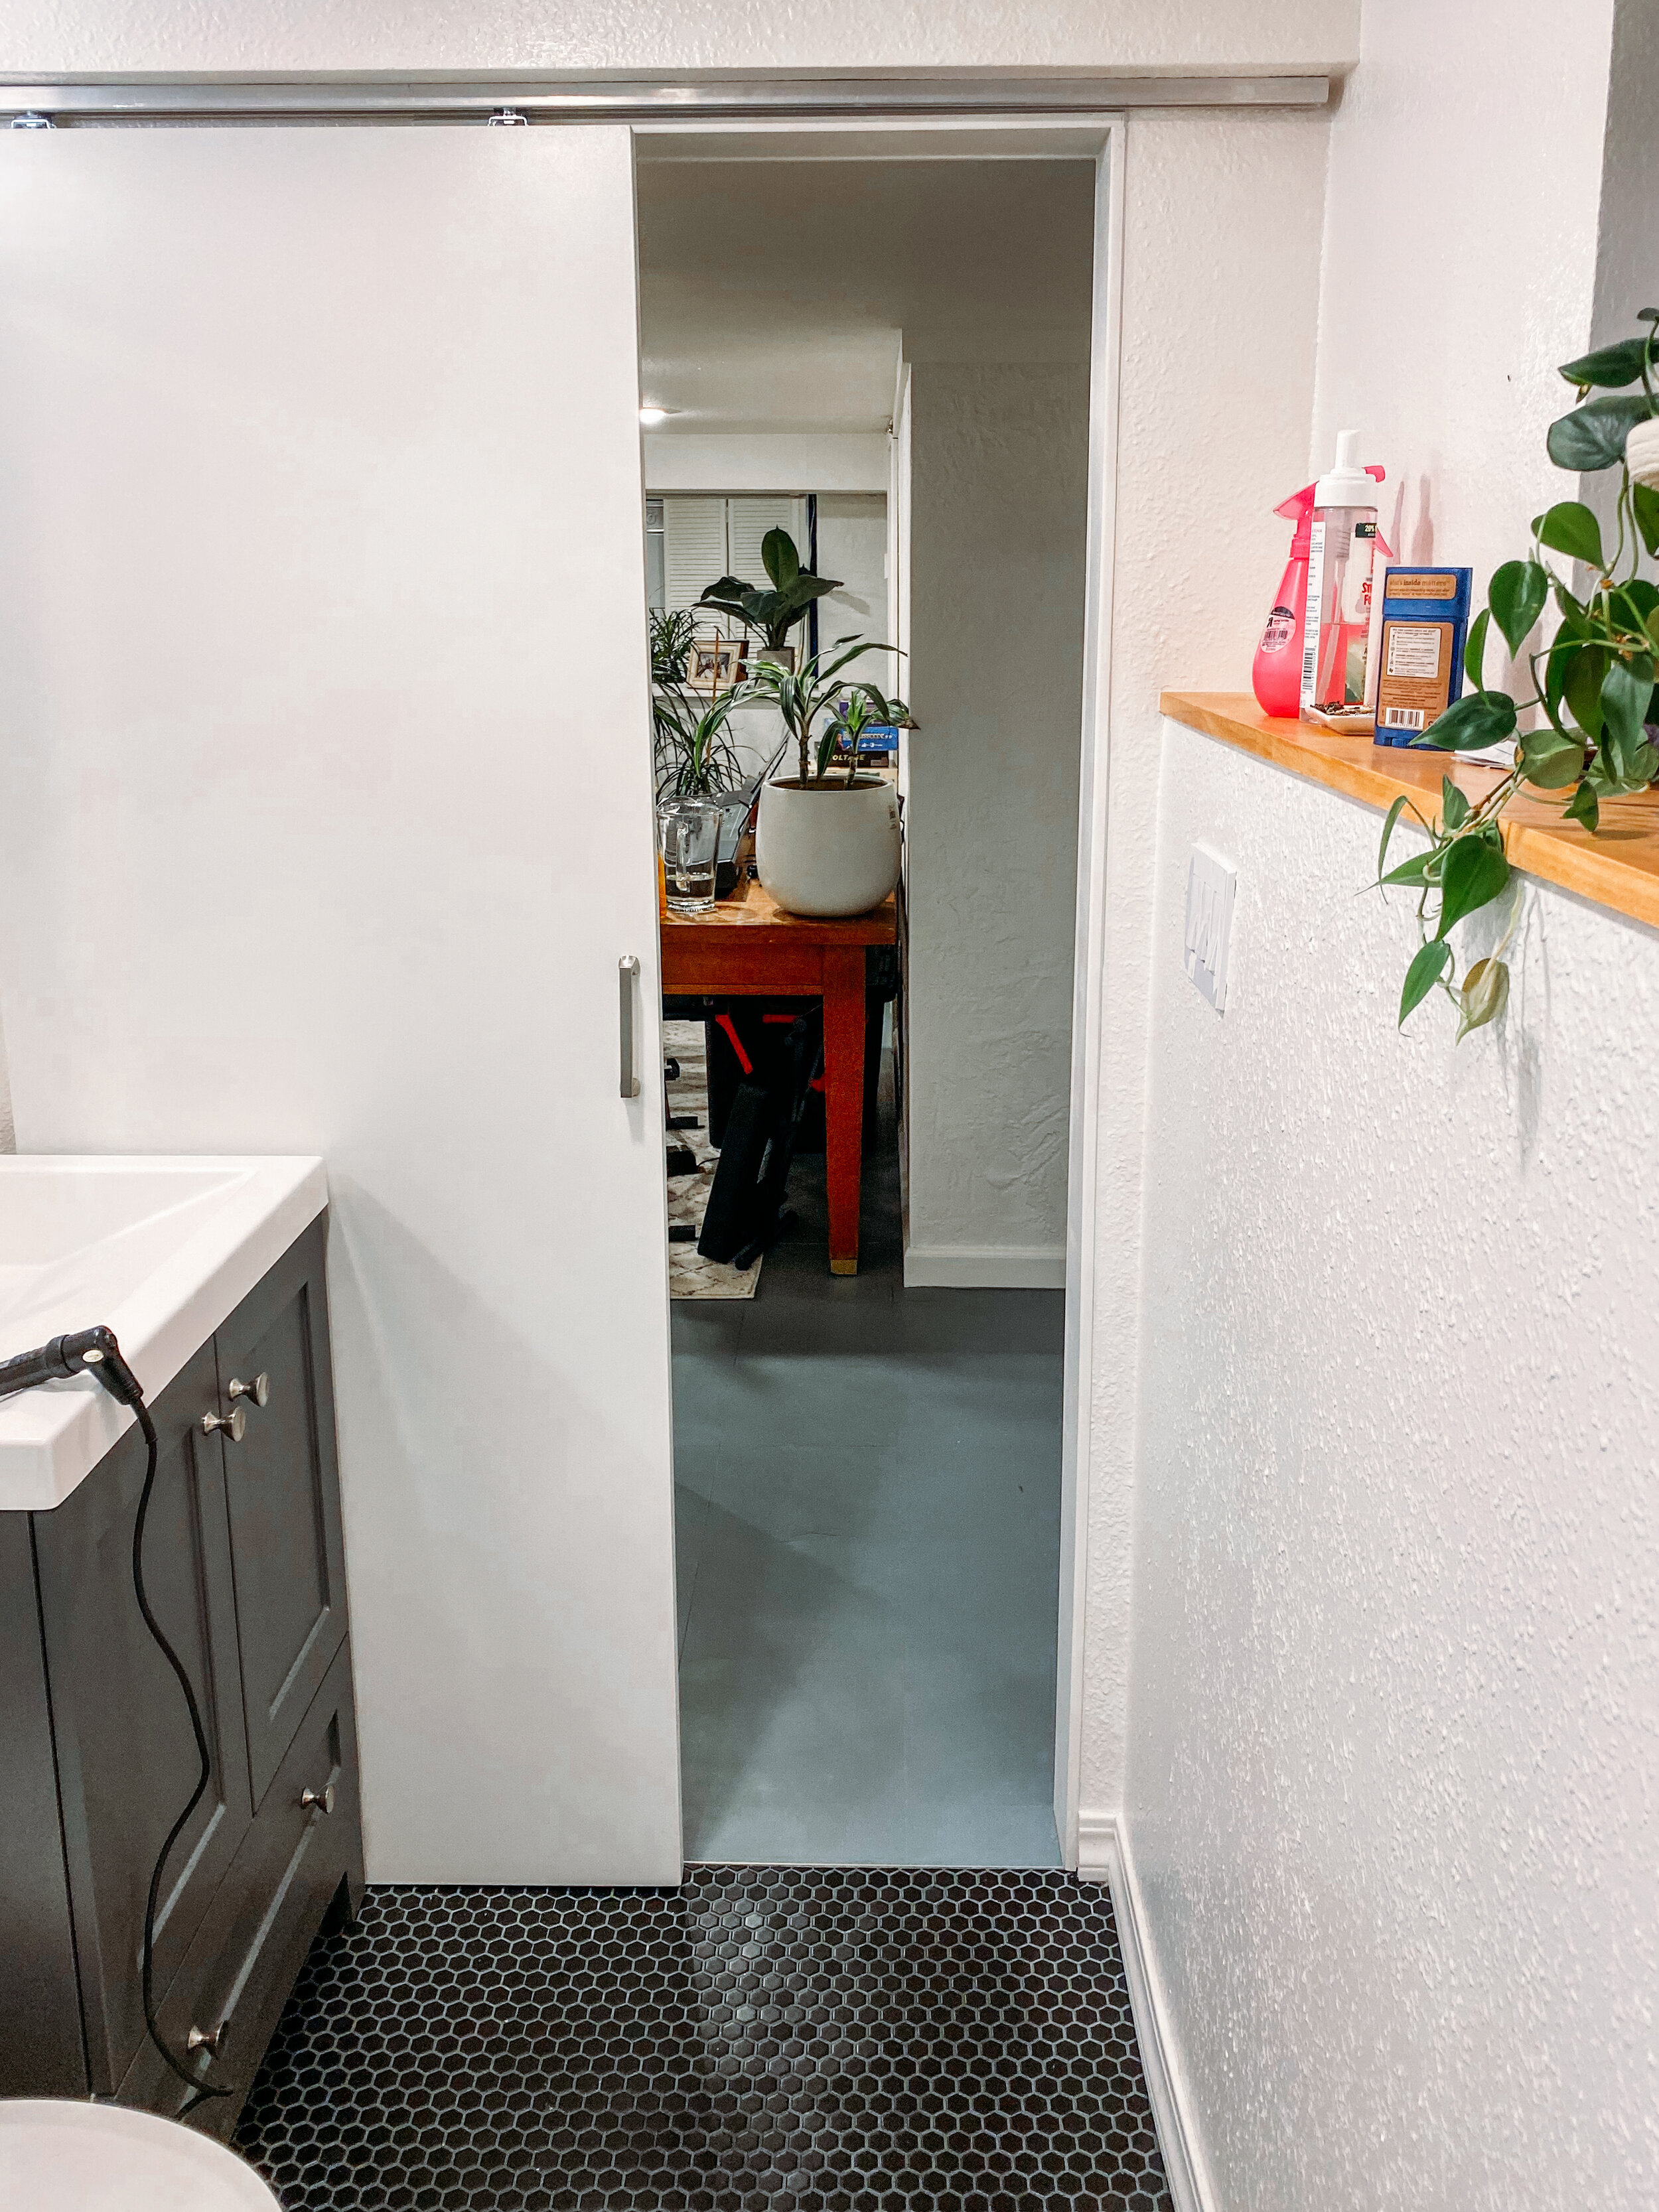
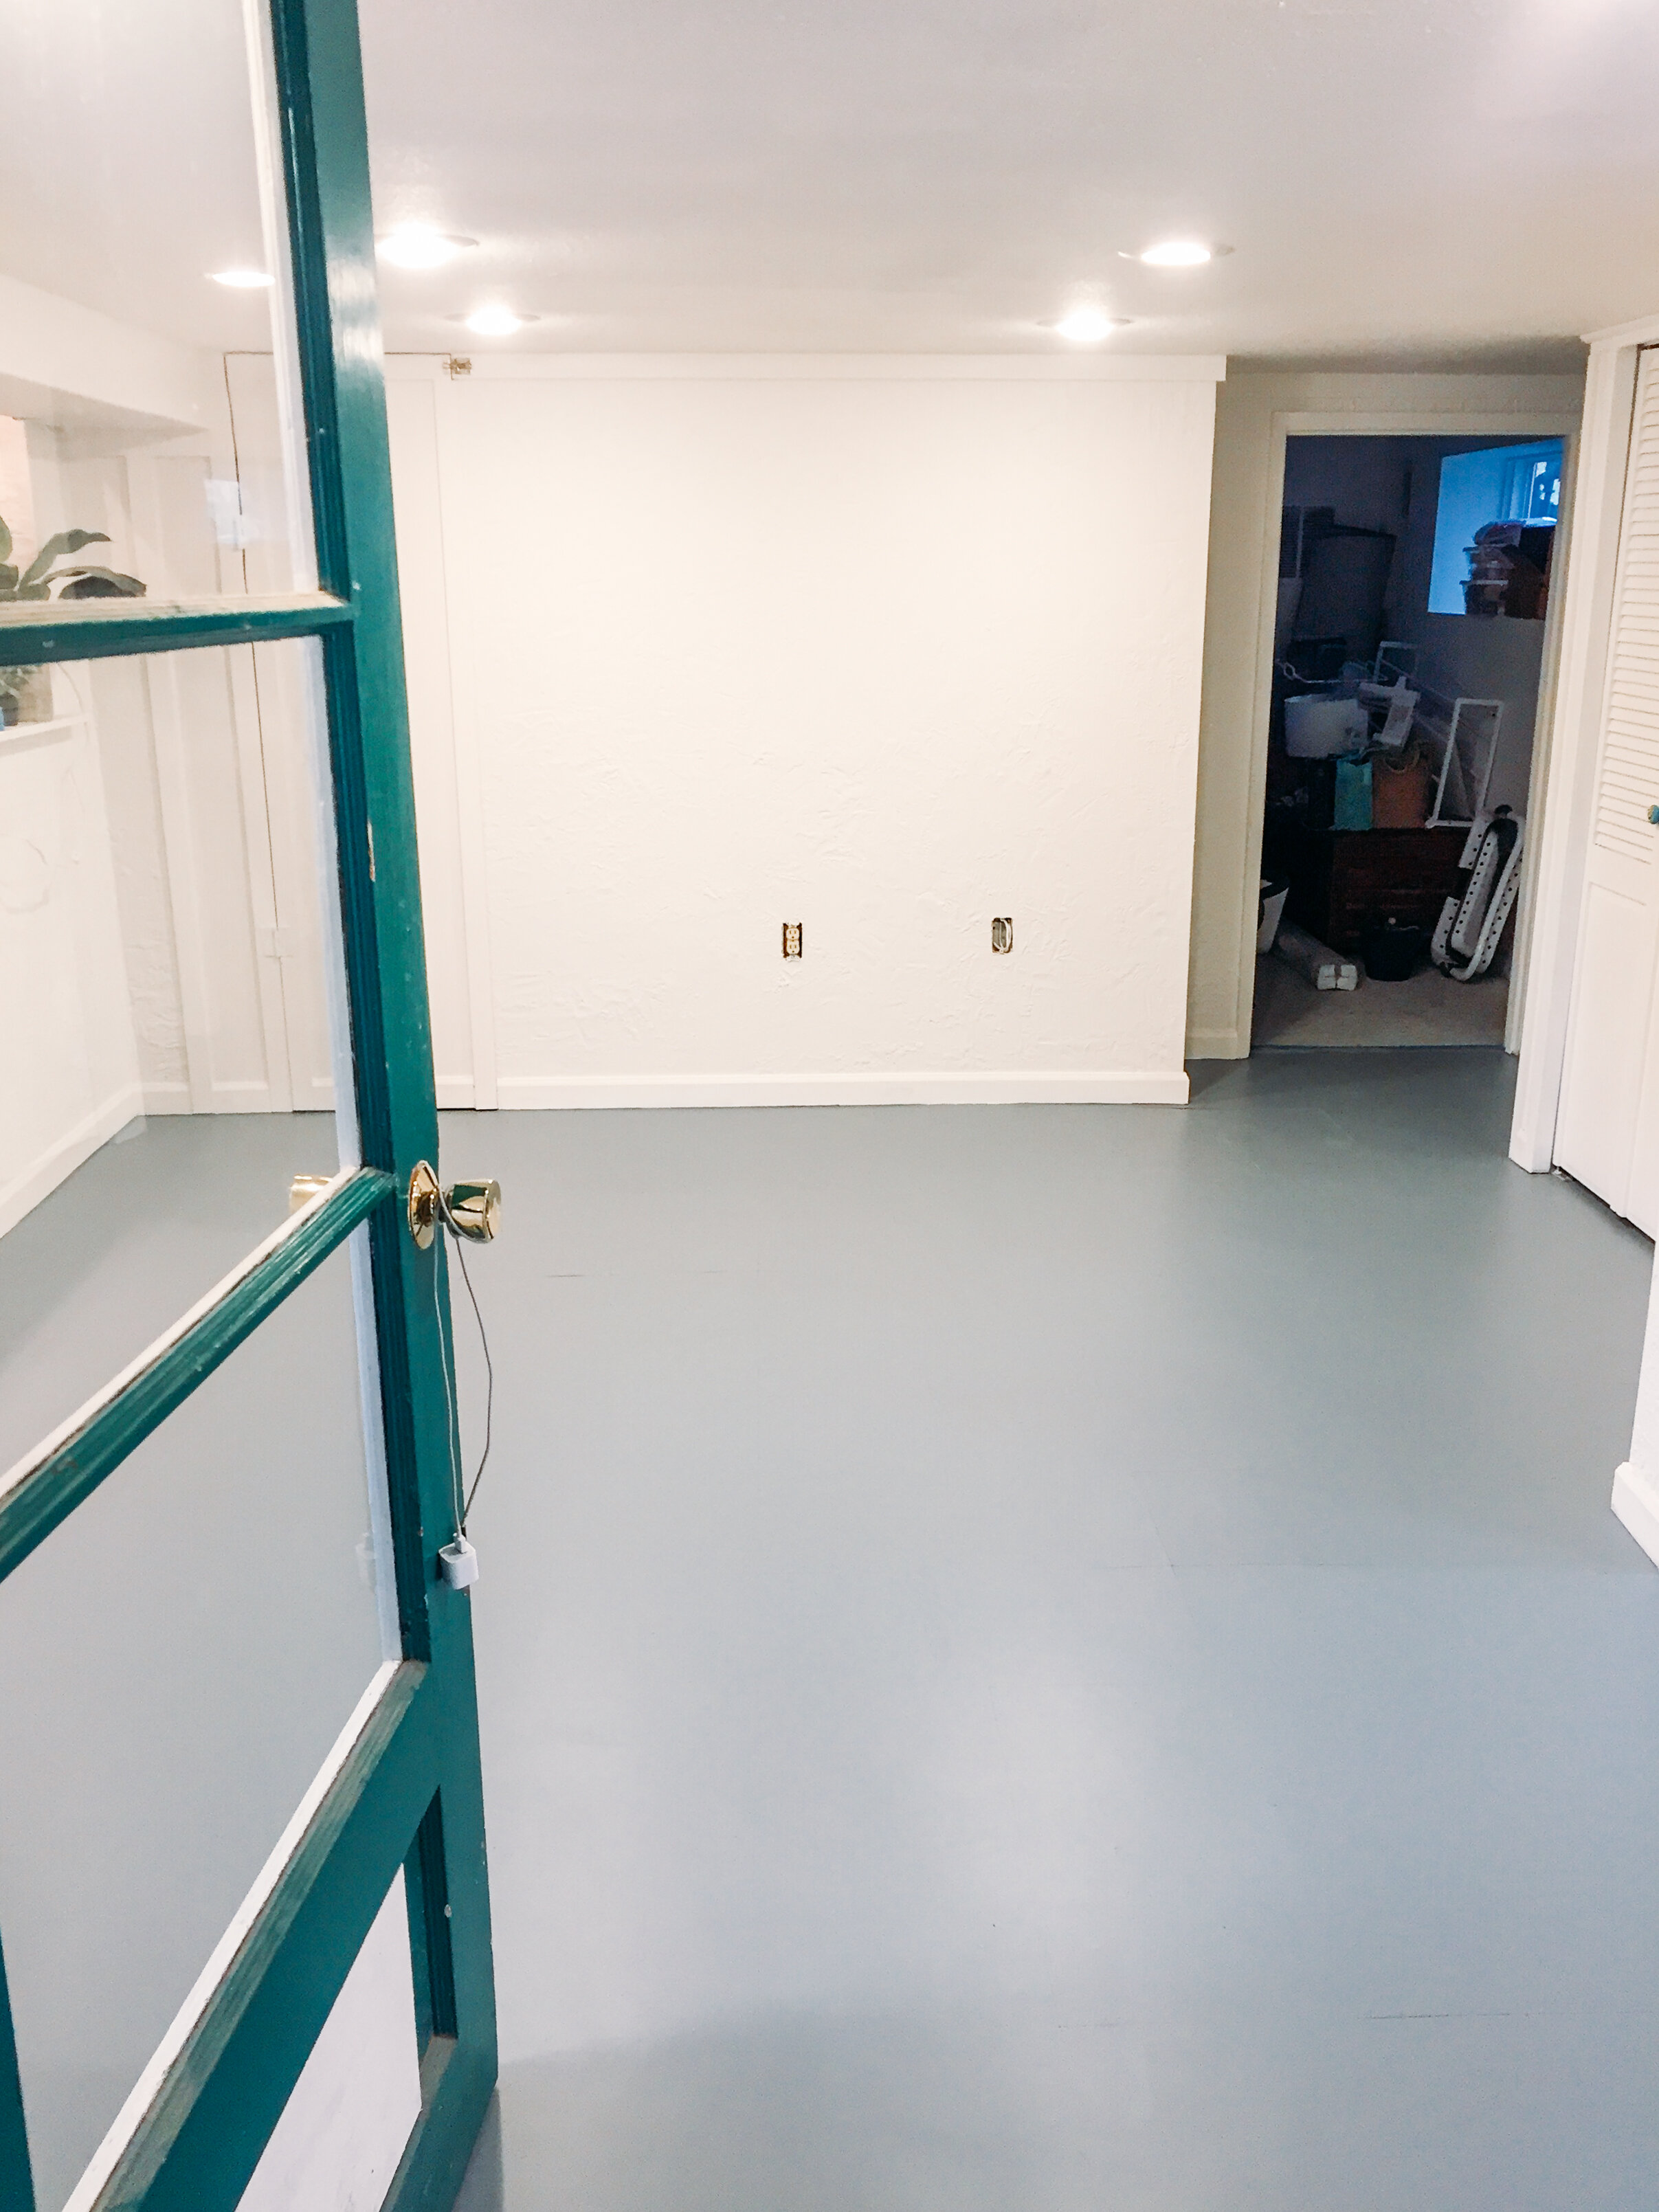
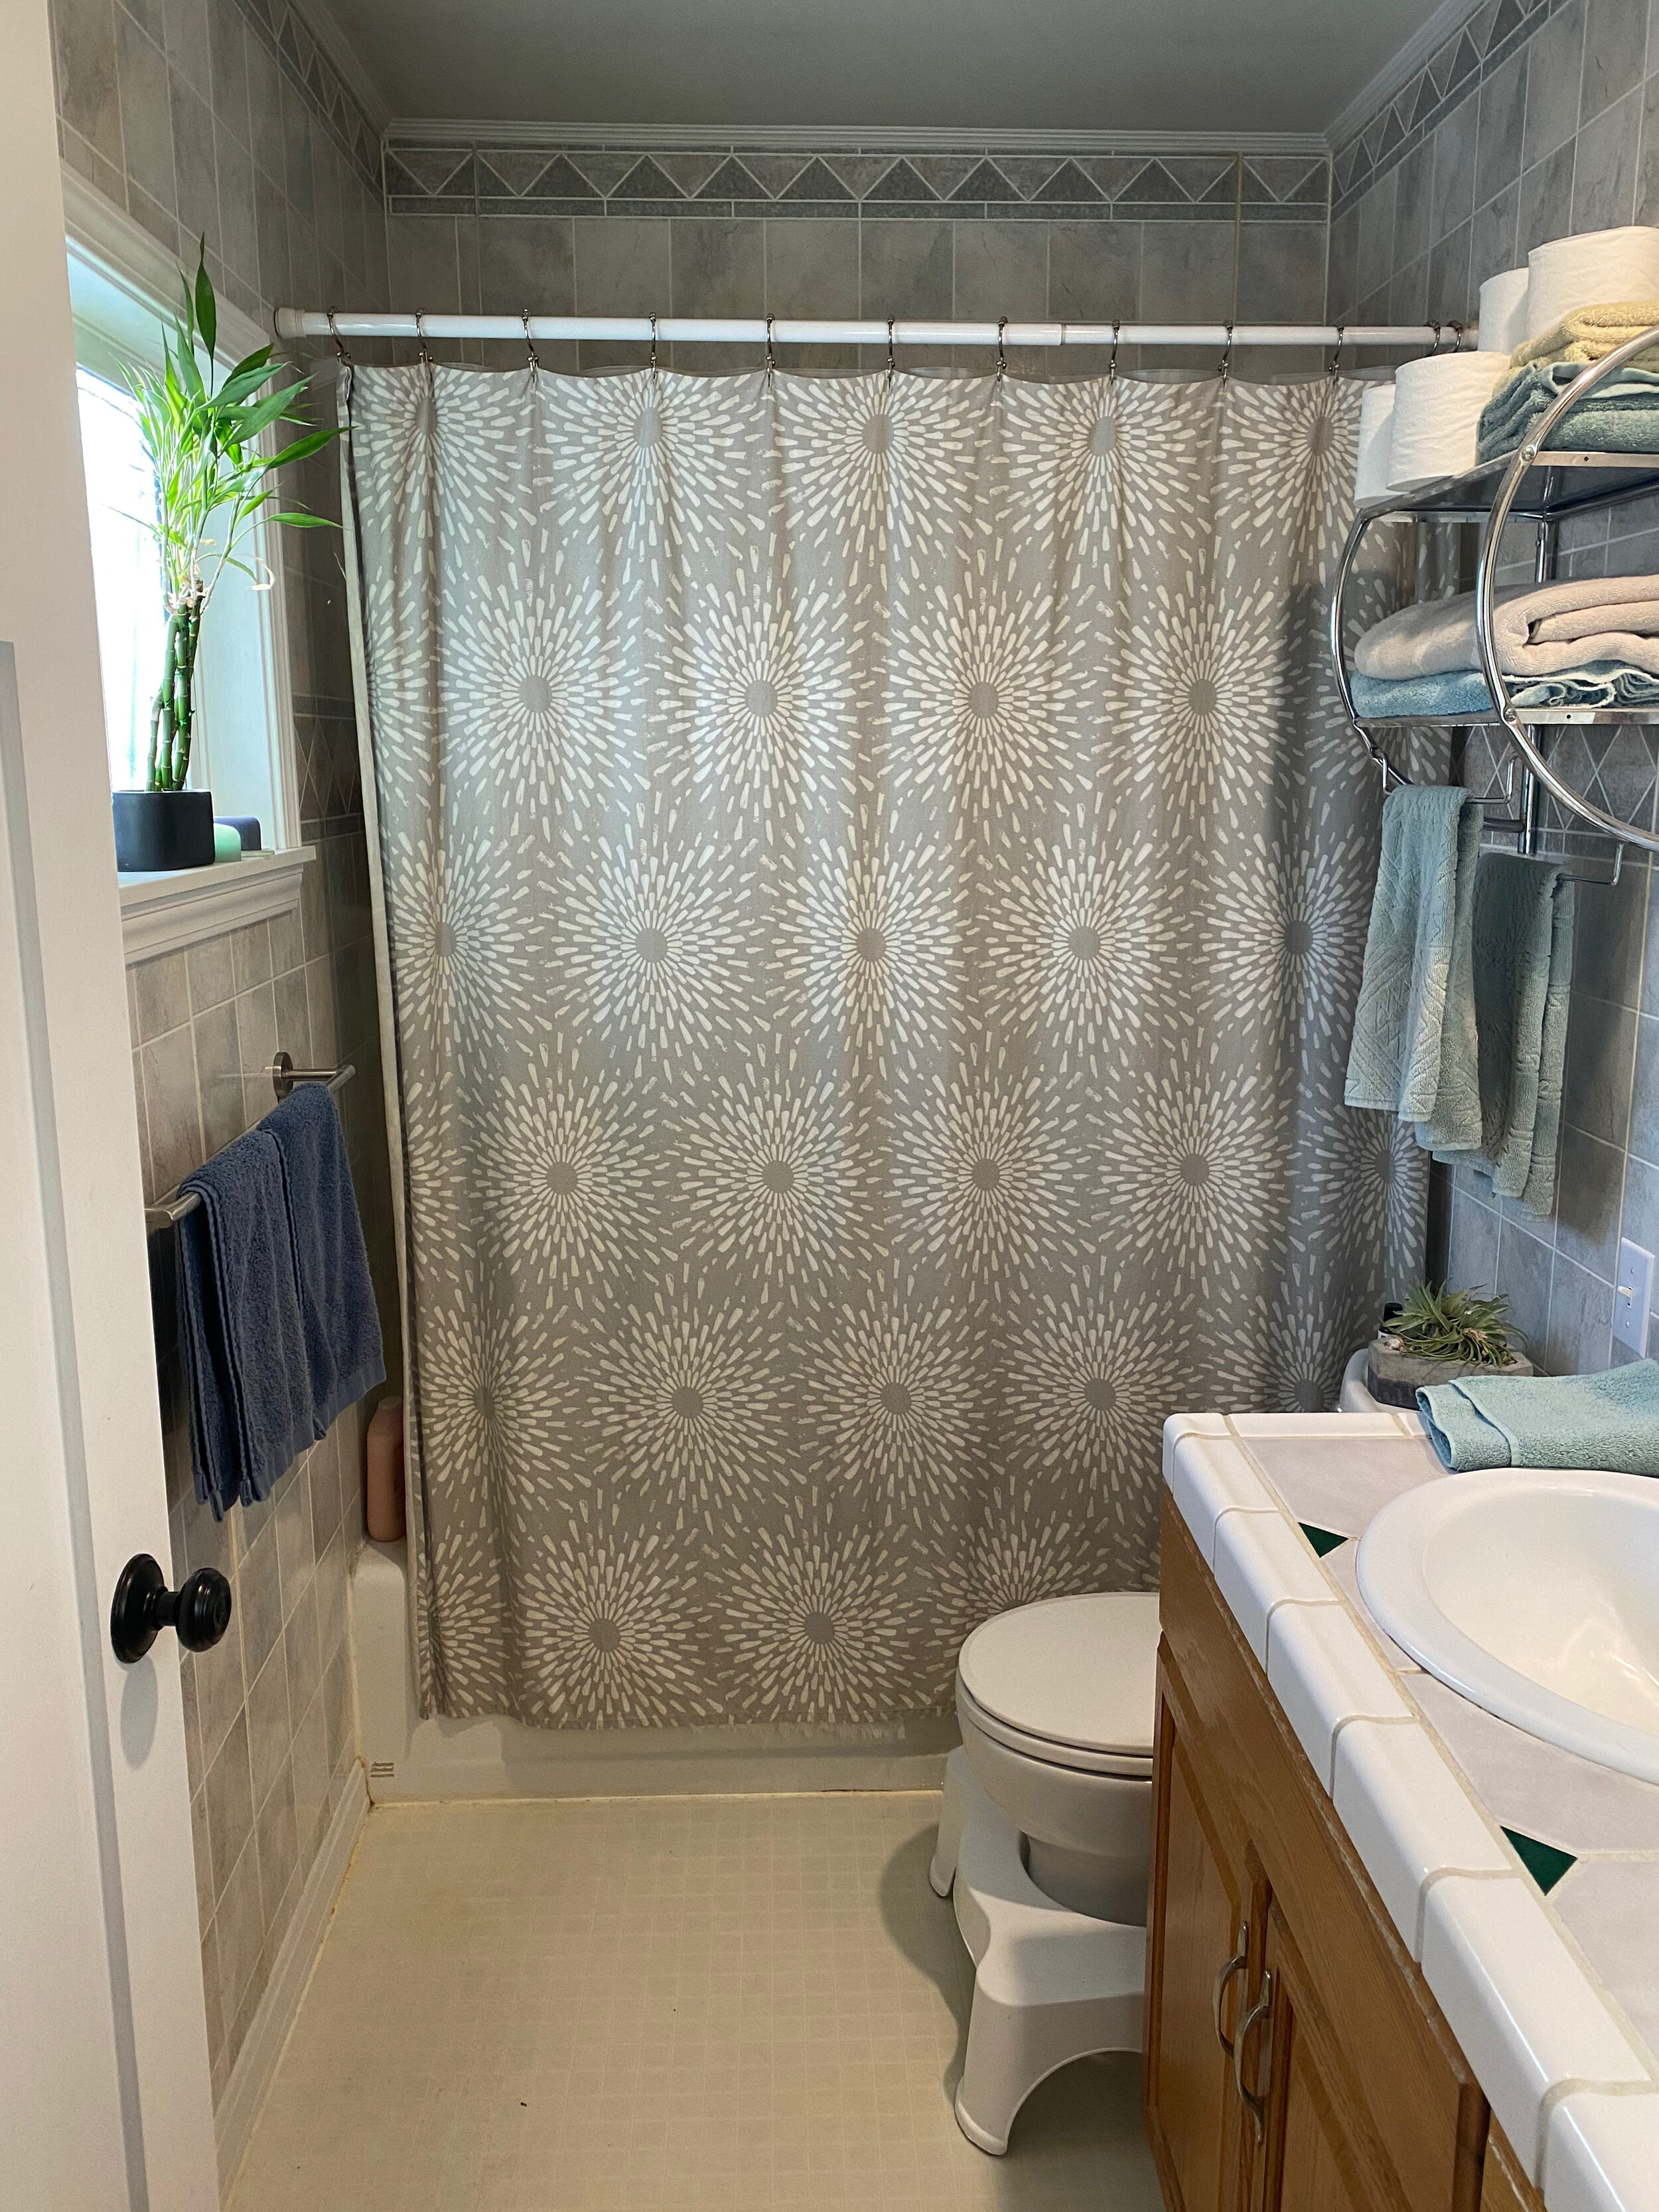
after seeing the visual impact of the clear sliding shower door in our basement bathroom remodel, we decided to do the same upstairs. it makes the room feel so much bigger without the shower curtain cutting the whole space into two parts.
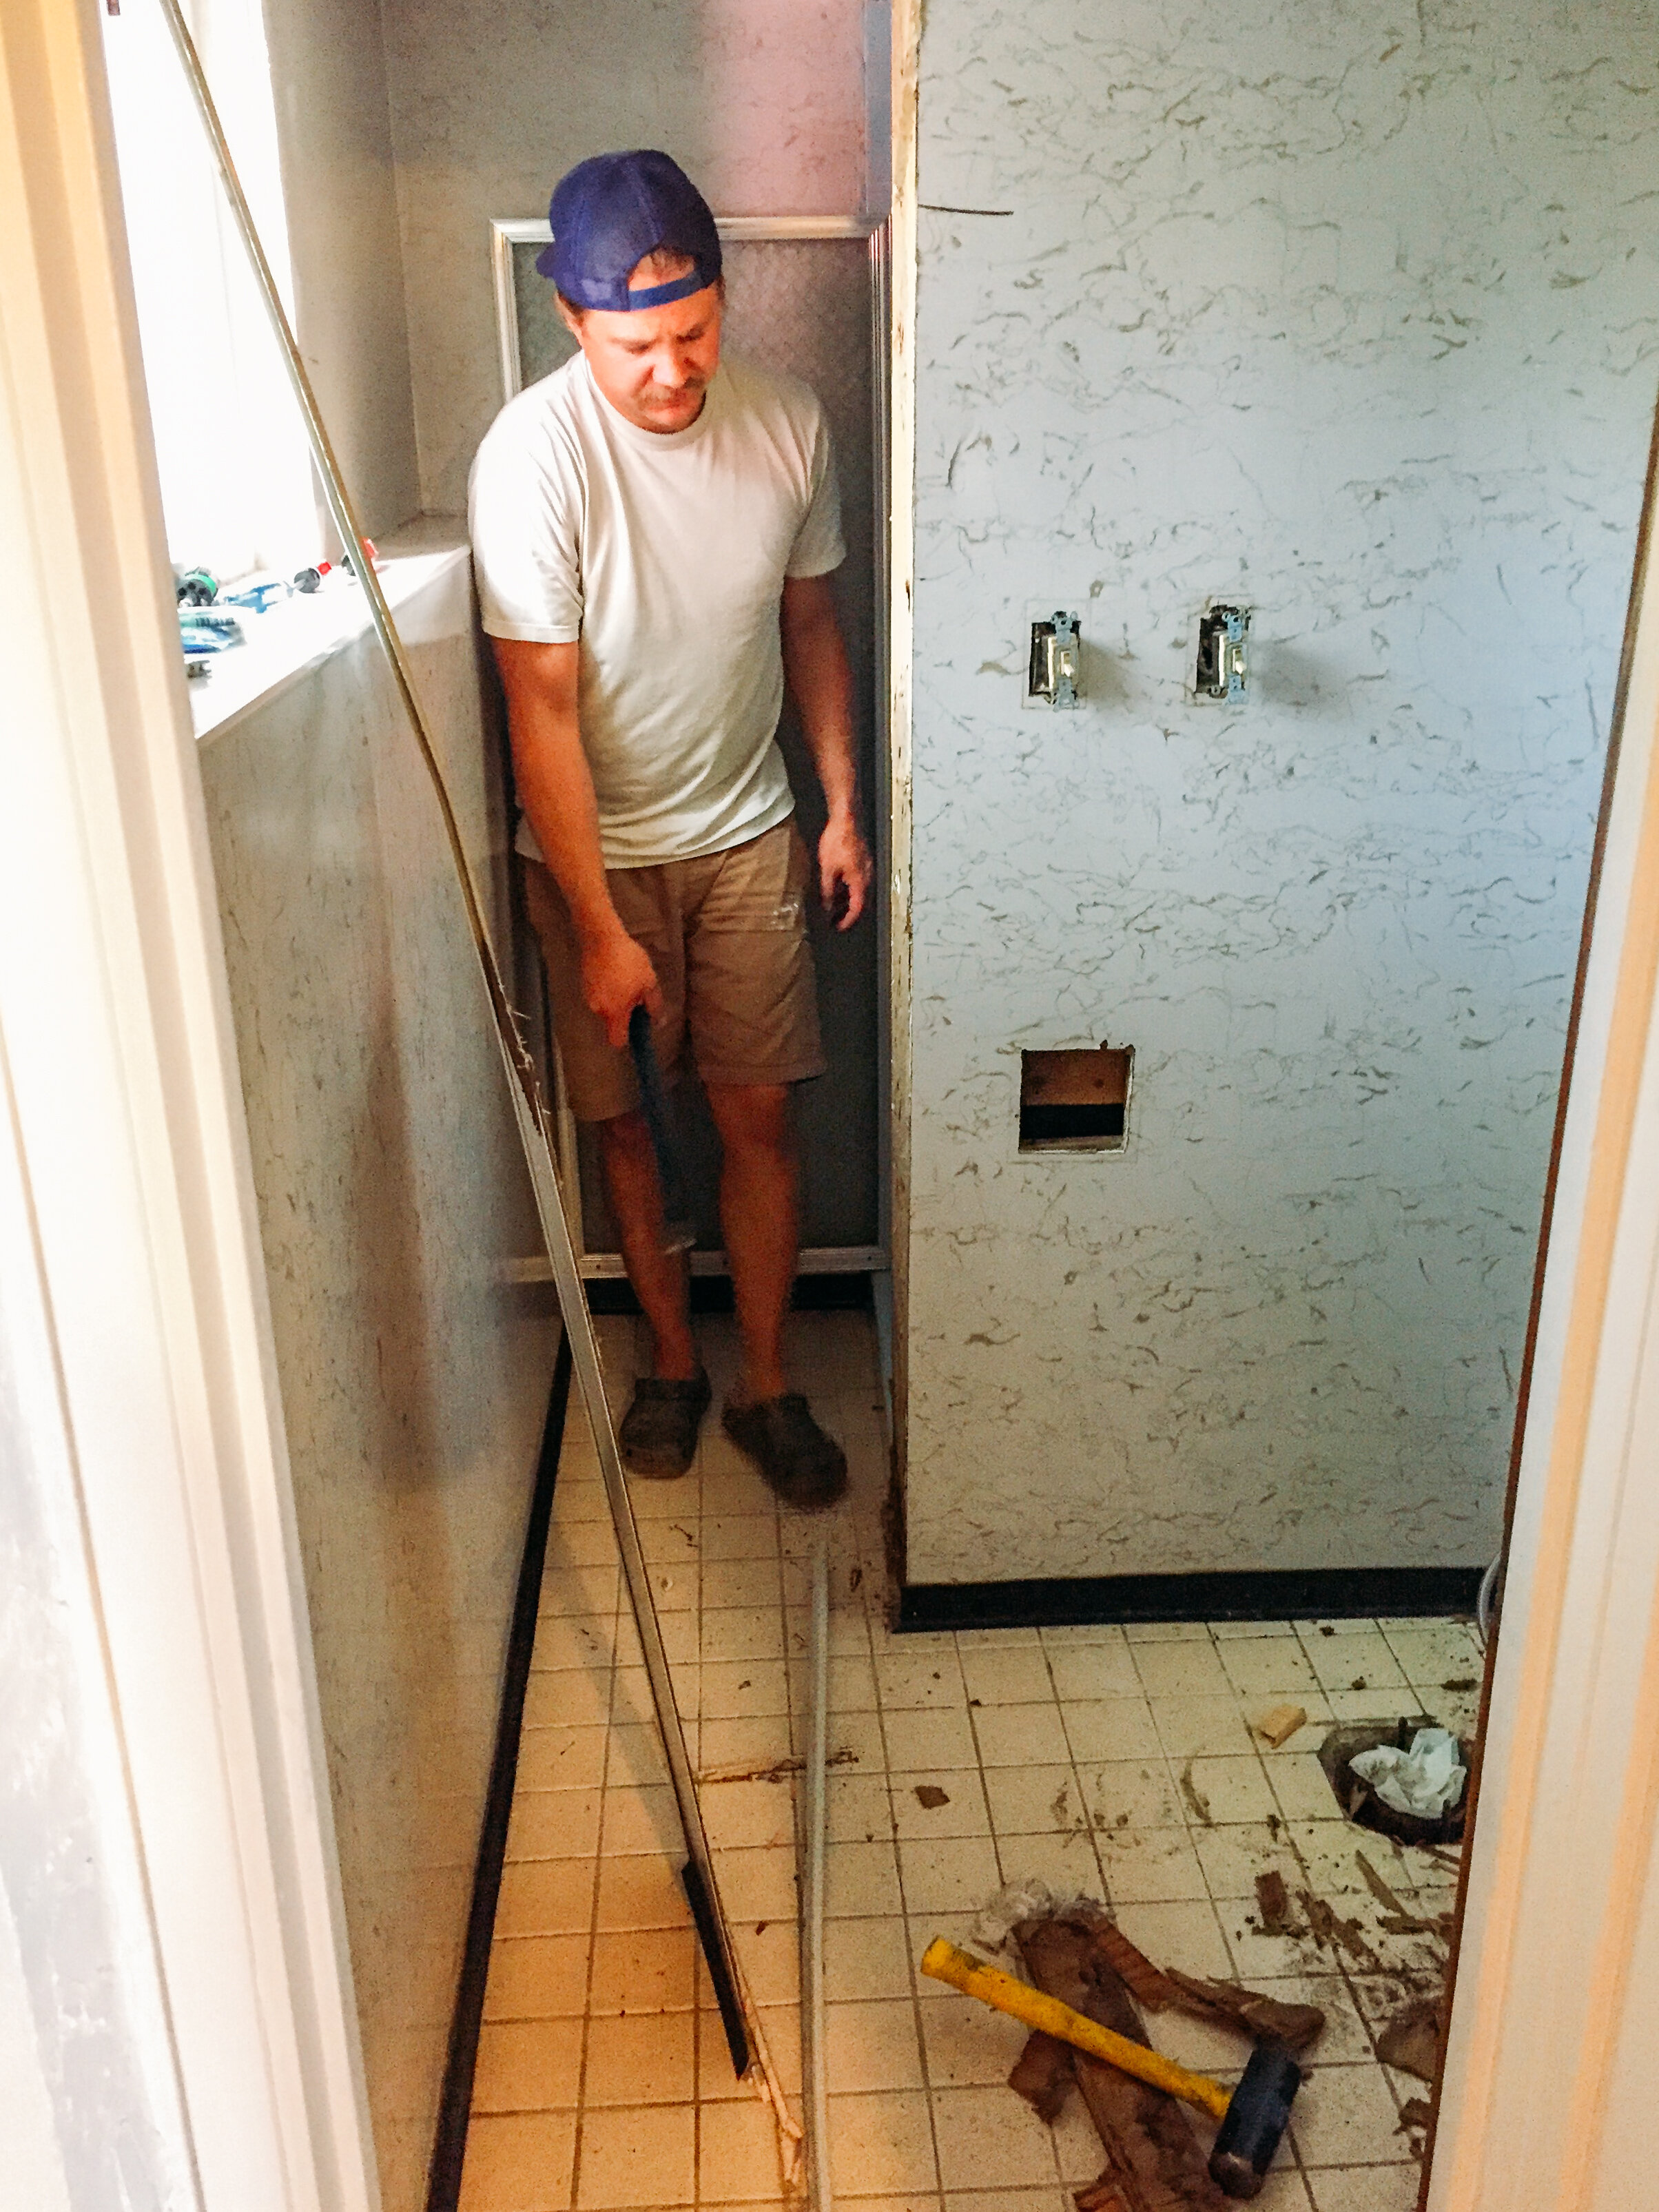
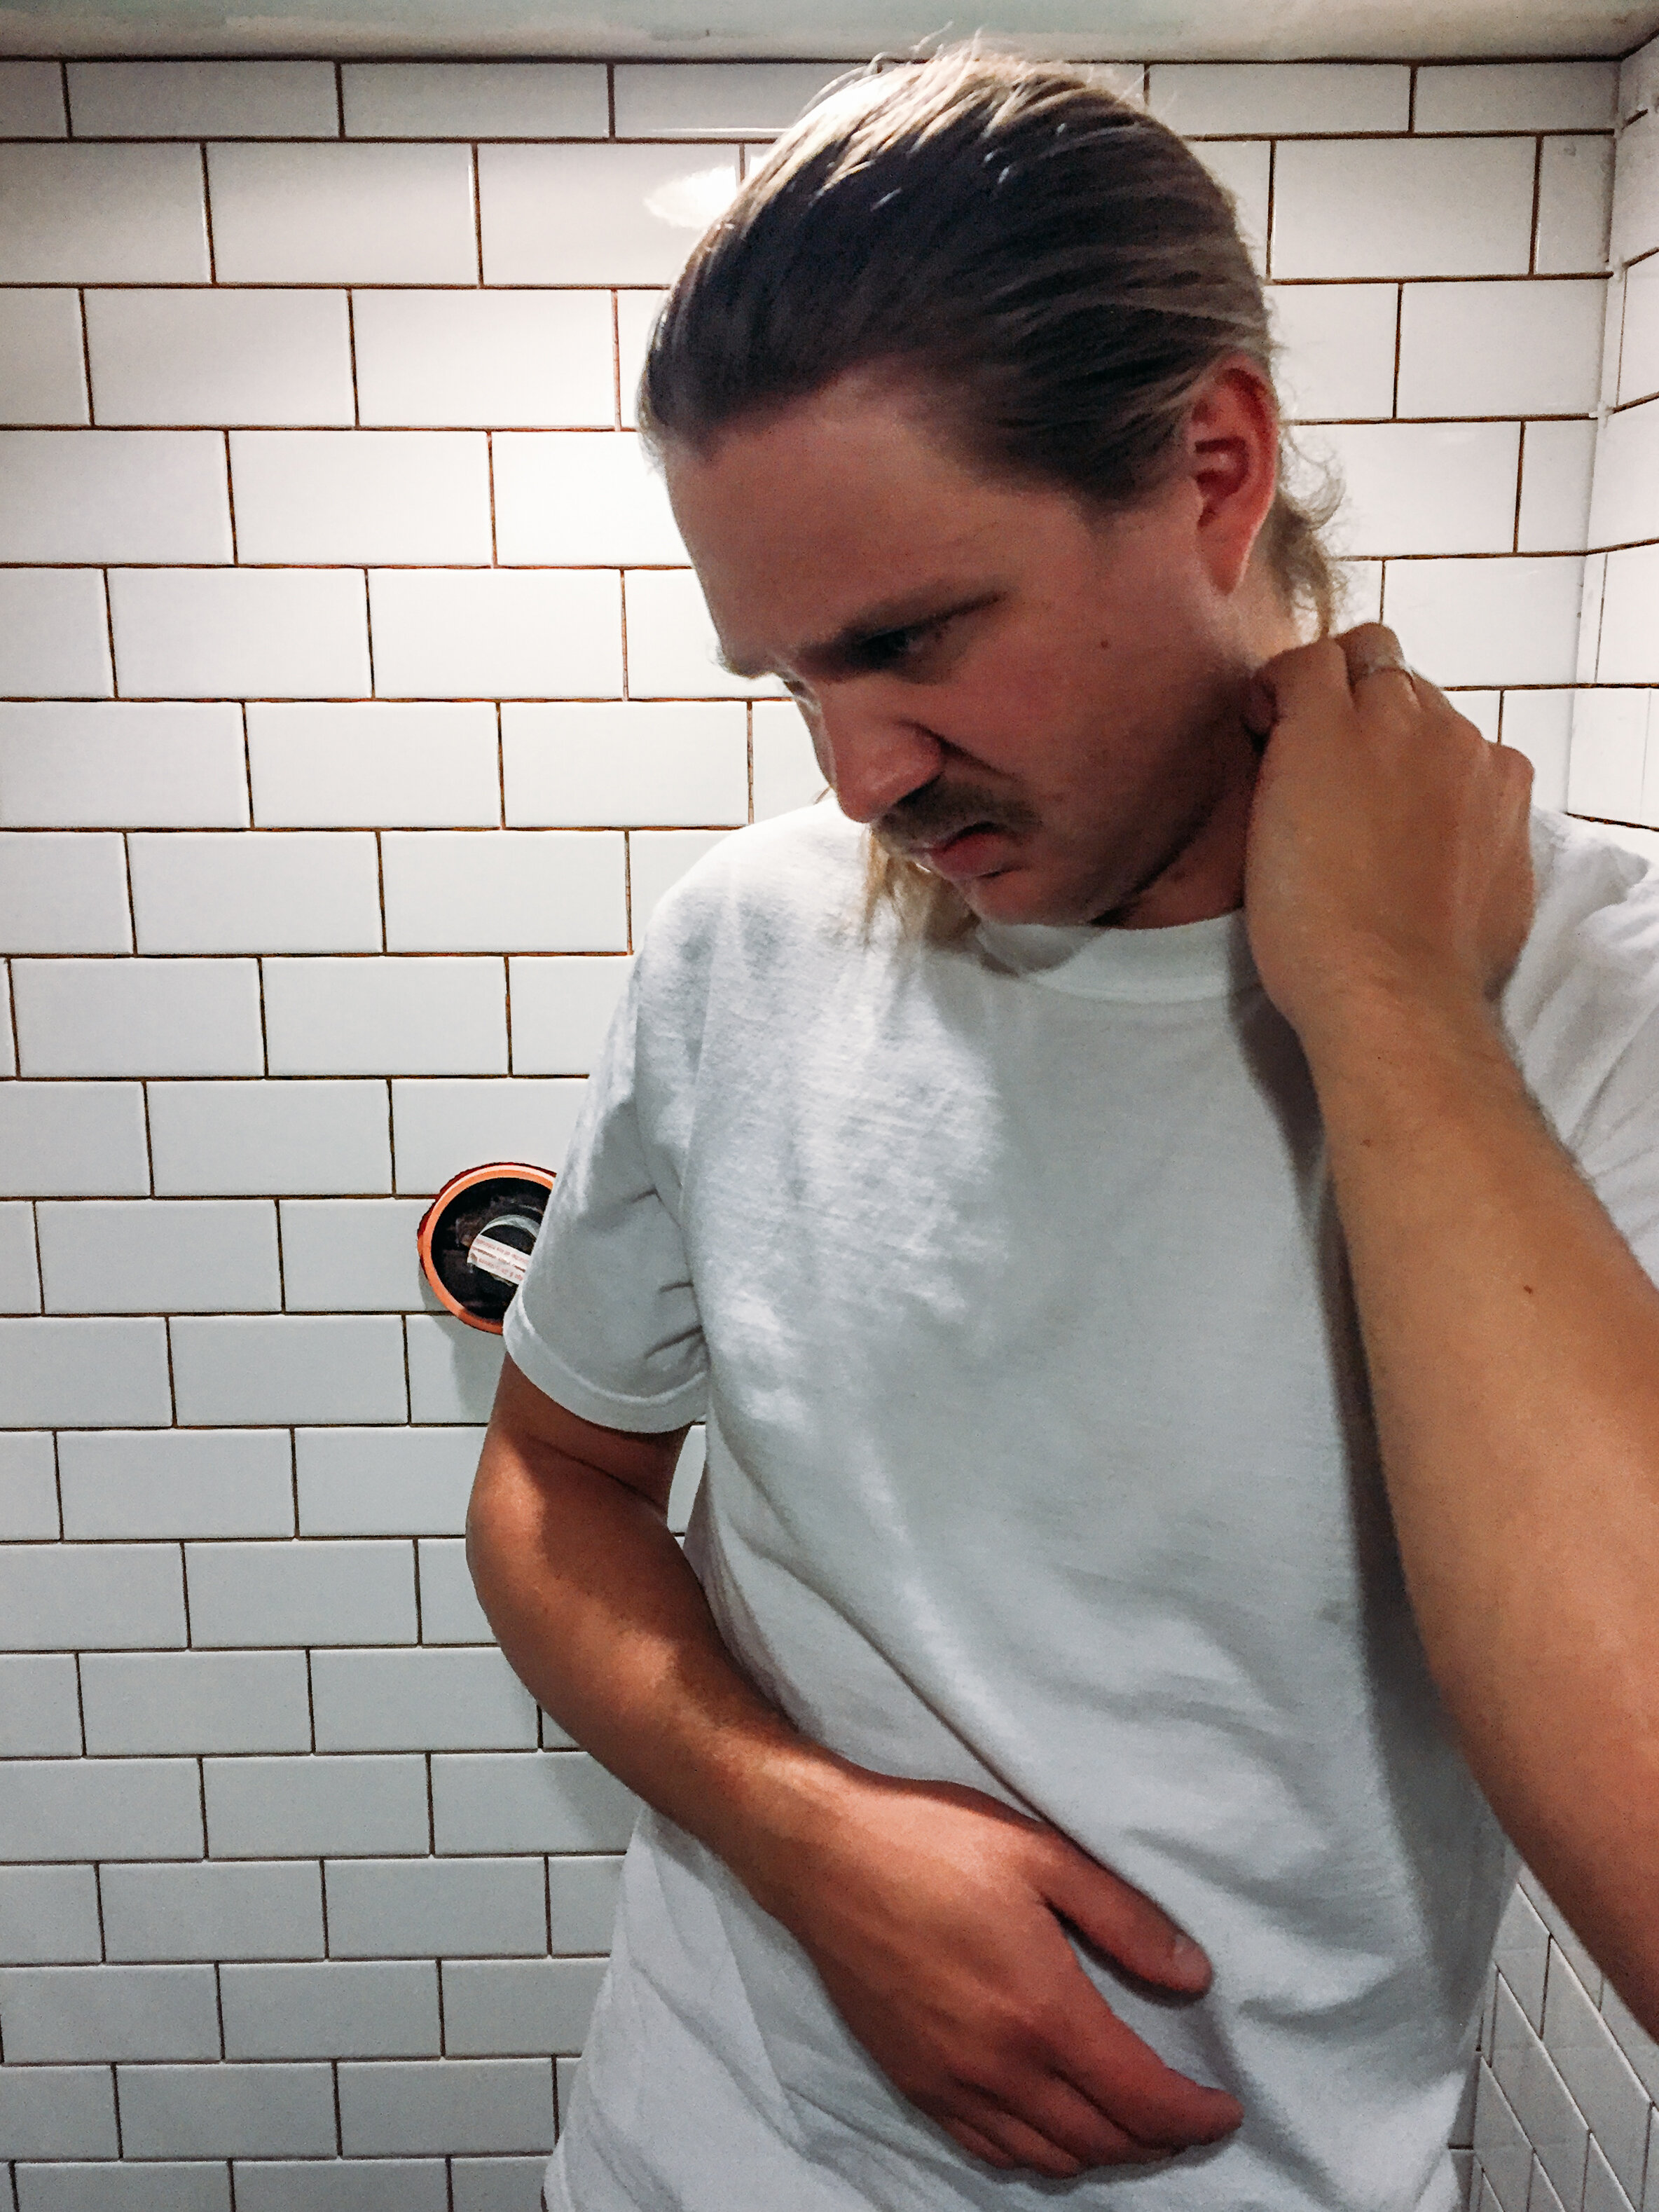
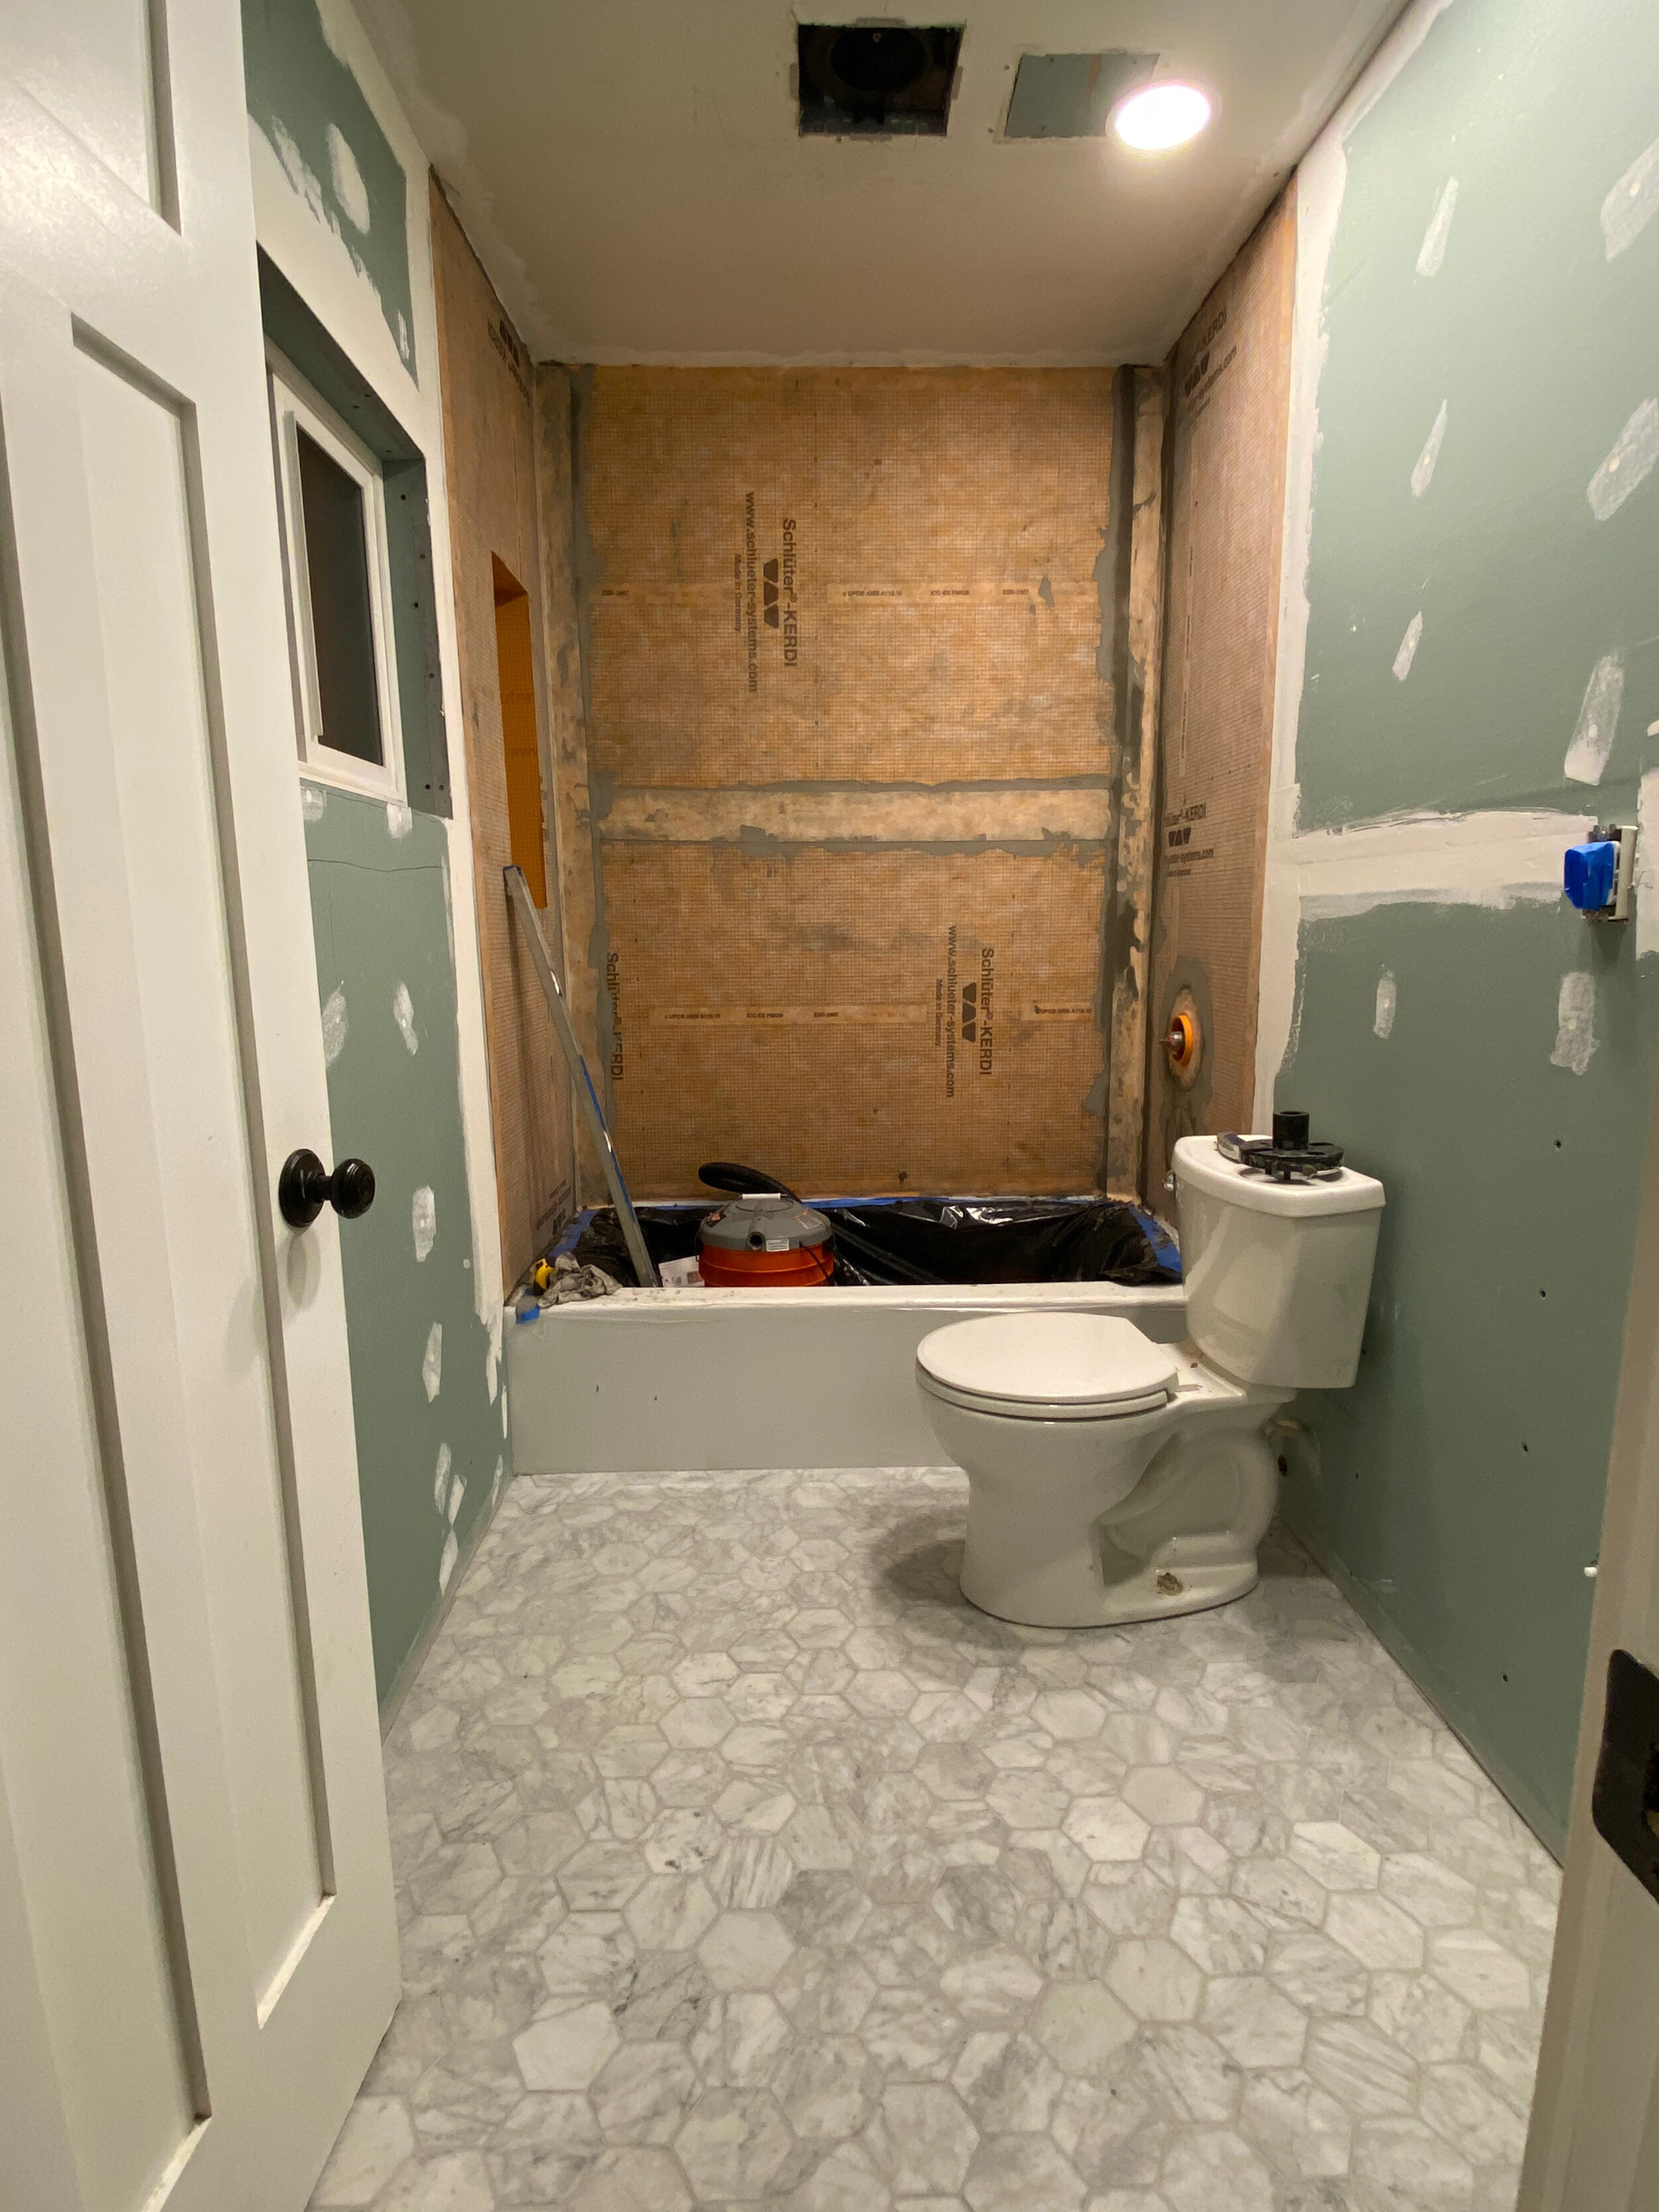
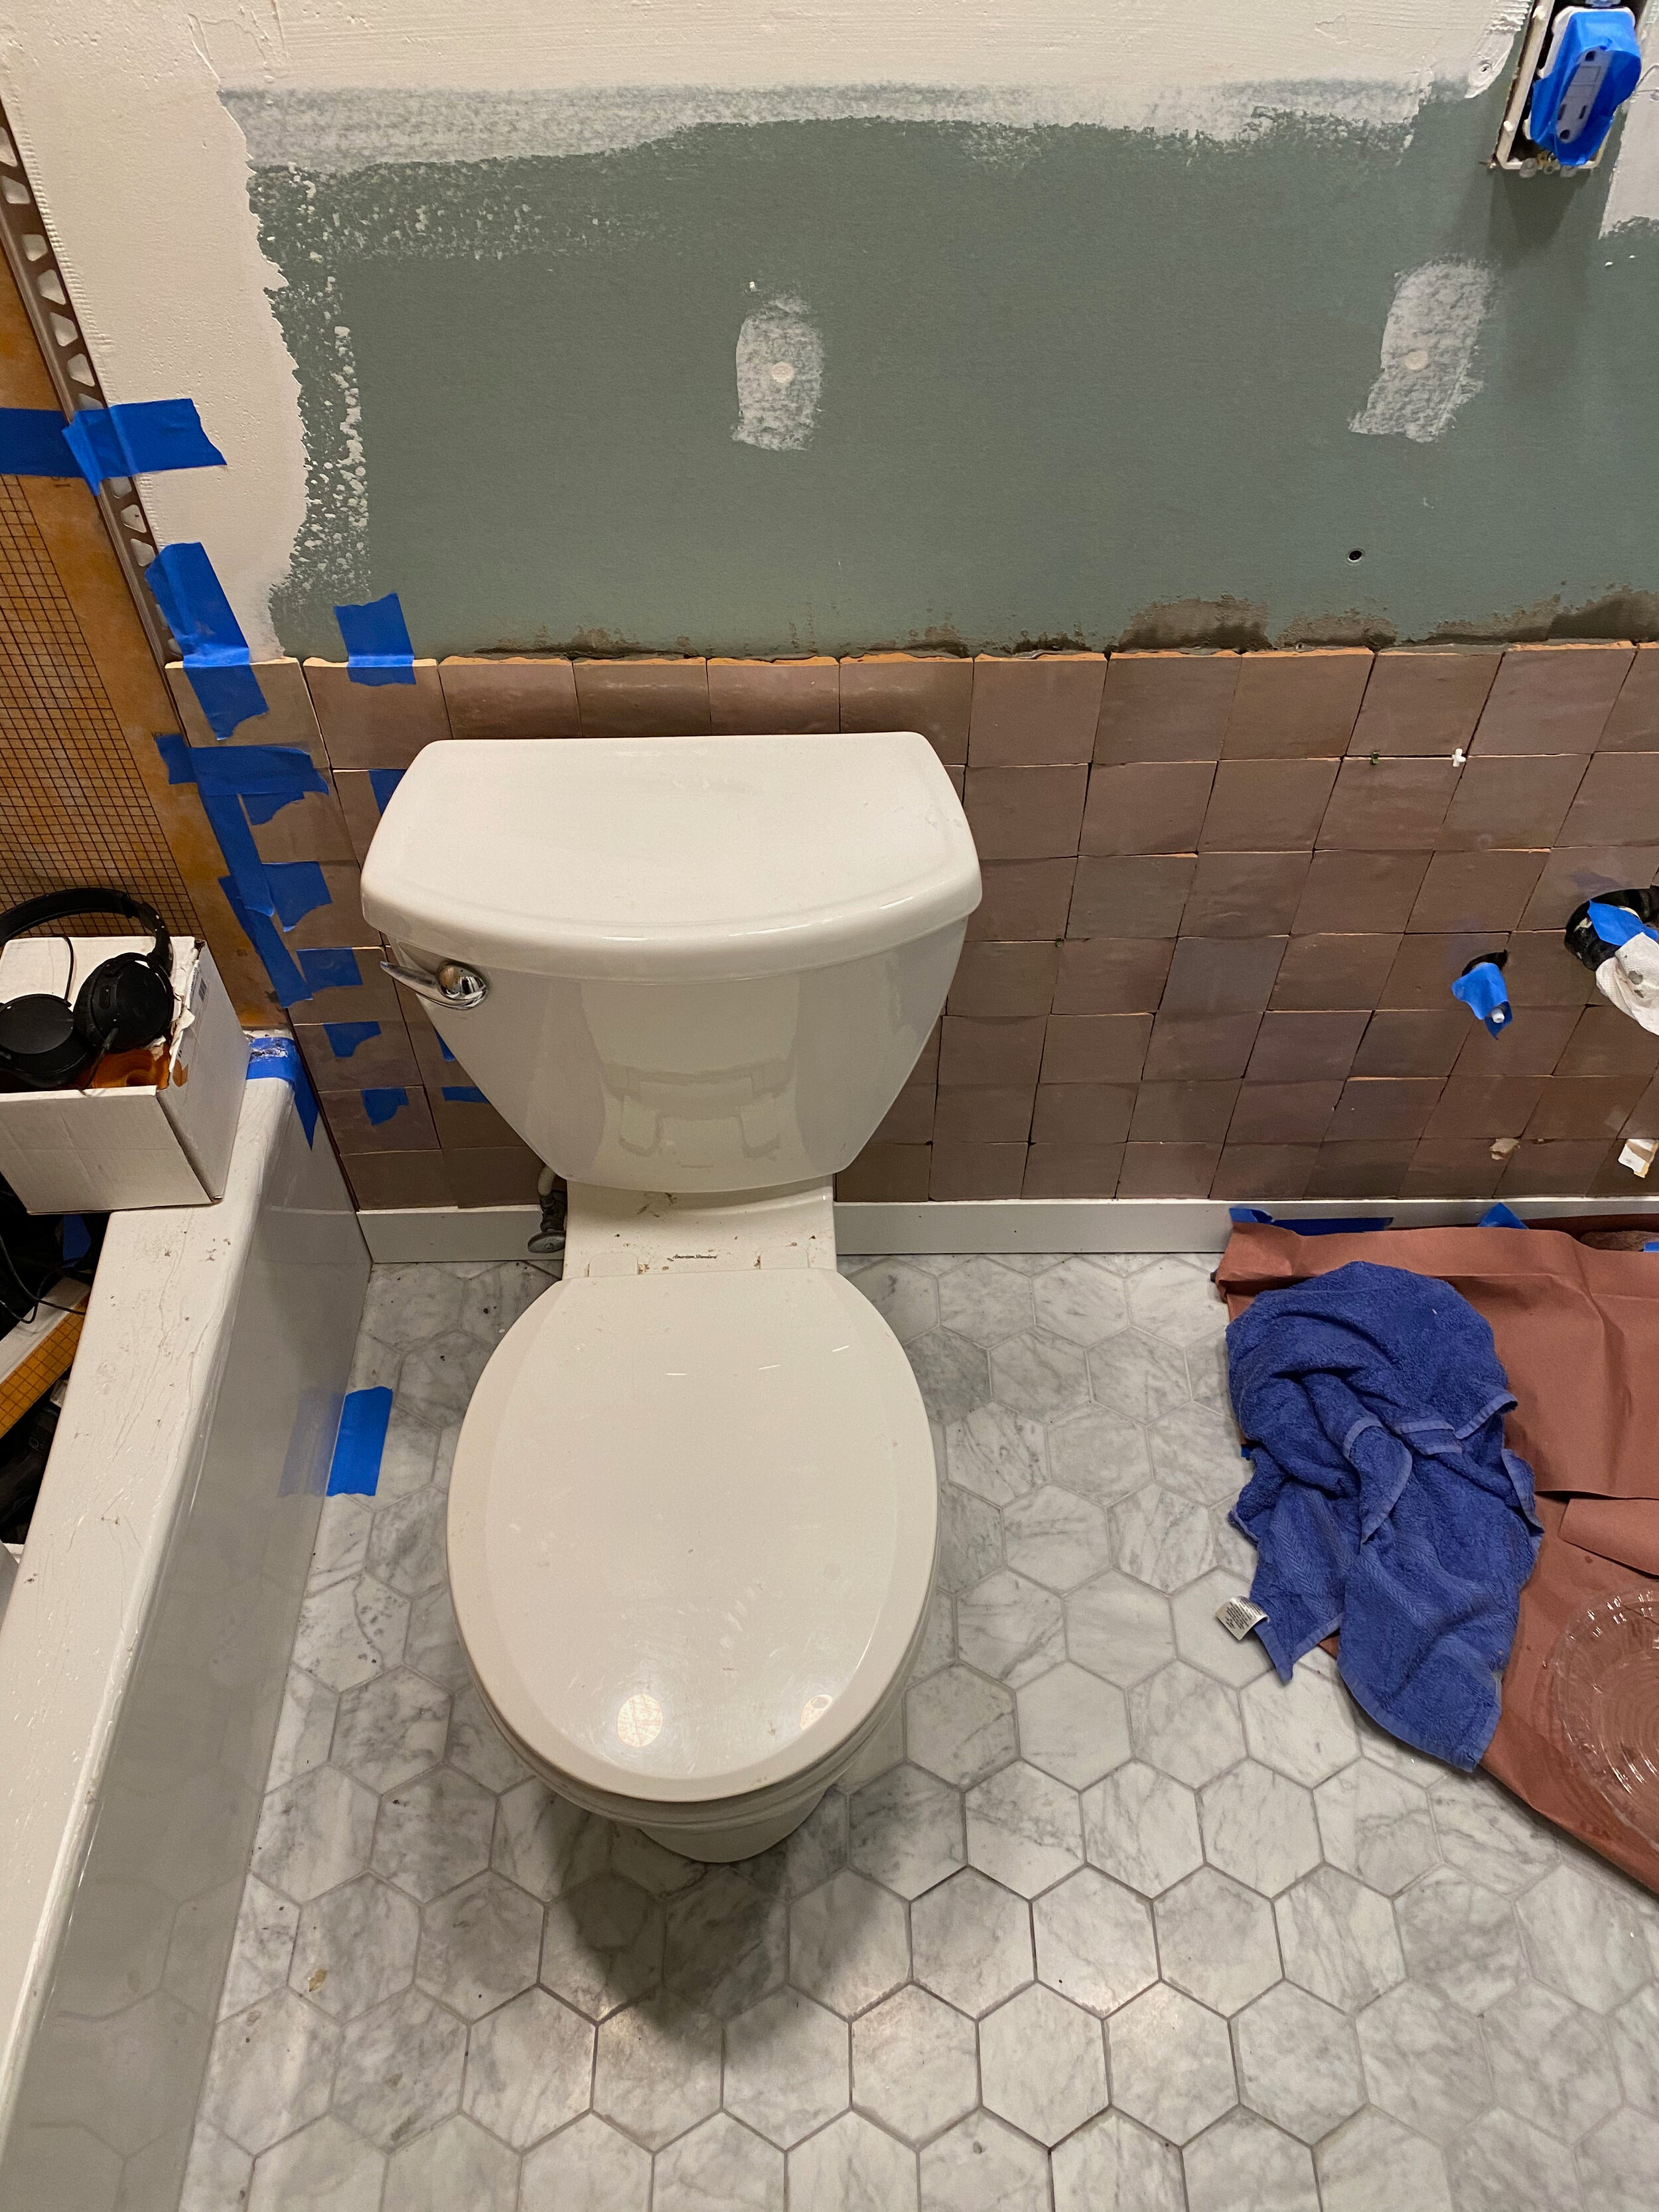
the only thing that stayed the same throughout the remodel was the toilet. 😂 dang that thing went through a lot. pete & sam would have to remove it and set it out on the porch most days - luckily we figured out a system to put the toilet back in place every evening so peter & i weren’t without a toilet (which was what i feared most i think when planning the bathroom remodel, haha). i think just 1 night we were without our toilet and used the downstairs one - our downstairs has a separate entrance, so you have to go outside to use the downstairs bathroom or laundry. and people live down there, so we didn’t want to have to intrude too much.

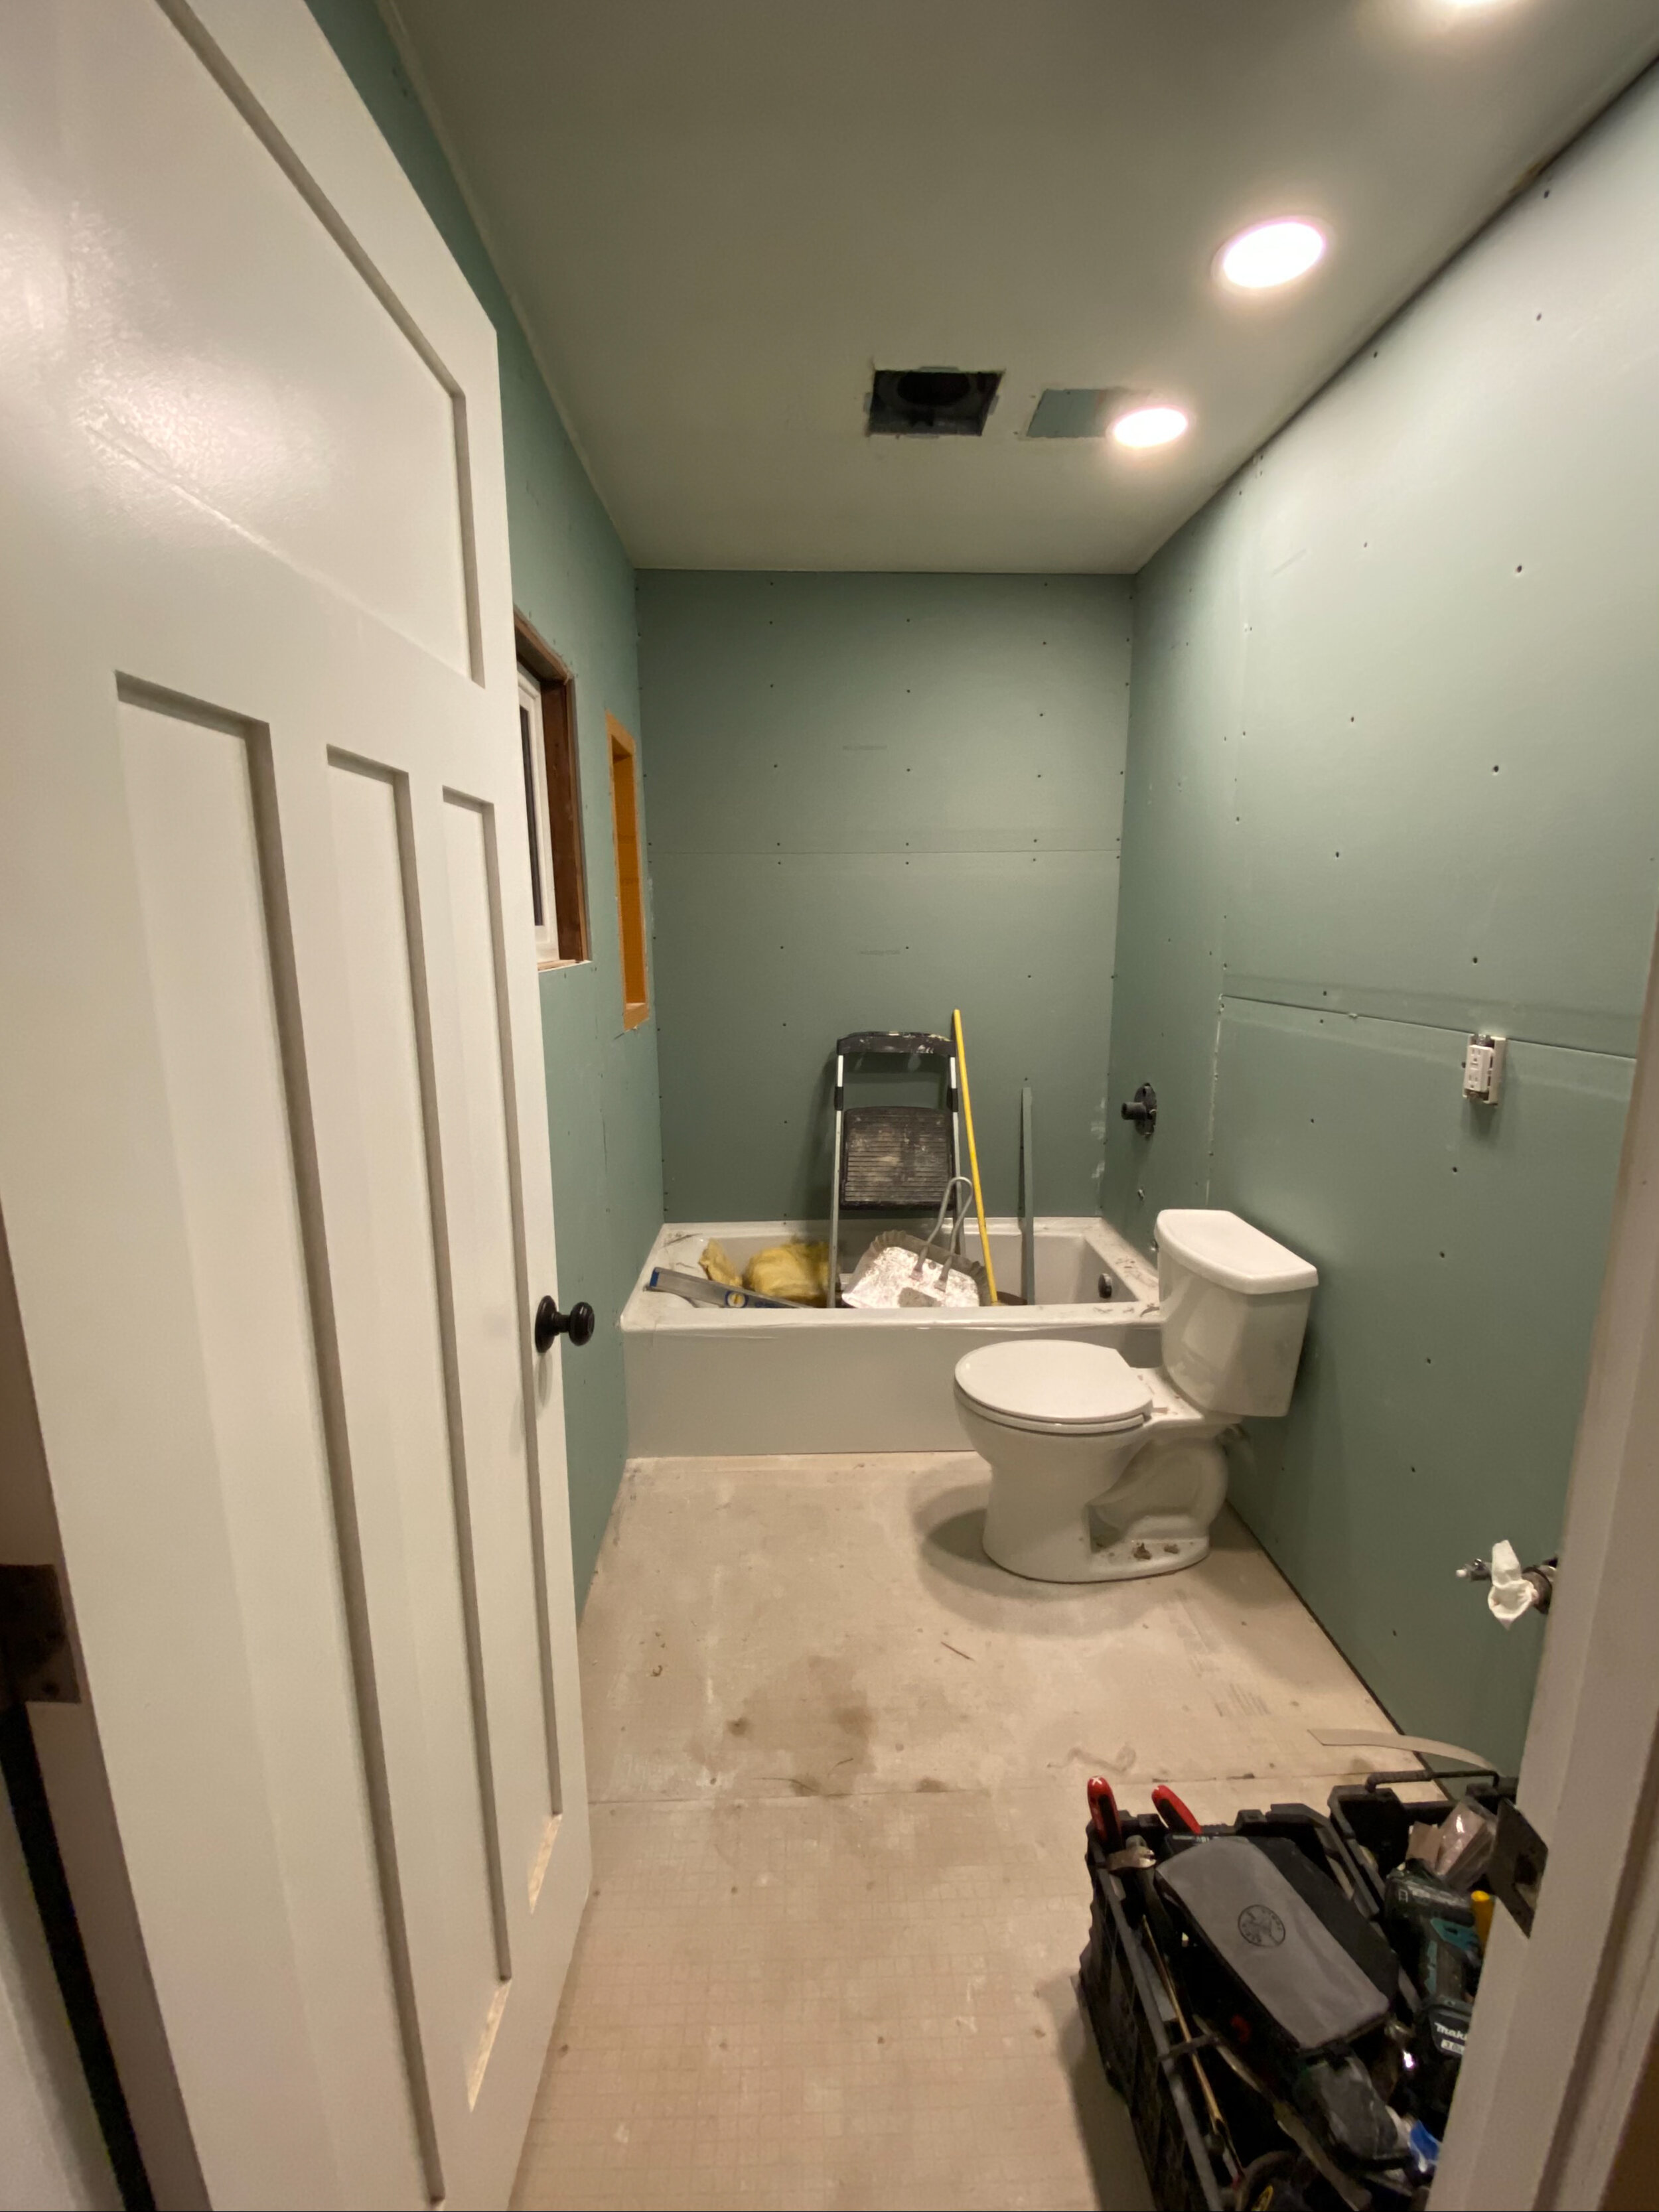
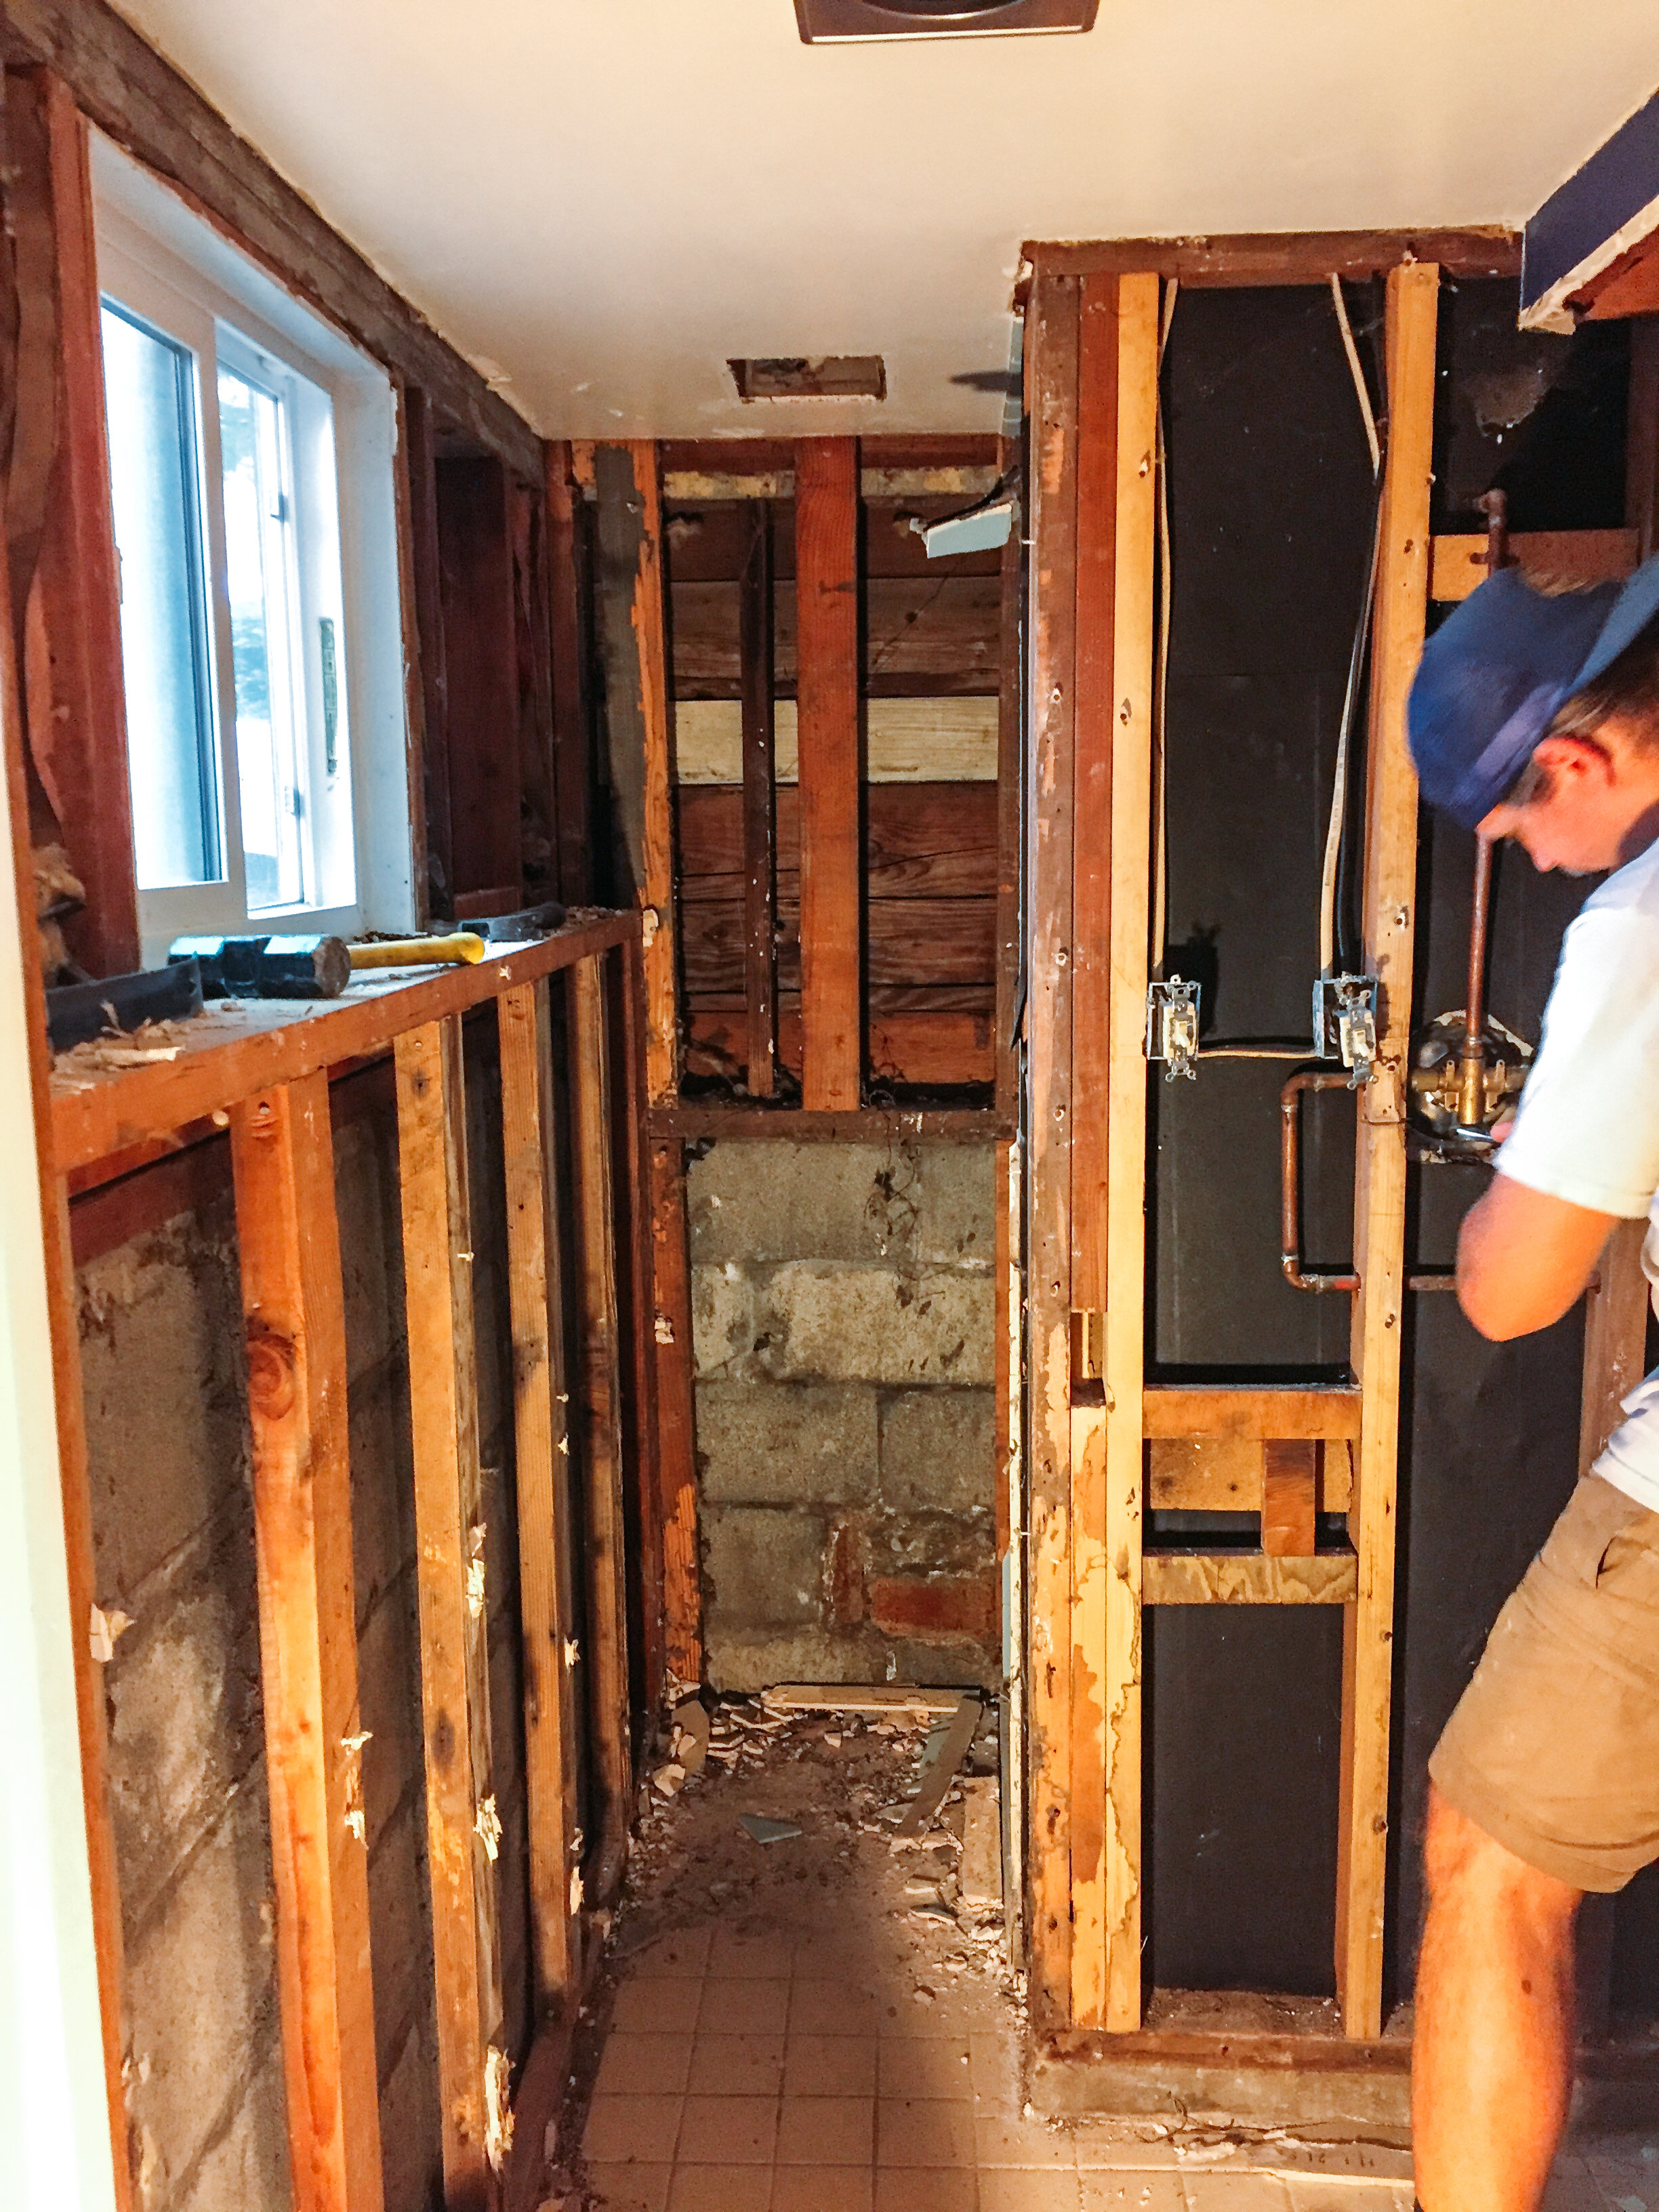
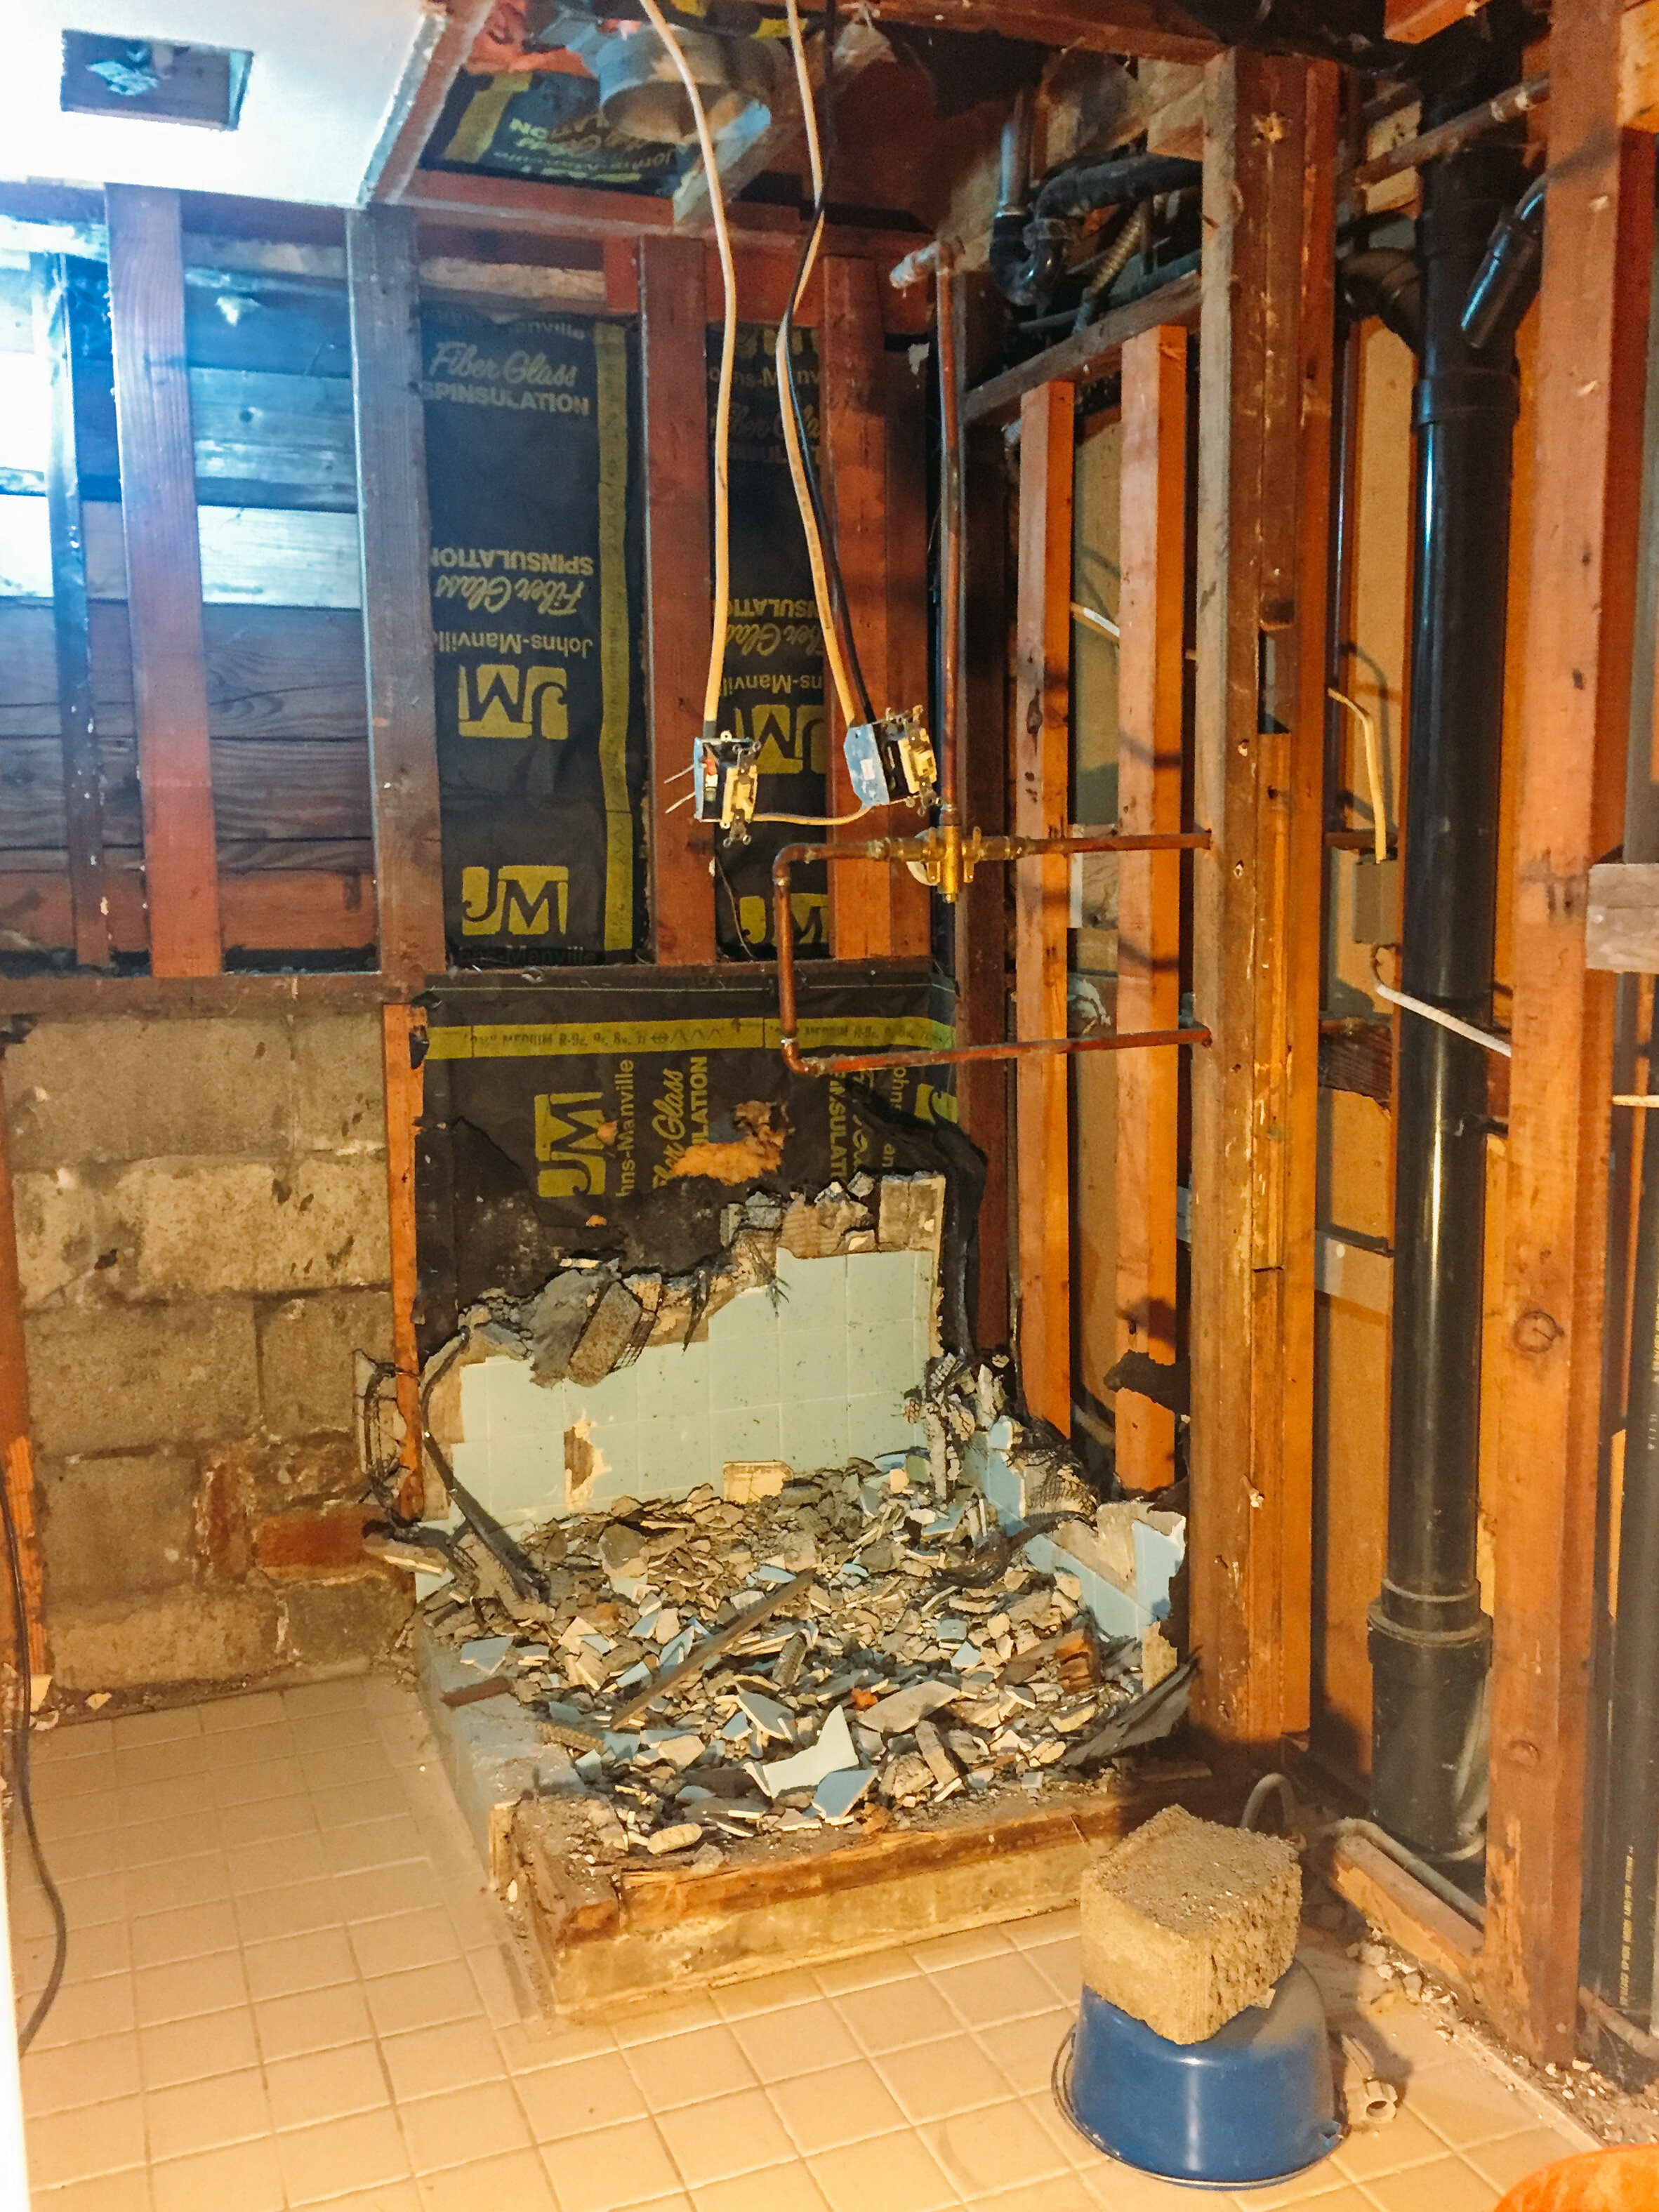
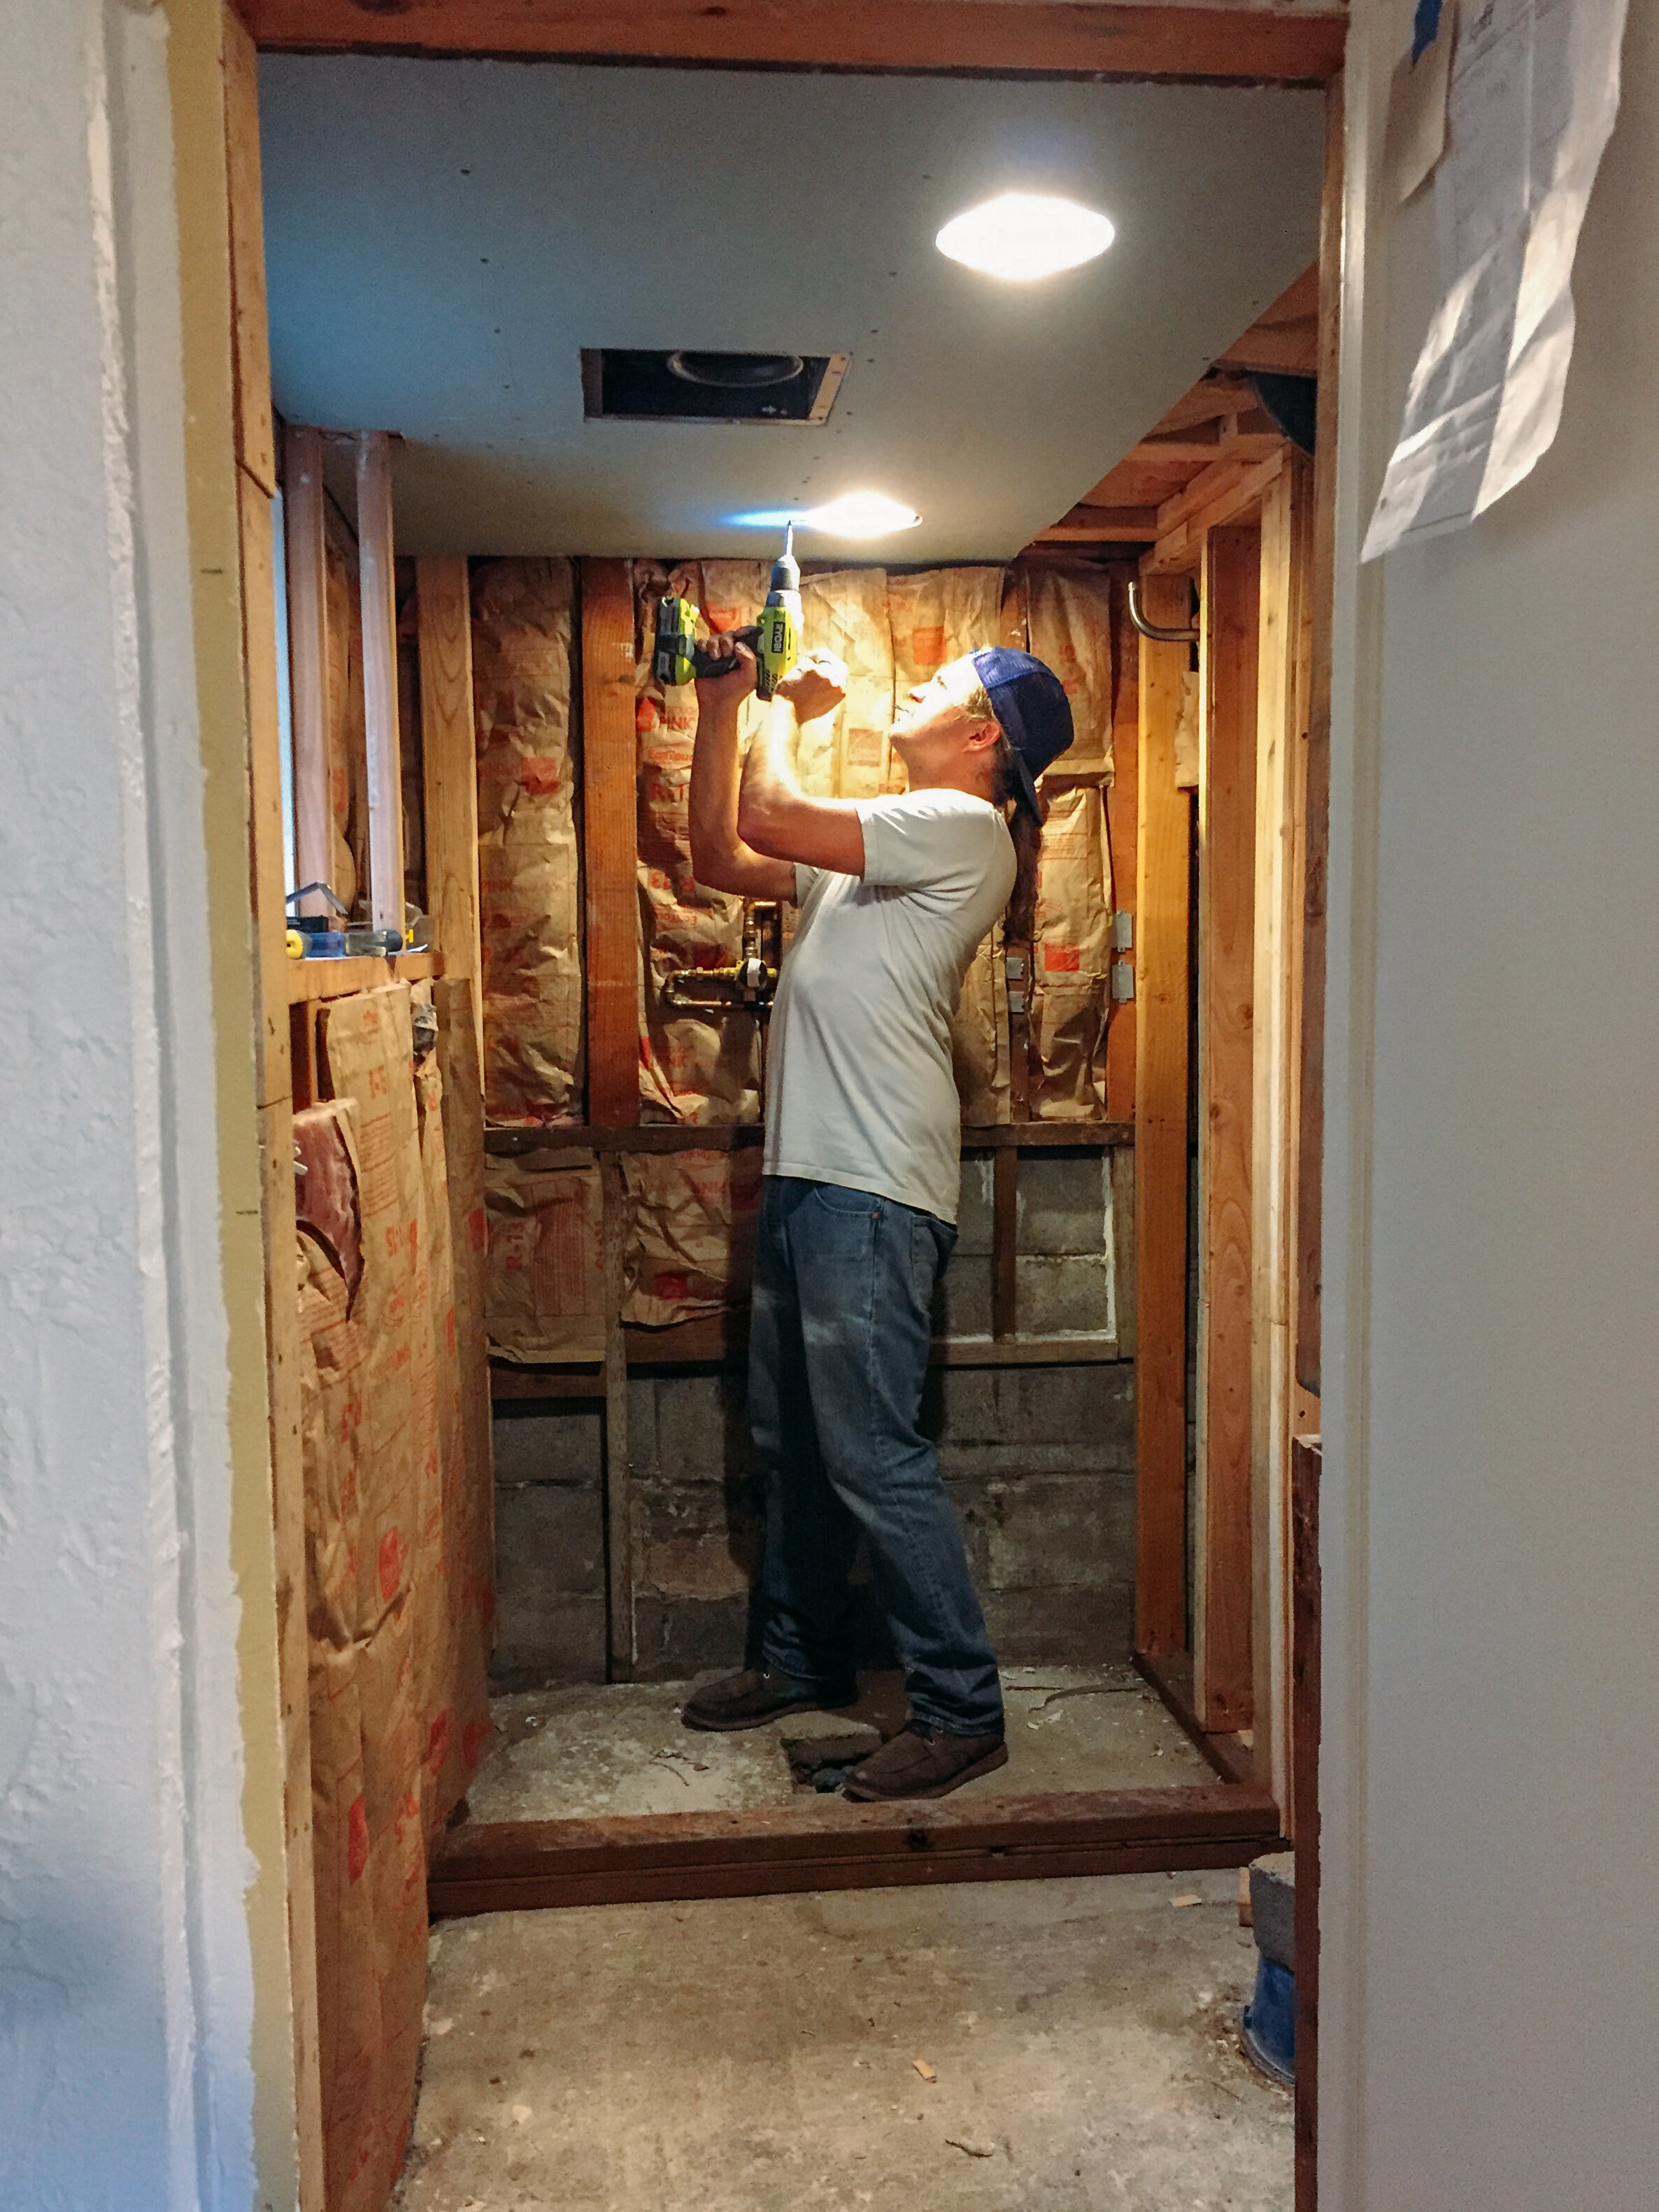
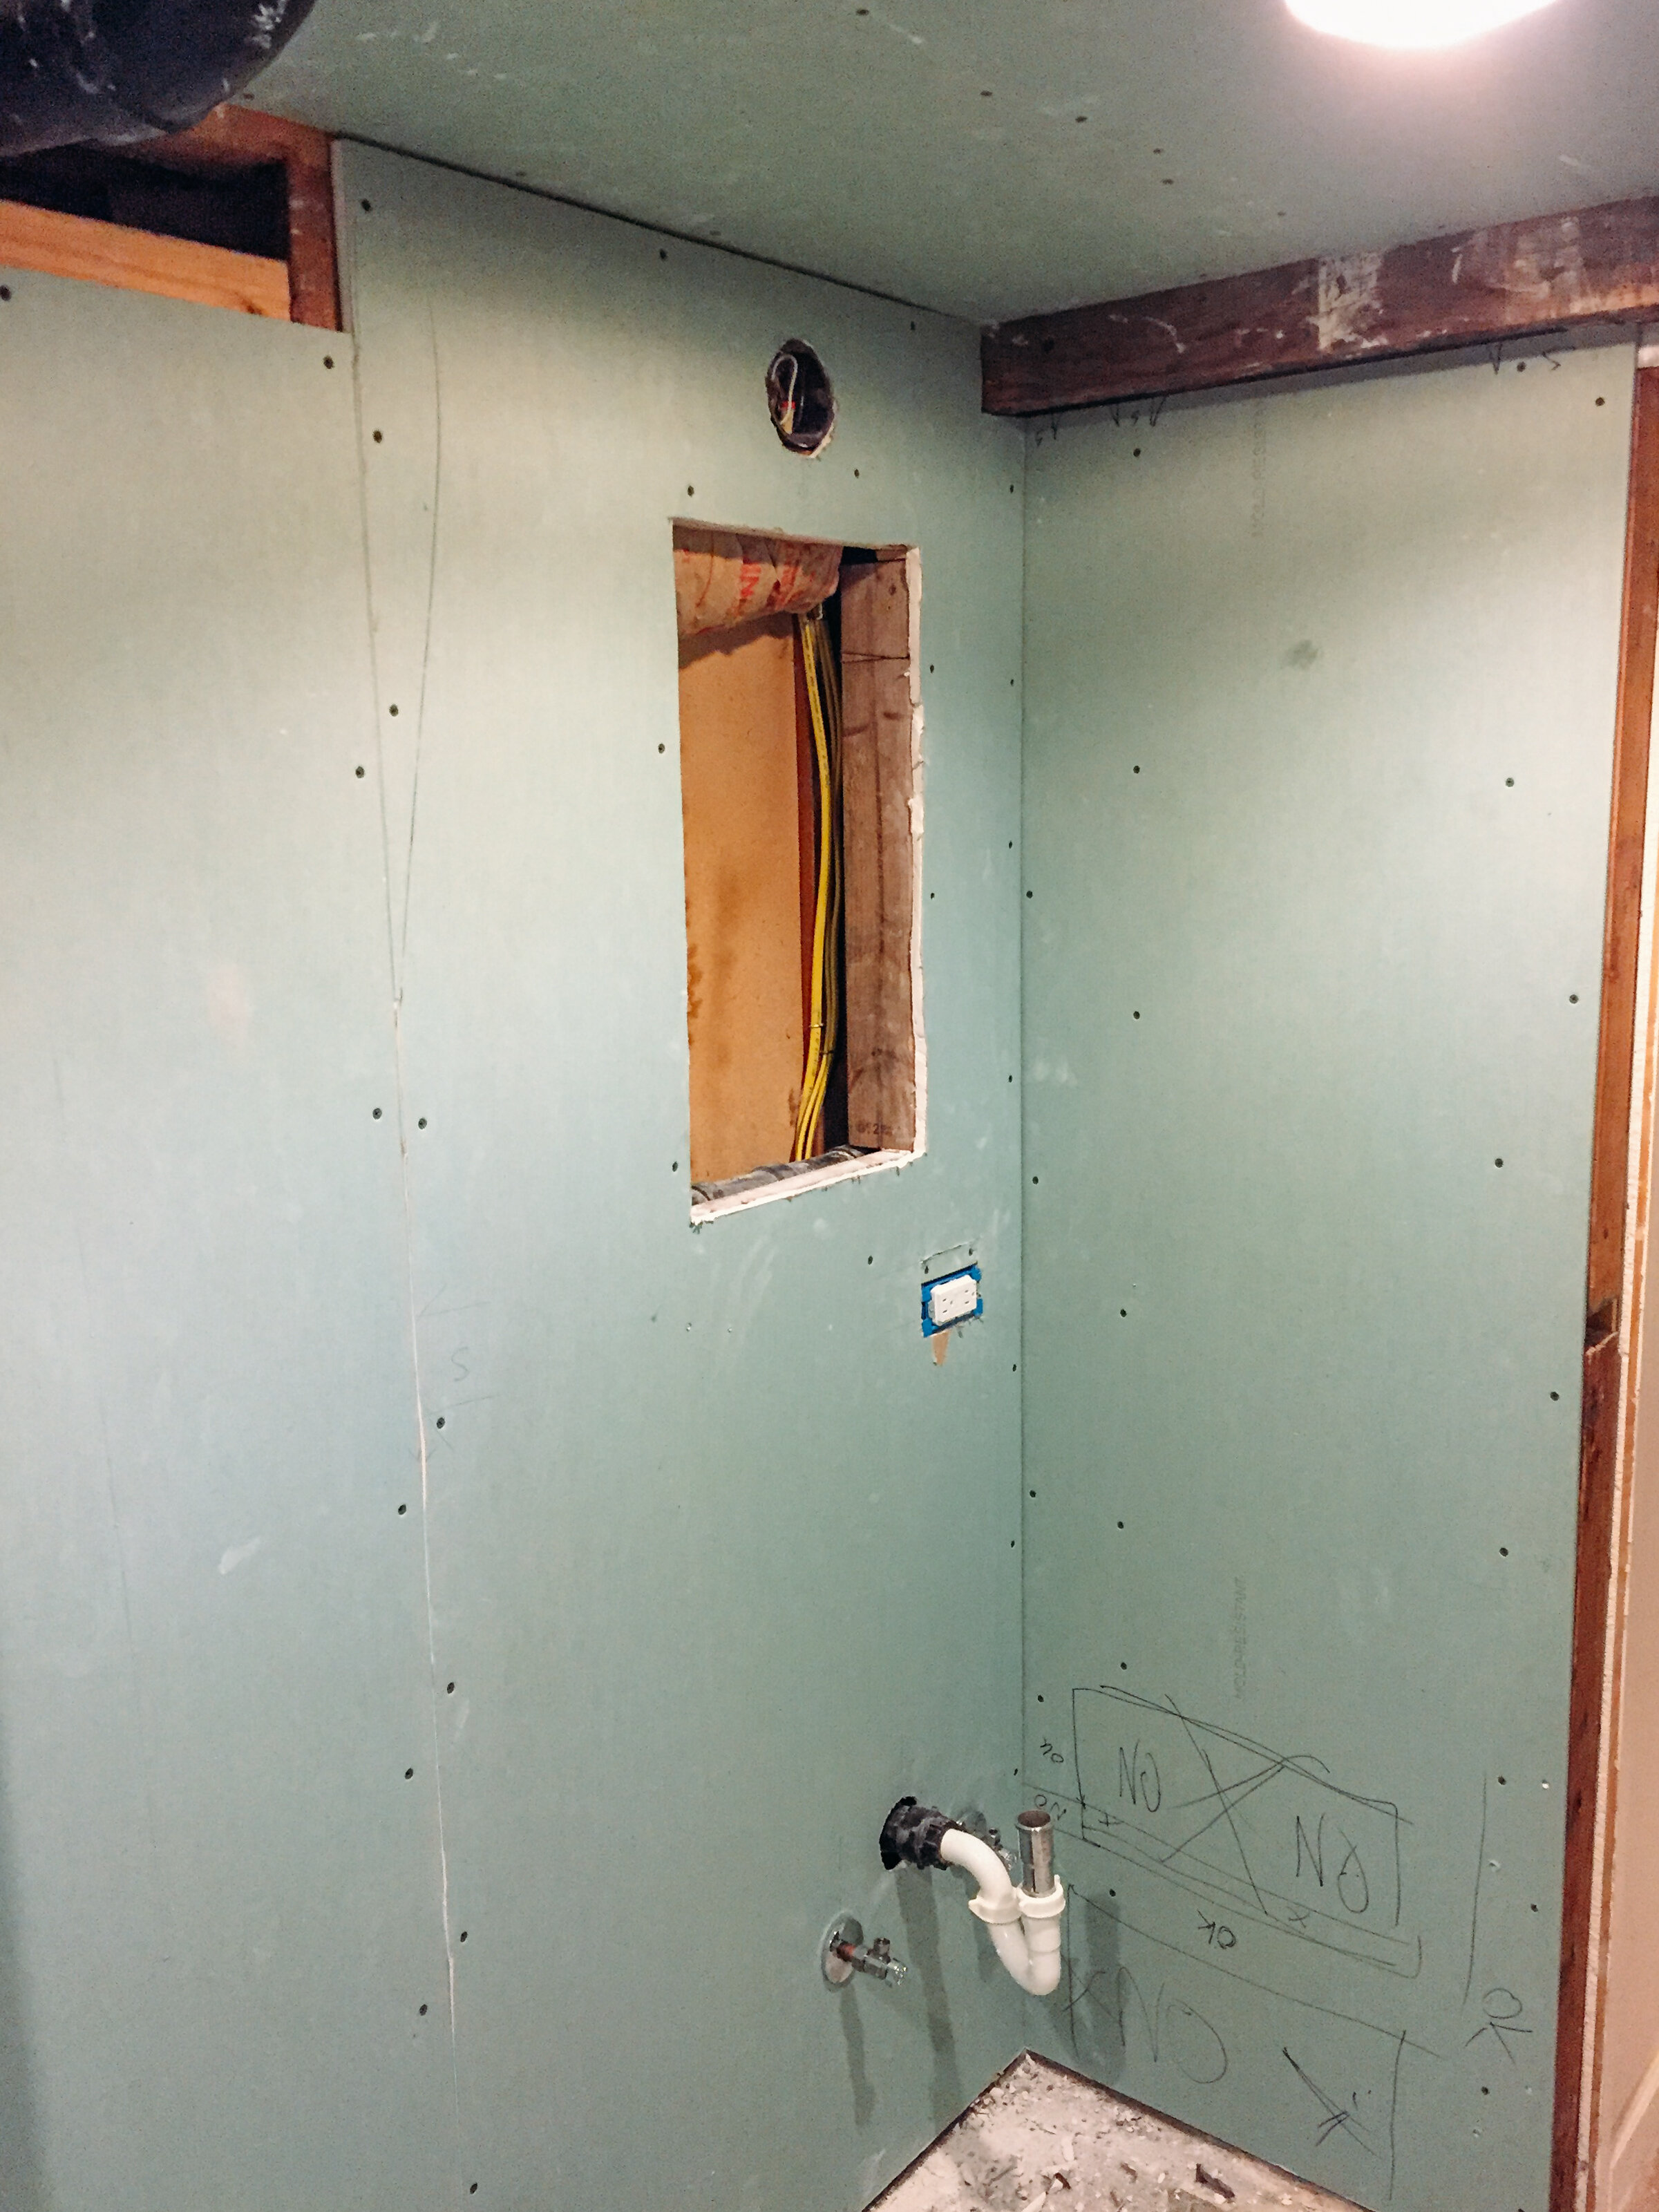
sam completed all of the demo in like 6 hours - by the end of that week we had all the electrical set up (one extra can light, relocated an outlet and the fan, all new drywall, new bathtub, and the hexagon tile floor installed! the first week of work was big.
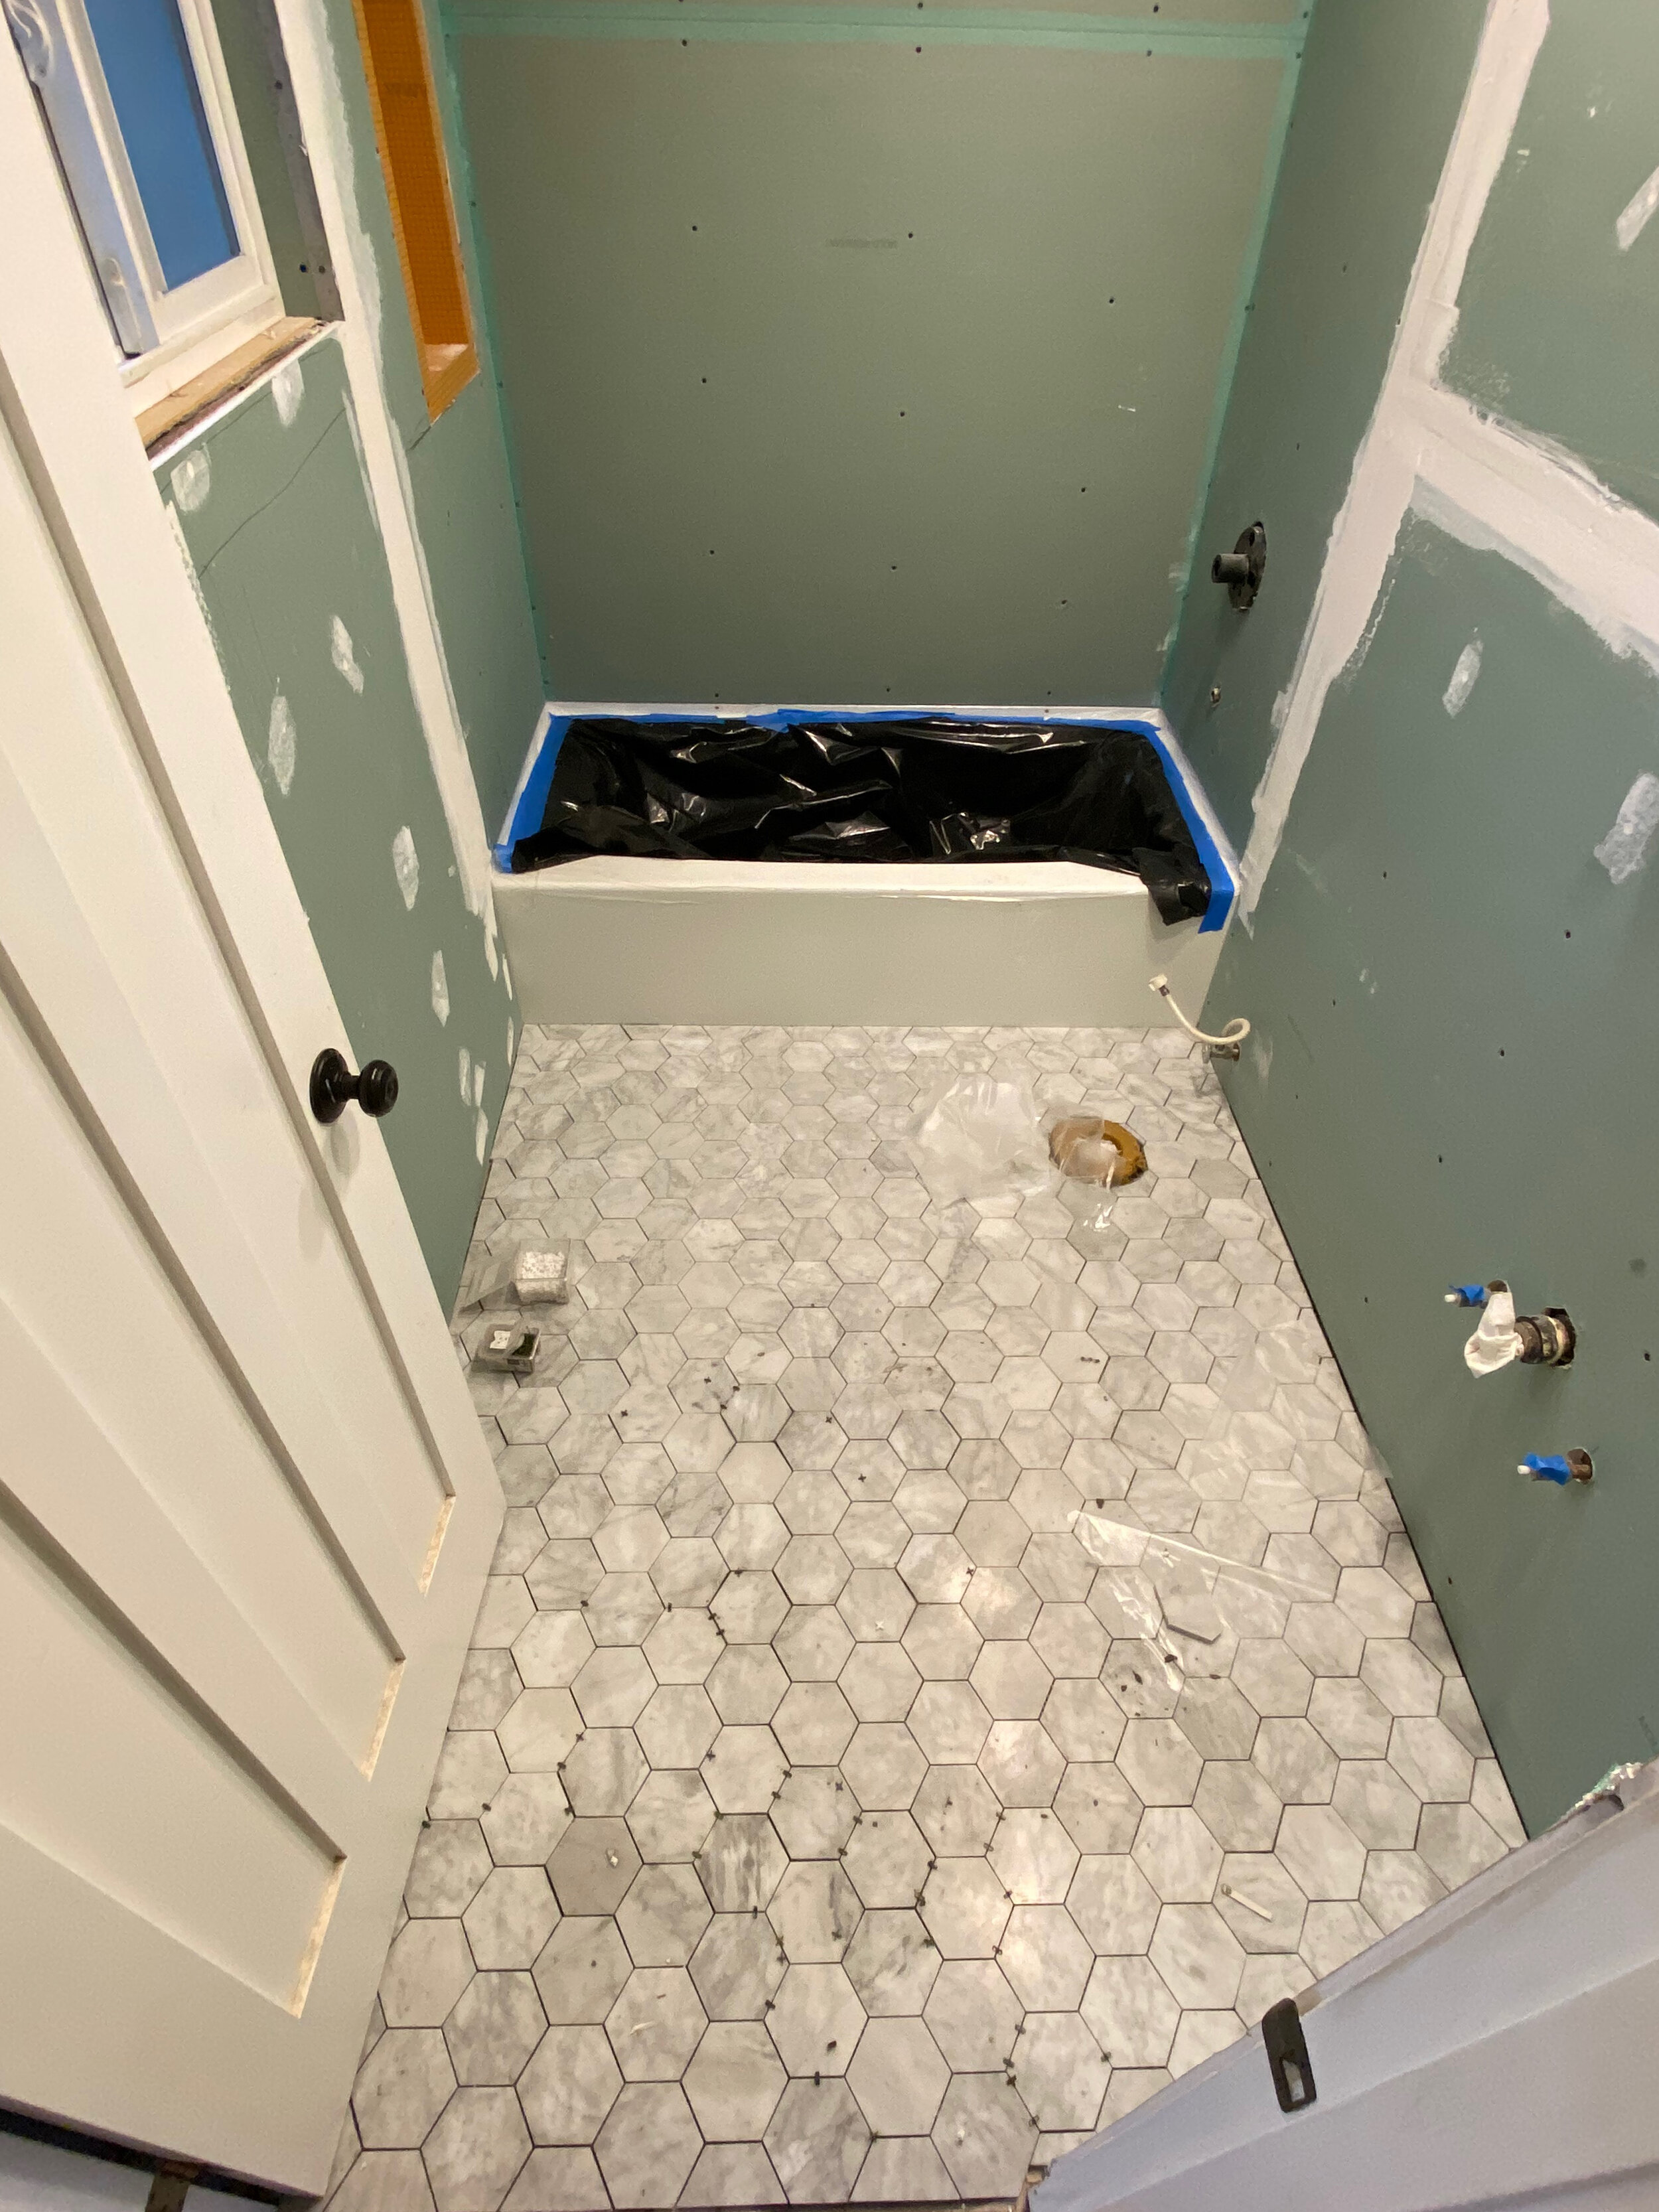
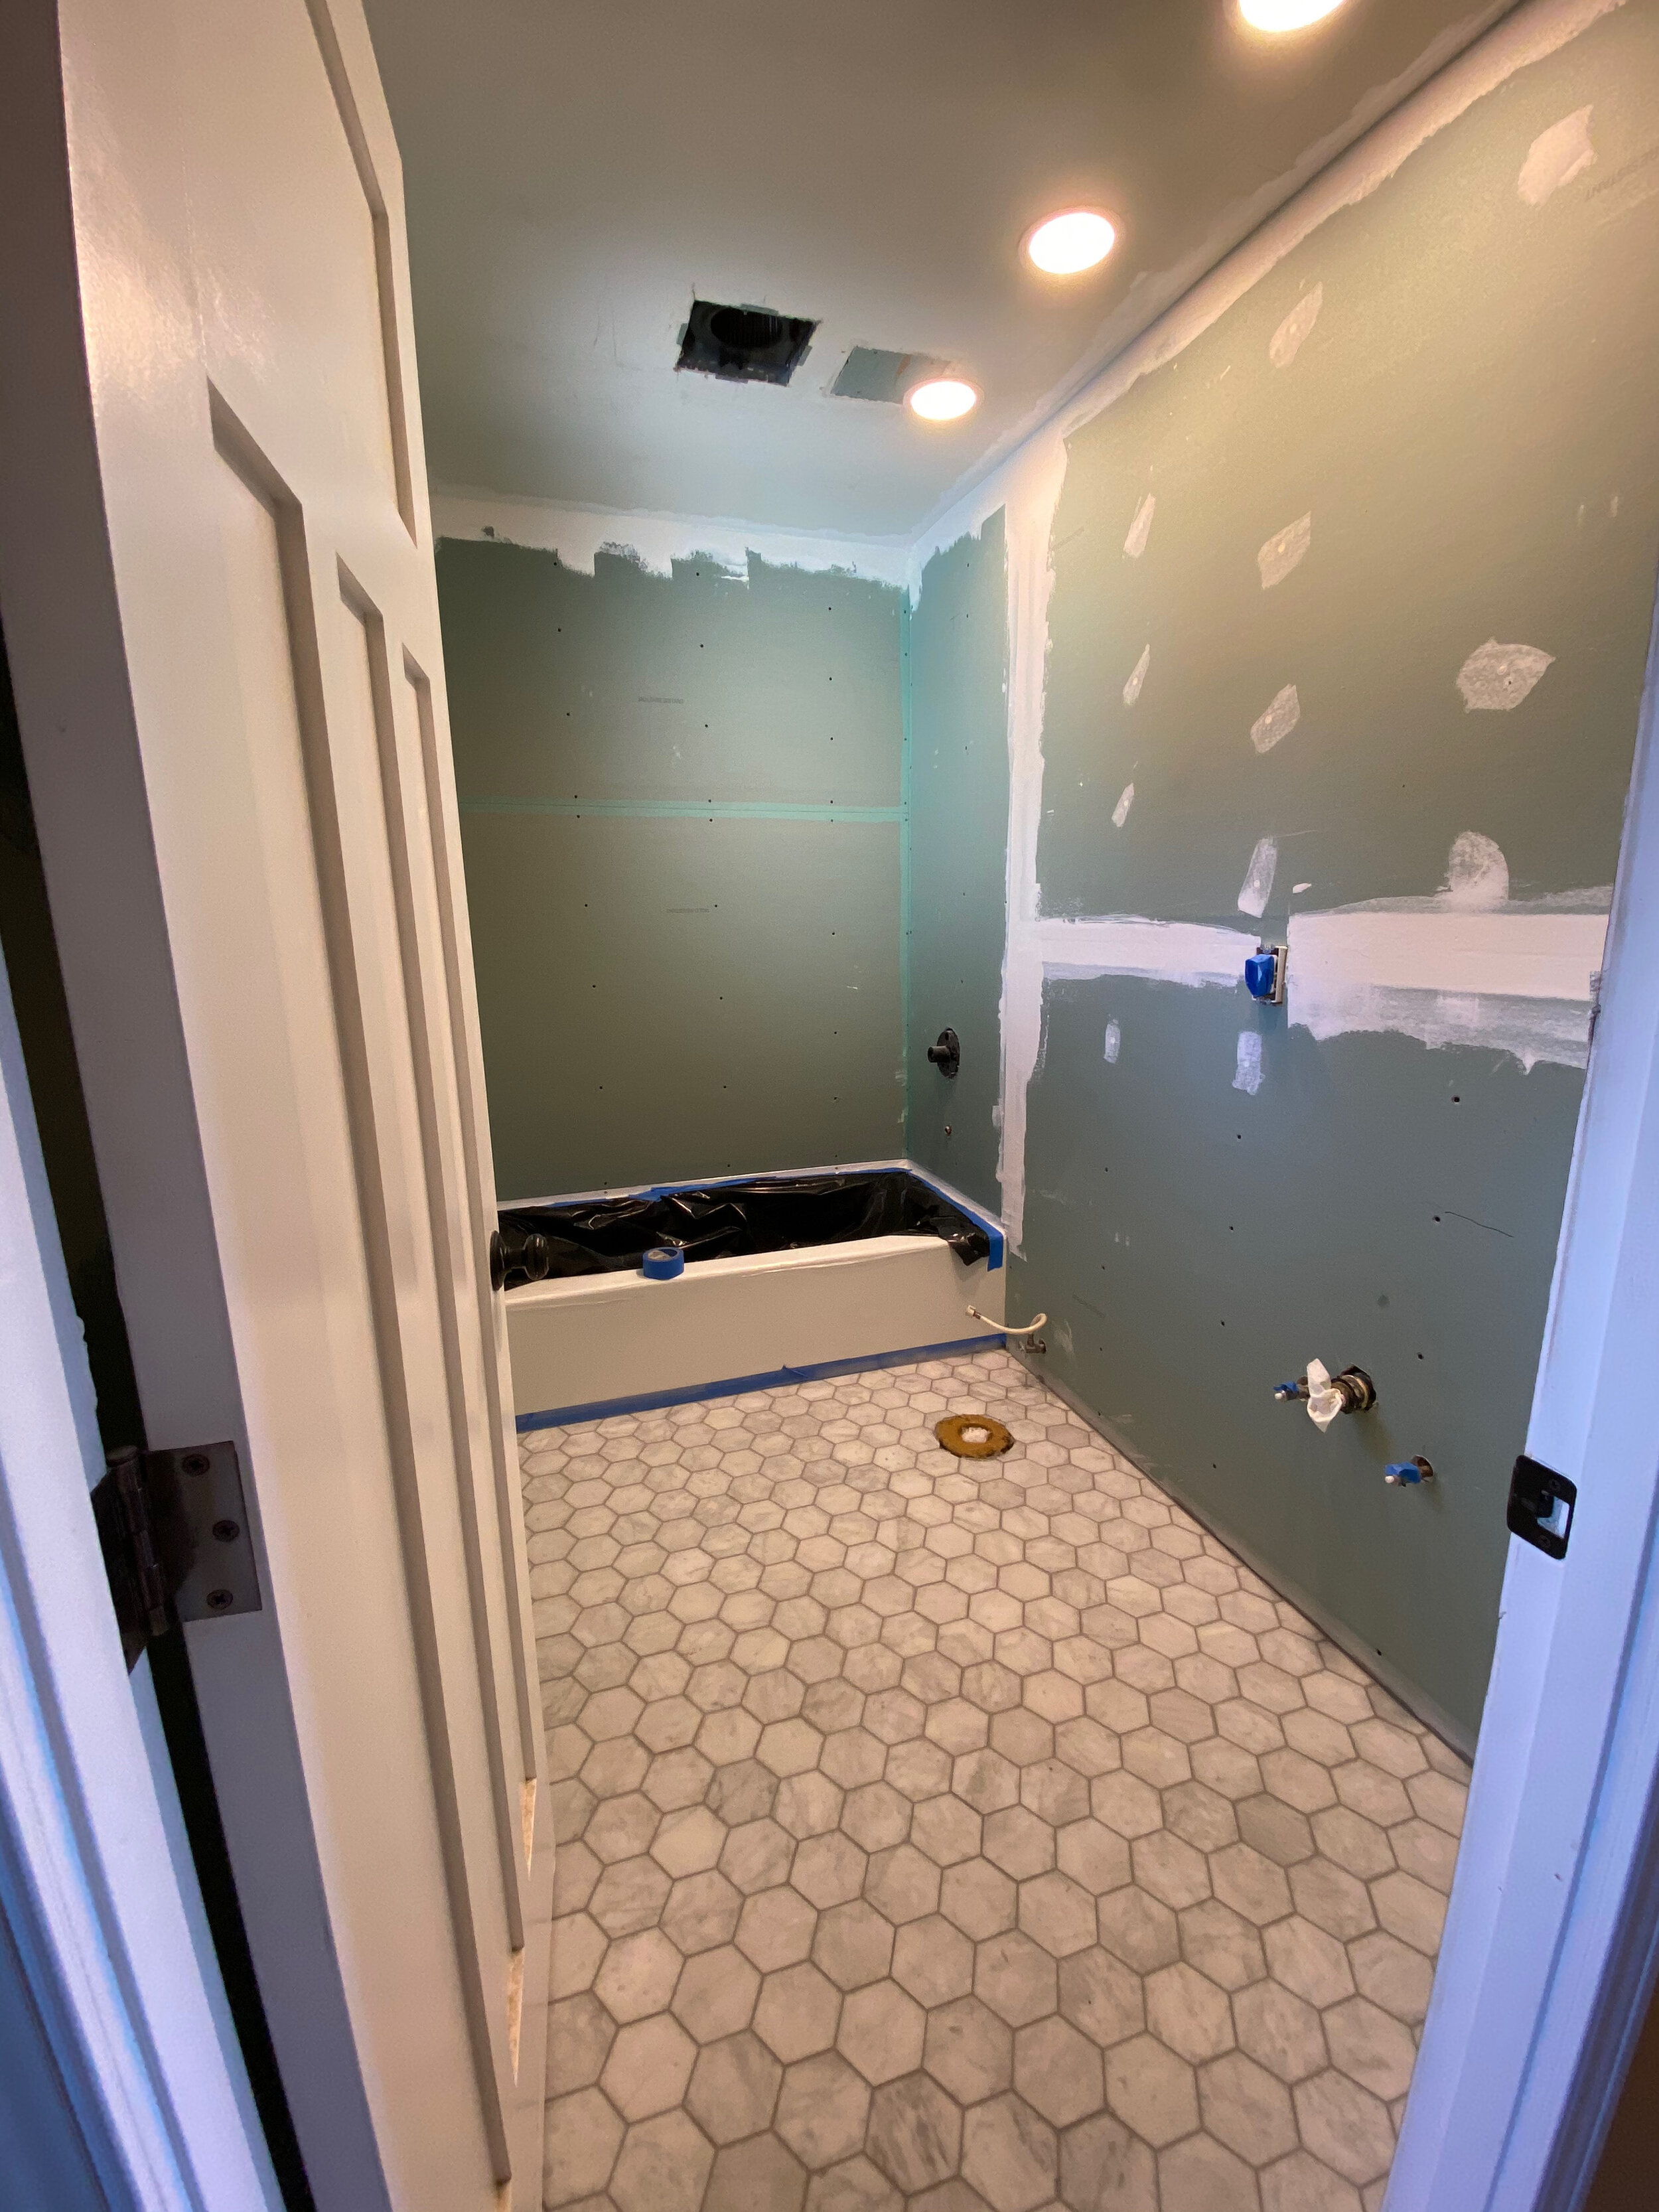
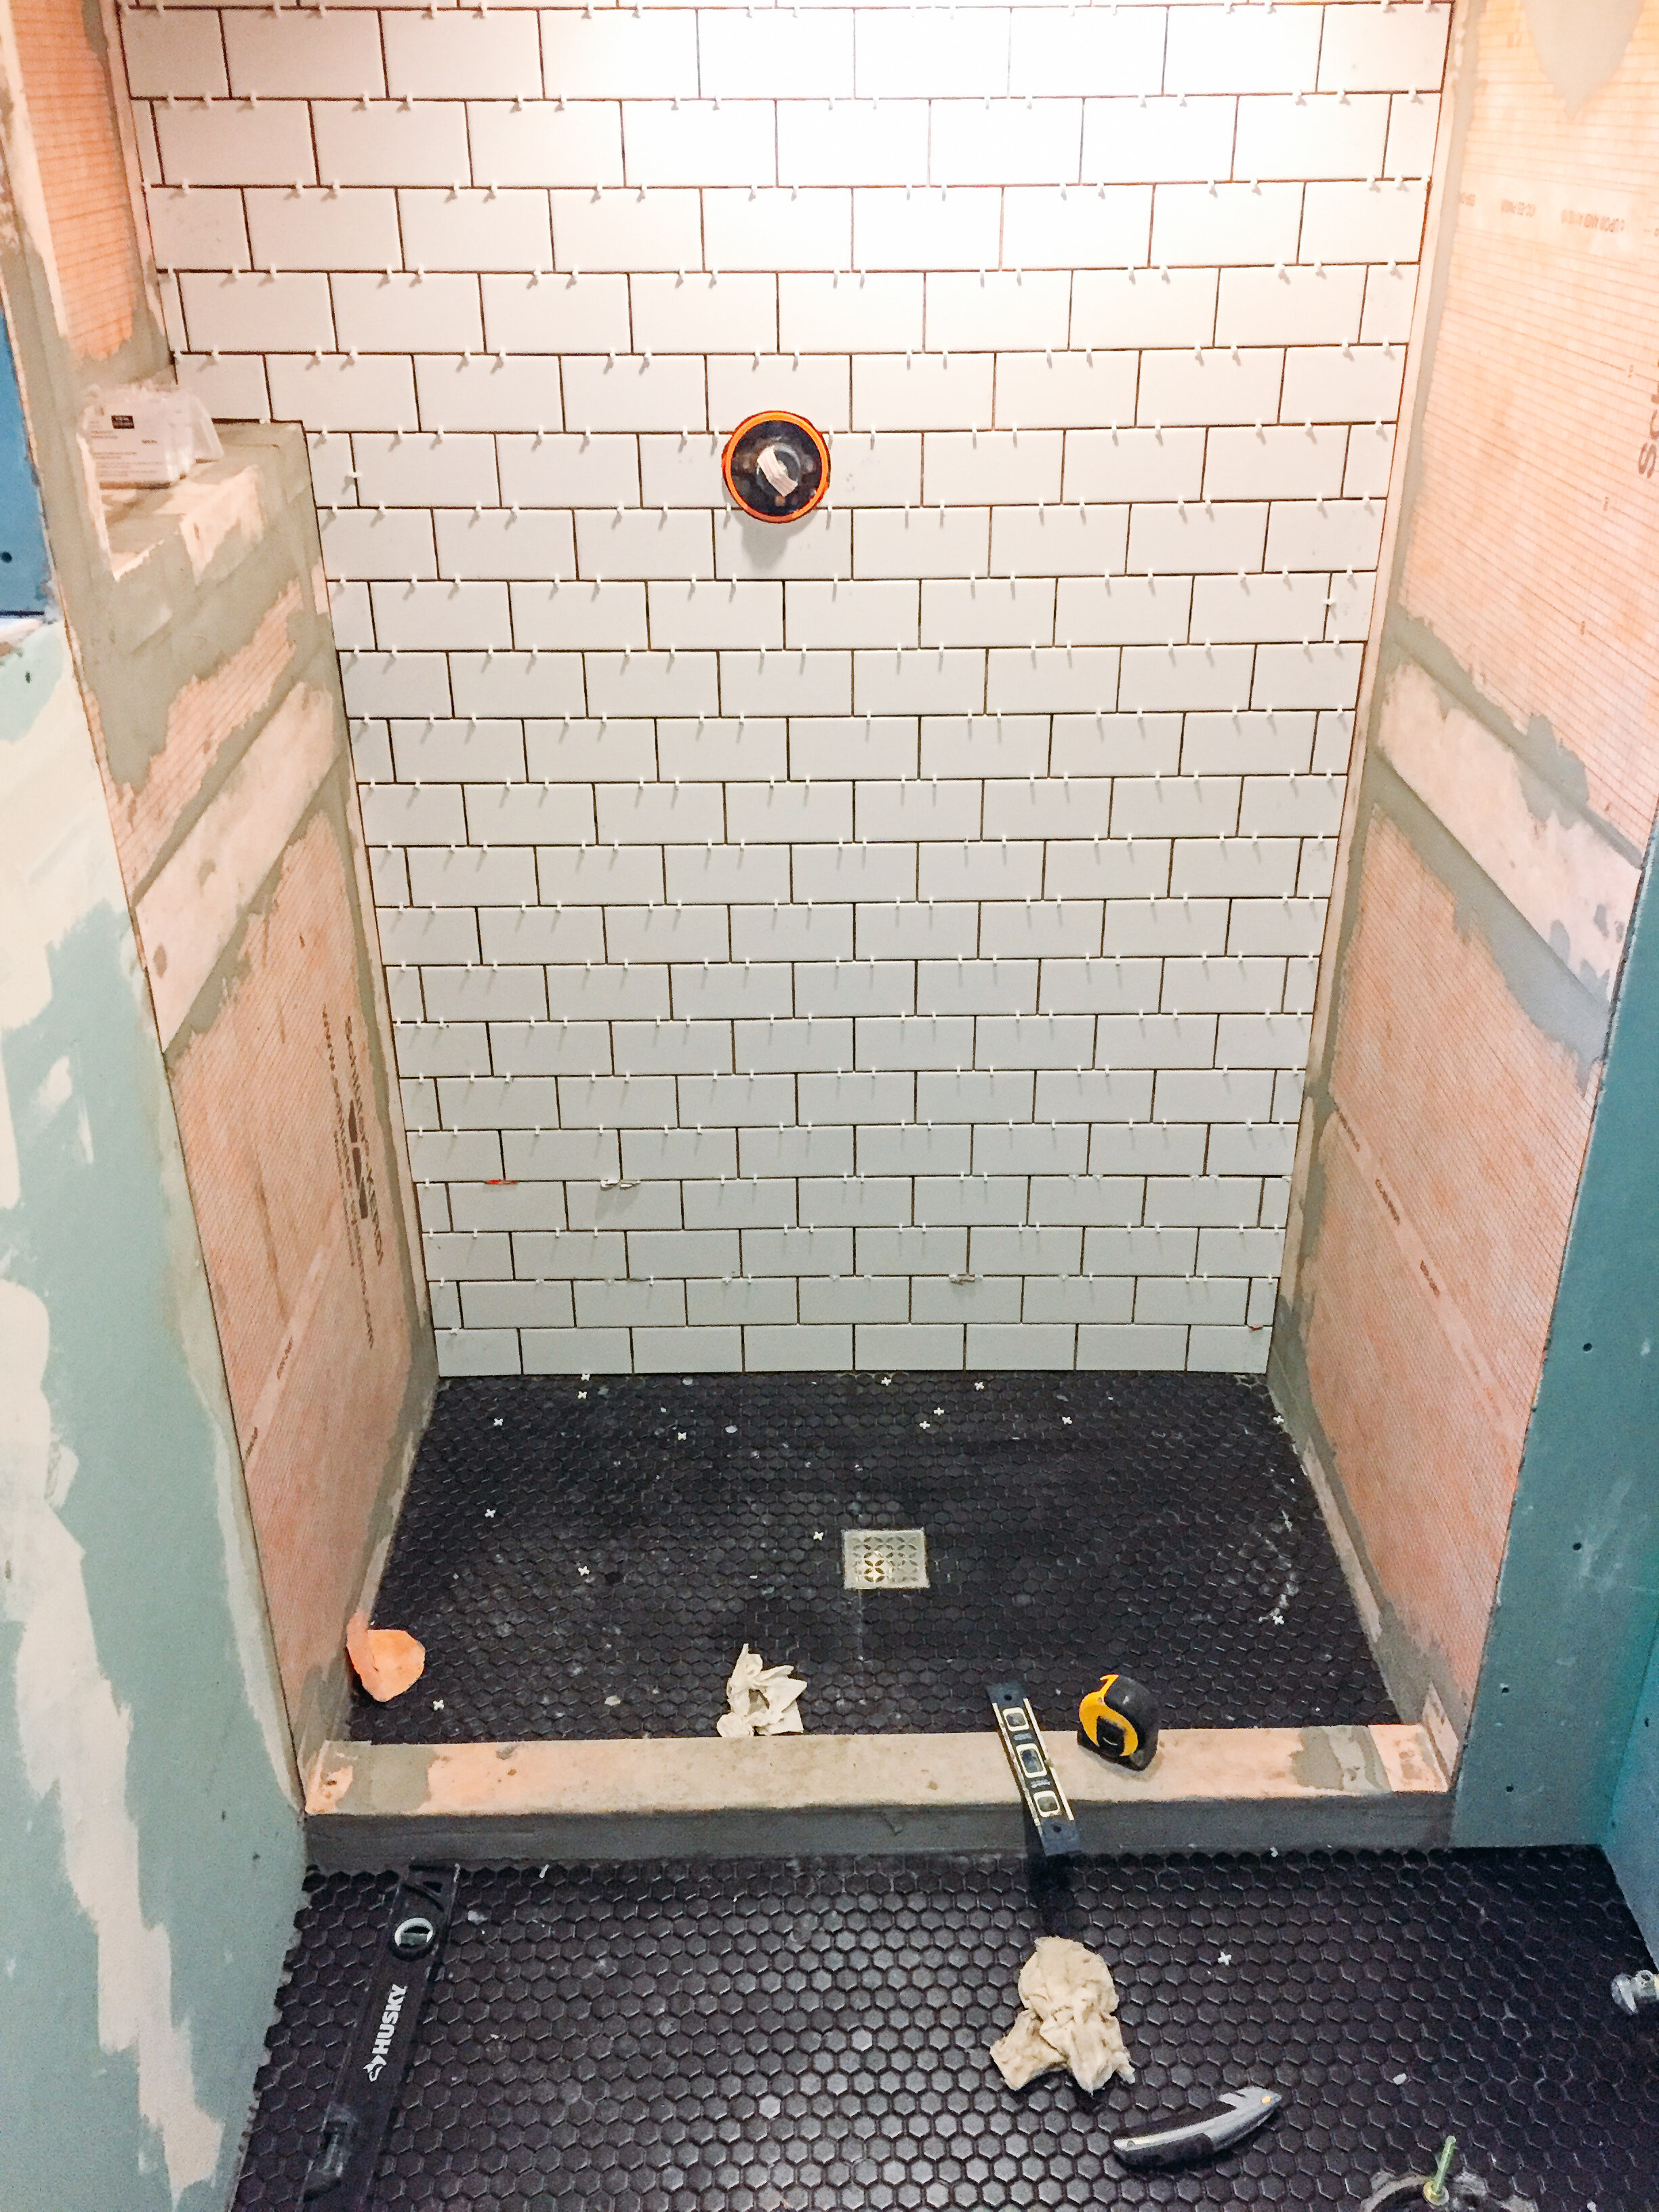
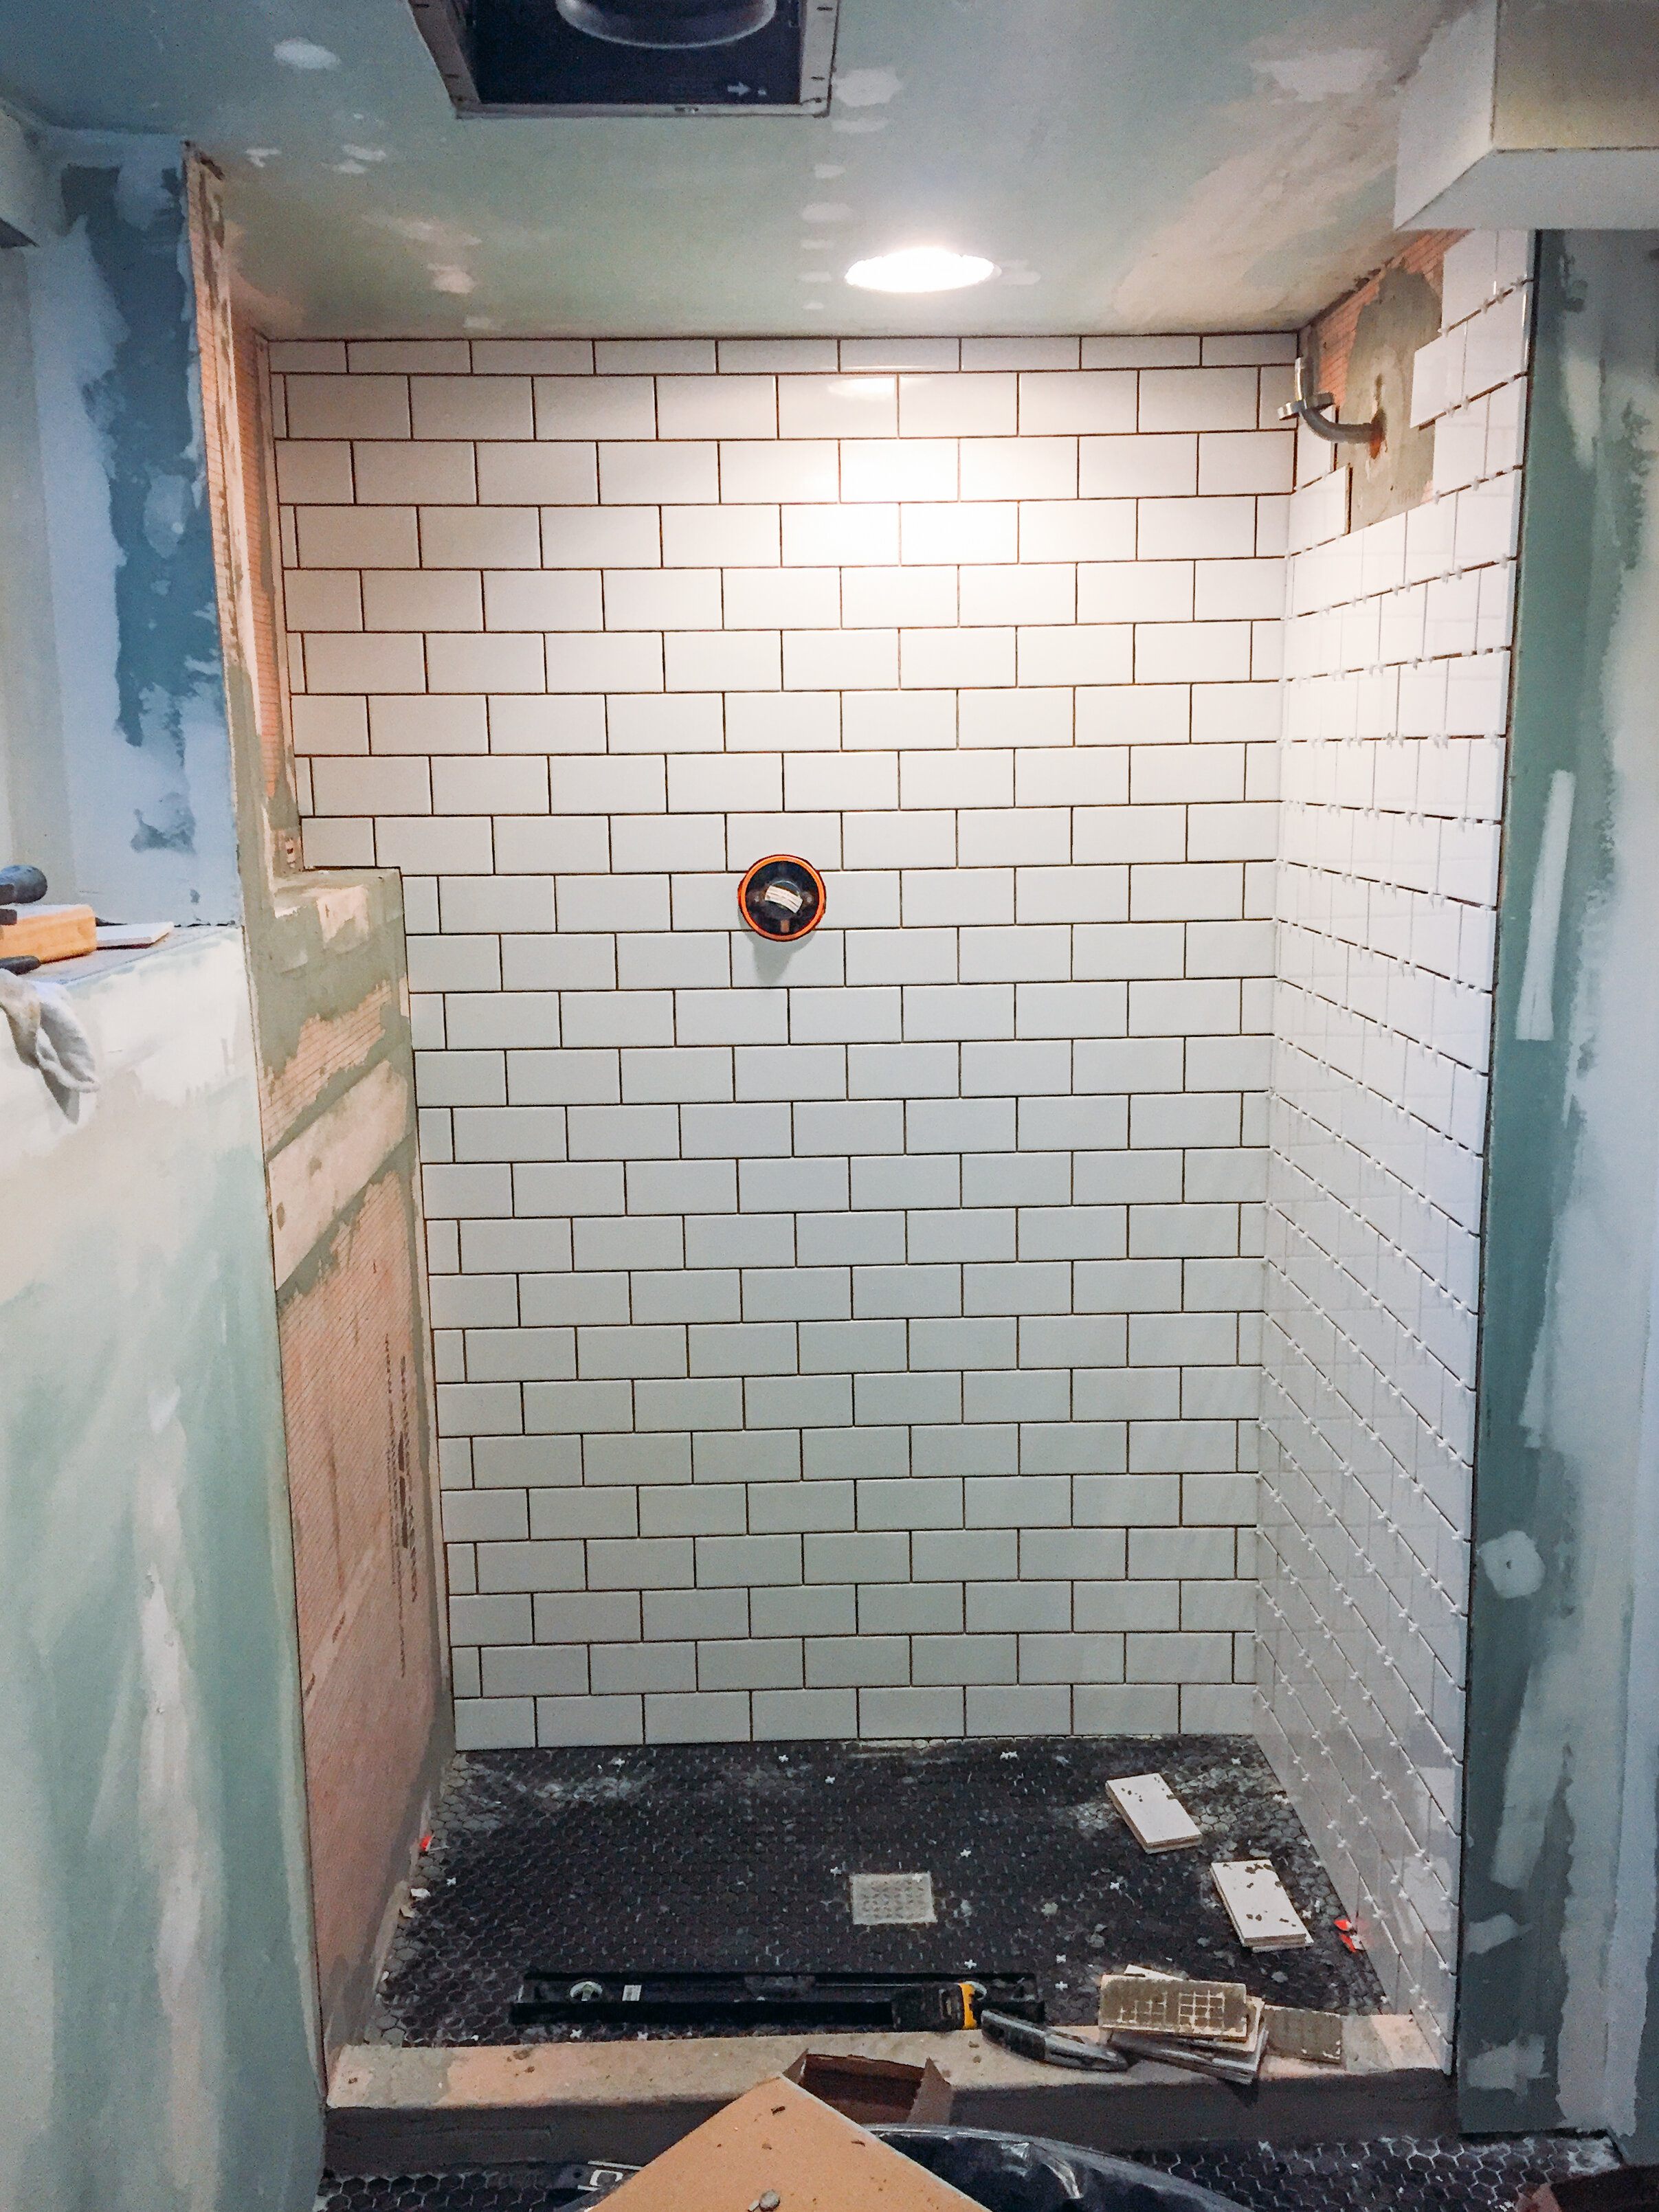
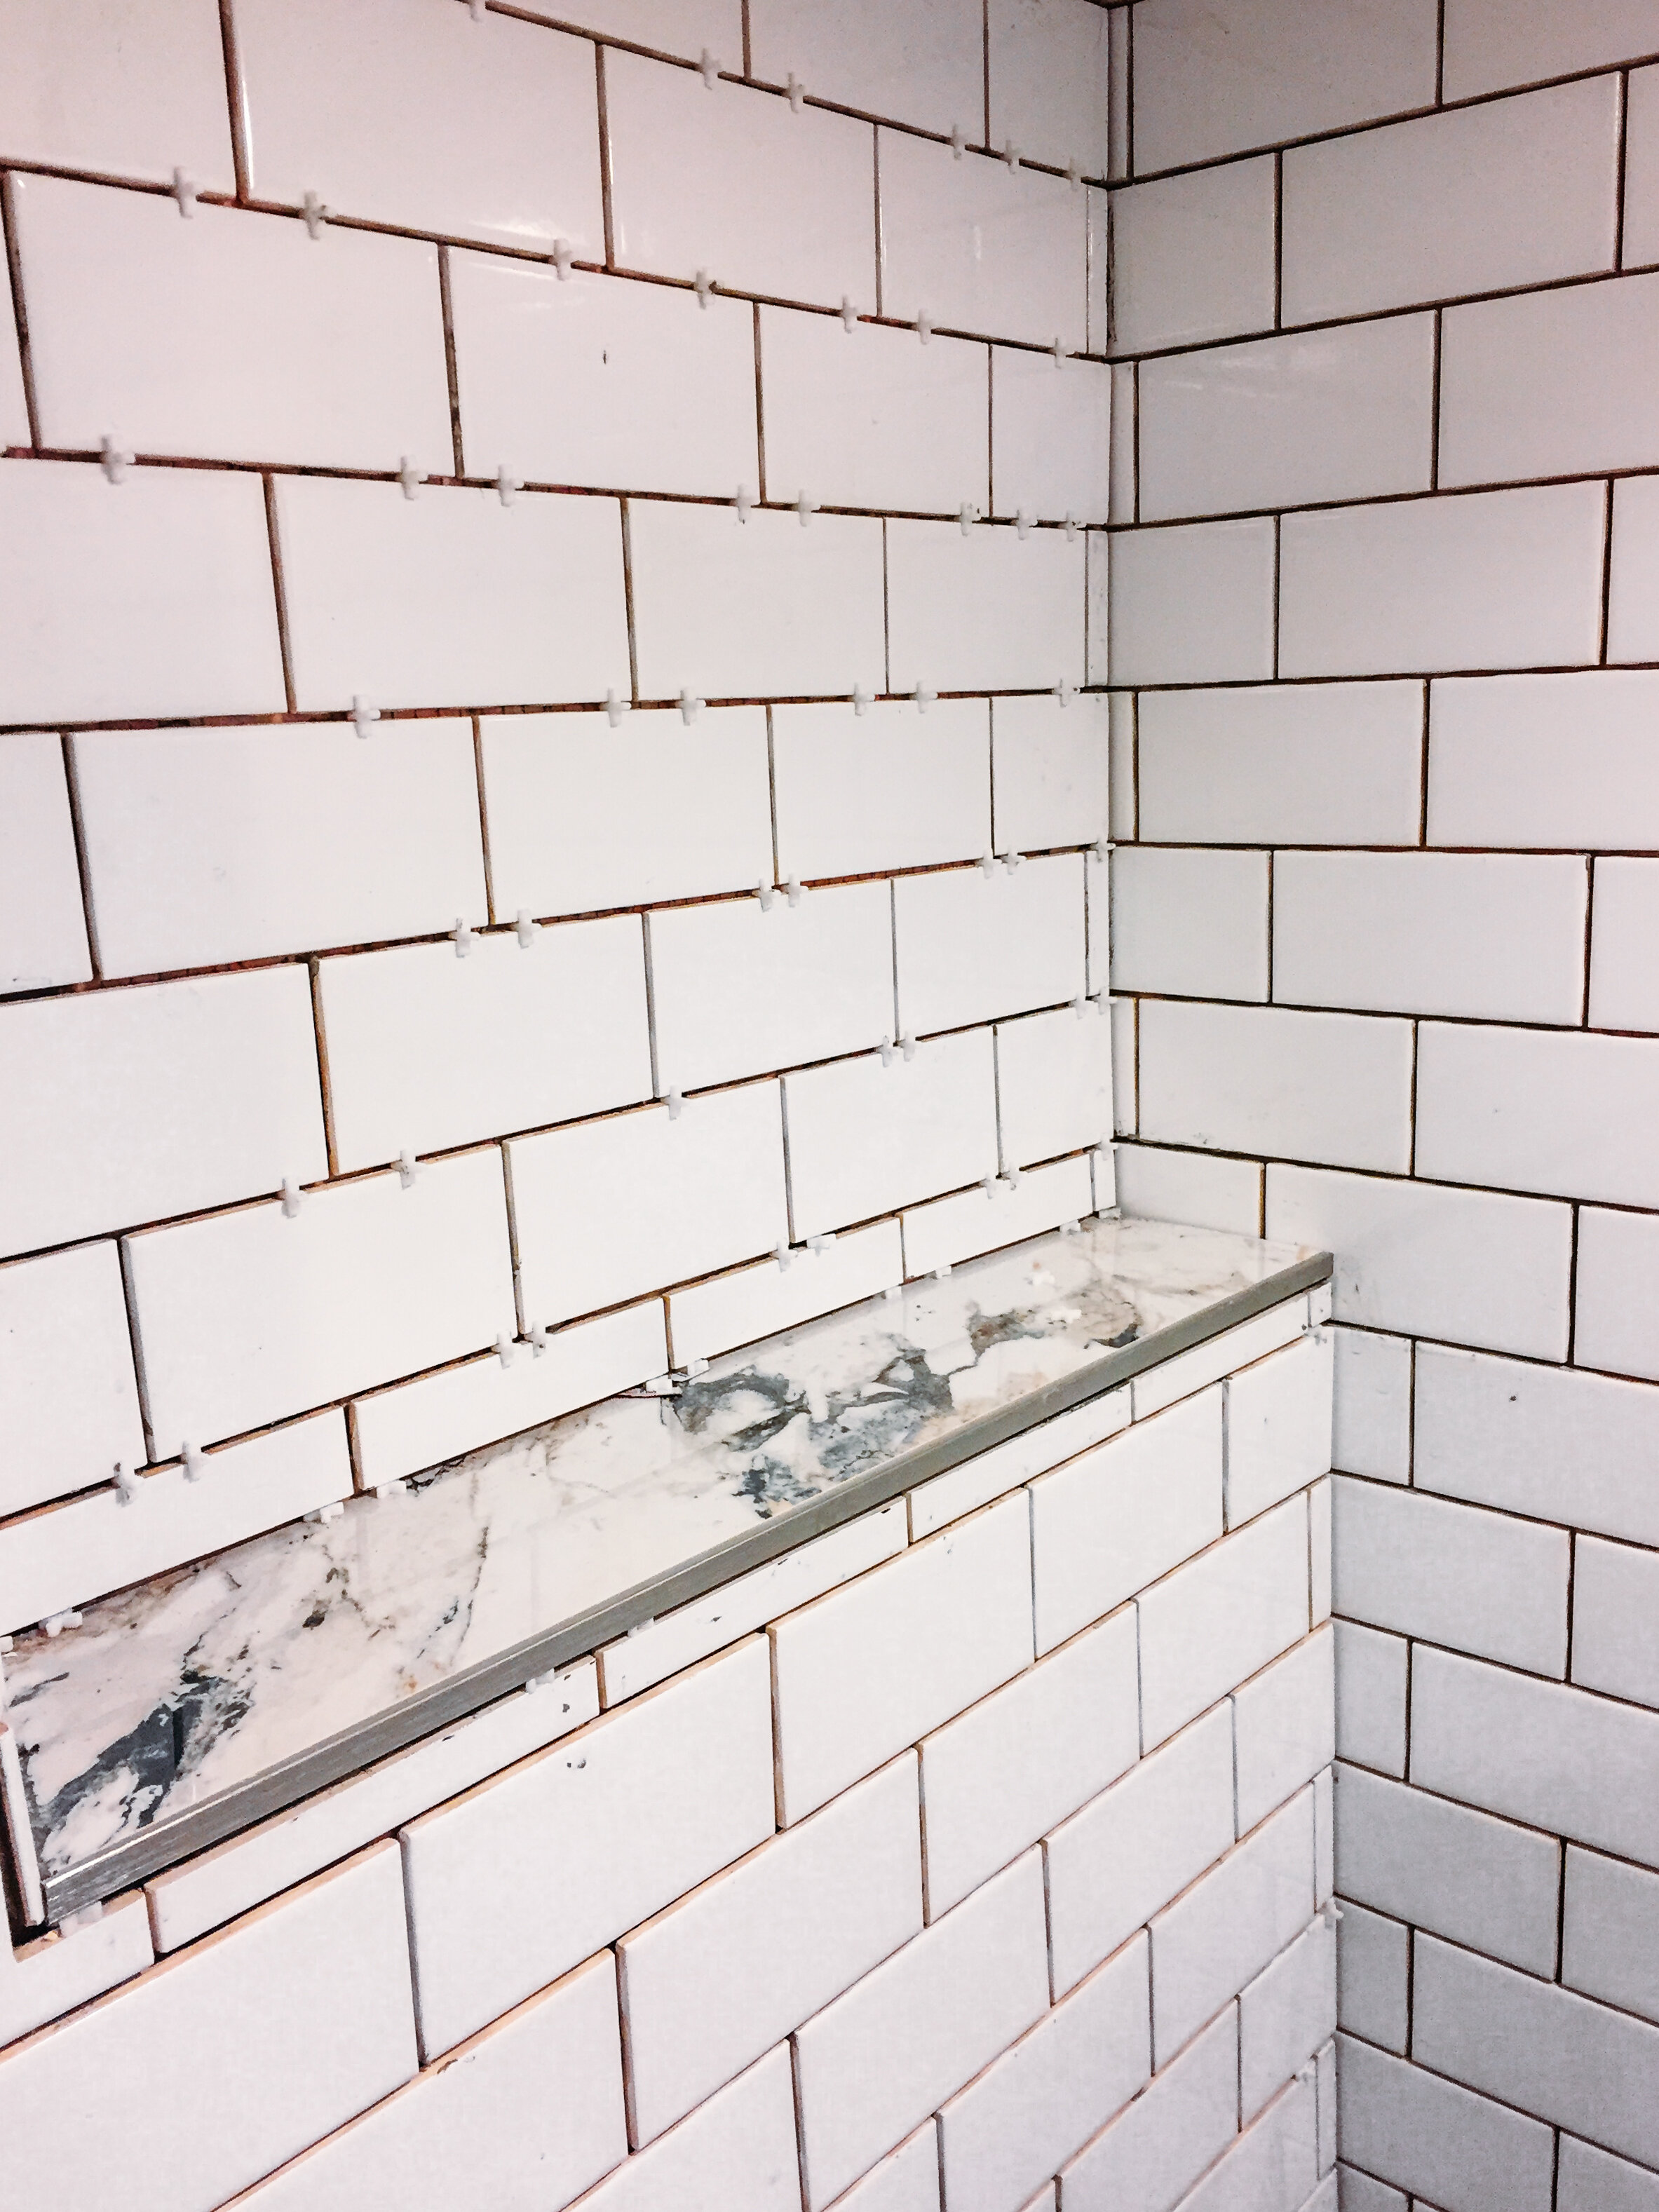
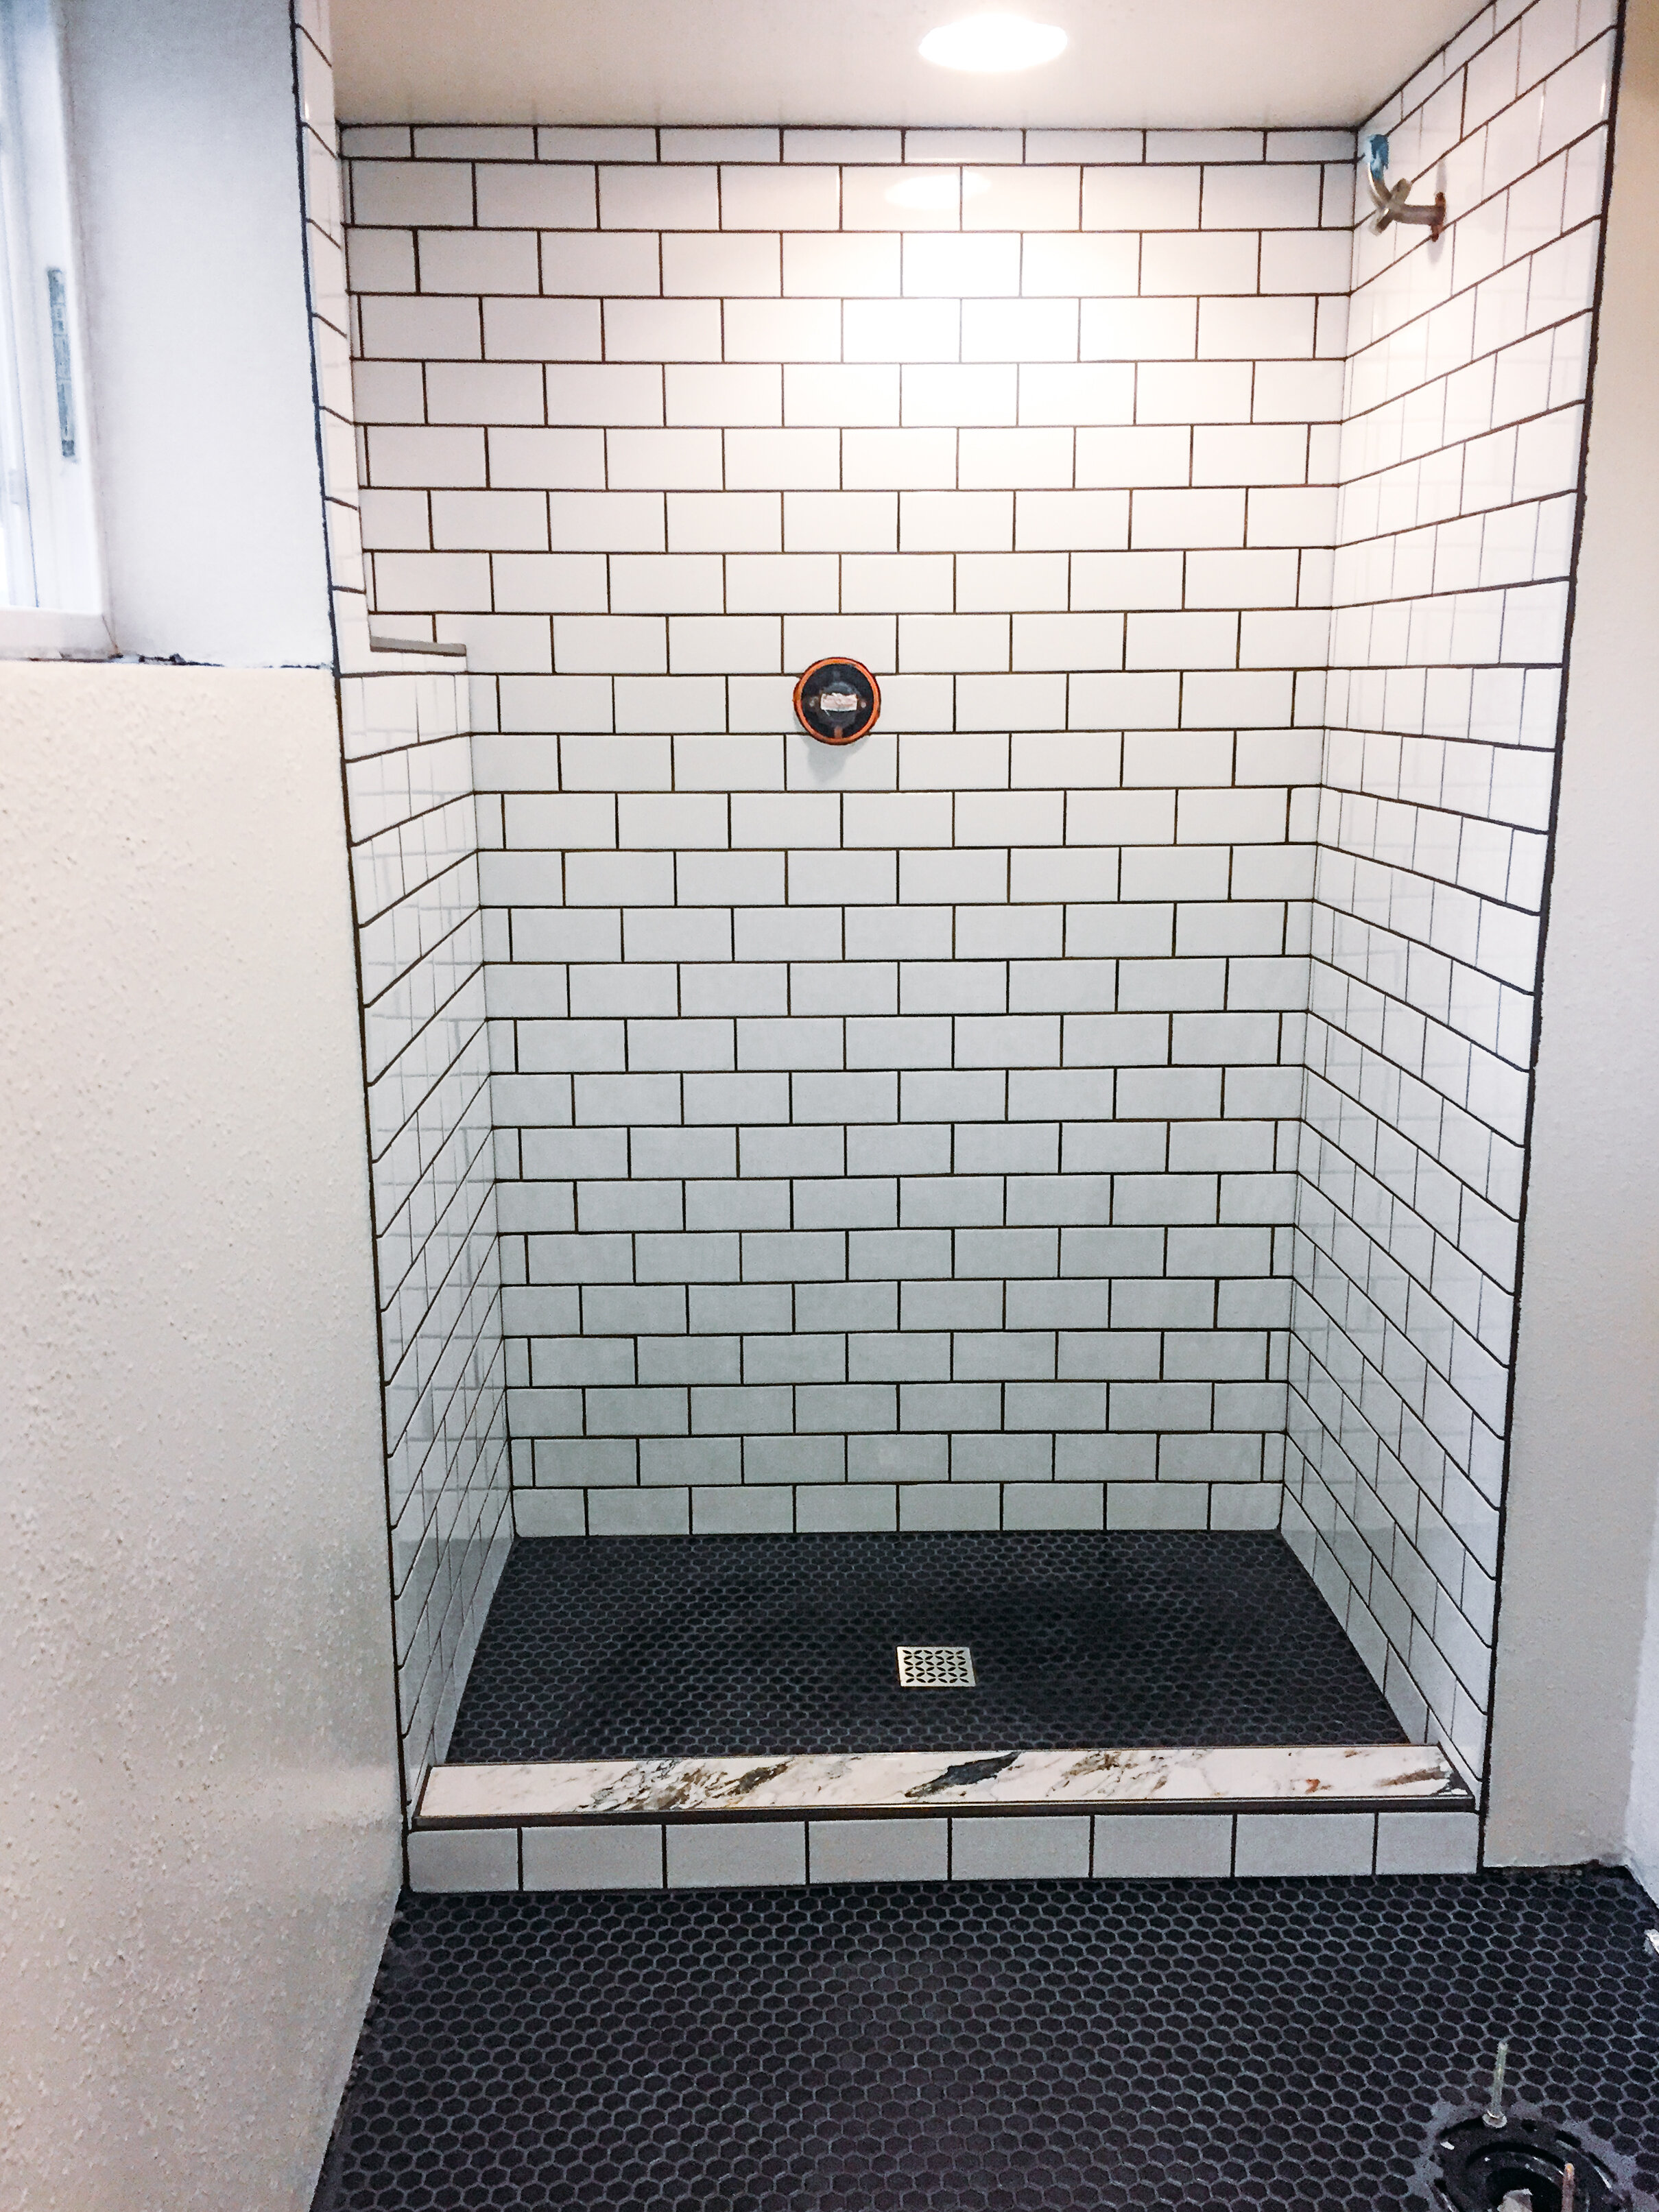
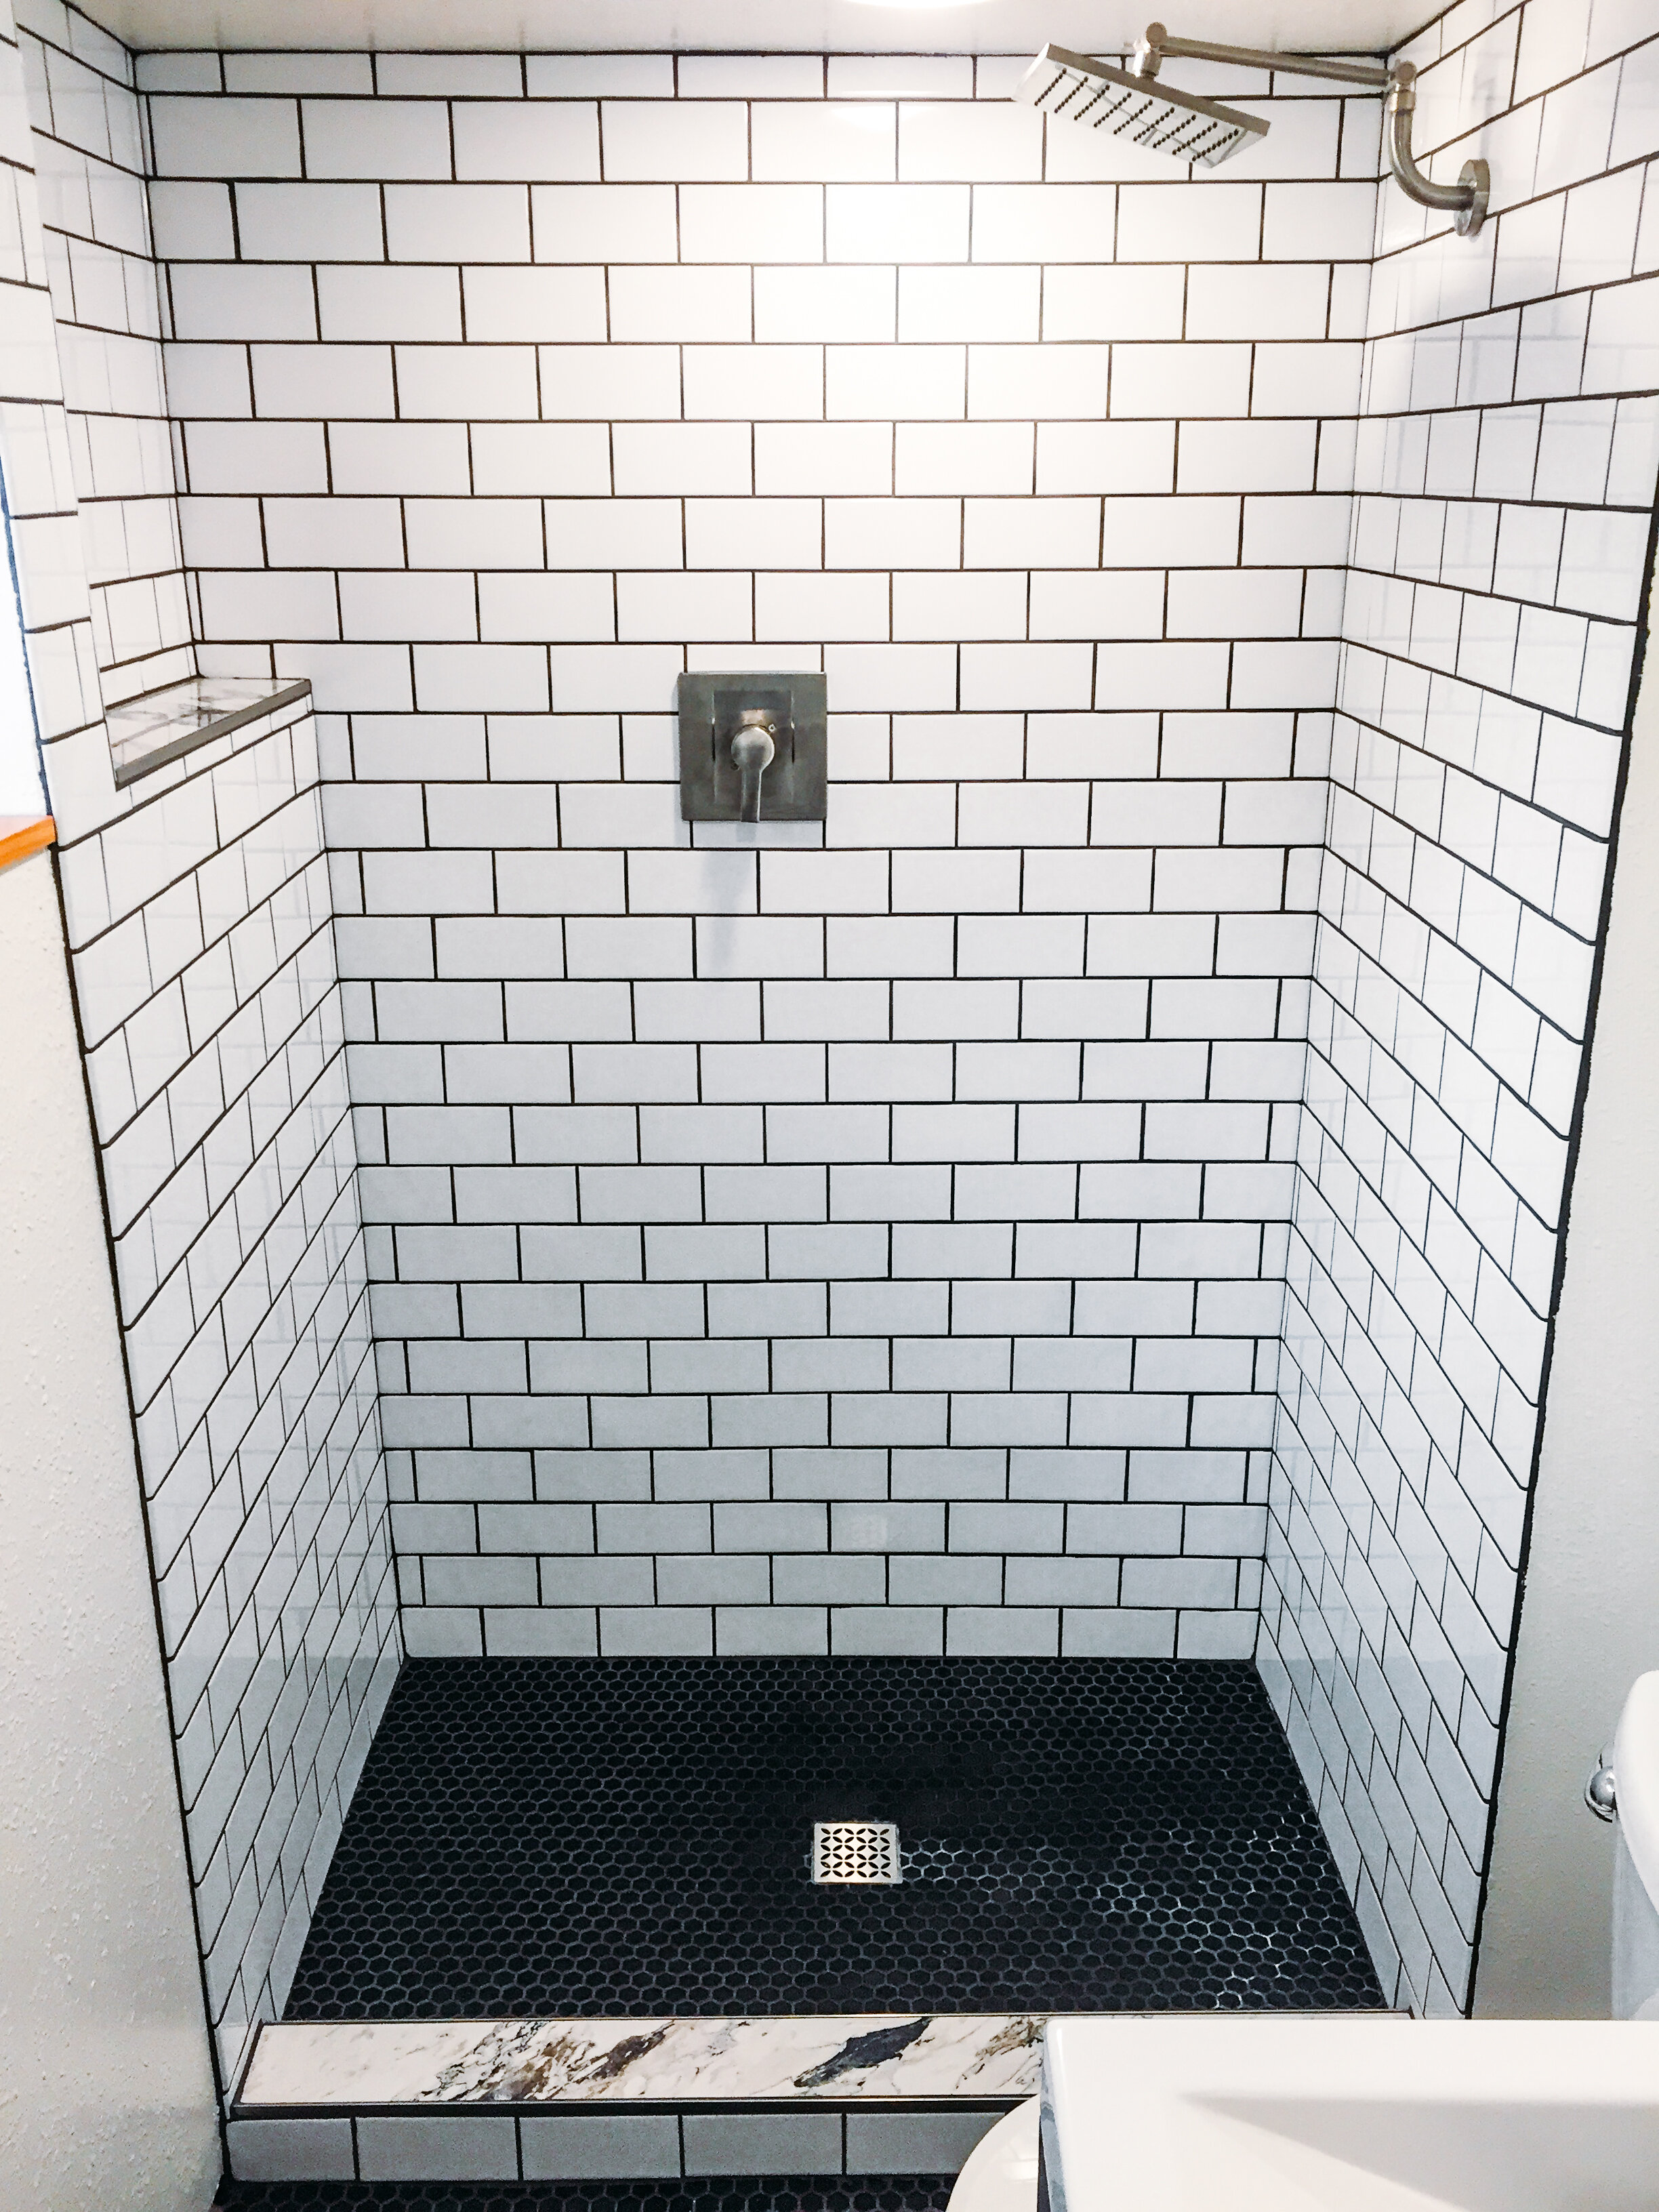
SHOWER WATERPROOFING & TILING
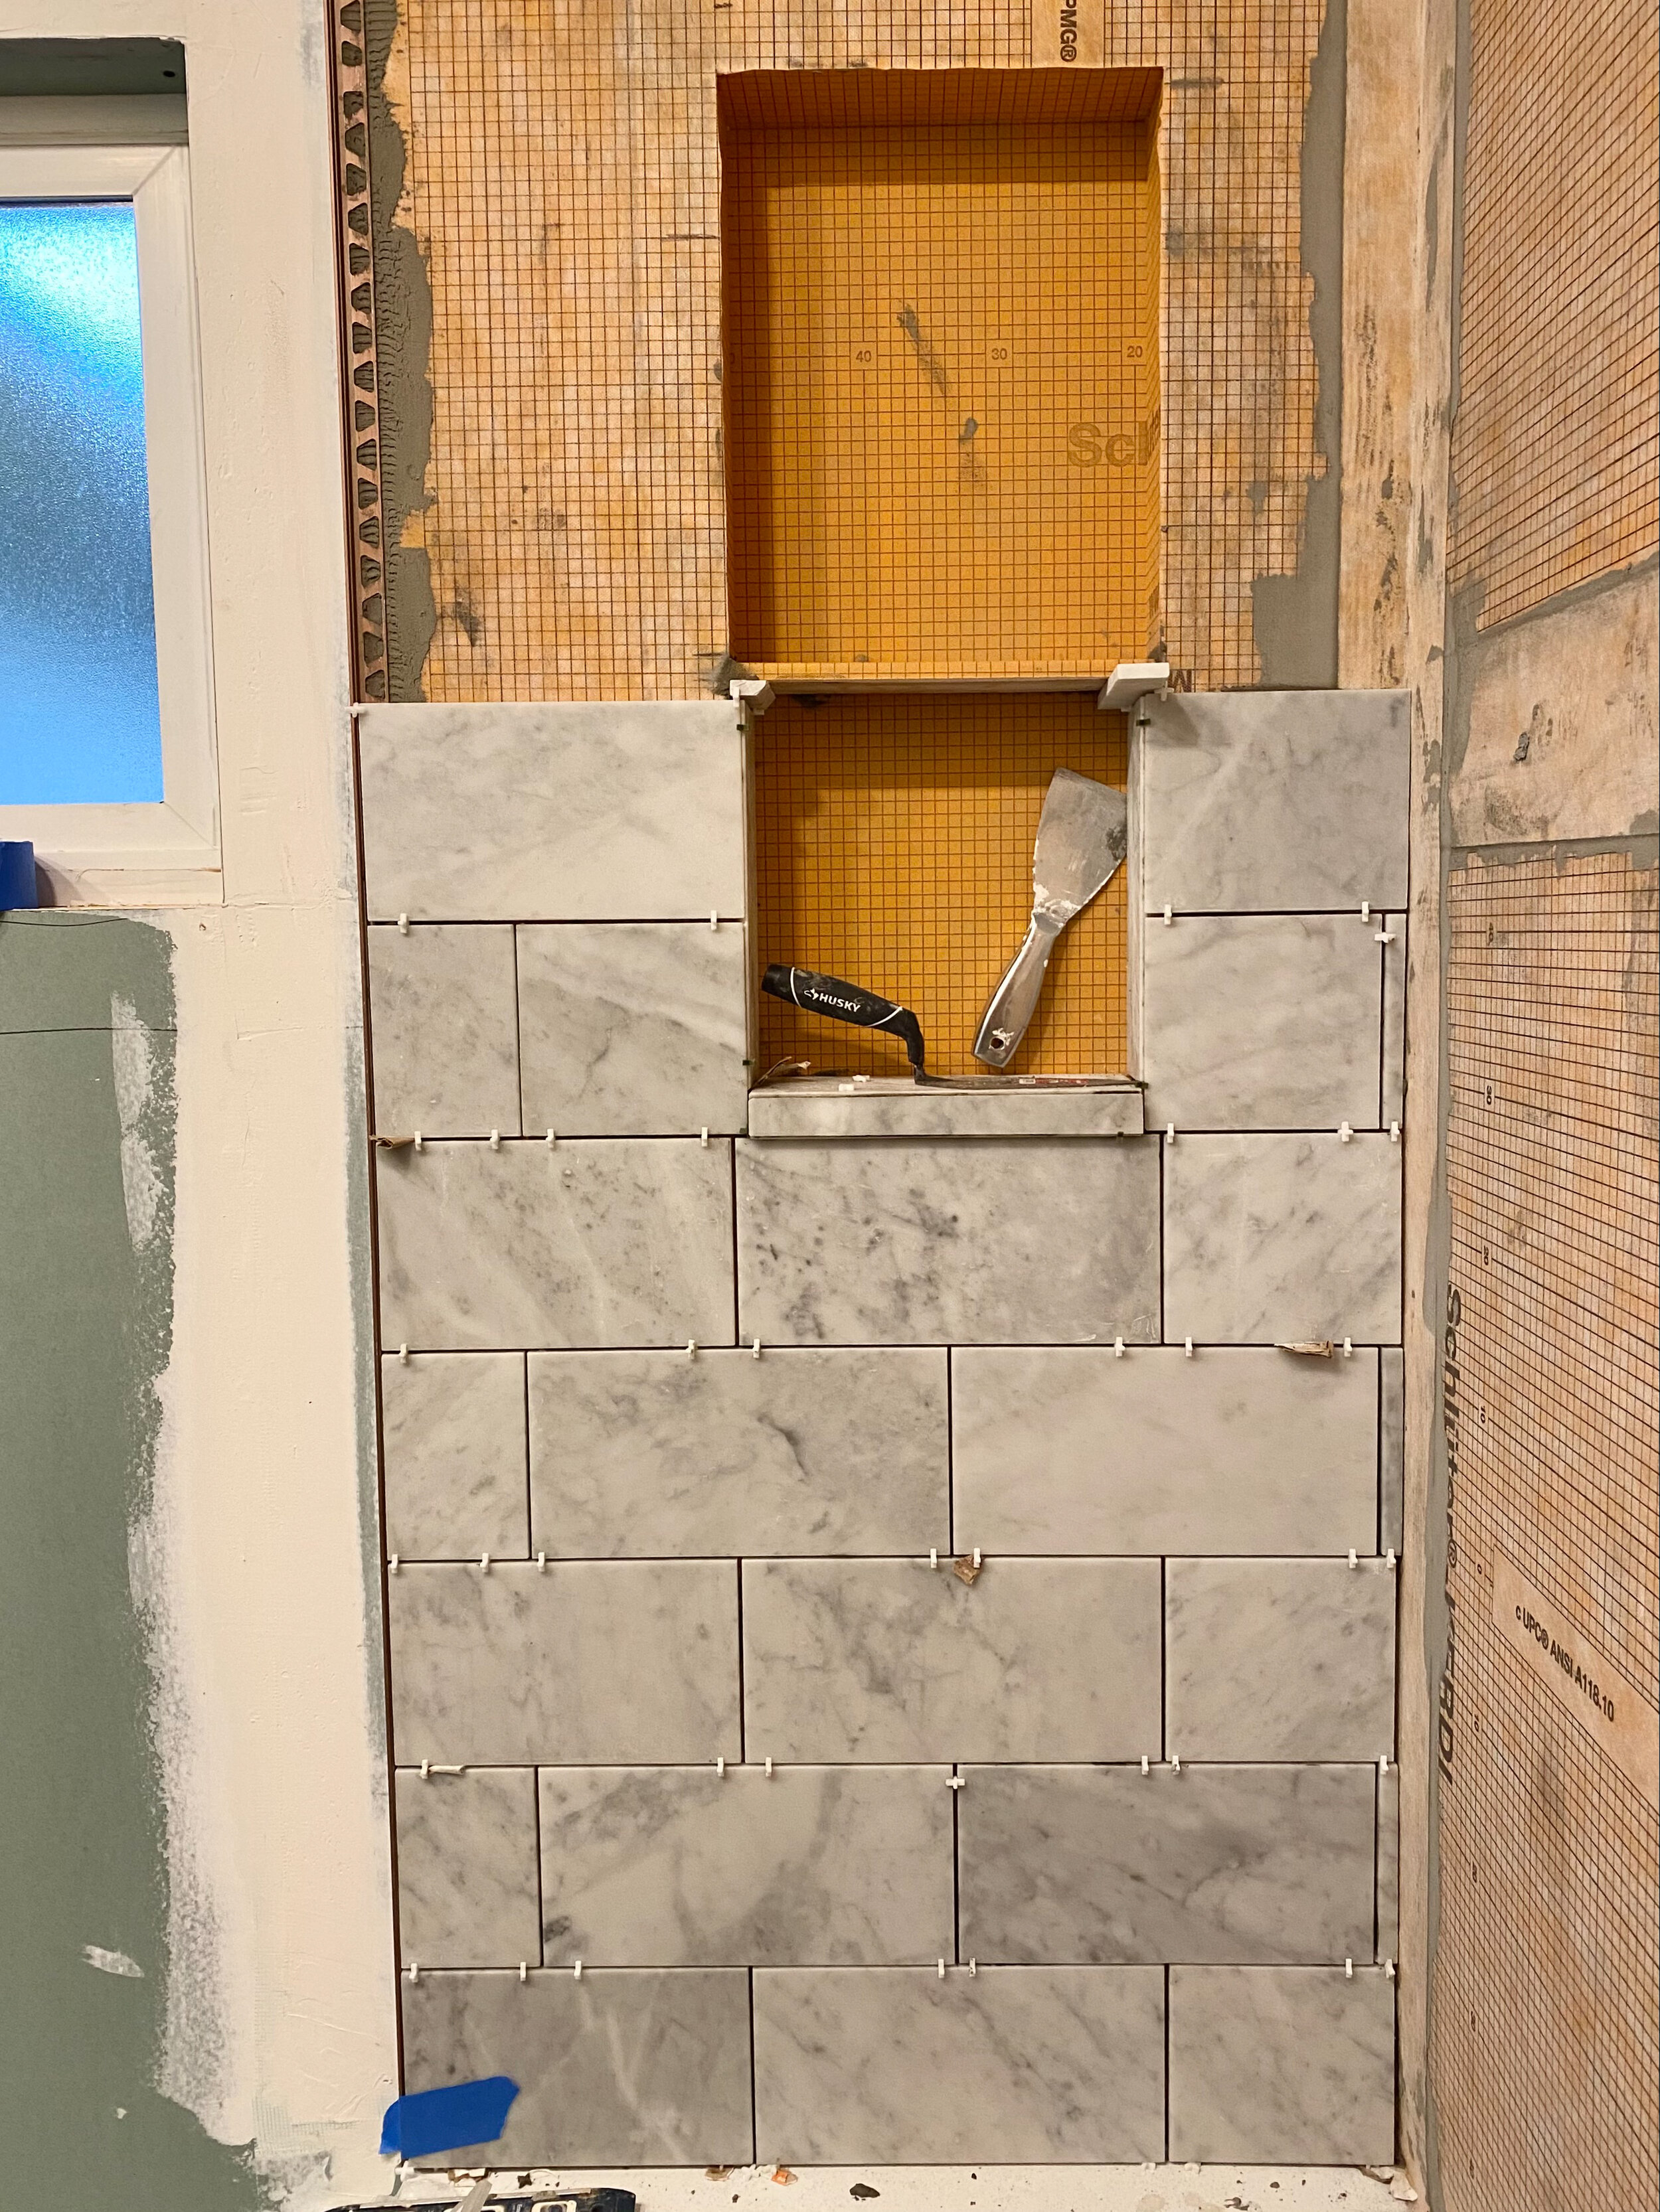
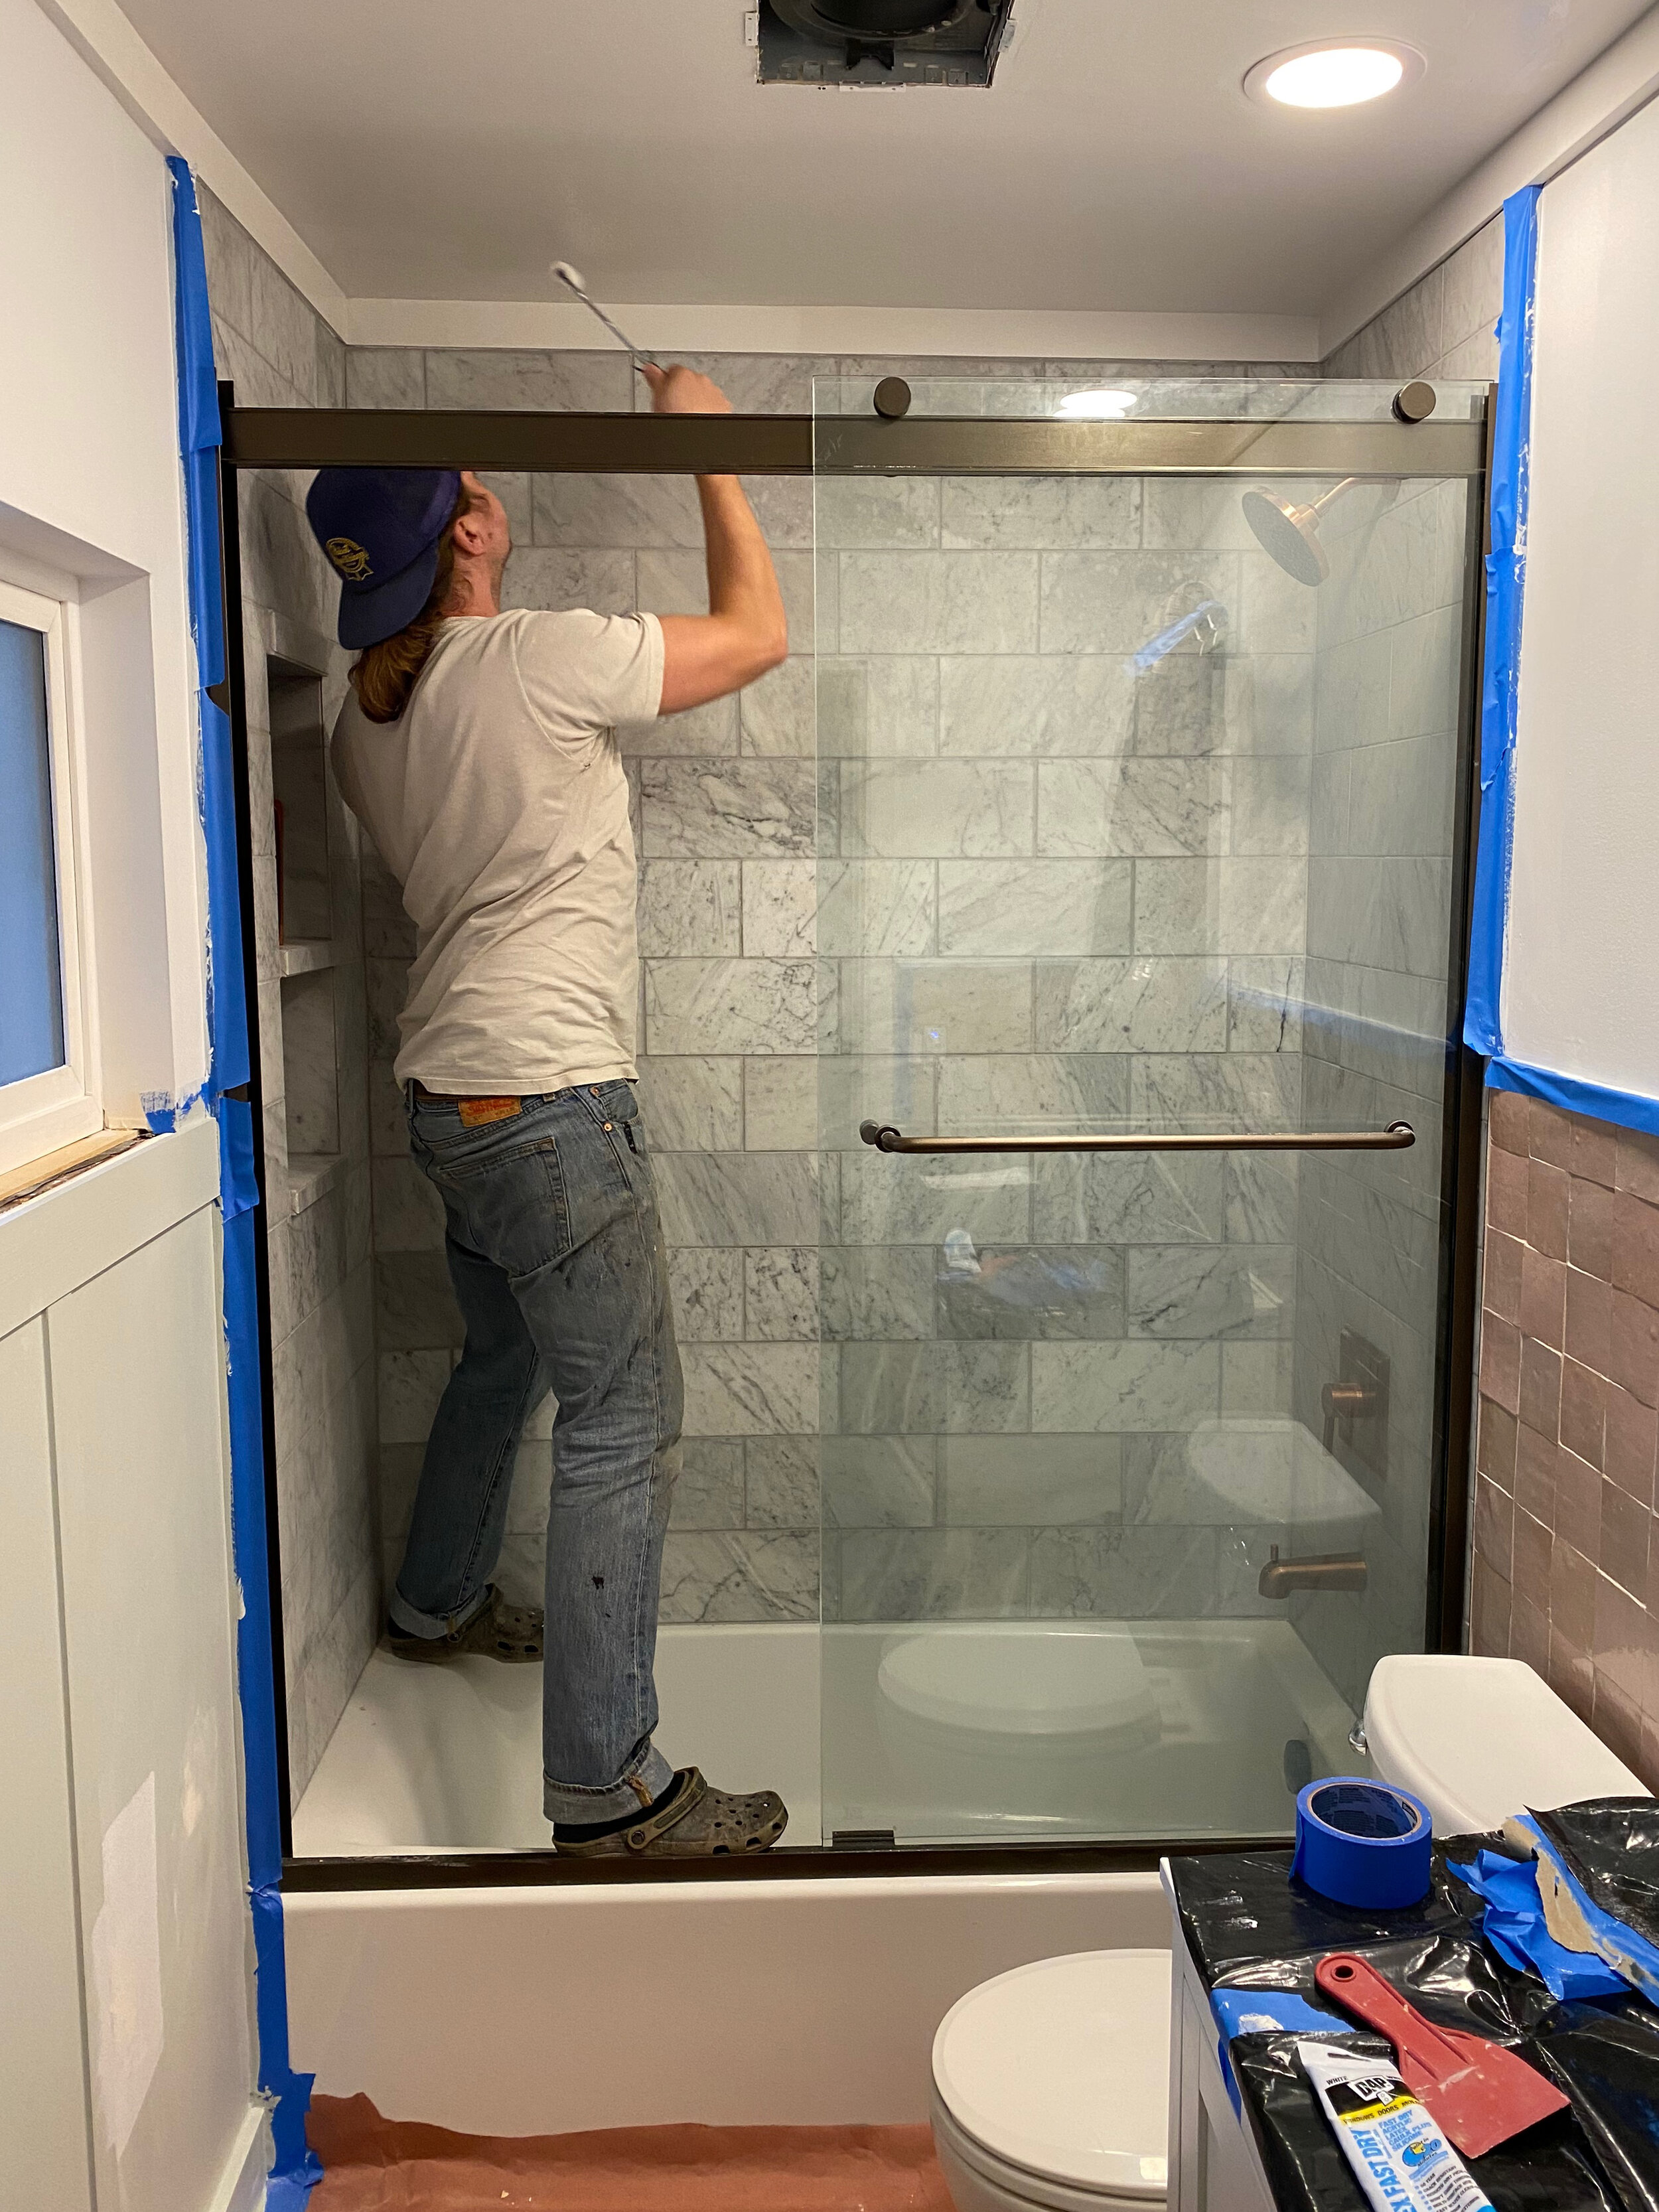
after waterproofing, the tiling and grouting came together in a few days. then the sliding shower door was installed! i believe our shower was out of operation for a total of 20 days before it was functioning in it’s new state (we were able to hang the shower curtain back up to use the shower while we were waiting for the shower door to go in - no biggie.)
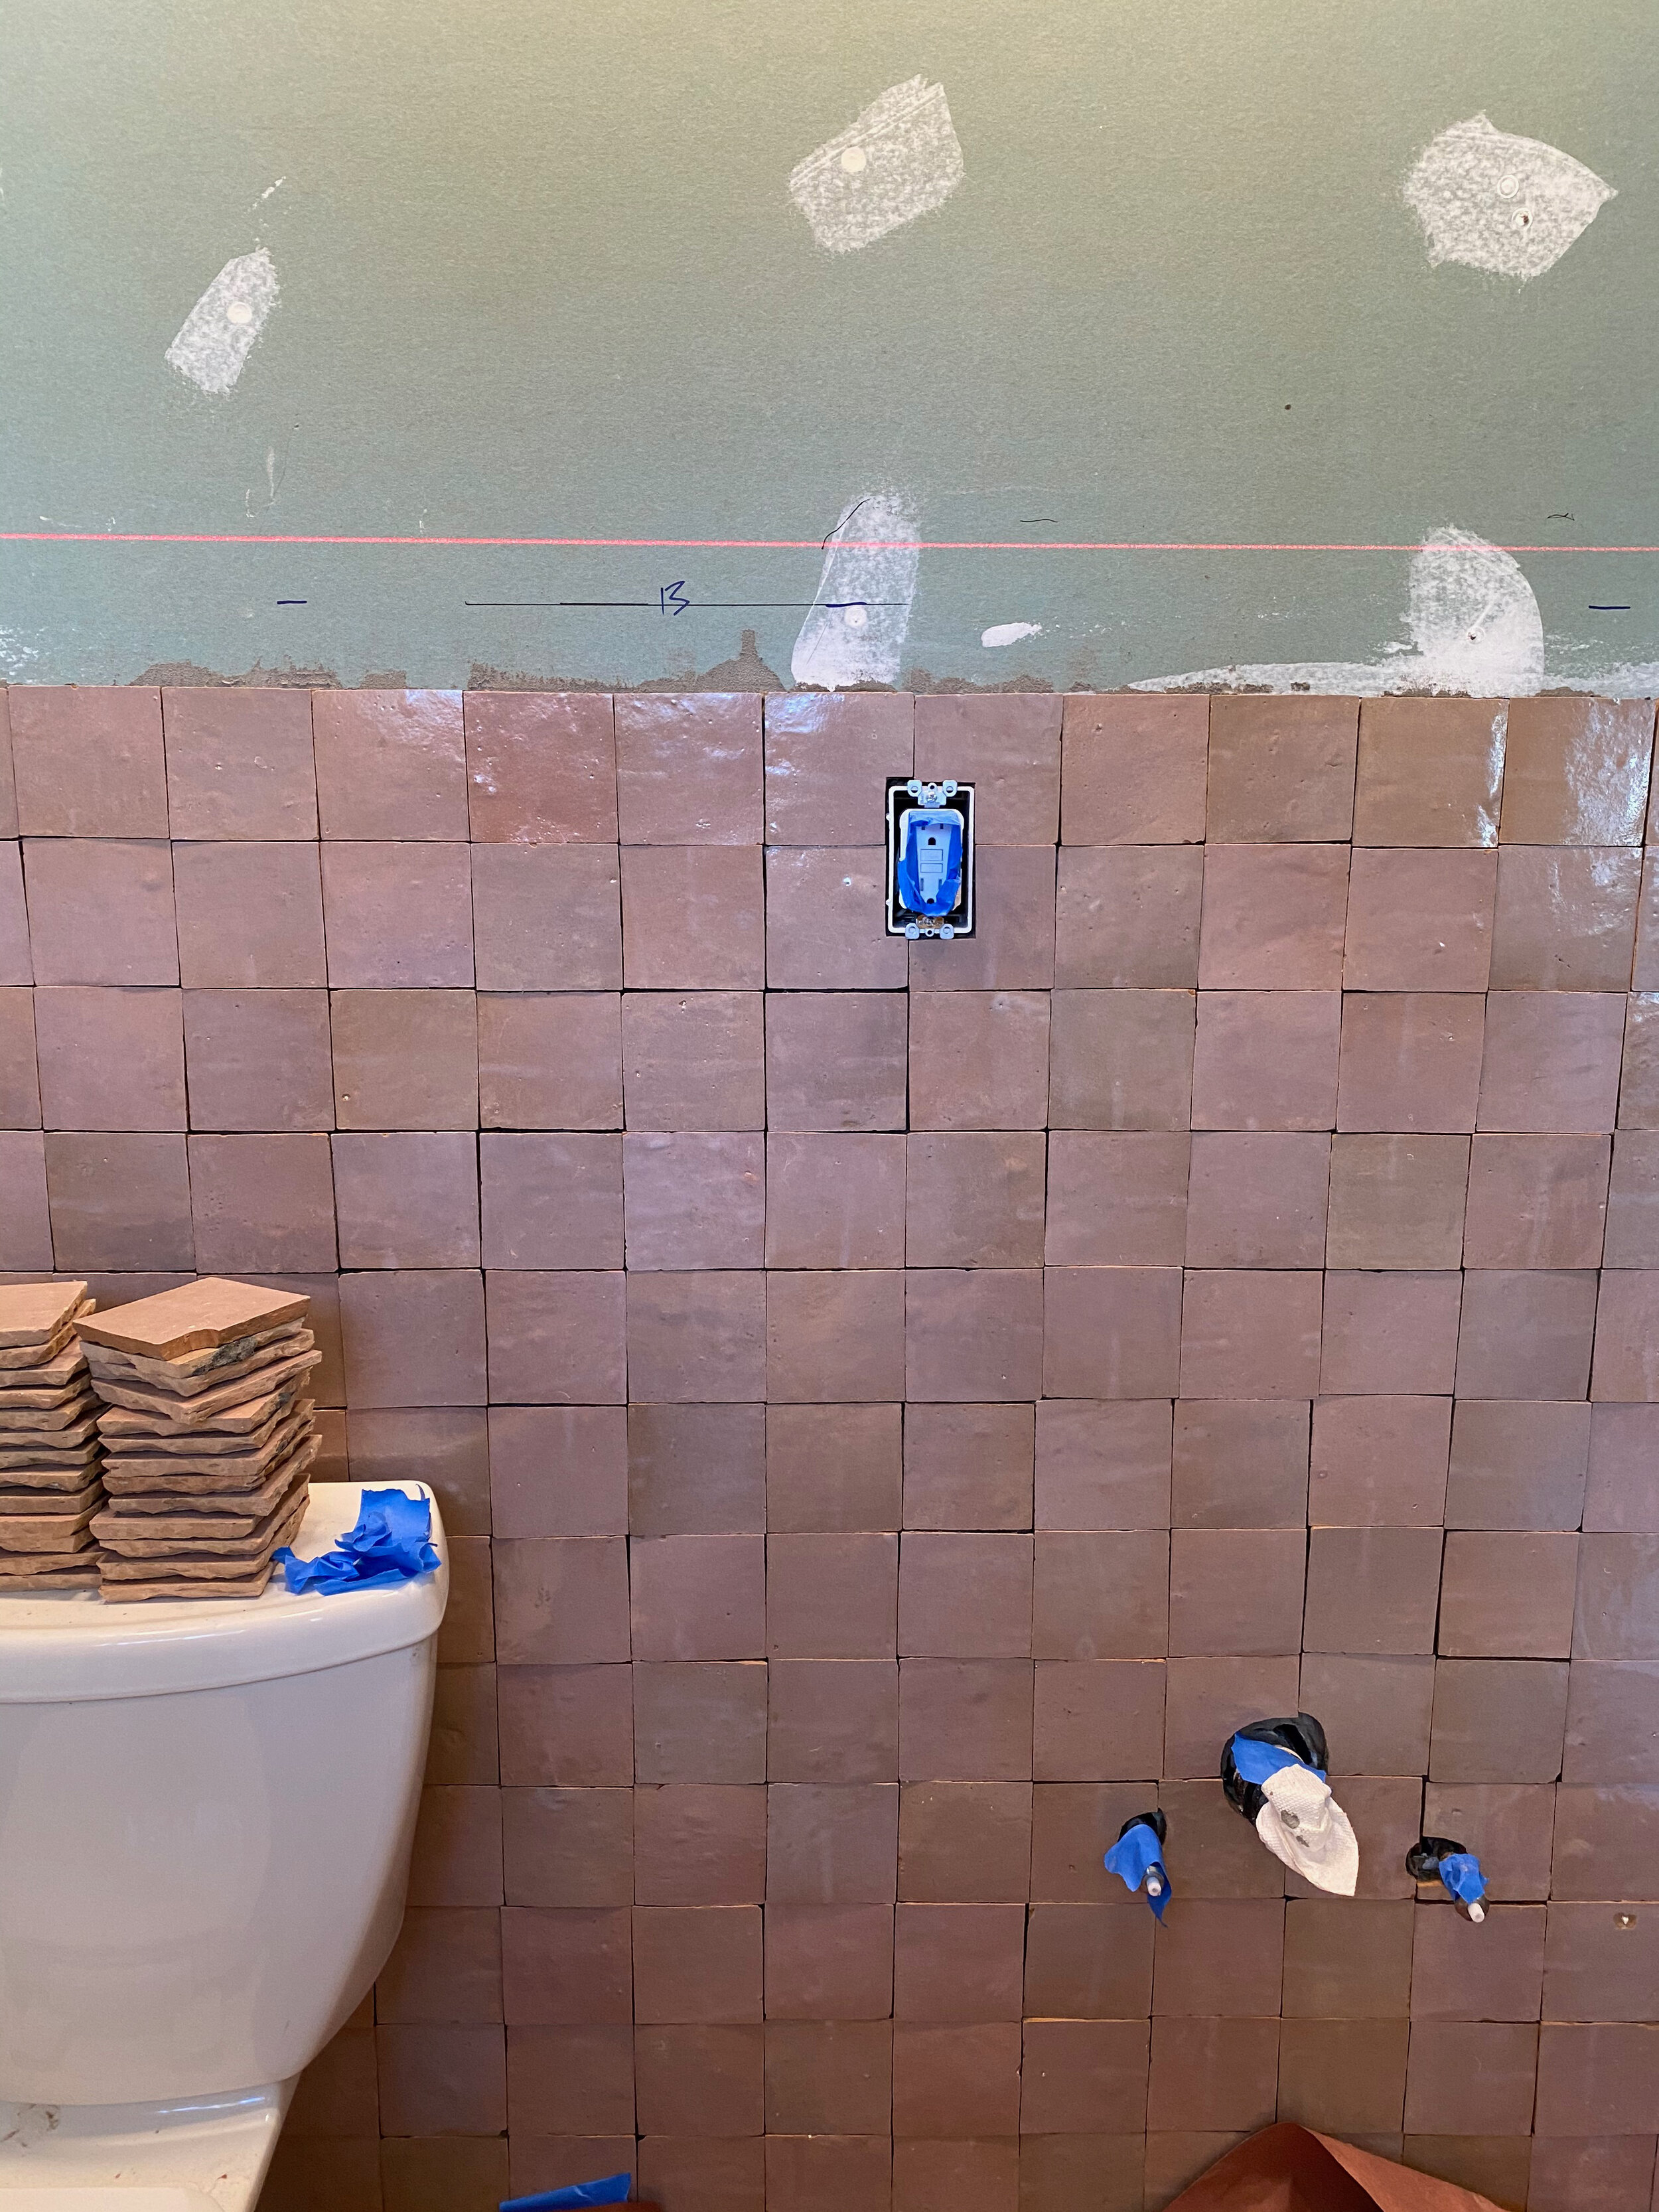
BACKSPLASH & VANITY WALL TILE
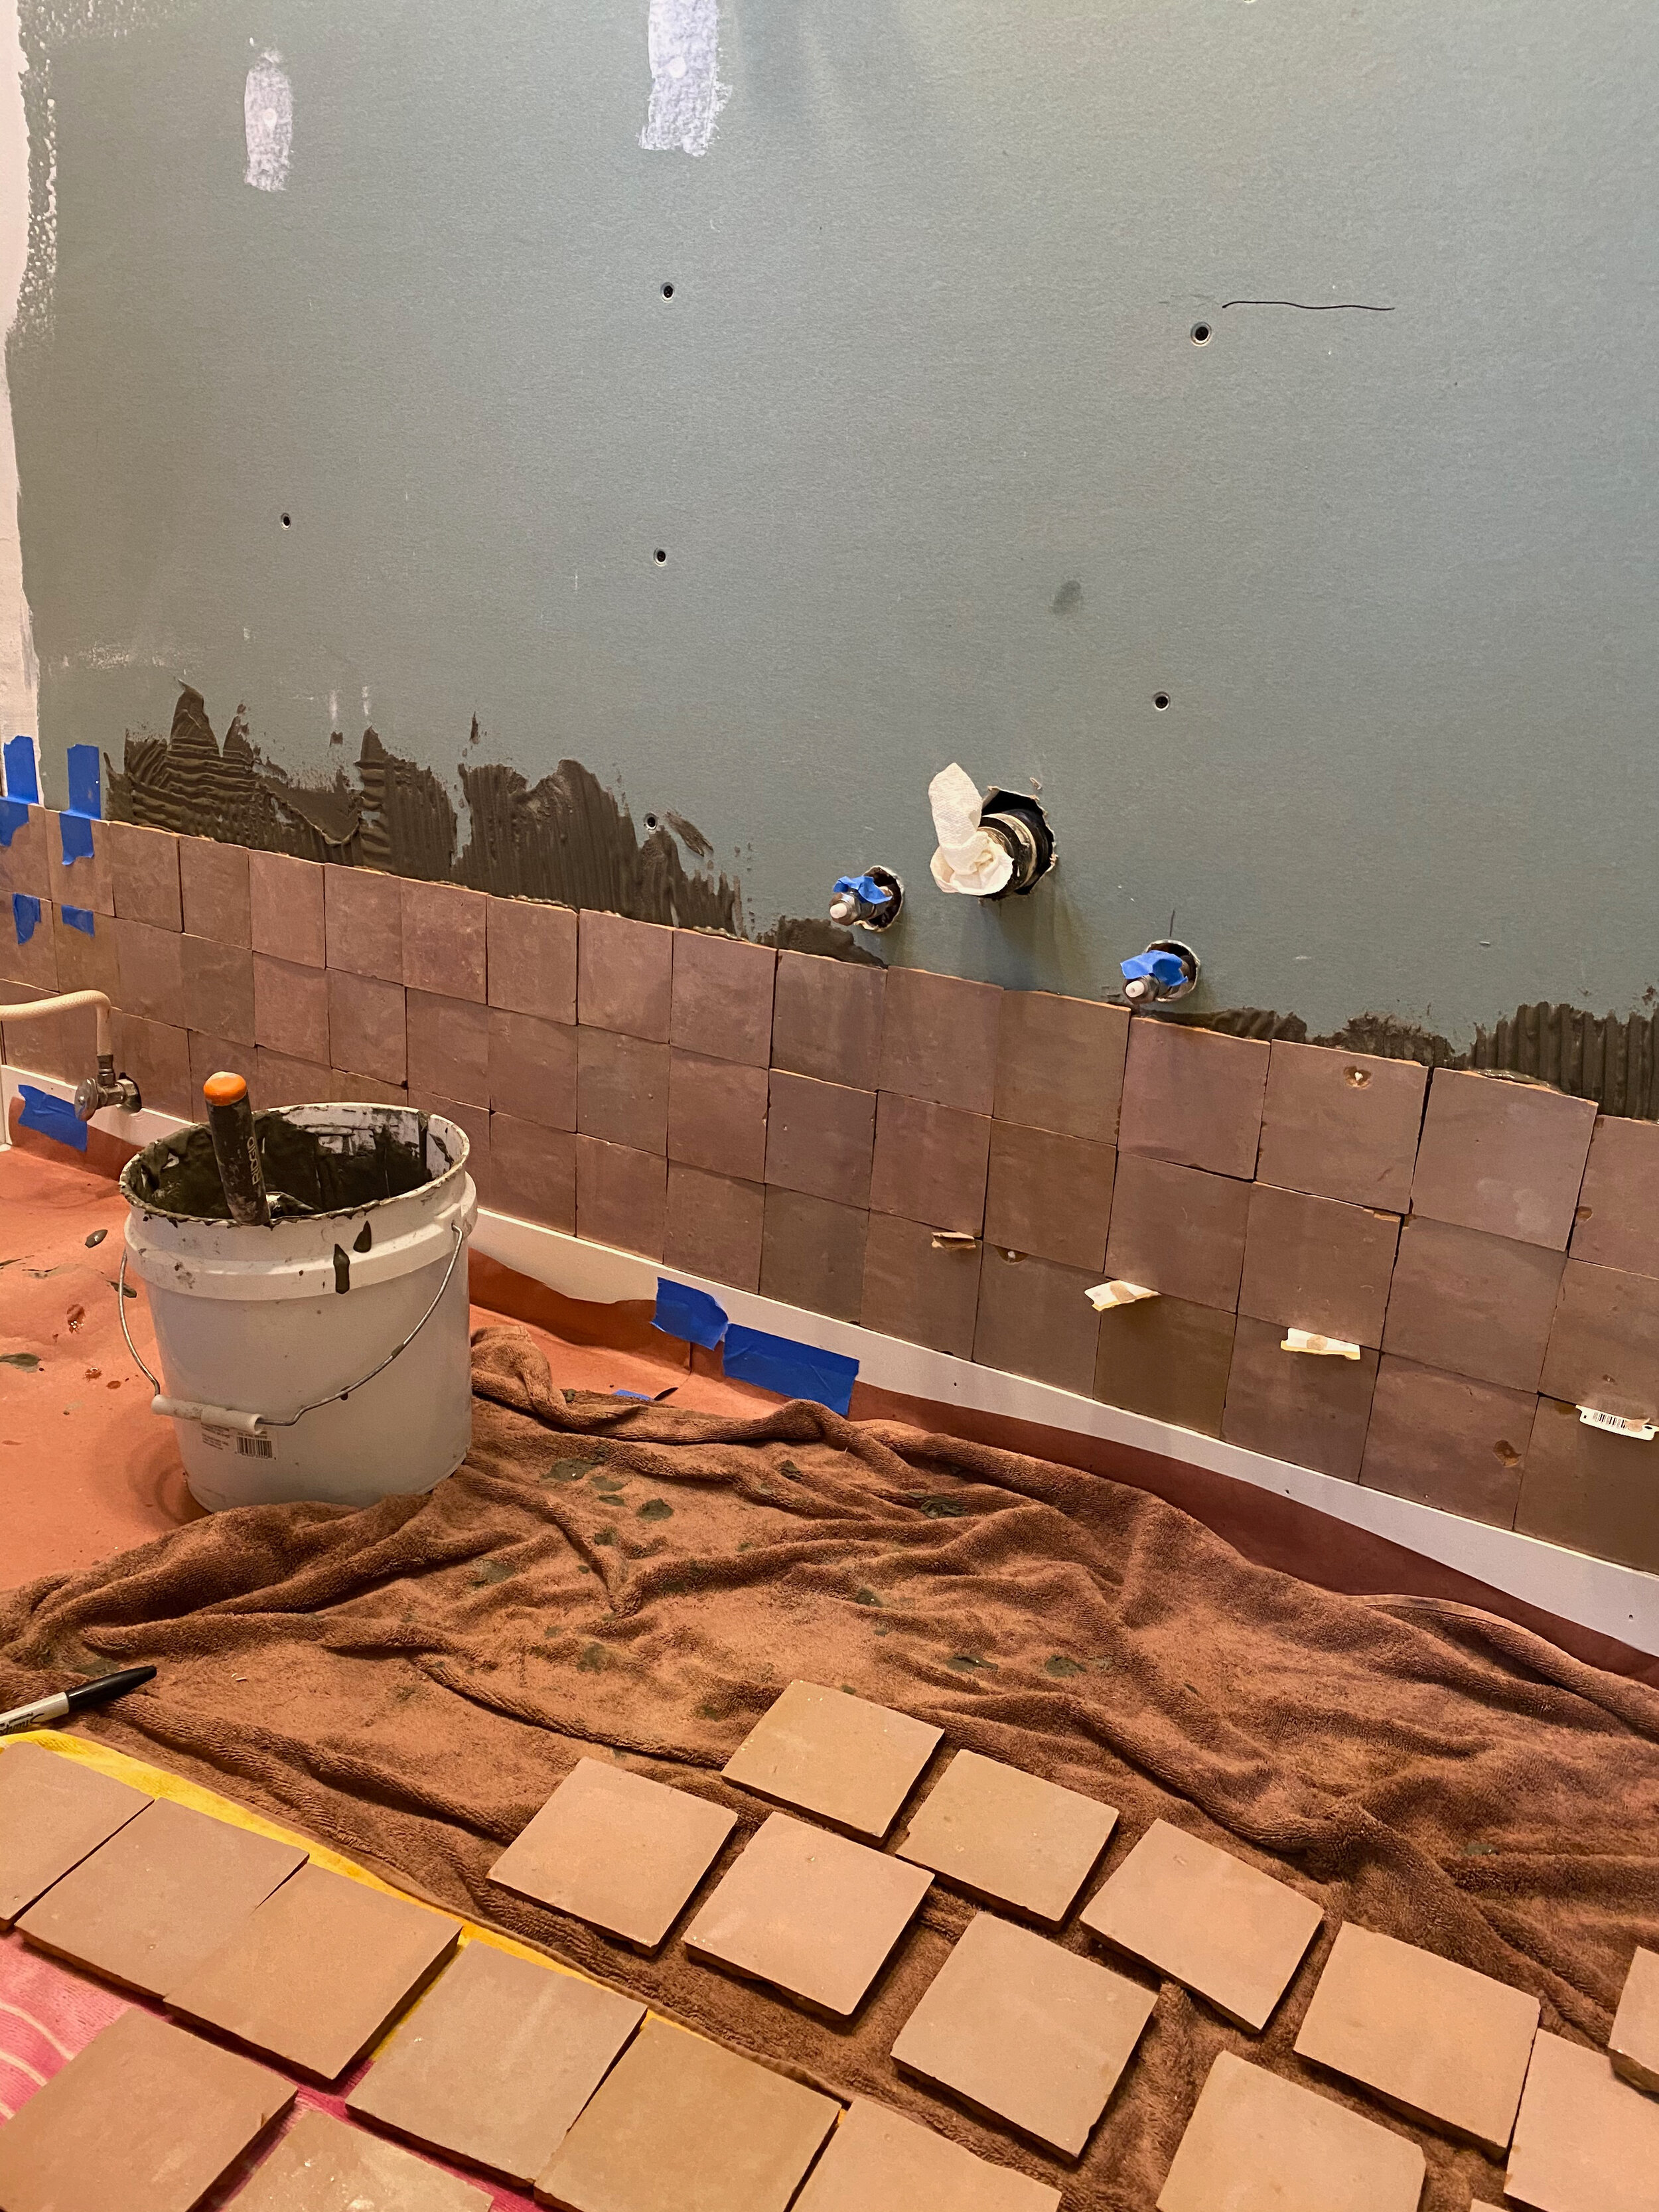
pete & i spent a weekend tiling the zellige tile on this wall that would be behind the toilet and vanity. this type of tile intentionally has irregular shapes and looks best when butted up against one another, instead of having a standard amount of spacing between tiles like a subway tile would. we felt confident that we could do it ourselves and it was fine! you need a tile saw to cut some edge pieces down and need to miter some corners so they fit together nicely. except for the back pain from bending over, this process was quite easy.
i was on tile soaking, prep and placement duty while pete buttered the back of each tile with mortar and placed it next in line. you wanna make sure you take the time to spread out all of the tiles from different boxes so that a slightly different shade of tile gets placed next to its neighbor.
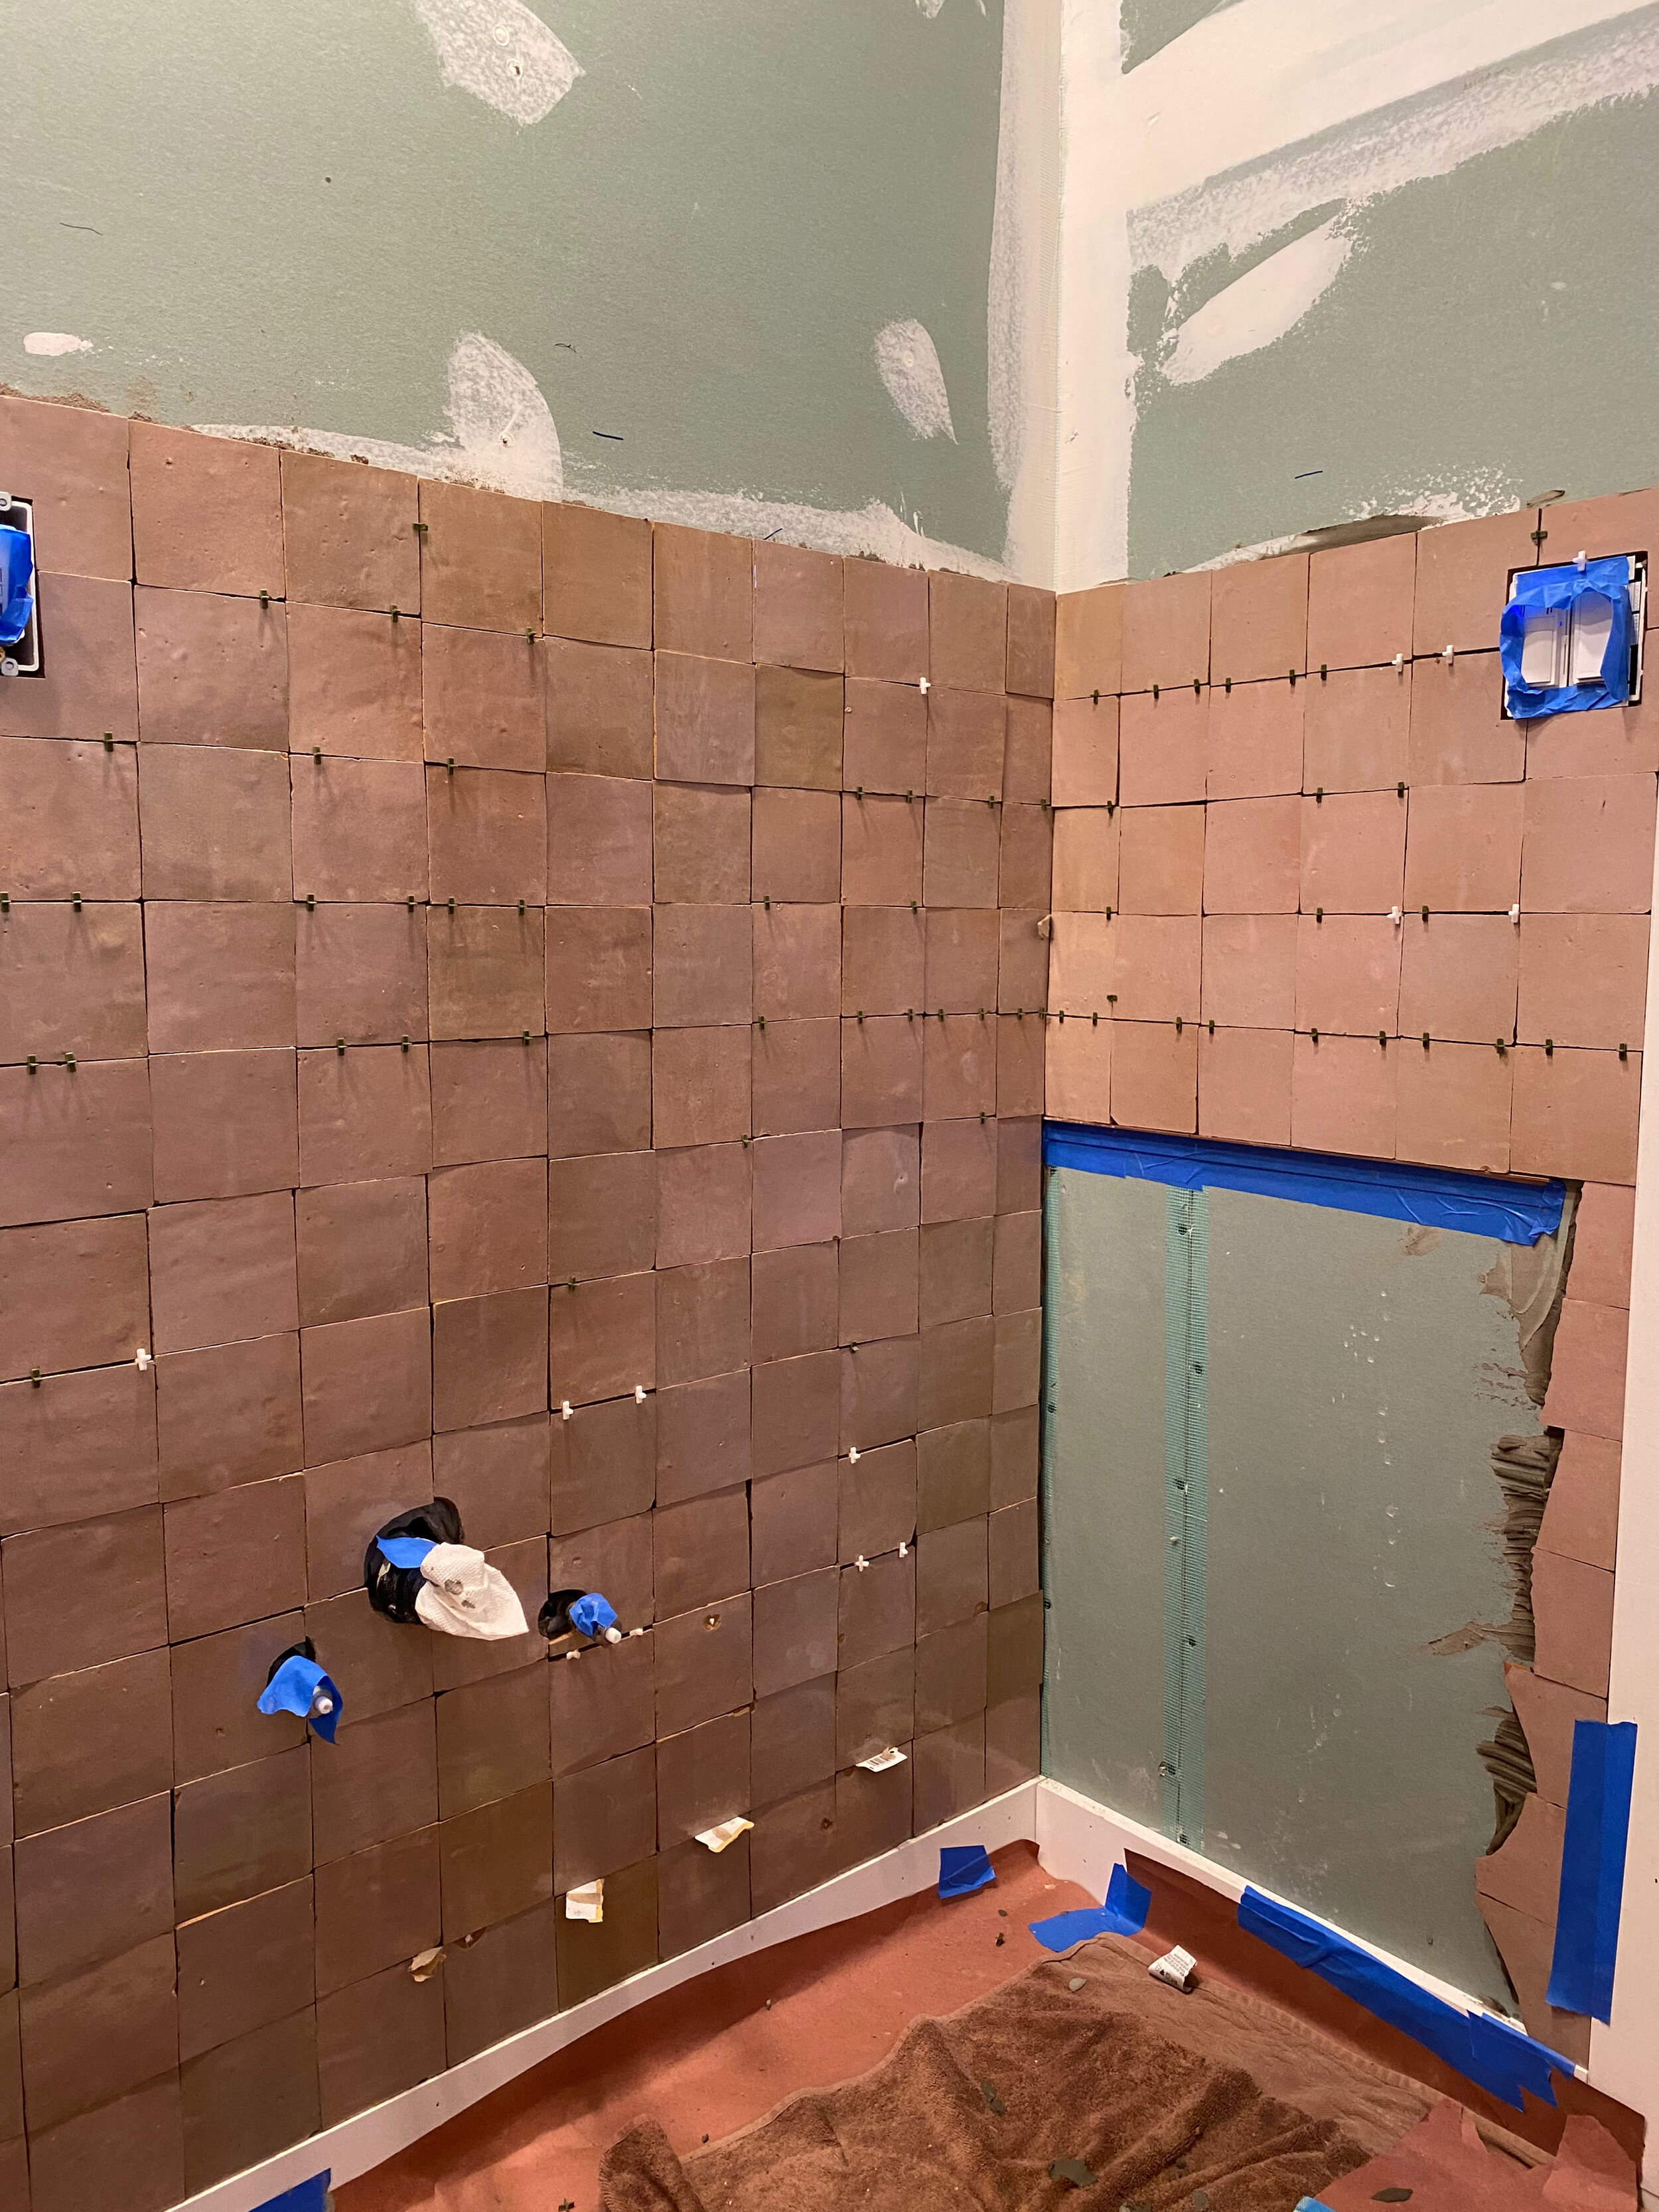
we had a bit of a miscalculation with the amount of tiles we thought we had - luckily the vanity would cover up this lower wall section, so that saved our butts to leave that area blank. a surprise for the person who removes the vanity one day…sorry folks.

this was cooool, using a frickin lazer beam to make sure the top line was straight. 🦈

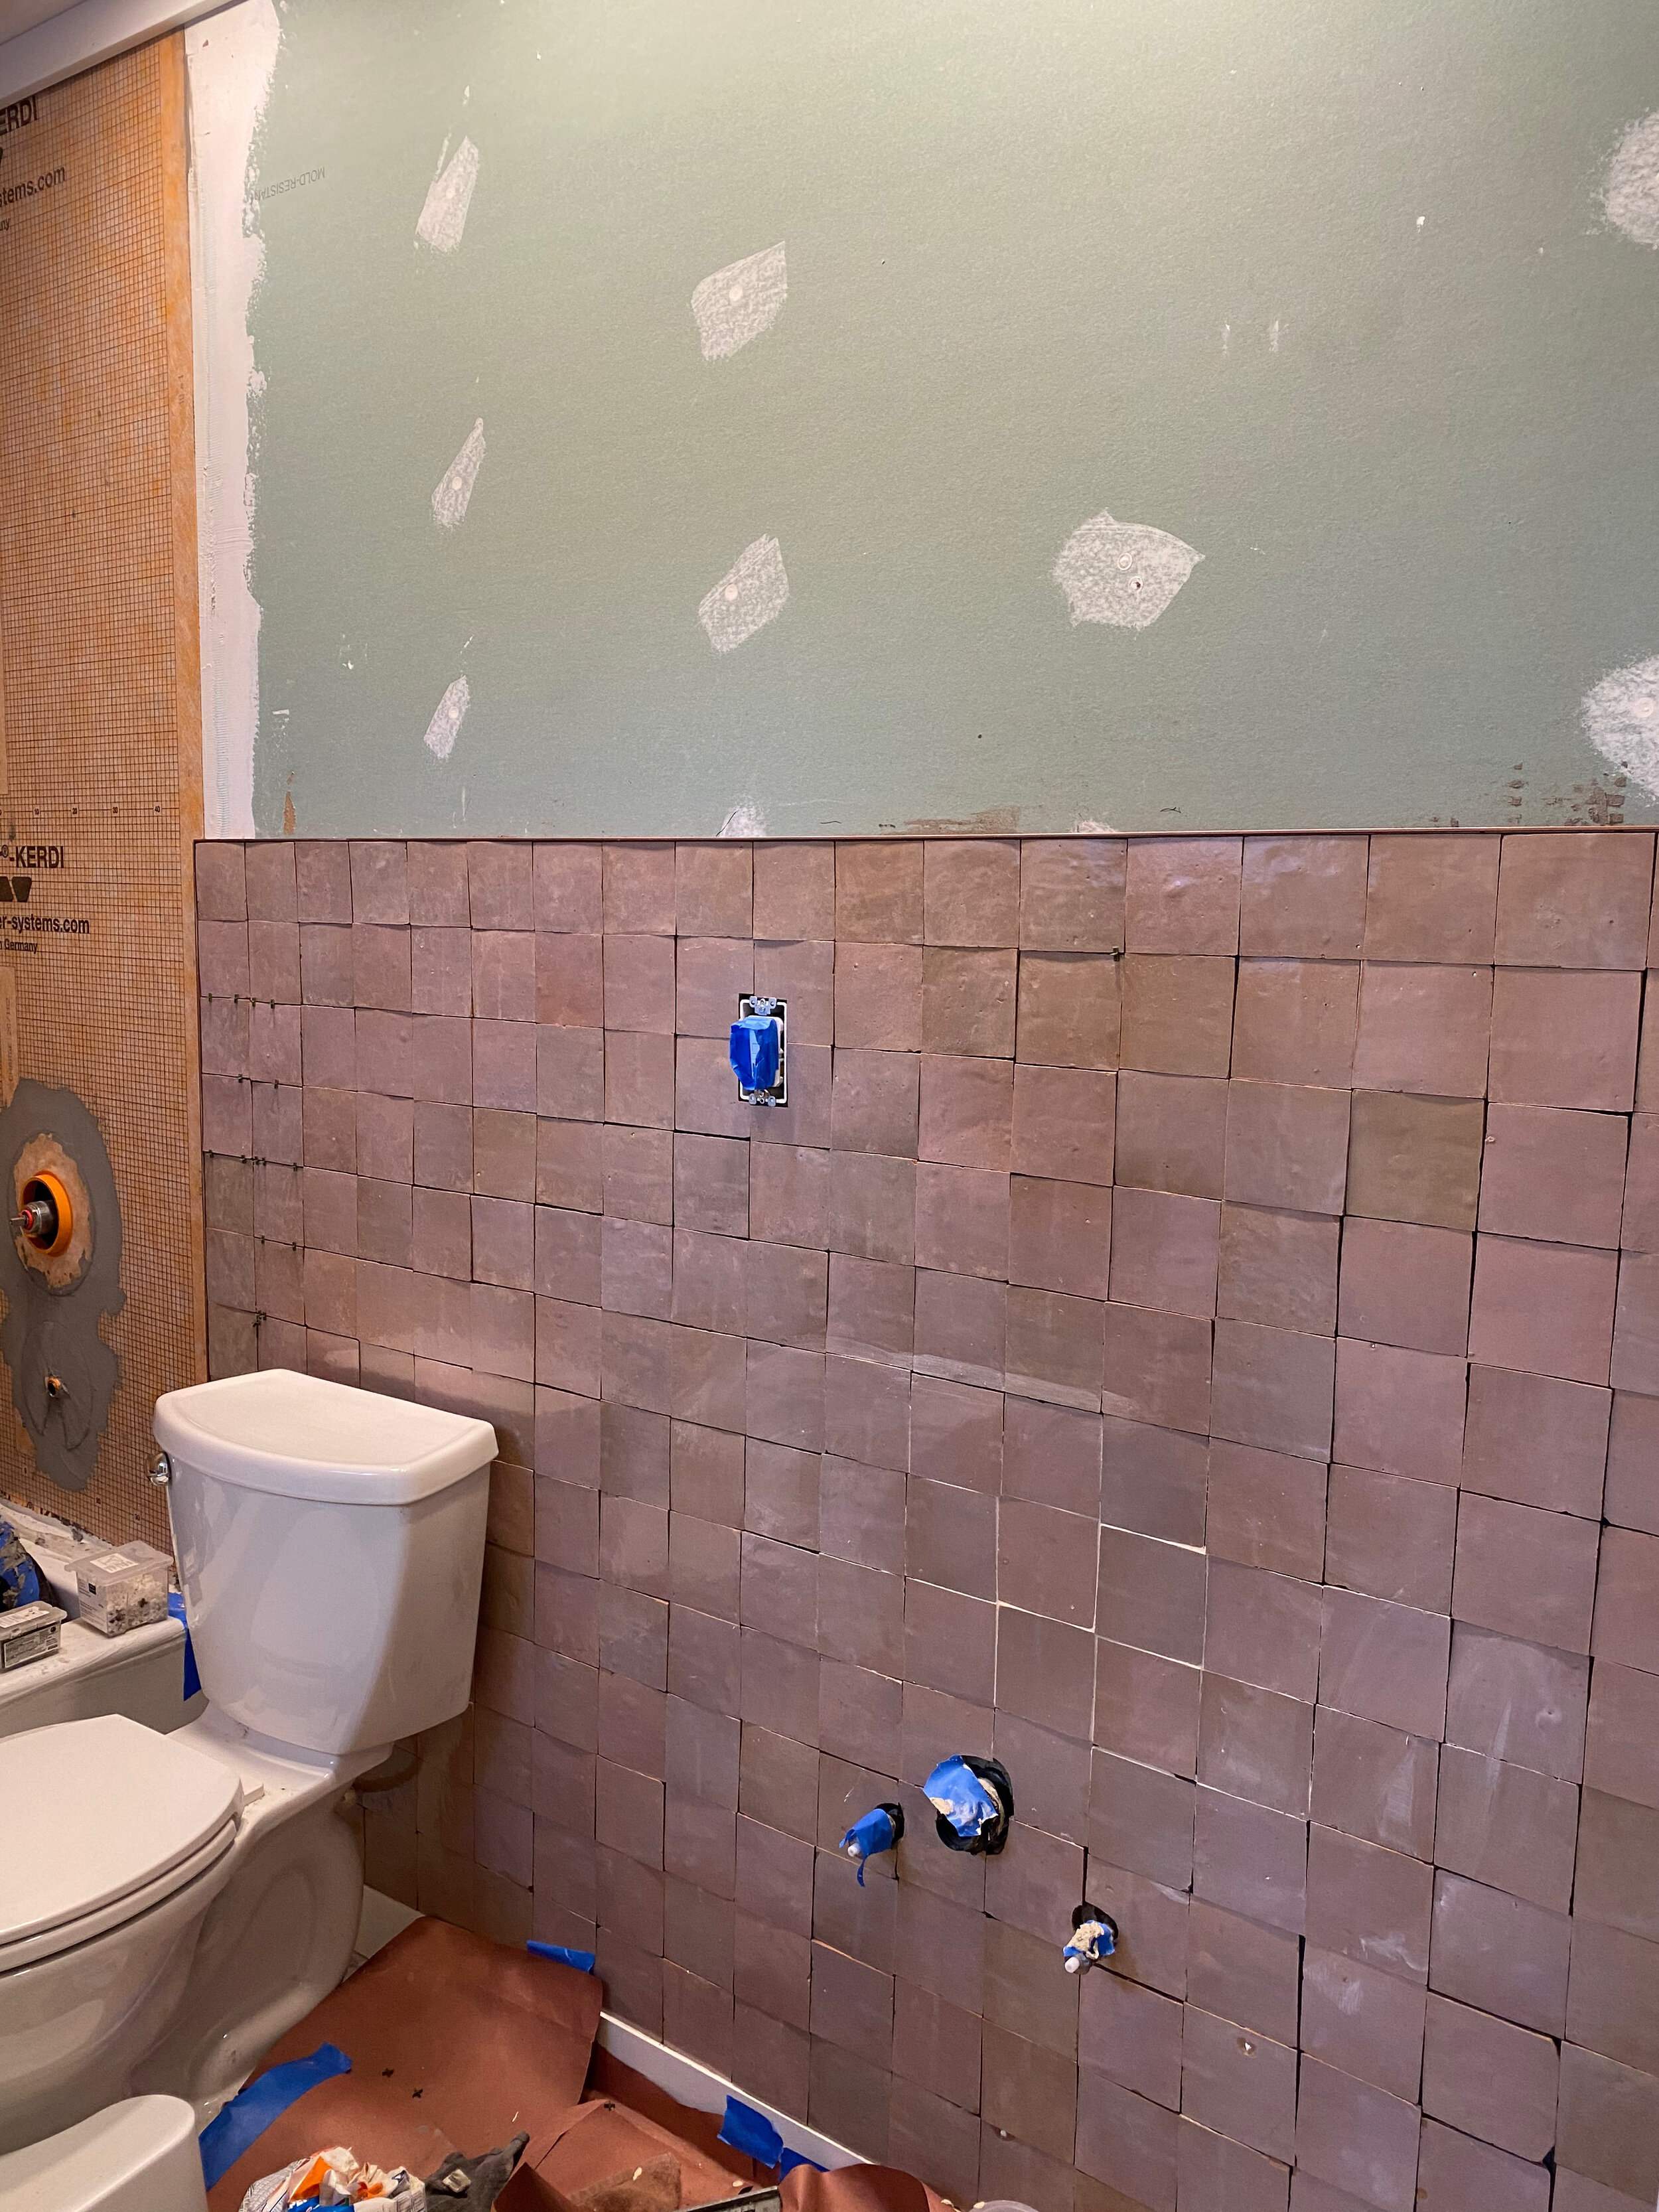
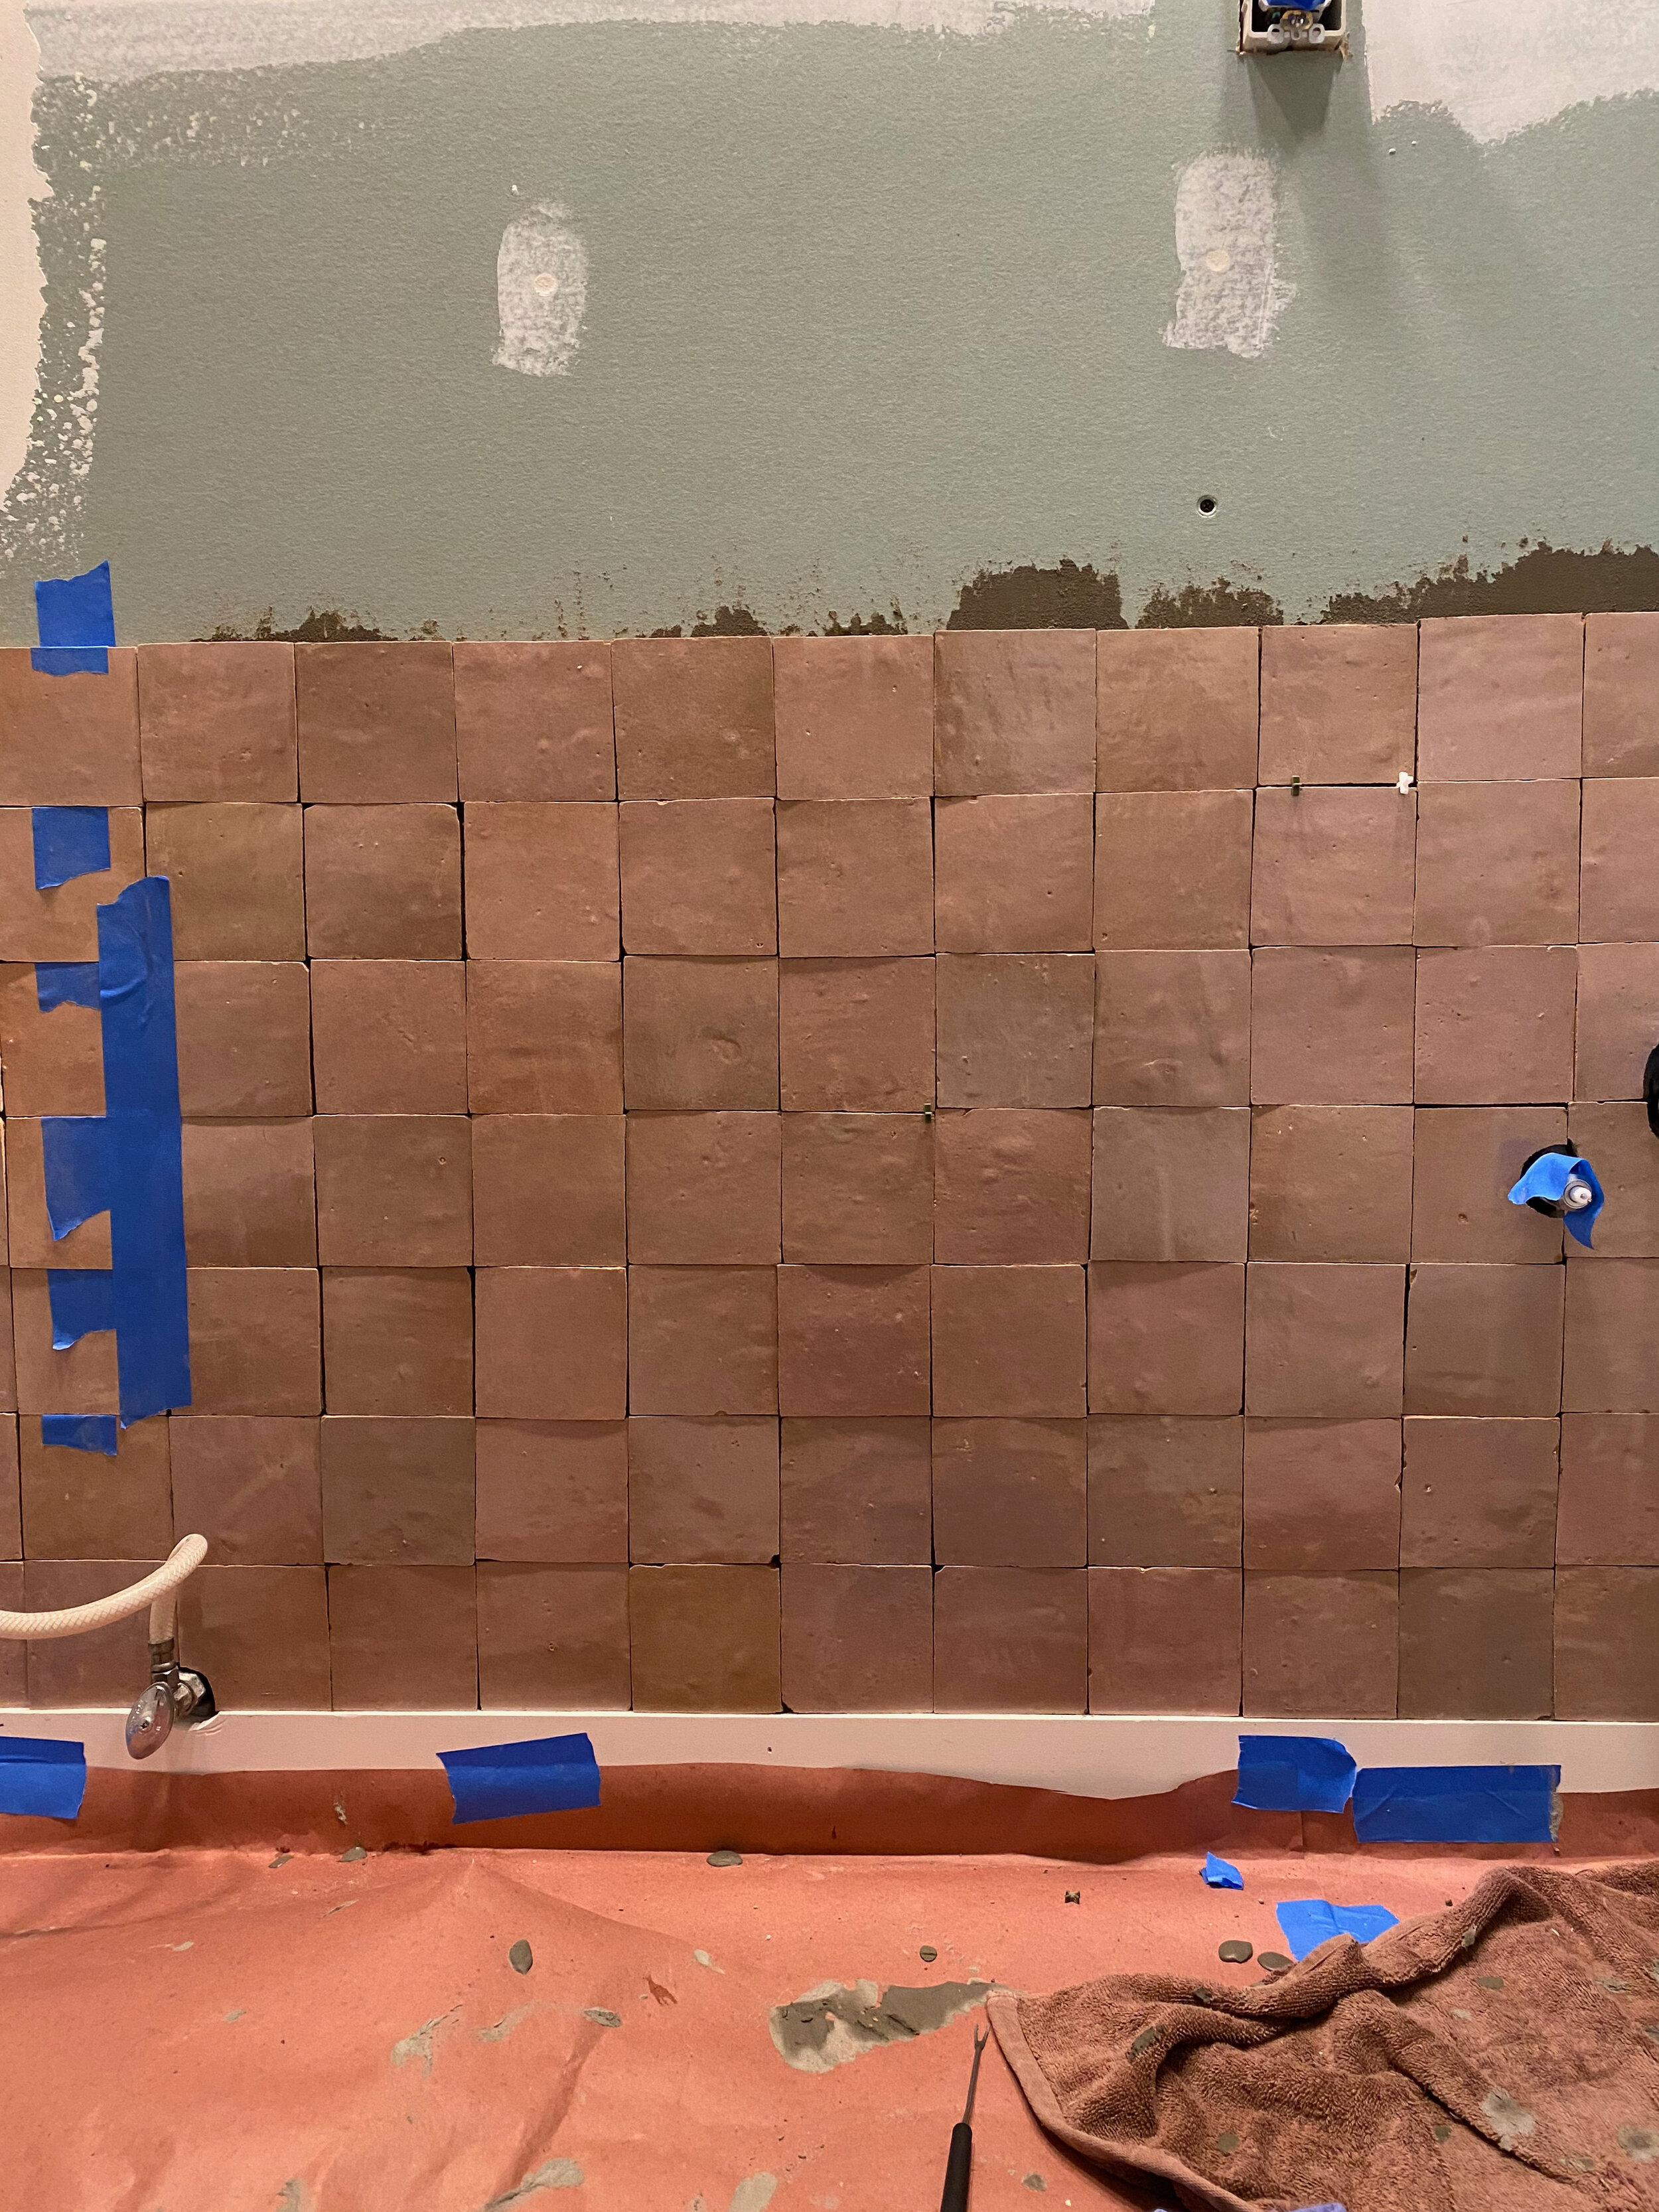
^ look how different the tile colors look with the lights off versus lights on.
we tested a lighter cream/tan grout at first, but ended up choosing a light brown grout for this color of tile so everything blended together better. the first test grout looked too stark white next to the brownish tiles.
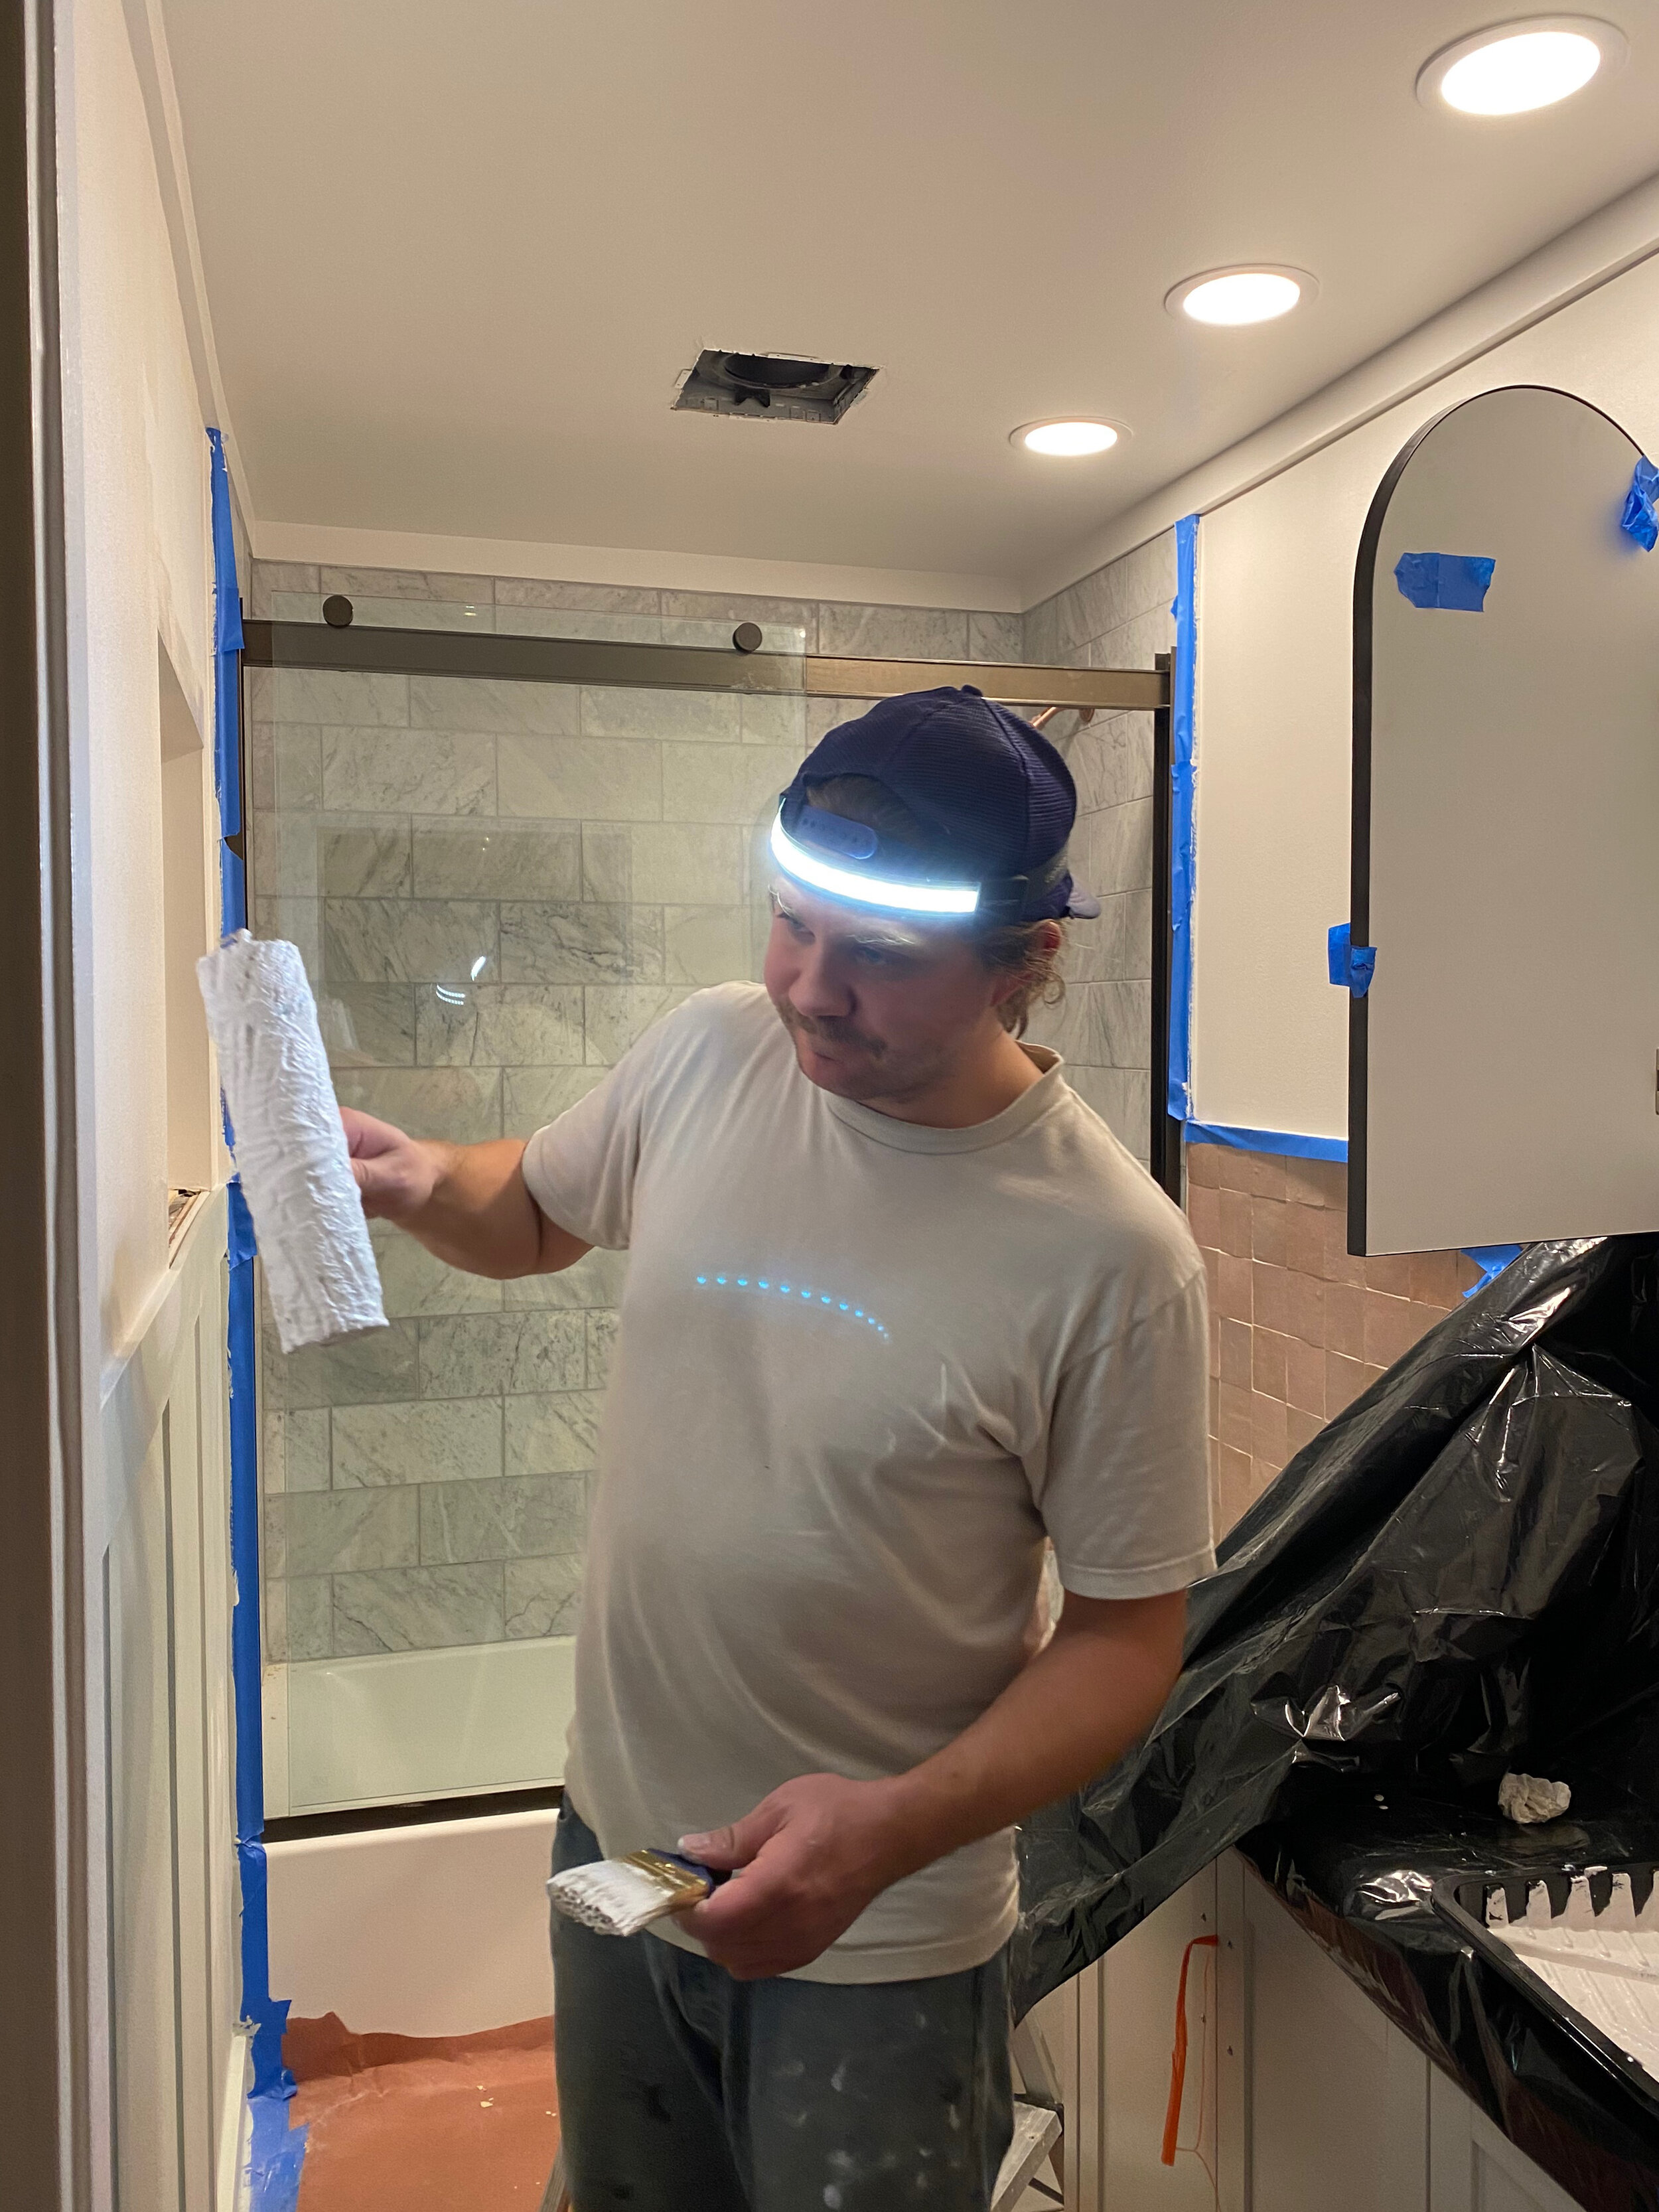
the following day, i did all the zellige grout myself (first time grouter here), under sam’s supervision :) i’m happy to be learning a lot about home improvement stuff throughout these various projects.

shower tiling & grout, done! ✅
pete is funny to work with because (as i’m learning many husbands do) he will pretty much always disagree and say ‘no’ before he says ‘yes’ to my vision. i’ve learned not to feel deflated about an idea that i’m pumped about and continue to show him visuals what i’m trying to achieve - the pinterest board came in handy in this way many times to prove that what i’m describing is going to look good and not crazy.
he was on board with many of my choices like all the tile and medicine cabinet (actually, he “chose” this arched one - though i’d already been eyeing it 😉), but the things that were a hard sell for pete were the copper fixtures and the board & batten half wall under the window.
i’ll admit that warm antique copper, or red copper, is not as ubiquitous as brass hardware is right now. but…i’m glad that the finish that was available for the shower door size we needed (dark bronze) matched the option for the medicine cabinet (dark bronze). so there did end up being a mixture of antique copper and dark bronze finishes throughout the room, which is nice. i think if every single finish was copper it would have looked very shiny and “too rich for my blood,” as peter put it, lol. it did have a bit of an aladdin vibe for a minute, but i was into that, too. 😊
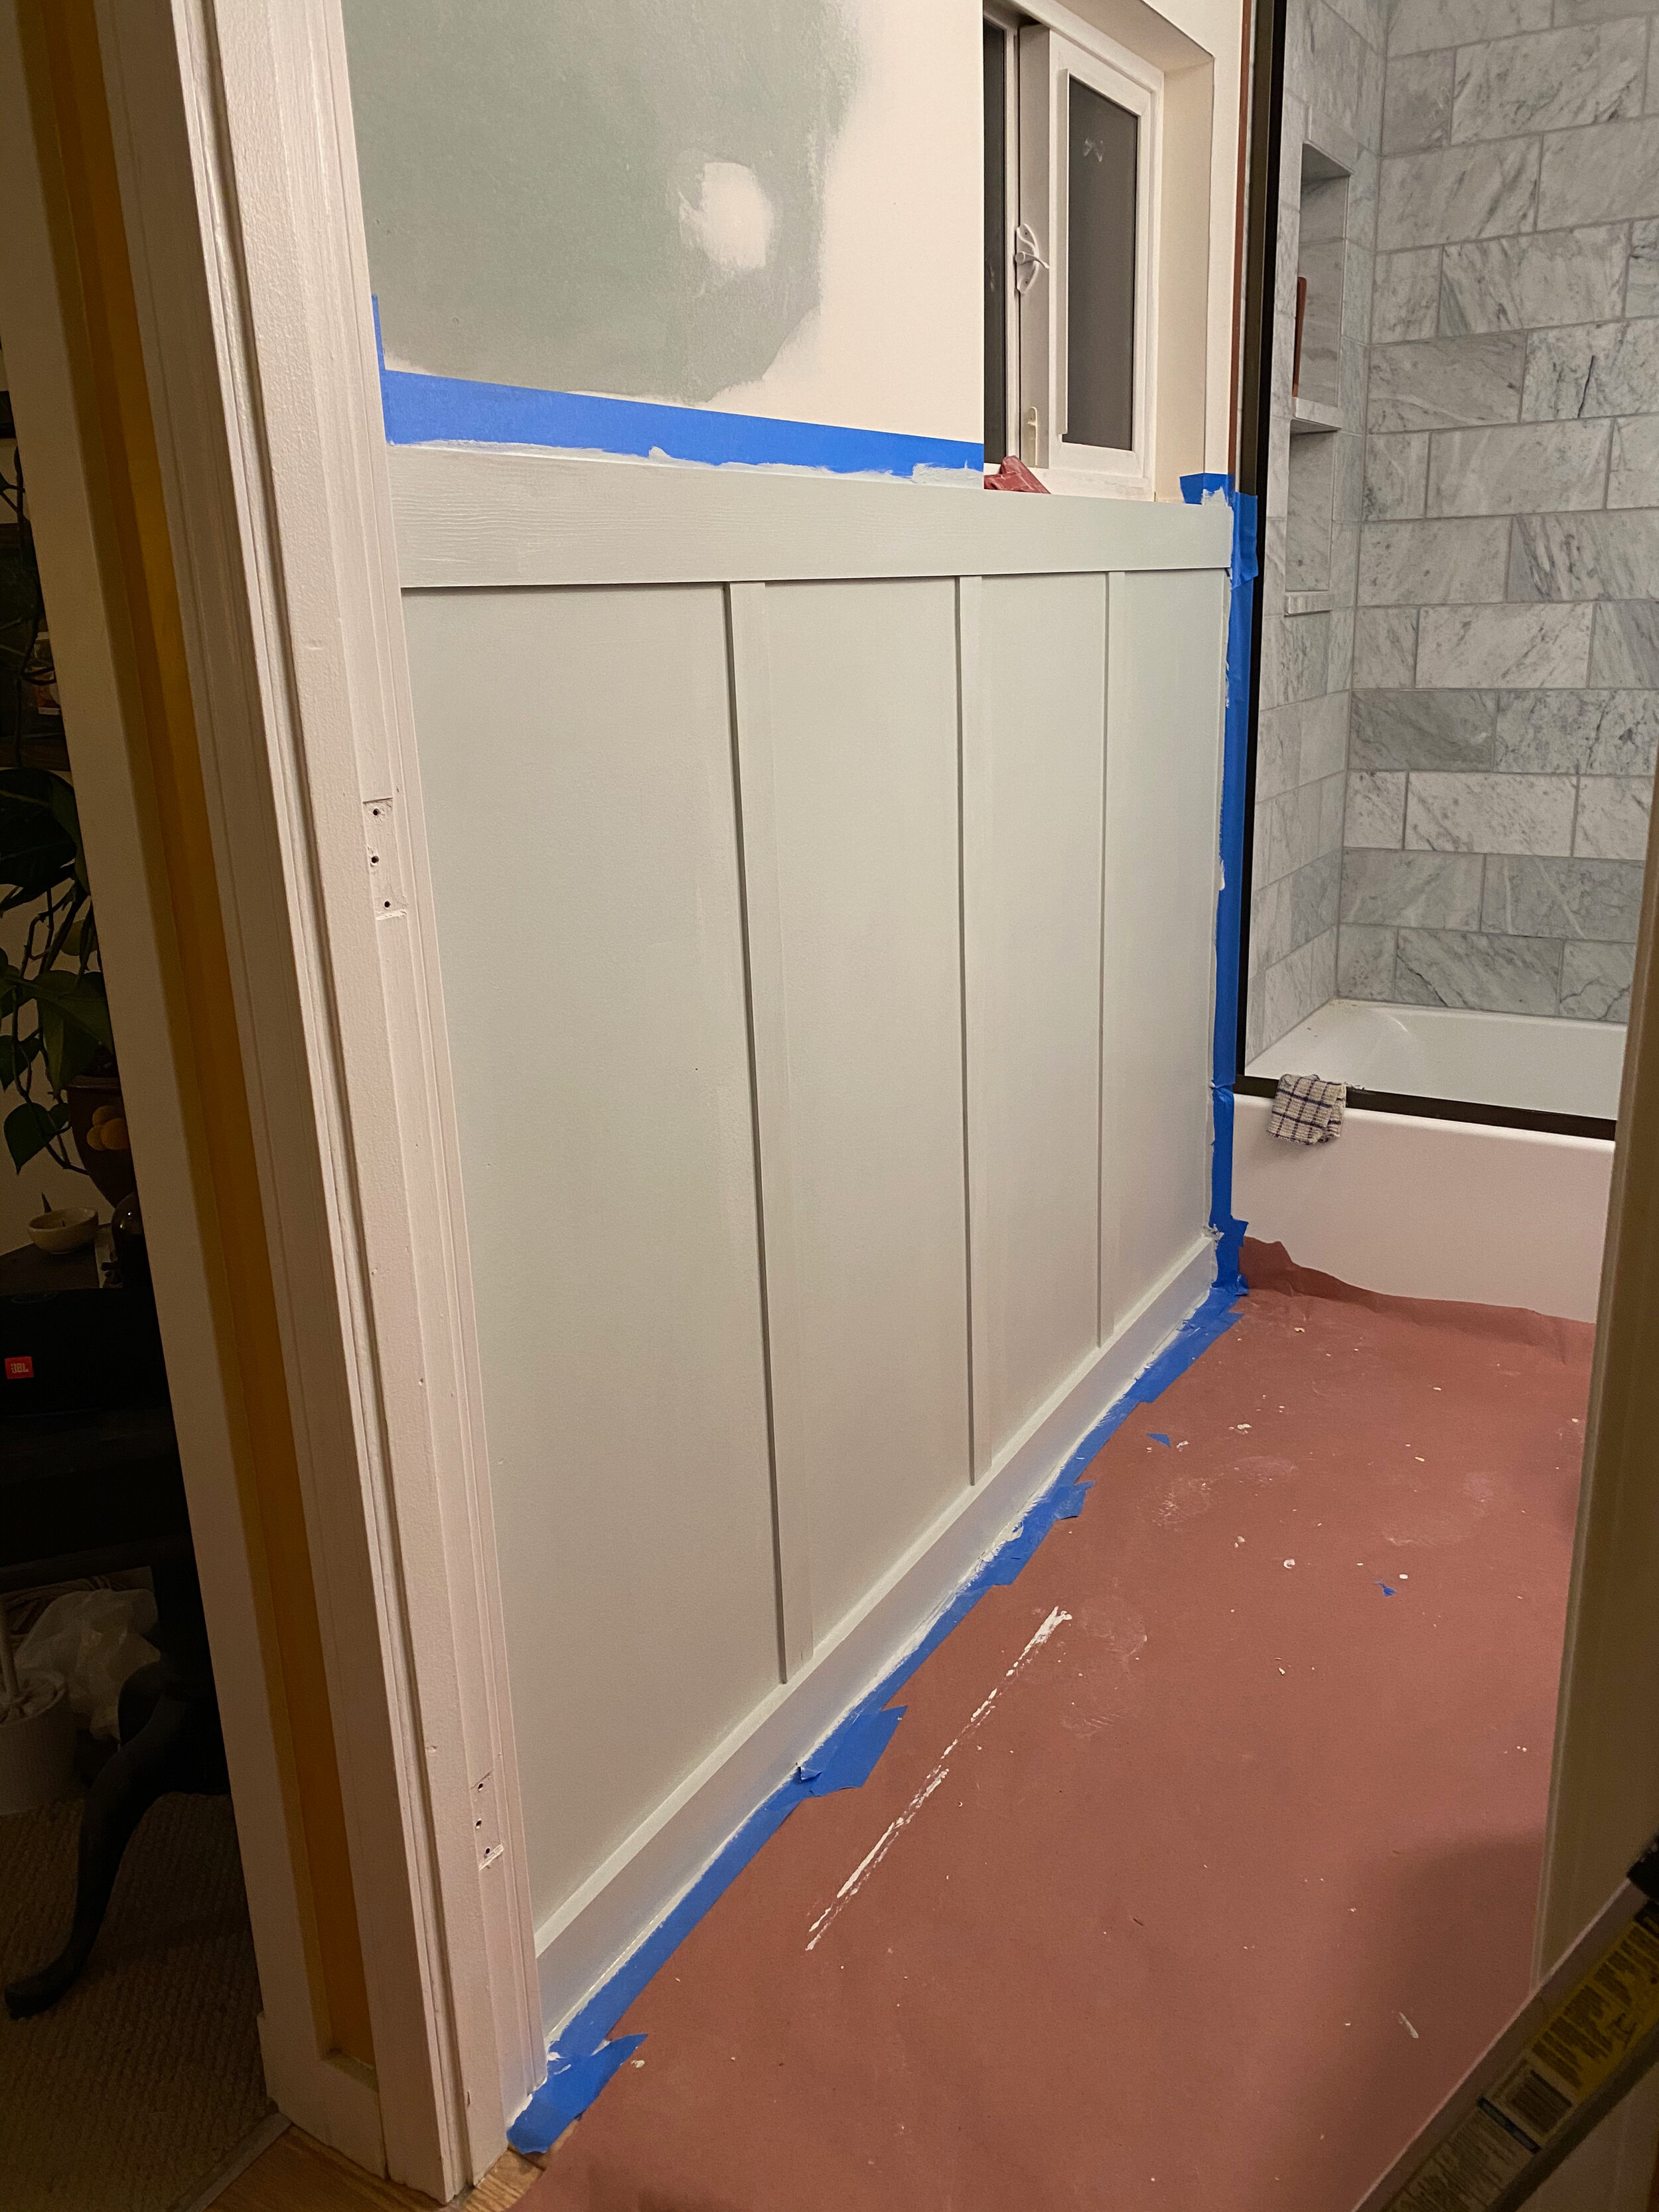

the half wall of board & batten was meant to break up that wall so it wasn’t so much plain WALL from floor to ceiling, if that makes sense. it was so easy to put together and would become a place to add a couple of towel hooks under the window.
i’d been searching for a light, super airy feeling greenish grey paint color for this section. i wound up going with ‘sea salt’ by sherwin williams which is a nice mixture of green, grey & blue. it makes the room feel serene & beachy, which is great because we live near the water and some beaches - seattle’s versions of “beaches”. 😉
^ here’s pete coming to the realization that my many ideas for this bathroom were not actually out of control. 😝
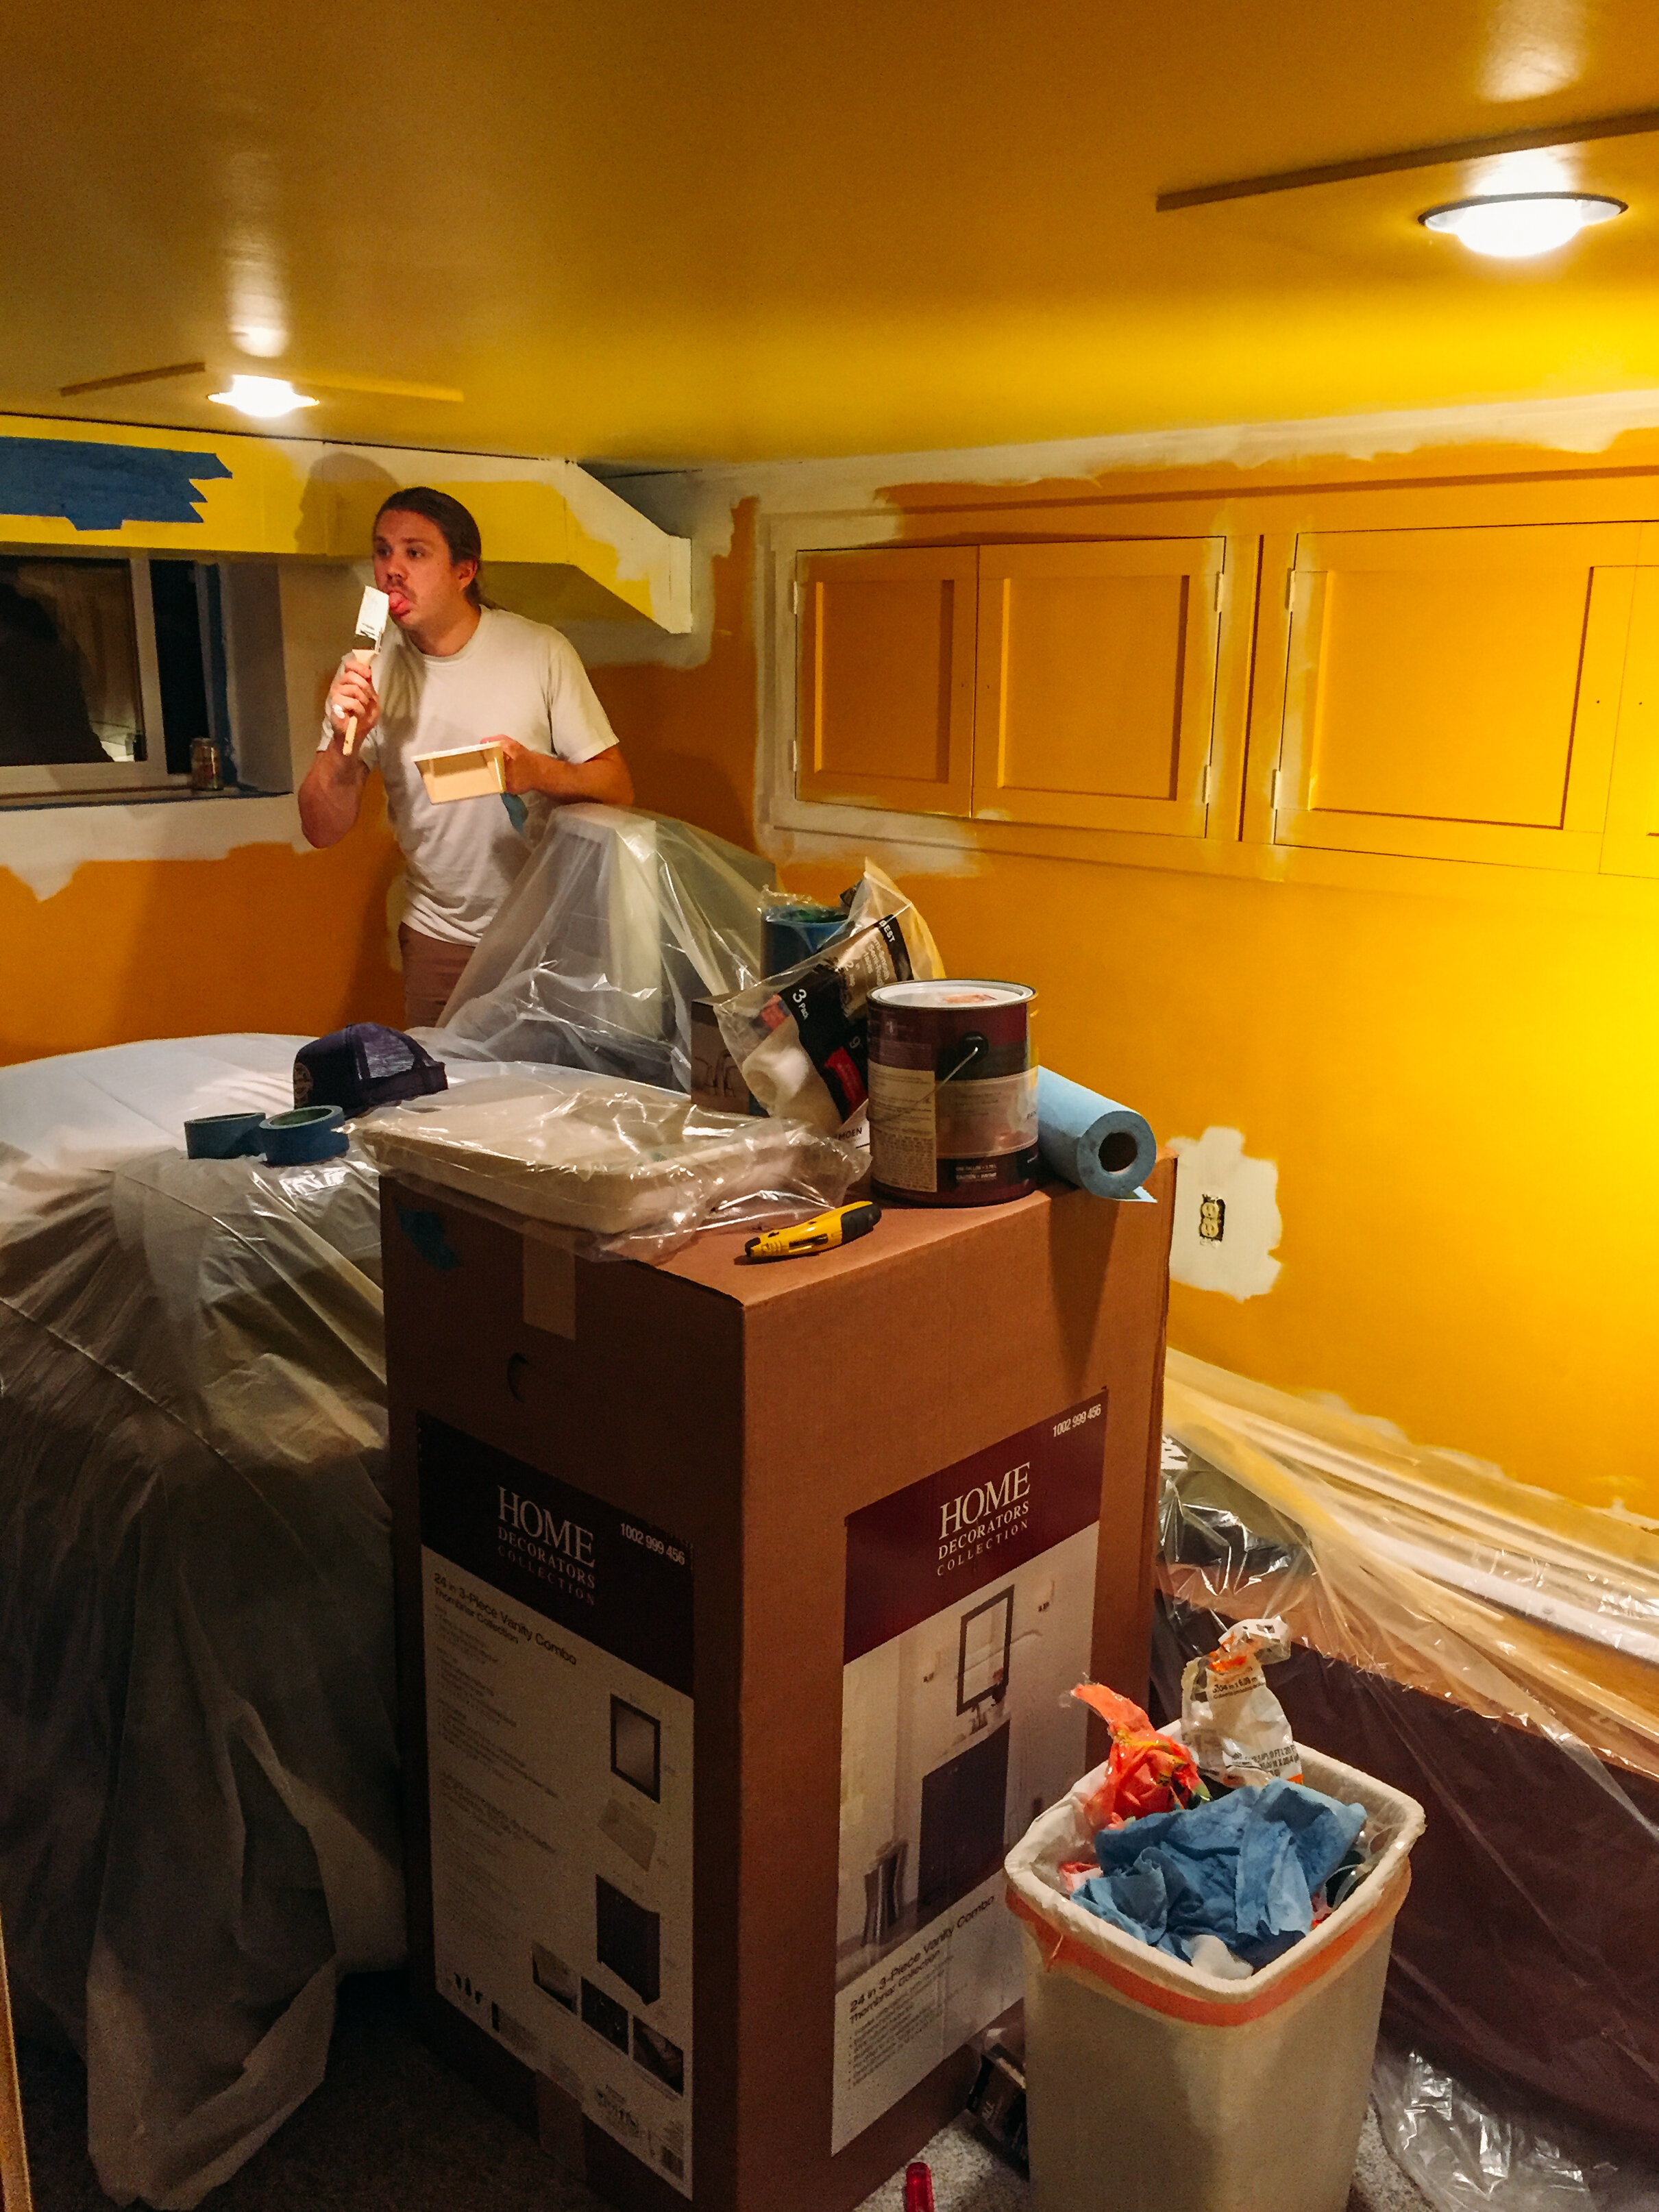
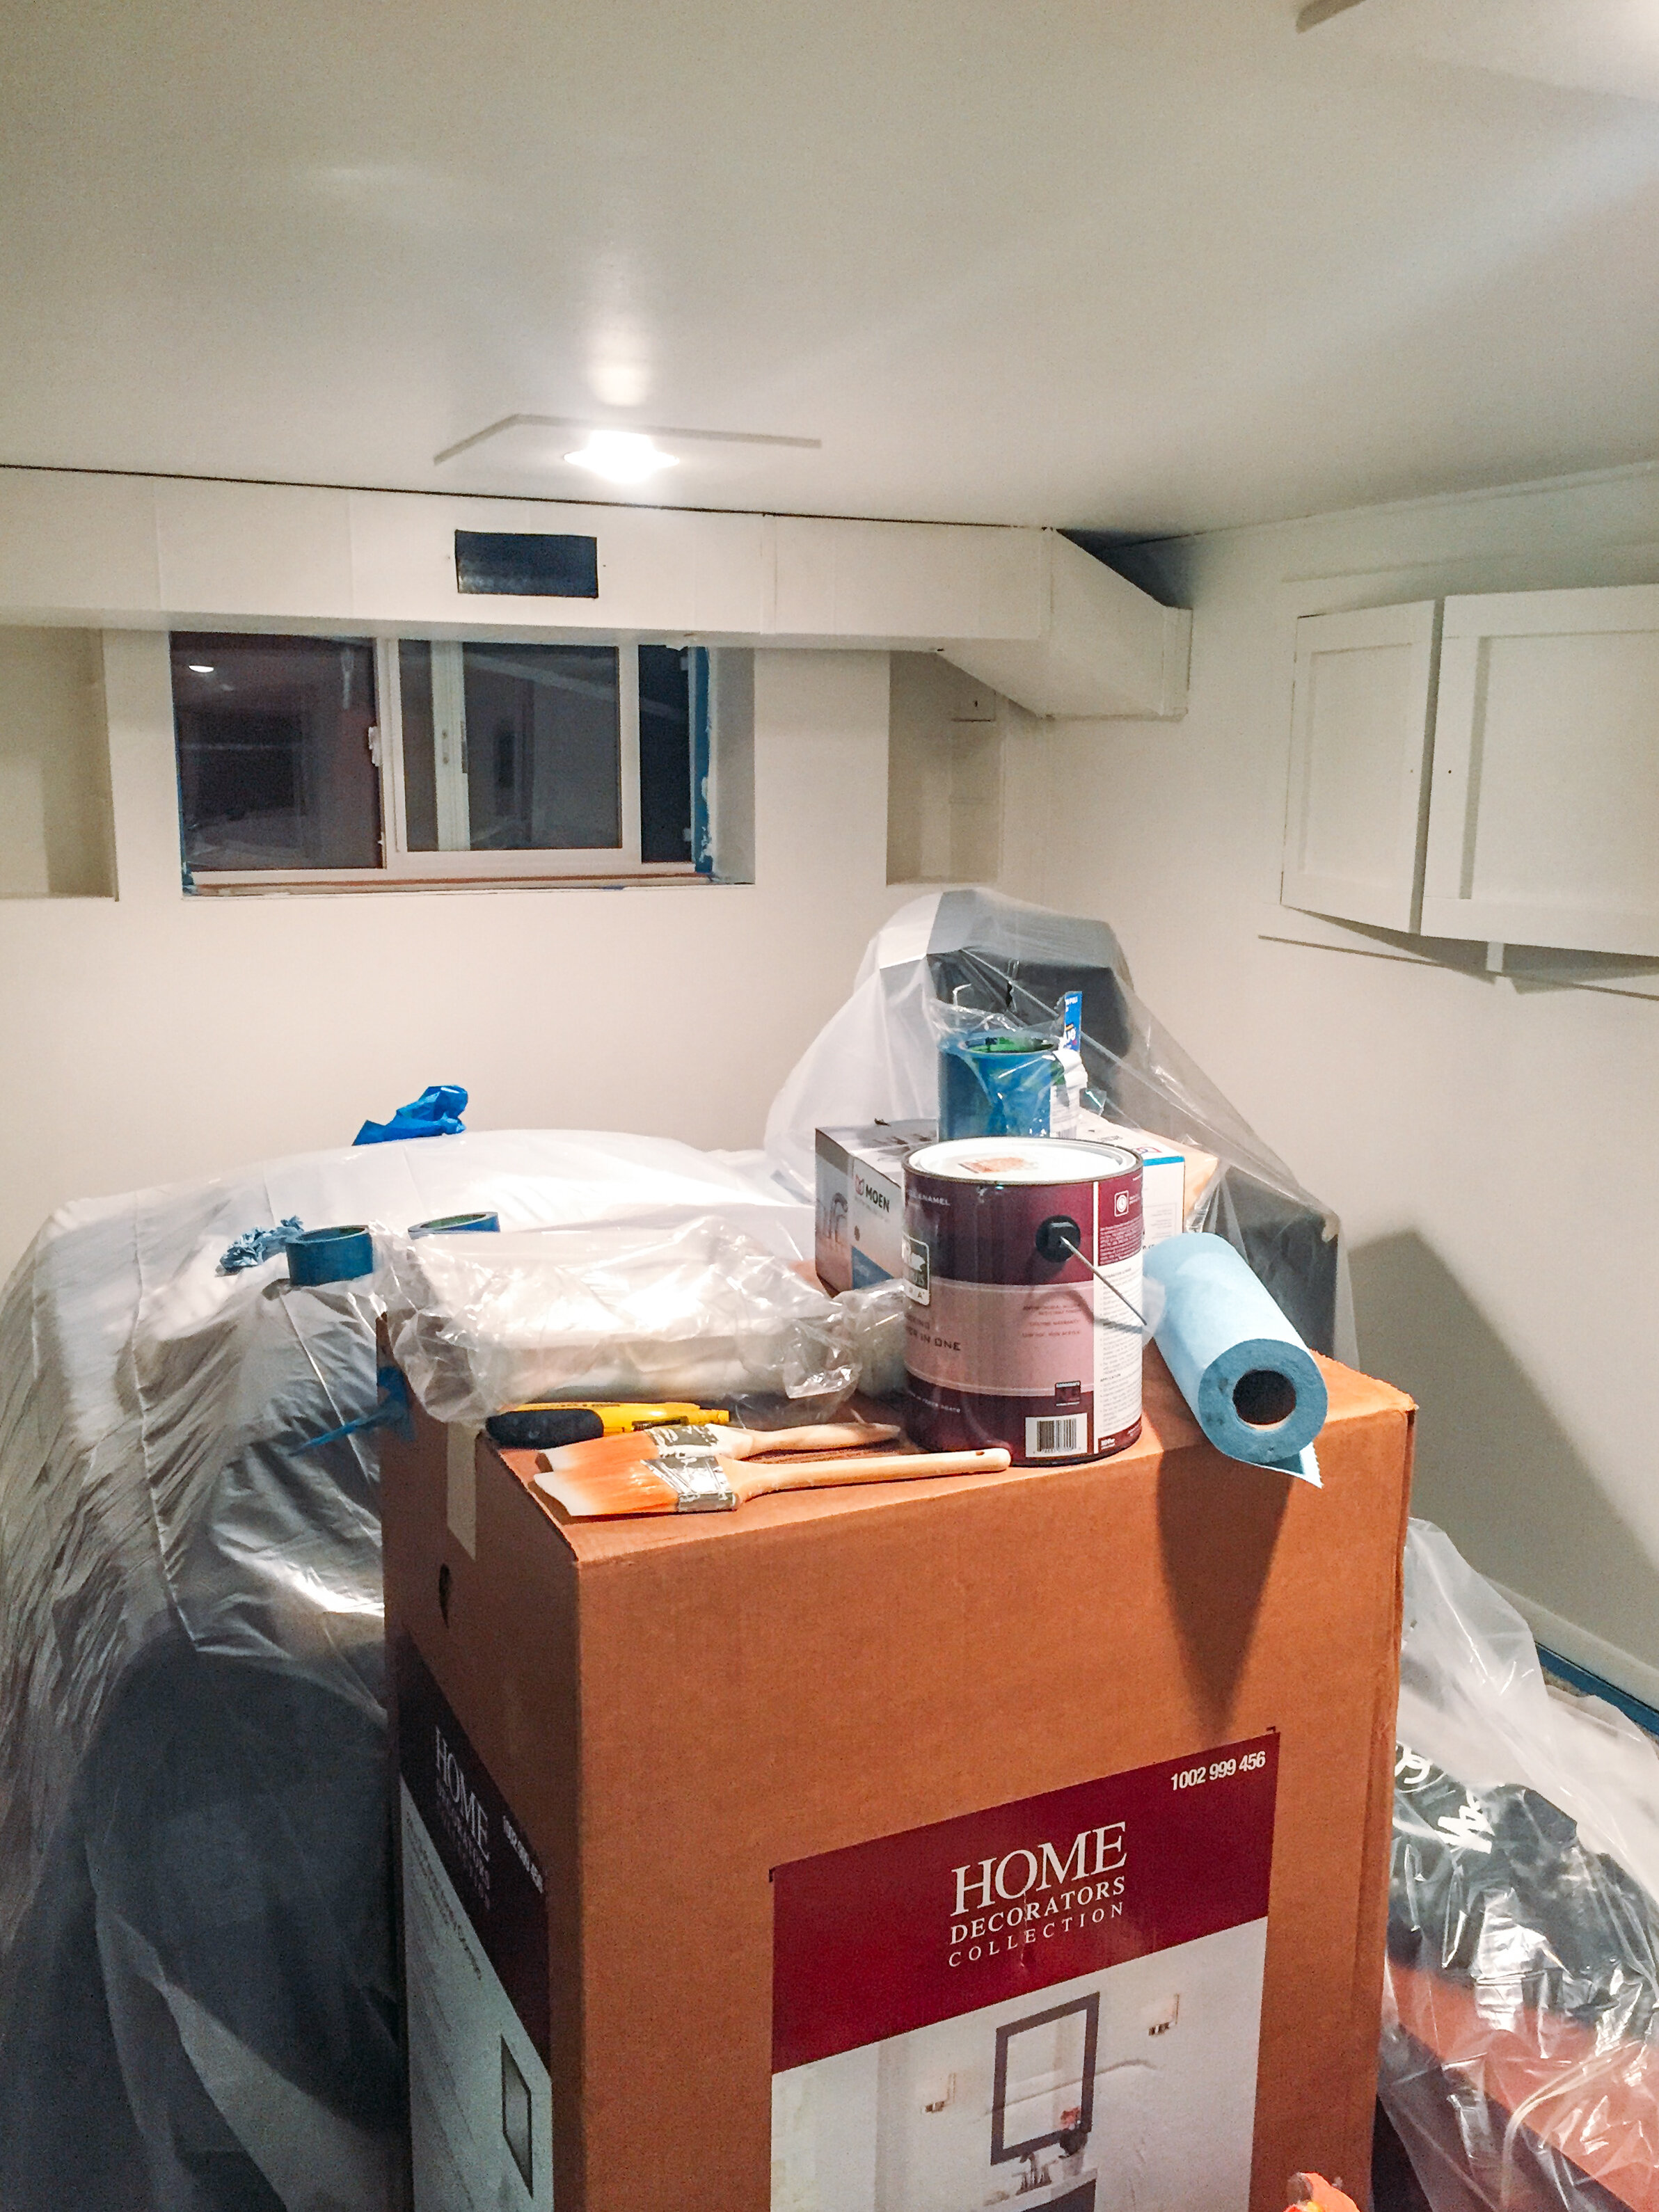
once we were in texturing and painting mode, we knew we were sooooo close to being done. at least done to the point where we could use everything bathroom related. all the final details like shelves and whatnot could come together whenever.
also, we discovered the boxed wall texture that was SosOooOOoo much easier to use and more affordable than the orange peel texture spray that we’d used in the basement kitchen & bathroom. a whole box is $10 and we only used half of it with a half gallon of the ‘marshmallow’ paint. i’m never turning back to orange peel spray in a can unless i’m just touching up the texture of a tiny area. if you’re texturing a whole room, go for the sand roll-on paint texture. i’ve never been so passionate about something so boring.
the wall color is sherwin williams ‘marshmallow’ (a perfectly warm white) and the ceiling and trim color is sherwin williams ‘snowbound.’
^the day the skylight was installed! the skylight installer was the only outside person who had to enter our house during this renovation. he was in and out within 2 hours! thanks, mr. levi! it was crazy to hear him cutting a hole in our roof though…no turning back. so happy we ended up splurging for the sun tunnel, though!
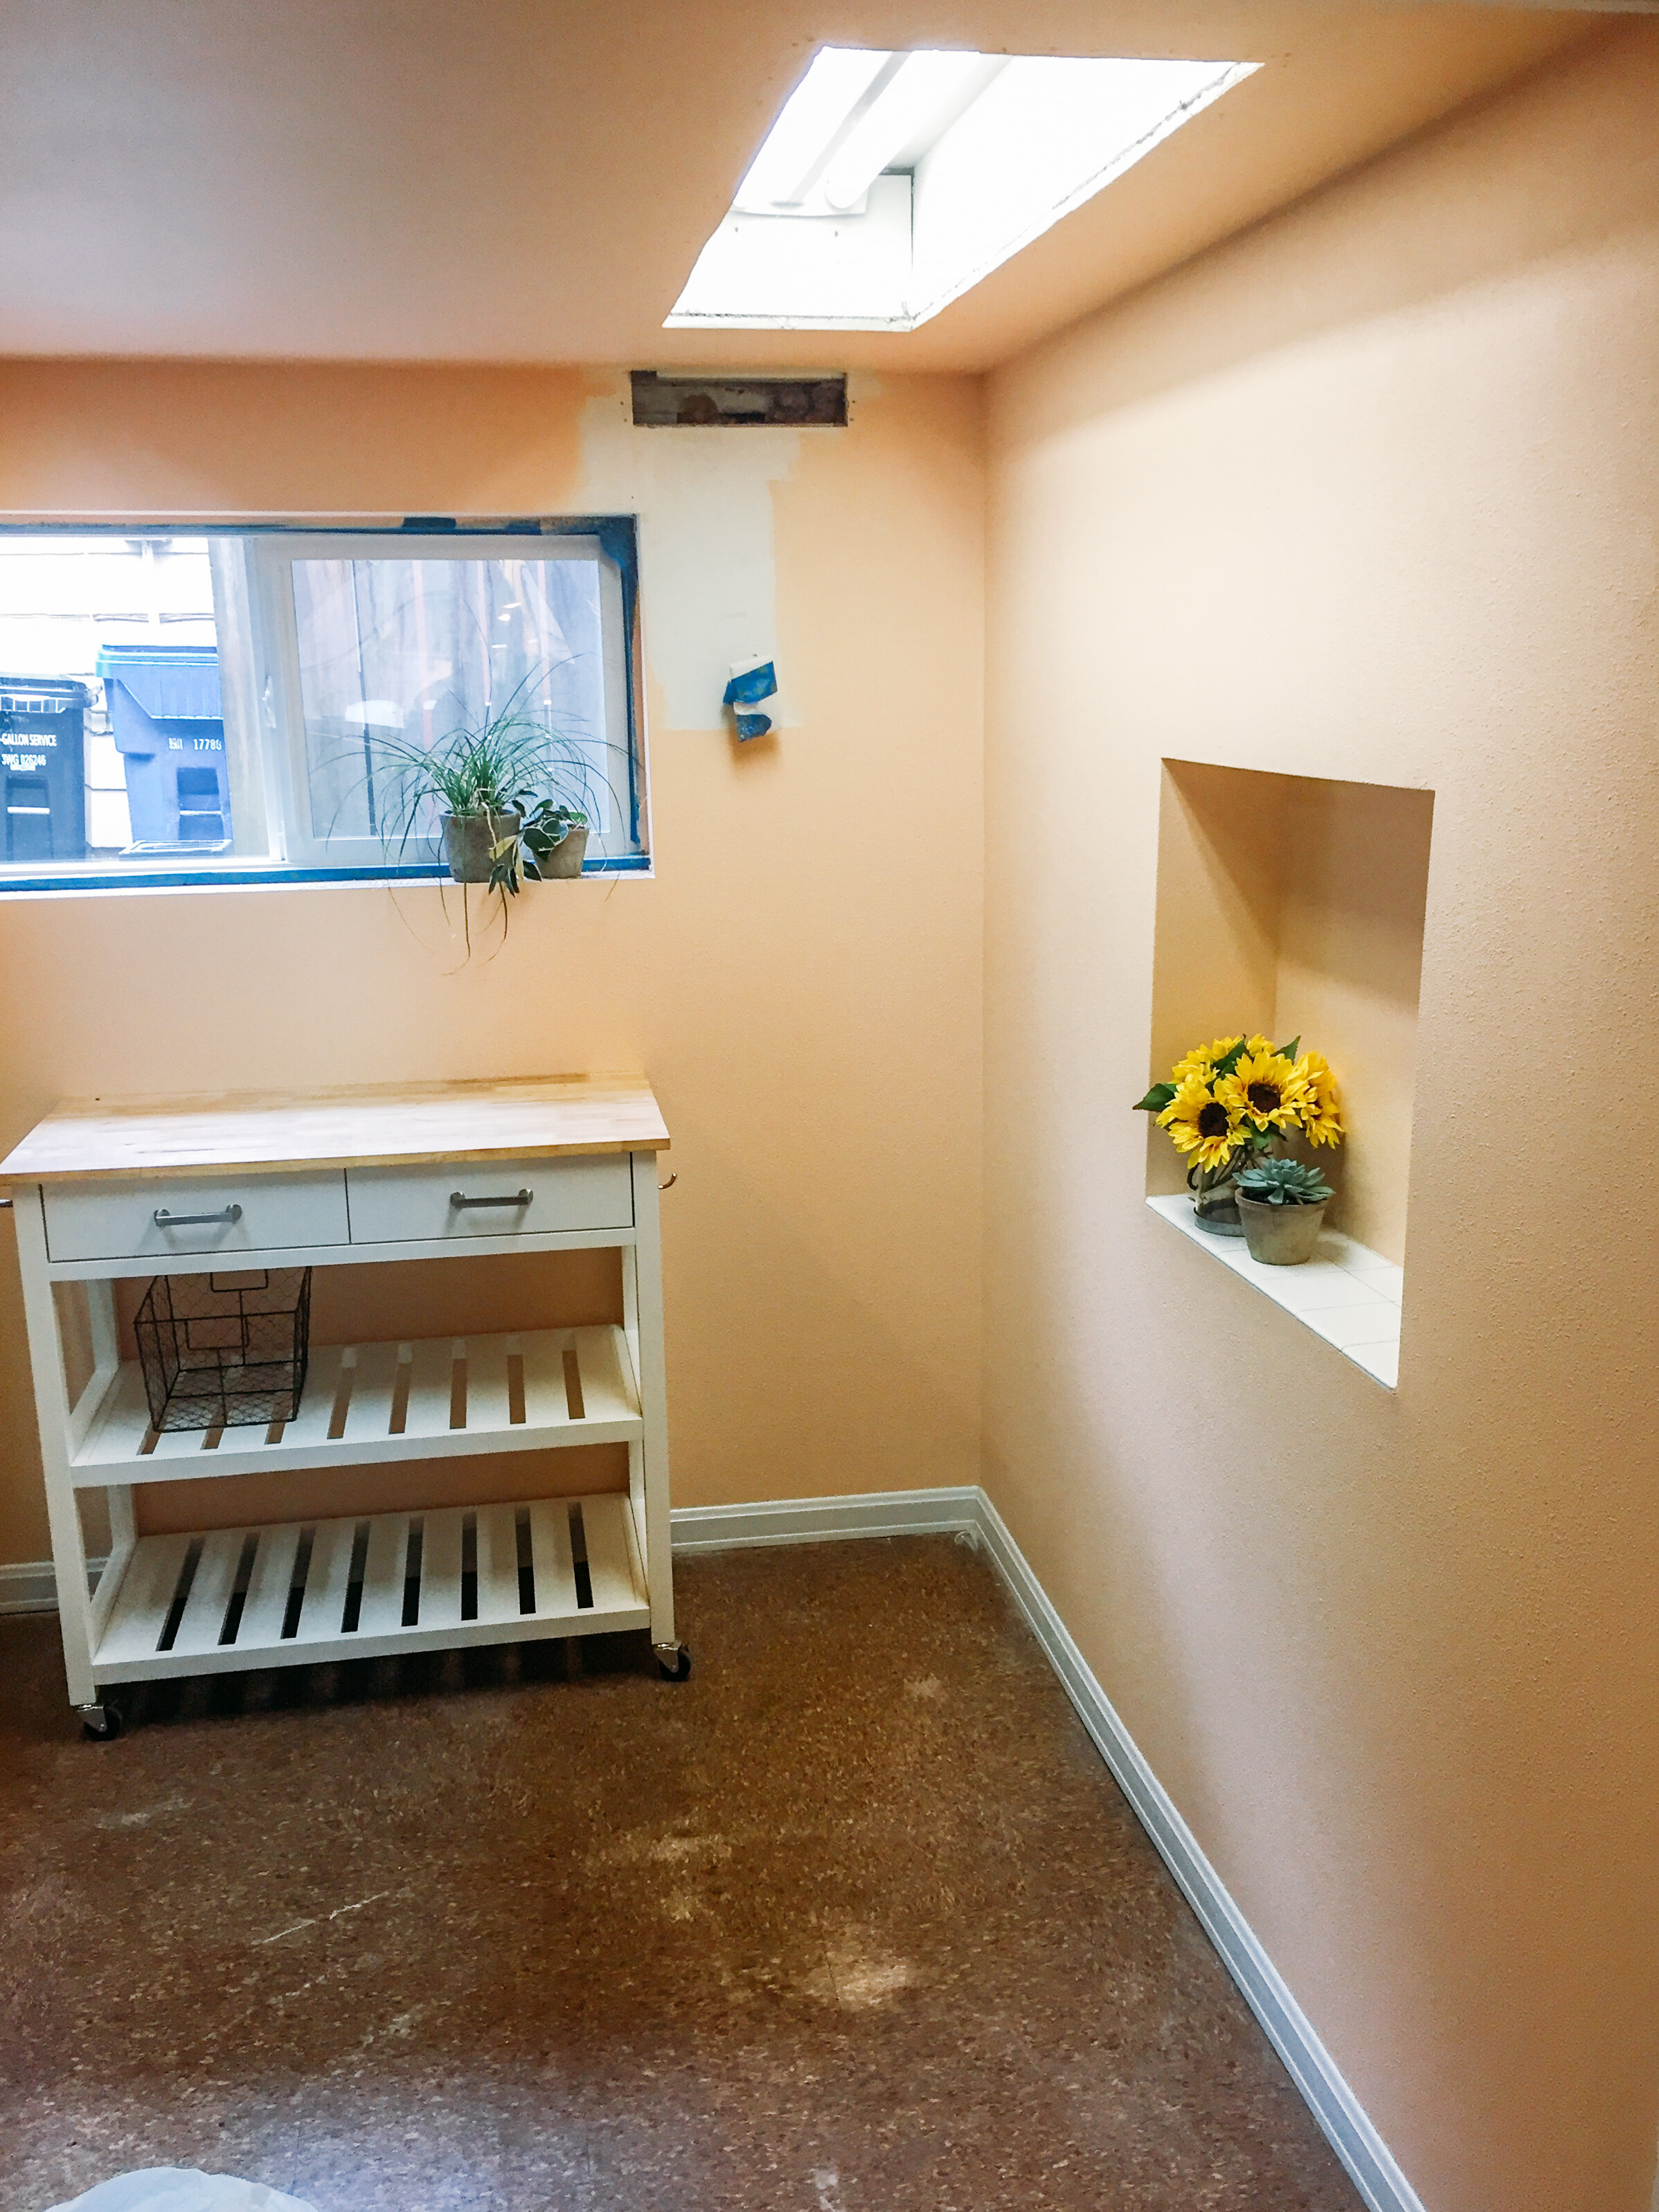
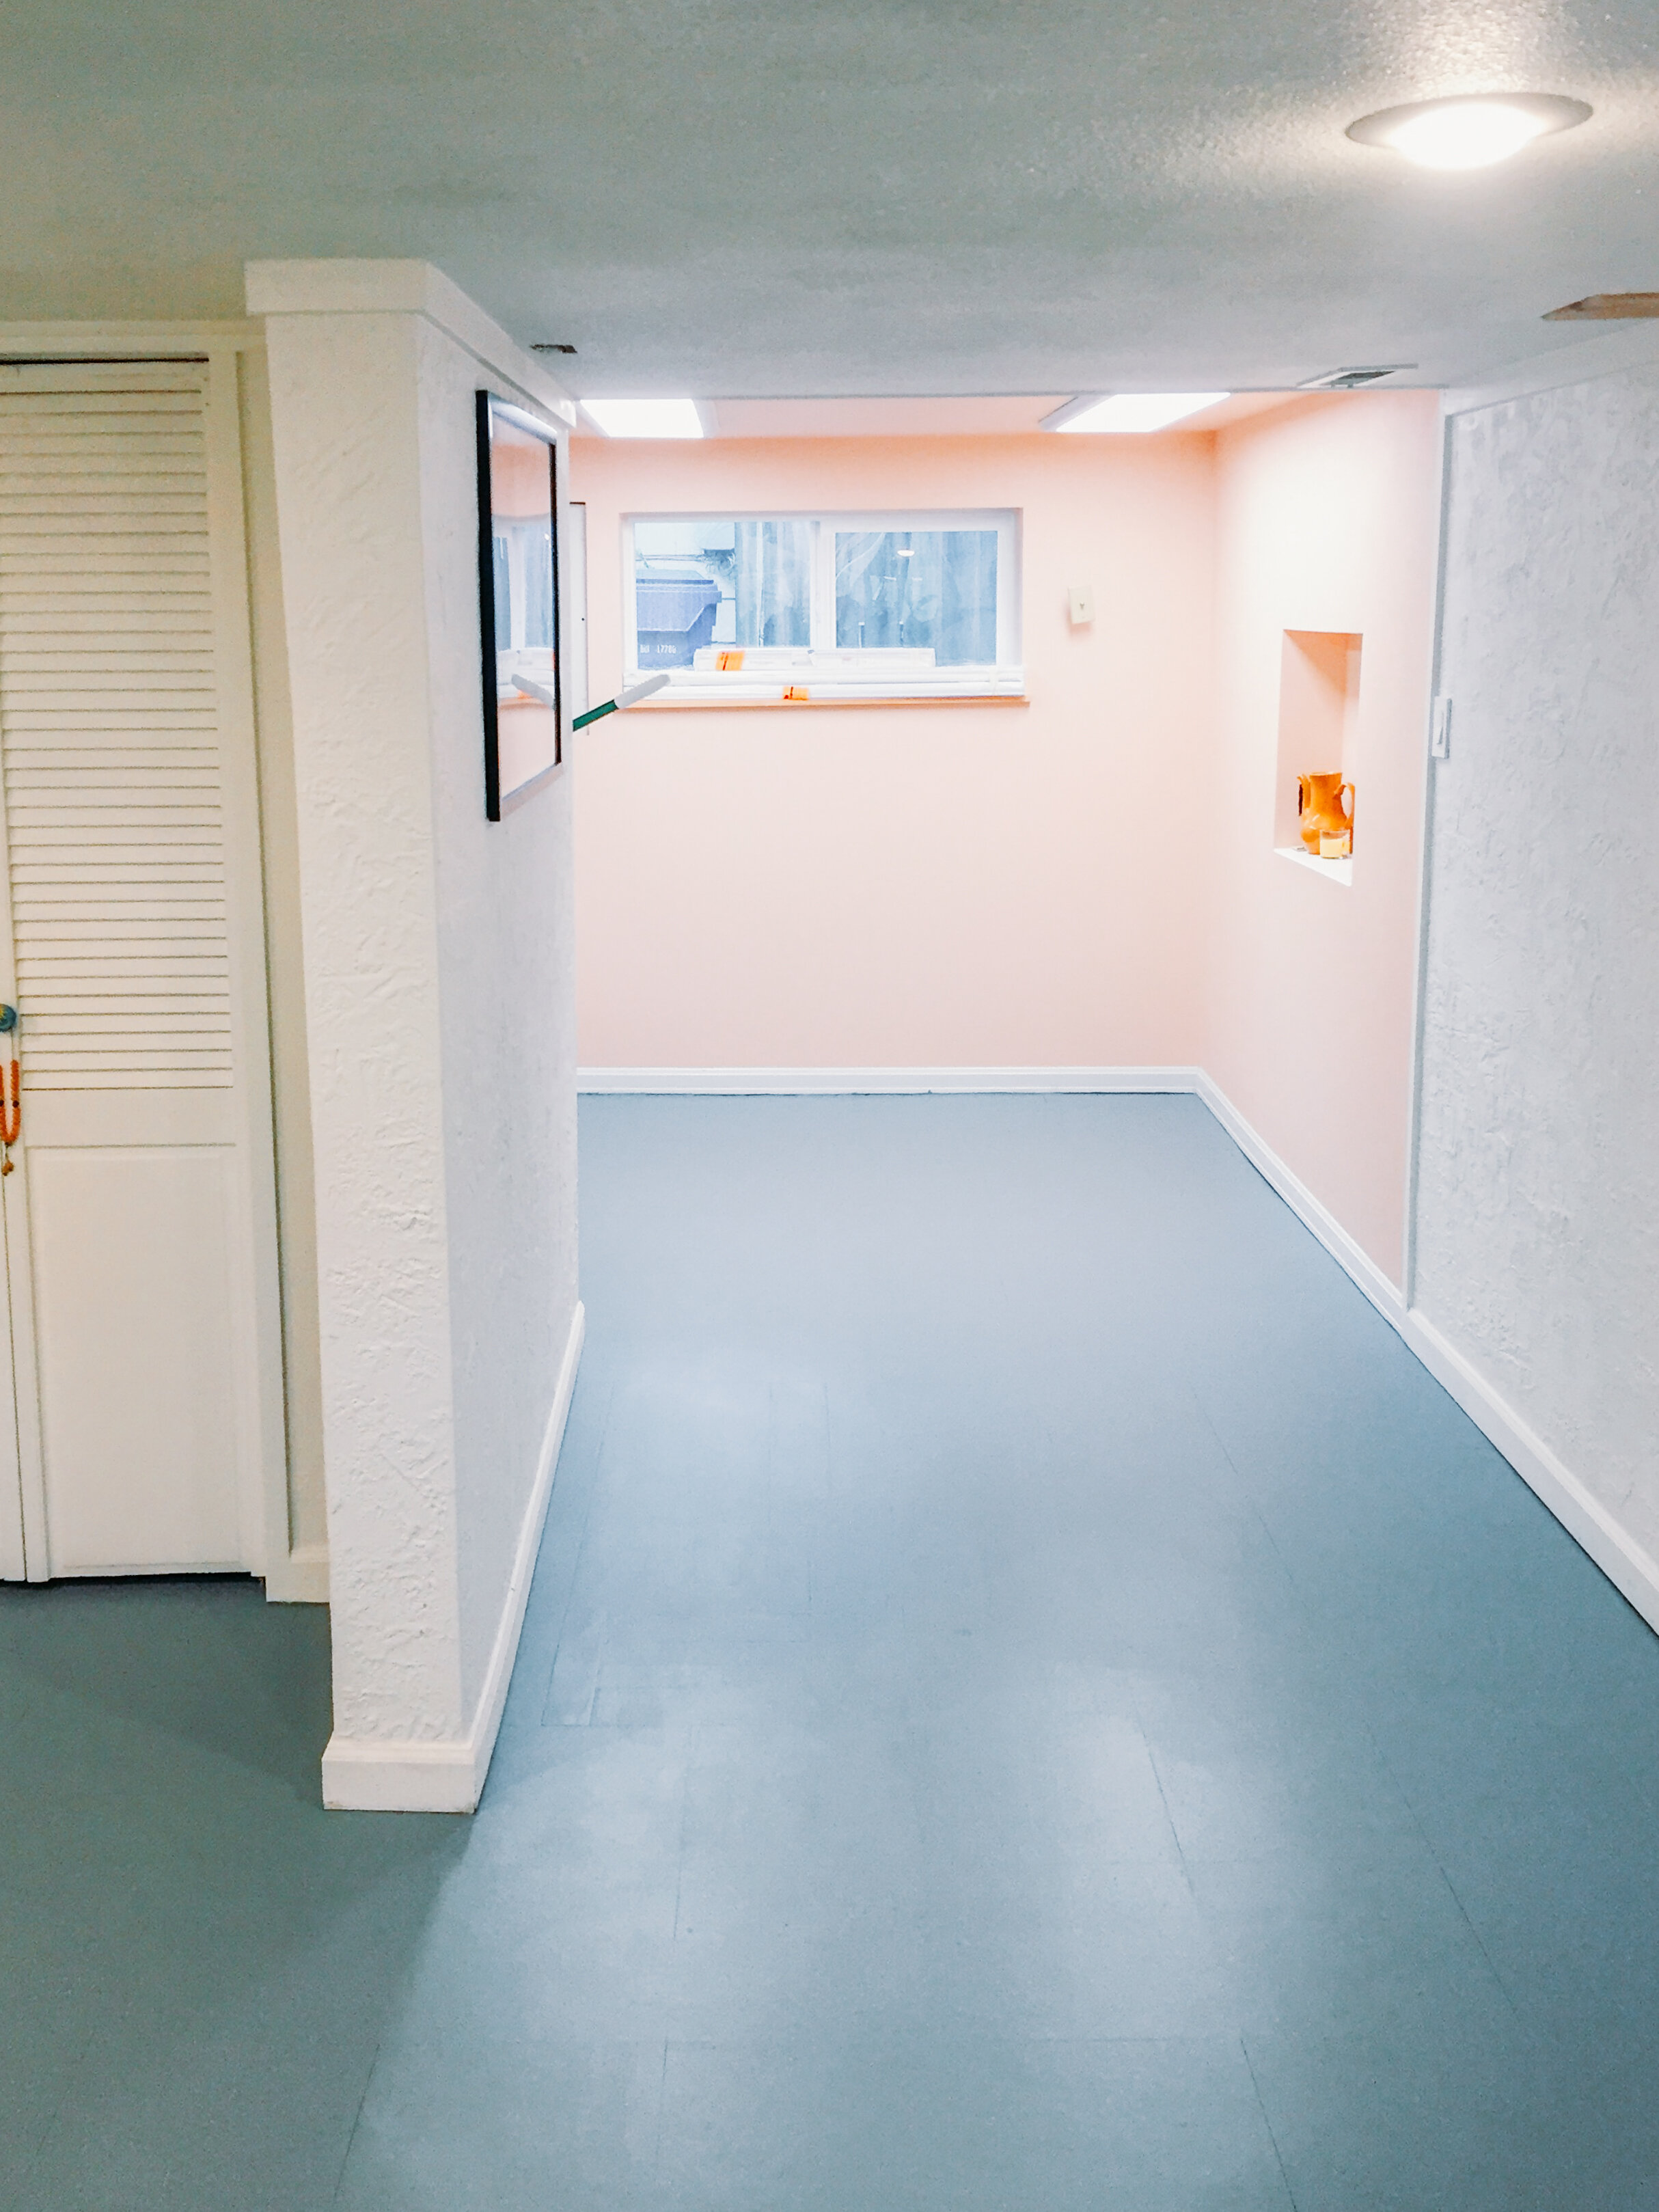
i also began painting over the school bus yellow color that’s been in our hallway & kitchen to a more neutral creamy white with greyish purply tones - sherwin williams ‘cultured pearl’. kitchen update blog post coming later!

clare v. la mer candle from anthropologie

pete & i have some big goals for 2021; we’ve started out strong with a major bathroom overhaul in january, and a significant kitchen update in february. we’re never this productive during the sad and dark monday & tuesday of the months🤣, so we are feeling great about all of it.
a million thank-yous to our friend & contractor SAM who put in serious work and turned our visions into reality. and to my sweet pete for all of his hard work and being understanding & flexible re: the many, many tiny design decisions that go into a process like this. and to me, because i was there, too - and because women famously give more credit to others involved in group projects and none to themselves - so cheers to myself for all the coordination, planning, designing, purchasing, acquiring, receiving, shuffling, organizing, cleaning and all the thankless tasks in between that can often go unseen.
i am proud of us all!!!!!!!!!! i couldn’t be happier that this entire bathroom renovation was completed in less than 30 days and we can now bask in this glorious, modernized, clean & serene, sun-drenched bathroom!
check out our downstairs bathroom renovation here!
qp