winter squash red thai curry.
/when i make meals like this, peter alllllllways says, "are we vegetarian now??"
i don't even mean to do it, and i sometimes don't even notice that the meal has no meat. when there are so many good flavors happening, meat is not [always] missed.

i heard many a "yummm" "mmmMmMMM" from pete during this meal, so take that, meat.
[although i totally would have put chicken in this. i think we just didn't have any at the time, ha!]
behold, the acorn squash. or winter squash, if you will. i think there are a bunch of winter squash varieties, and this is specifically called the "acorn squash," but it still falls under the winter squash category.
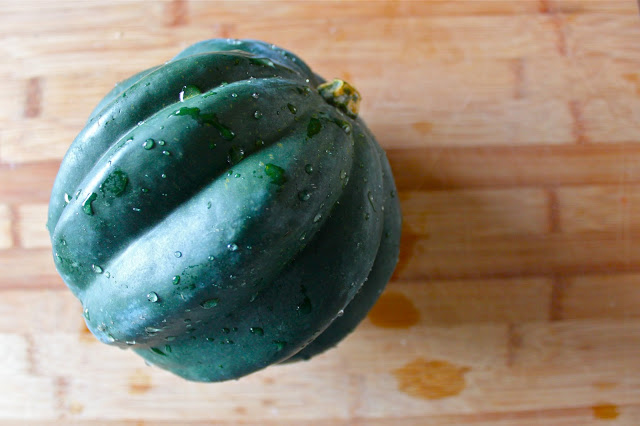
you can do so many things with this little beauty.

just cut it and gut it like a pumpkin, roast it up with a little butter, stuff it with delicious toppings, chop it up, or purée it up.
it adds such a hearty texture when puréed. you can definitely just fashion a squash soup out of this, but i wanted to purée it up and add it to my beloved panang/red curry.
i loOoOoOooOve thai curries. i always thought i didn't like curry, because i do not really like the taste or smell of indian curries. good thing my friends and i ate a butt load of thai food in college, or i never would have discovered that i do, in fact, LooOoOove thai curries.
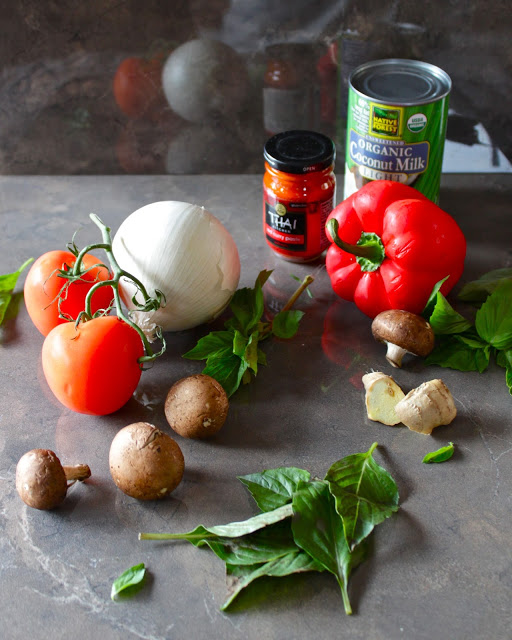
if you have the thai red curry paste, a can of coconut milk, garlic, and fresh ginger, you can take your homemade thai curries in a lot of directions.

i've made this several times before at home, but never with the added squash factor.
and we were so pleasantly surprised by the results!
[yeah i also thought that i dreamt up putting puréed squash in a curry, but that is so totally already a thing. damn you, ever evolving internet full of creative thinkers! actually, i love you.]
for this one i used a lot of minced white onion, garlic, a good amount of freshly chopped ginger, thai red curry paste, and coconut milk as the base.
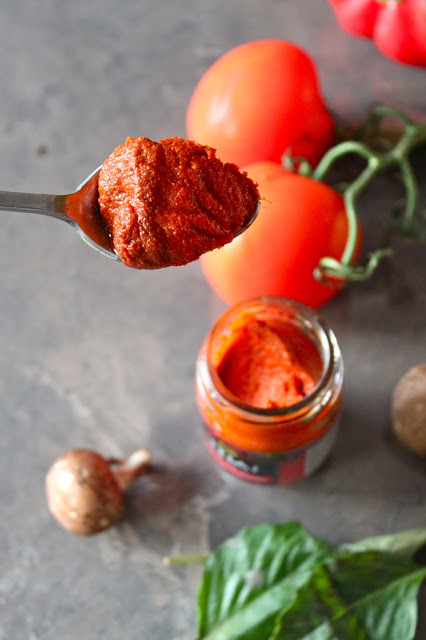
the red curry paste is somewhat expensive for the size of the jar (around $5), but i've found it goes pretty far and you can make a big helping of curry maybe 3-5 times with this little jar.
i like to use a lot of it, so maybe closer to 3 different meals :)
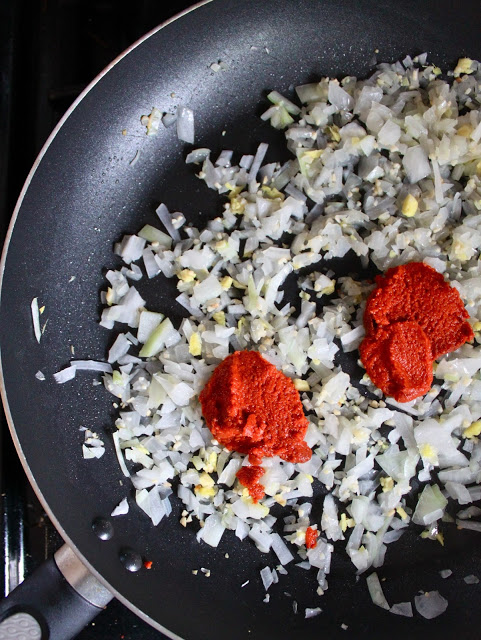
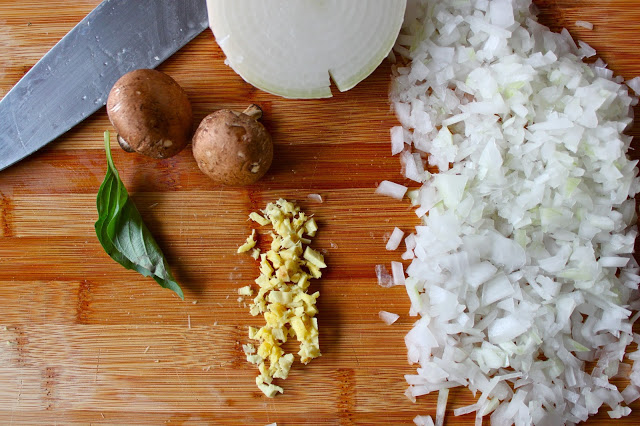
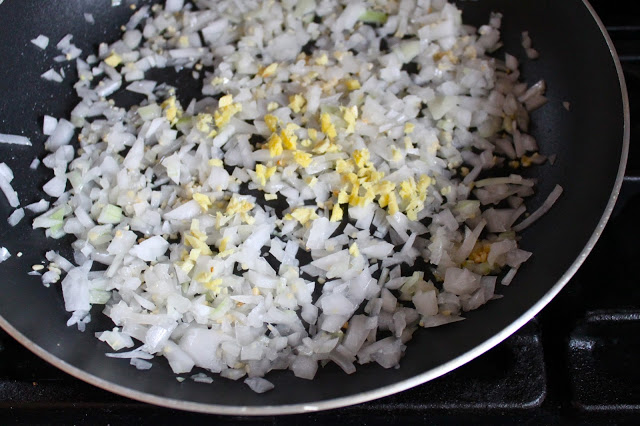
just sautée your onion and garlic til its slightly translucent. add the fresh ginger and let it do its thang for about 5 minutes until fragrant.

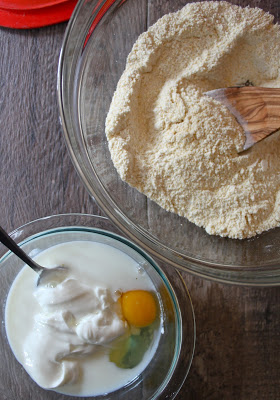
add one whole can of coconut milk. i usually use the light version in the green can from trader joe's...did they get a new label??? did the light version go away??? why does tj's do these weird things to us....like the dried mangoes. where do those go off to for weeks/months at a time???
this is an imposter green can of light coconut milk from who knows where.
but its organic. heyyyooooooooooooo.

oh by the way, this whole time you should be roasting your squash in the oven. do you know how to do that? i'll tell ya later.

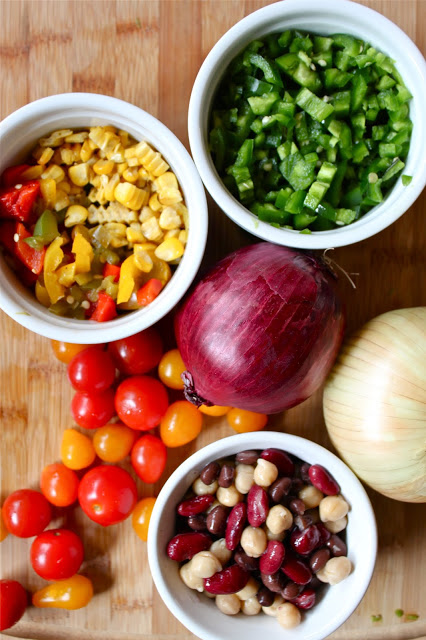
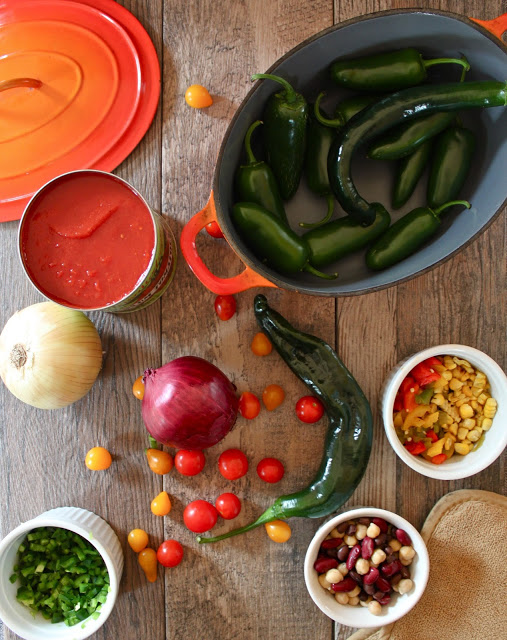
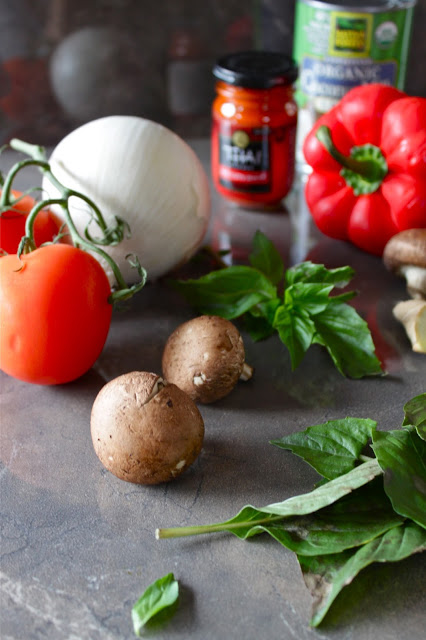
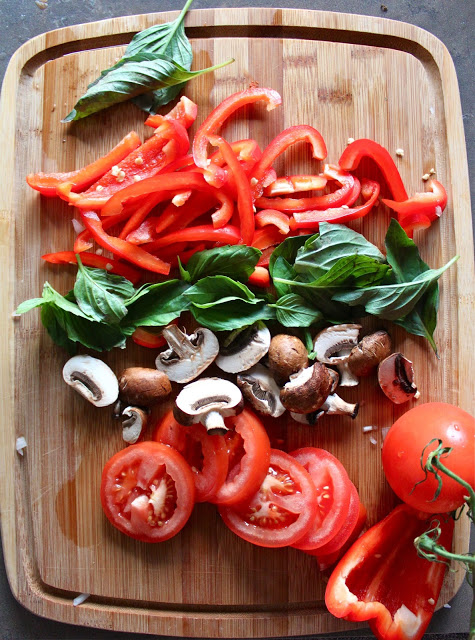
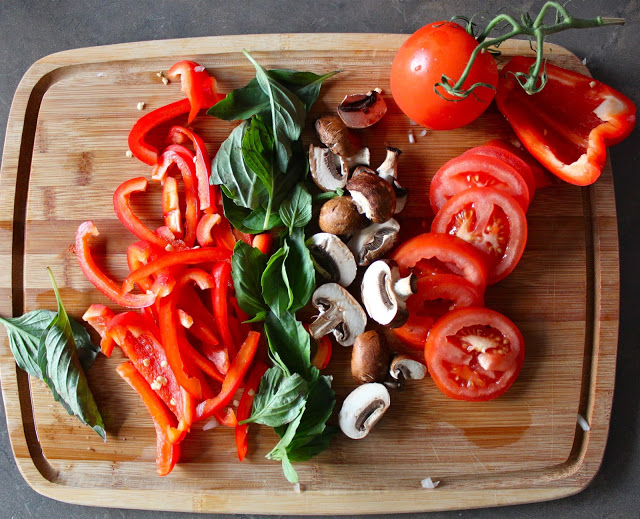
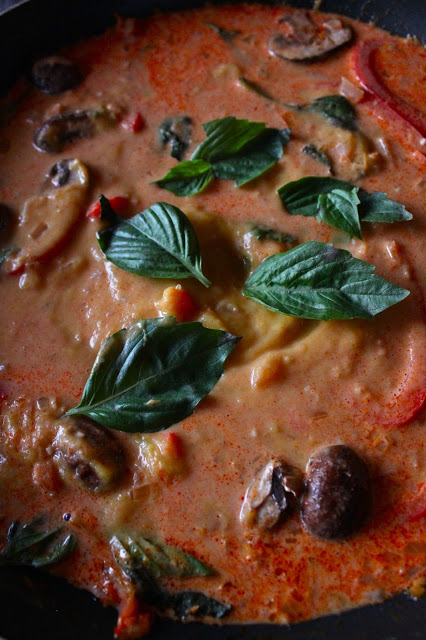
simmer your coconut milk down a little bit and let all those flavors jive. while this is happening, chop up some delicious fresh veggies. like red bell peppers, mushrooms, tomatoes, limes (not pictured, but SOOOO necessary. i repeat, sooo necessary!), and don't forget the thai basil.
the thai basil and lime are really what bring this together, so don't skimp on those two ingredients. otherwise, you can be a little more free with the veggies you'd like to add to this.
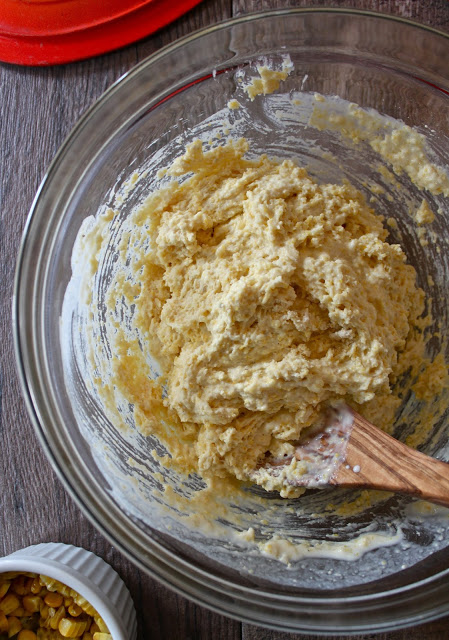
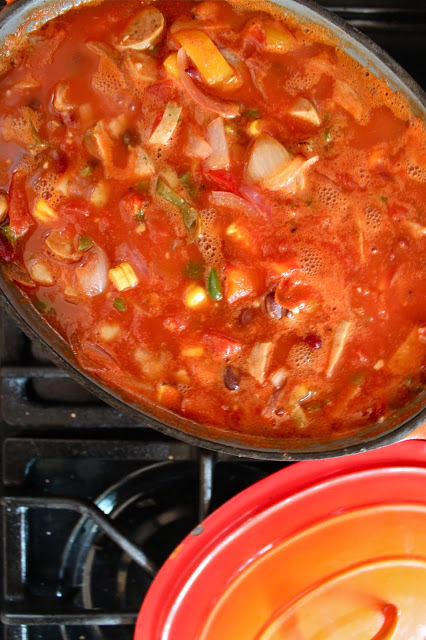
oh look its all coming together so nicely. and its really so easy.

sidenote, this was what was happening out the kitchen window while cooking this. we are so so lucky to have any sort of water view, let alone water + mountain view. the powerlines are so hideous, but we don't even care.

at some point you should be scraping the squash out of its skin and into the food processor to purée it up. or if you have an immersion blender, use that! you fancy!

lalala pretty colors.

oh there she is. puréed squash. i just added a pinch of salt and pepper to it.
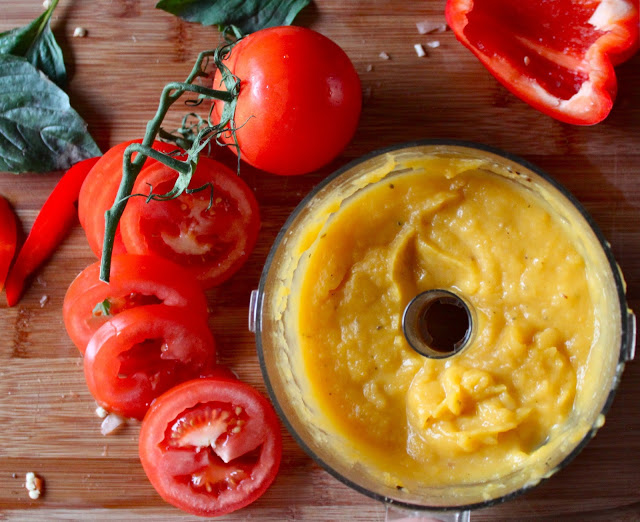
i think that medium/large acorn squash yielded about 1.5-2 cups of puréed squash.

back to the window, i go. you can only imagine how many photos i have taken of this view in the last year and a half we've lived here.....
also, aren't underground powerlines a thing? what gives, good people of west seattle?!

okay! now we have the almost finished product! the puréed squash is mixed in there and you're ready to add your final touches aka LIME and fresh tomatoes, if you please. also, more THAI BASIL.
very important.
i didn't make rice alongside this this time, and found that a serving of the curry alone was pretty dang filling. that squash really adds a lot of body to it.

okay just one more of these views, and it is lights out on this photo sesh! i made this curry probably a month ago after work one night. now that we are in full blown daylight savings time, this is simply not possible for me to do in the evening anymore. wahhh.

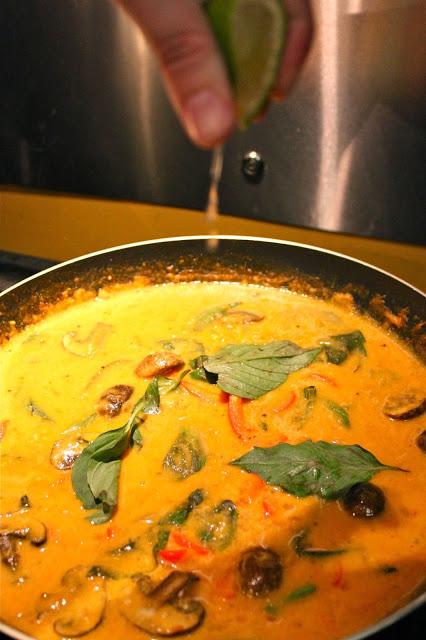
..........because the kitchen light looks like this yellow Barf-o-rama-ville, USA! ^^^
woe is me.

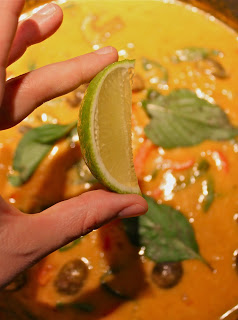
here's me illustrating to you the importance of LIME. squeeze squeeze squeeze! zing zing zing!
Winter Squash Red Thai Curry
Serves 2-4
Store in airtight container in refrigerator
Ingredients:
- 1 medium/large acorn squash, cut in half and seeds removed
- 1/2 a large white onion, minced
- 2 TB fresh ginger, minced
- 2 TB garlic, chopped
- 2 TB Thai red curry paste
- 1 can (14 fl. oz) coconut milk
- 1 red bell pepper, cored and sliced (seeds removed)
- Thai basil leaves (I buy an organic pack at the store for about $3 and use it all for this dish)
- 4-6 large crimini mushrooms, sliced
- 1 tomato, sliced
- 1-2 limes
Instructions-
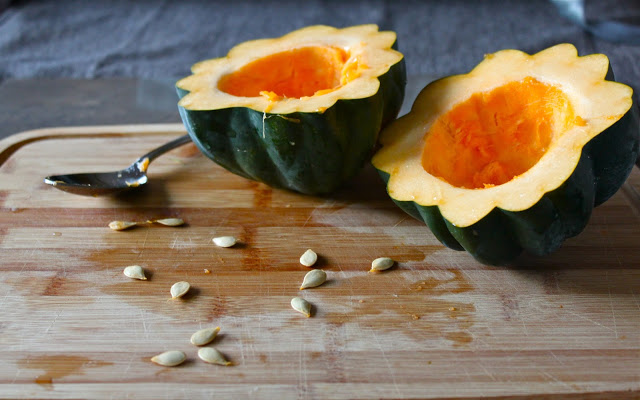
Preheat oven to 425 degrees F. CAREFULLY (oh so carefully, this actually scares me) cut the acorn squash in half around its equator with a large knife. phew. That was the hardest part.
Remove all seeds and any excess string/pulp from the squash and discard. Rub the surface of the squash with a pat of butter, olive oil, or coconut oil. Place squash face up in a baking dish and roast in the oven for about 20-30 minutes, or until it is tender when poked with a fork. You can also start to hear the squash squealing in the oven a little bit when its done. (just writing that reminded me of this freaky hansel & gretel movie i watched all the time as a kid and they pushed the witch into the oven and shut the door and she was screaming. what the hell man?!!)
Once the squash is tender, remove from oven and let cool about 10 minutes. You can roast the squash a couple of days in advance.
Chop up your onion, garlic, and ginger. Heat a large pan on medium with a drizzle of olive oil and toss in the onion and garlic. Let cook until onion is slightly translucent. Add fresh ginger. Stir and let cook about 5 more minutes, until fragrant.
Add the Thai red curry paste and mix until the onions are coated well and the entire mixture begins to sizzle a bit. Pour in the whole can of coconut milk, stir, and reduce heat to medium/low. Let the coconut milk simmer down for about 10-15 minutes while you're chopping your other veggies and puréeing the squash.
Scrape the squash out of its skin with a fork (or grapefruit spoon!!). Place in the food processor and purée with a drizzle of olive oil until smooth. Add a pinch of salt and pepper and pulse again.
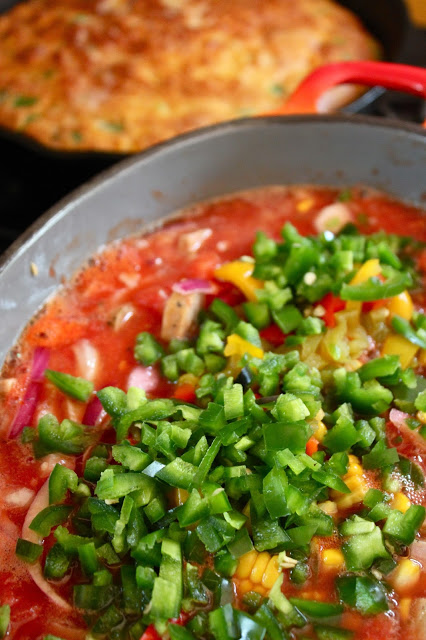
Chop all other veggies, and add them to the coconut milk mixture on the stove. Let the more firm/heartier veggies go in first (like bell peppers). Add the more delicate veggies like mushrooms and Thai basil a little later. Simmer it all together on medium/low heat until the veggies are tenderized to your liking.
Gently stir in the amount of puréed squash that you'd prefer. I think I used about 1 1/2 cups.
Garnish with extra Thai basil, tomato slices, and lots of fresh squeezed lime.
Serve with rice, or on its own!
enjoy!
qp