our main bathroom renovation!

Main-Bathroom-Remodel-Jan2021_QuinnsPlace-58.jpg

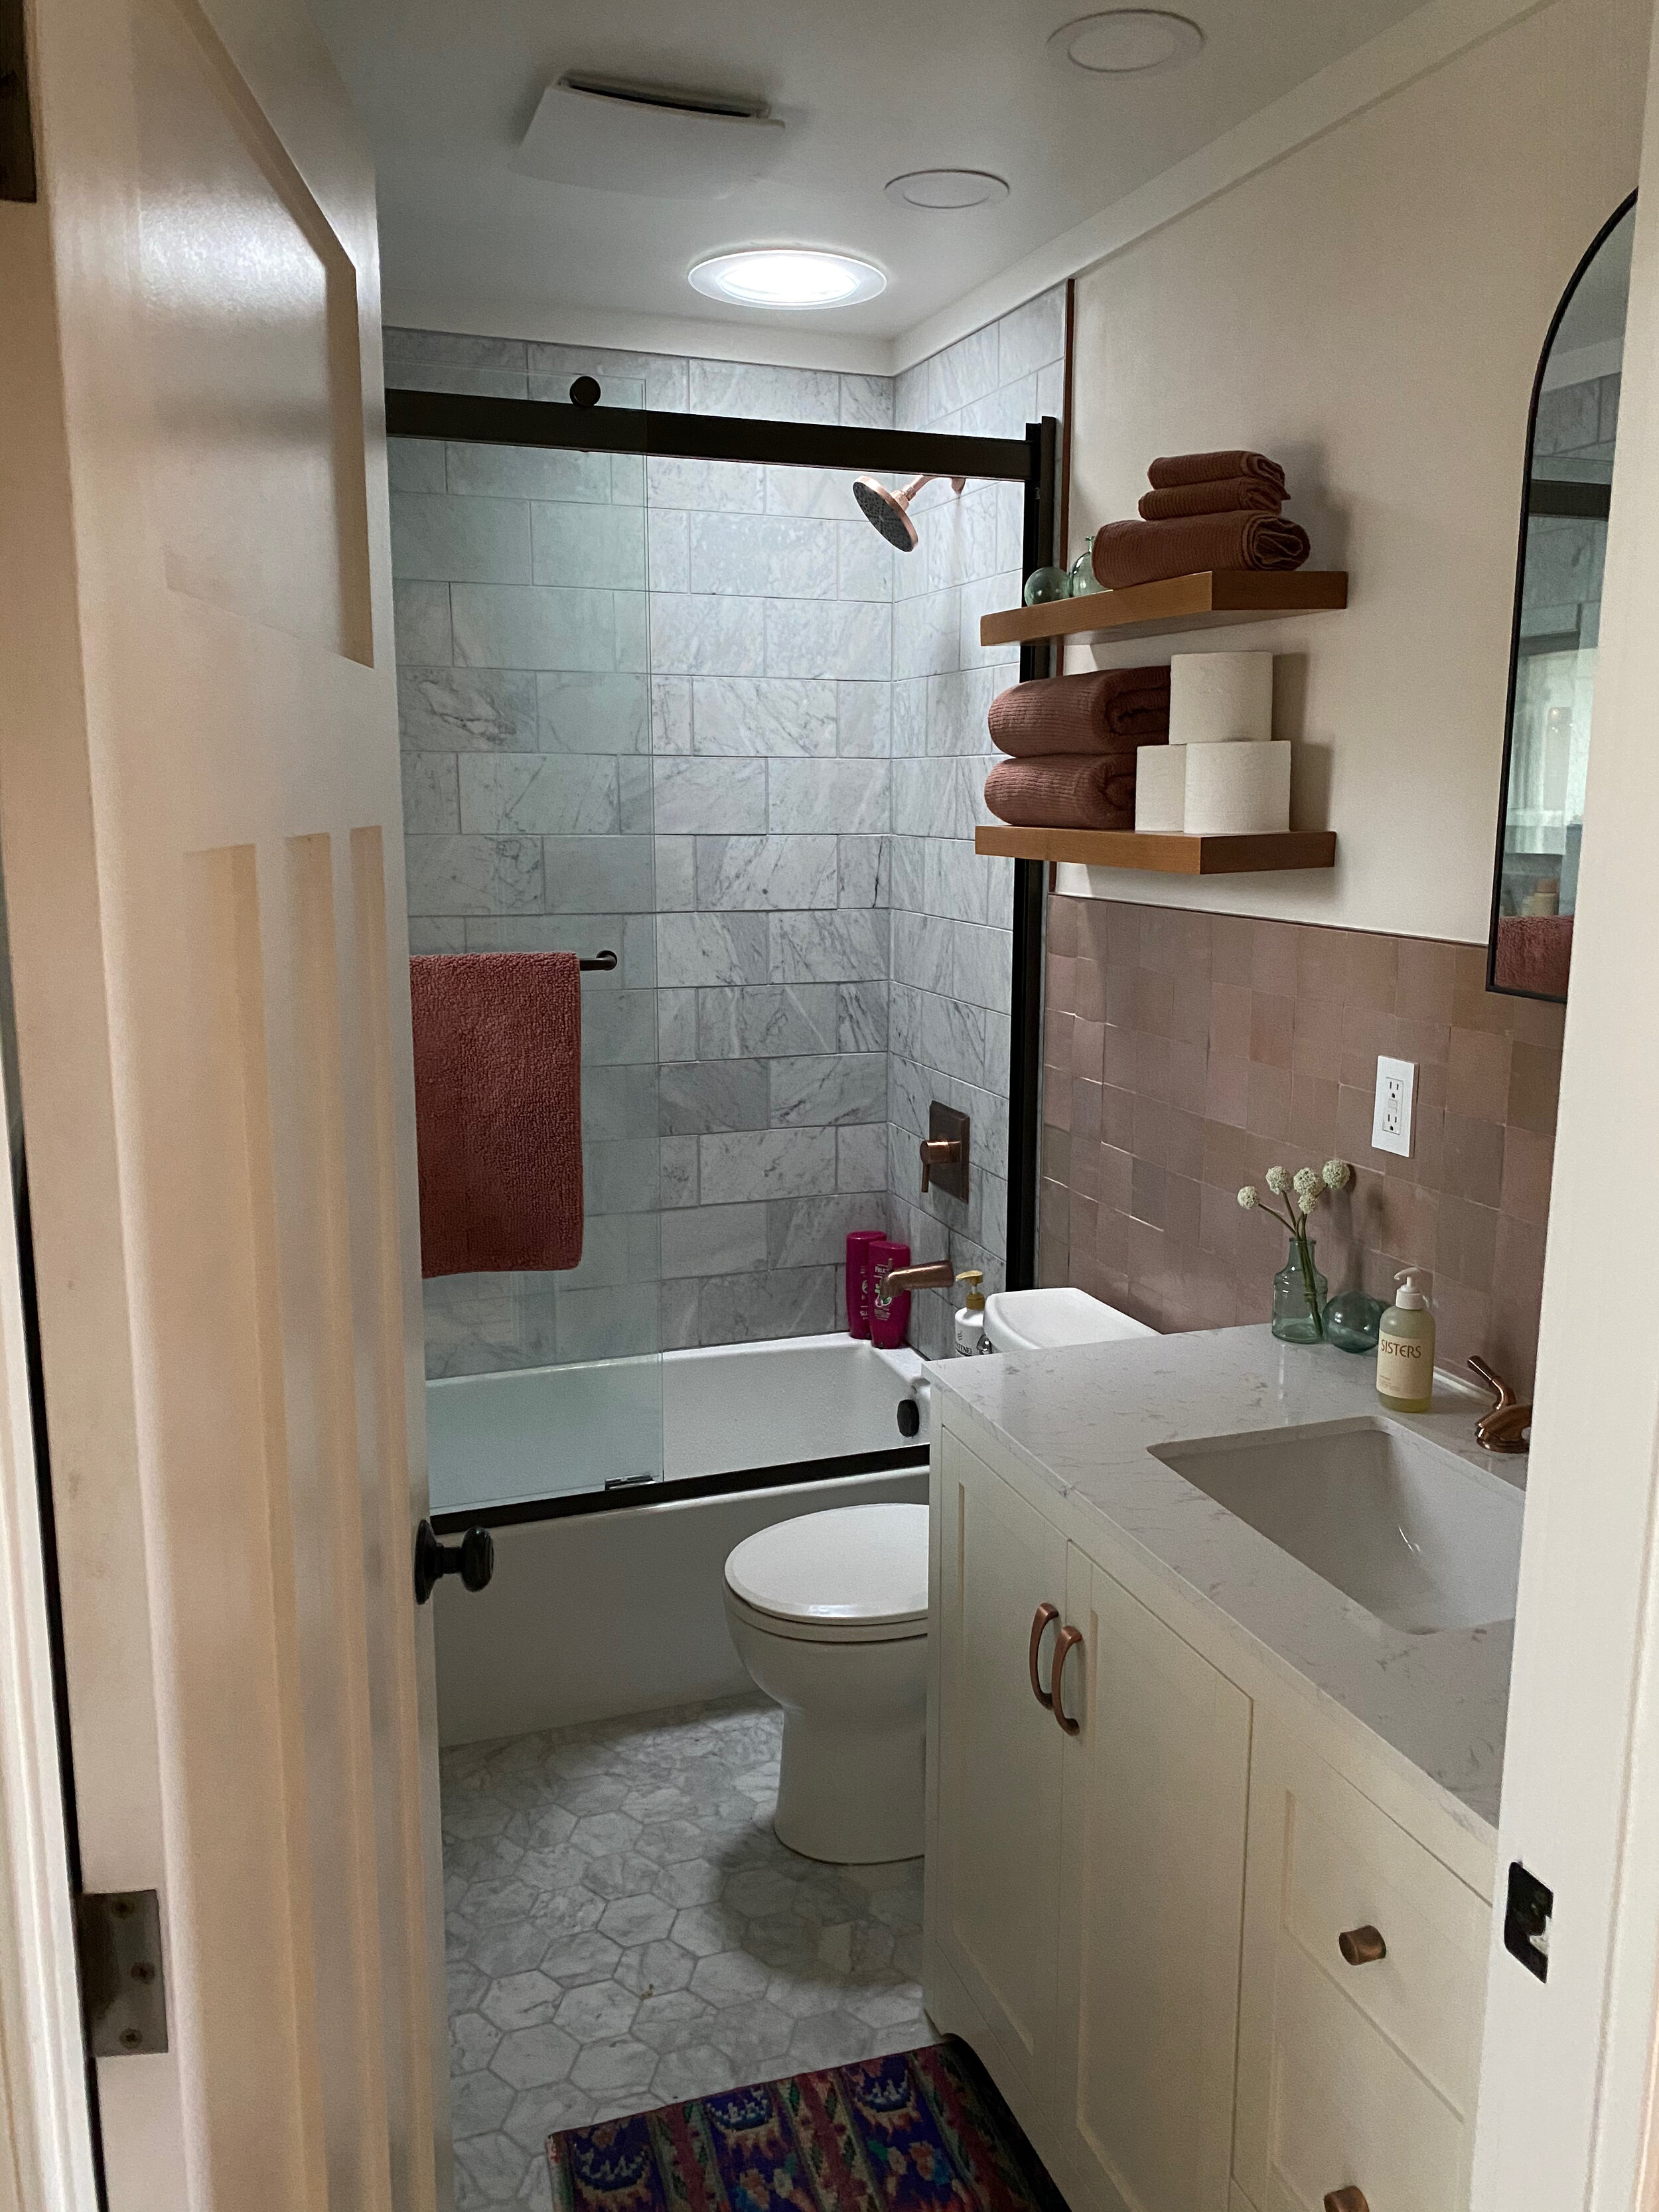
welcome to our earth toned bathroom oasis! 🌿

this new bathroom is so dreamy, feels so much more spacious & clean, and makes me very excited to spend time in here.

we feel so fortunate to have been able to tackle a big renovation this winter during covid quarantining times. our amazing contractor, sam, just so happened to be a part of our little quarantine squad during the last year, so we felt totally comfortable having him in and out of our space all day, every day for several weeks to work on our house. he also helped us make big time updates to our little kitchen, which i’ll share later.

i cannot believe this week marks 1 year since covid changed everything - what a time. it is not lost on us how freaking lucky & privileged we are to have our home, safety, health and have kept working our jobs from home throughout 2020. pete & i have lived in this house for 7 years now and have just come around to making big improvements to it over the last couple of years. the bathroom & kitchen renovations would not have taken place at all had sam not been in our super tight pod of (2) other humans that we’ve been in close contact with over the last year. 🤪anyway, it happened and it’s done and i am thrilled to share it now!

there are a ton of source details & process photos below - but first, a ton of pictures of the final results, the inspiration behind this room, and before & after images.

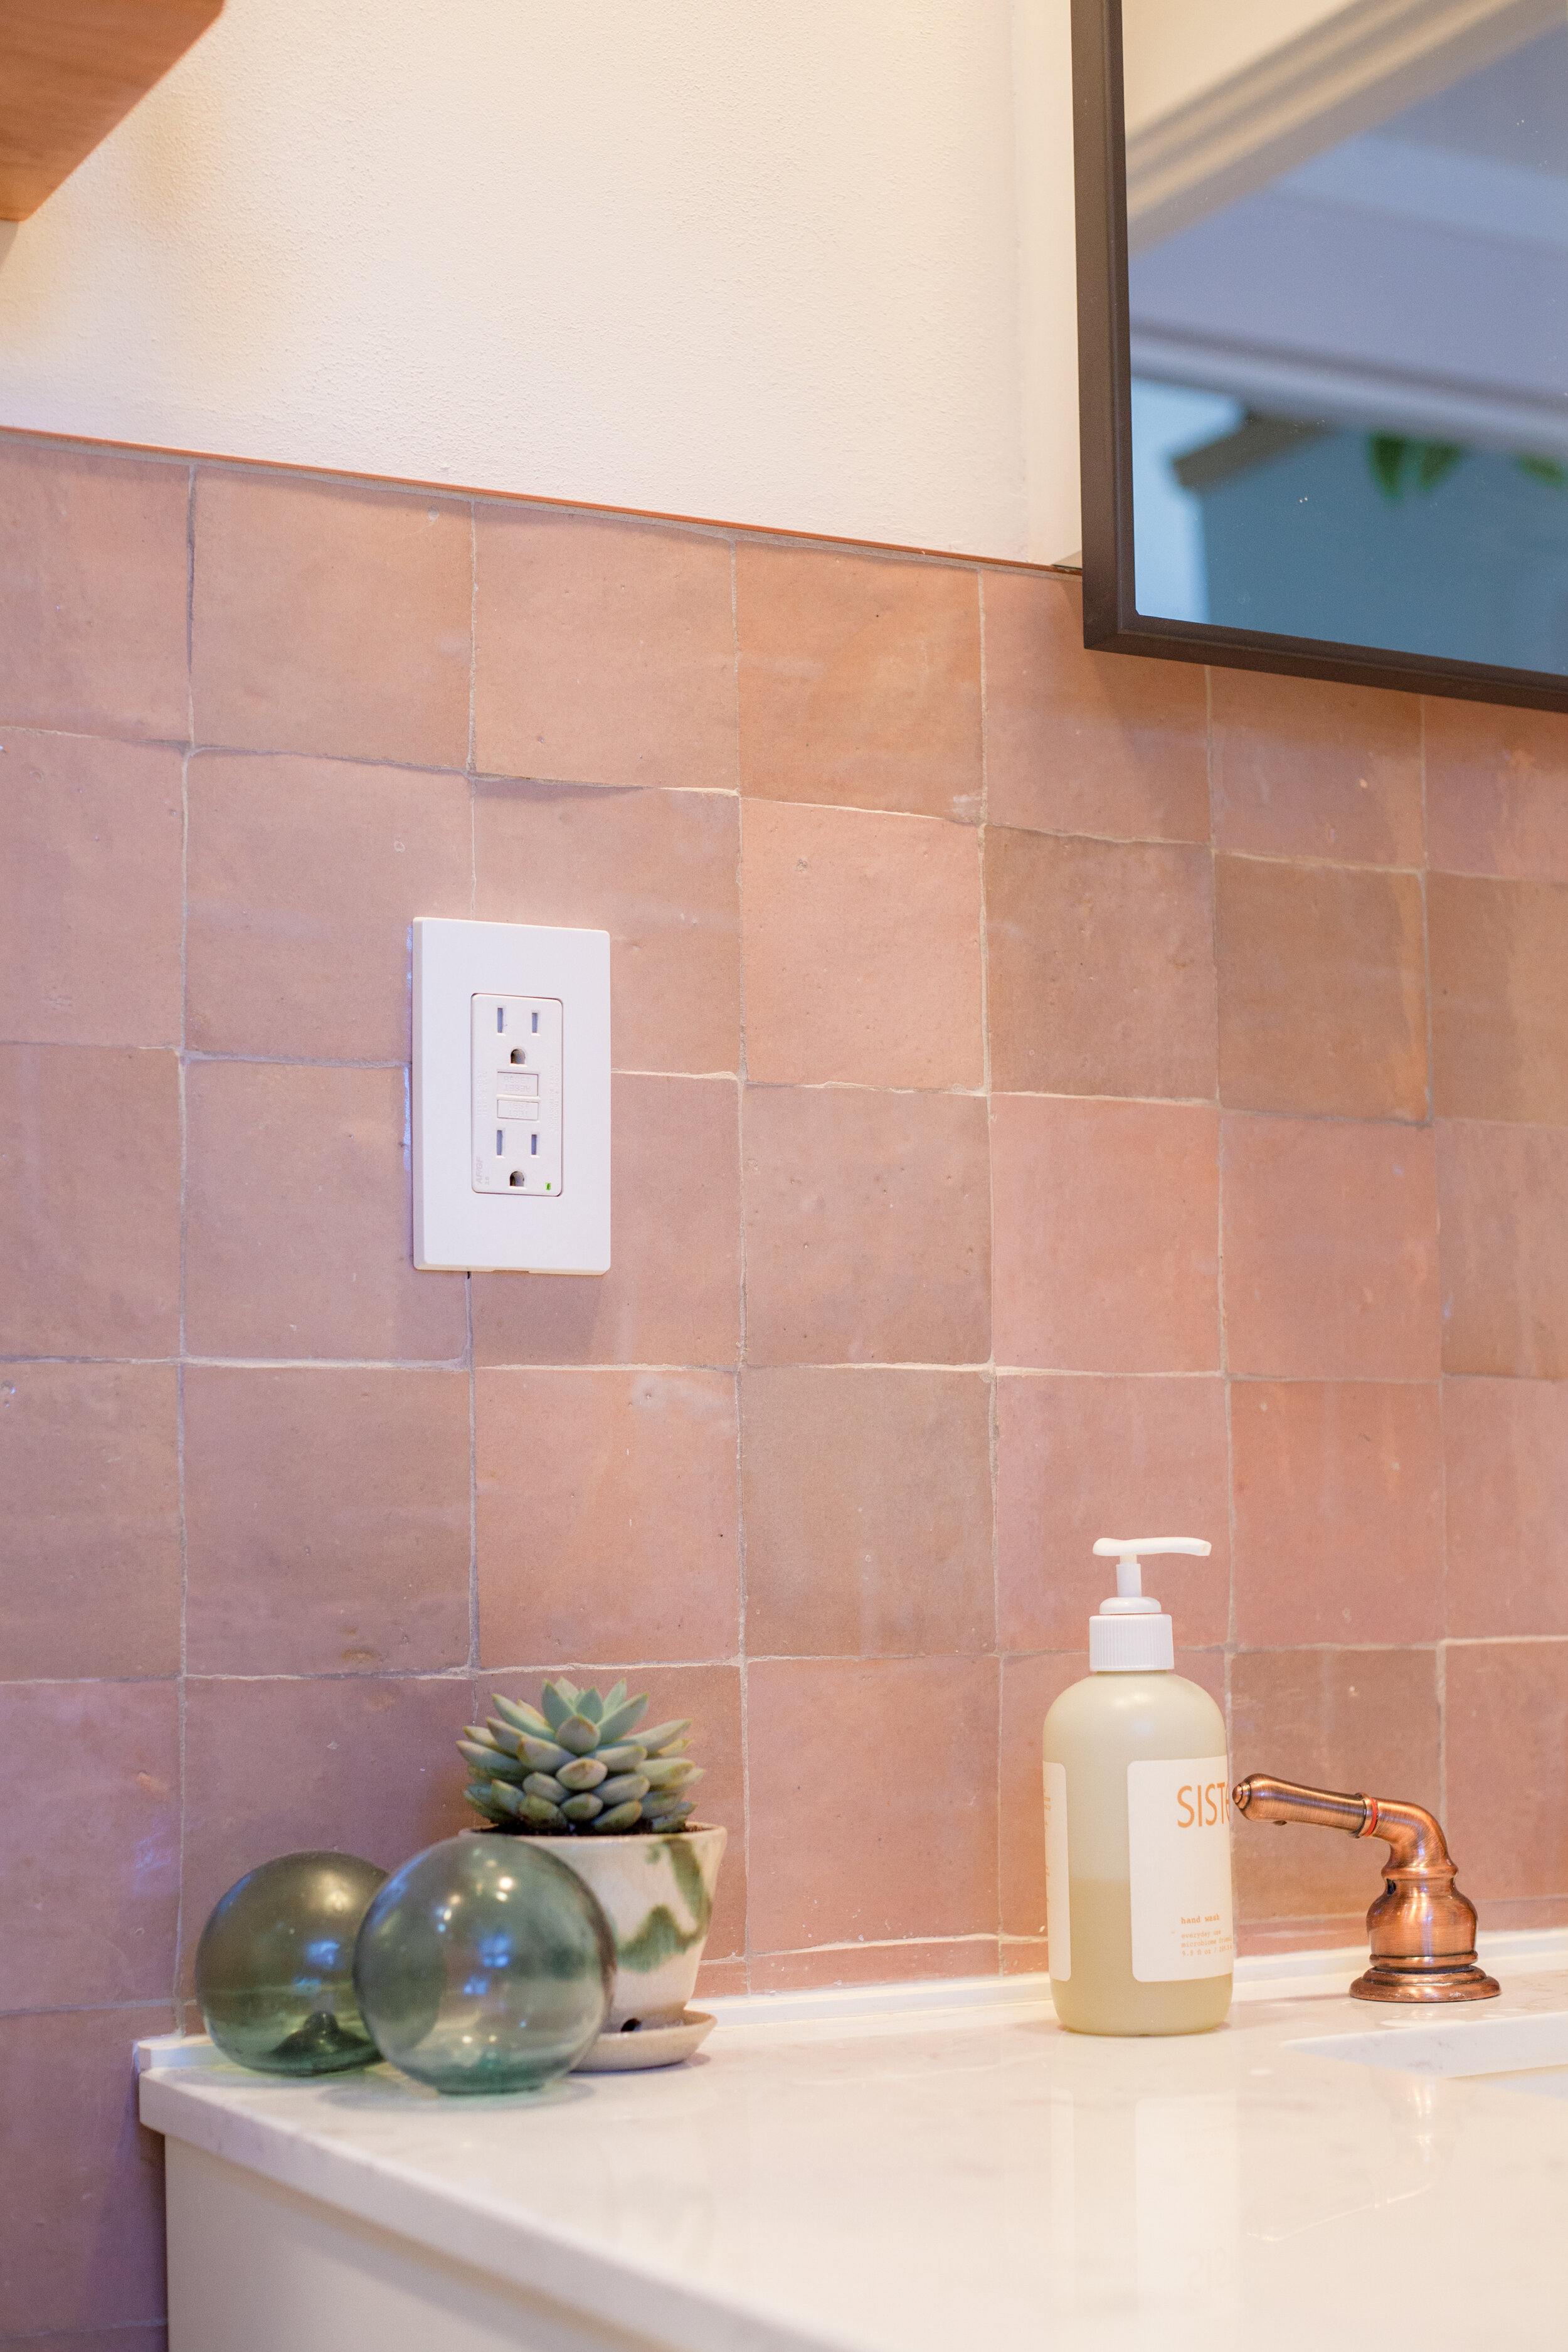
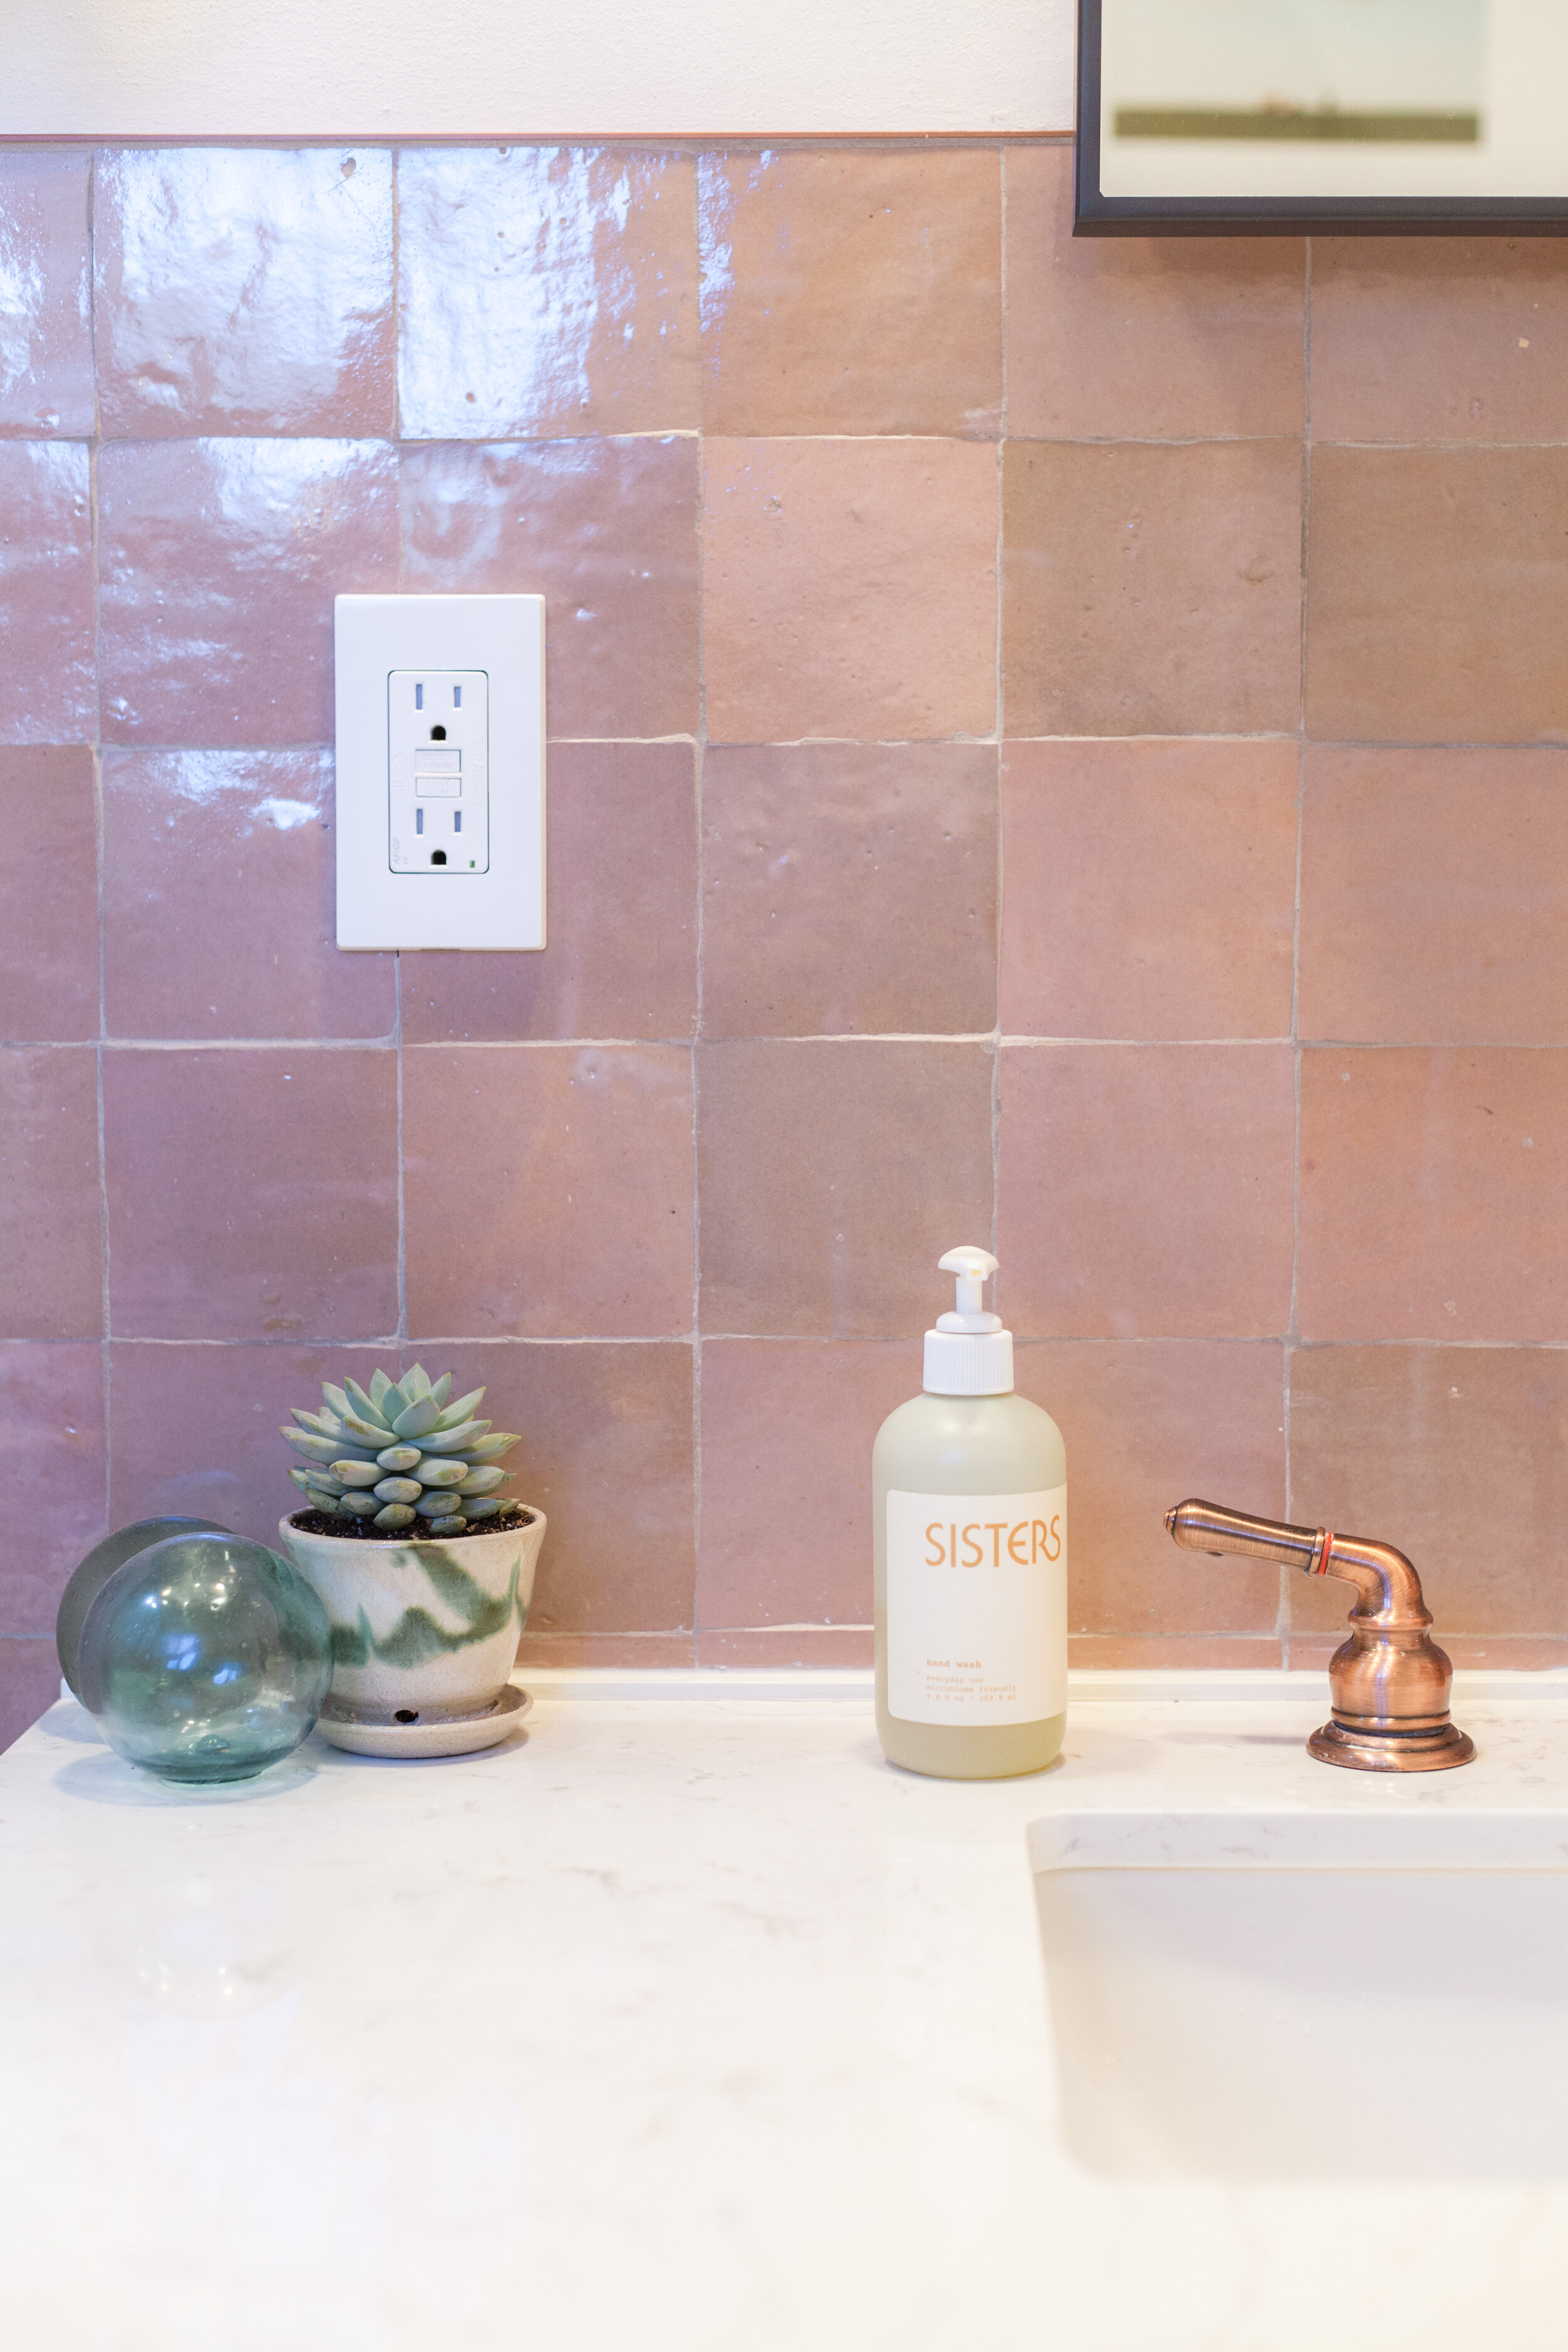
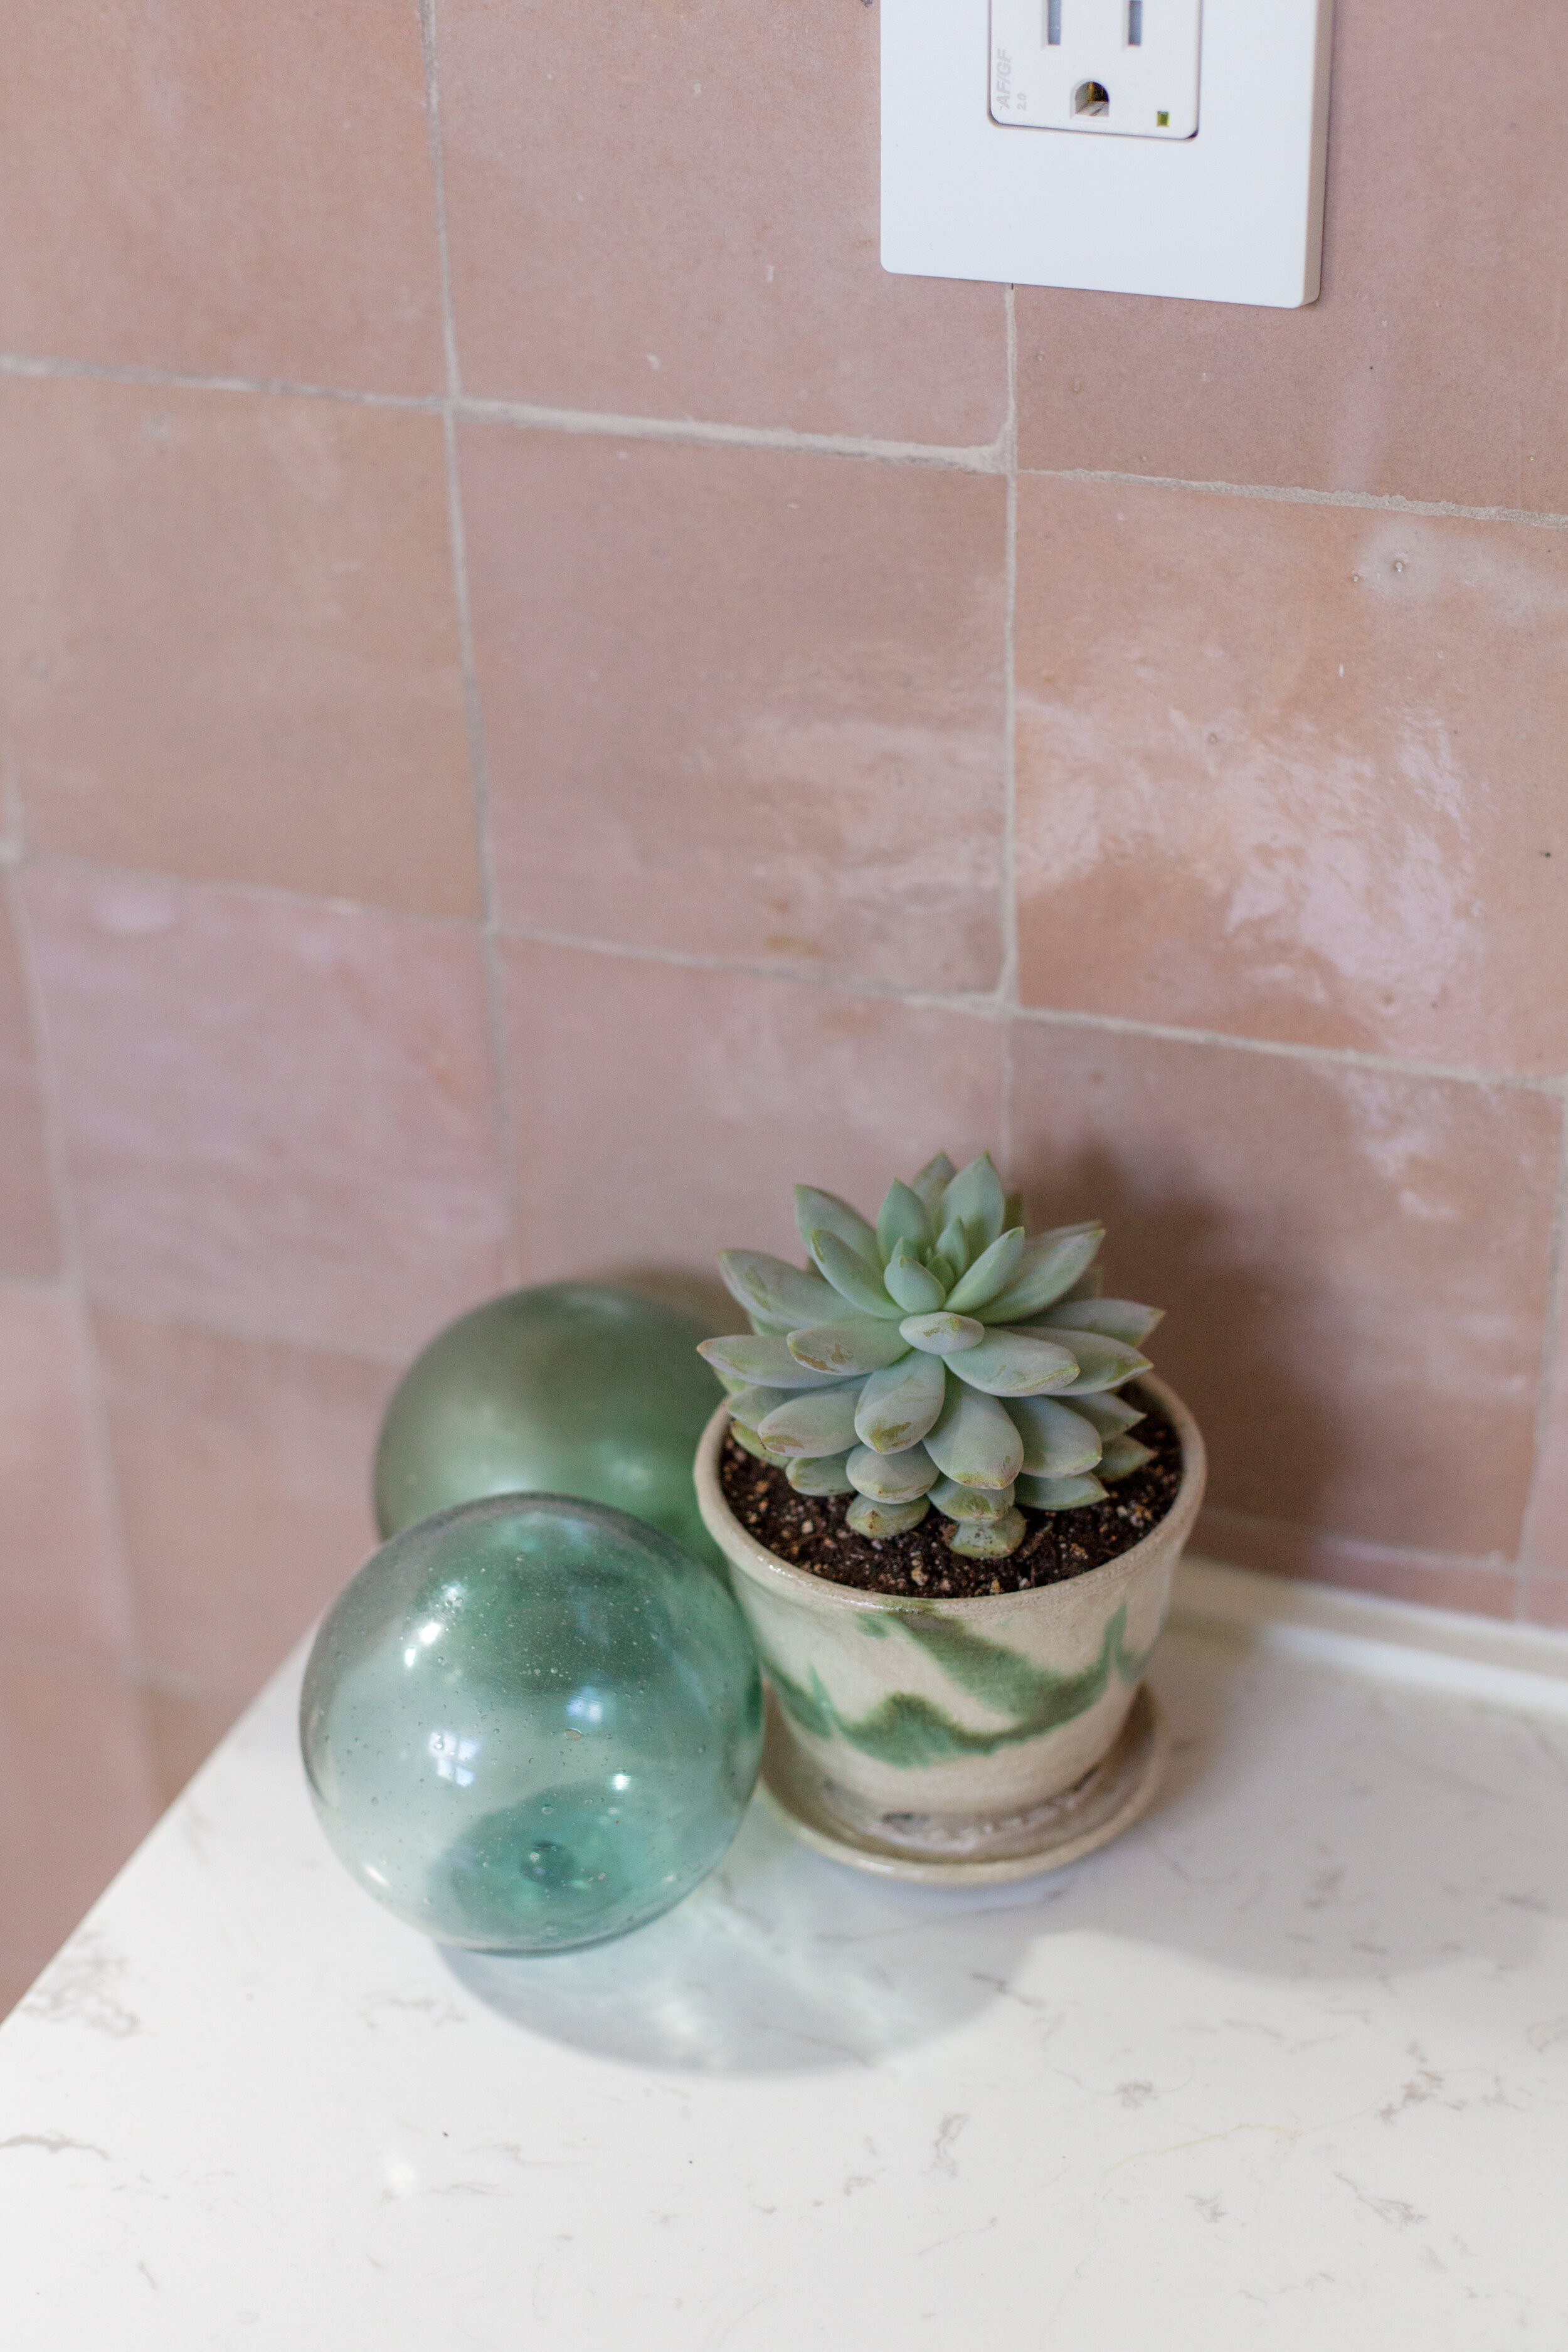
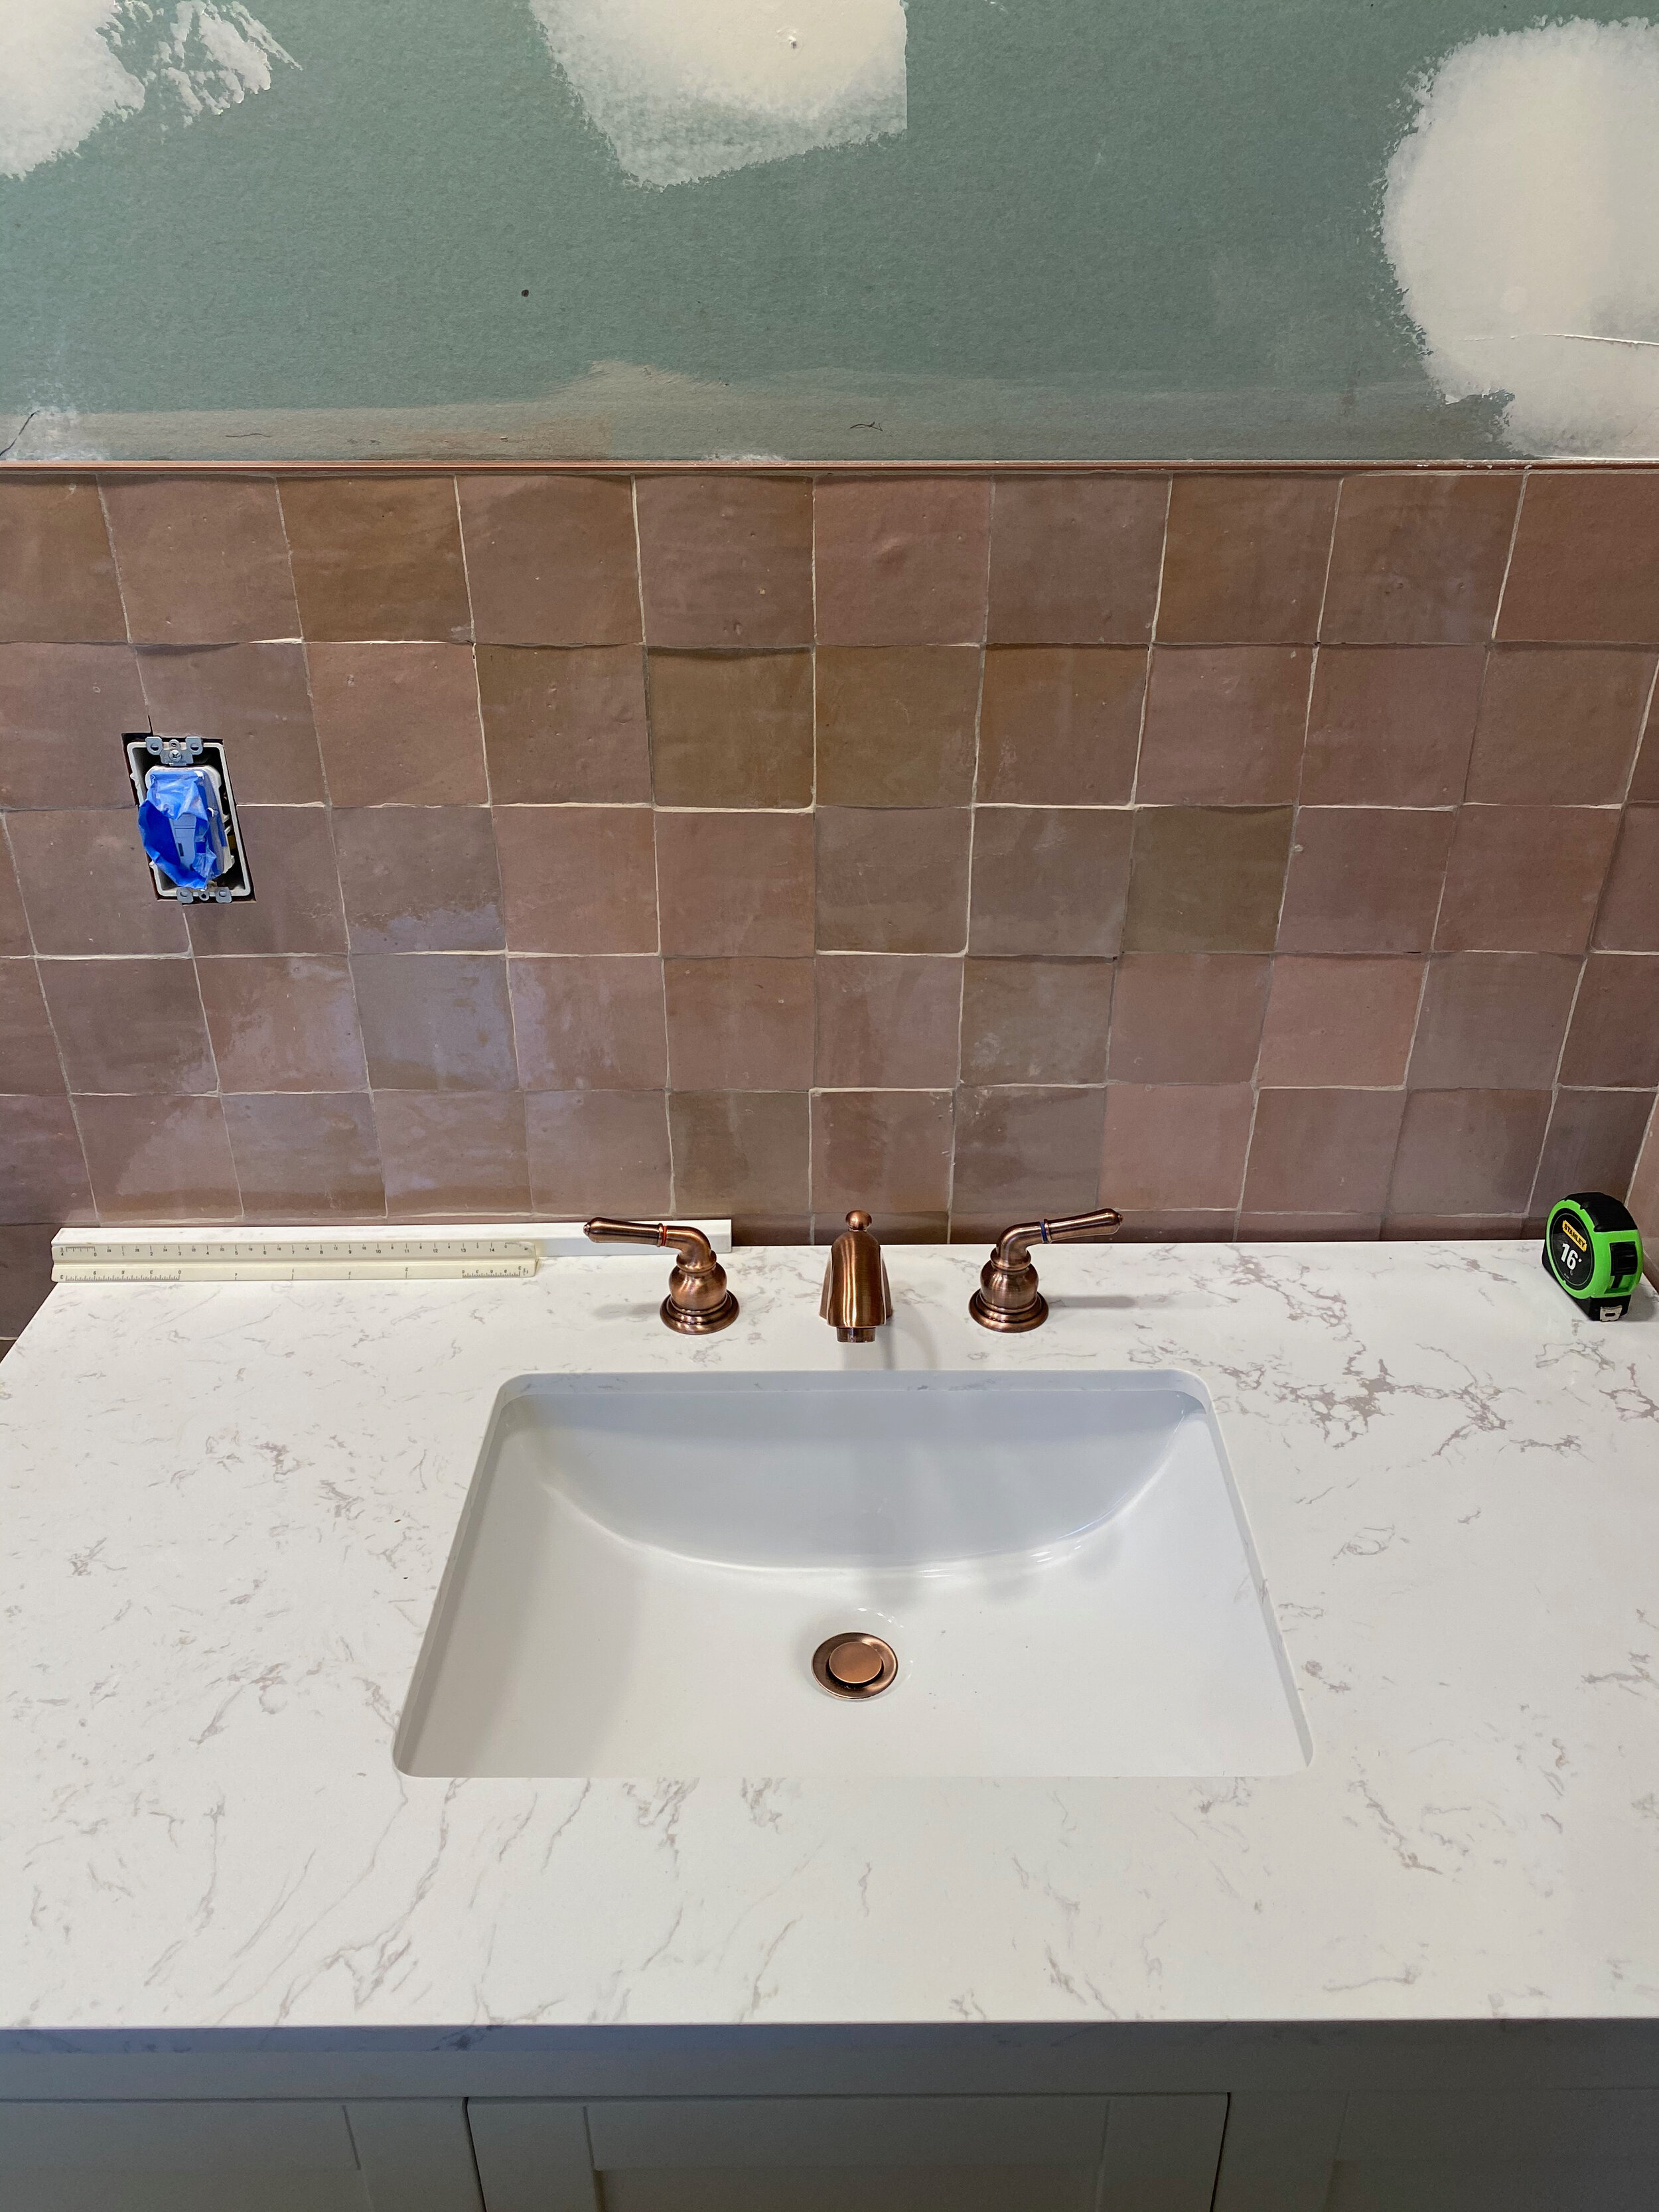
💖💖💖💖💖💖💖💖💖💖4” square zellige tile in ‘desert bloom’ from zia tile! beach glass balls from pete’s grandpa!

💖💖💖💖💖💖💖💖💖💖

4” square zellige tile in ‘desert bloom’ from zia tile!

beach glass balls from pete’s grandpa!

the zellige tiles were the first component of my bathroom dreams & visions, and i am so glad to have been able to experiment with them over the last couple of months. i ordered zellige samples from a couple of different companies and ended up selecting zia tile for this project, as well as our kitchen backsplash. i found the quality of the zia tile samples to be significantly better than the other option and for a reasonable price.
i could have really gone wild with all the color options available, but in my effort to keep this bathroom mostly neutral, i chose “desert bloom,” which is a super pretty variety of blush pink, tan, & brown. yes, i consider blush pink to be “neutral.” 😎
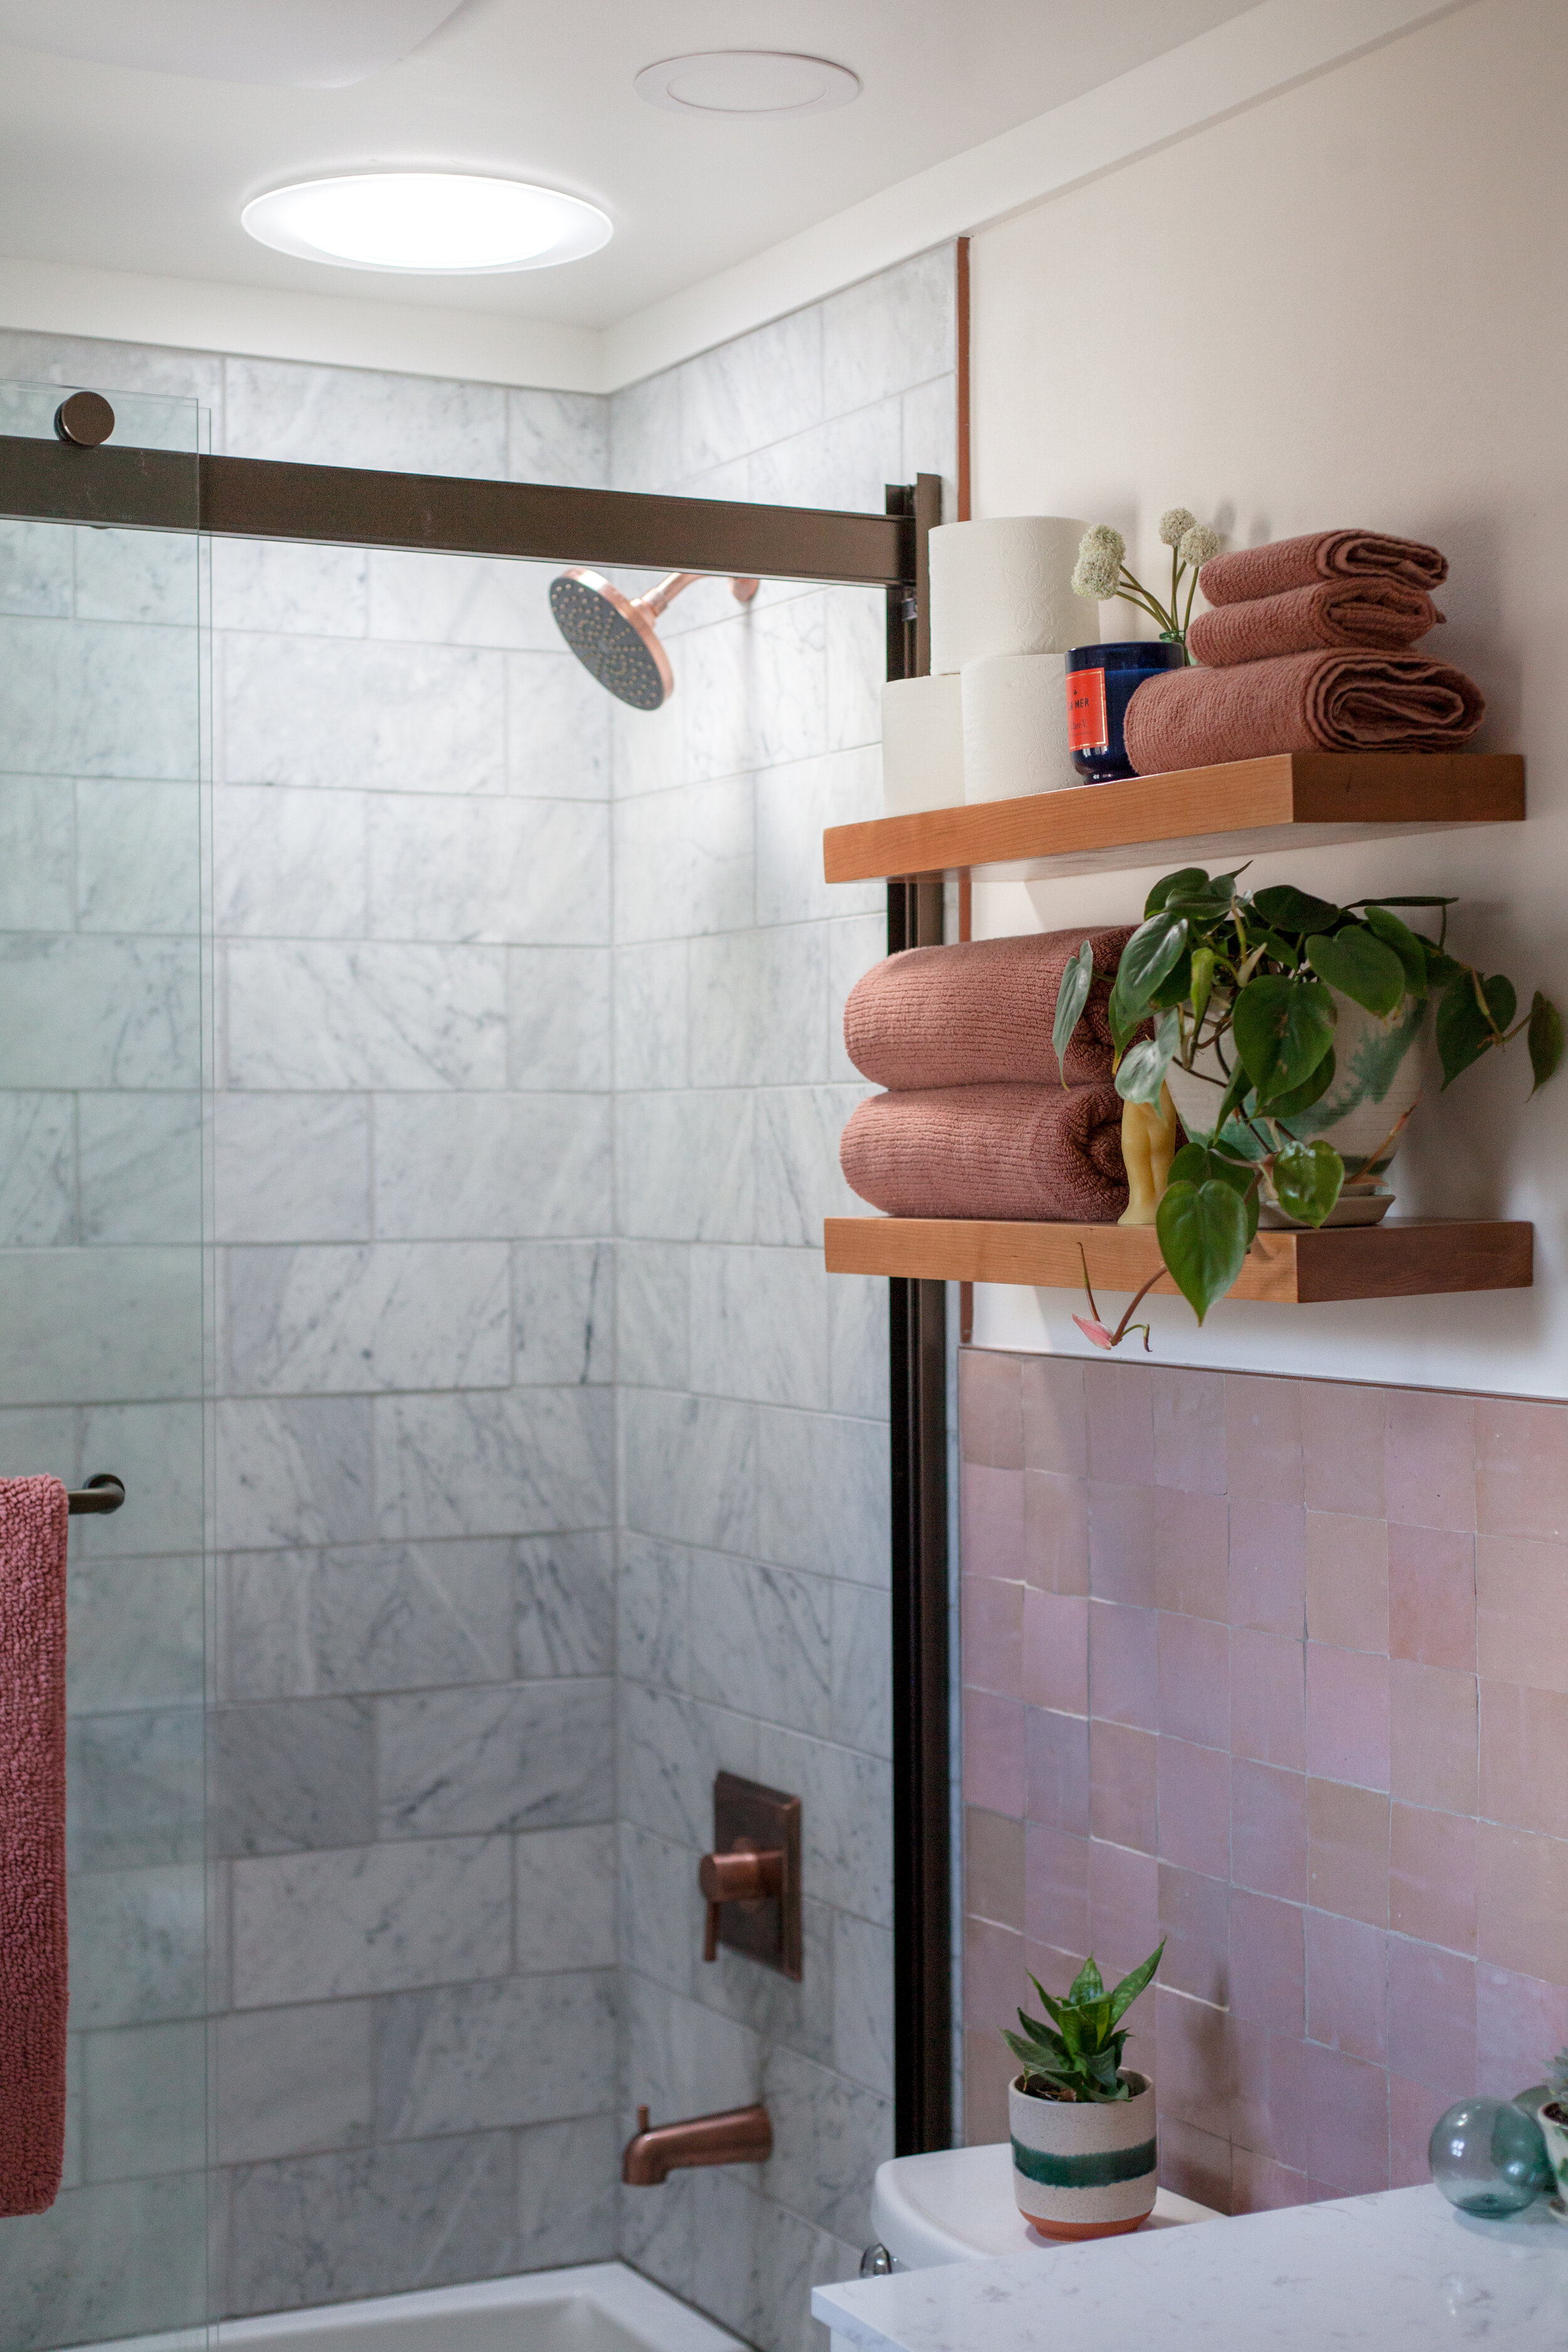
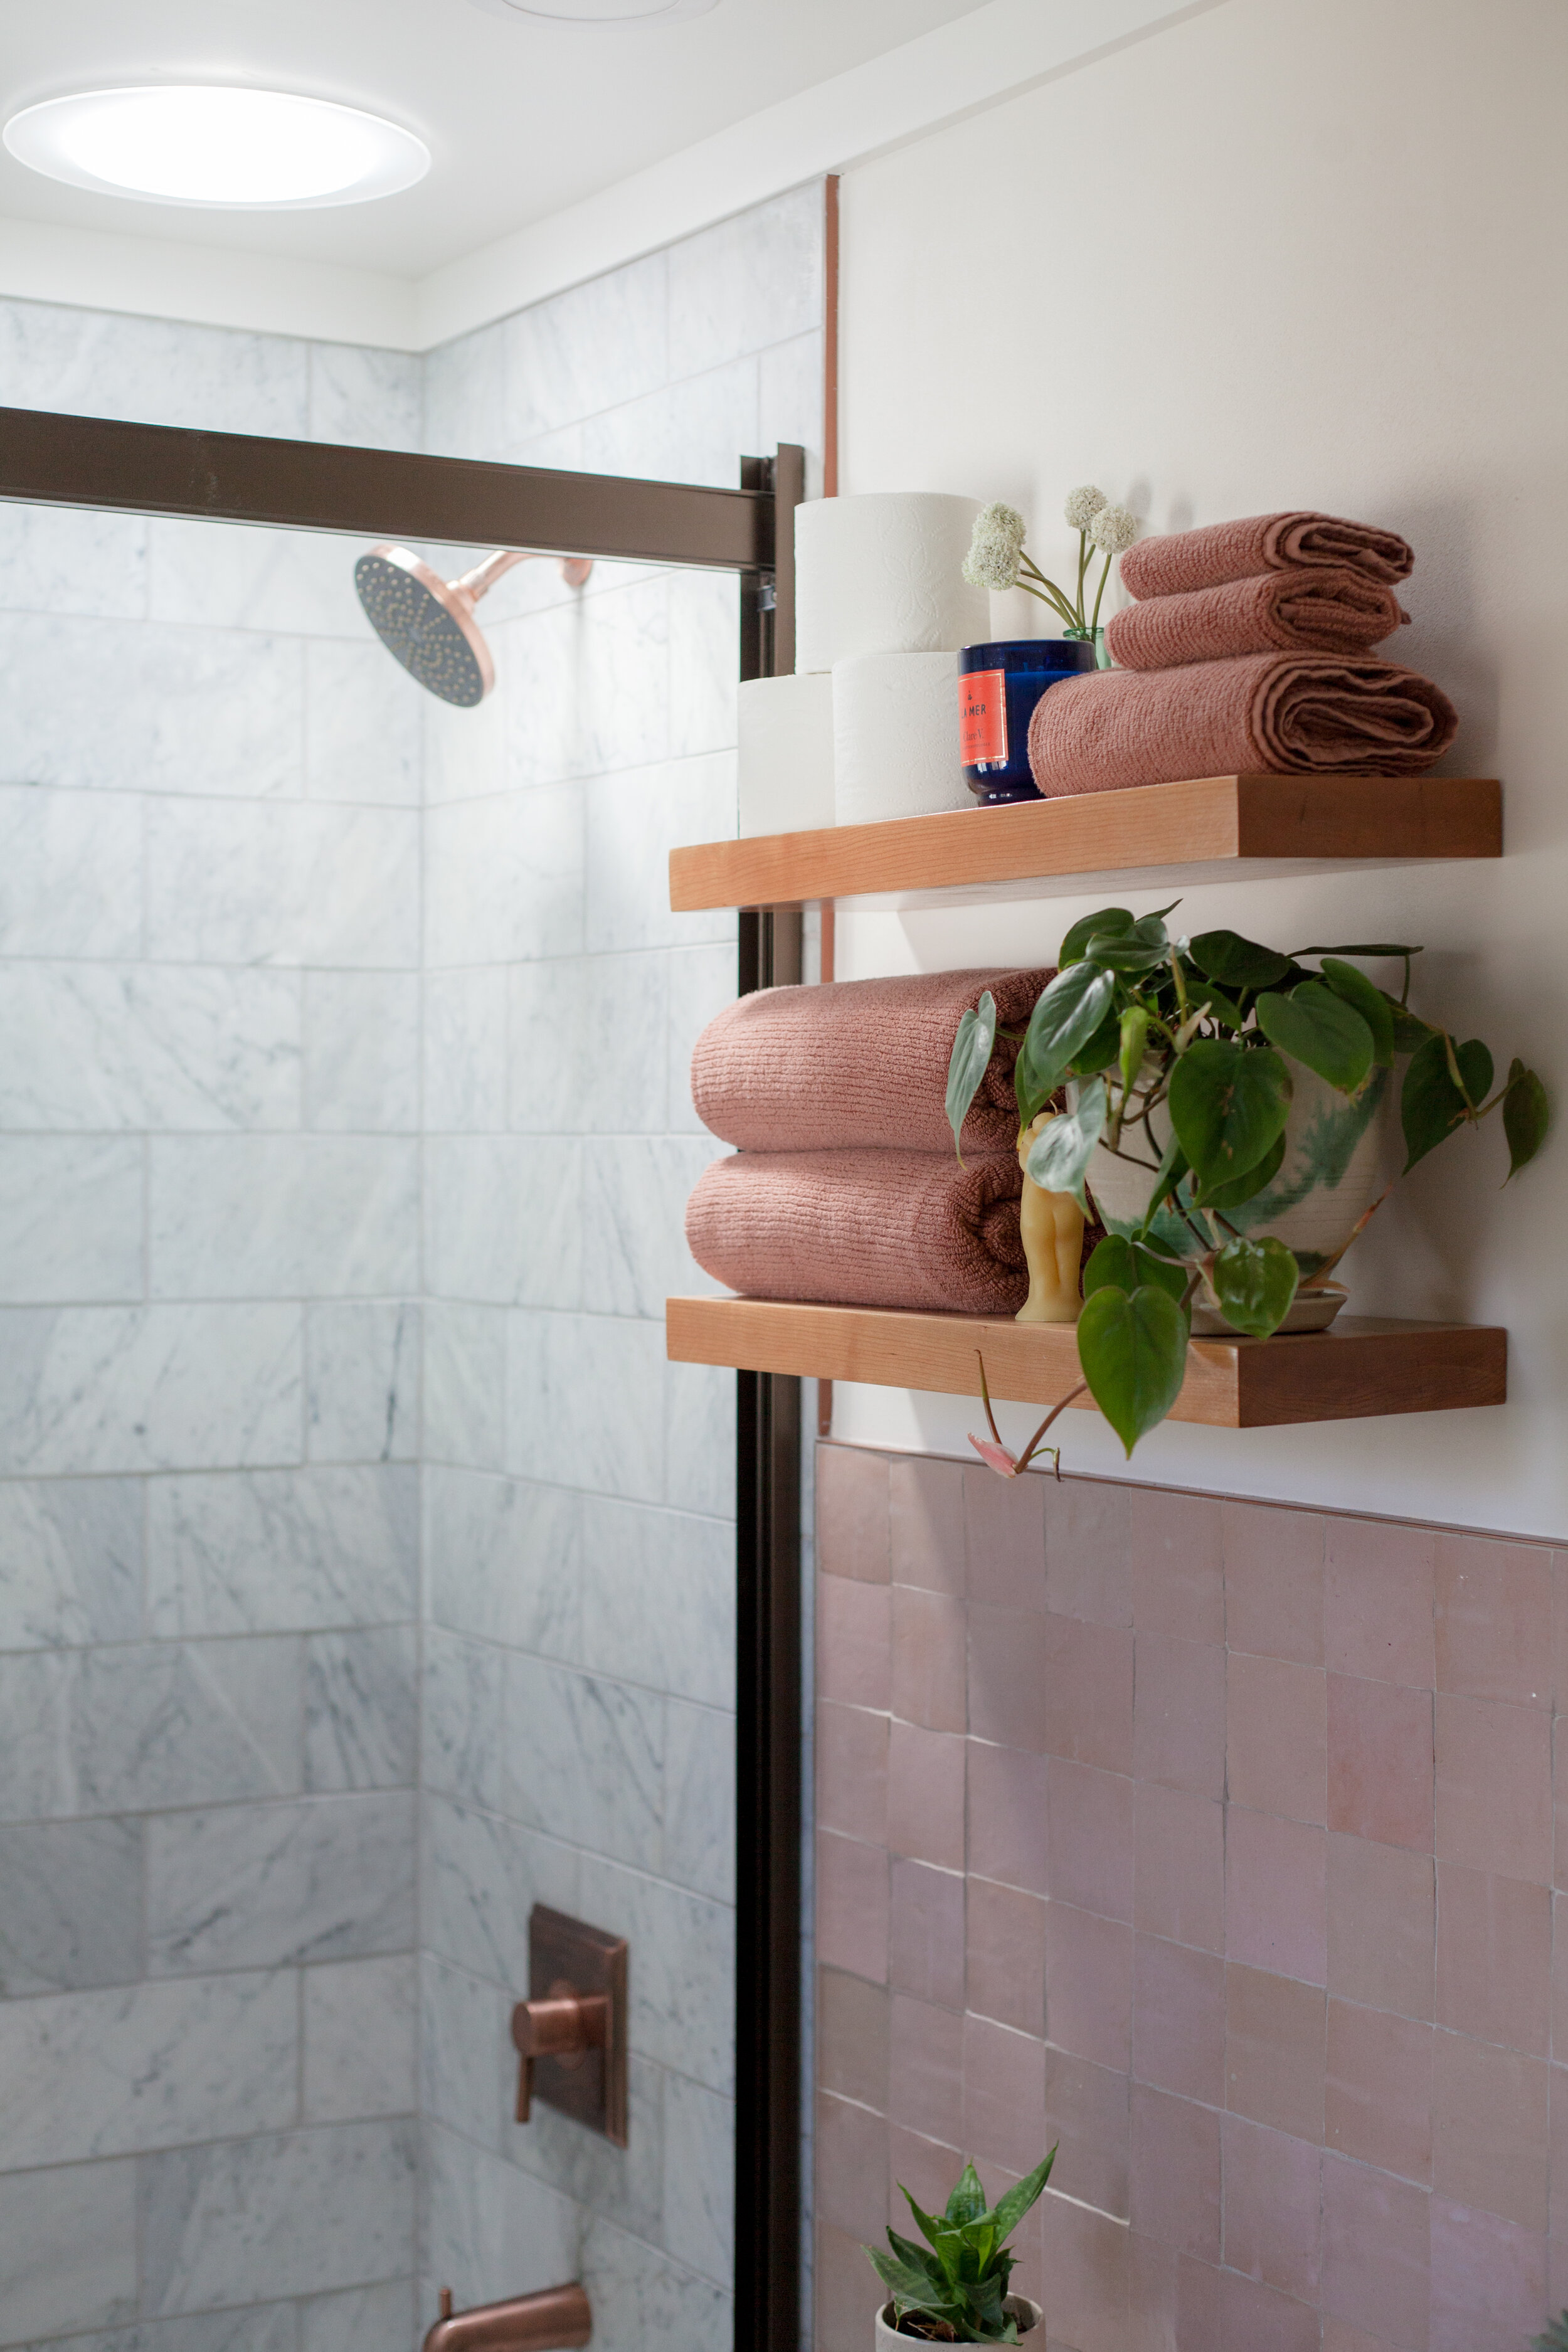
10” velux sun tunnel skylight from seattle skylights

10” velux sun tunnel skylight from seattle skylights

the sun tunnel skylight was sort of unnecessary because we already had a decent amount of daylight from the main bathroom window - but i knew it would really make an additional impact with so much more natural light coming into the shower, which really highlights & accentuates all of the beautiful tile in the room! it also kind of feels like you’re showering outdoors if you use it during the day time, which is fun.

Bathroom-Solar-Light_QuinnsPlace.jpg

and it’s a solar tube - so theres an LED glow in the tube when it gets dark outside, which was a big bonus for me because i despise turning on lights if i have to use the bathroom in the middle of the night. i would mostly just stumble around in the dark because i cannot stand the bright lights when i’m still sleeping - so the glow from the skylight is amazing and truly feels like you’re whizzing in the moonlight!

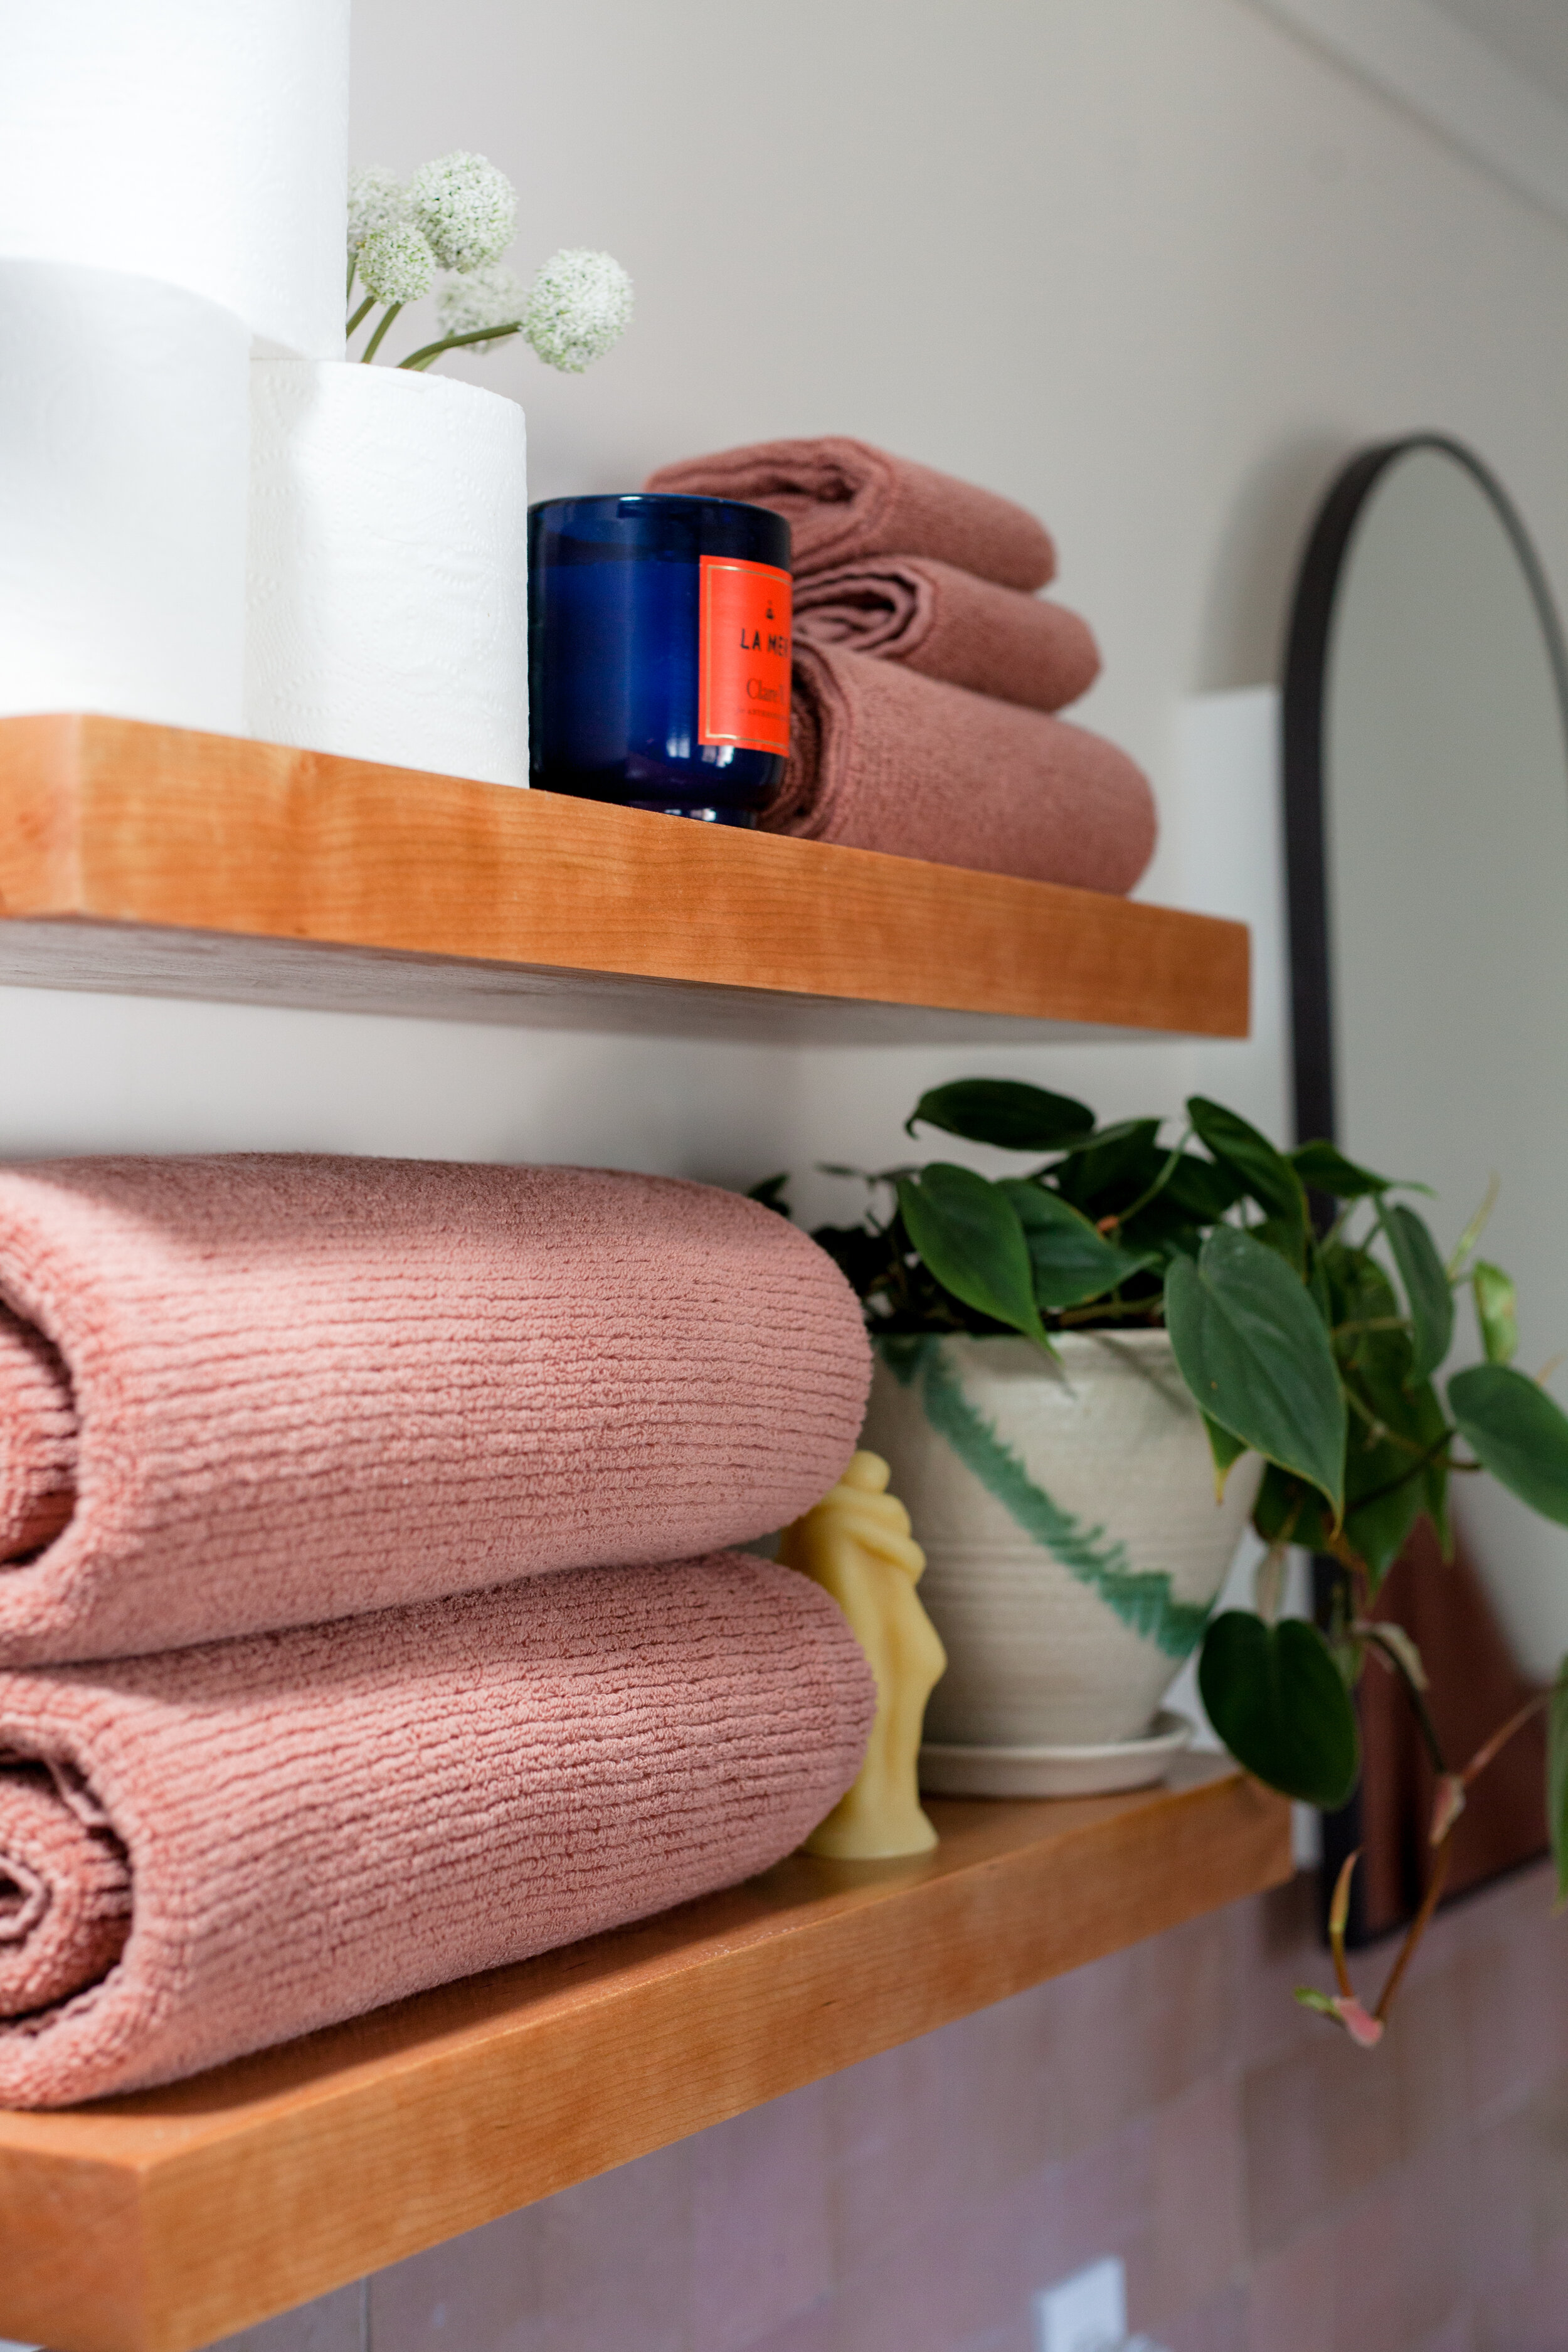
-beeswax hug candle, by rani ban  - i interned with rani at an art gallery in college and it’s been so fun to watch her grow her business and all her studio & farm life happenings via instagram.-soft rib towels in ‘clay’, from parachute home-aqua green bud vases from world market

-beeswax hug candle, by rani ban - i interned with rani at an art gallery in college and it’s been so fun to watch her grow her business and all her studio & farm life happenings via instagram.

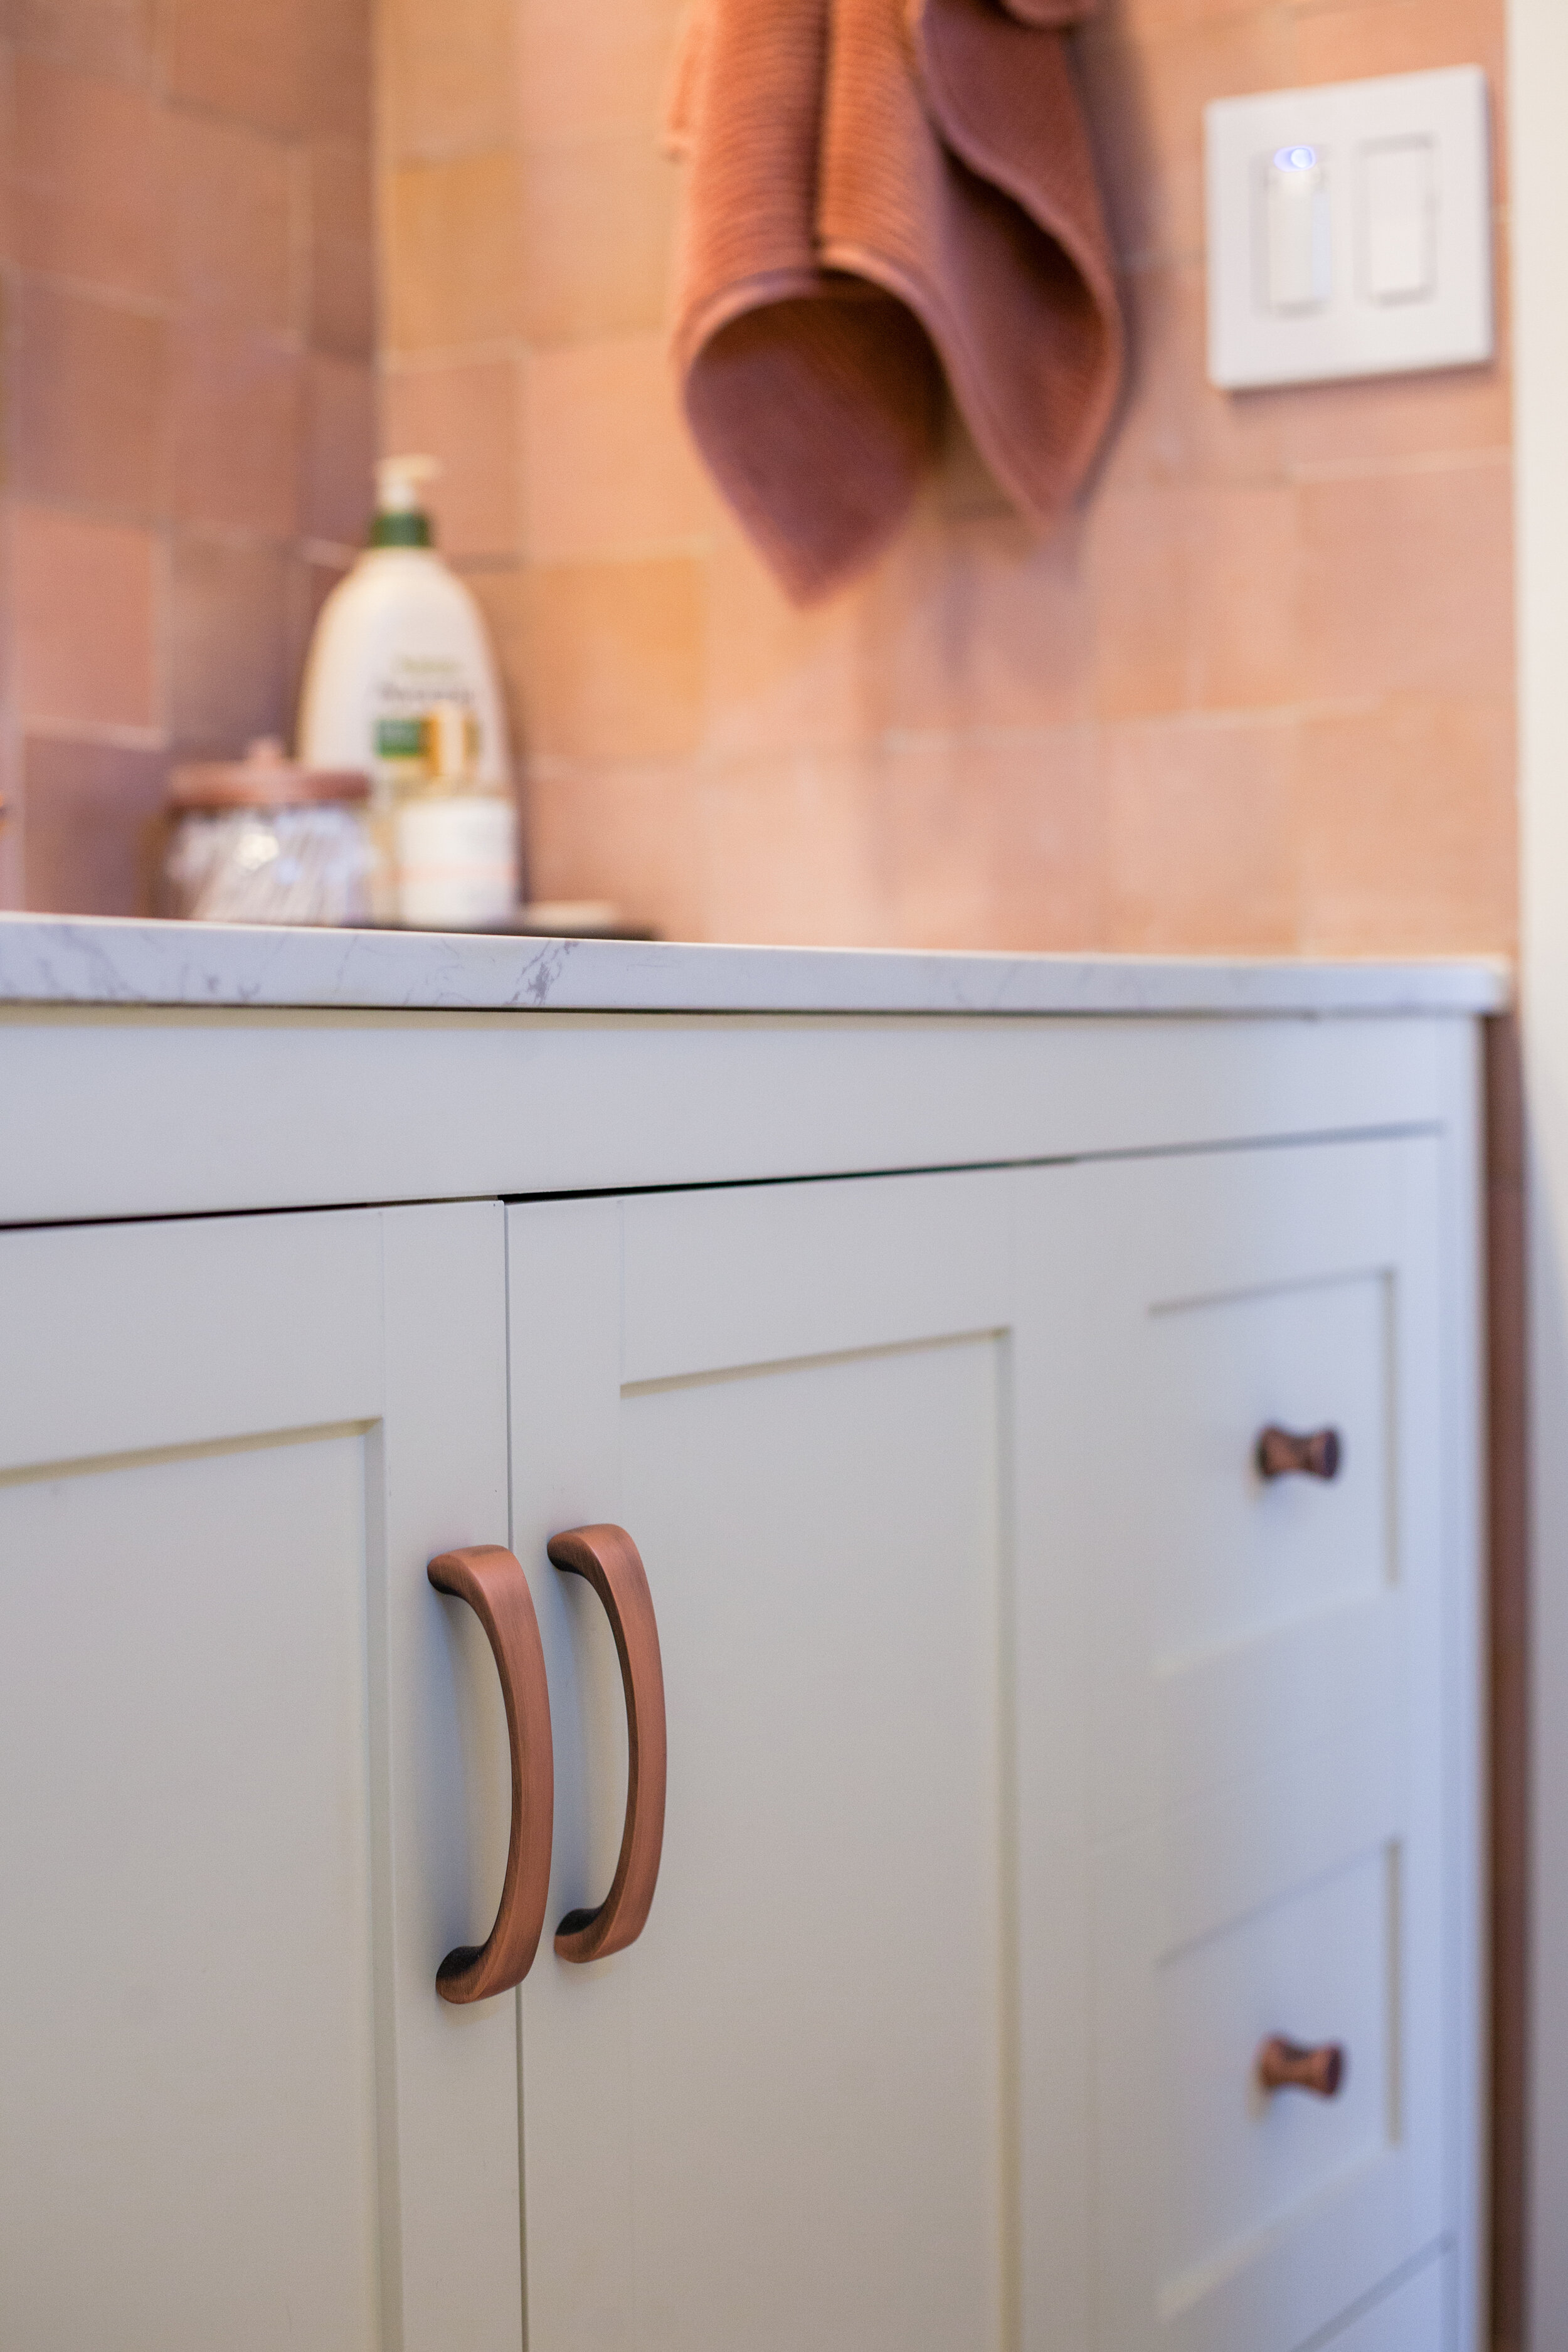
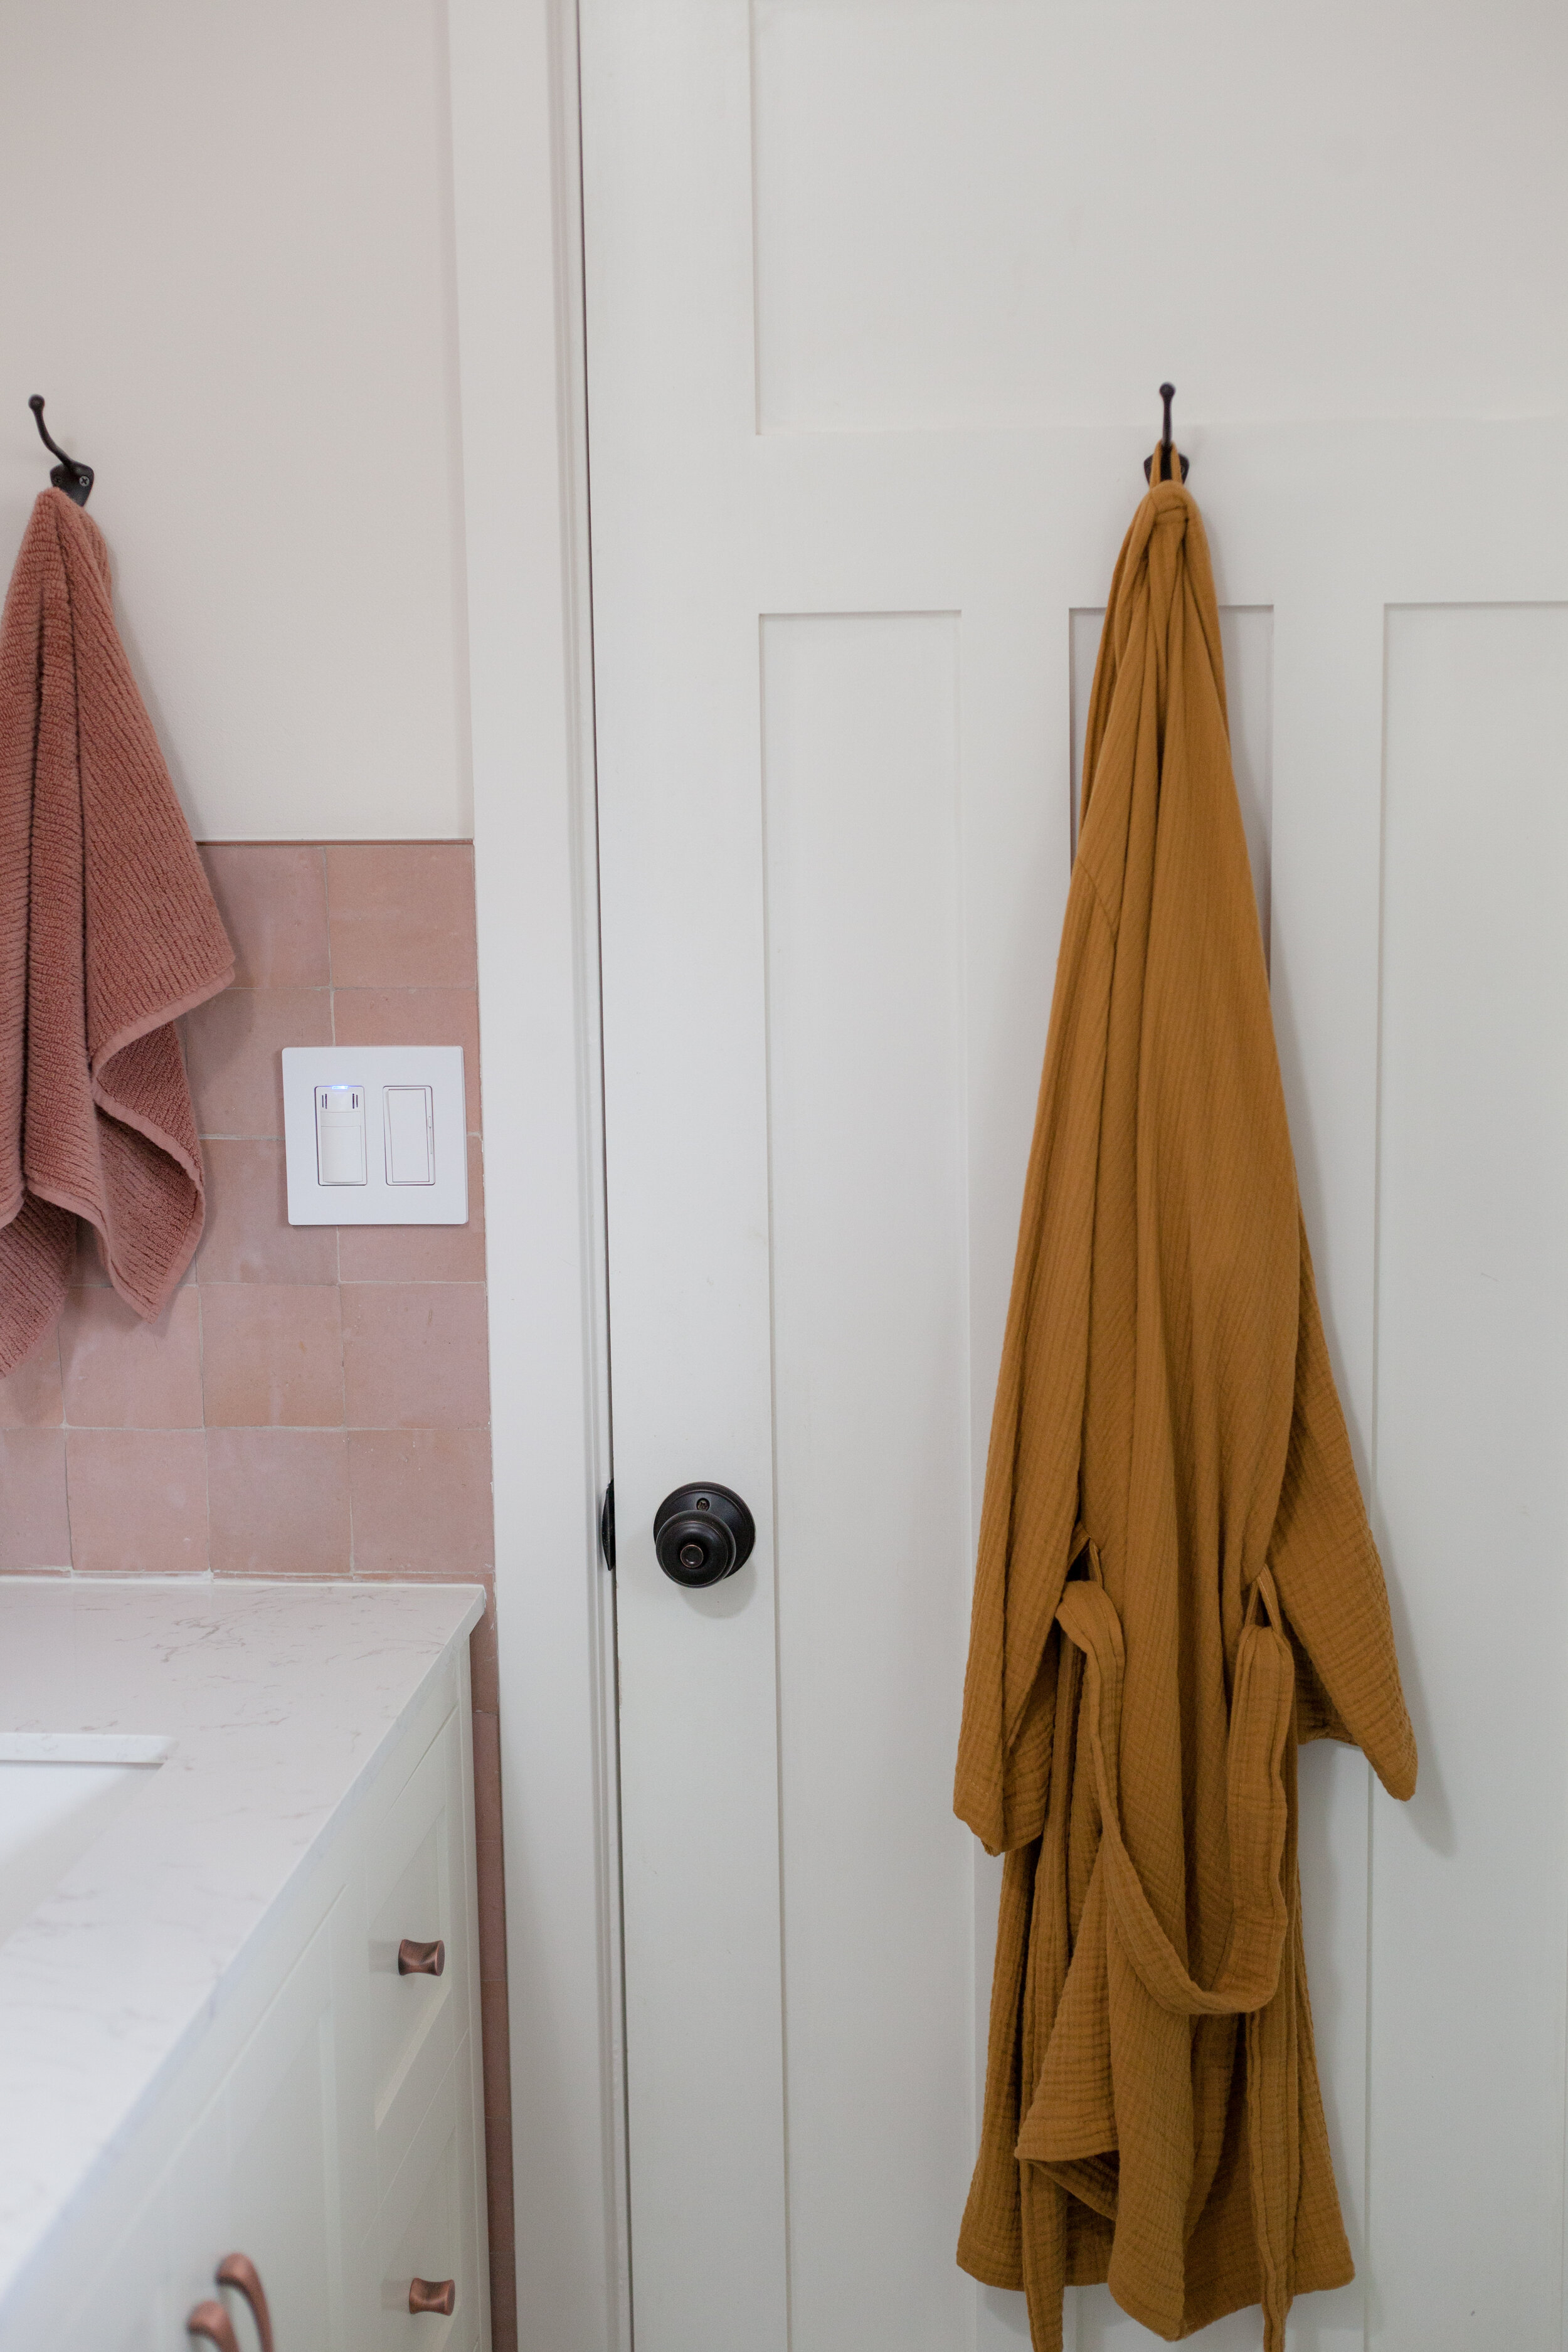
-soft rib towels in ‘clay’, from parachute home

-aqua green bud vases from world market

Main-Bathroom-Remodel-Jan2021_QuinnsPlace-89.jpg

these ribbed towels are sooo soft and to die for. and the ‘clay’ colorway couldn’t have been released at a more perfect time for me to snatch them up!

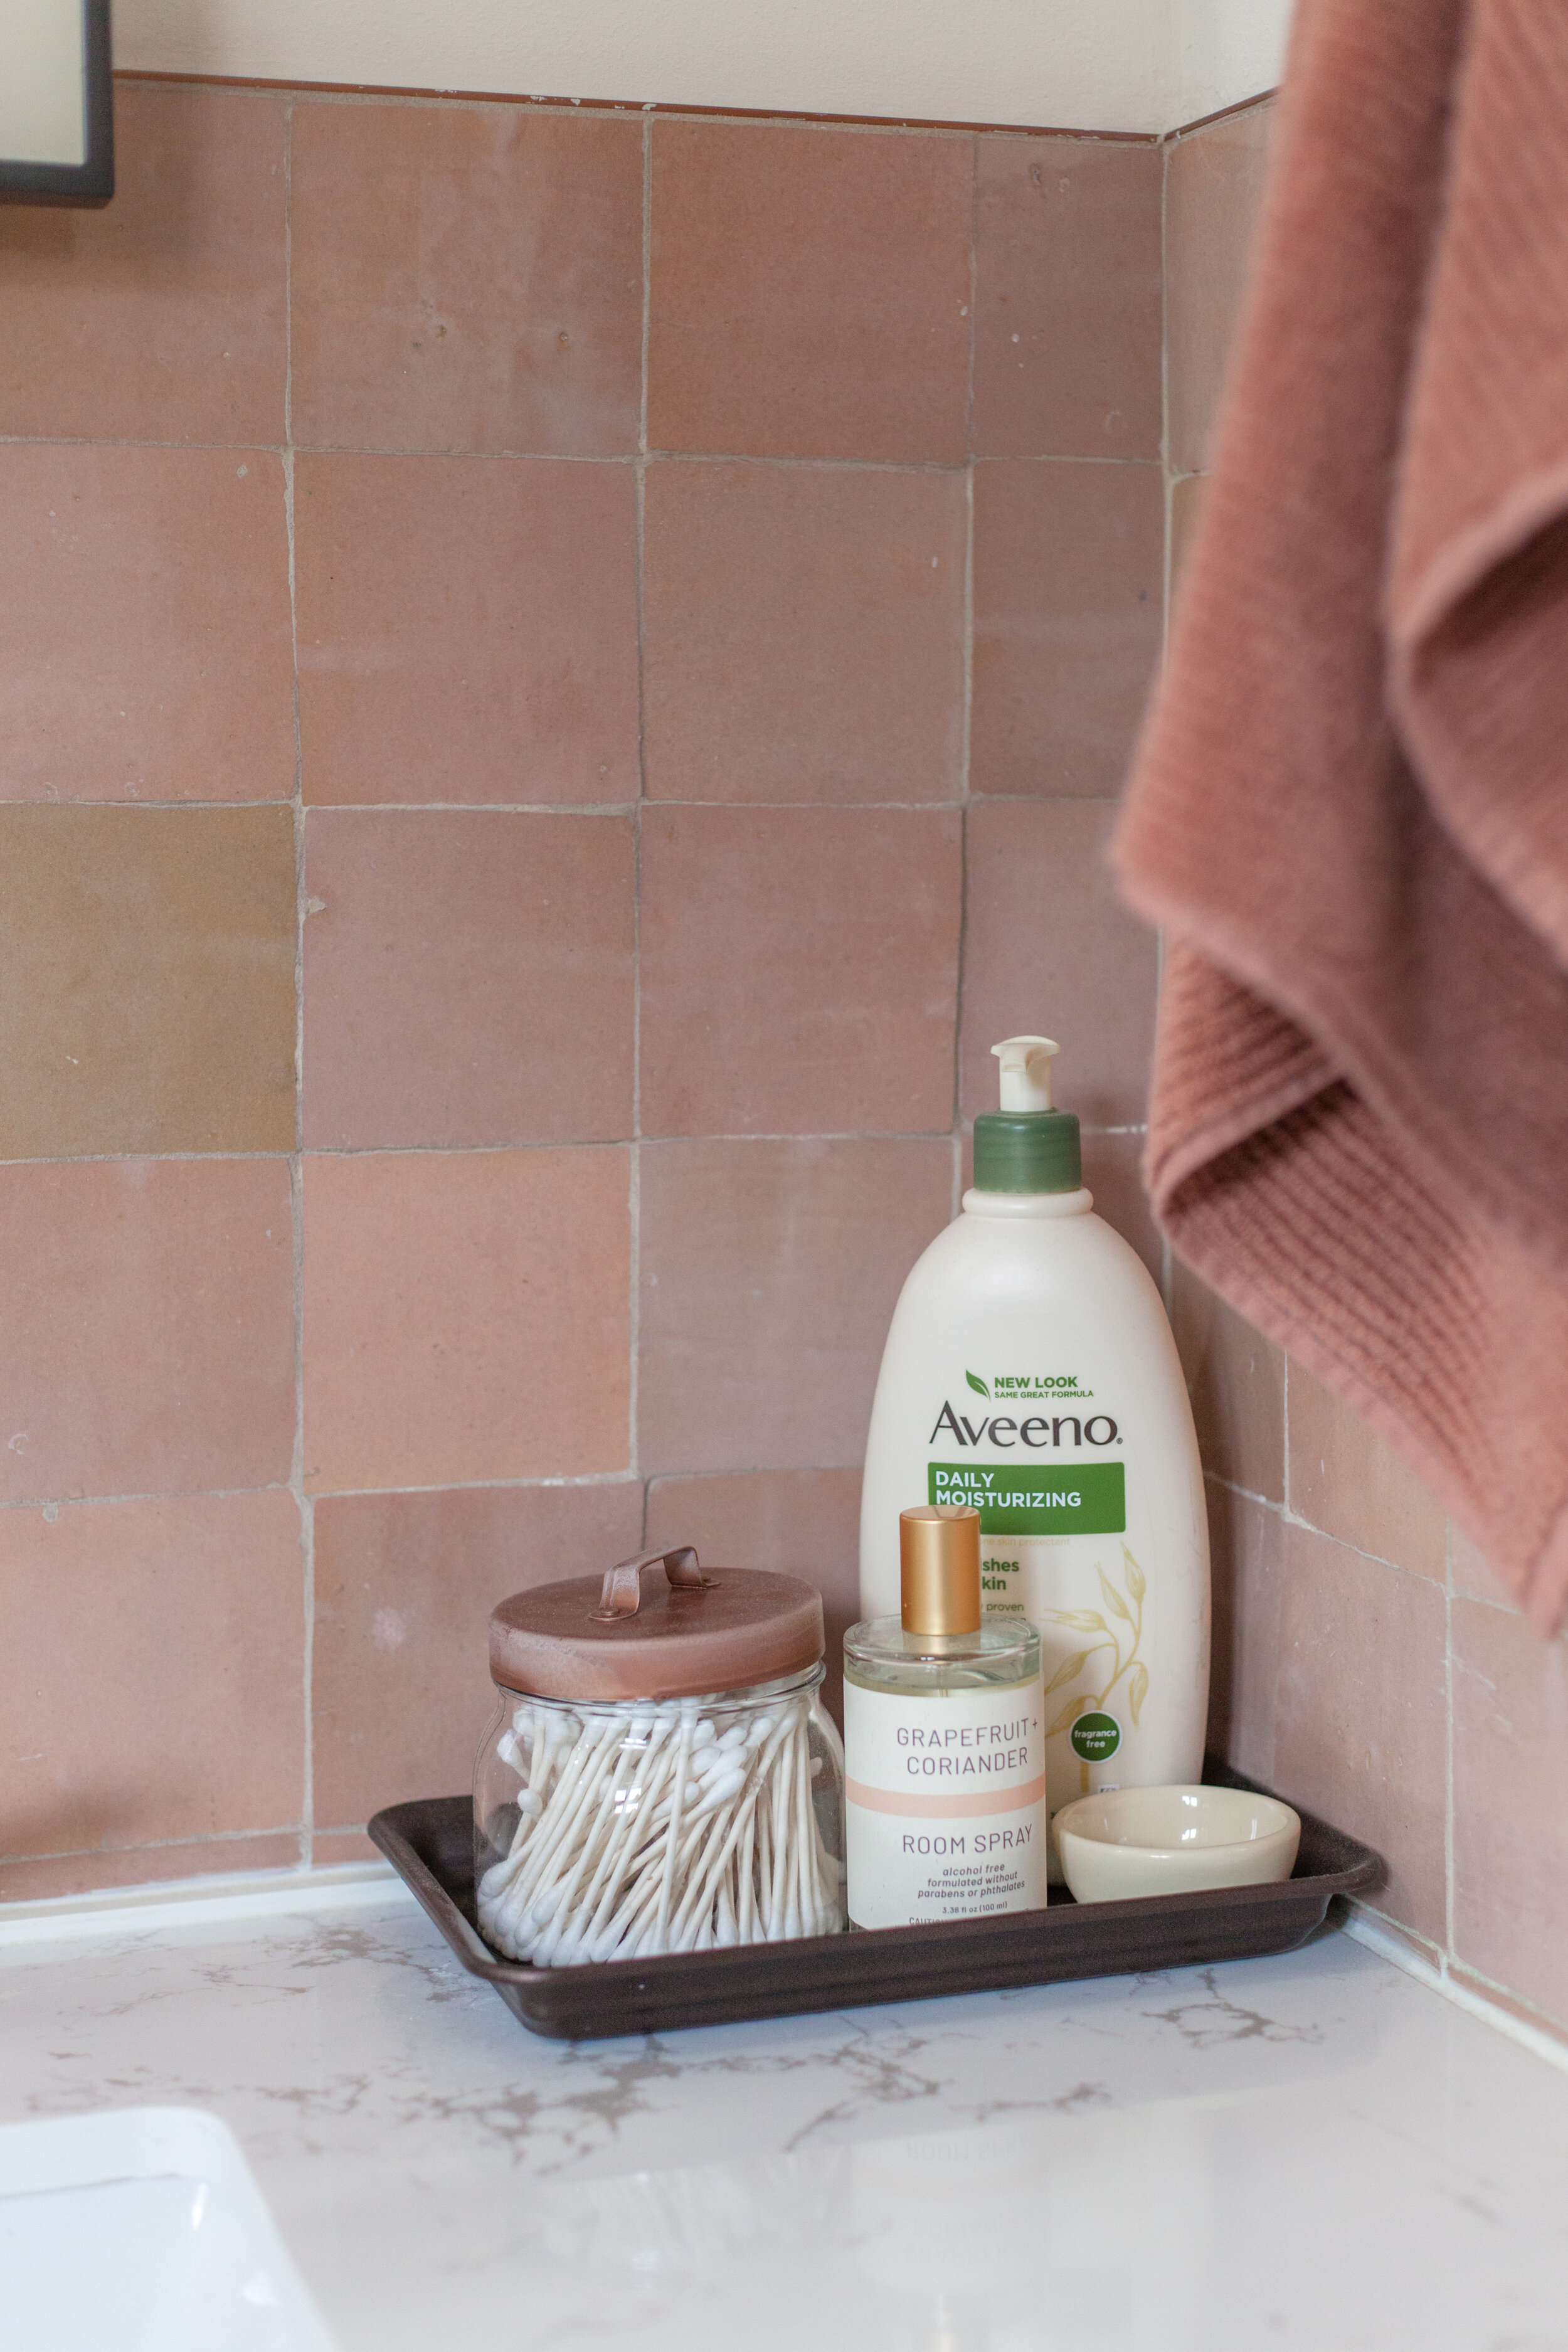
i spray painted our old coffee canister with the matching copper paint to turn it into a q-tip holder. we are loving having only a few things stored on the countertop.

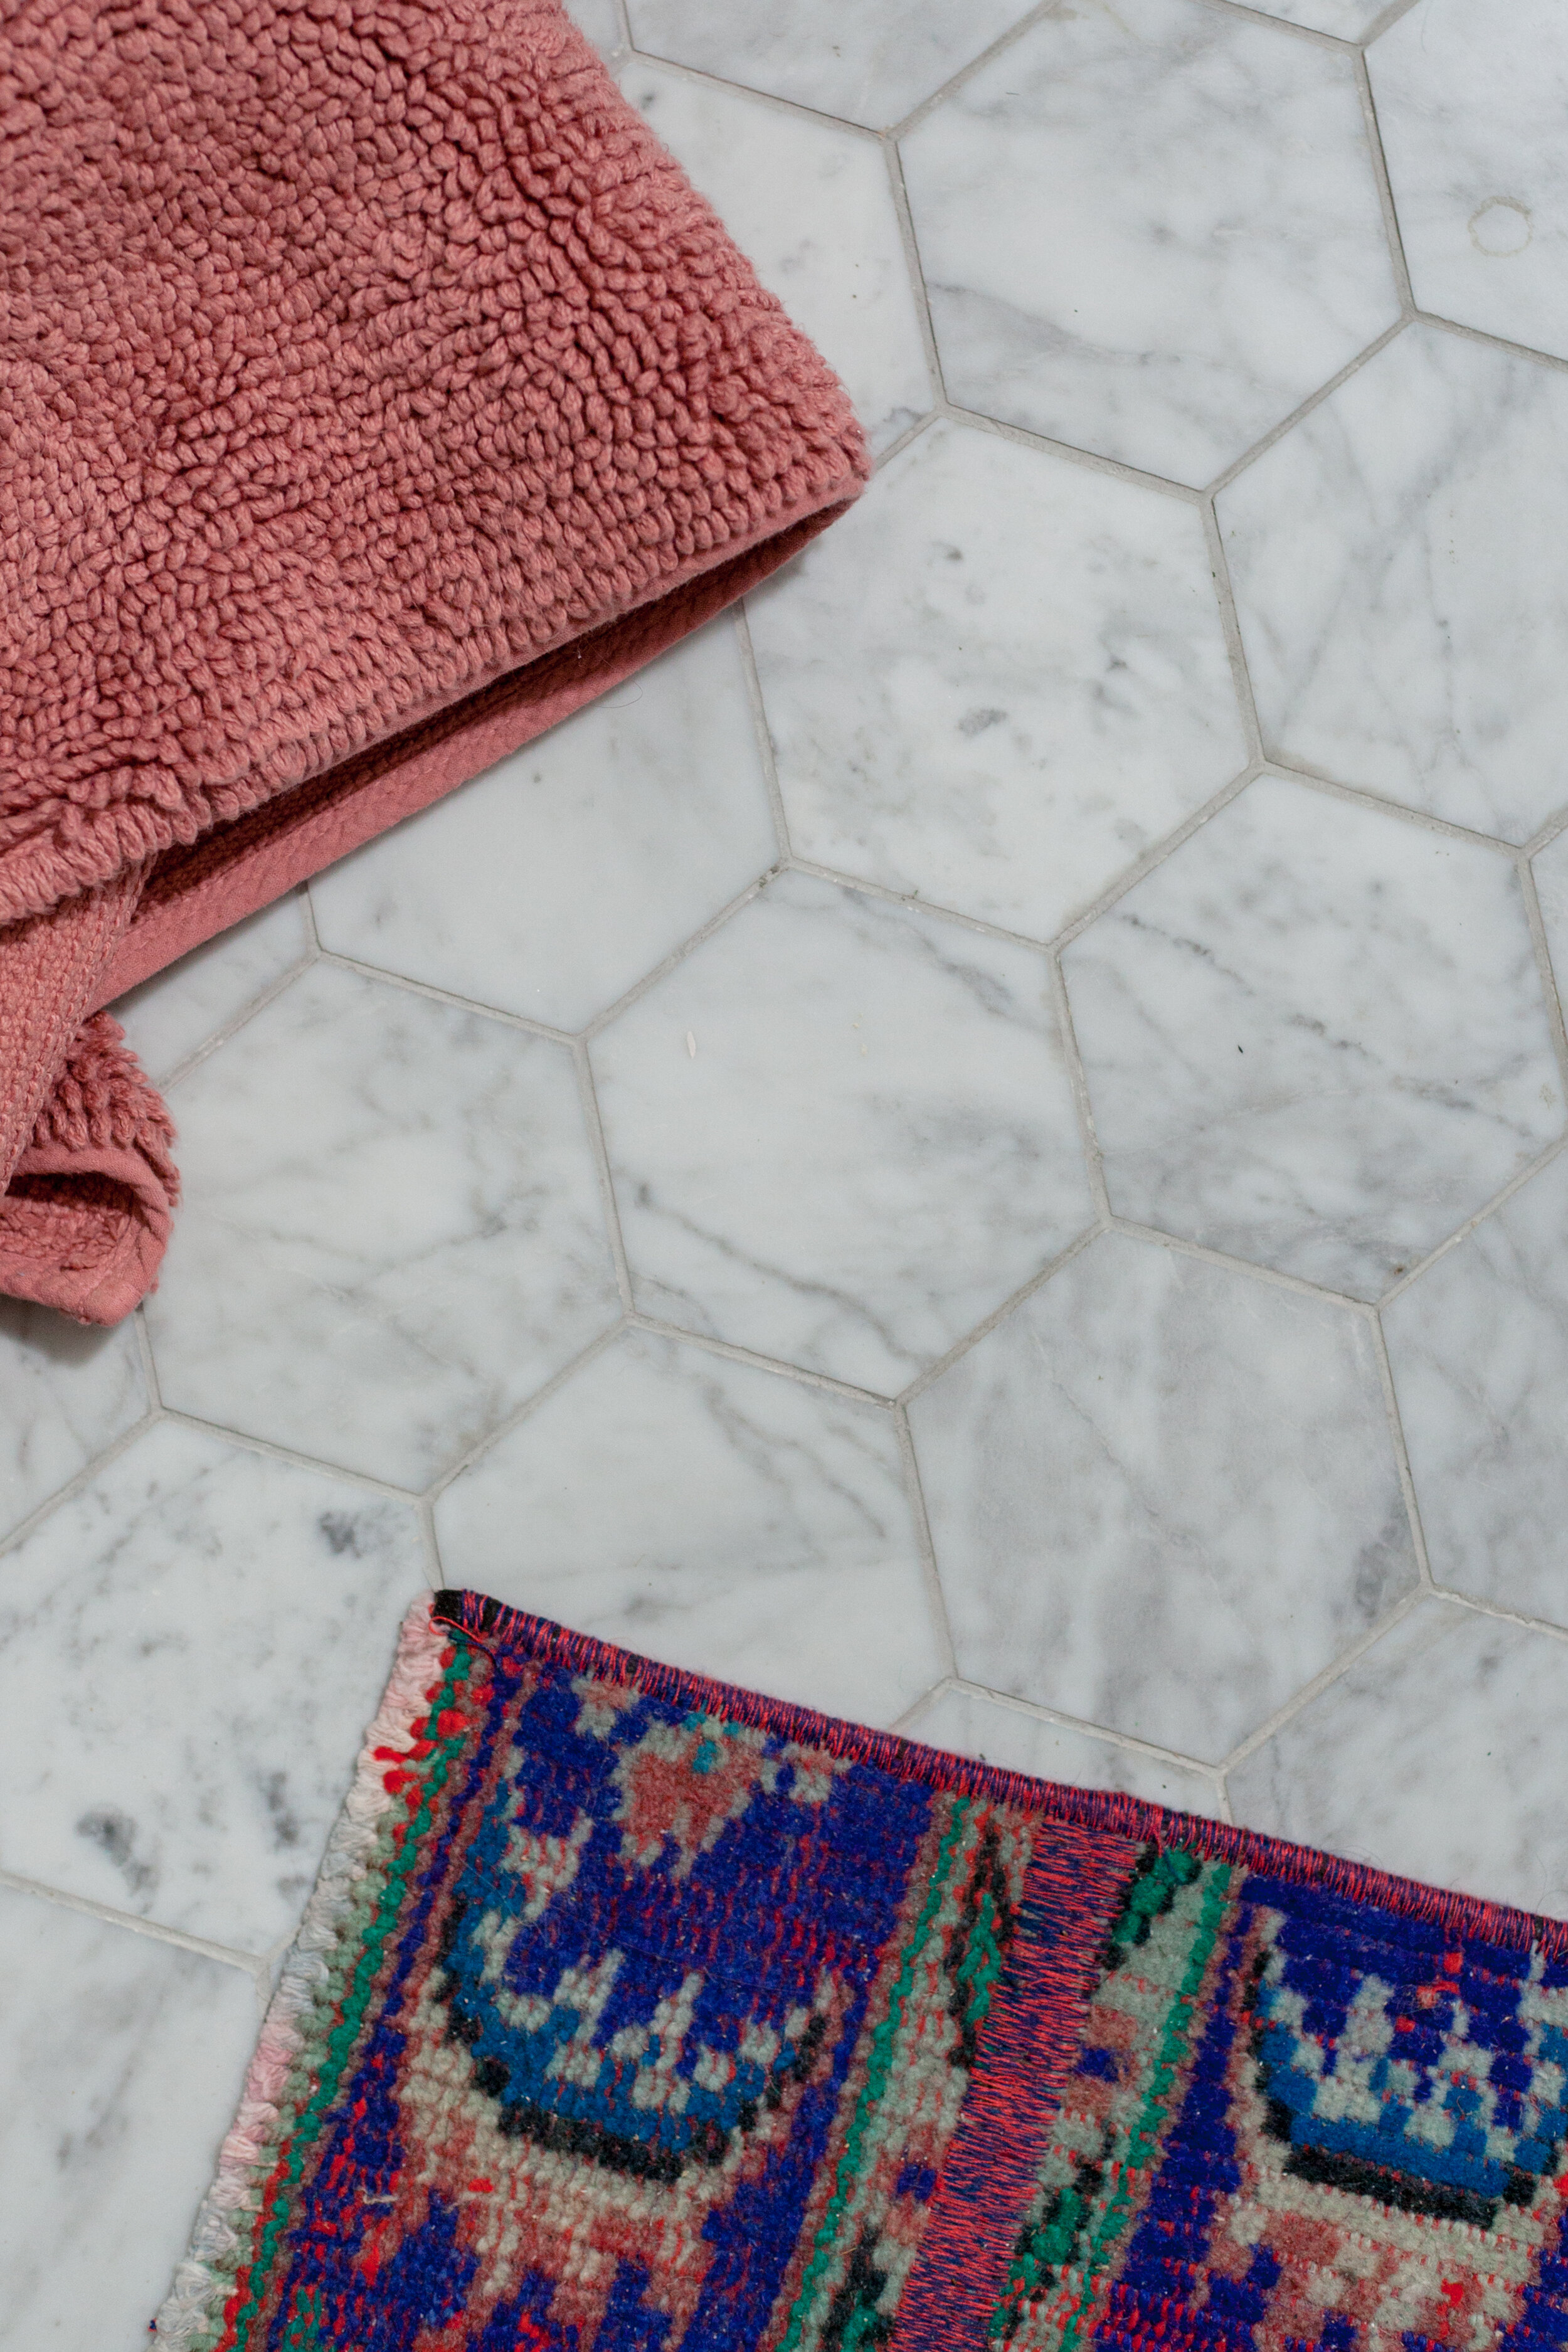
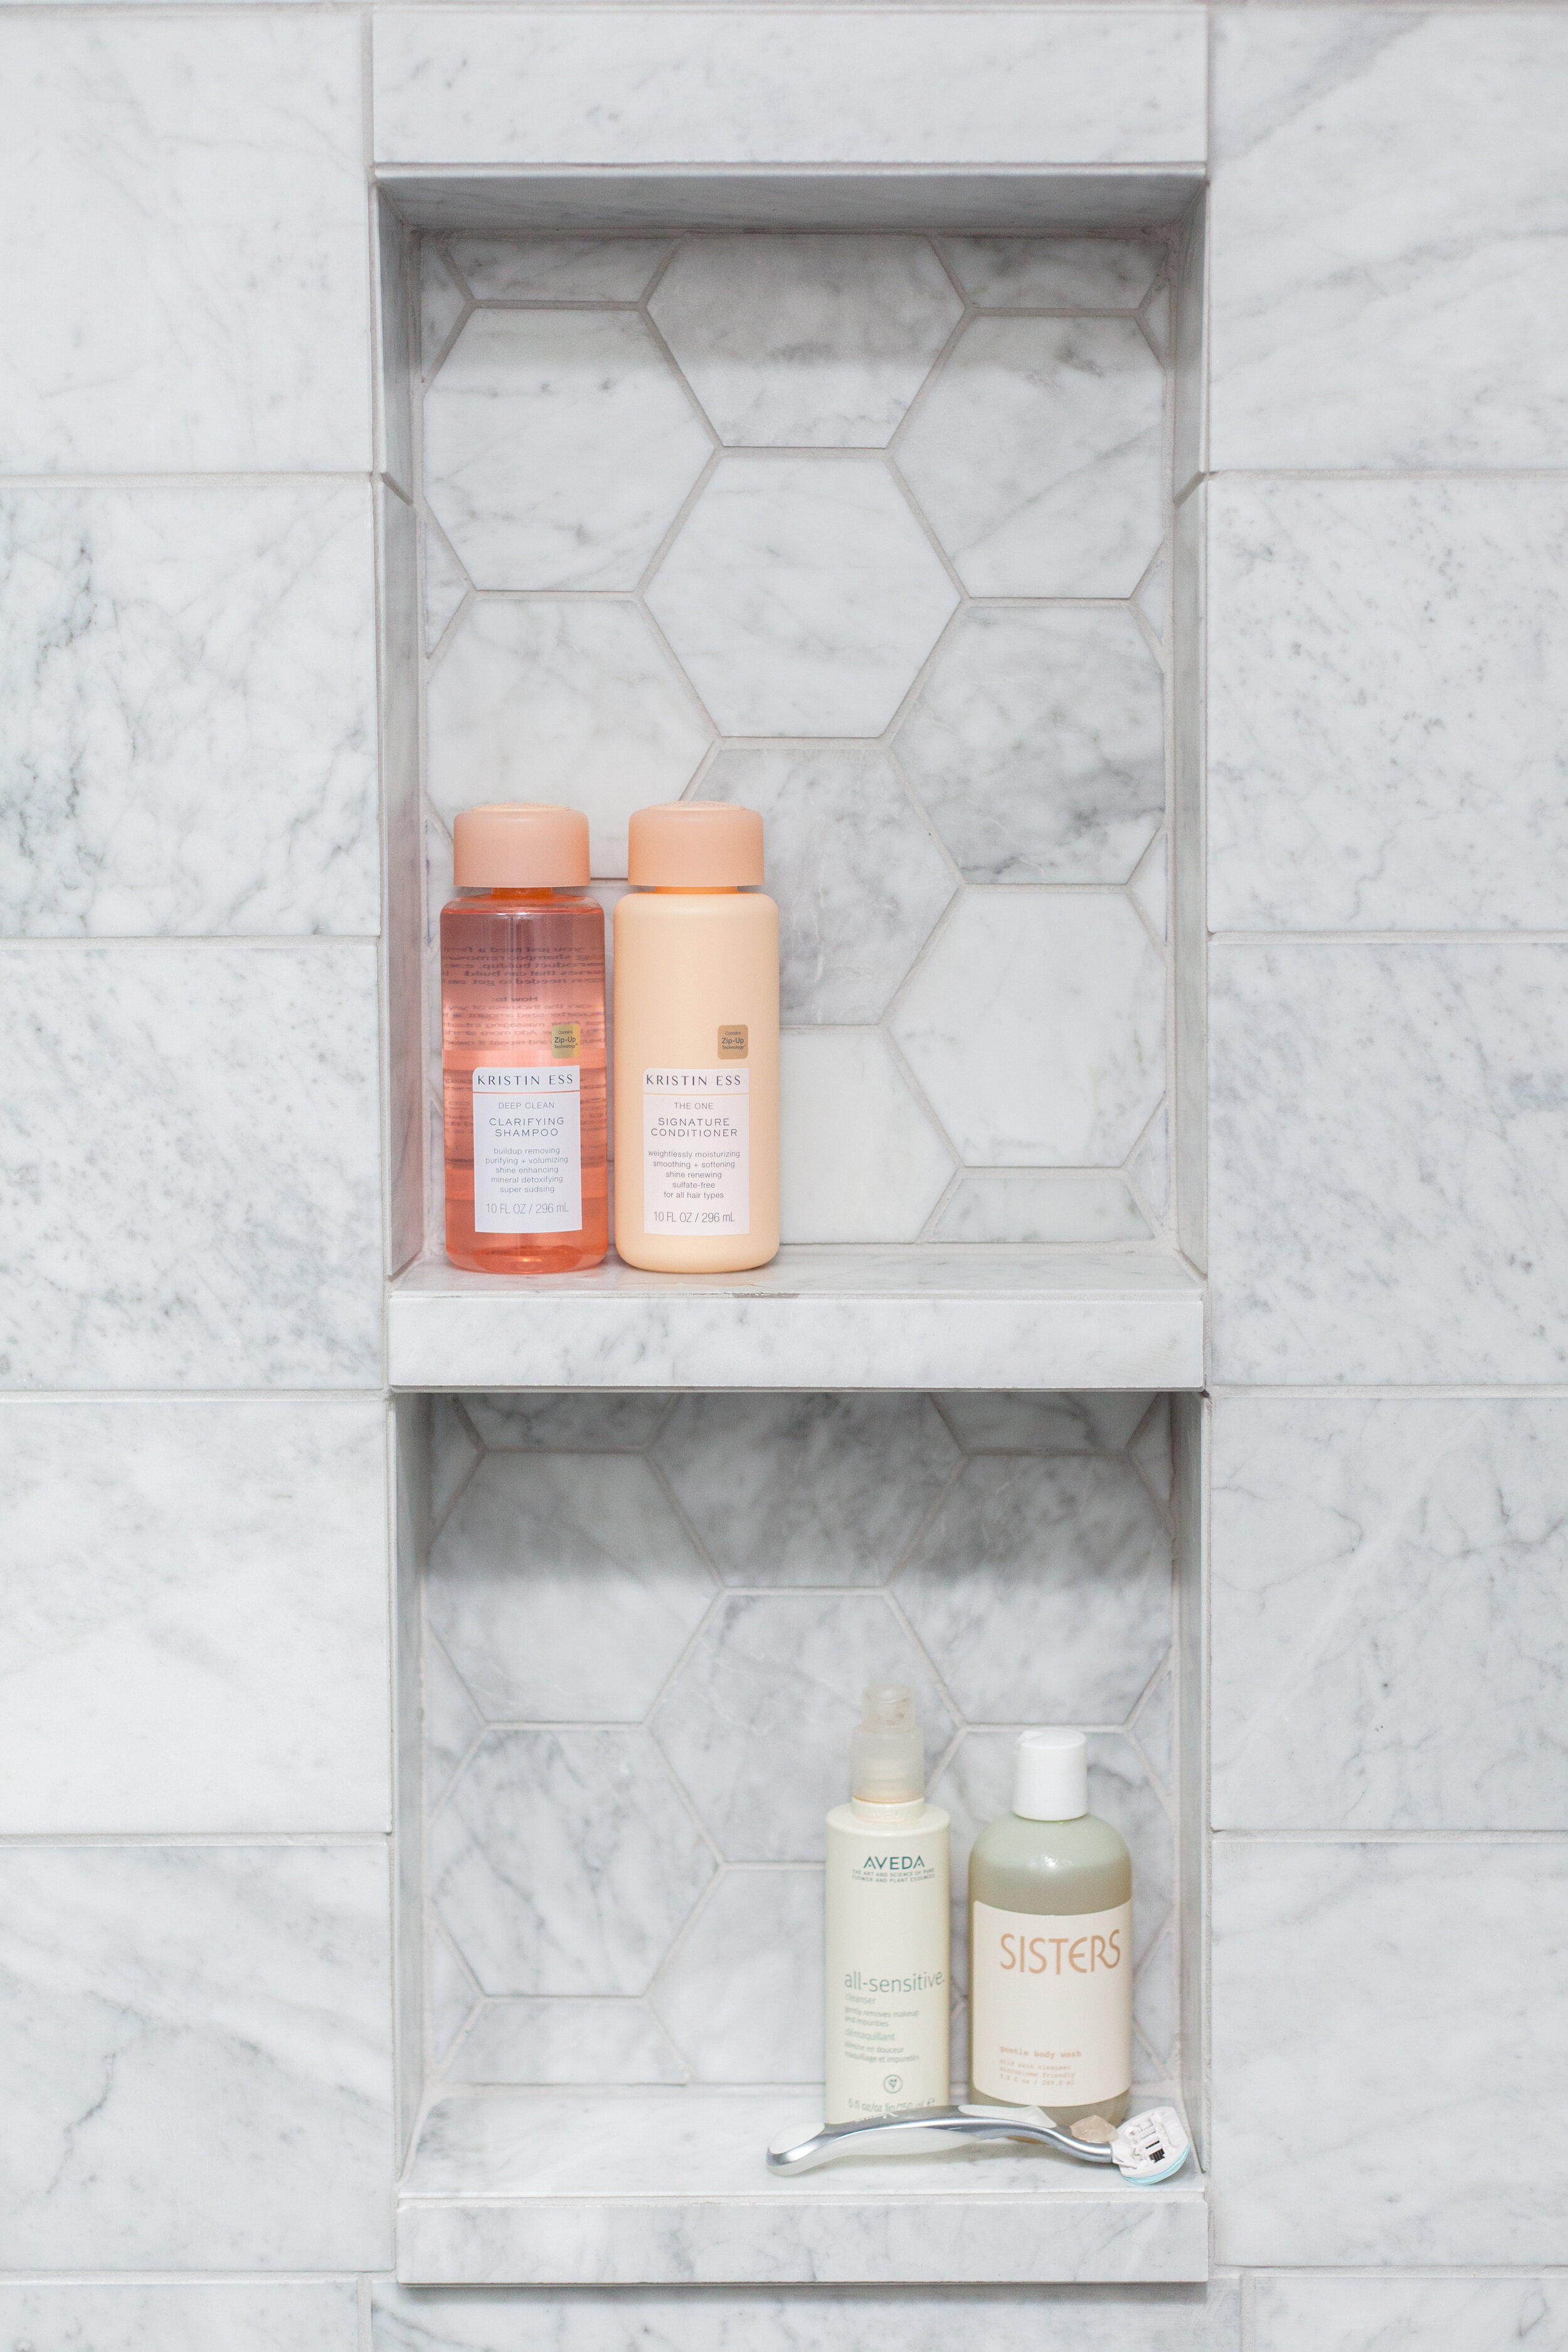
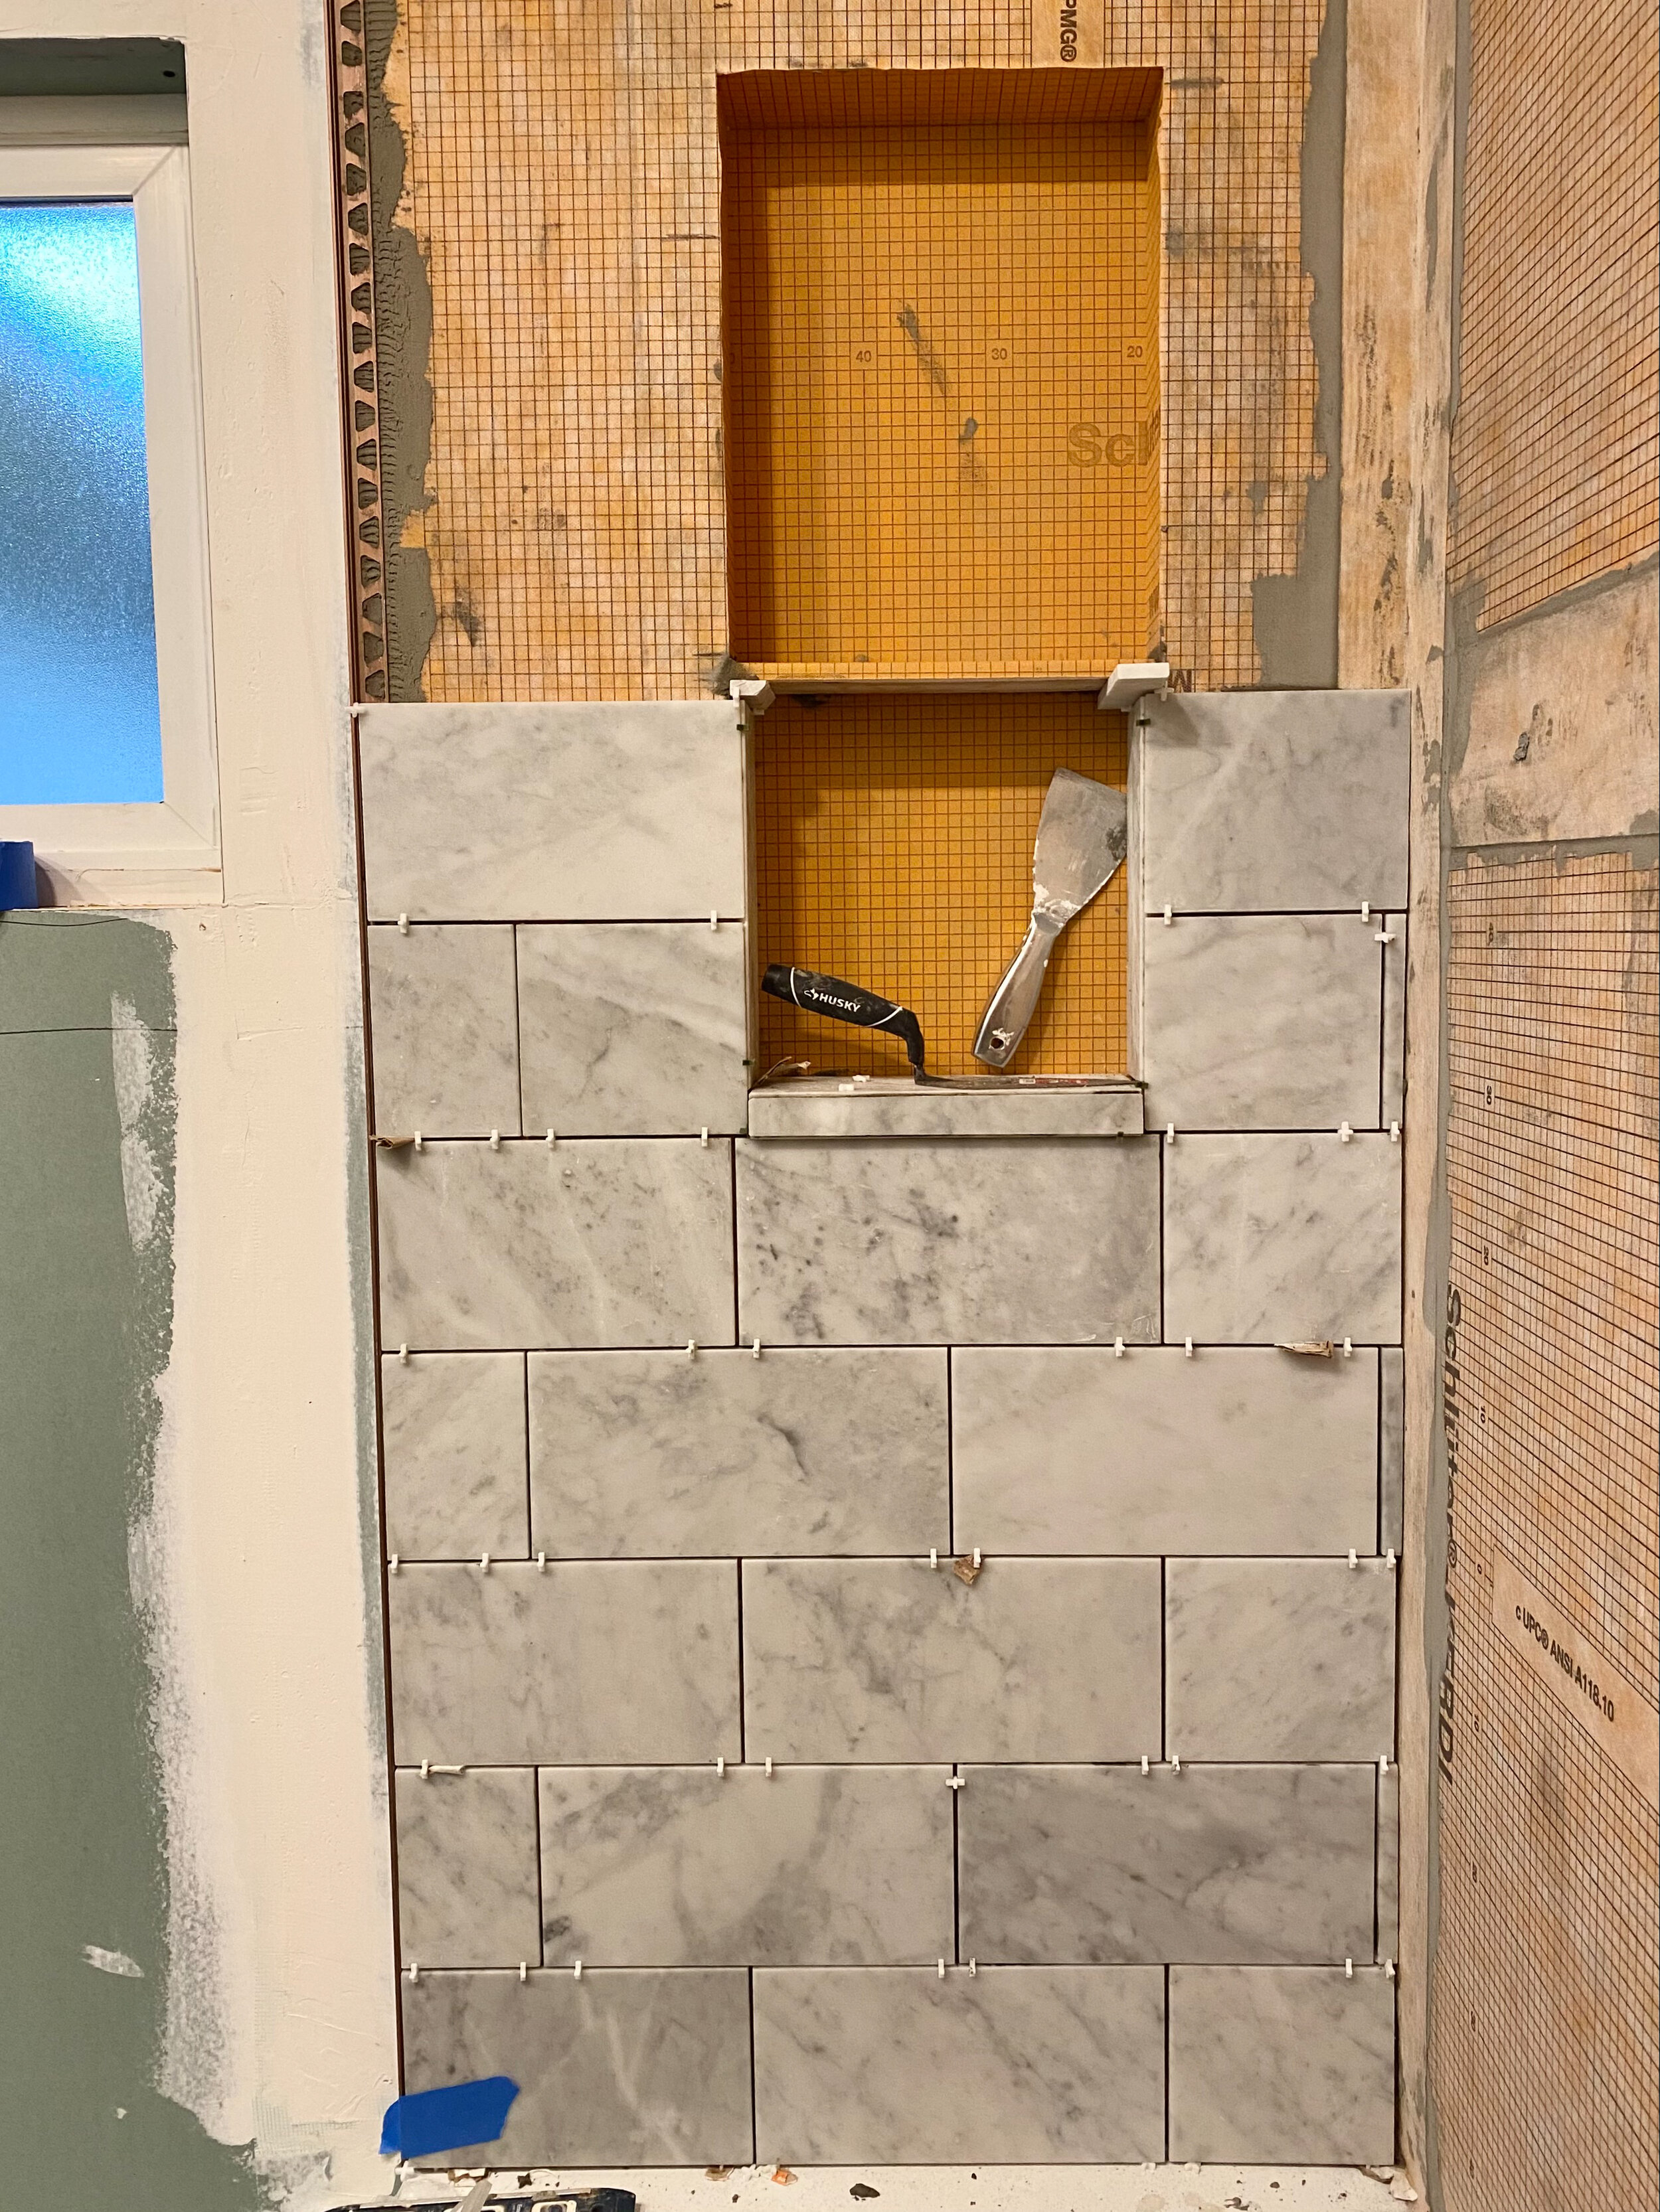
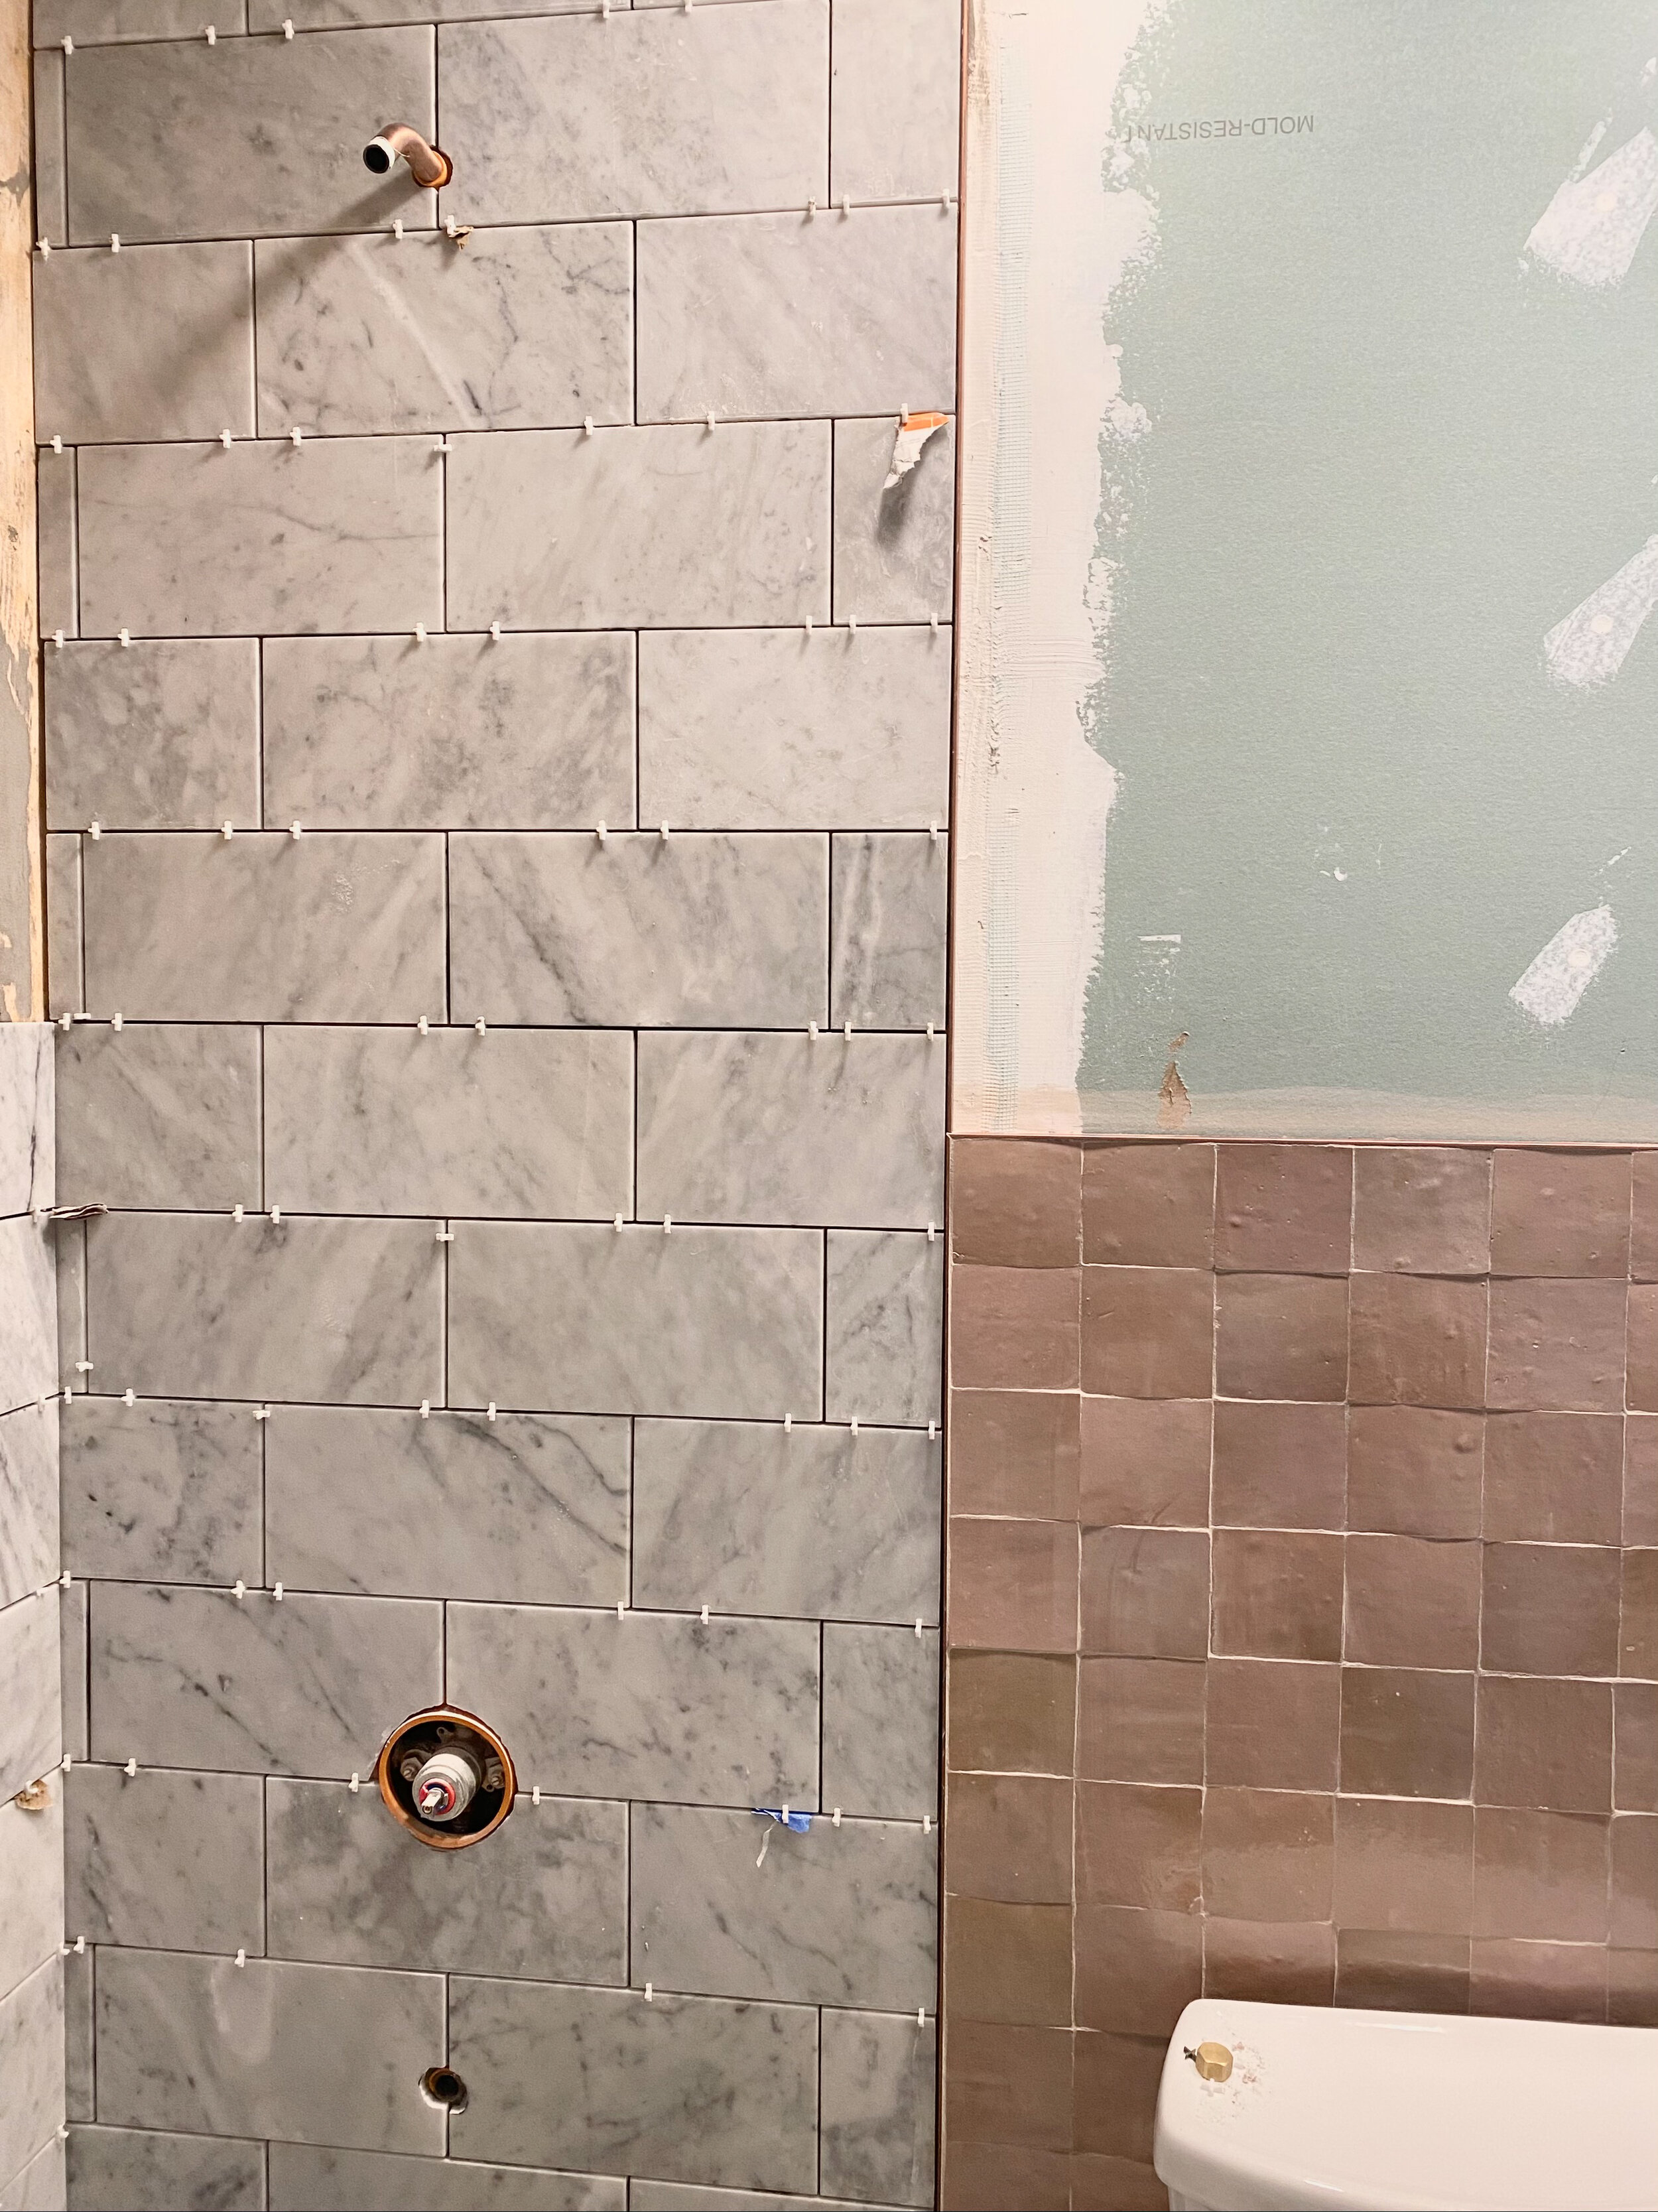
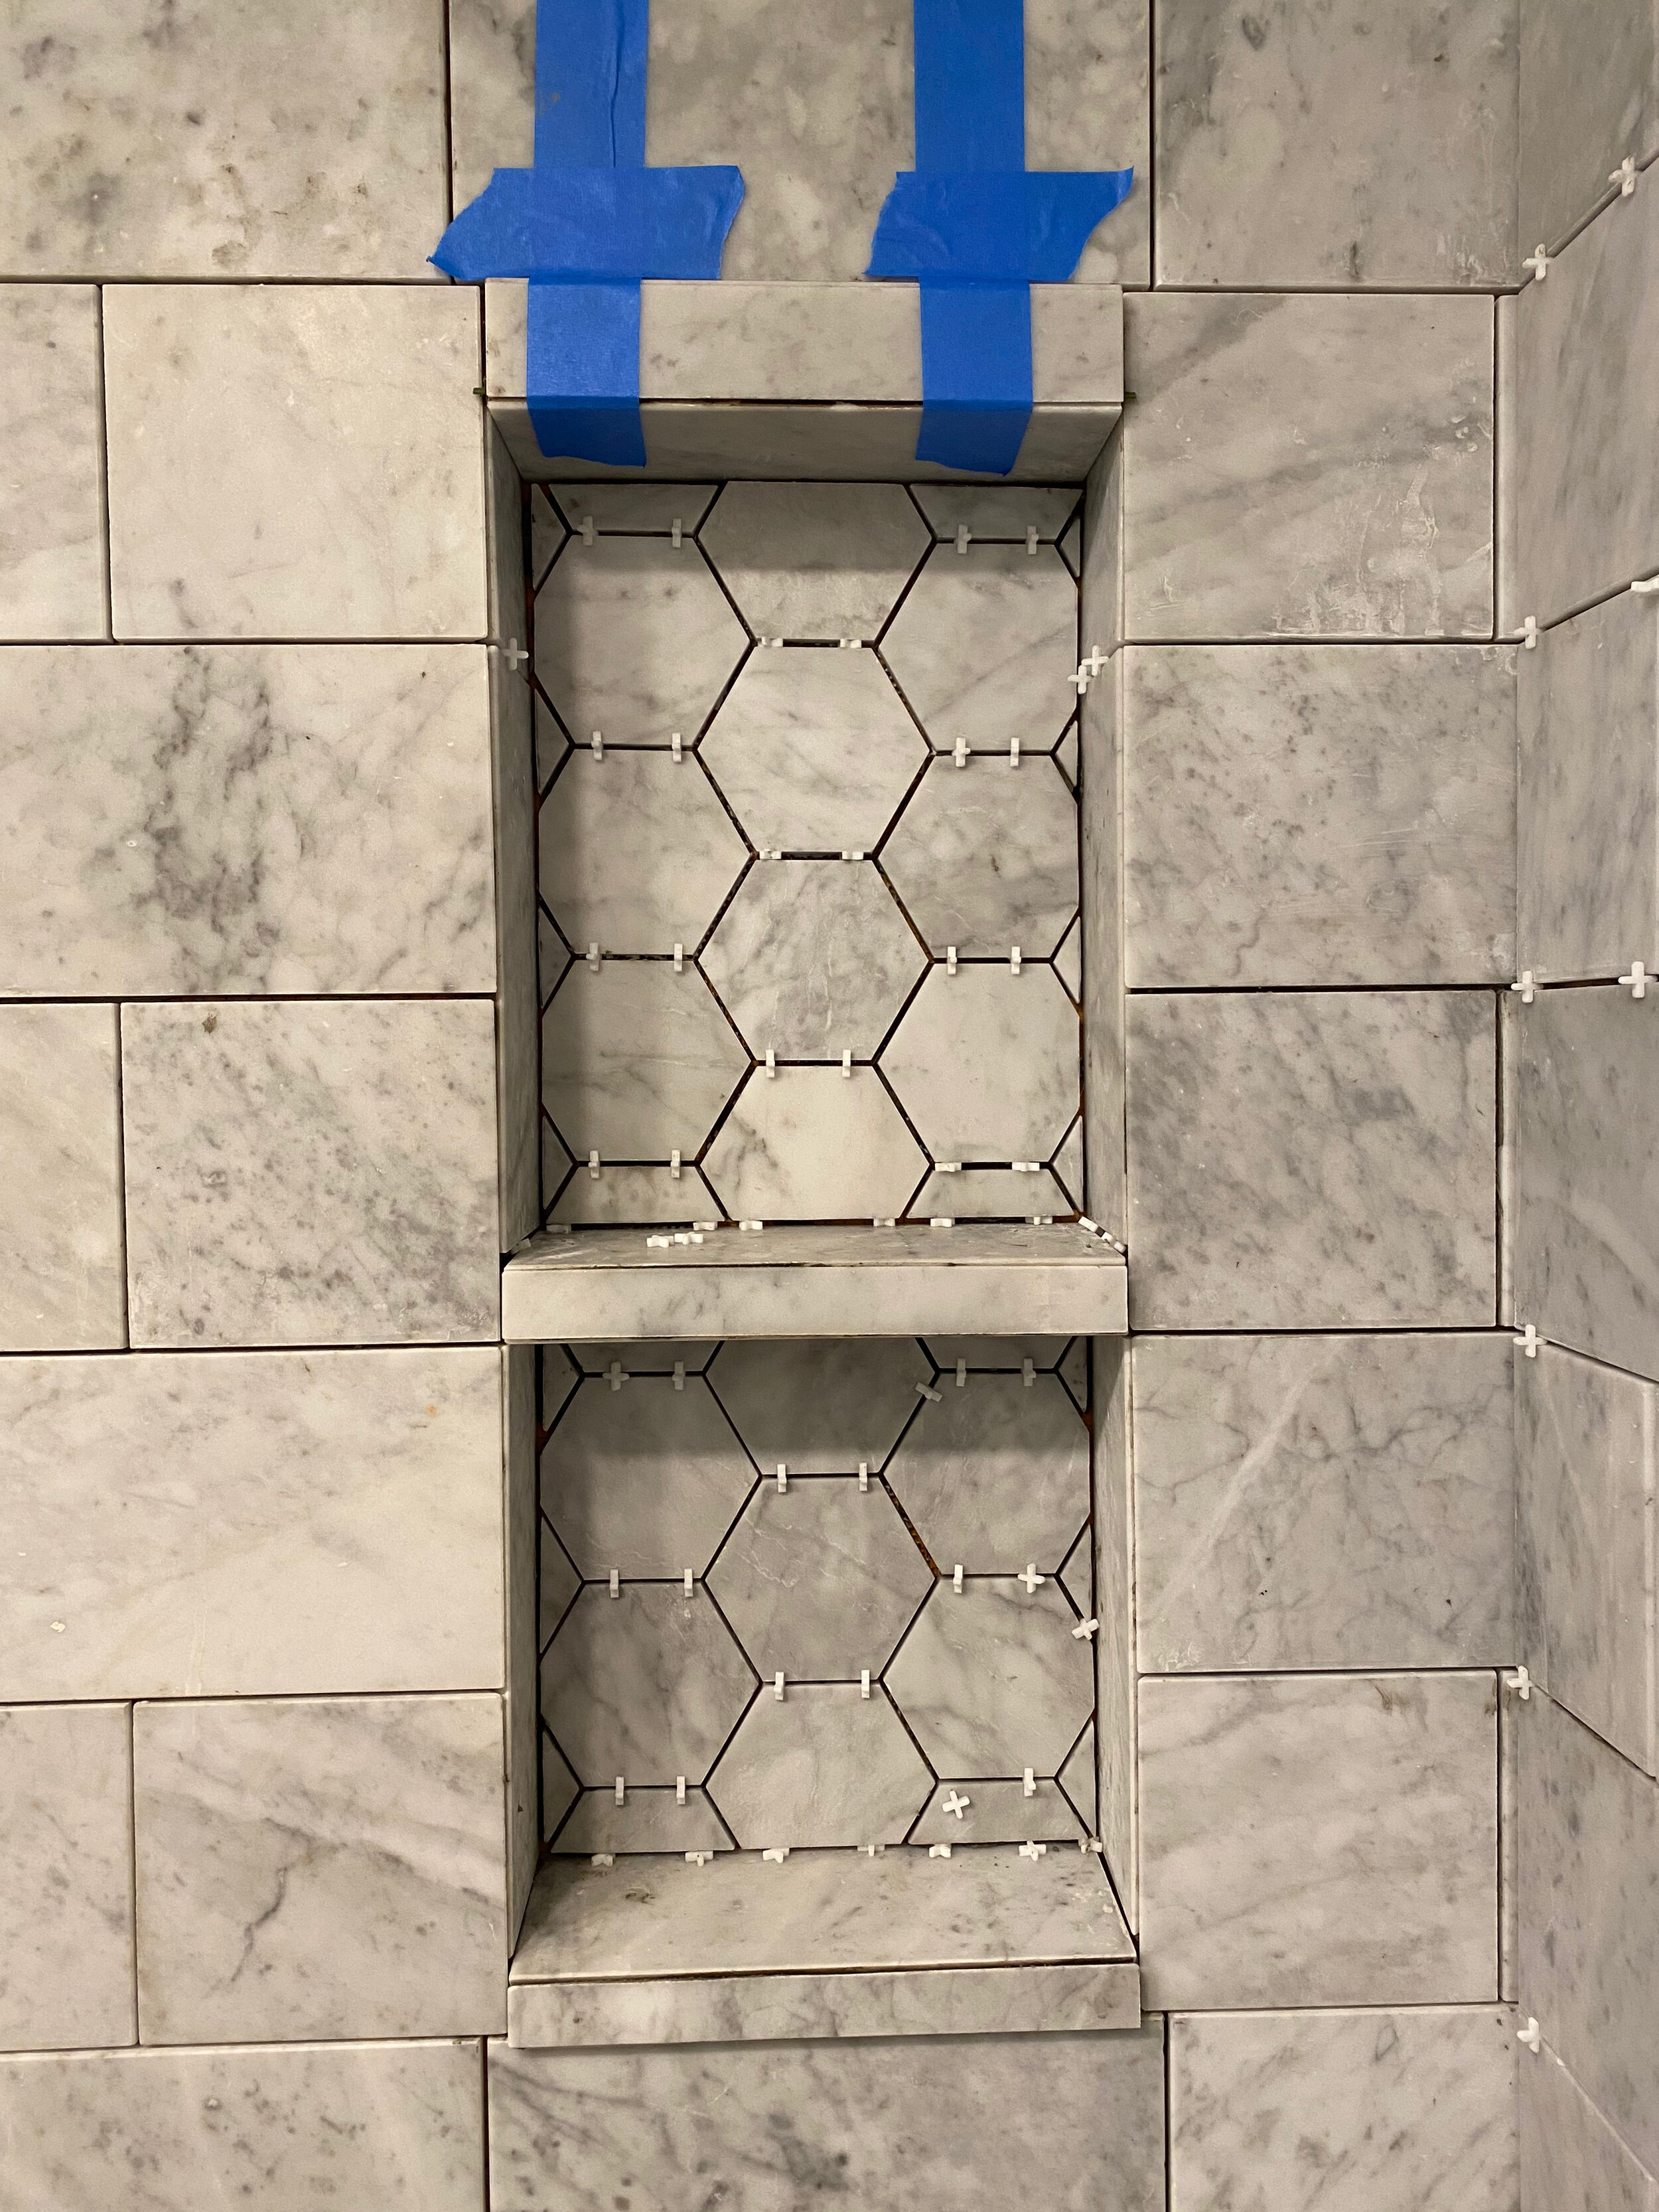
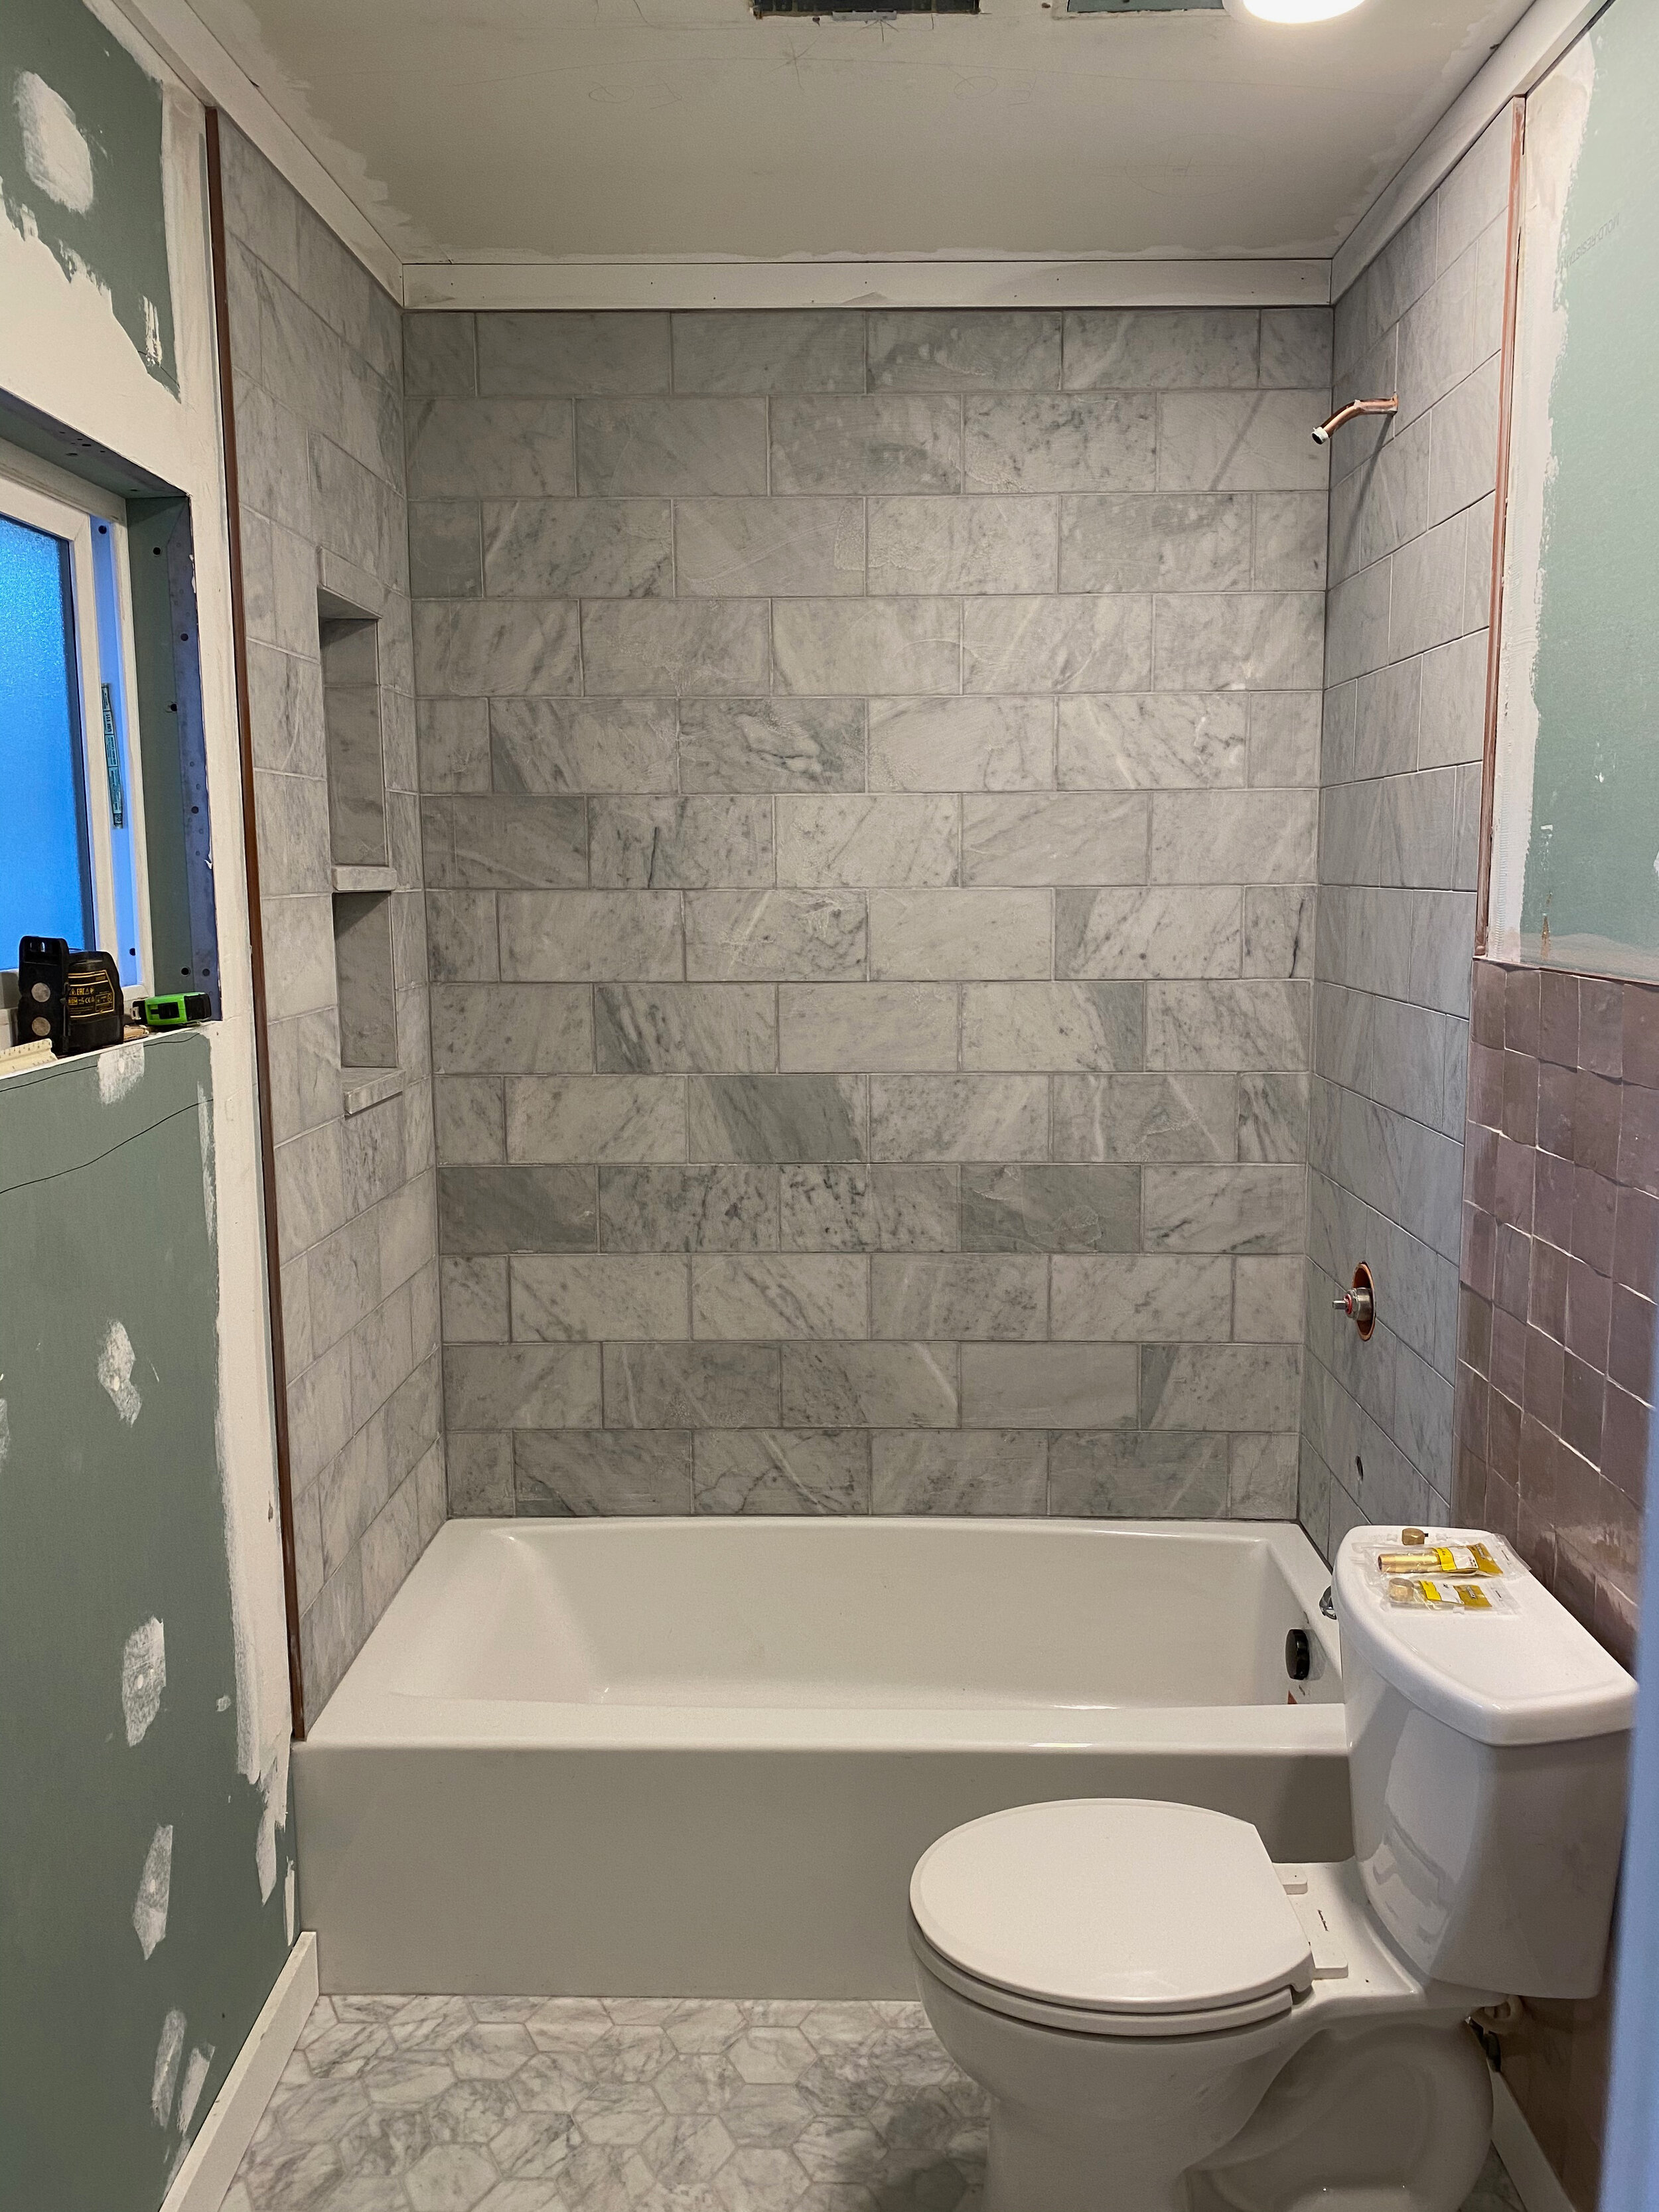
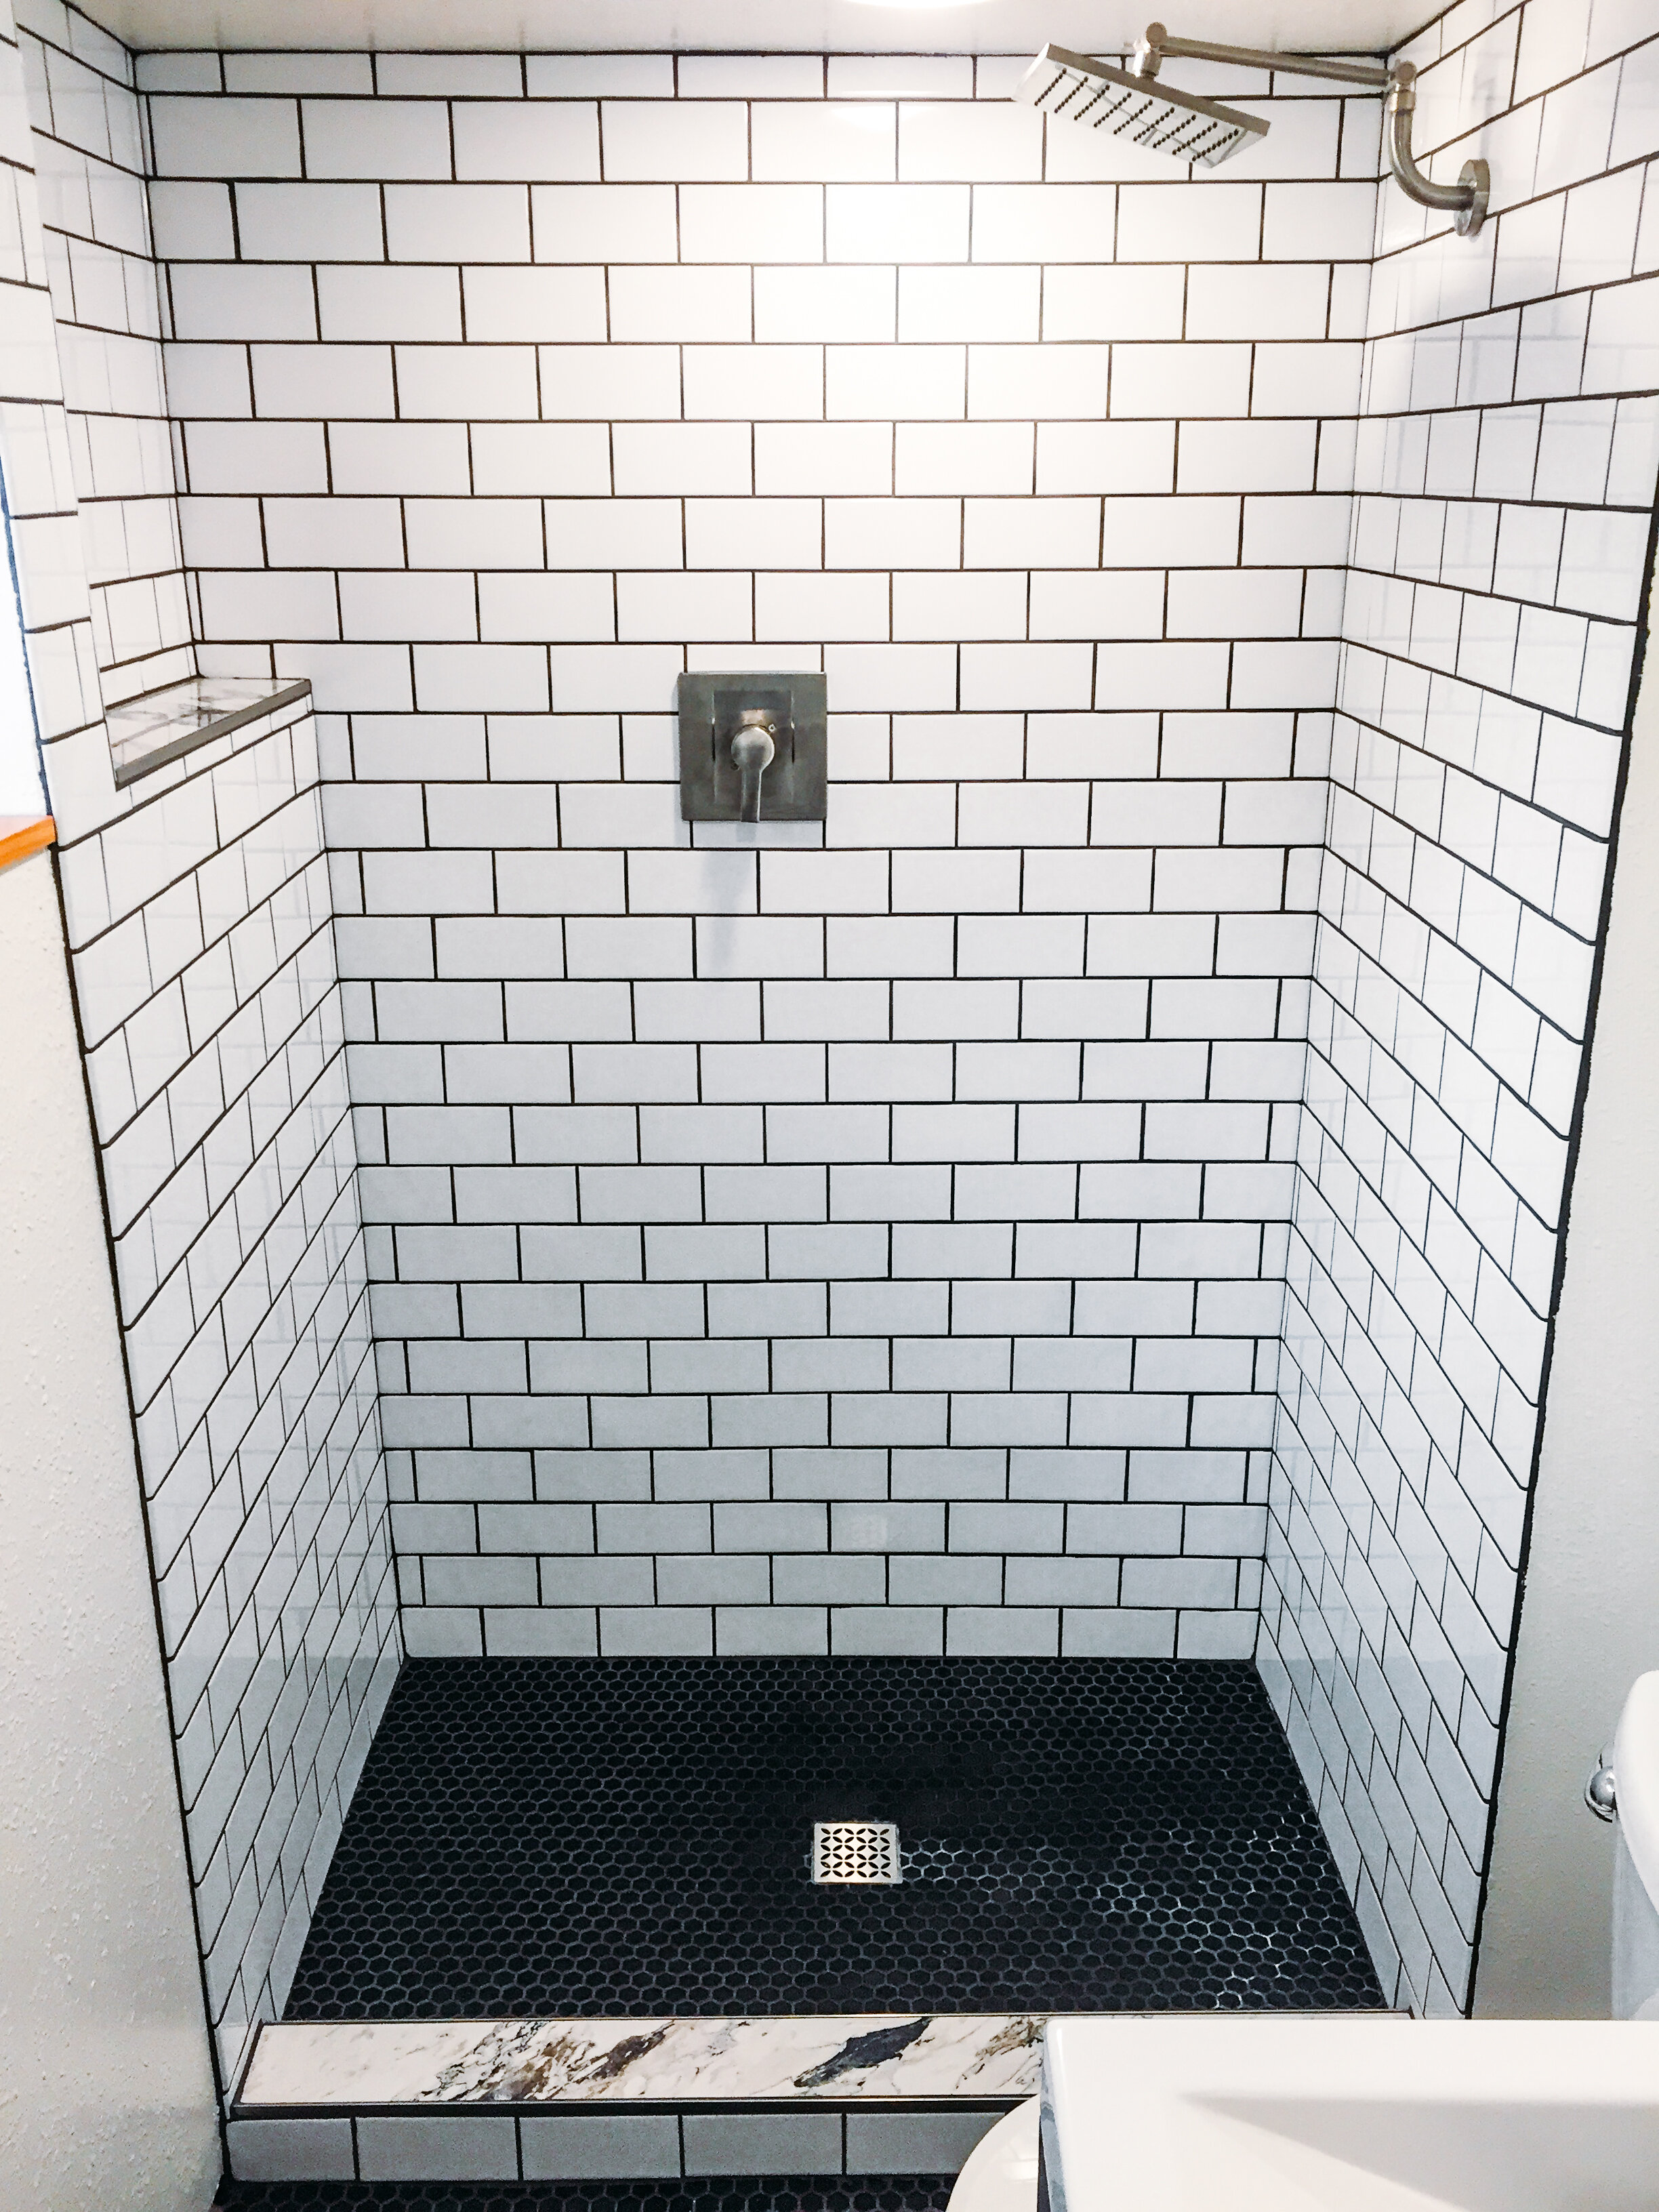
-shower walls: 12x6” honed carrara white italian marble tiles from carrara italia-floor & shower shelf recessed wall: 4” honed carrara white italian marble hexagon mosaic tile from carrara italia

-shower walls: 12x6” honed carrara white italian marble tiles from carrara italia

-floor & shower shelf recessed wall: 4” honed carrara white italian marble hexagon mosaic tile from carrara italia

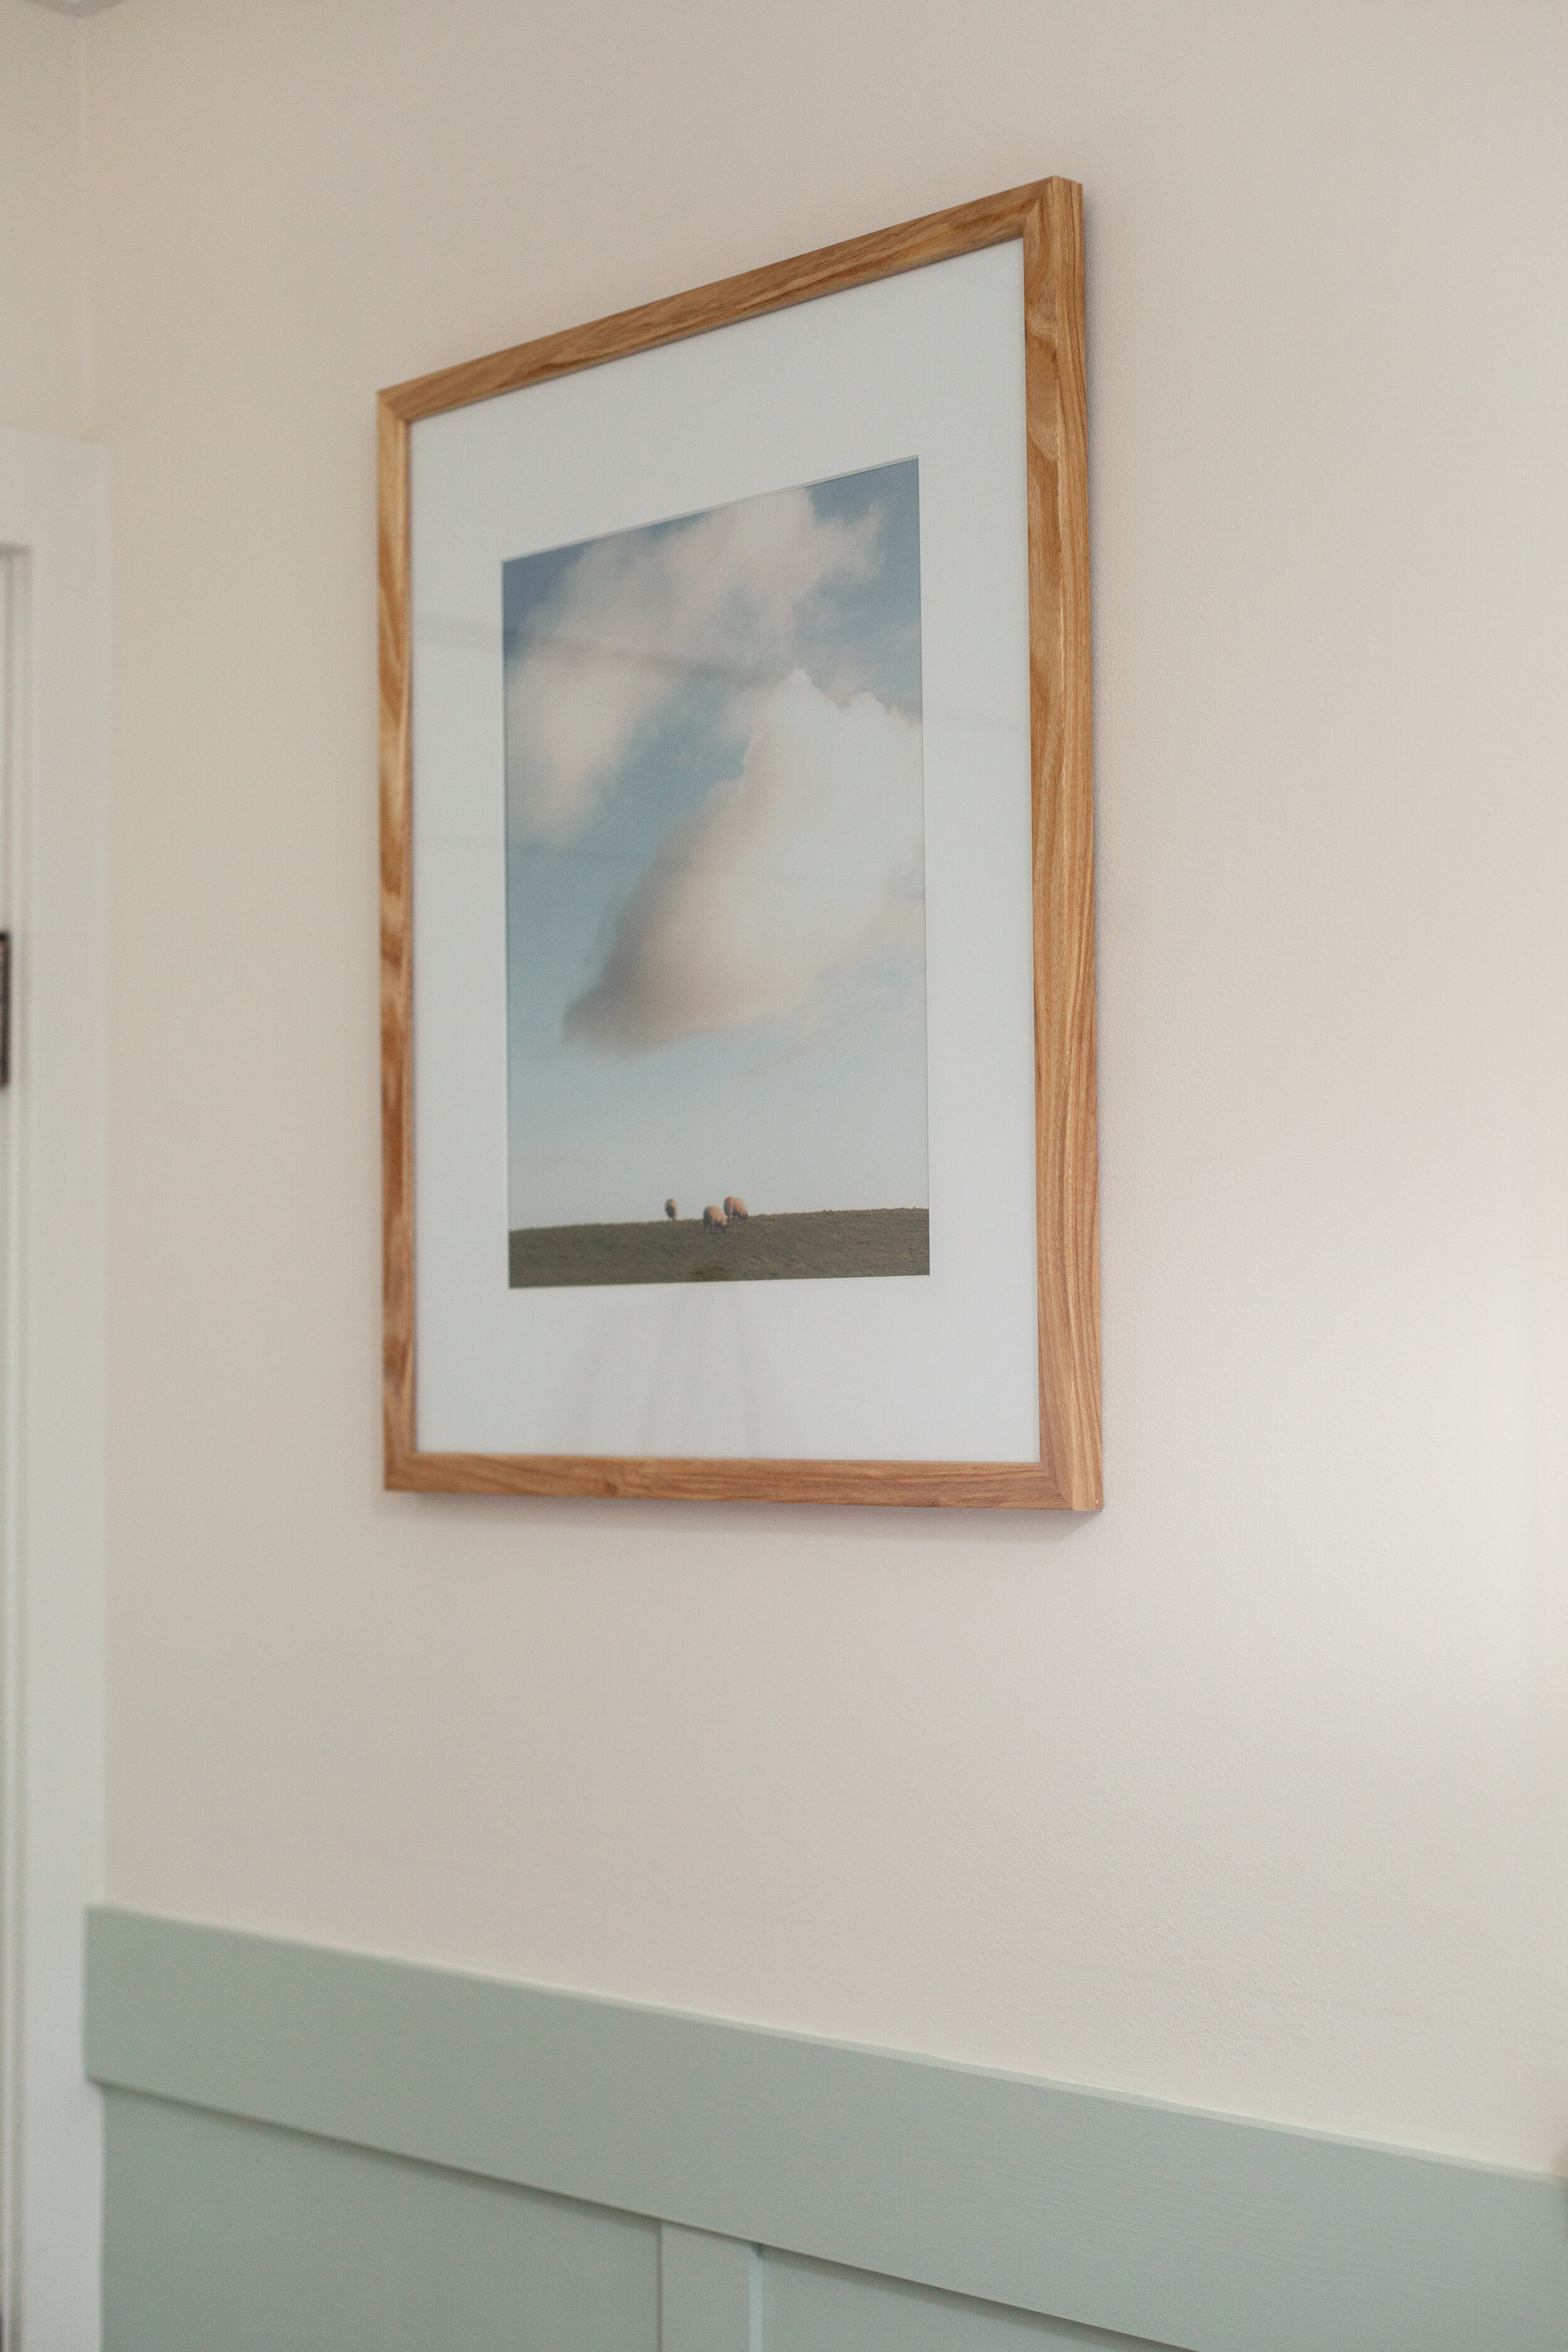
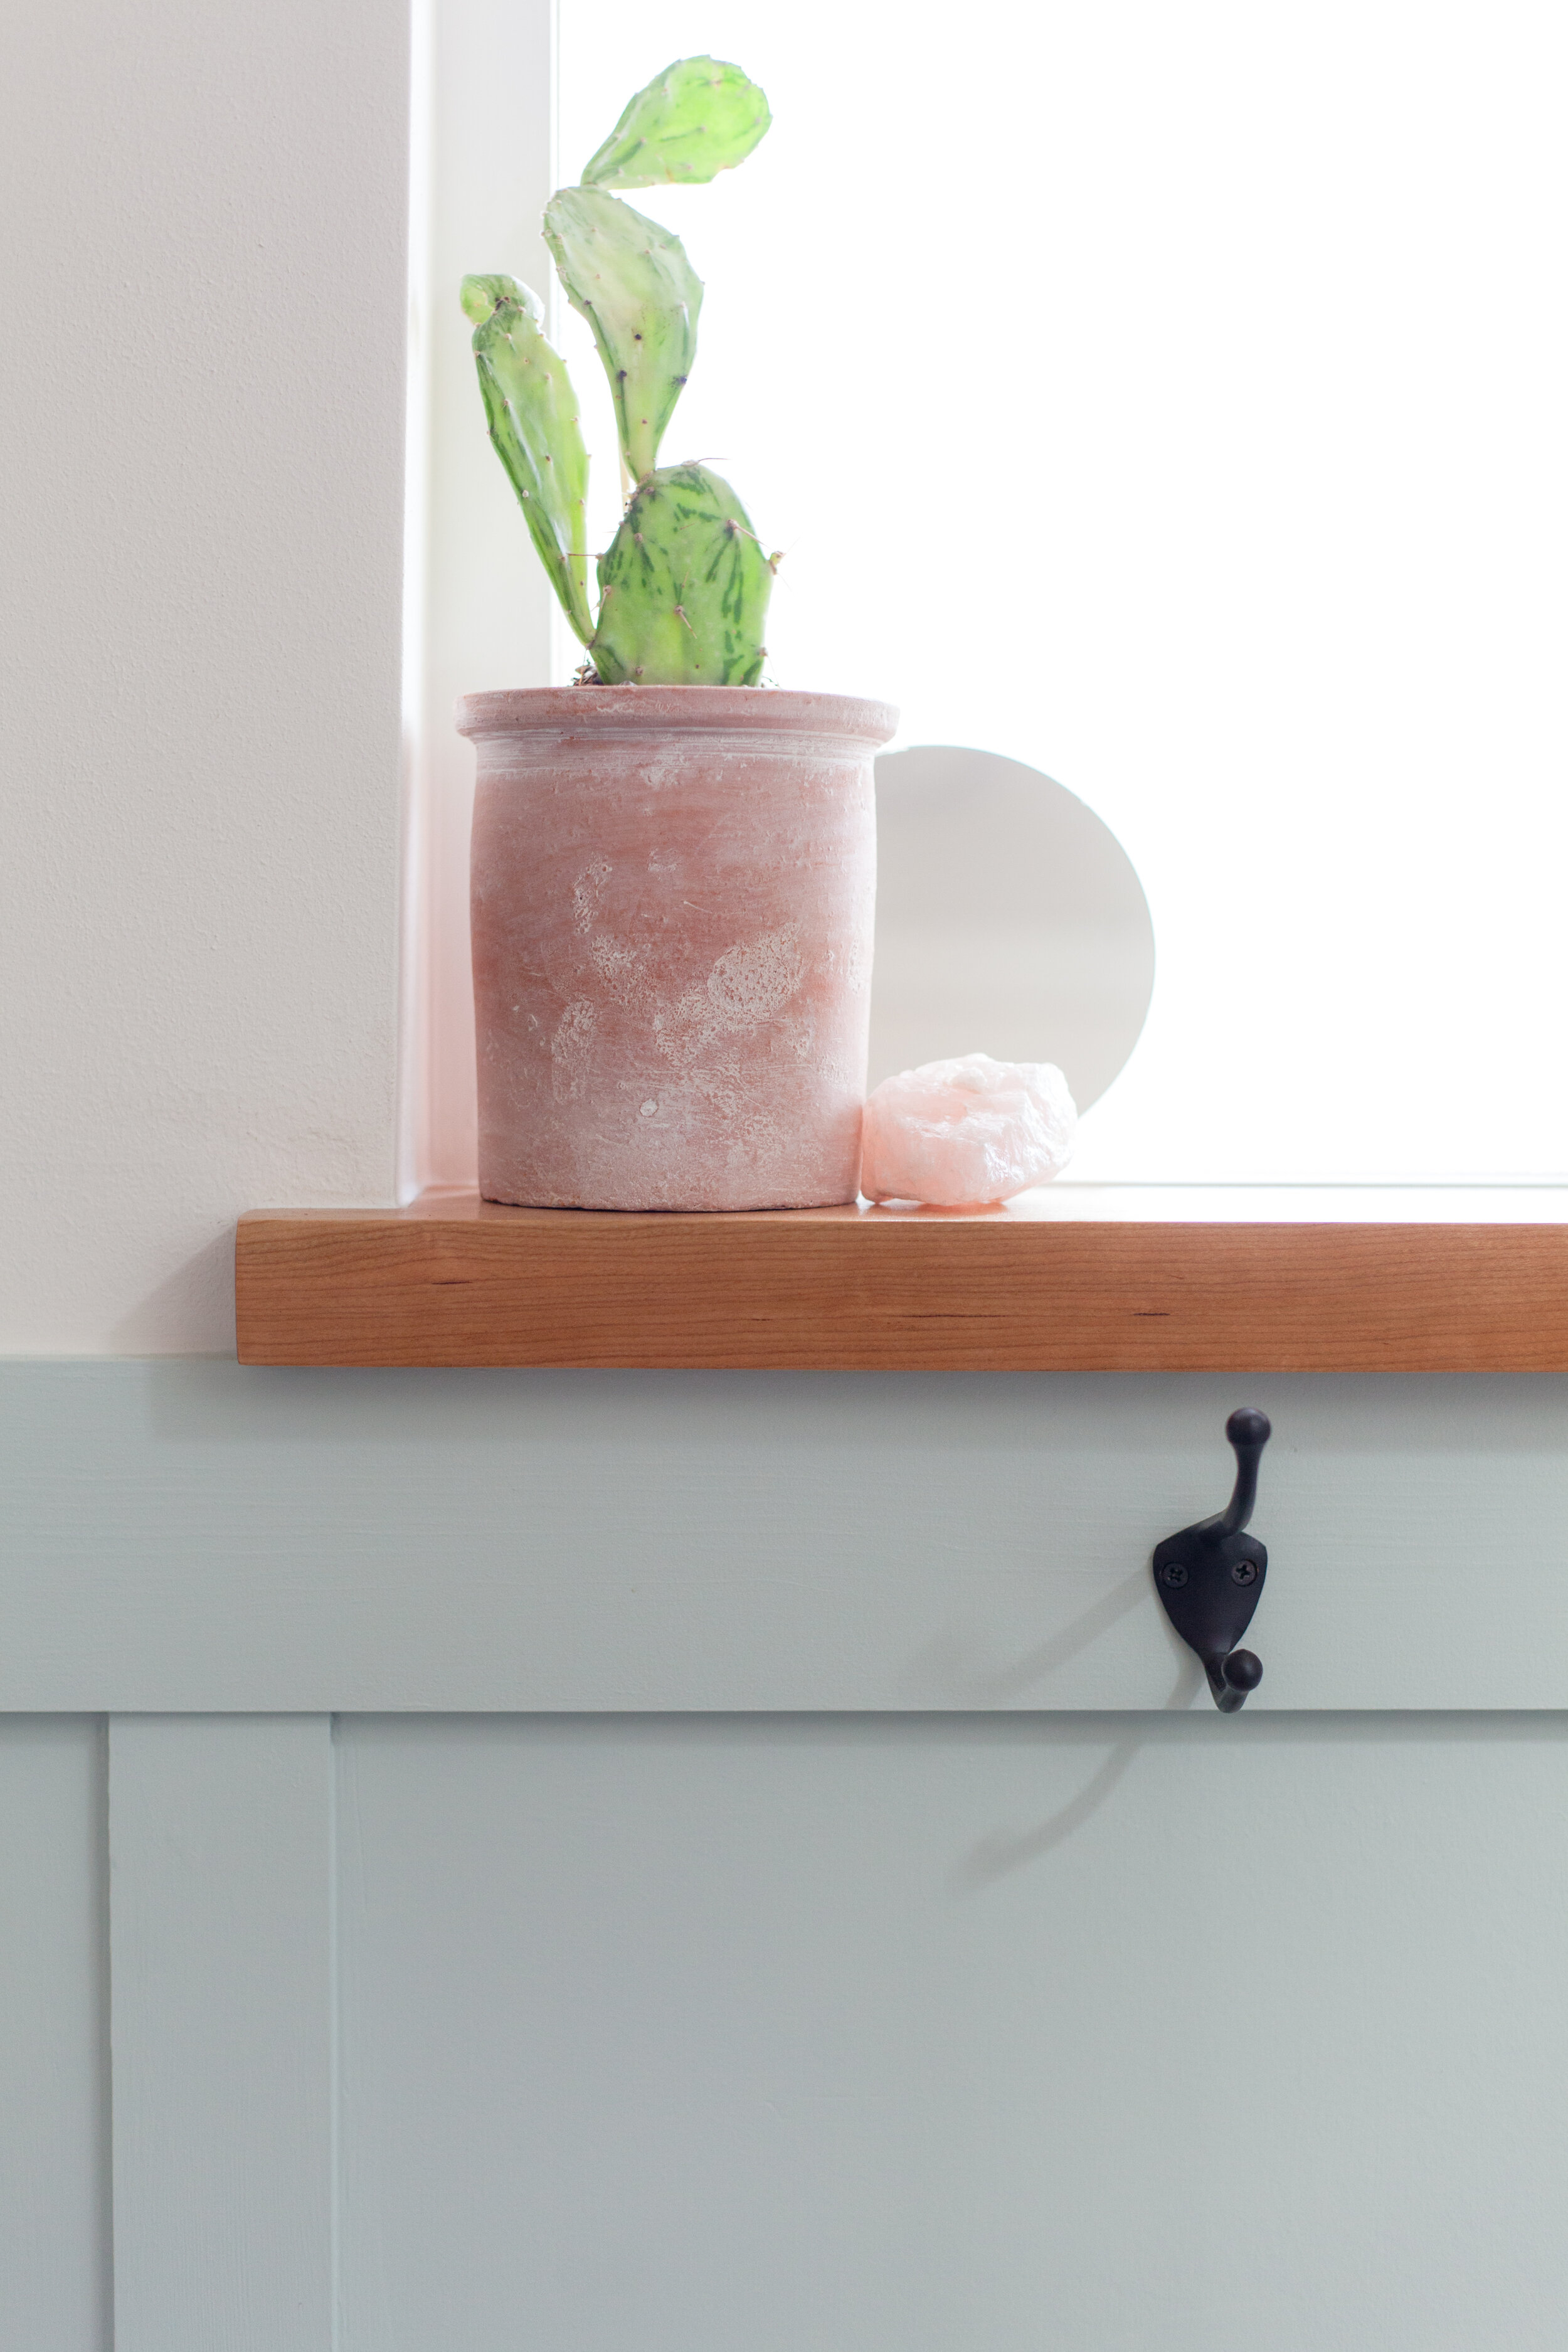
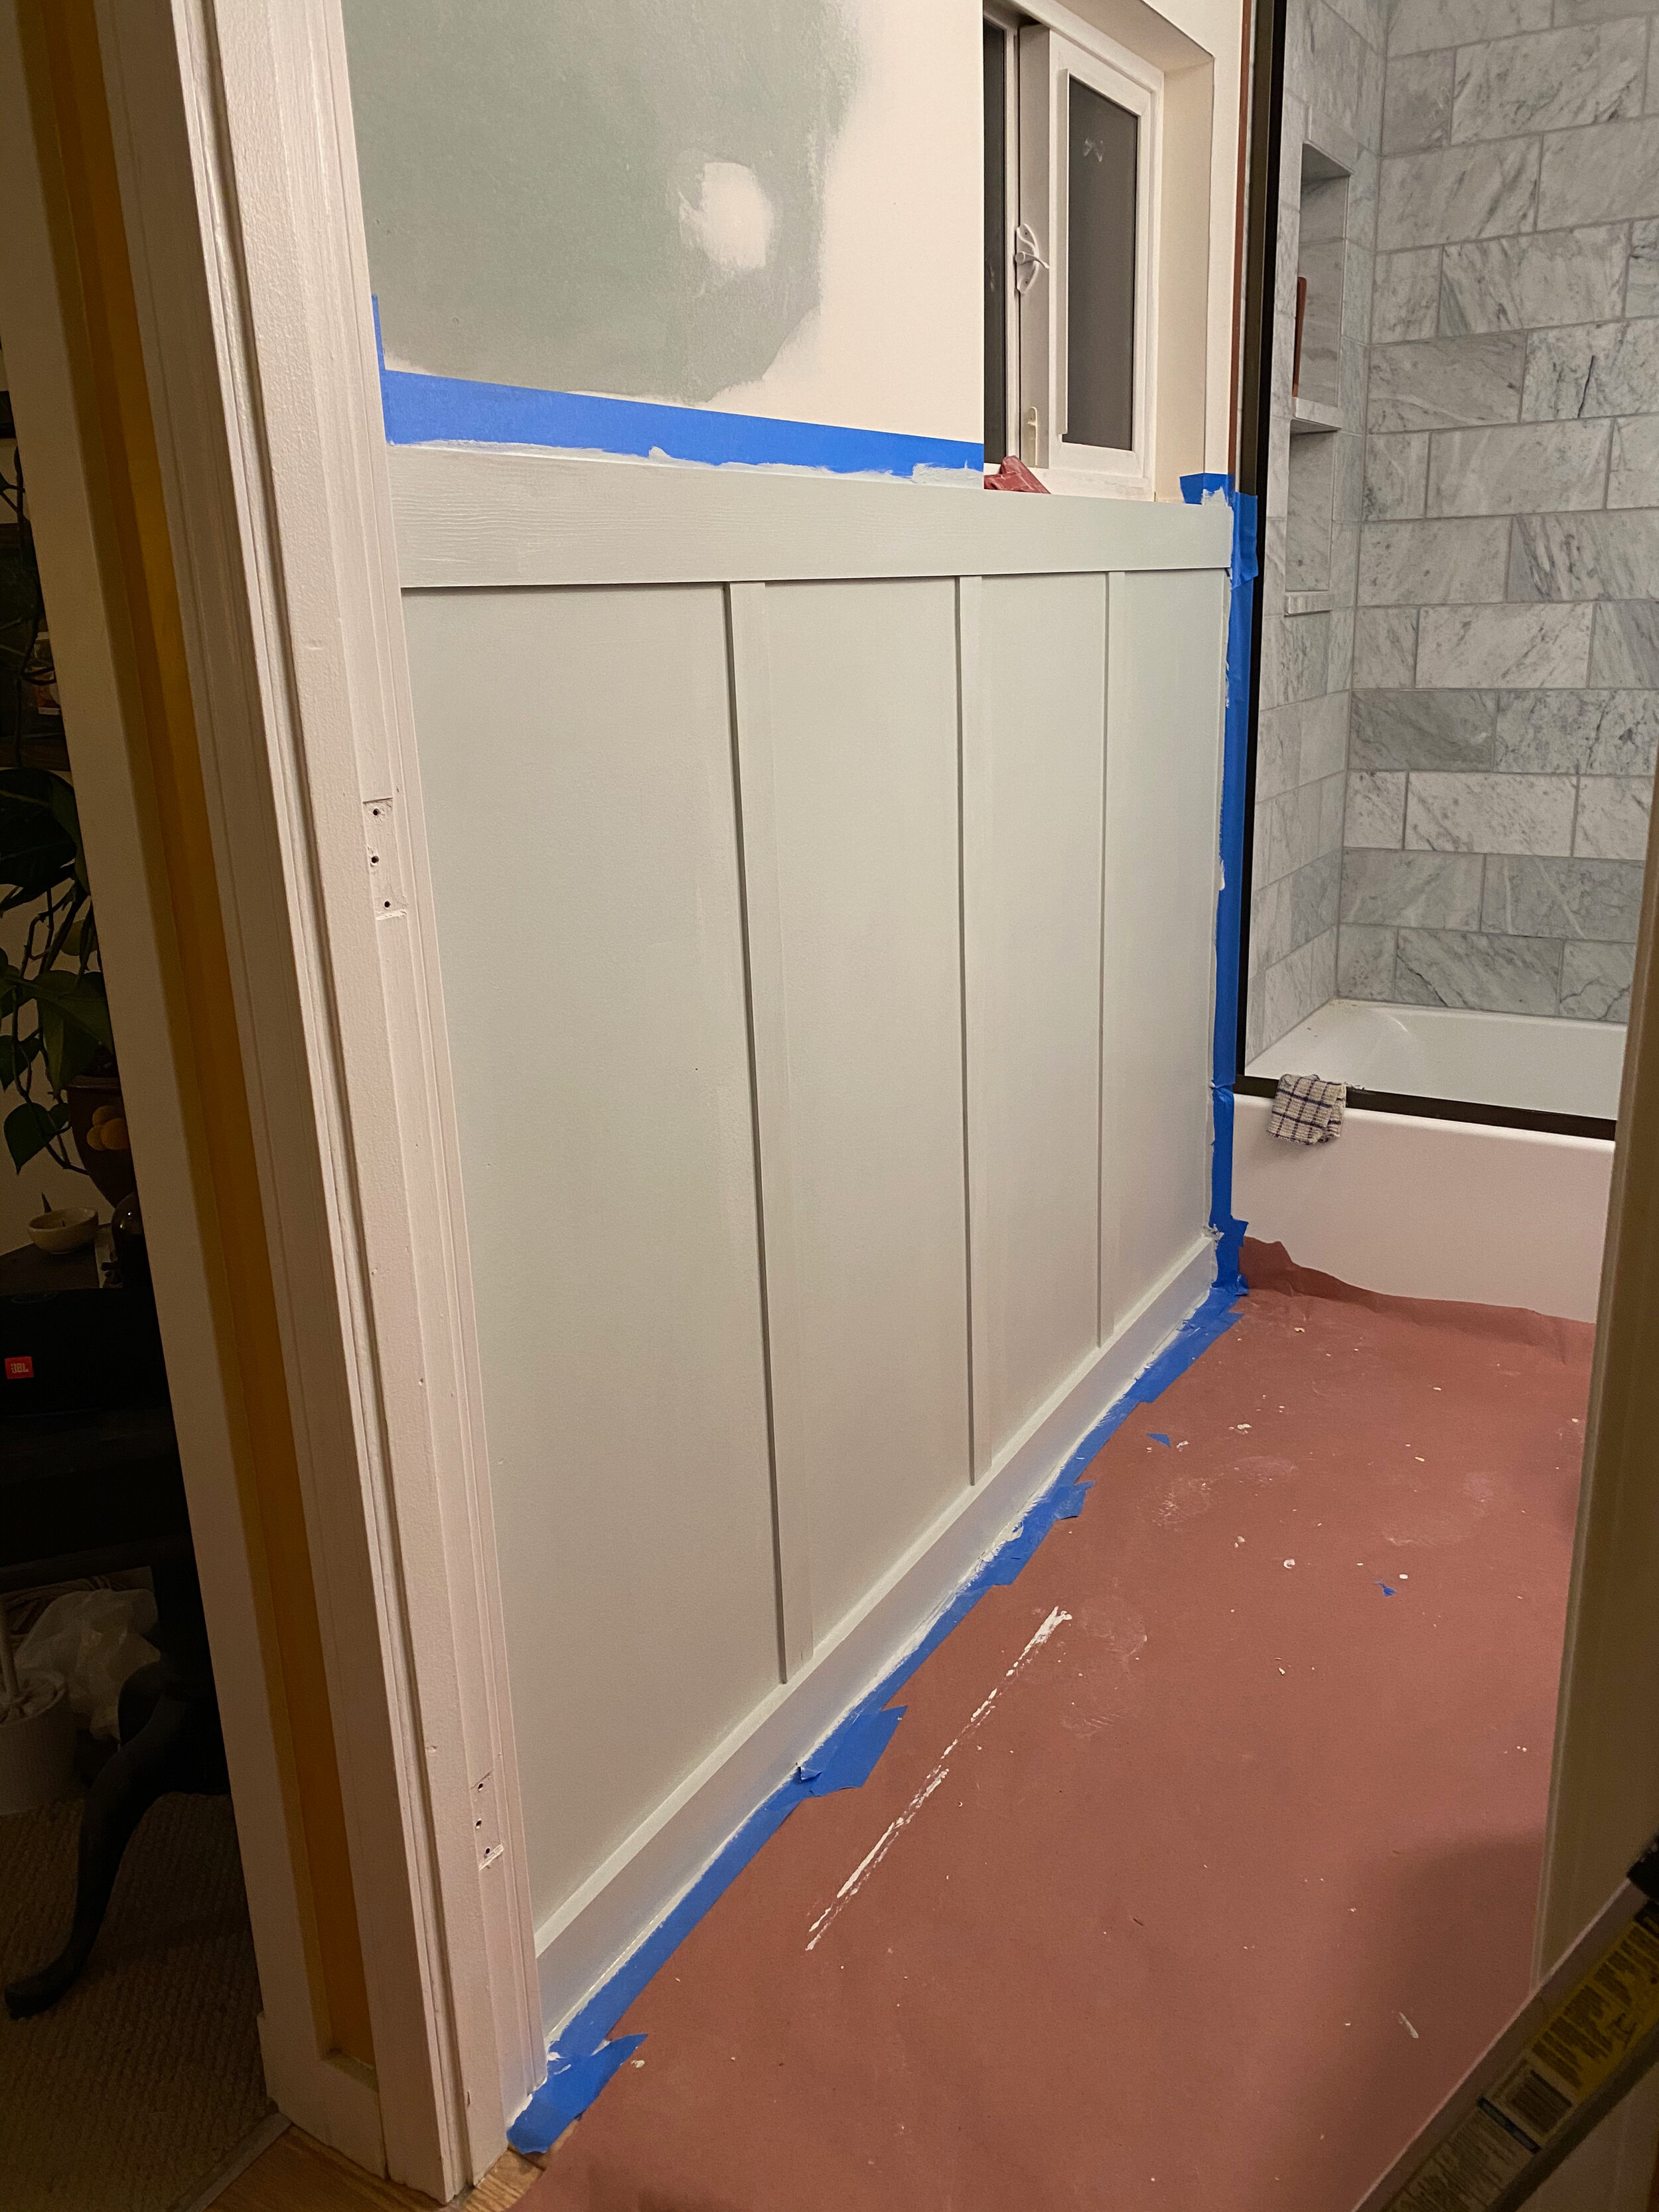
-board & batten paint color is ‘sea salt’ by sherwin williams-homemade windowsill & floating shelves by pete & quinn; 2” cherry from crosscut hardwoods in seattle

-board & batten paint color is ‘sea salt’ by sherwin williams

-homemade windowsill & floating shelves by pete & quinn; 2” cherry from crosscut hardwoods in seattle

Main Bathroom Remodel-QuinnsPlace_129.JPG

the zellige tiles have such a different look whether the overhead lights are on or off. they take on entirely different colors in different lighting situations at different times a day - which is soooo pretty and fun to see how it changes.

^ here it is in its’ midday epic glory through the shower skylight ✨

^ cloud & sheep photo from our trip to ireland - this was actually taken the day peter & i got engaged. 💞 i searched high & low for an art print i would like enough to see every day and eventually just went back to a super simple photo that i always liked a lot. this photo kind of rounded out the “earth tone” vibe that the bathroom had started to take on.

the floating wood shelves helped warm up the space with all the cool white marble tile on the floor and in the shower - thank you to my friend jenny for tuning in to the saga of this bathroom remodel and helping me solve various design concerns that came up throughout. love ya, jen!

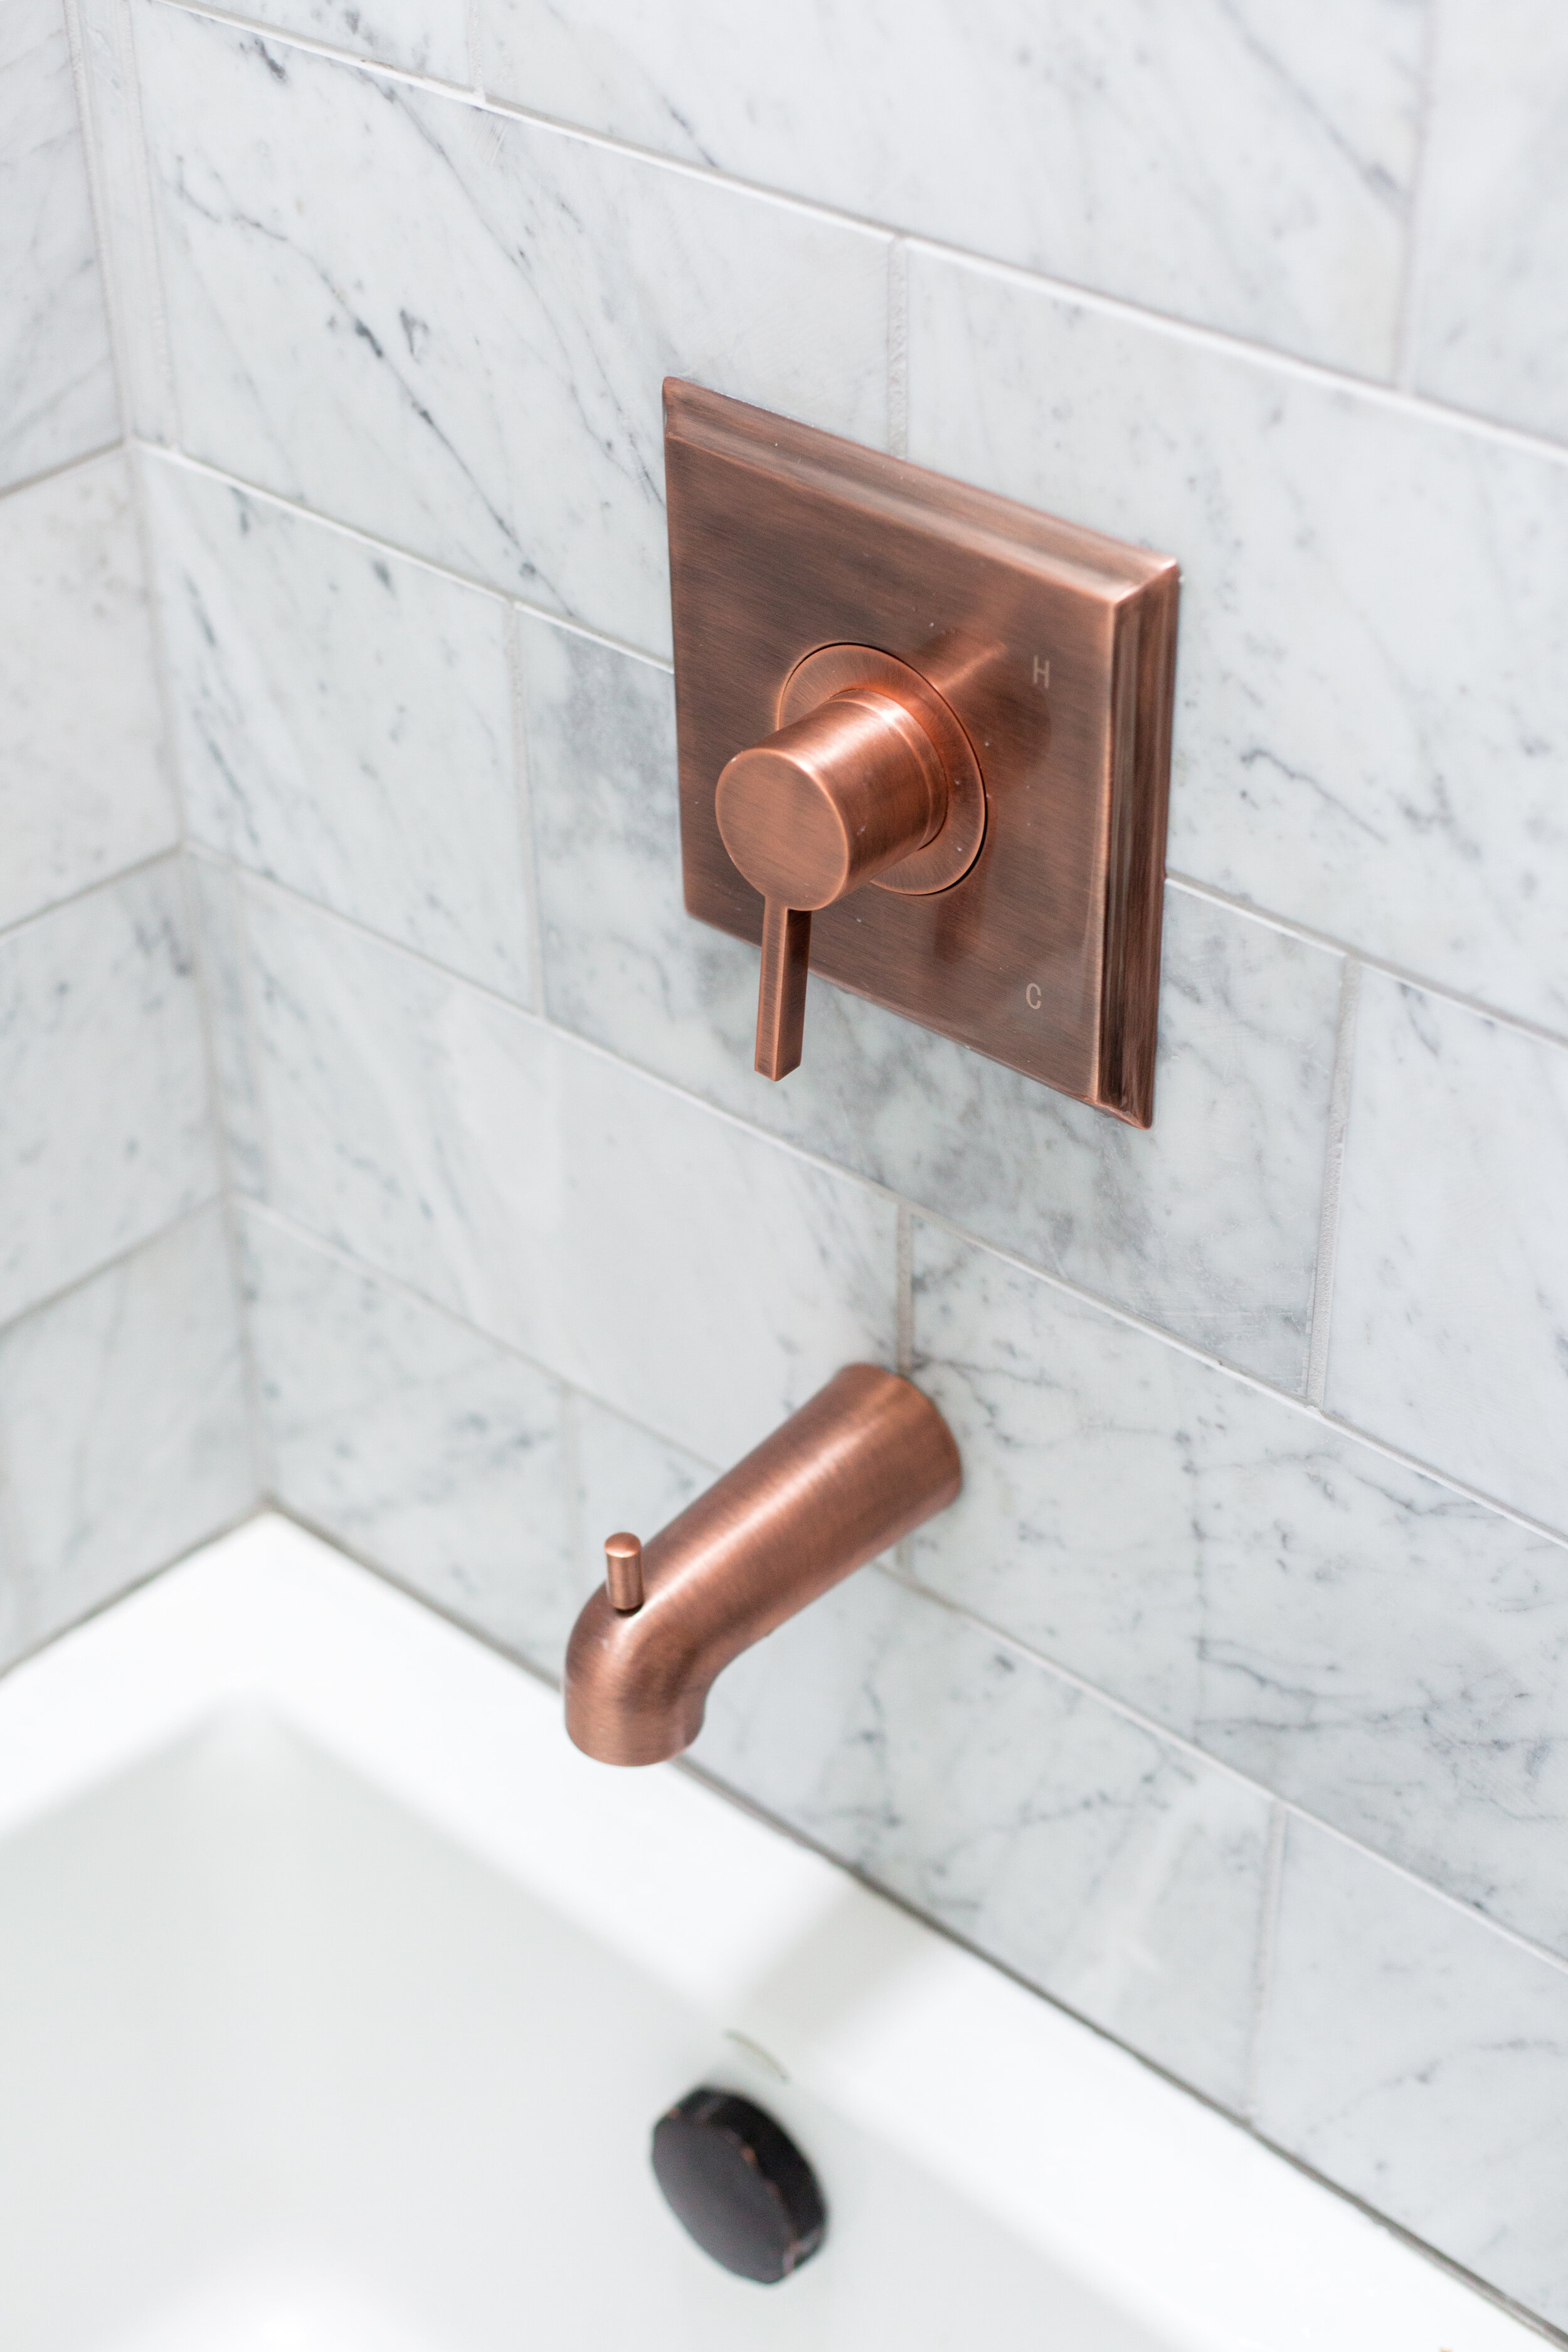
antique copper shower hardware from signature hardware

antique copper shower hardware from signature hardware

-hand wash & body wash, by sisters-arched medicine cabinet mirror from west elm

-hand wash & body wash, by sisters

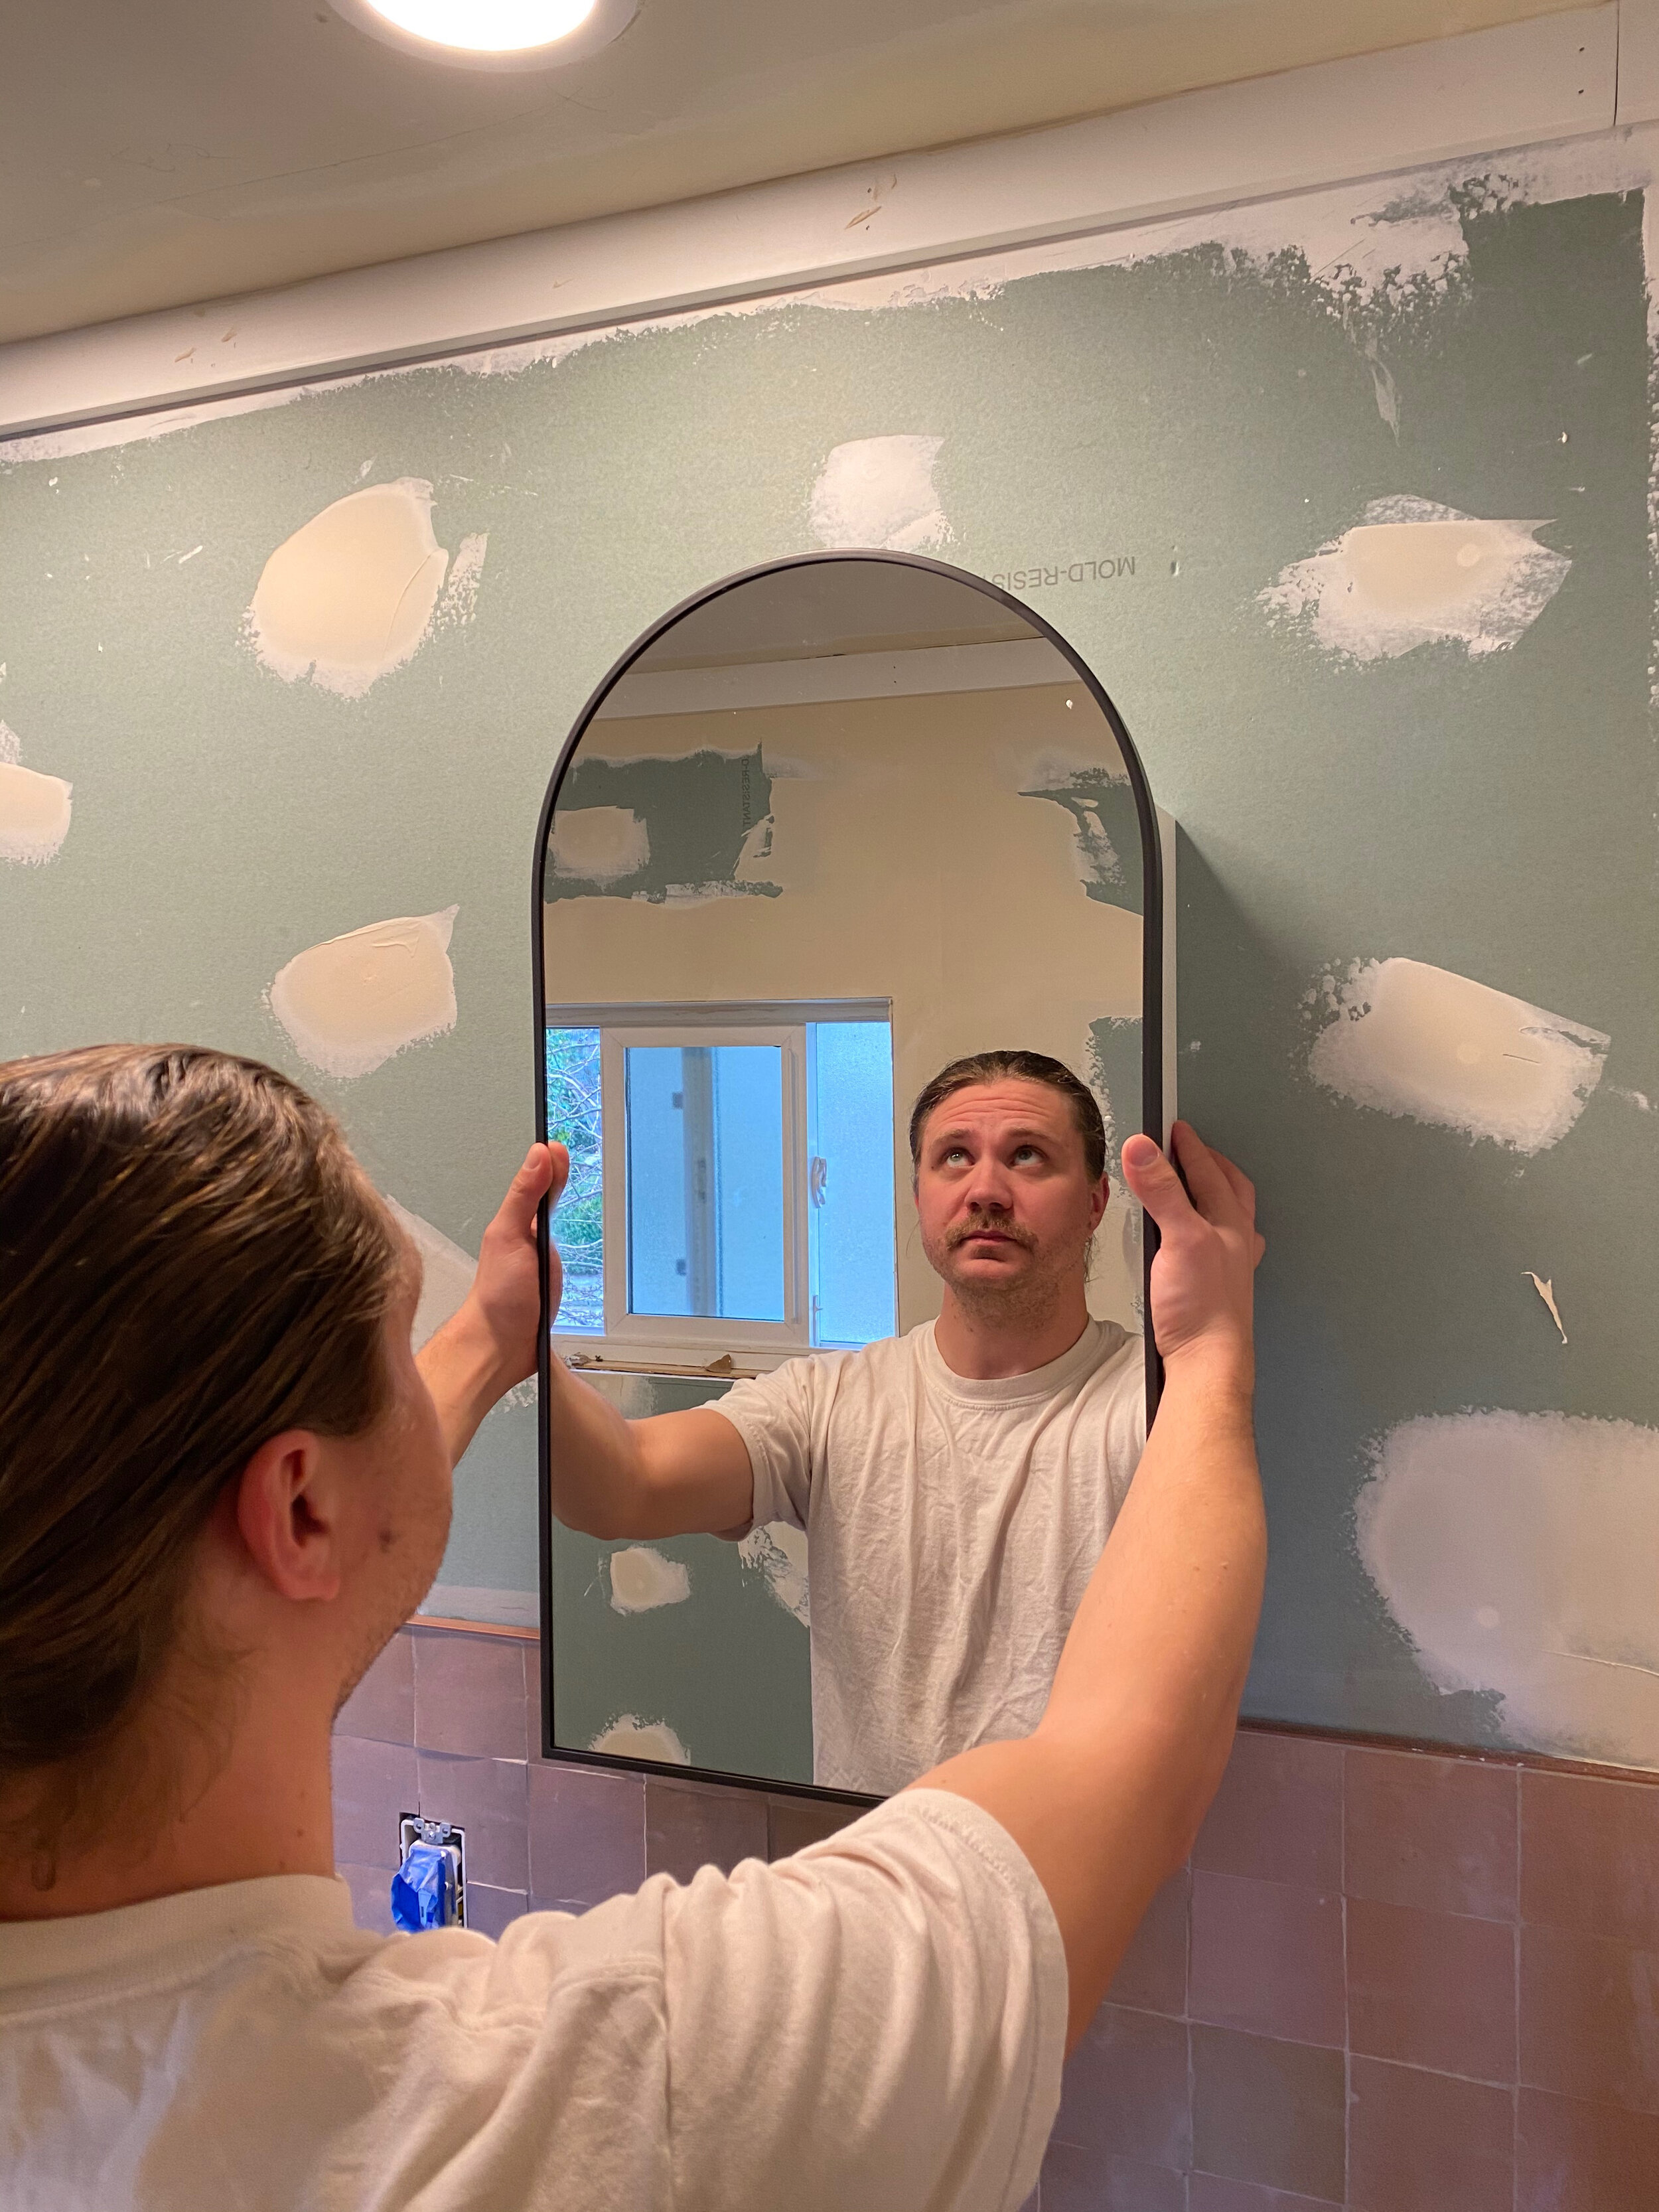
-arched medicine cabinet mirror from west elm

Main-Bathroom-Remodel-Jan2021_QuinnsPlace-73.jpg

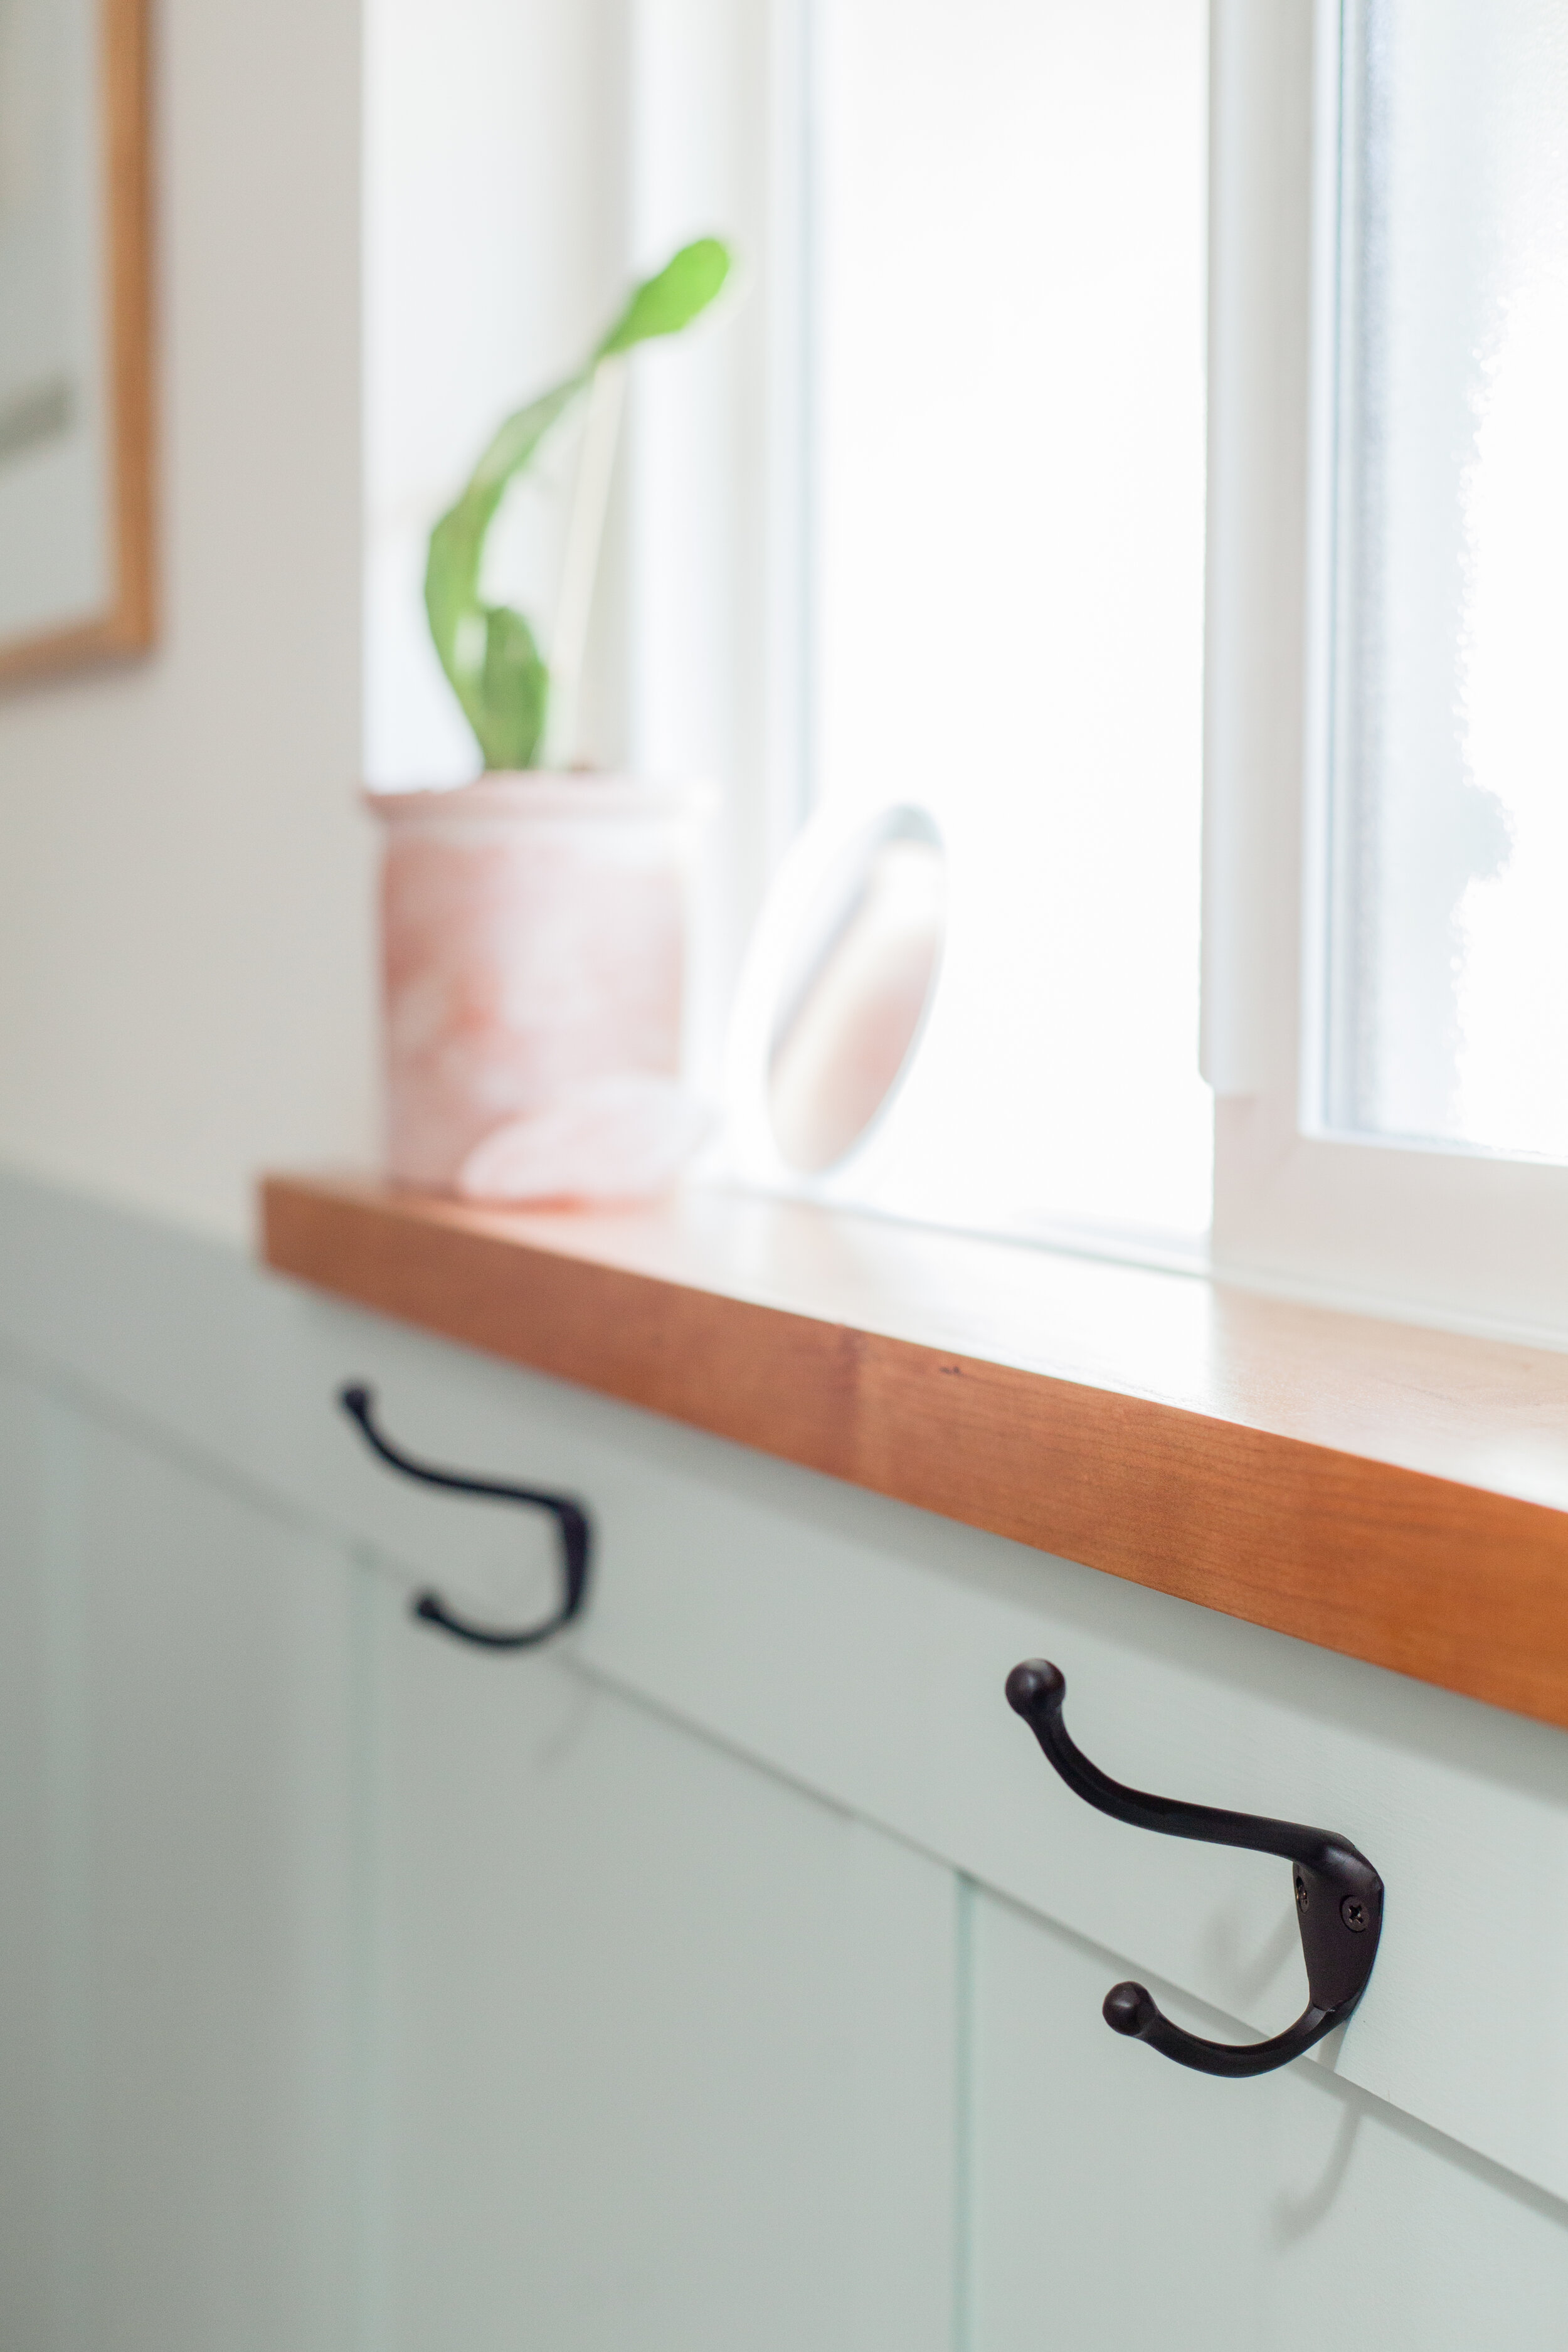
-towel hooks from schoolhouse

-antique copper cabinet hardware from etsy

-copper faucet from the builders supply

Main-Bathroom-Remodel-Jan2021_QuinnsPlace-104.jpg

something kind of wild about this project is that we purchased every single item sight unseen off of the internet. i am so glad everything arrived in one piece and came together well as far as the design goes. i think just a few items came from target and an art store where i actually shopped at in-person.

if you’re reading this post way in the future - this renovation happened during a time when people were not going out shopping in public for frivolous items. luckily, we were able to successfully source everything online and coordinated the timing of all arrivals accordingly.

Main-Bathroom-Remodel-Jan2021_QuinnsPlace-128.jpg

the sun shines (sometimes, lol) into the bathroom window in the morning and brightens up the whole backsplash, making it feel warm & cozy.

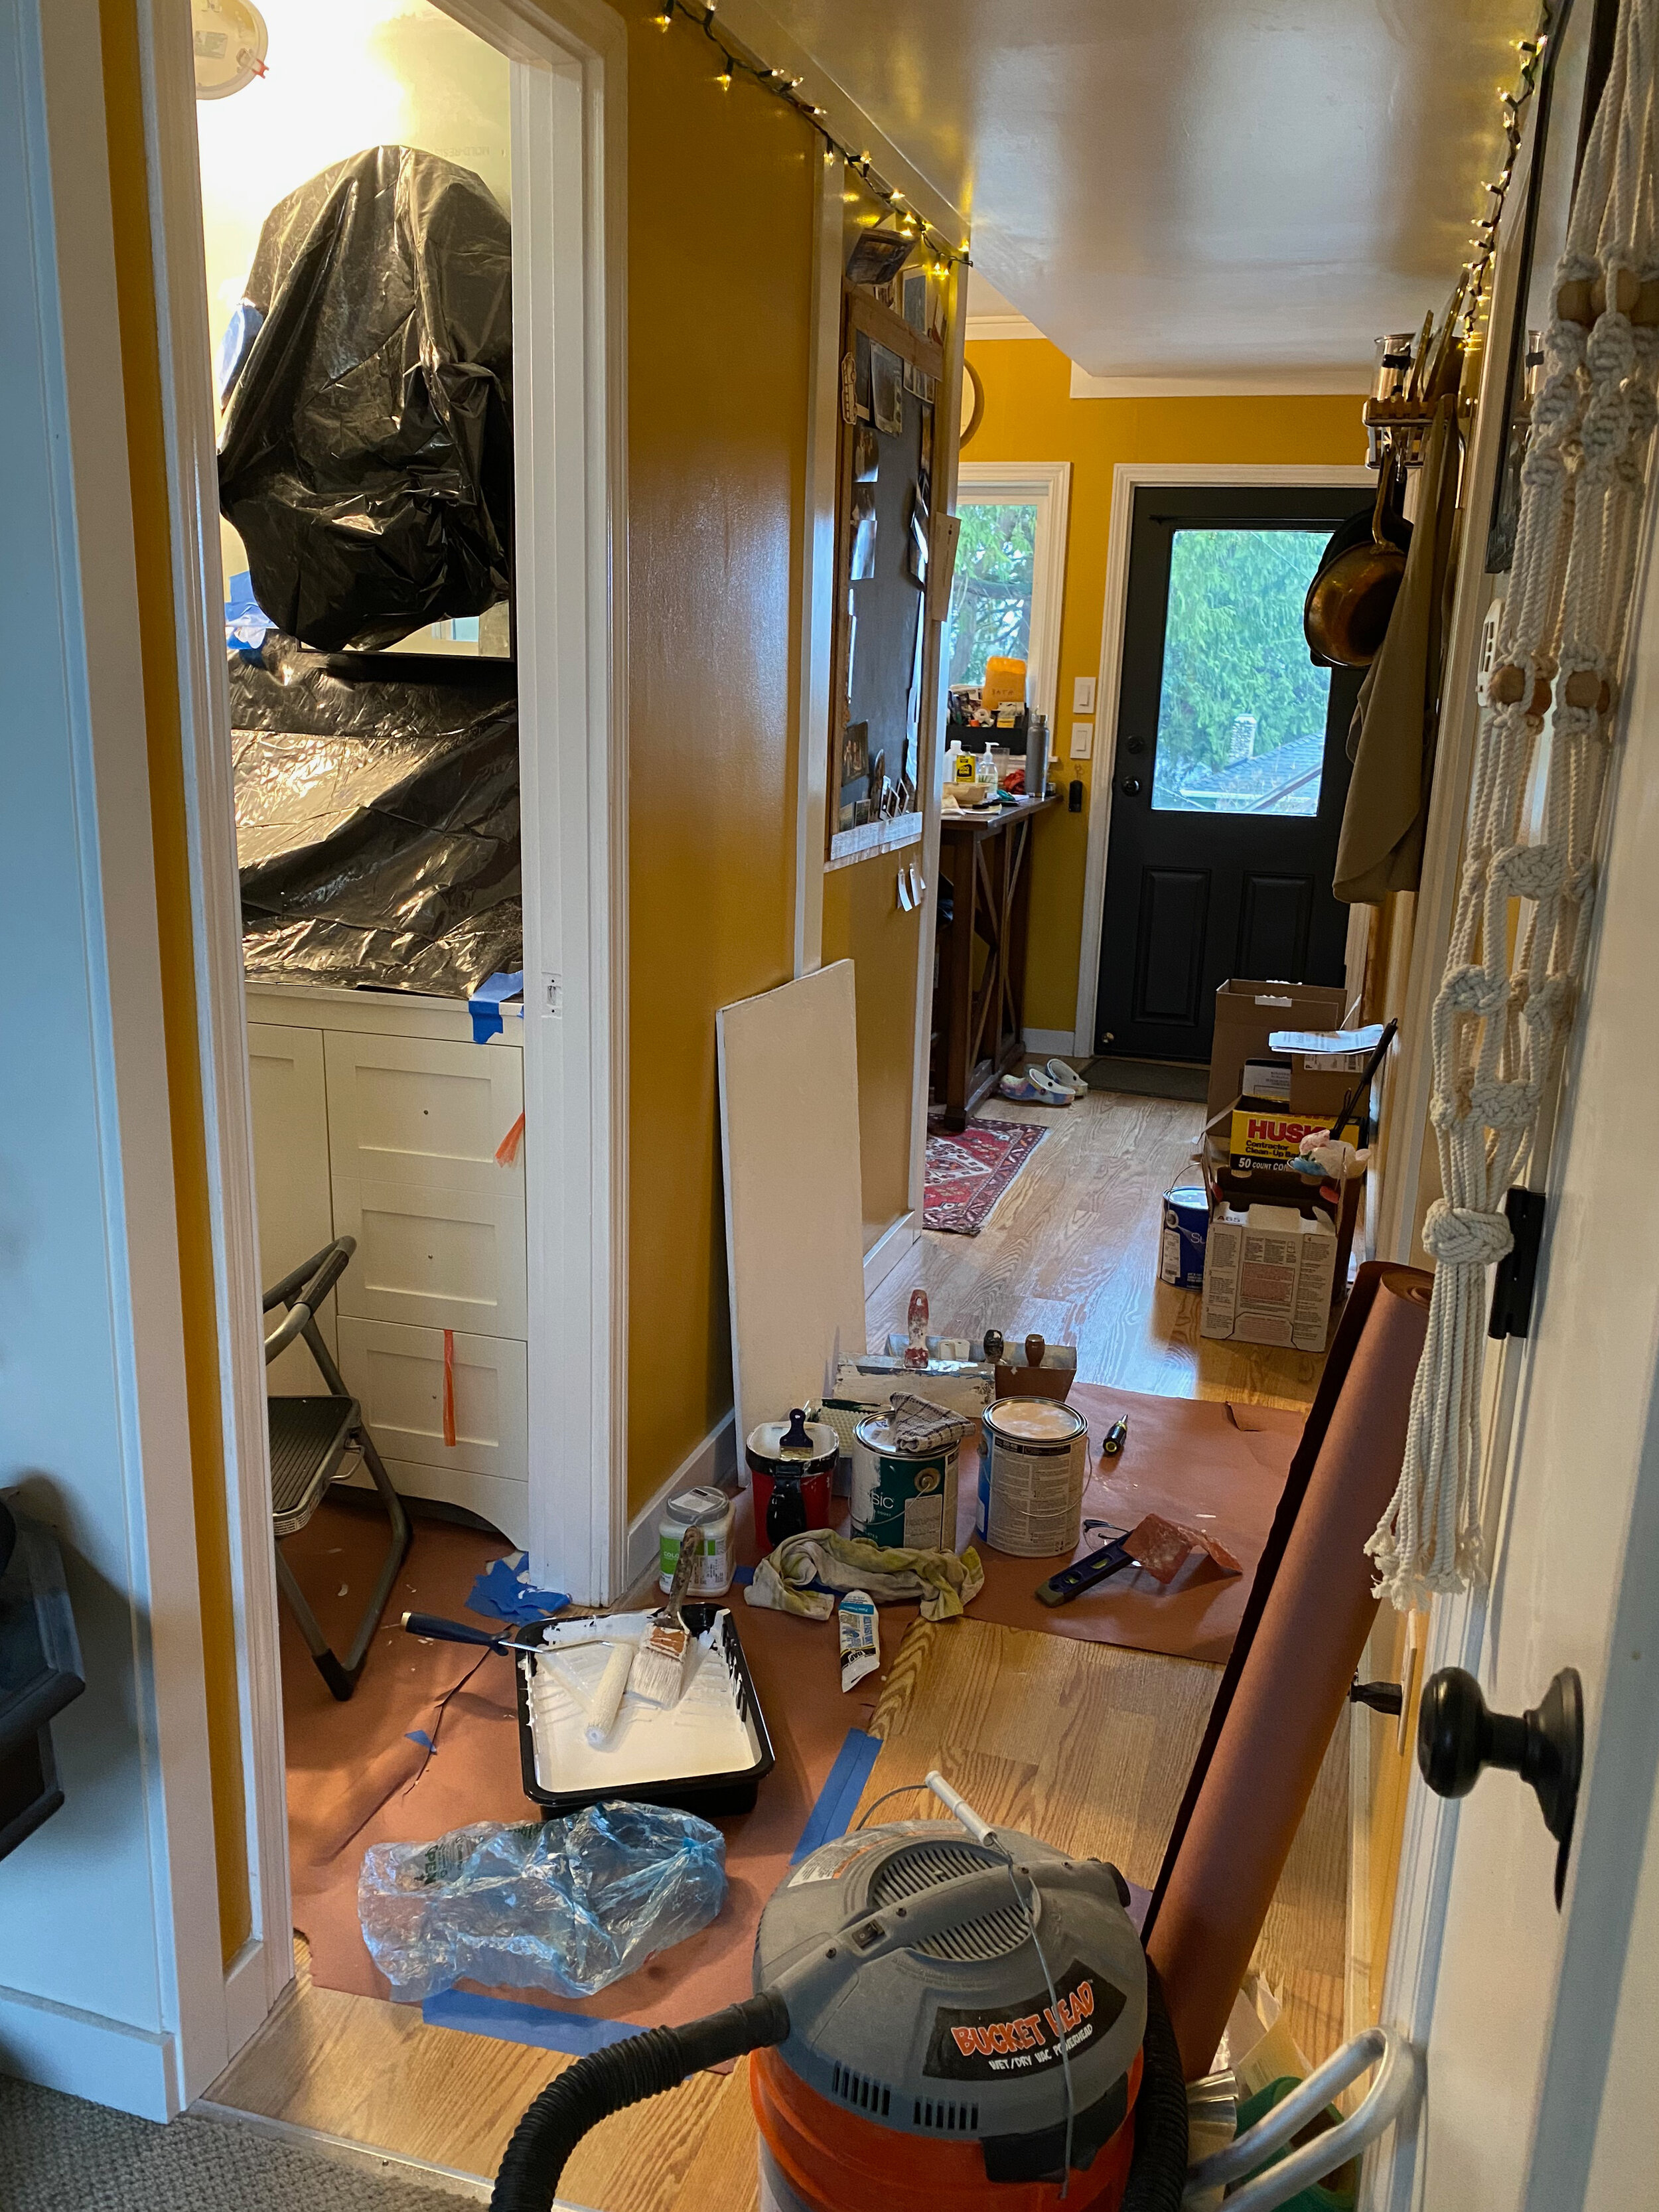
our living room, hallway, staircase & bedroom have been a total shithole staging/holding areas for the last two months, but it was fiiine - i just had to be at peace with the piles. small space issues are REAL, though - we don’t have an extra room like an office to shut everything away in, so we just had to live amongst the mess. it felt so good earlier this week to organize everything and finally put tools away and put things back where they belong!!

-planters & plants from west seattle nursery in my neighborhood -single fallen pampas floof also from around the neighborhood :)

-planters & plants from west seattle nursery in my neighborhood

-single fallen pampas floof also from around the neighborhood :)

Main-Bathroom-Remodel-Jan2021_QuinnsPlace-85.jpg

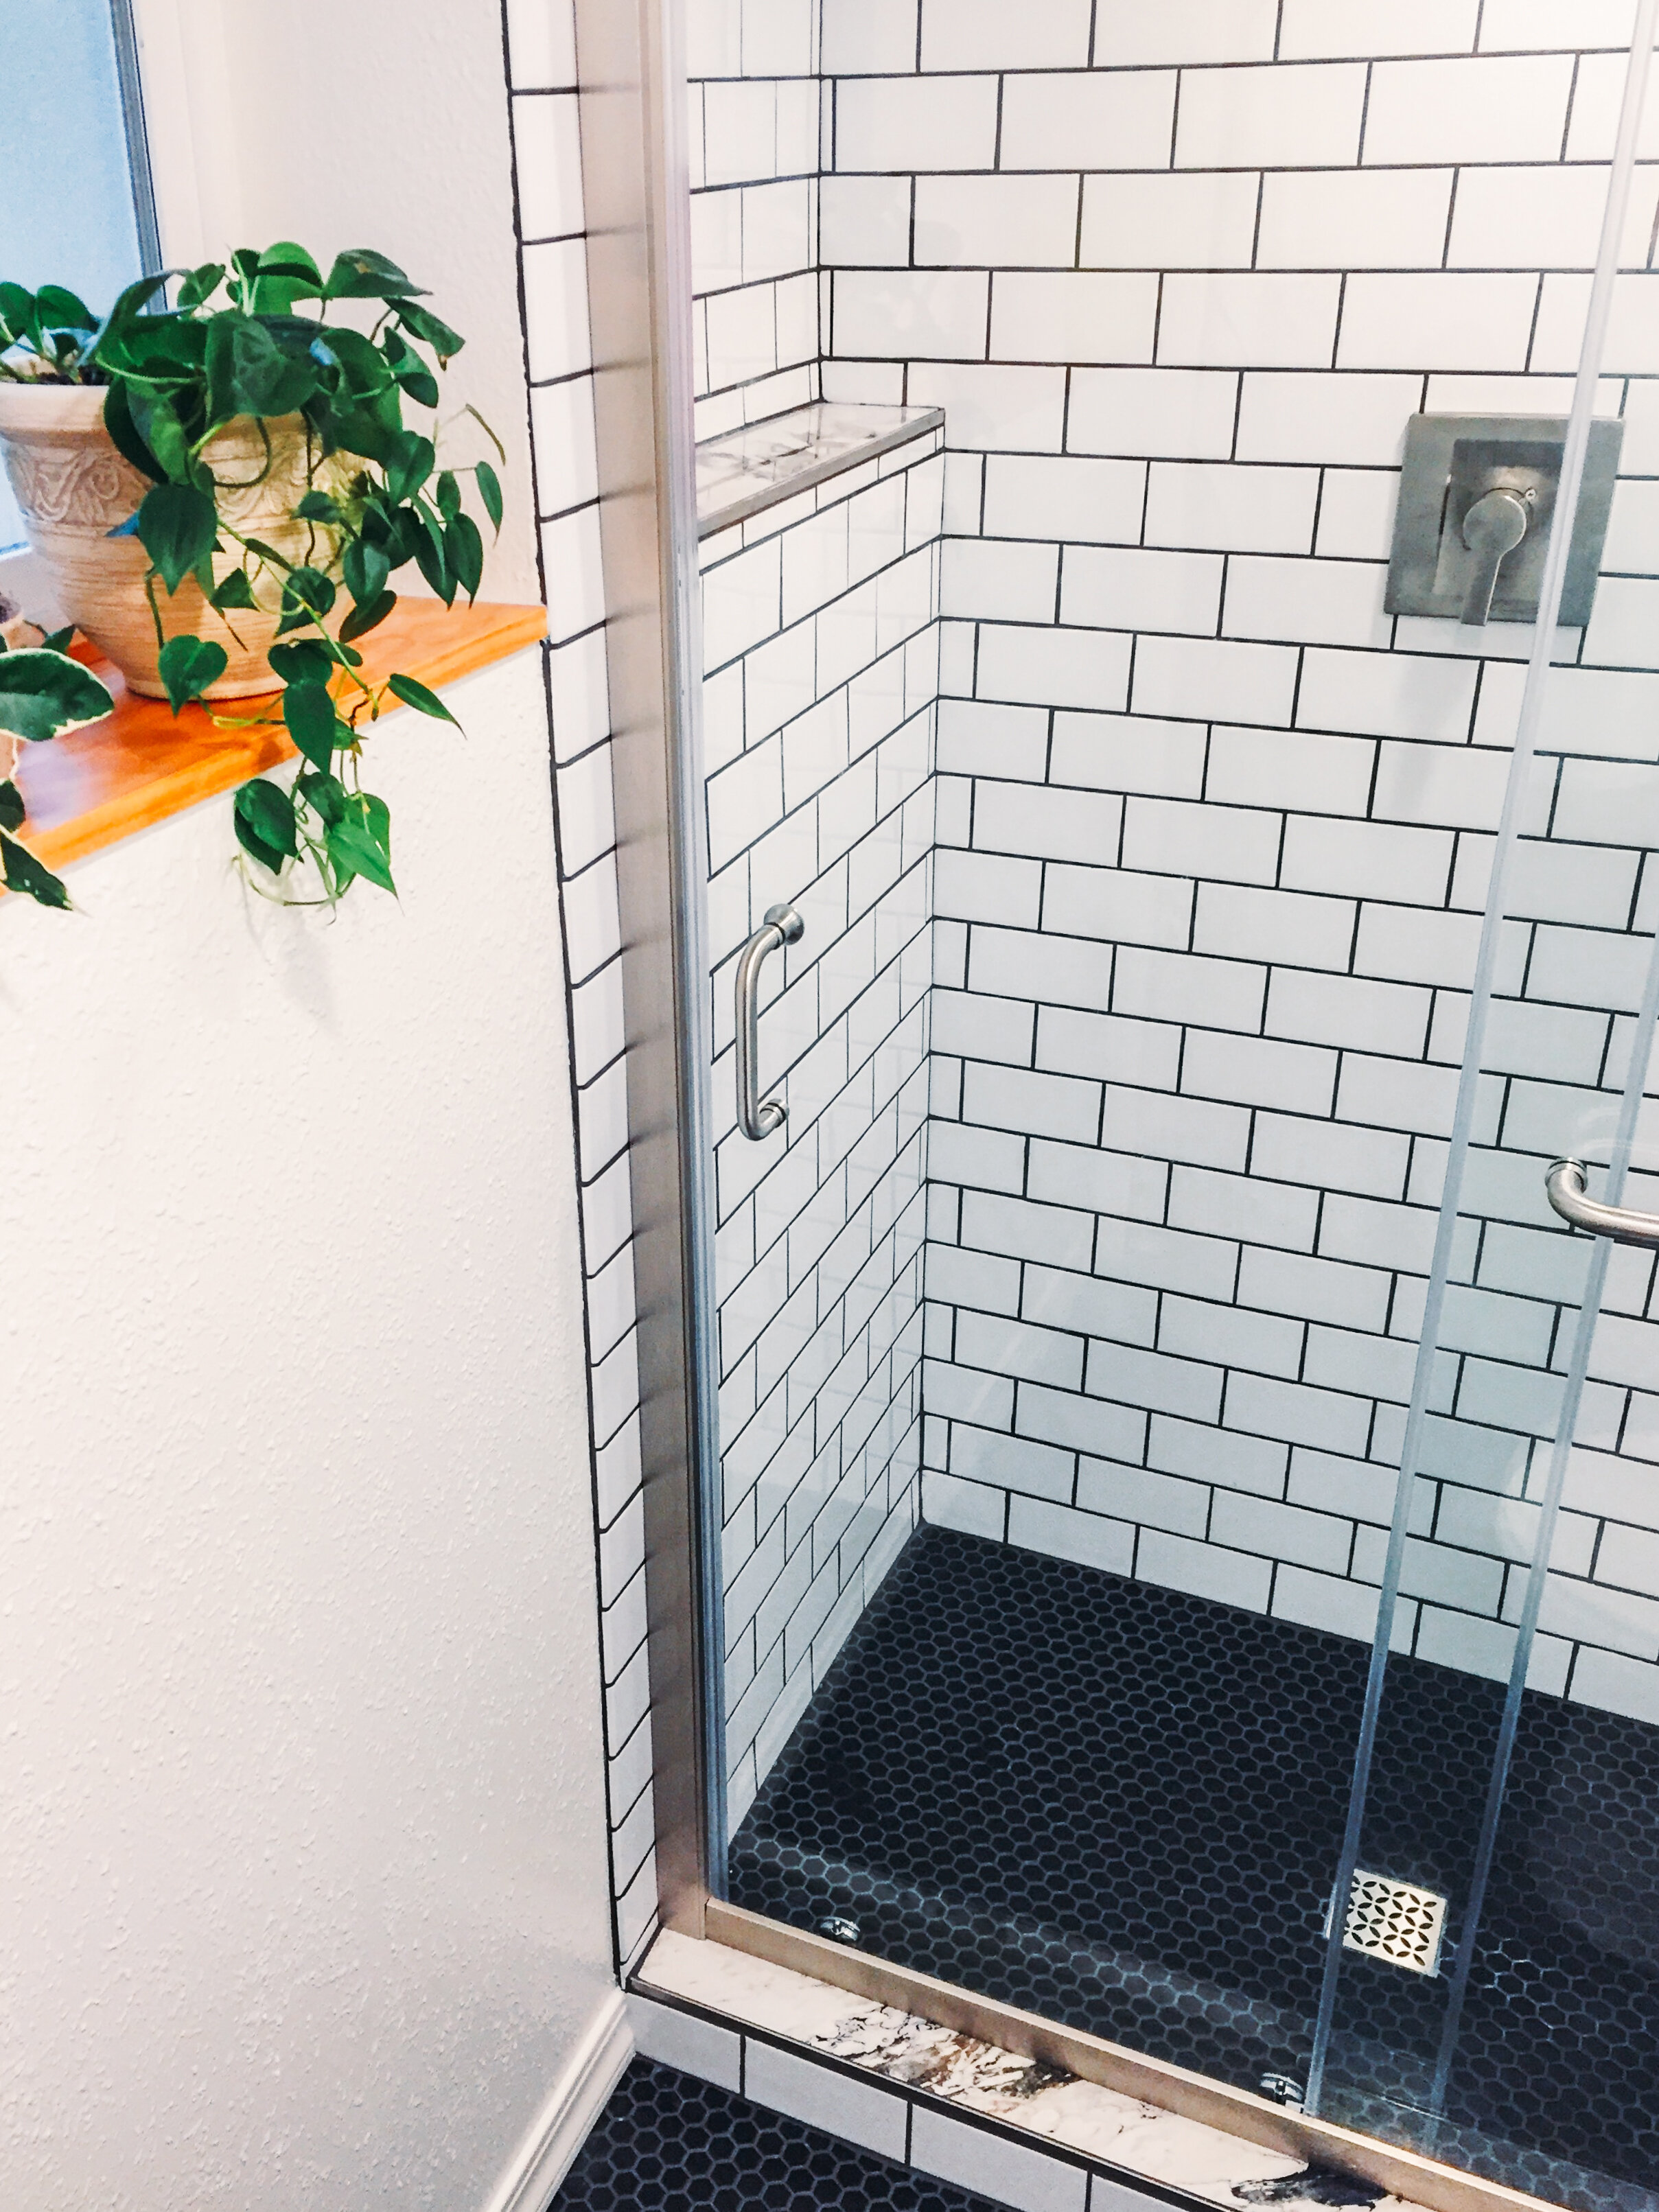
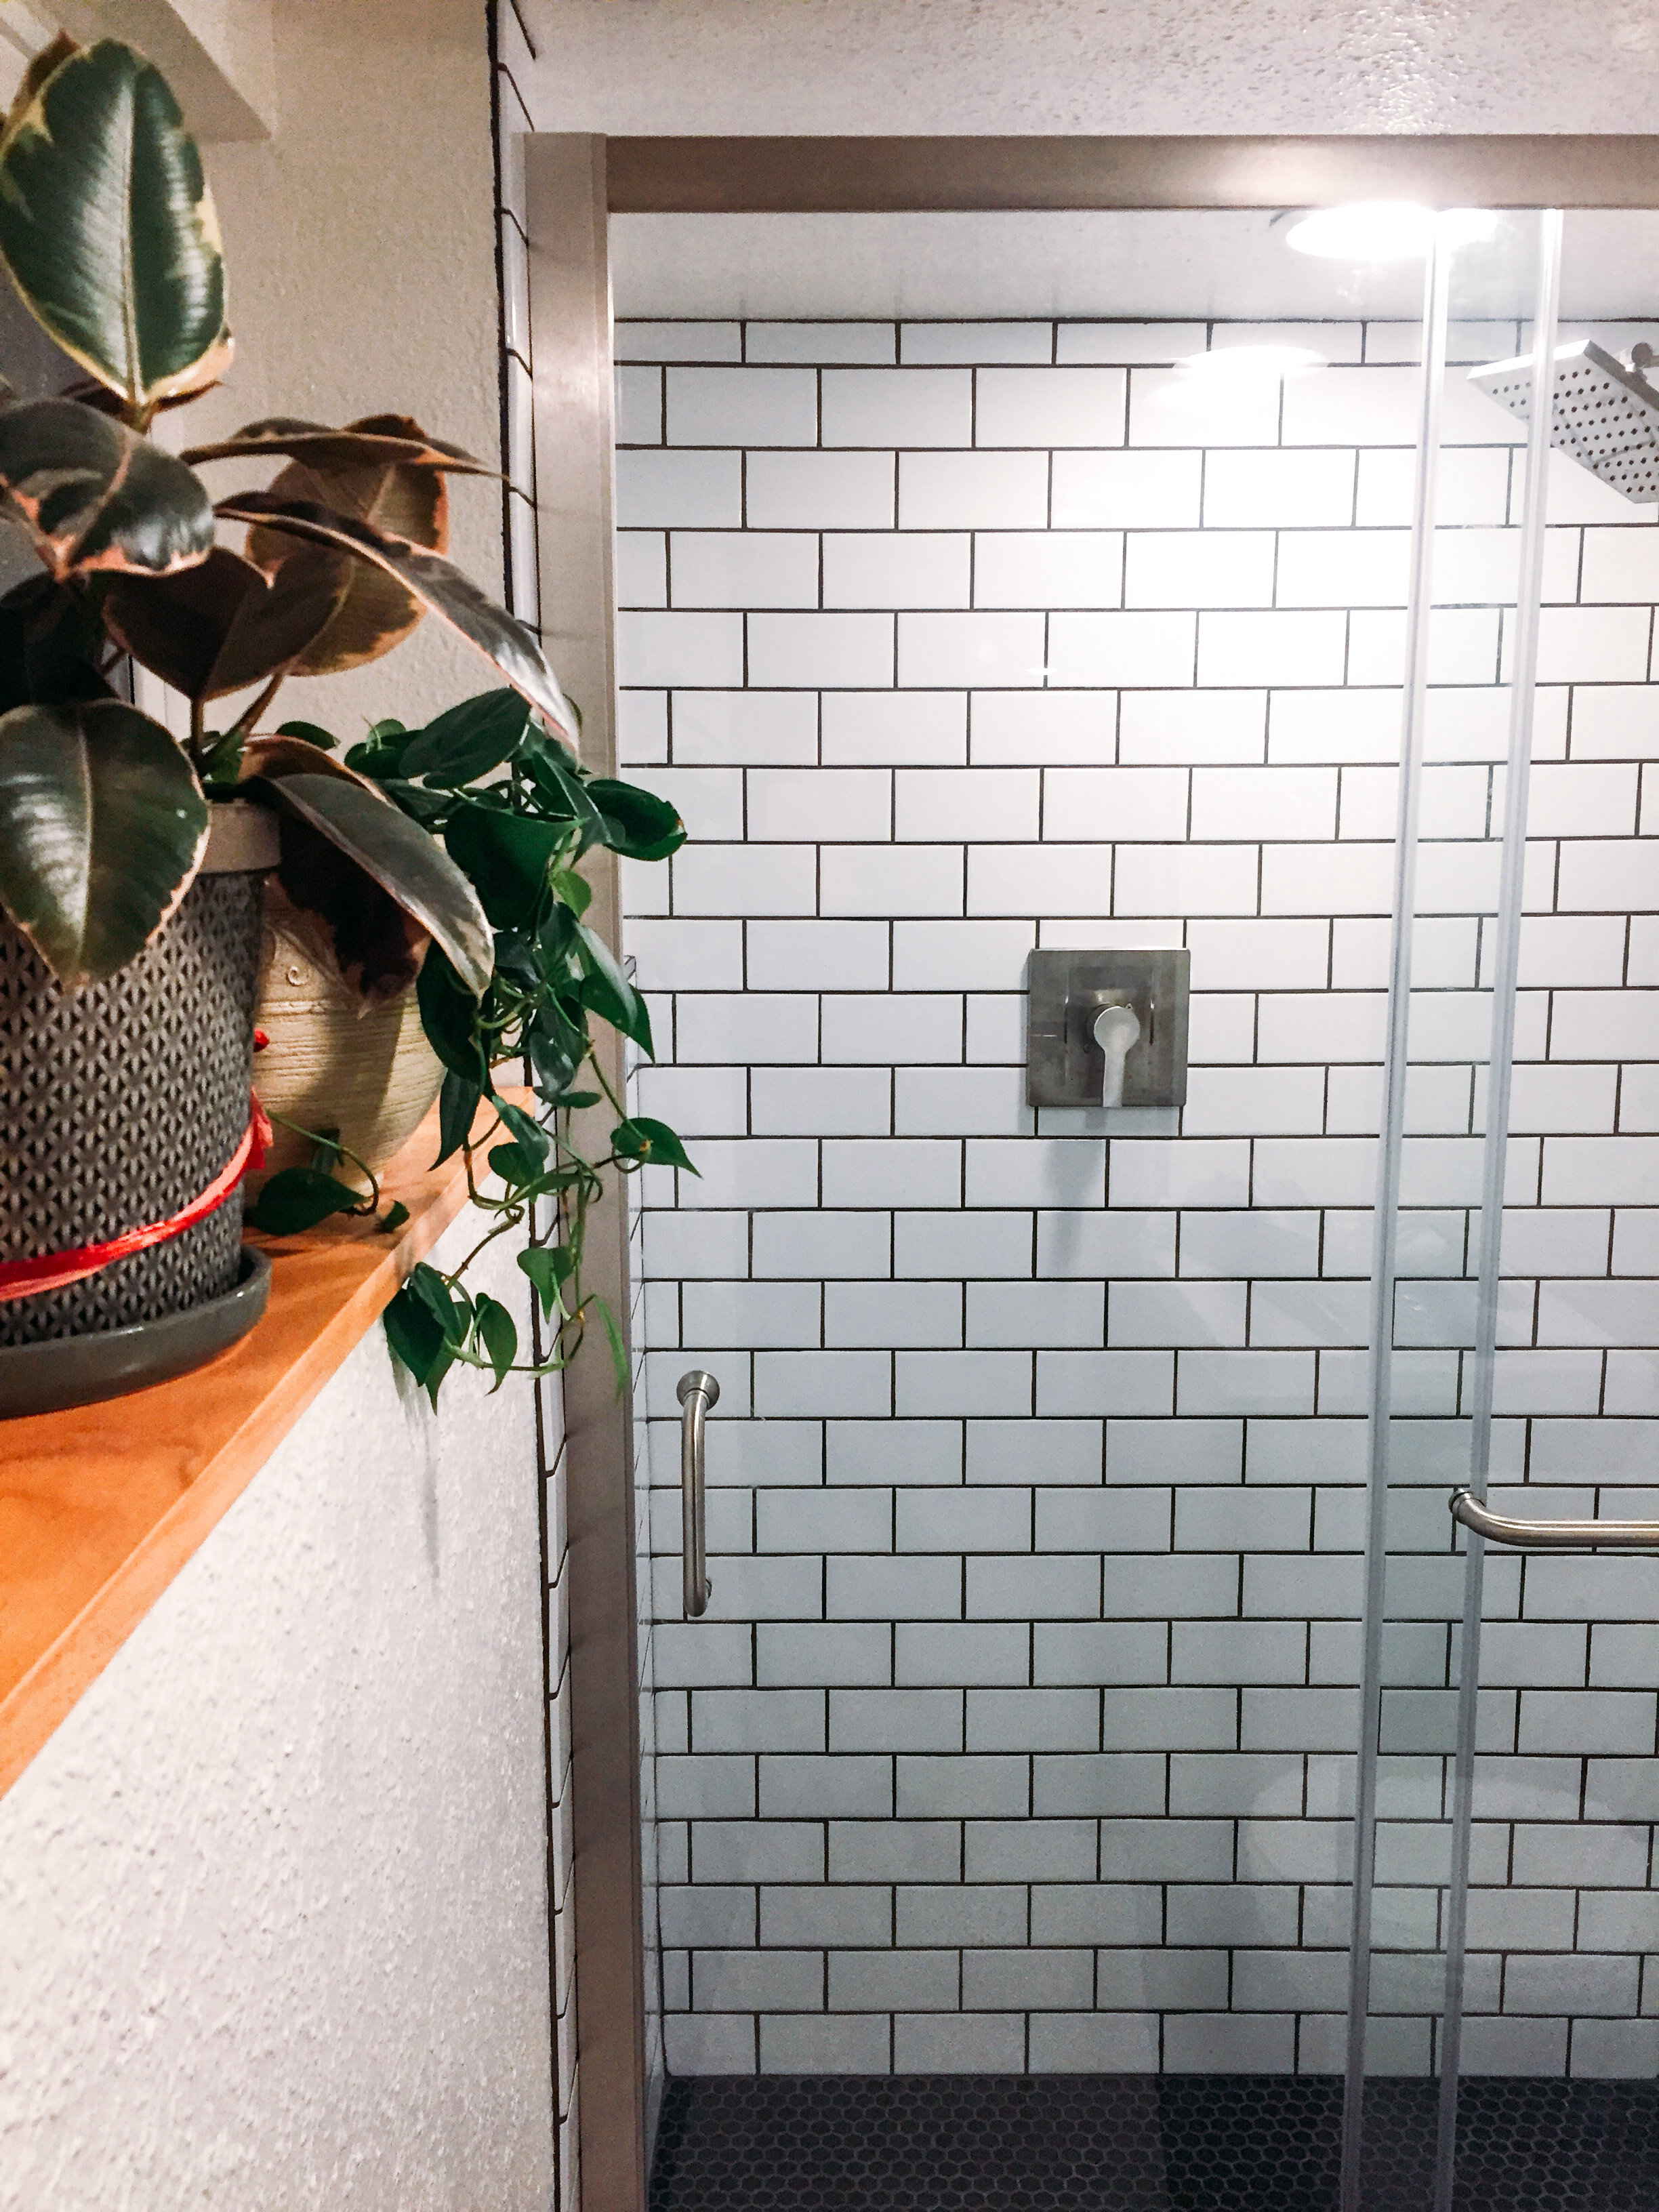
love being able to see right into the shower and see all the pretty marble. we are big fans of the clear sliding shower doors in a home like ours with smaller rooms.

Main-Bathroom-Remodel-Jan2021_QuinnsPlace-103.jpg

^ see how the ‘desert bloom’ zellige can appear purply, pink, tan, brown & blush all at the same time? 🤩 somehow this blush color still feels neutral to me even though it takes on a lot of different shades.

-cloud cotton bathrobe in ‘amber,’ from parachute home

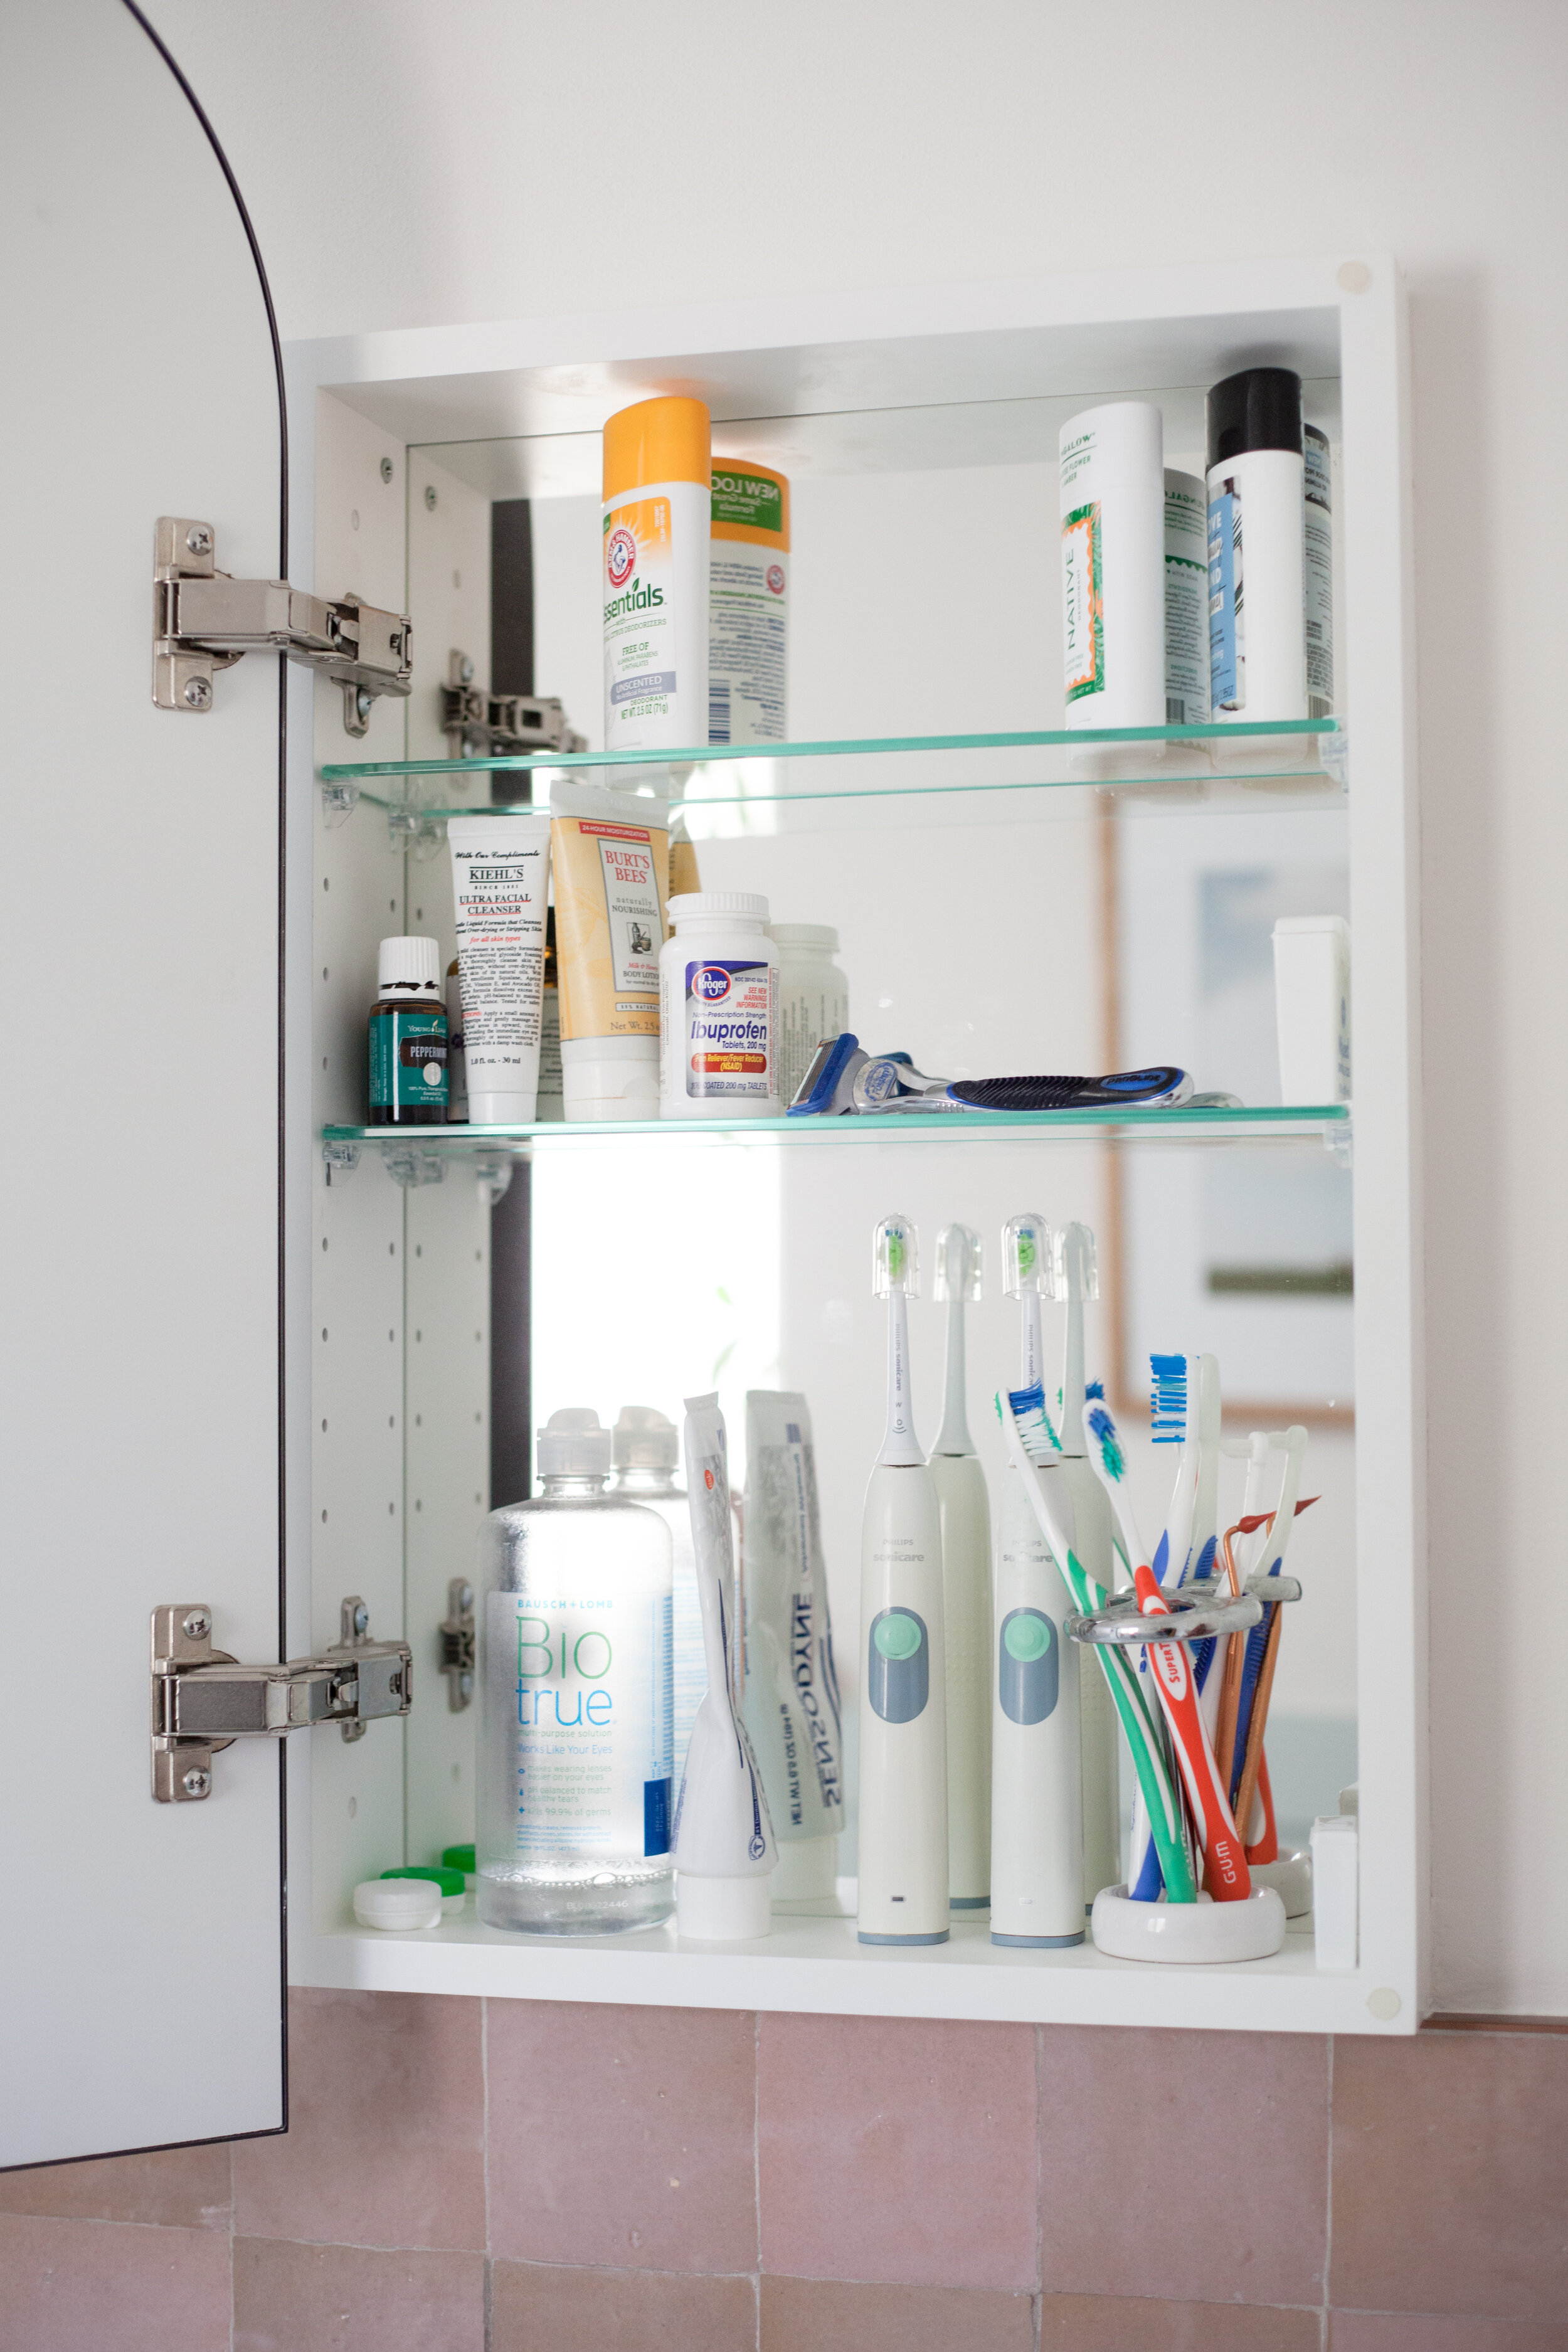
-i know it’s ‘taboo’ or whatever to show what’s inside your medicine cabinet (or was that just a trope from 90’s sitcoms where people would discover someone else’s darkest secrets by snooping in their medicine cabinet?), but the point of this photo is to show that the inside of the medicine cabinet is also mirrored, which is wonderful!

in an effort to not store anything on the vanity countertop like we used to, the medicine cabinet install was a must! such a great space saver. i love having only a few essentials left on the counter everyday and there’s really no reason to leave stuff all over when everything has its rightful spot.


THE INSPIRATION

bedthreads inspiration.png

^ this is the inspiration photo that got all the wheels turning for me. via bedthreads.

i randomly saw this photo and loved the half wall of square zellige tile. i’d seen zellige tiles before, but didn’t really know what they were all about, or how many styles and colors are available in these handmade moroccan clay tiles. i took a deeper dive to learn about zellige and became obsessed with this half wall idea. also, after i started doing a tiny bit of research, i really zeroed in on all the instances i’d already seen zellige executed before, but never connected the dots about what it was. 💡now i notice it everywhere.

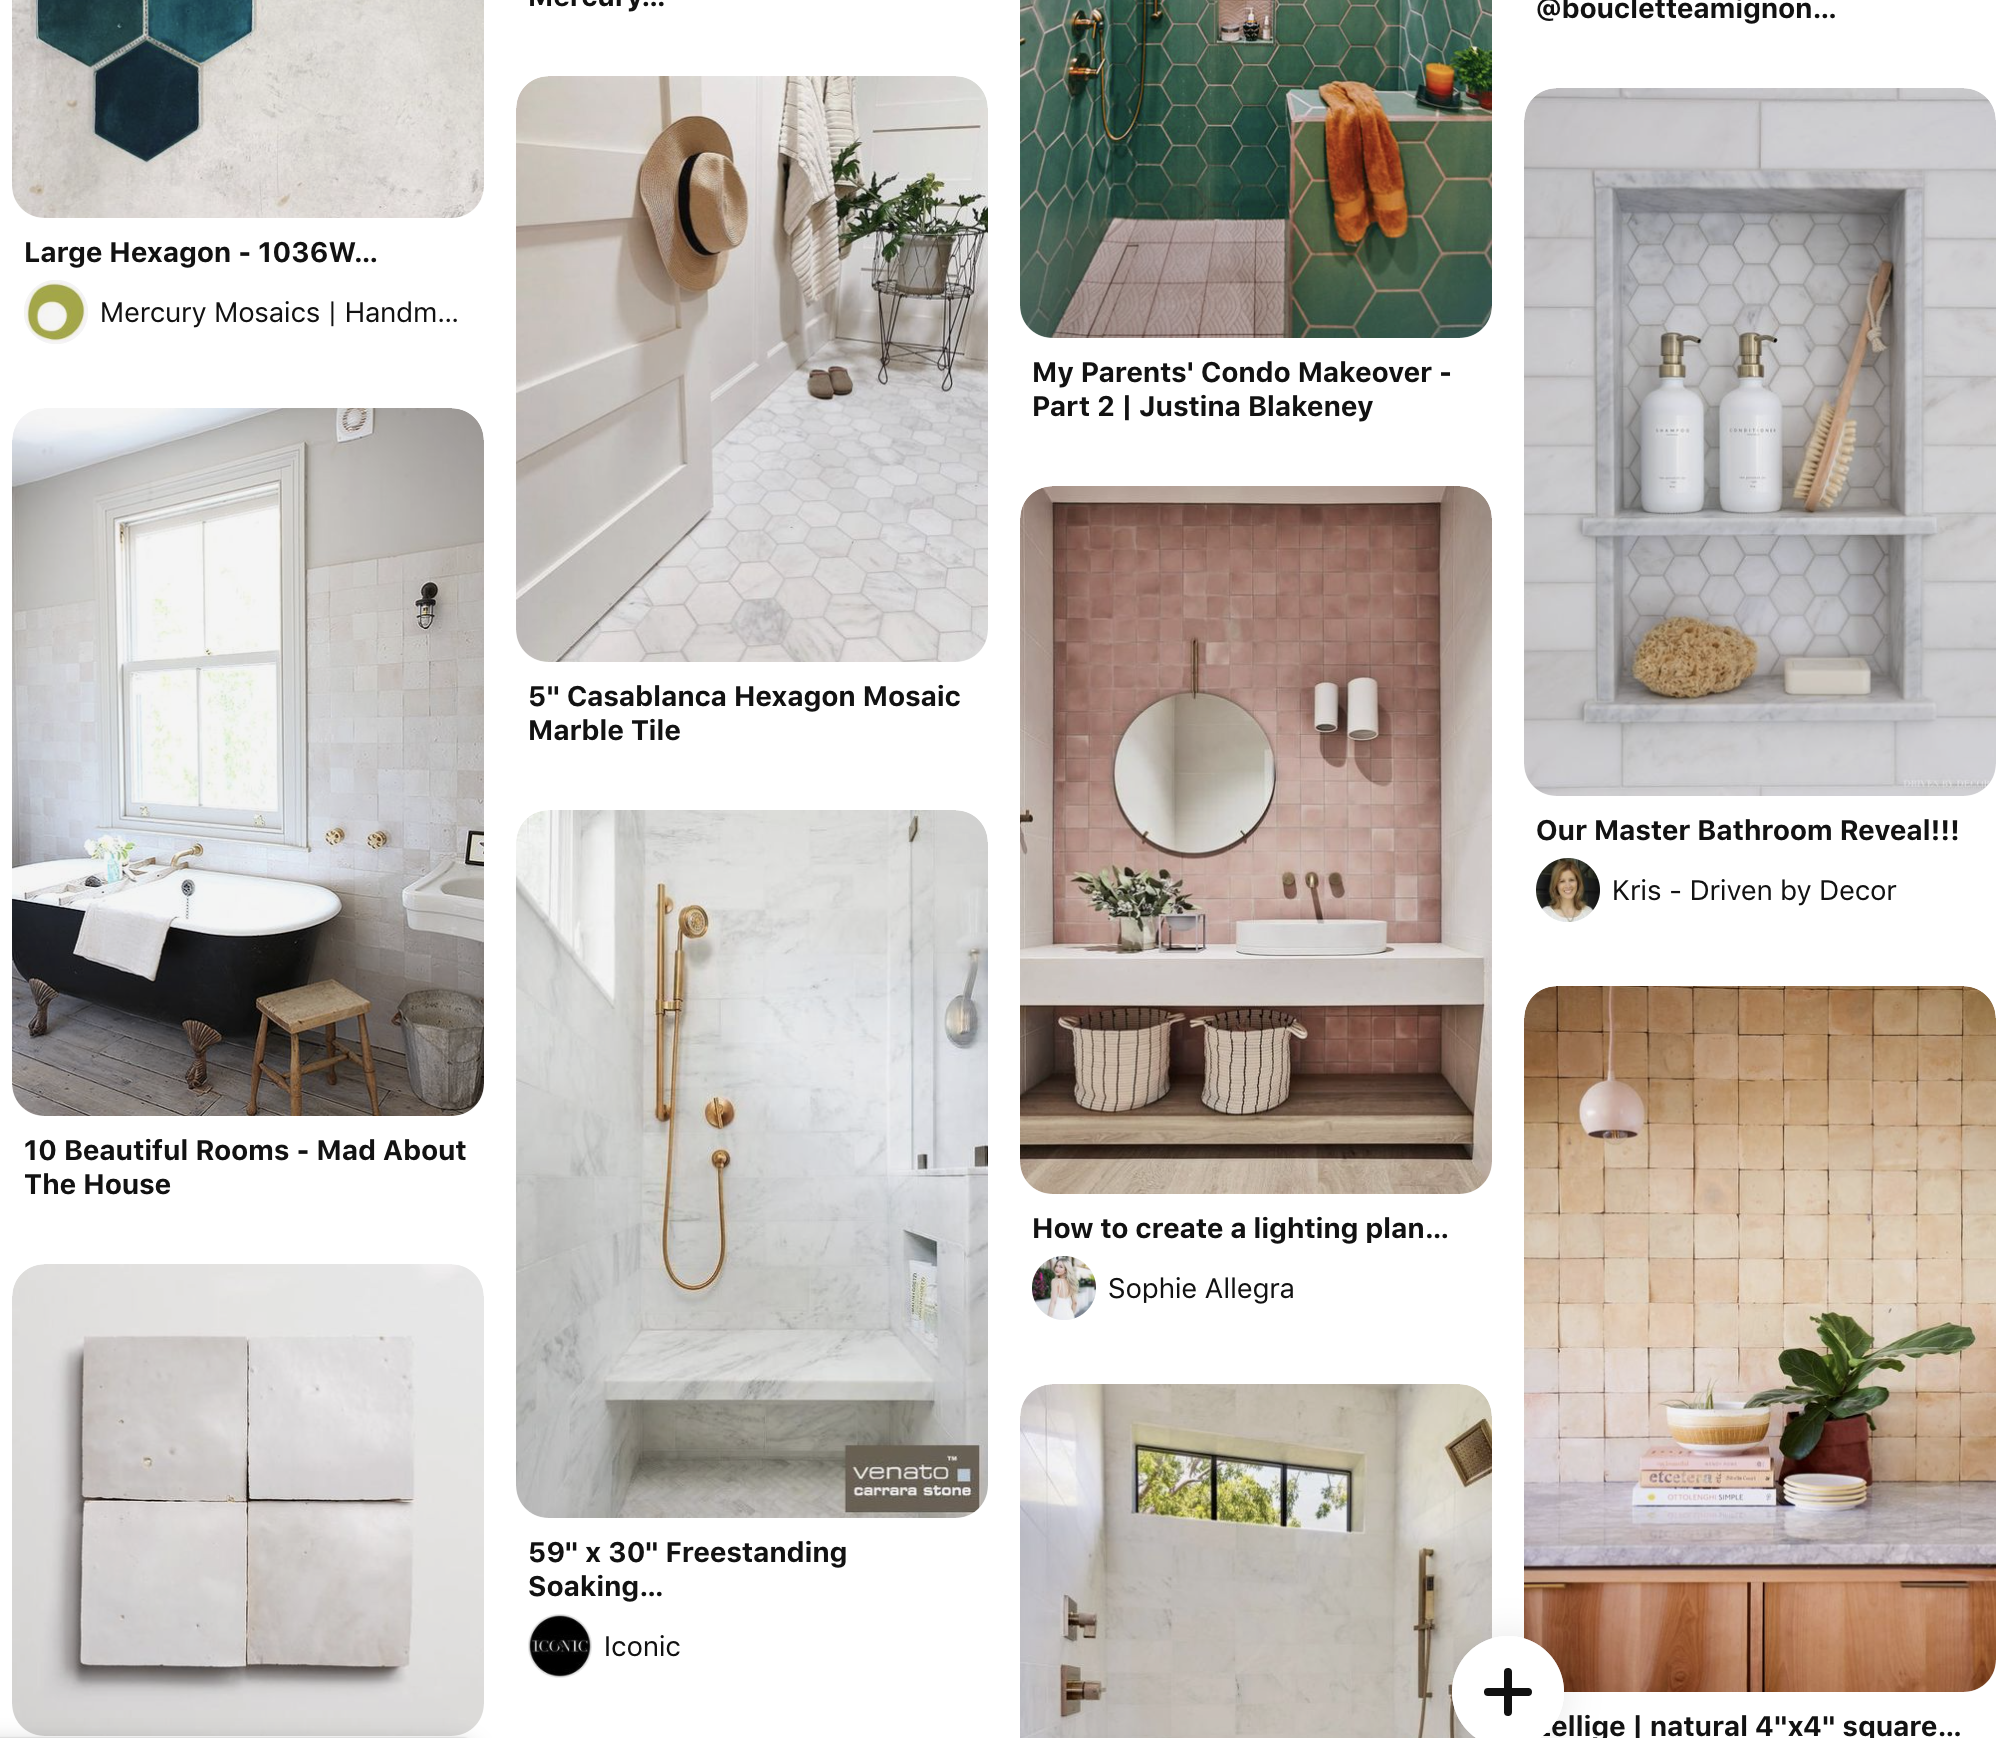
i wanted to go for a mostly neutral desert color palette with blush, tan, white, calm greenish tones, and warm copper finishes. not sure why - probably because we live in seattle and need to pretend like we’re on vacation for about 8 months of the year. 🙃

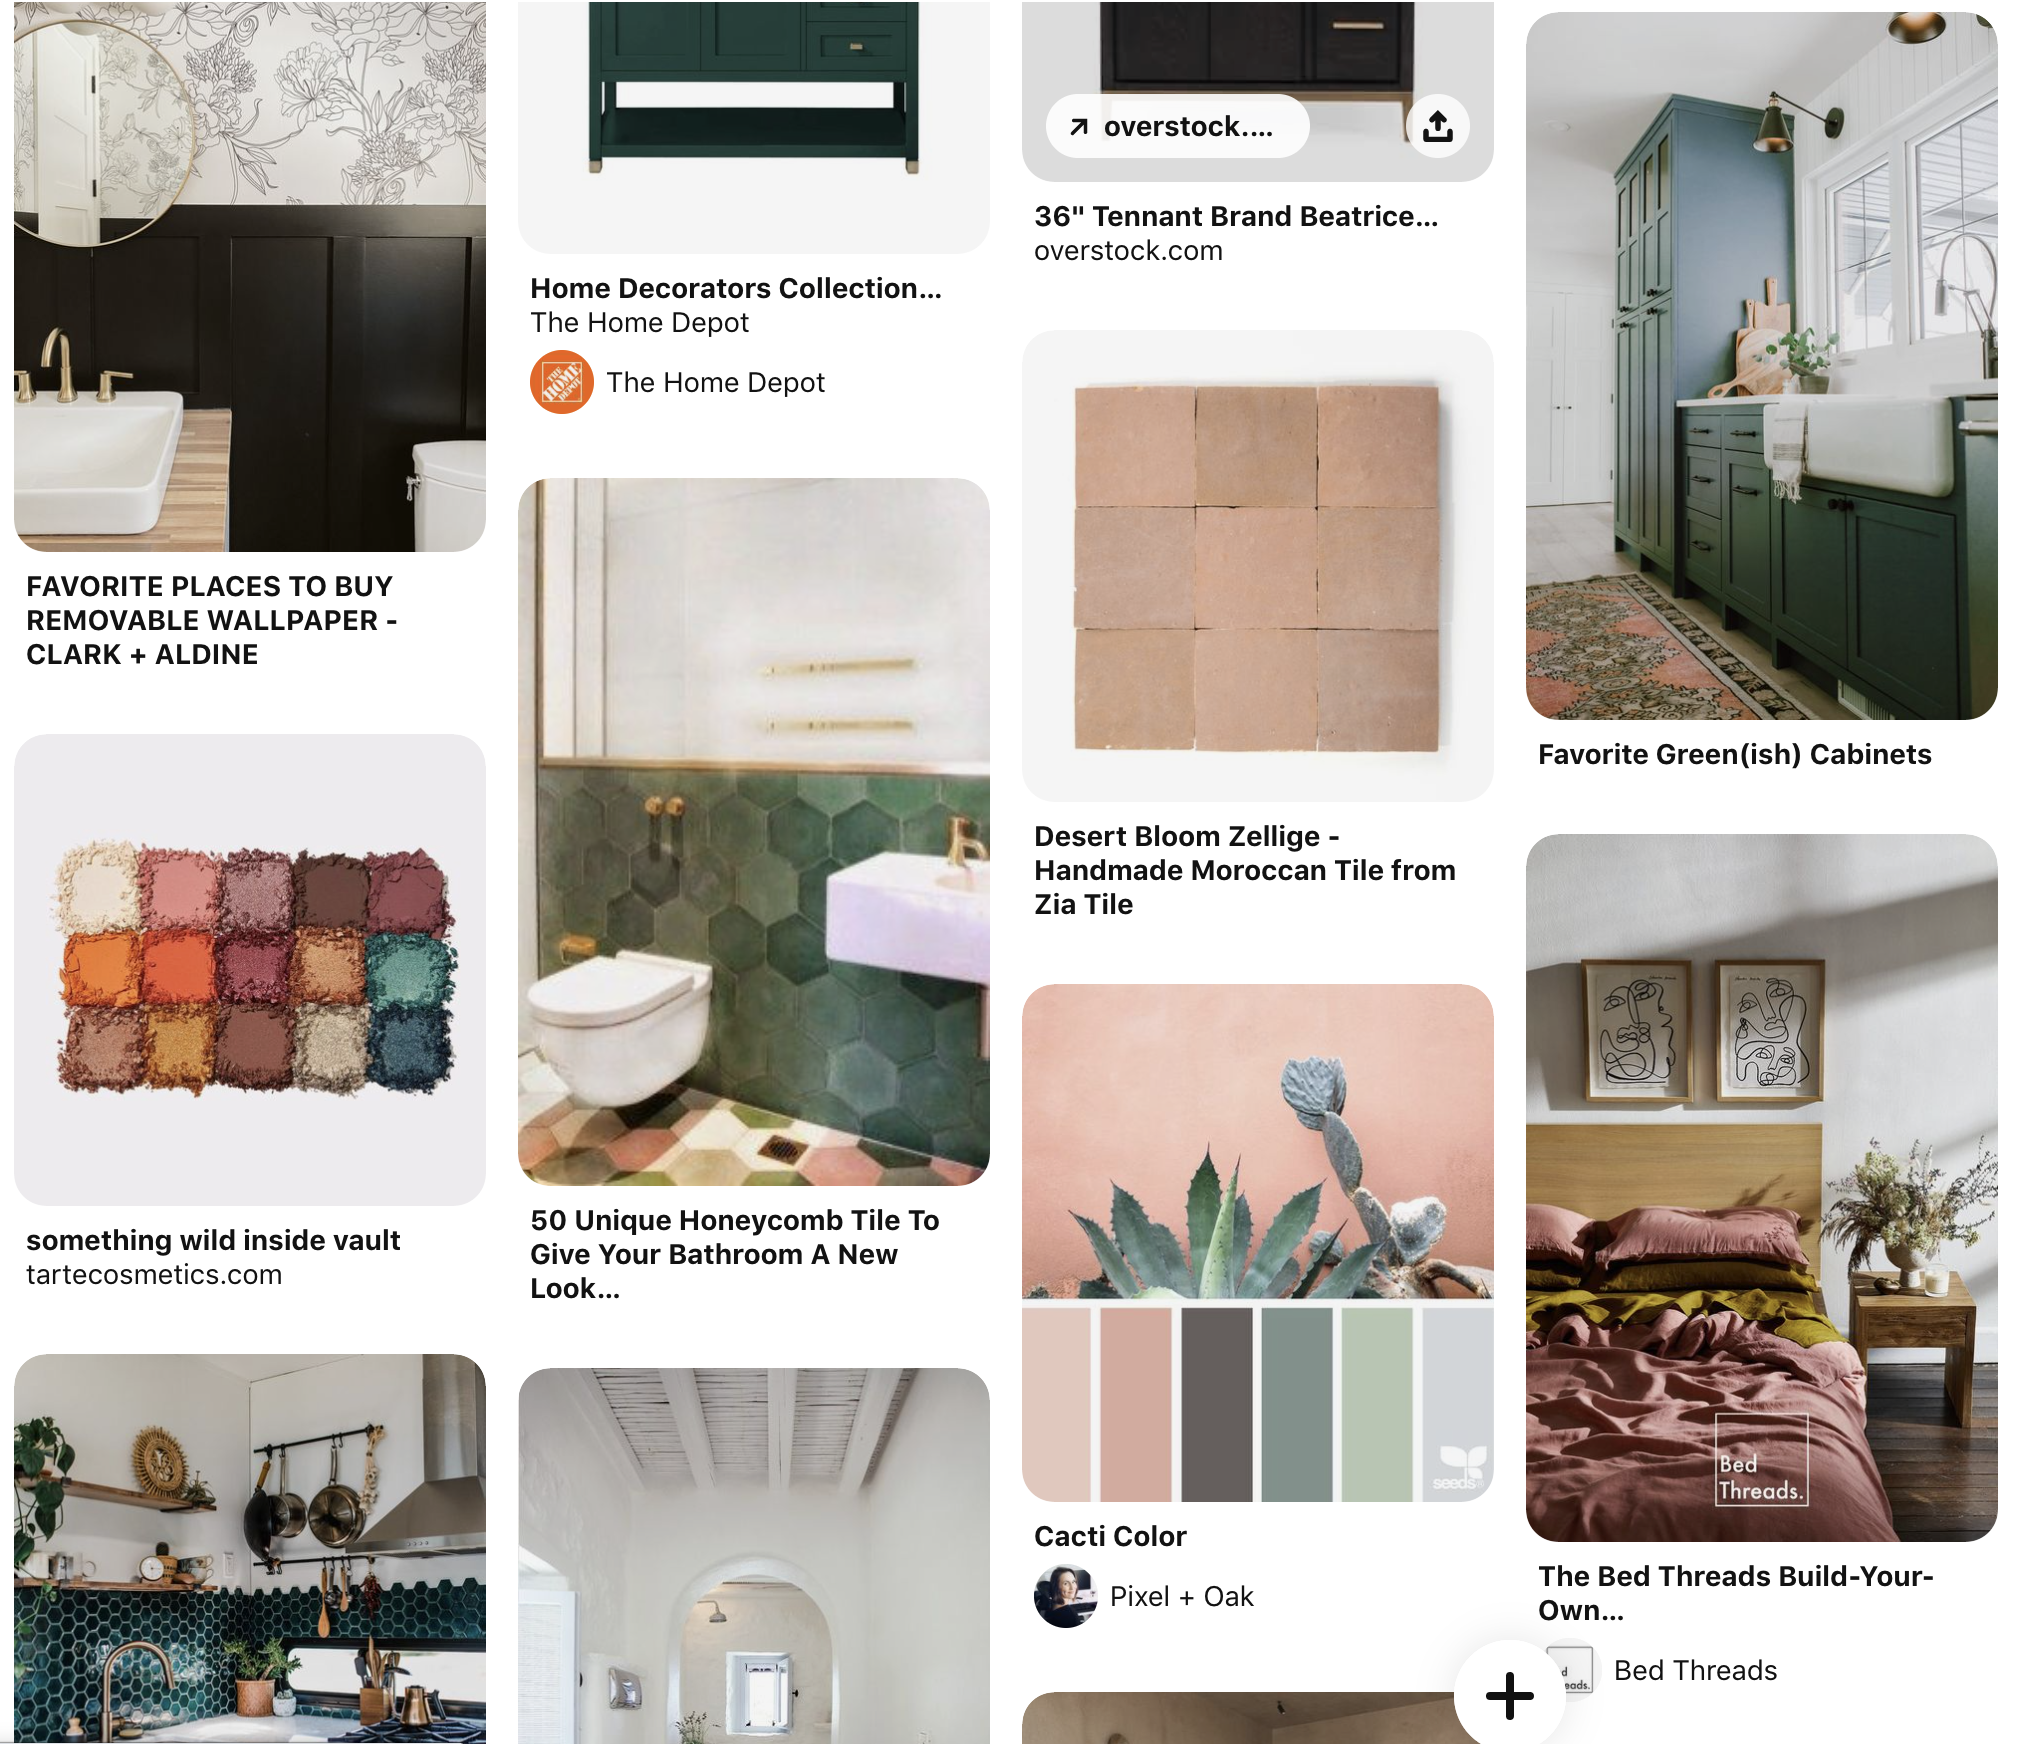
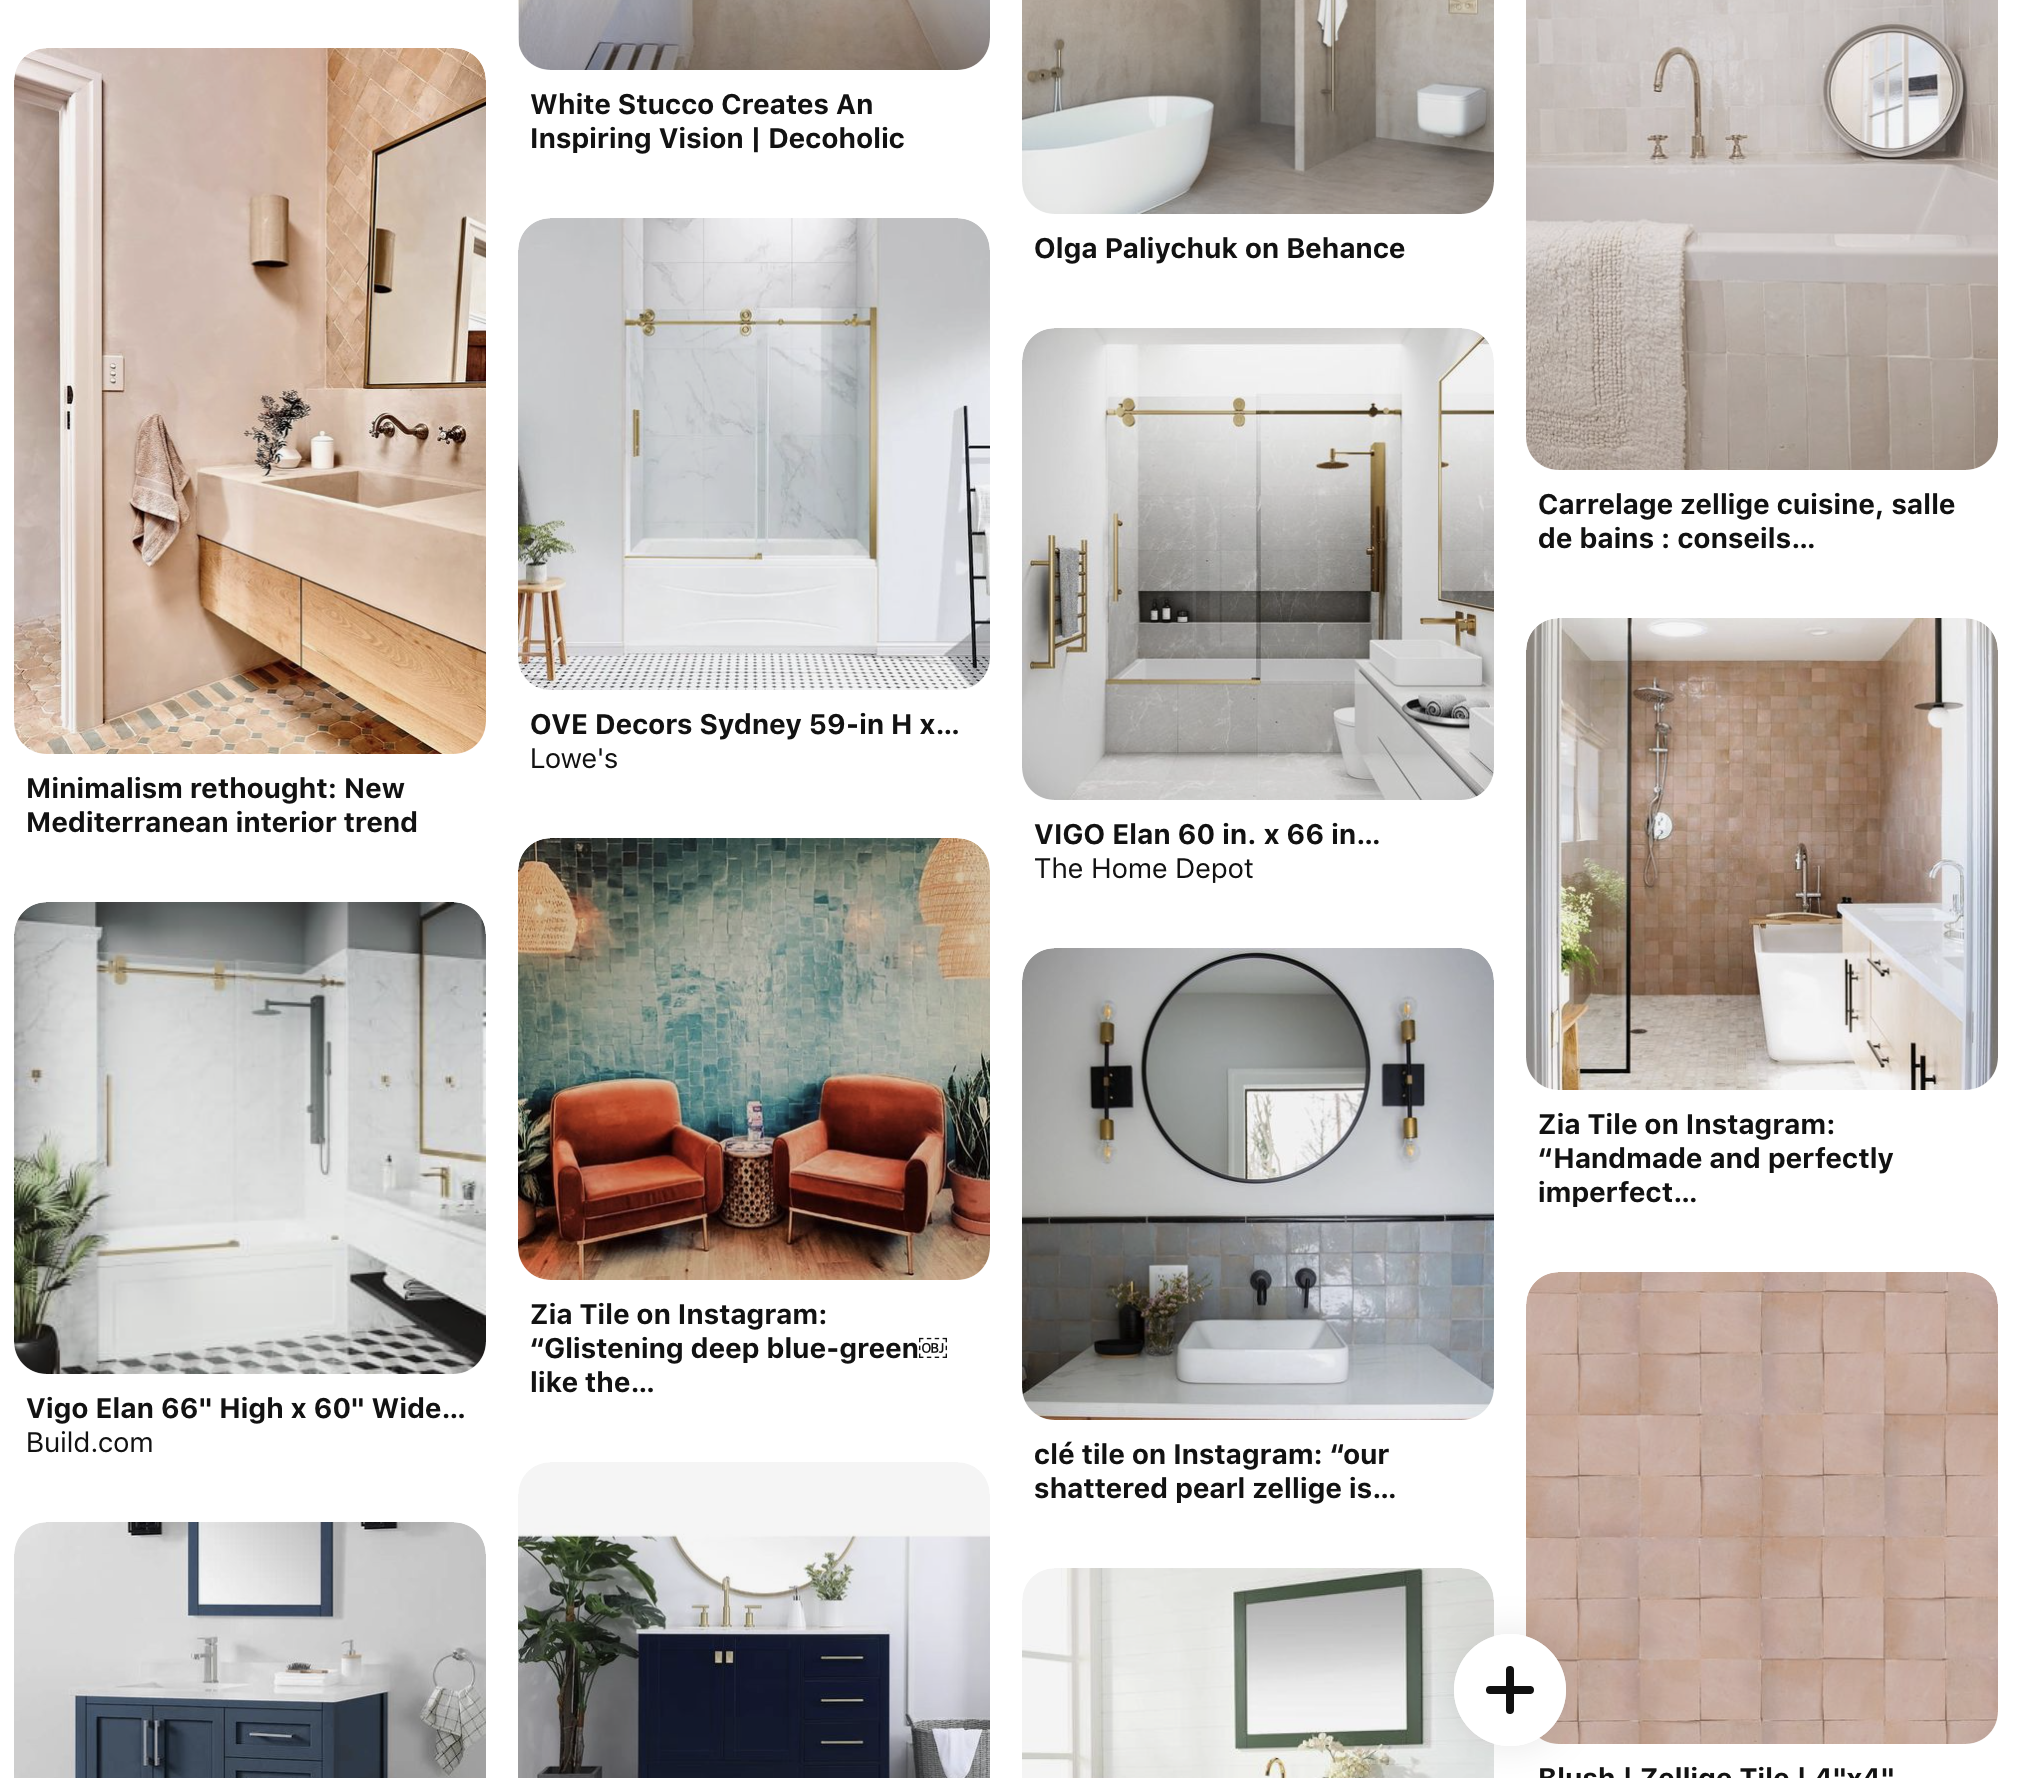
here’s just a portion of the secret pinterest board i used a TON for collecting every little idea that i was inspired by before & during the remodeling process. having these images saved to refer back to 1000 times (when trying to describe my vision to sam & peter) was so very helpful.


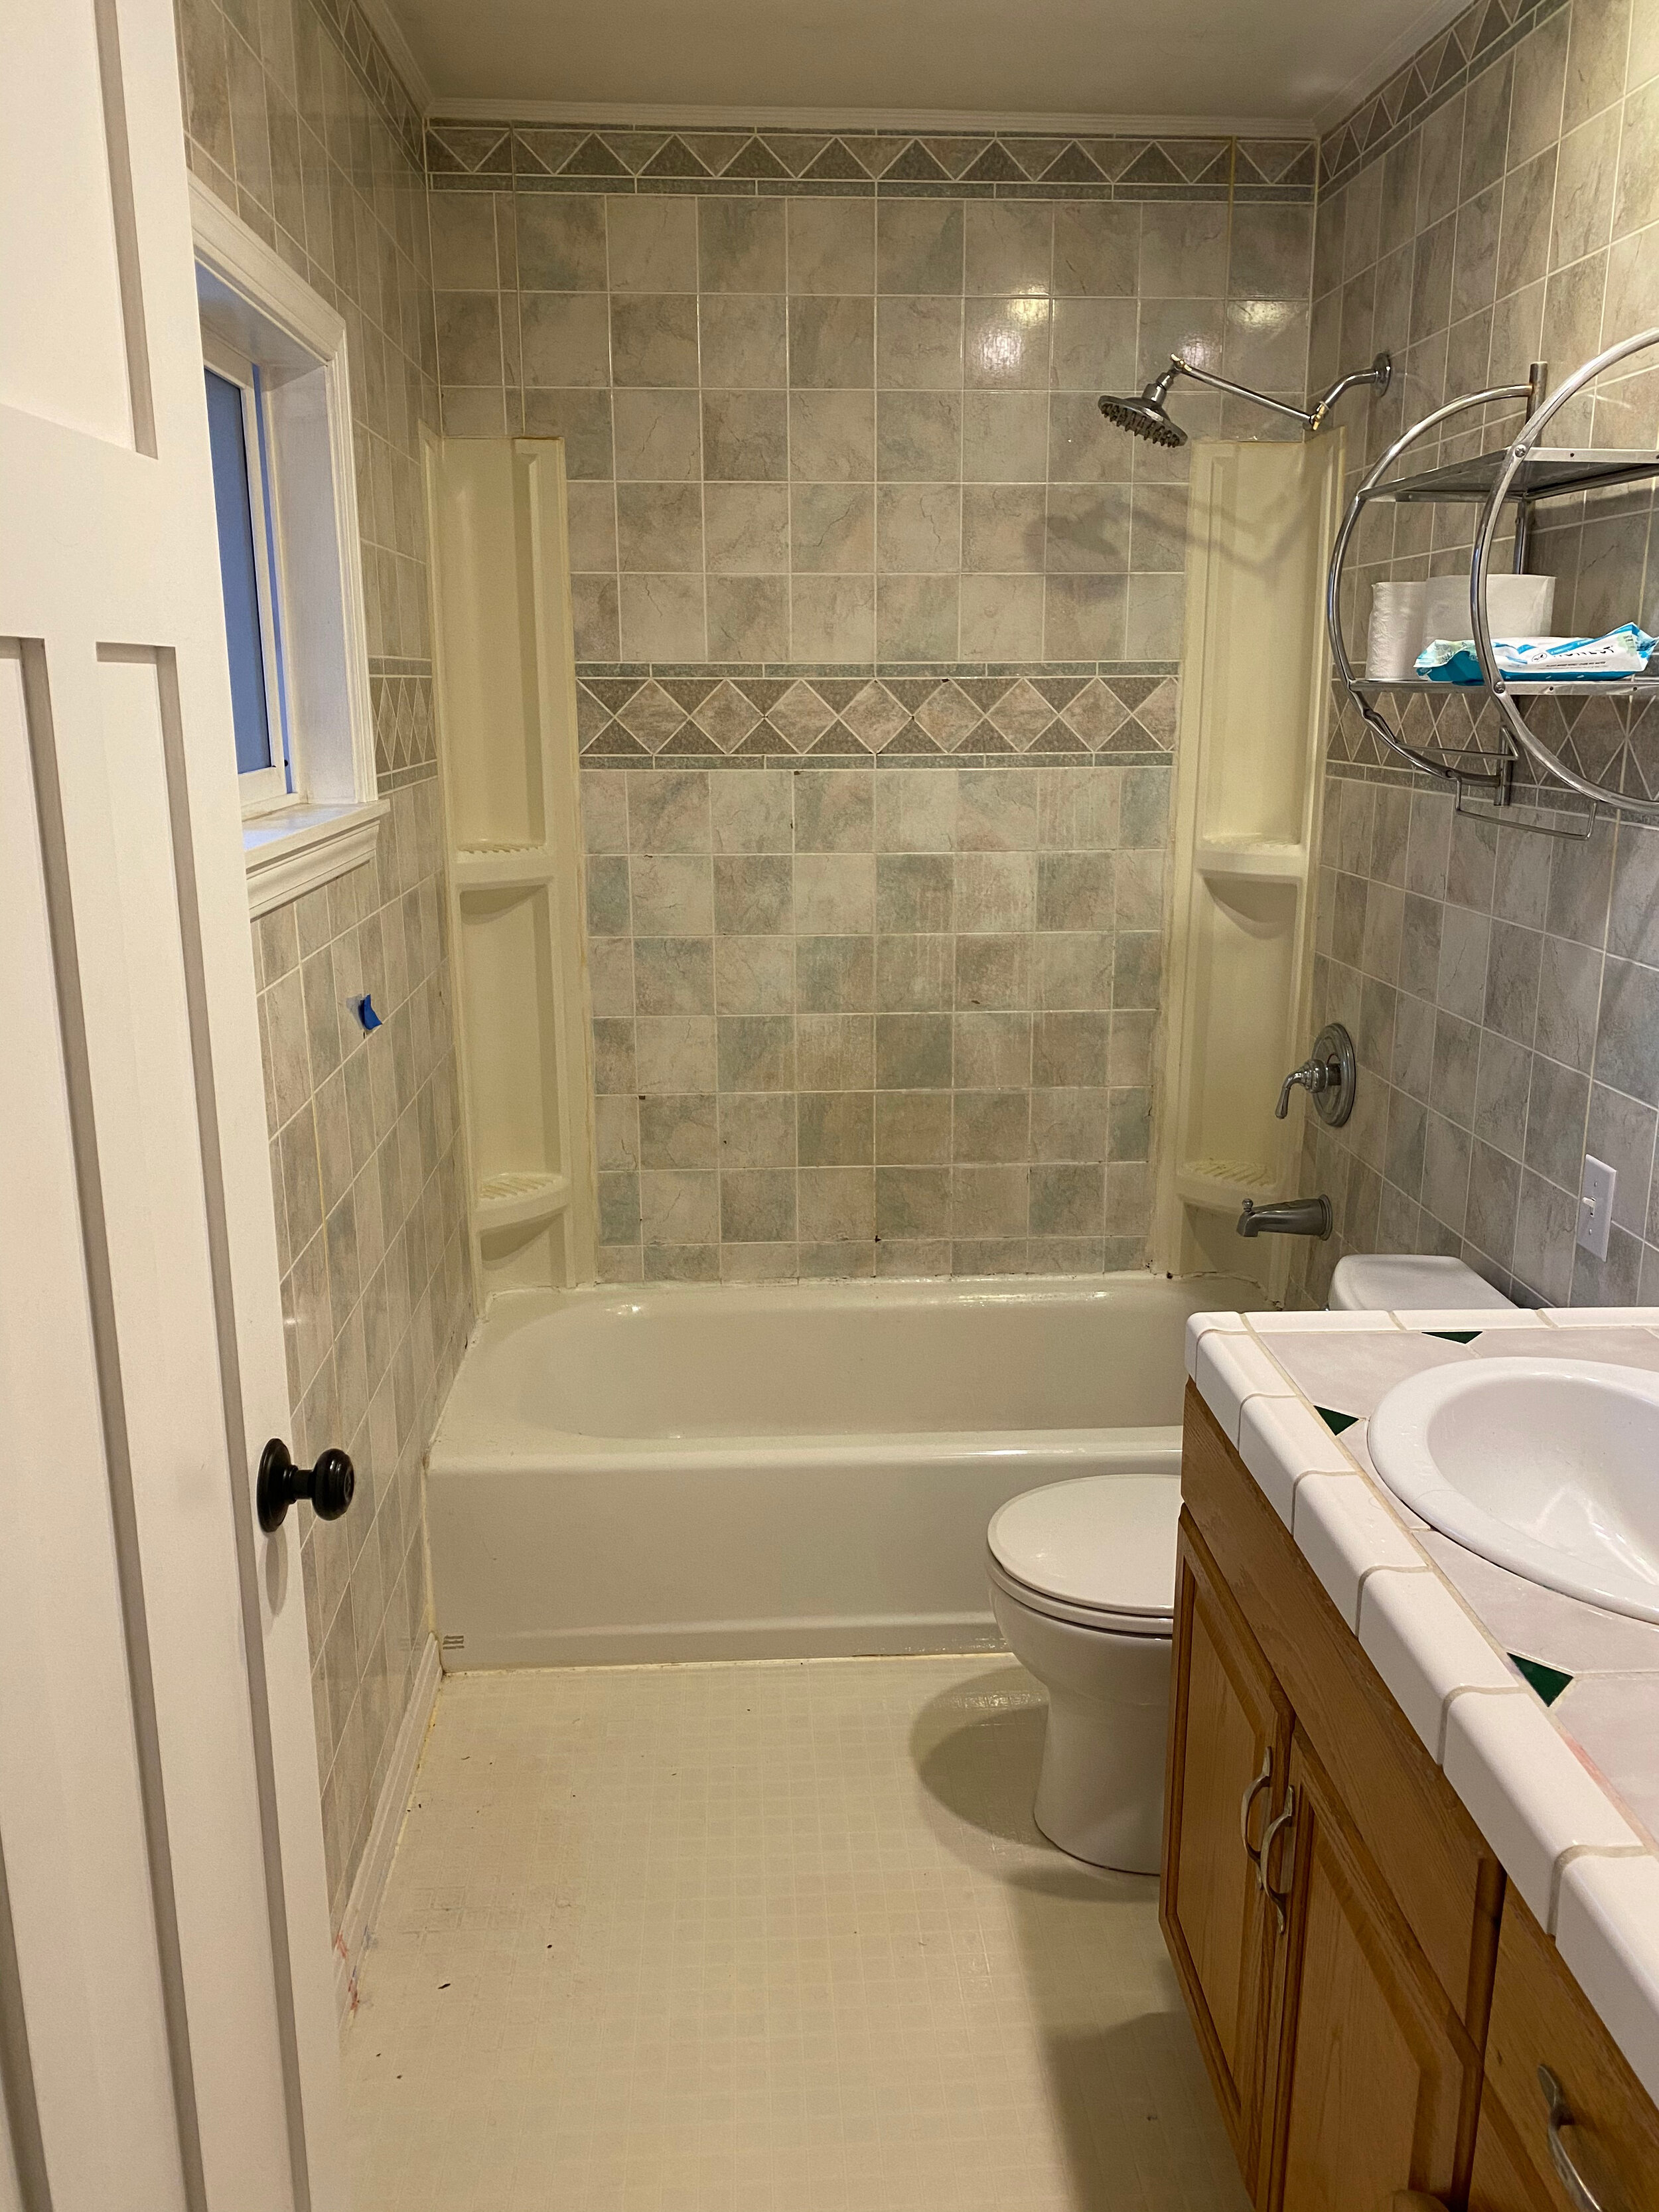
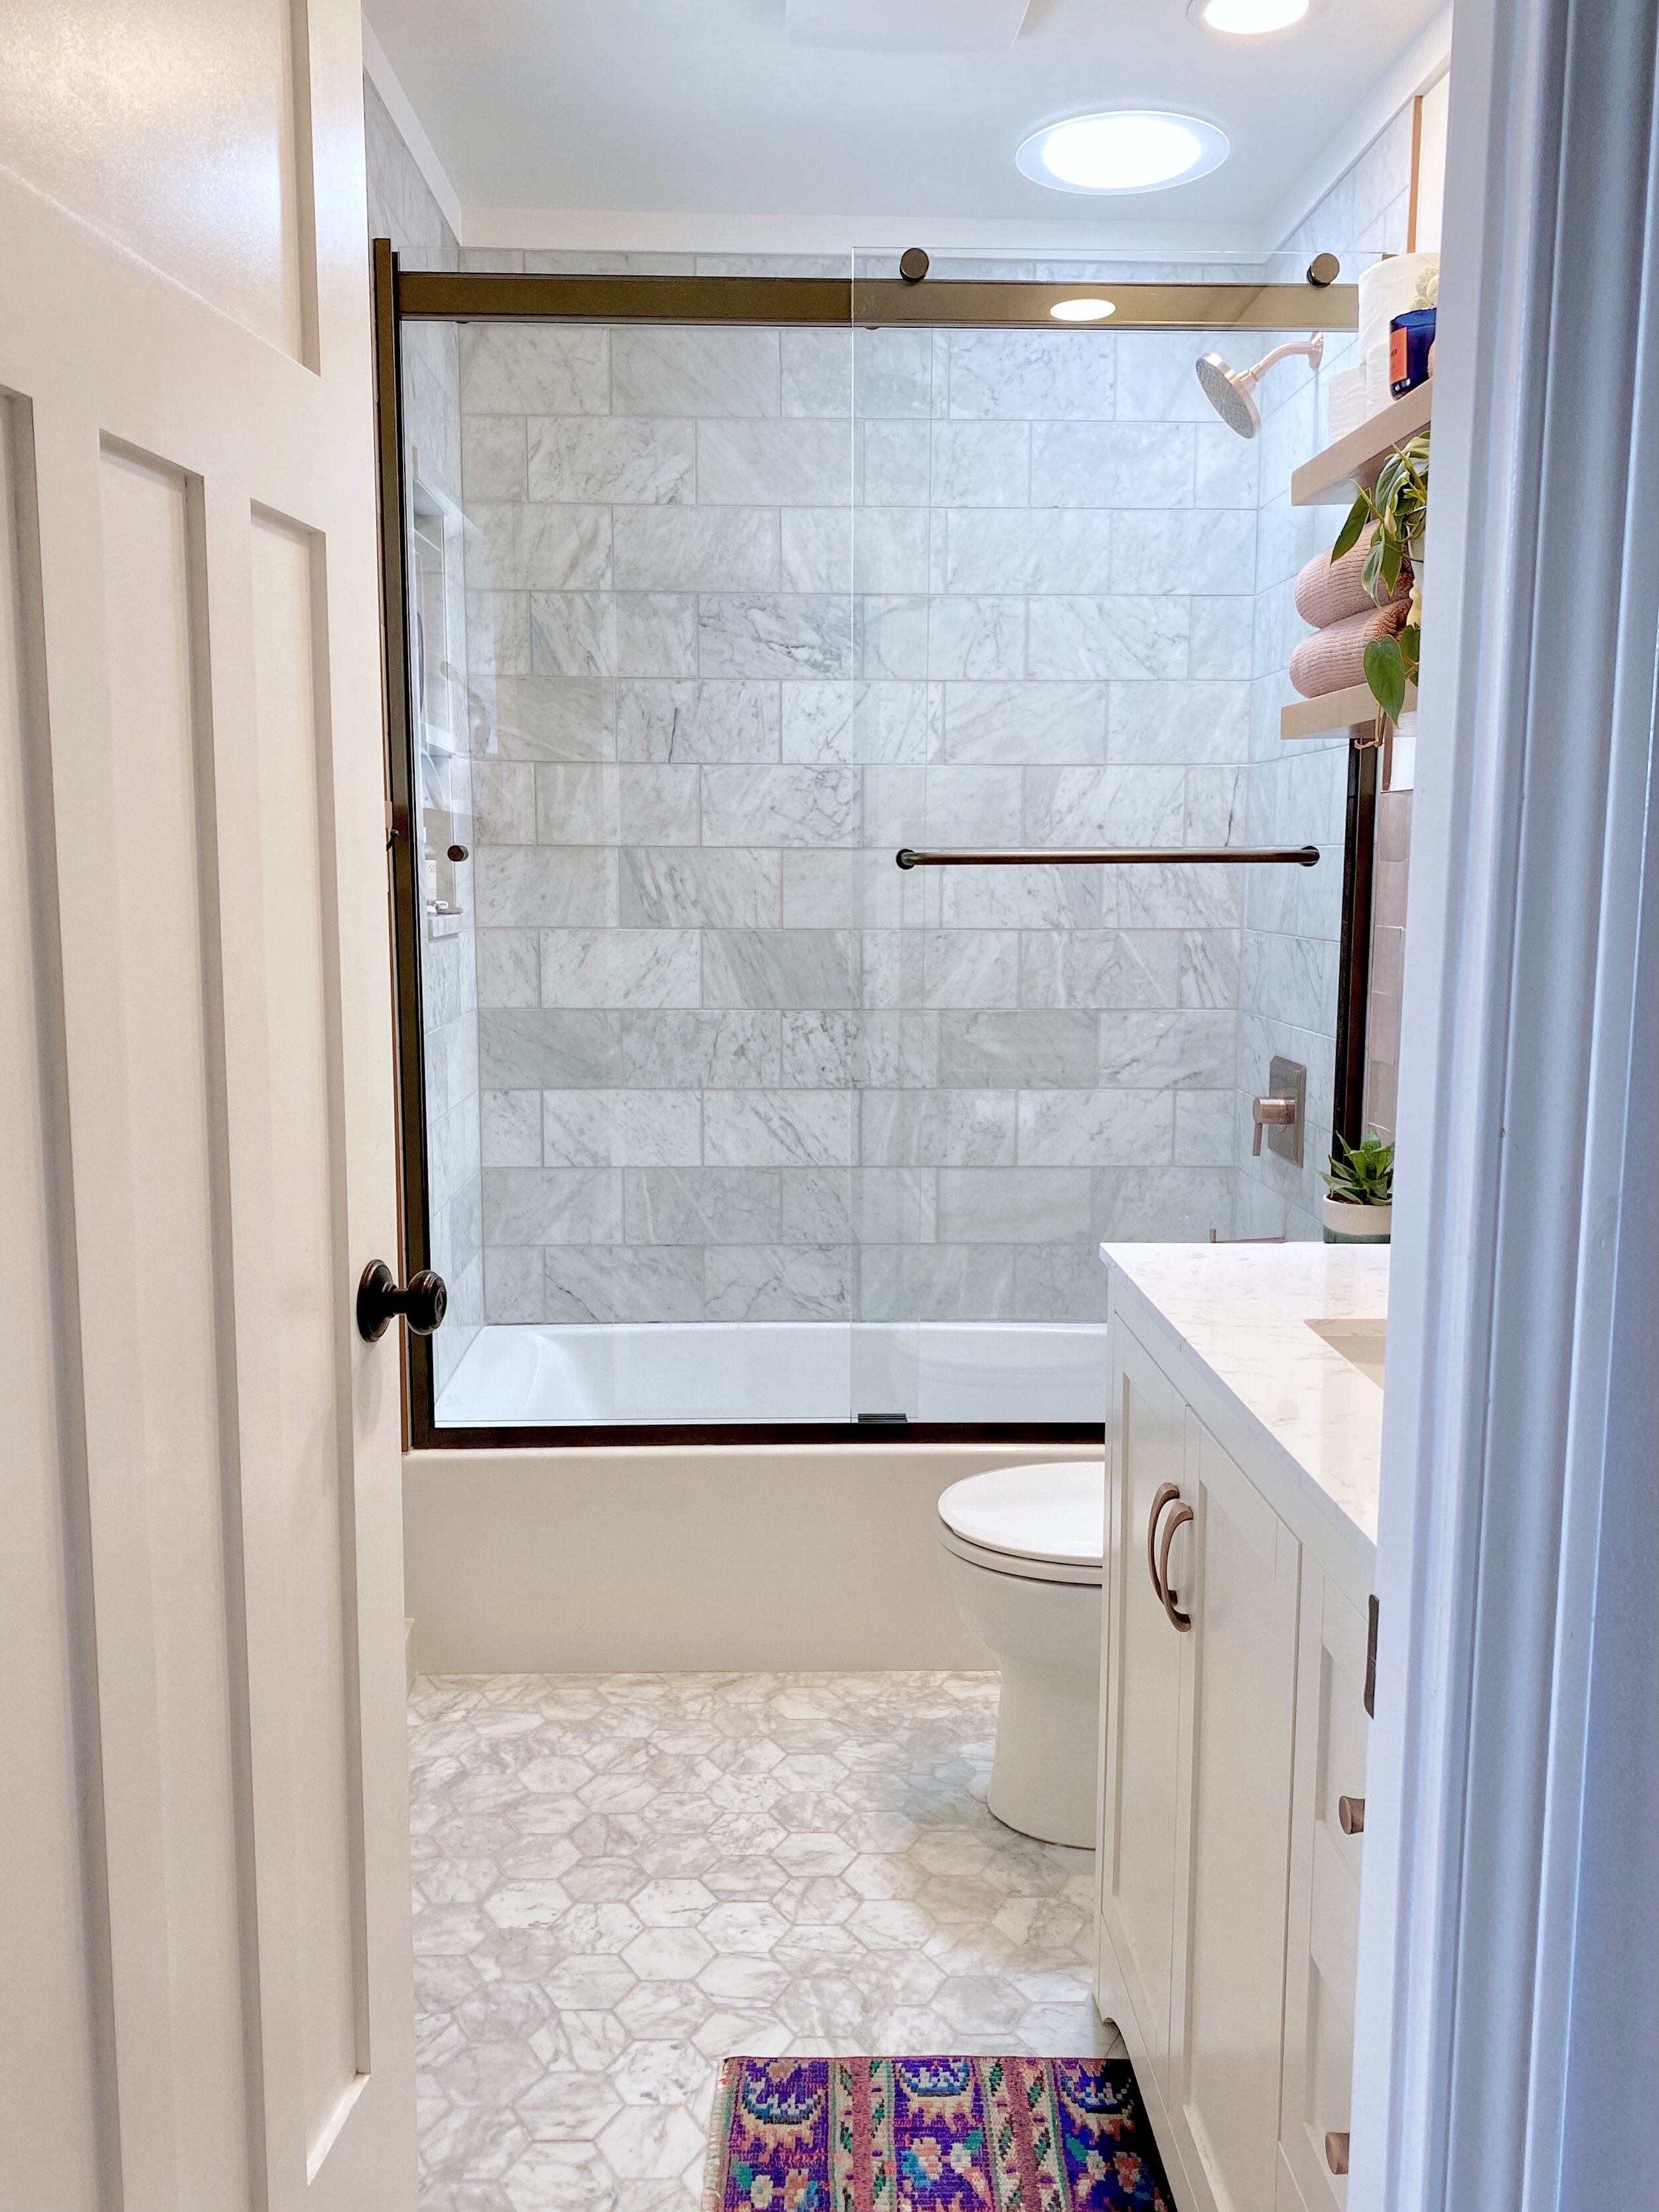
BEFORE & AFTER

helloooooooooo, glow up.

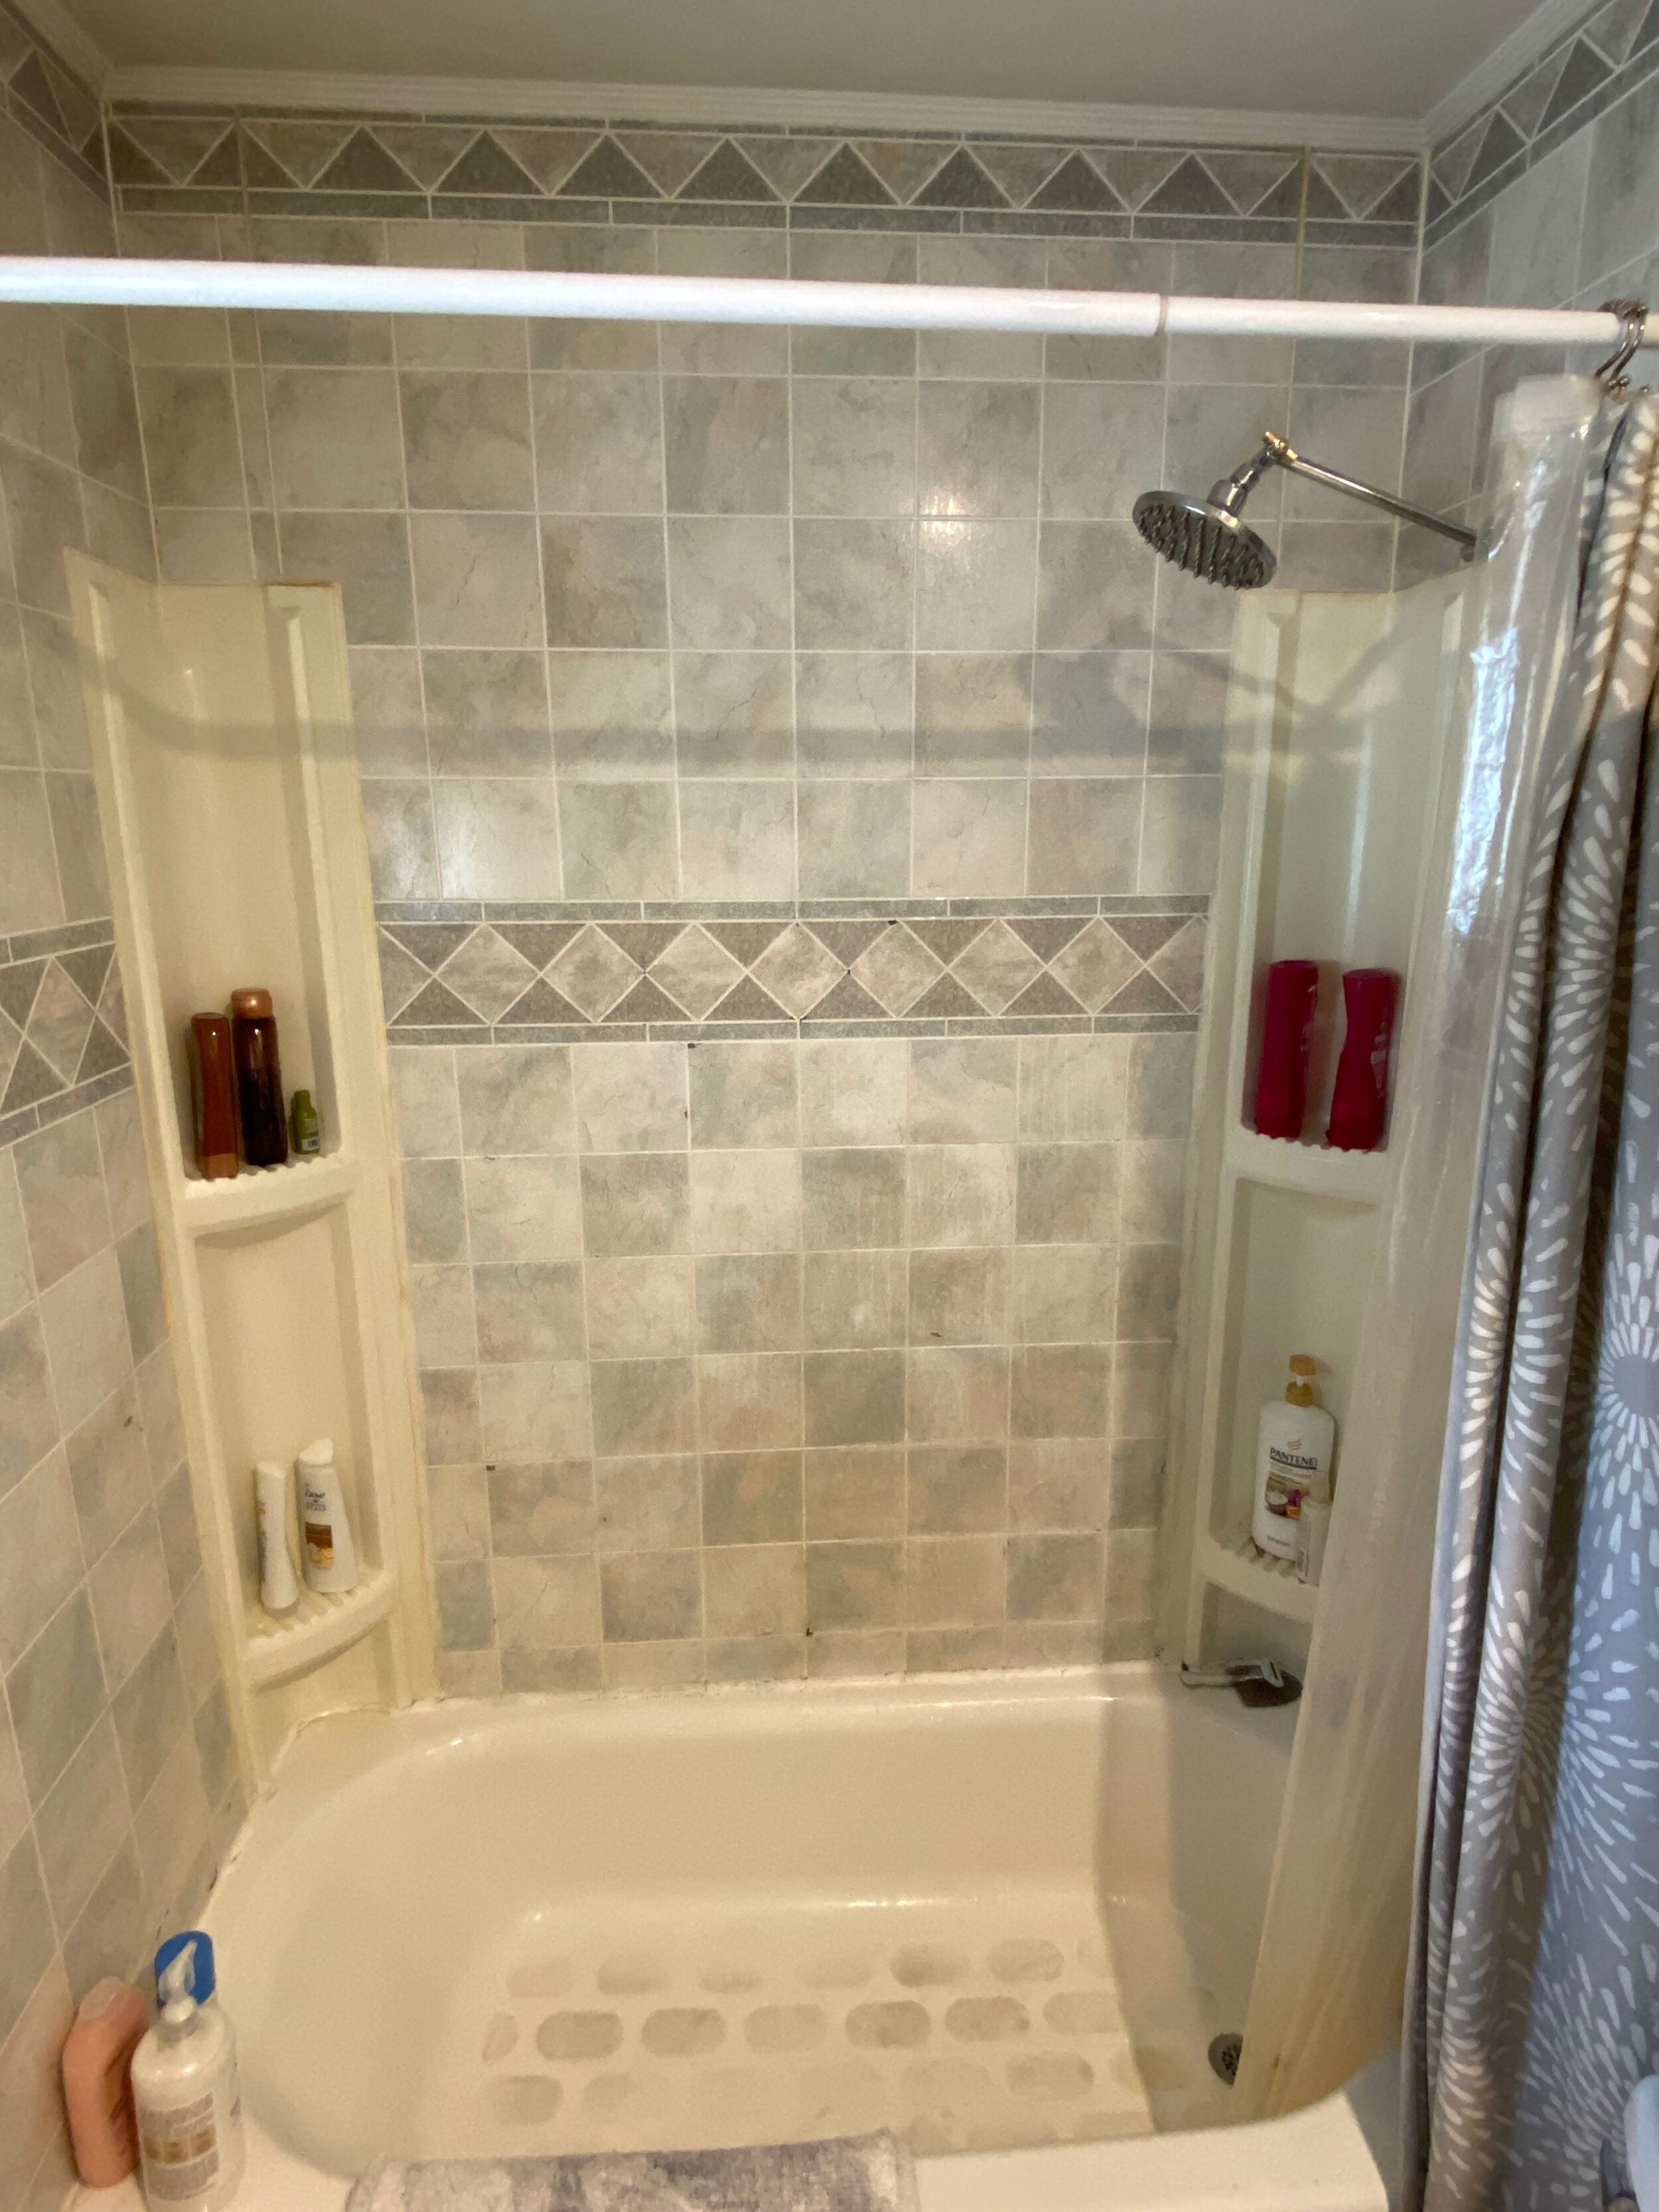
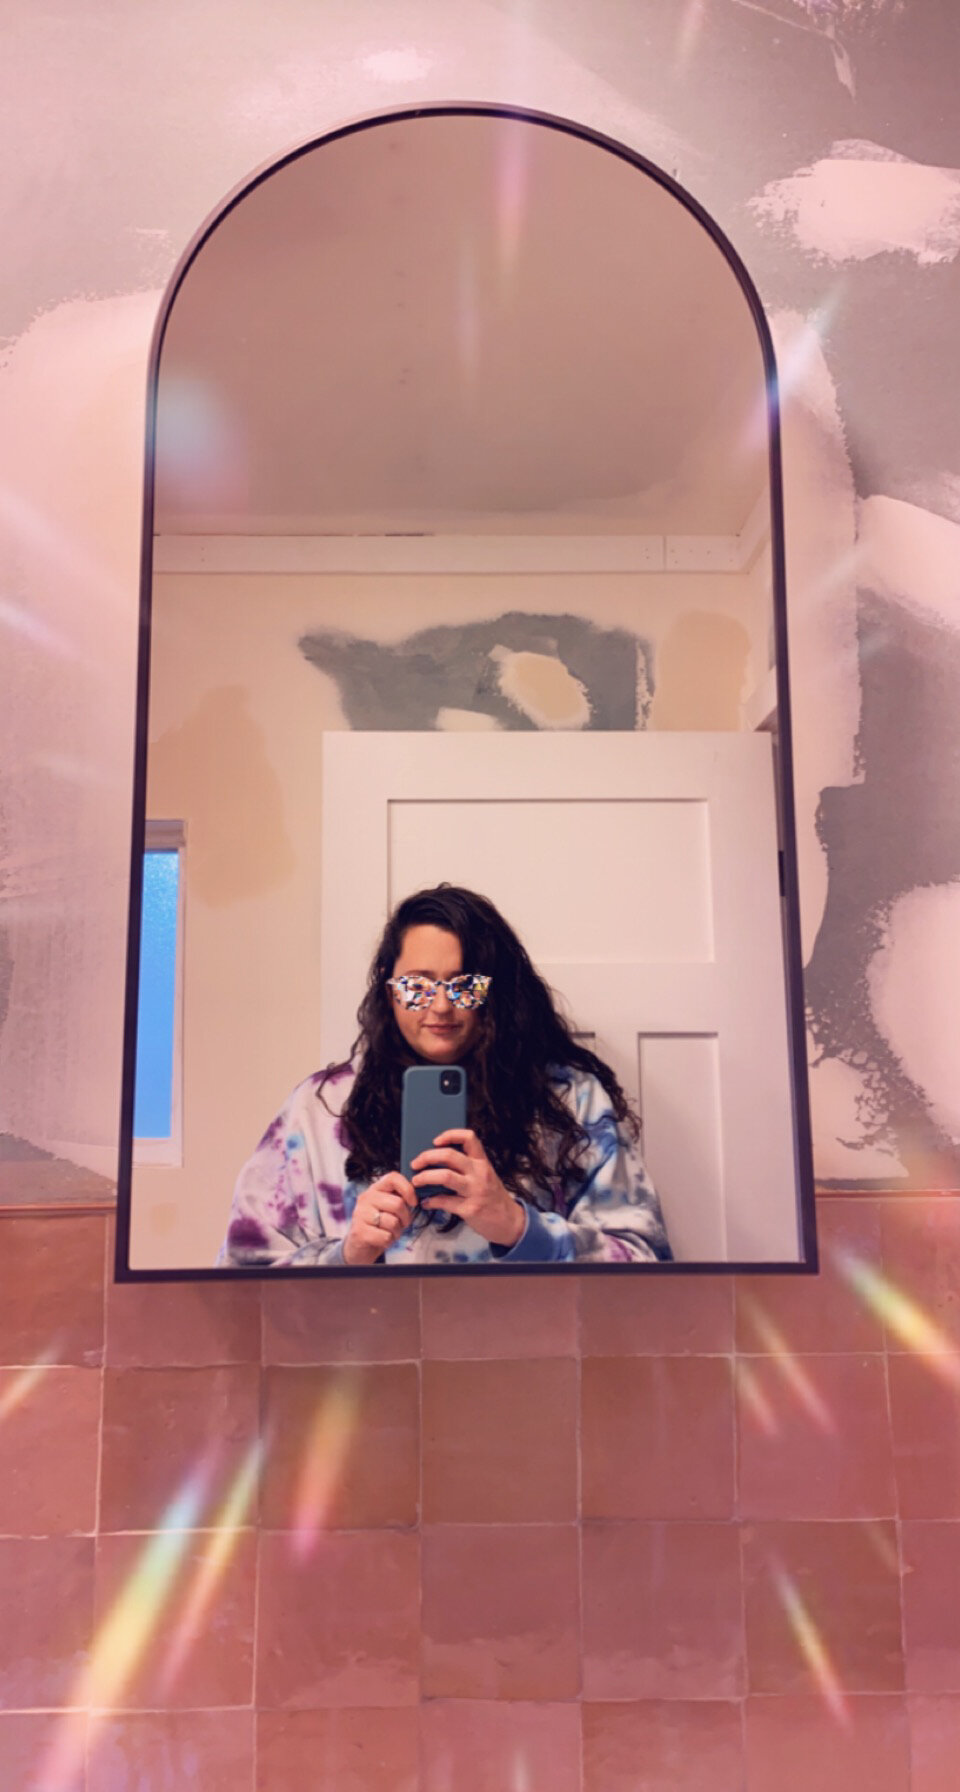
the final week of this old bathtub’s life served as a tie dye factory, which was a great way to go out with stains of purple, blue, green & pink - and we all got a second wave of siqqqq winter loungewear out of it. 🤘

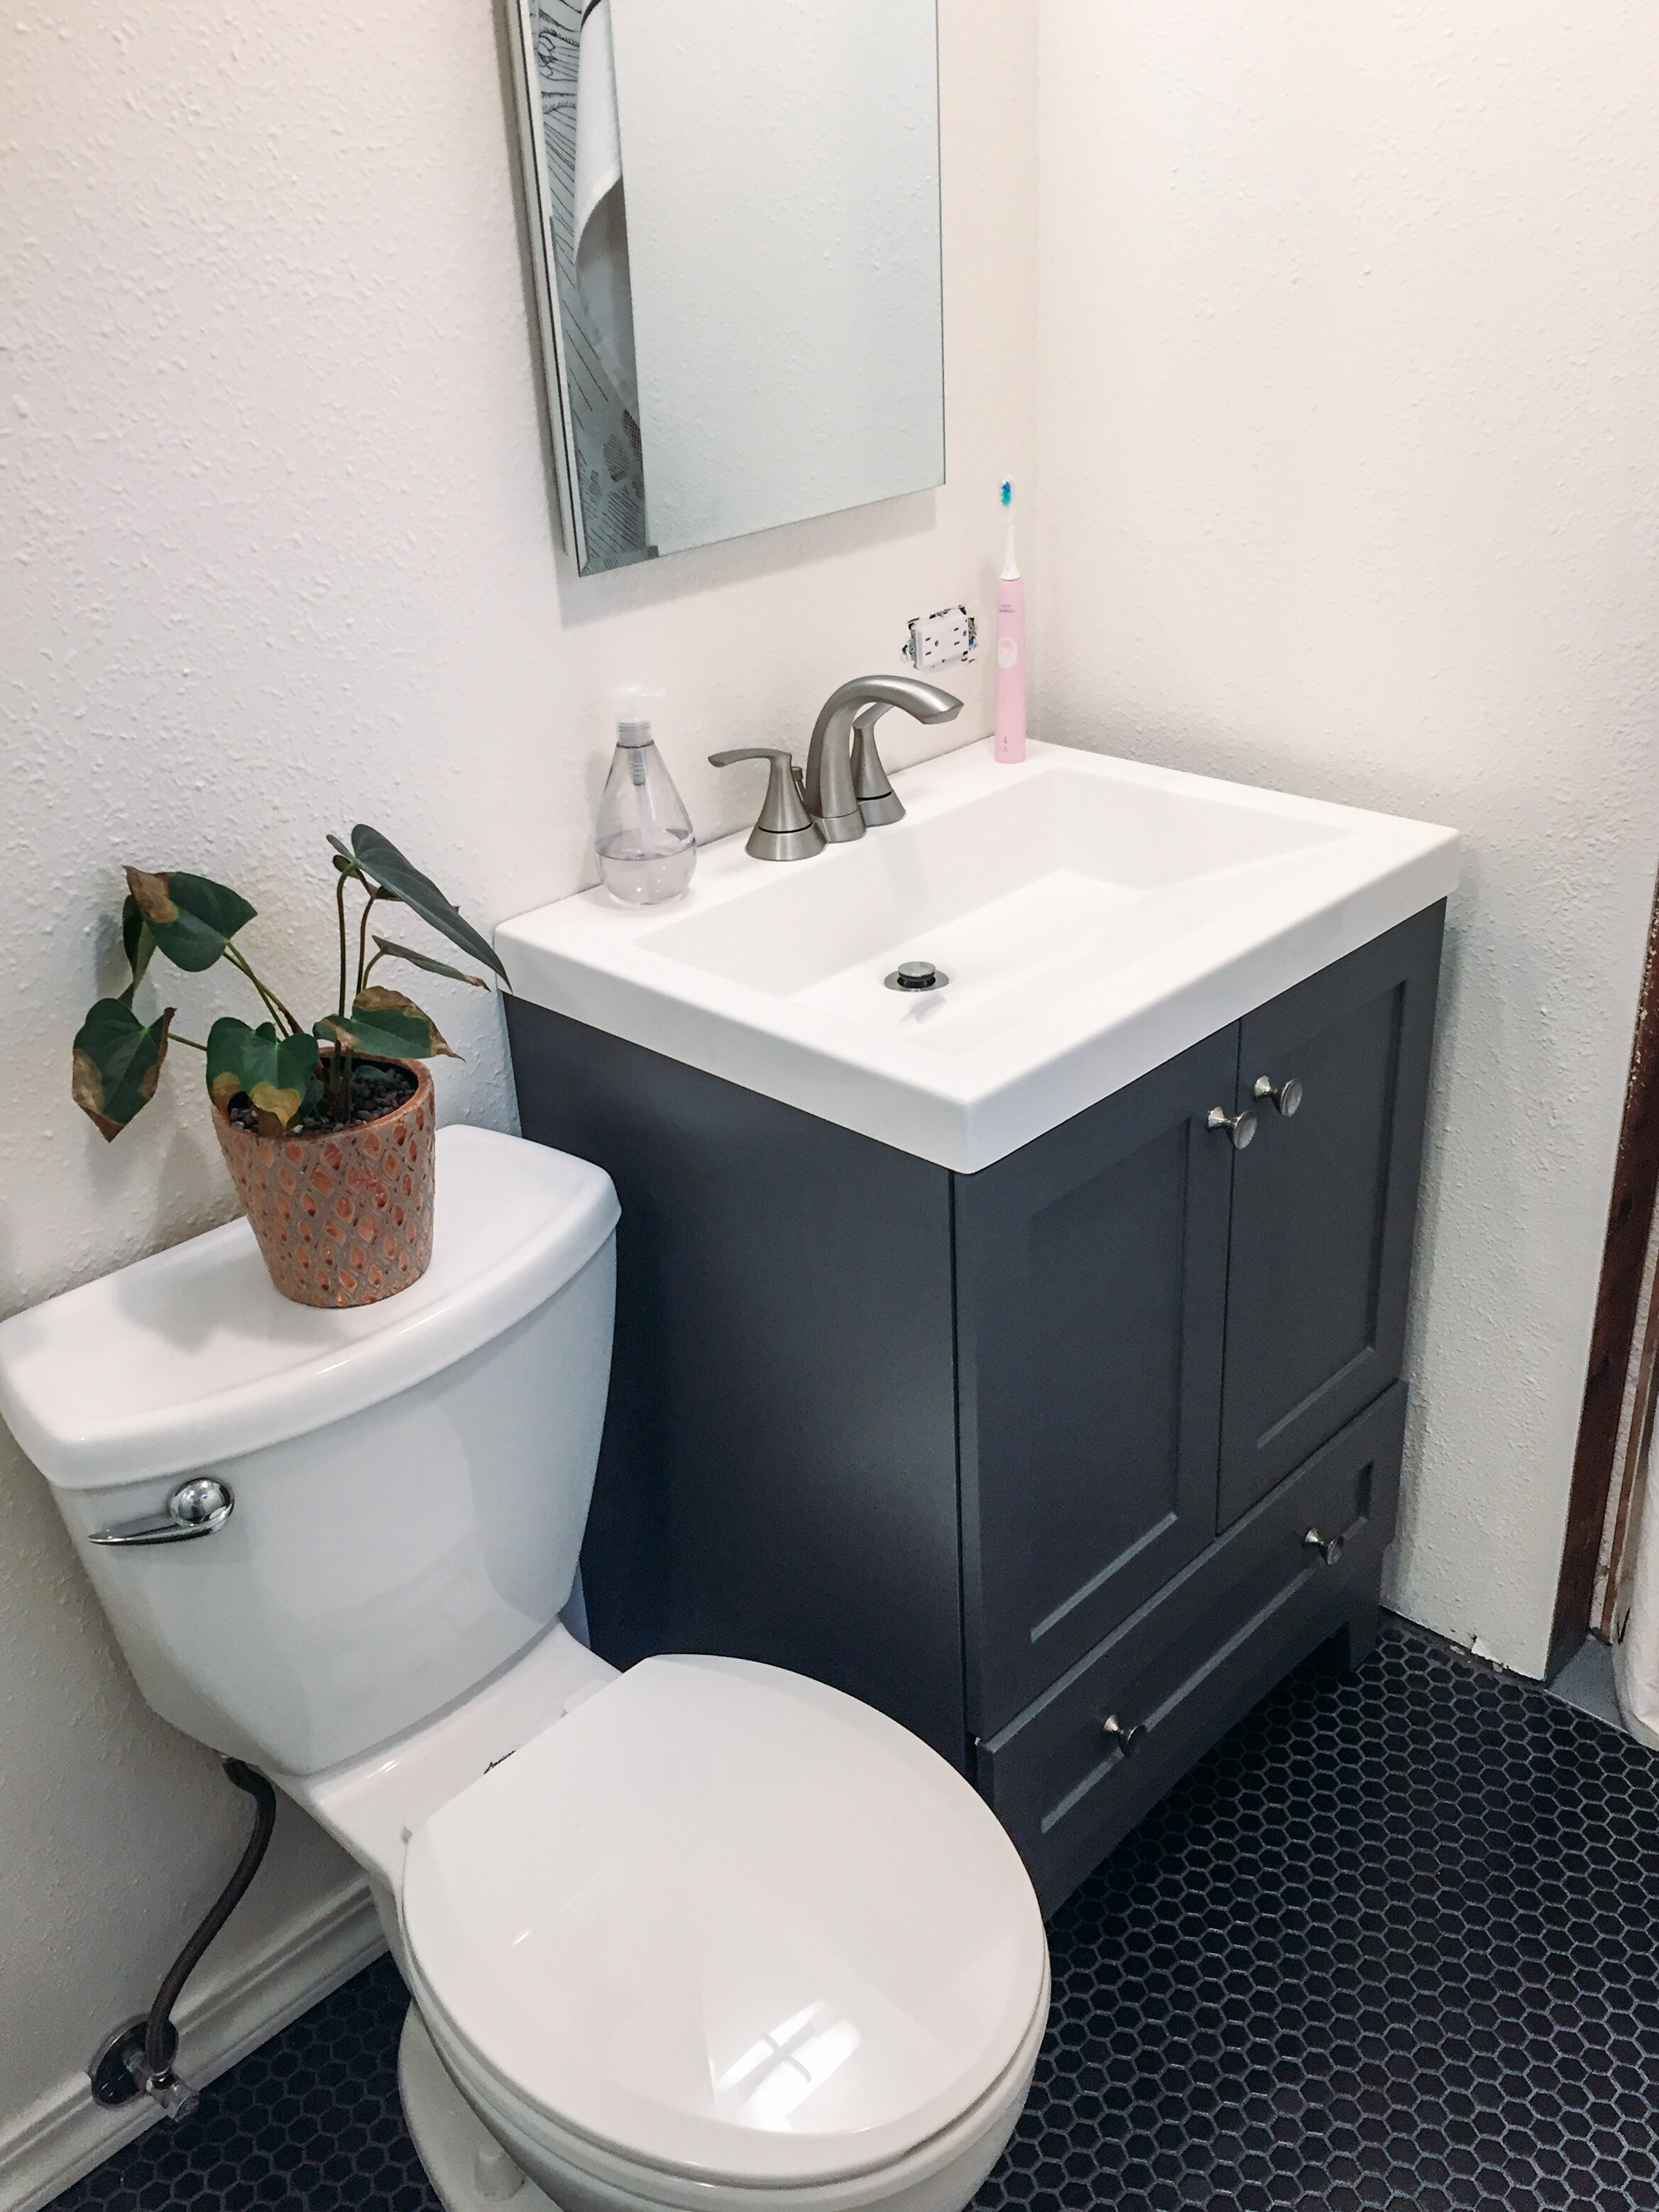
-vintage rug from etsy-vanity from wayfair

-vintage rug from etsy

-vanity from wayfair

Main-Bathroom-Remodel-Jan2021_QuinnsPlace-45.jpg

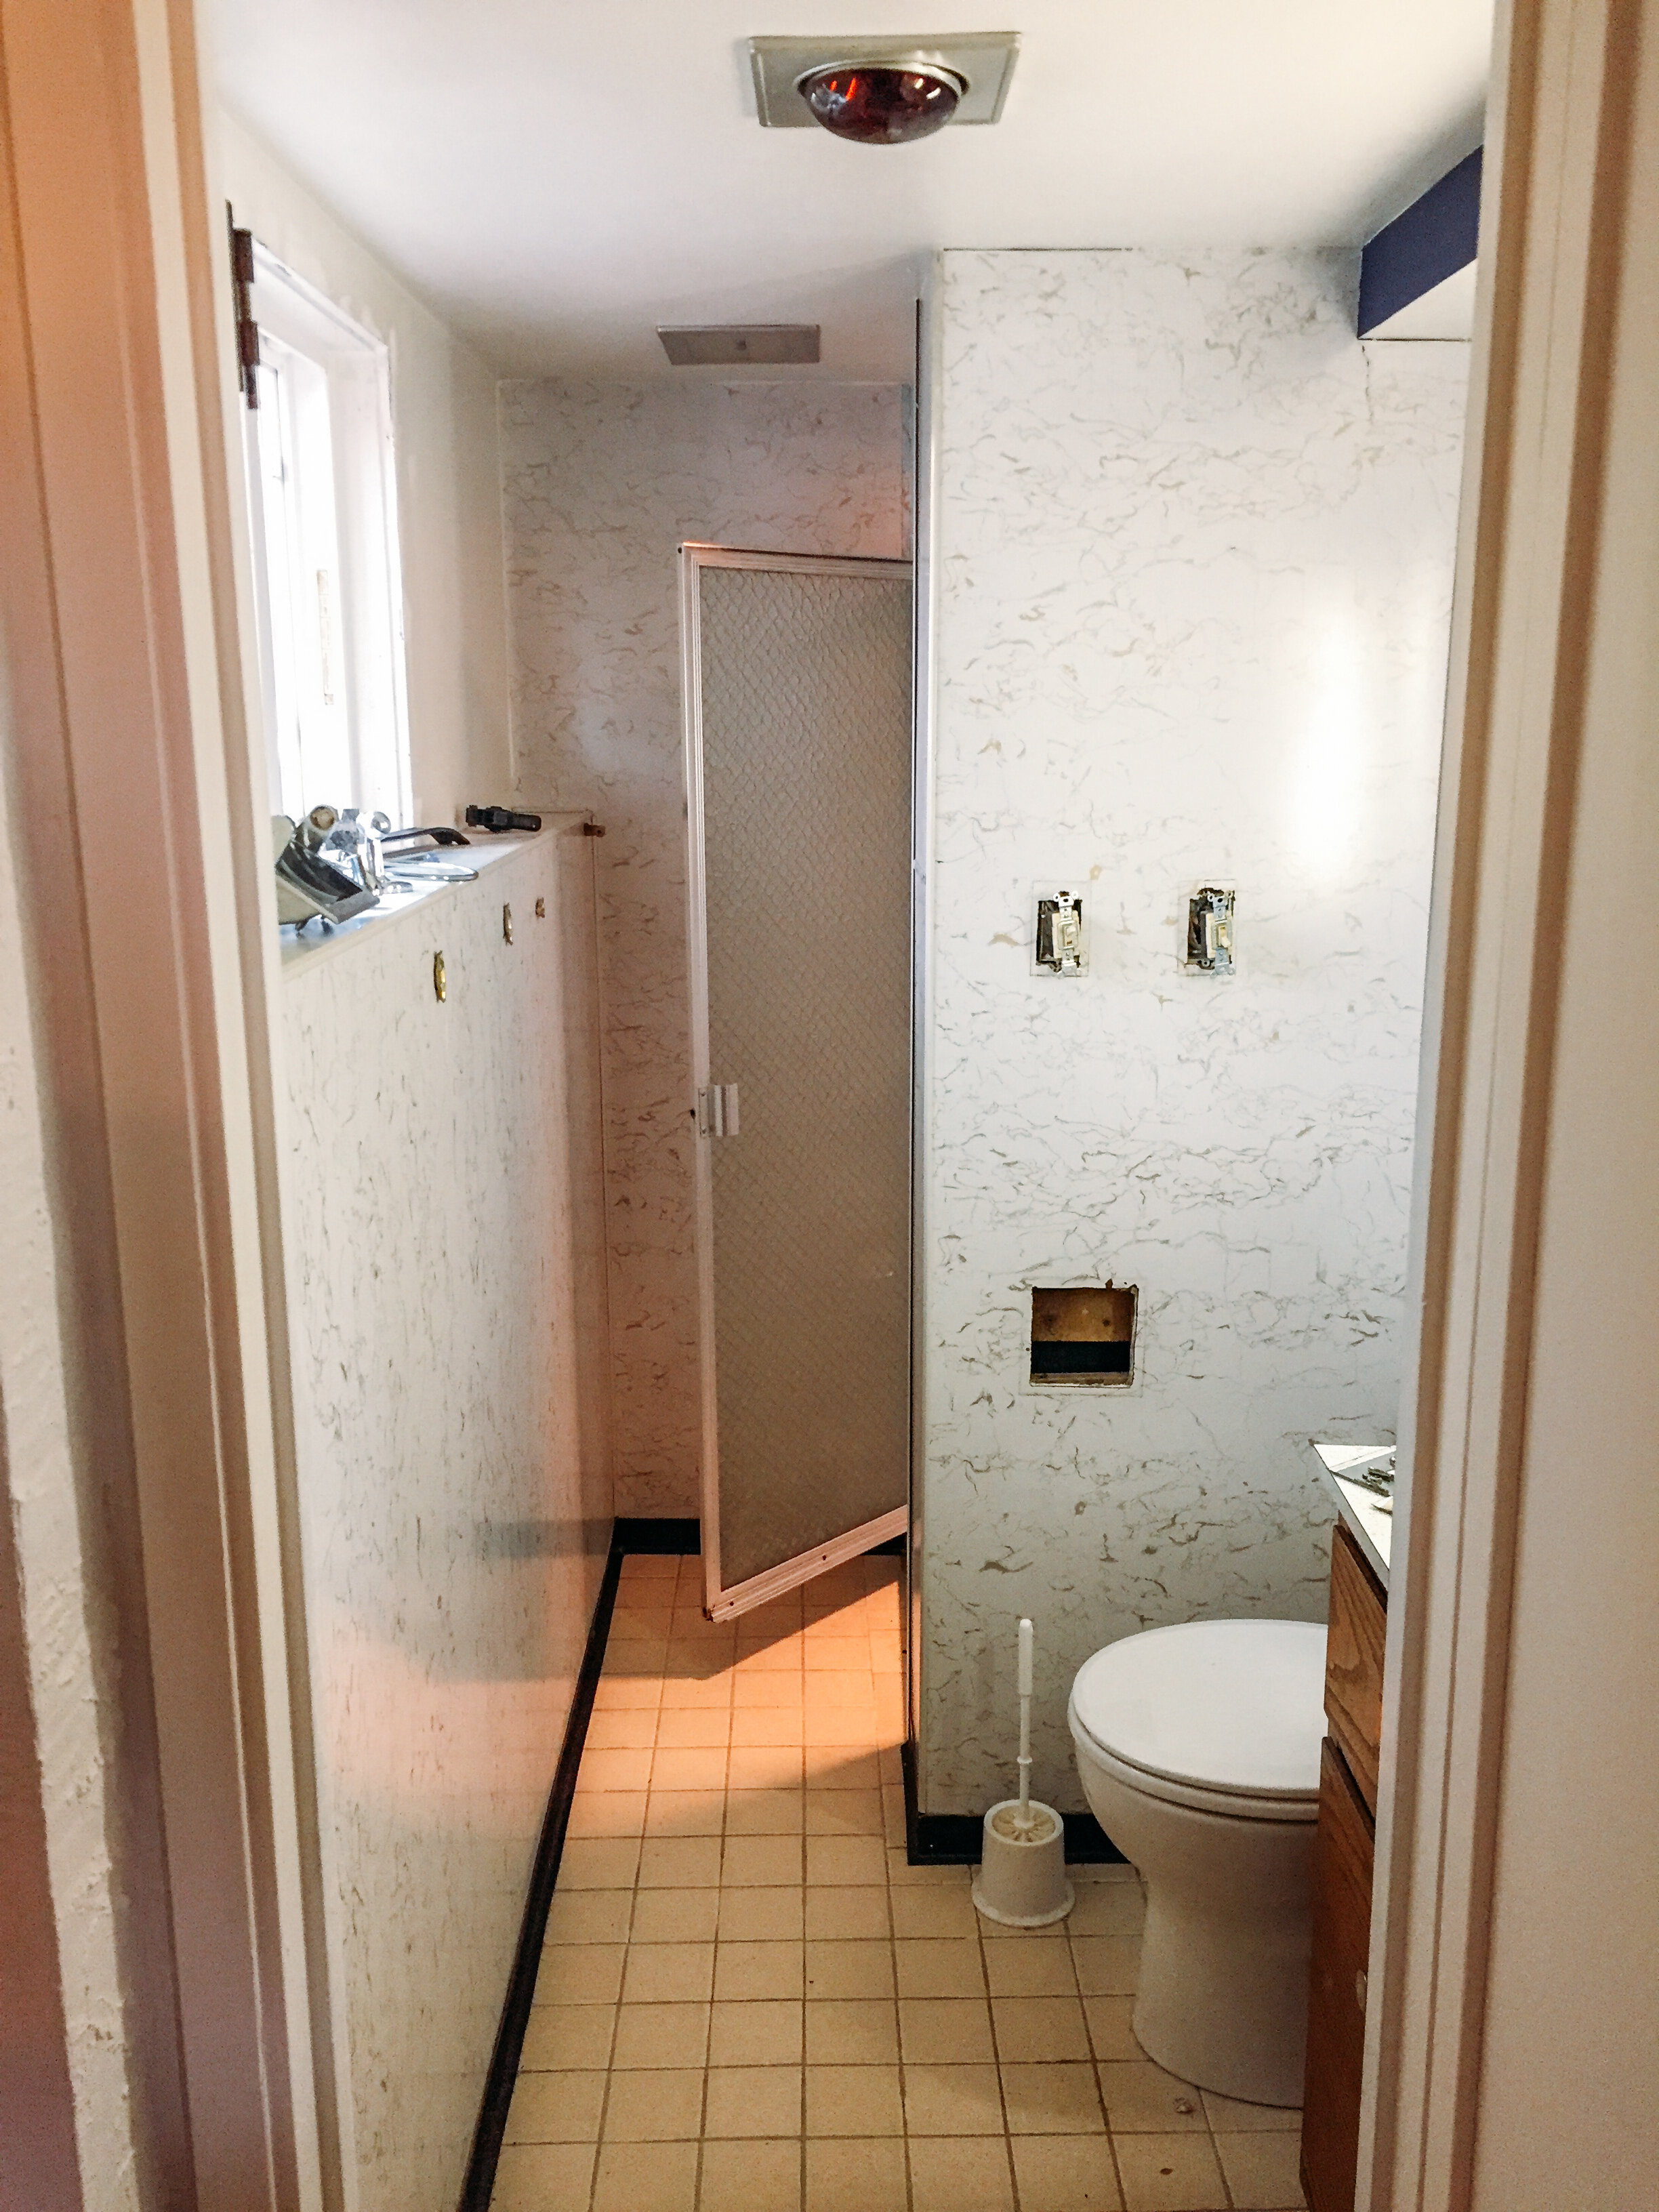
the old bathroom was just fine for us for almost 7 years - i didn’t think too much about how it should be updated until we suddenly decided to go for it quite recently, after having gained the confidence in remodeling our downstairs bathroom a little over a year ago.

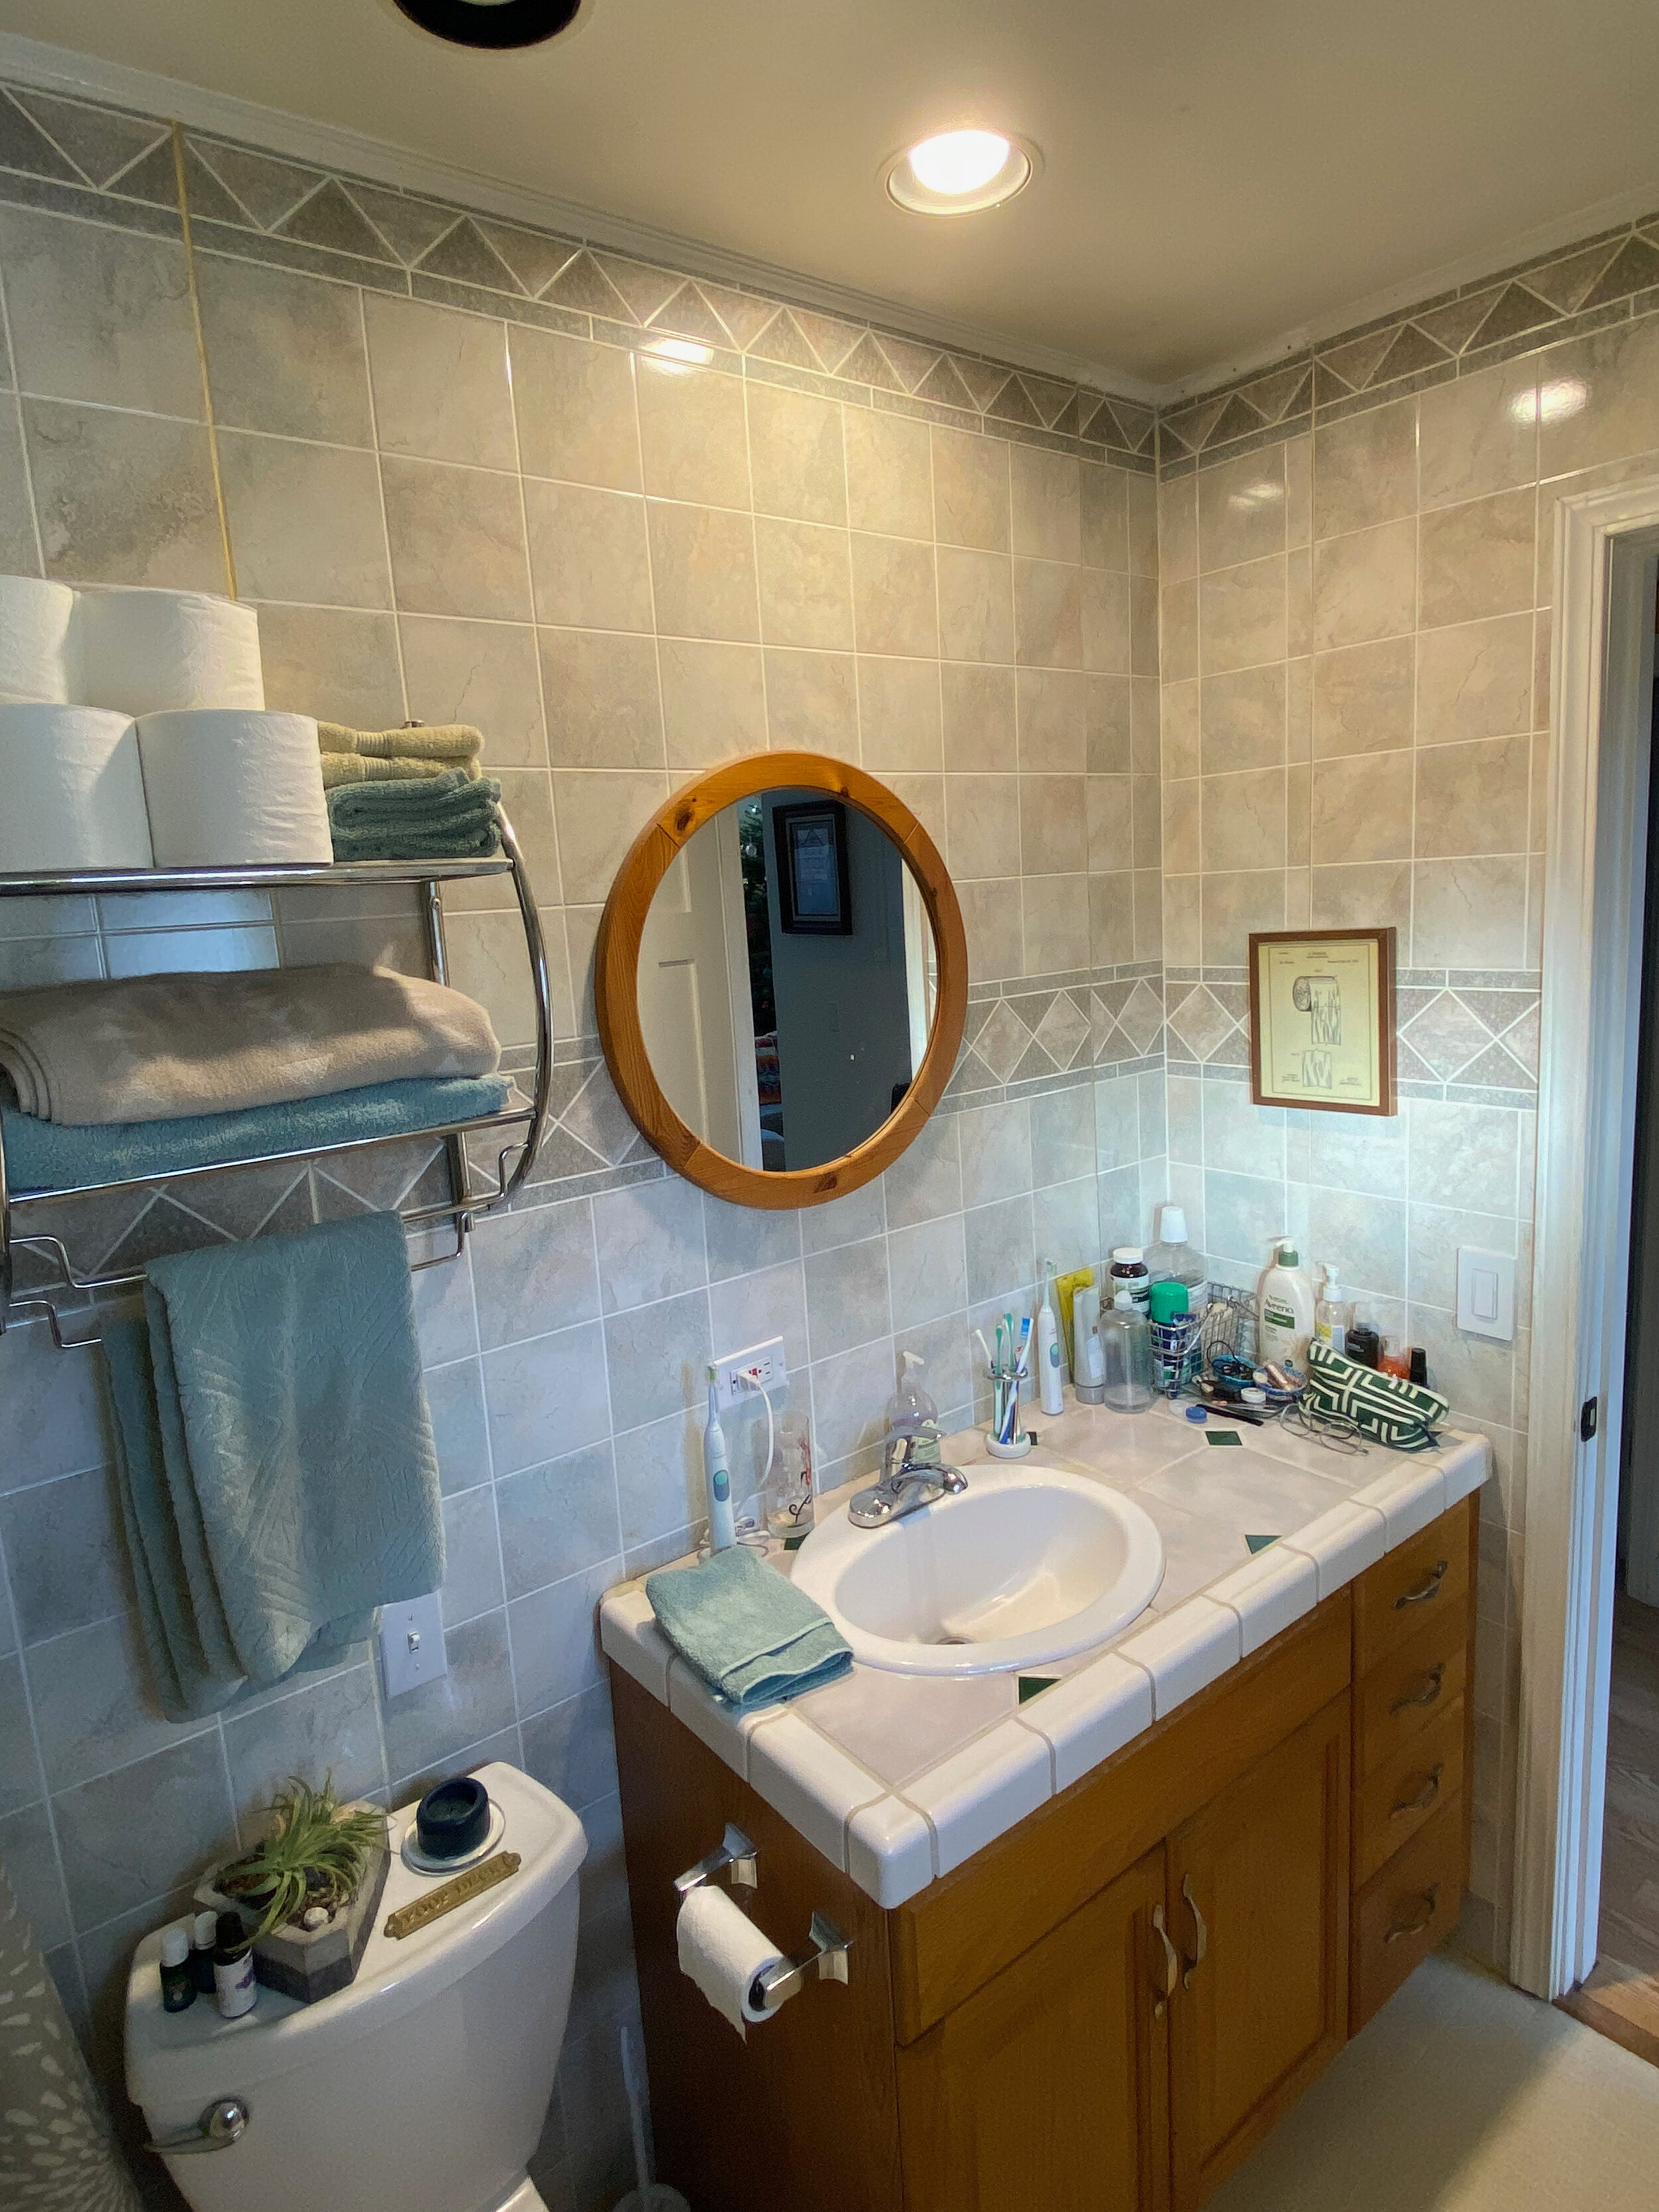
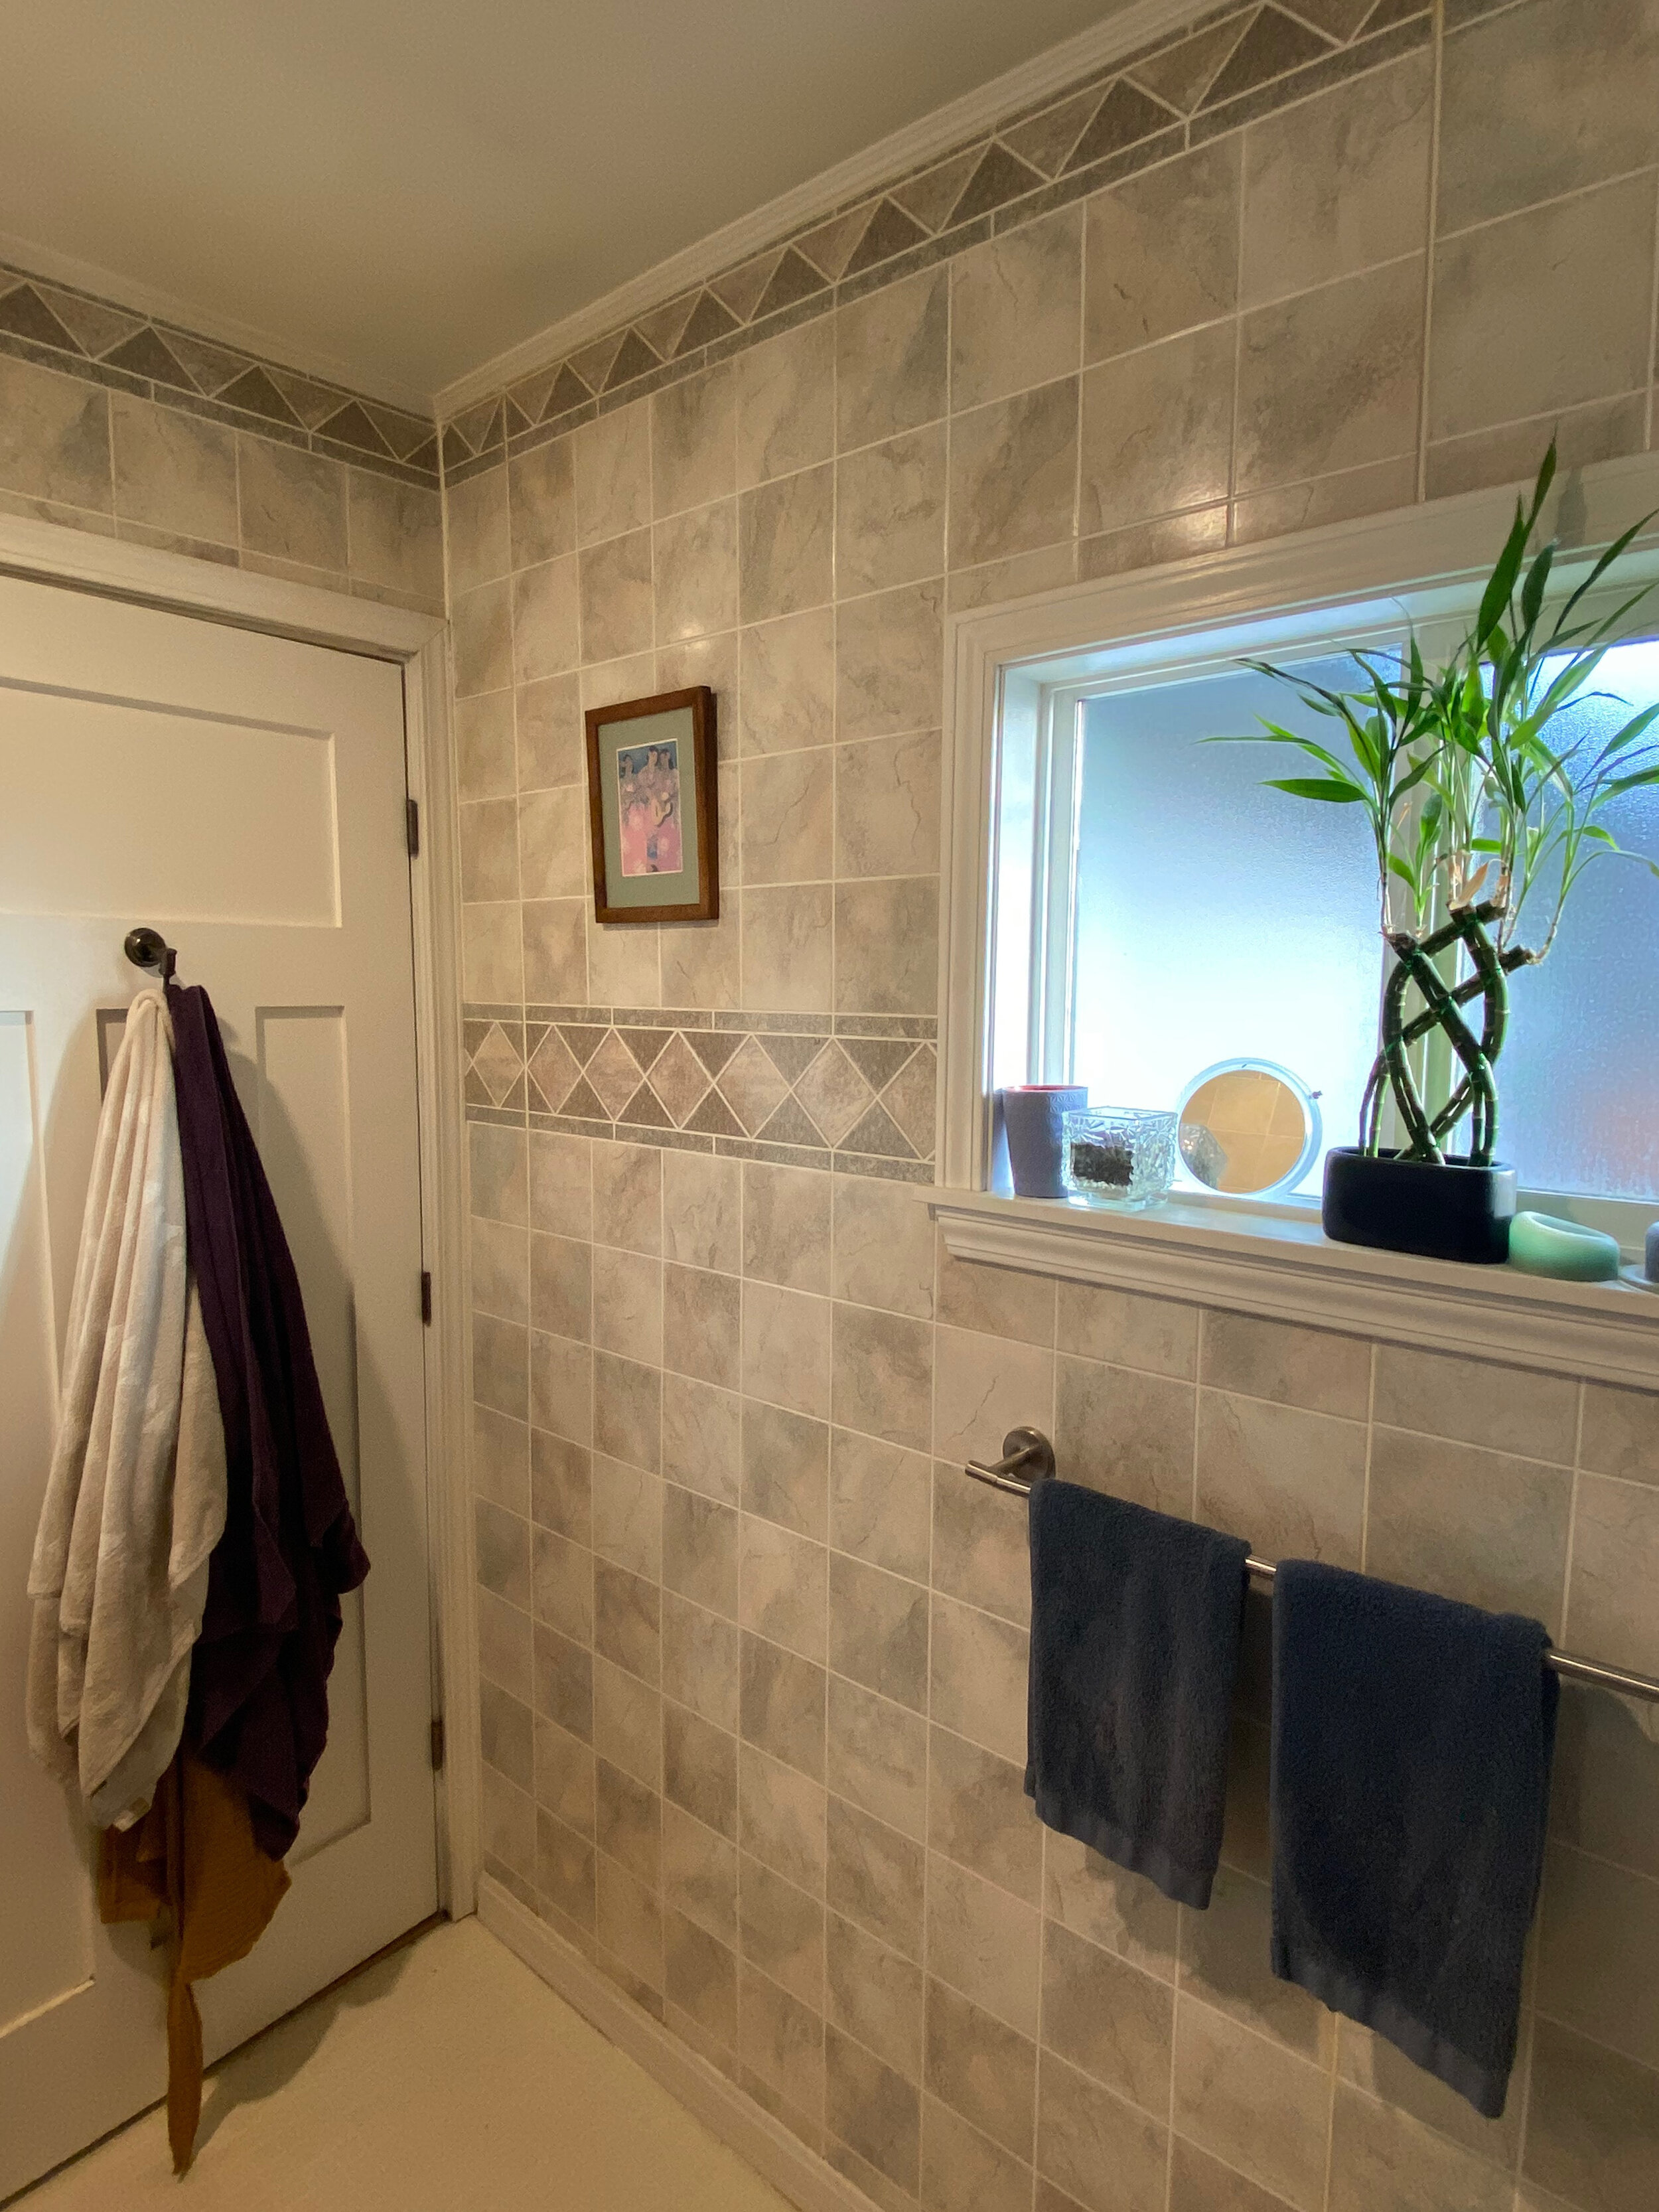
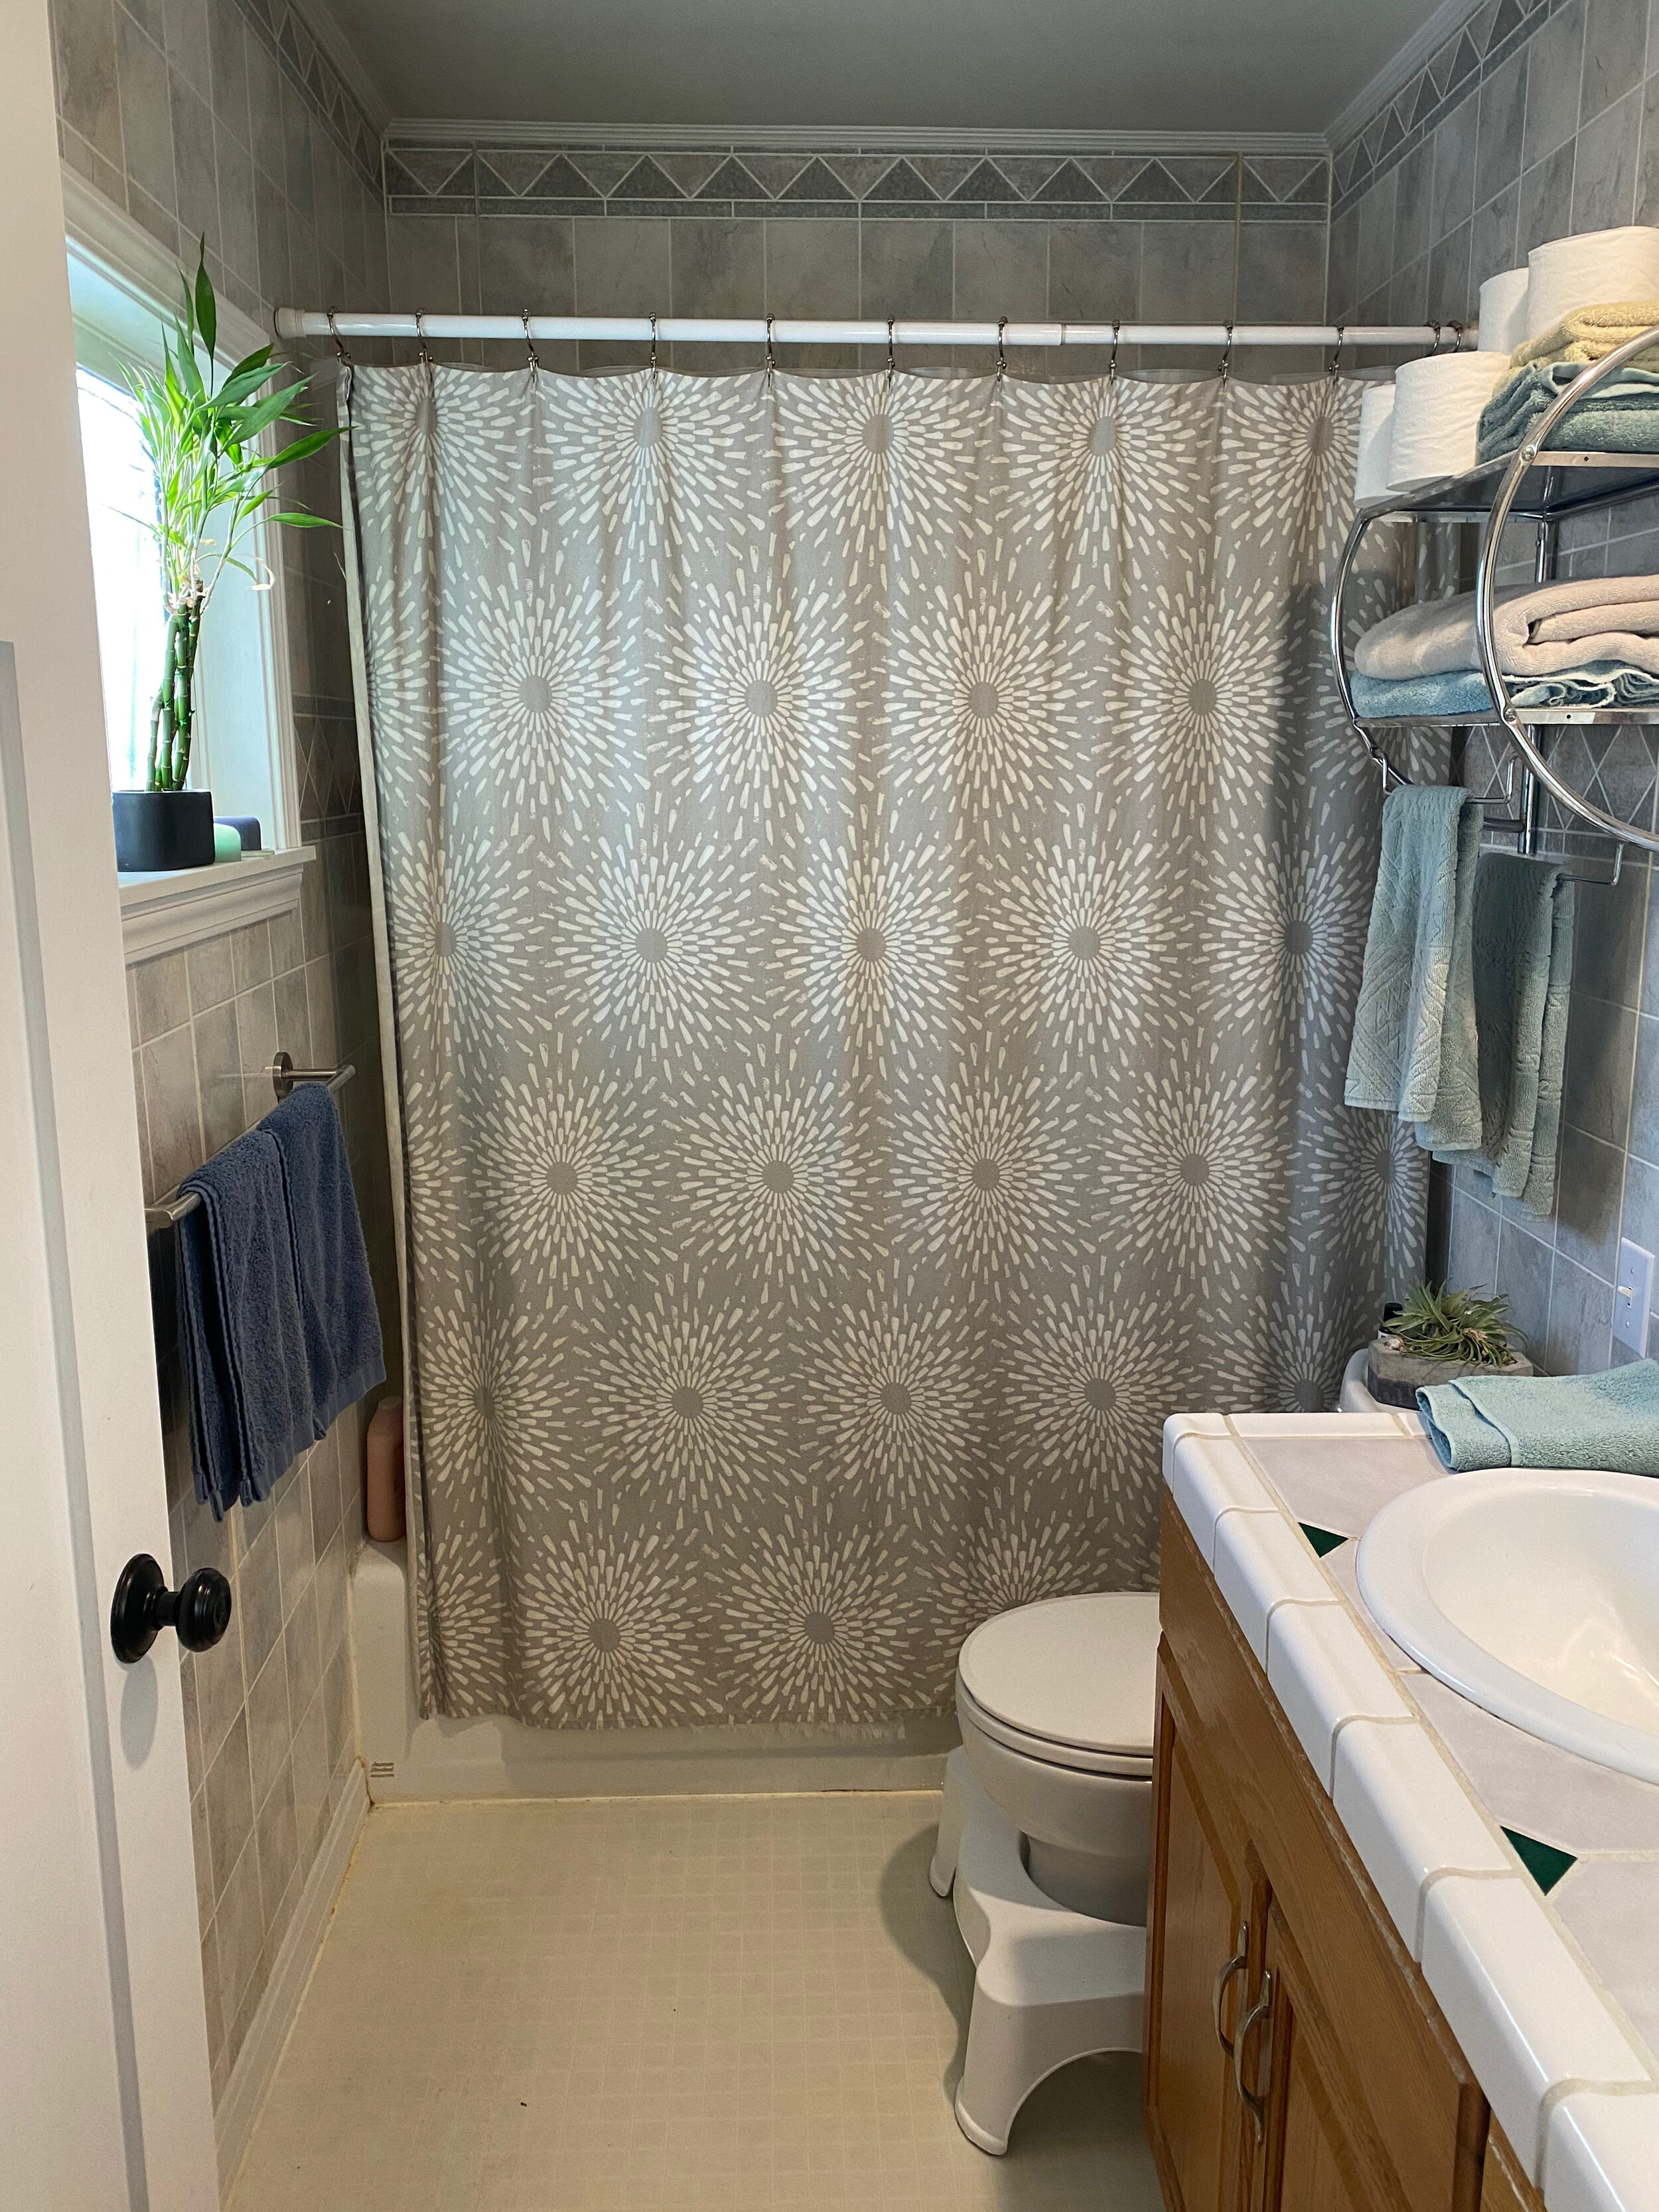
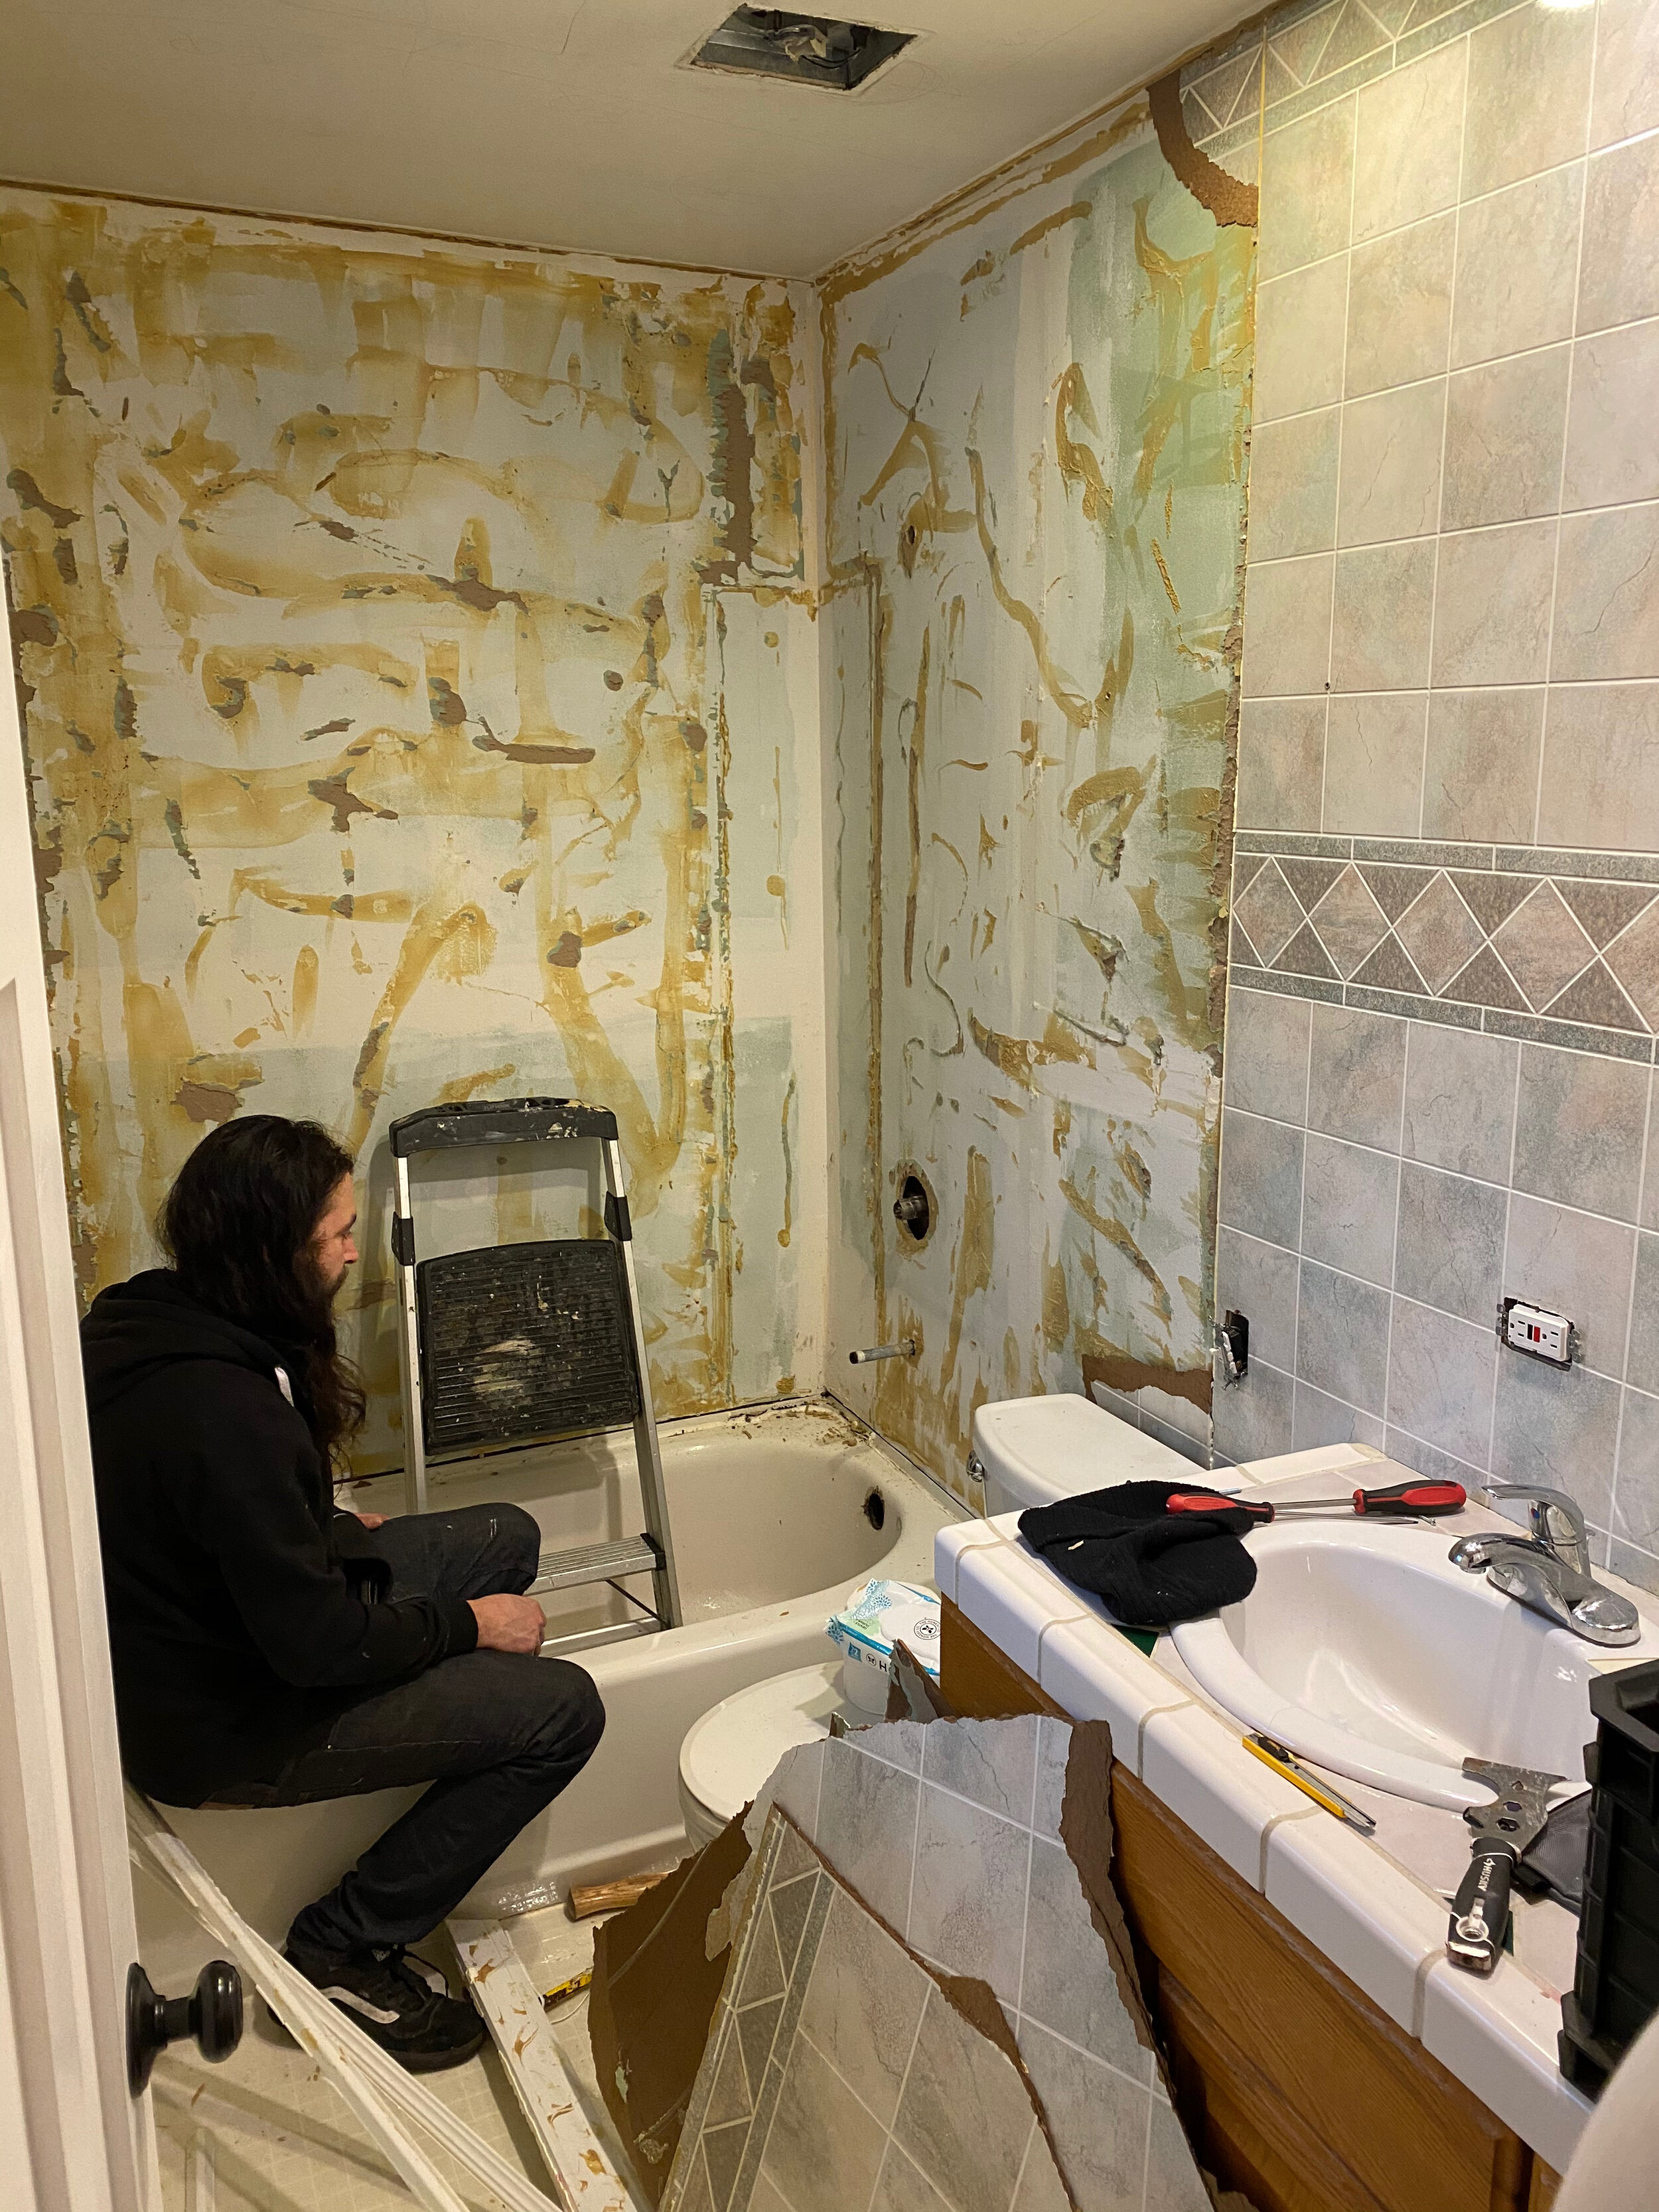
it had the same vinyl fake tile panels from floor to ceiling all over the entire bathroom. the shower and tub had seen better days and were getting pretty gross. tile countertops with huge grout lines are just a no-no. basically, the old bathroom was decent, but definitely outdated.


DEMO, DRYWALL, NEW TUB & FLOOR TILE

after seeing the visual impact of the clear sliding shower door in our basement bathroom remodel, we decided to do the same upstairs. it makes the room feel so much bigger without the shower curtain cutting the whole space into two parts.

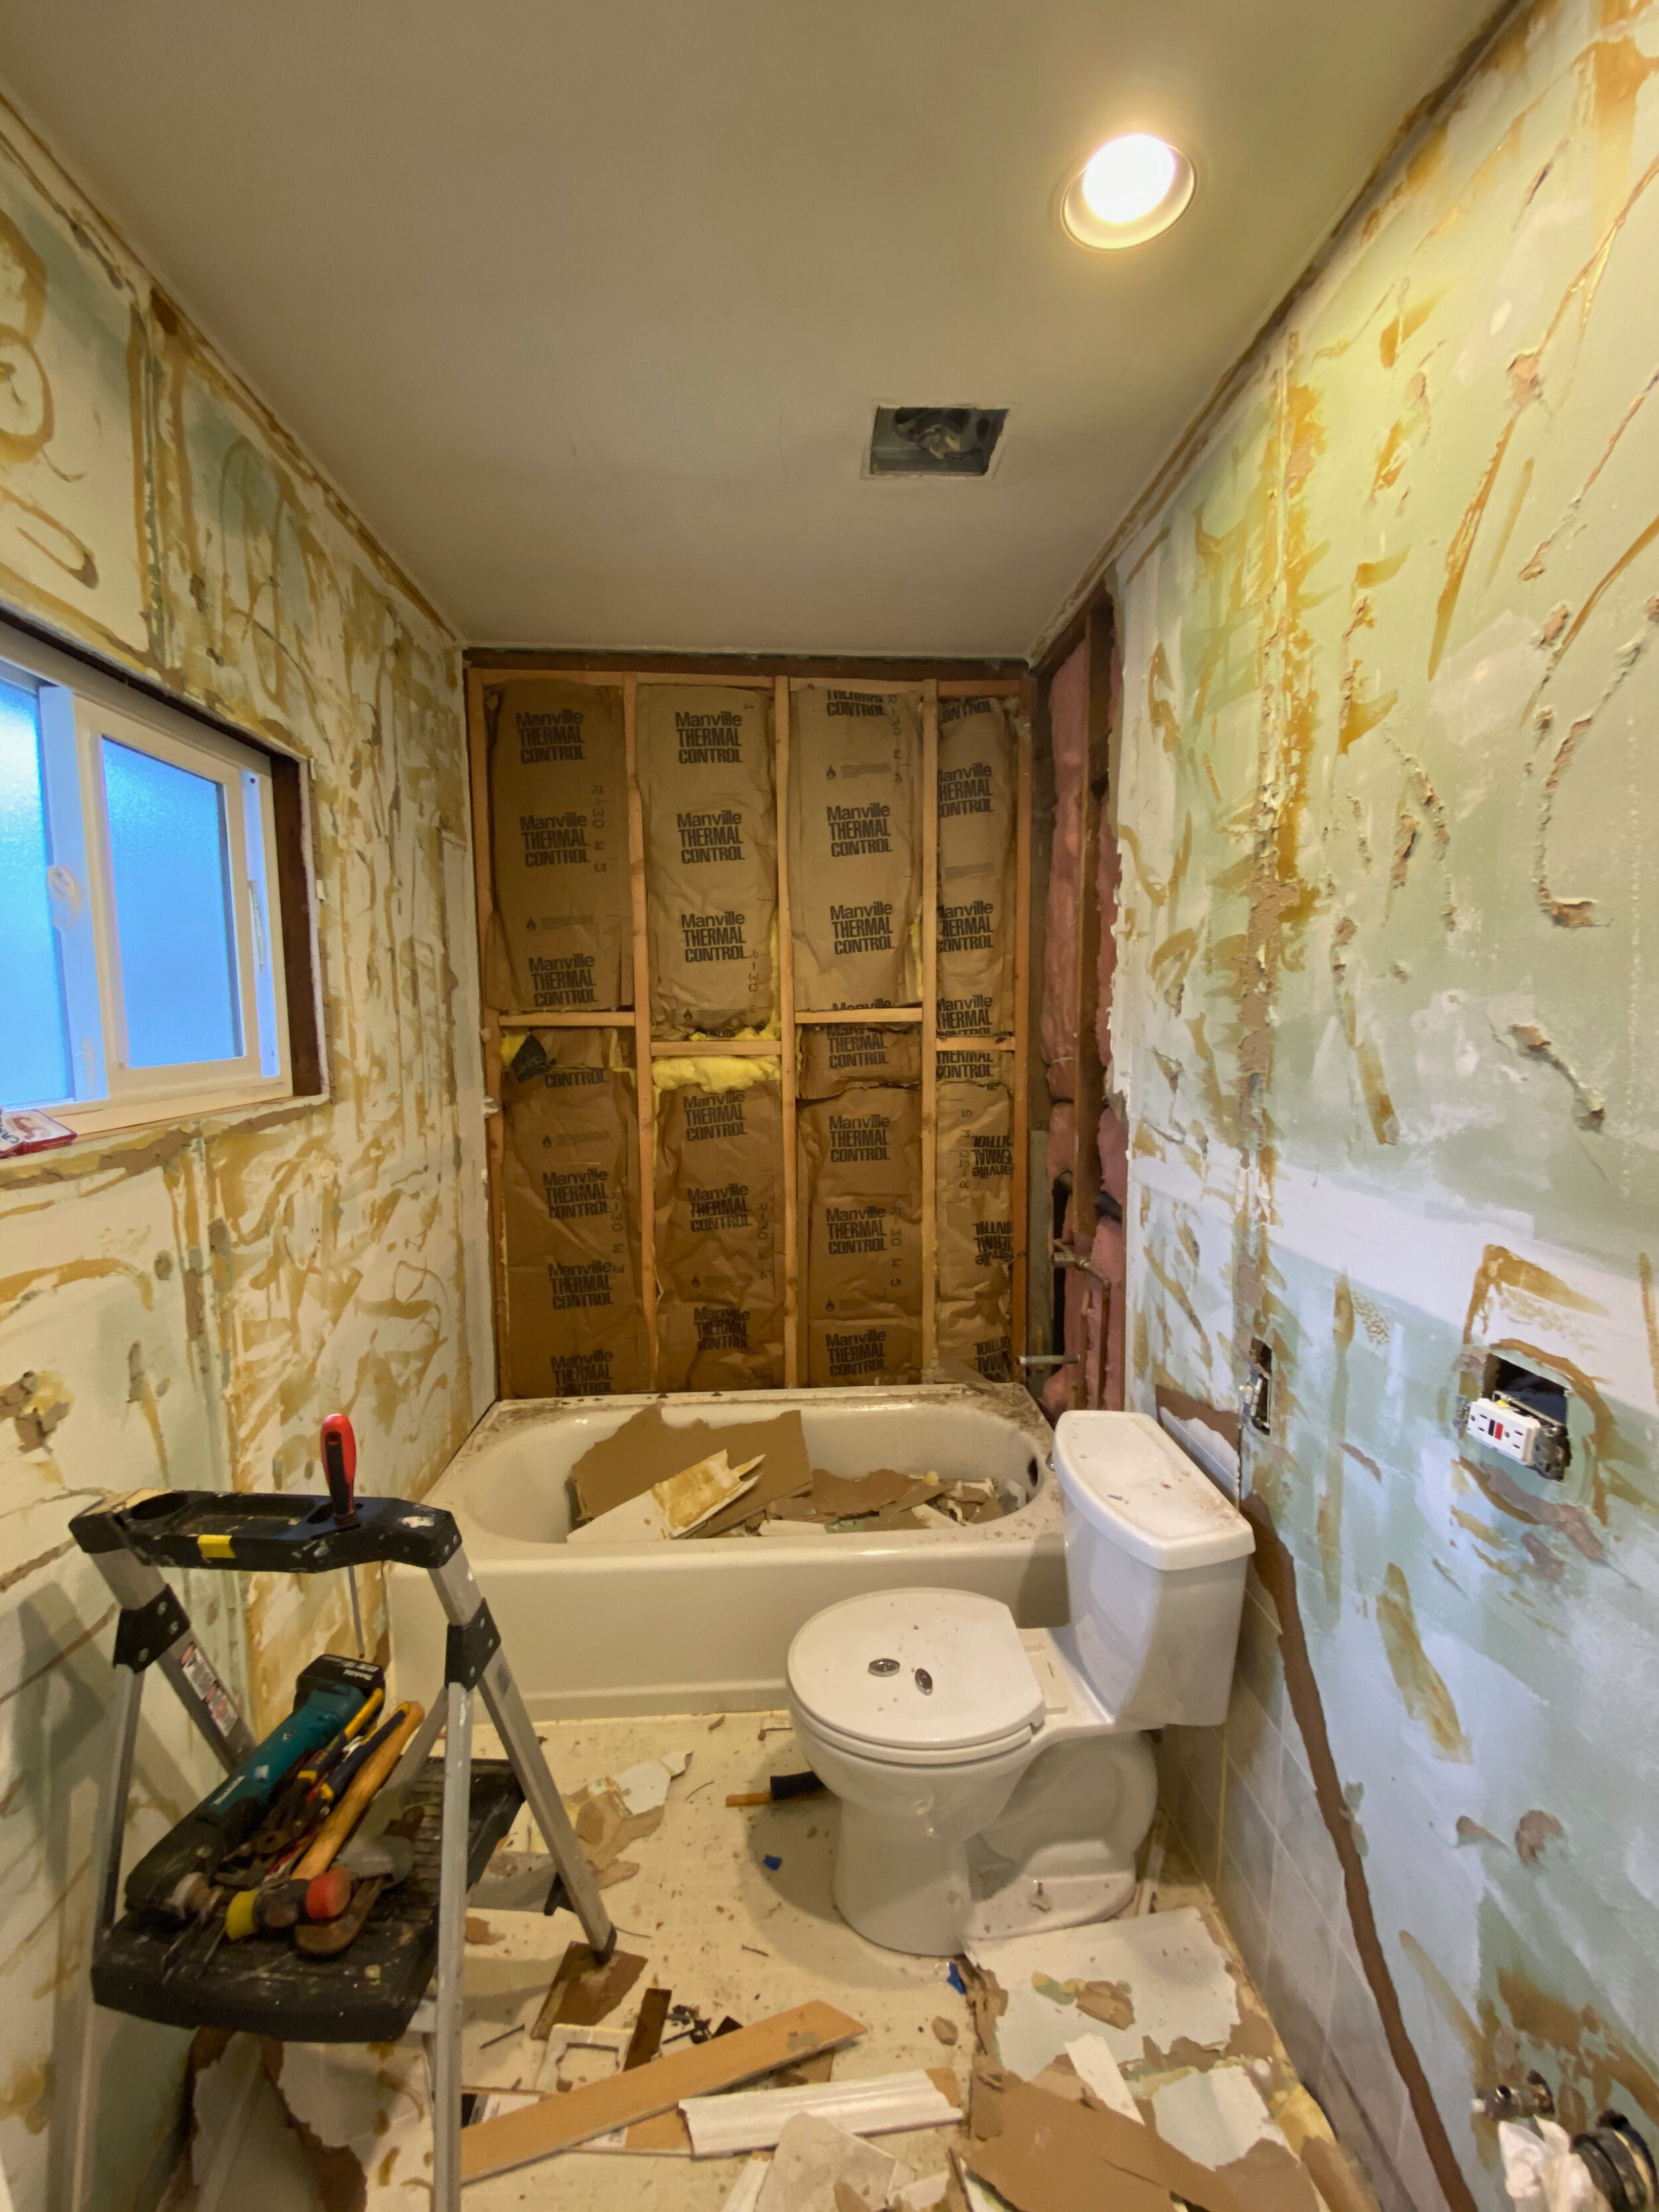
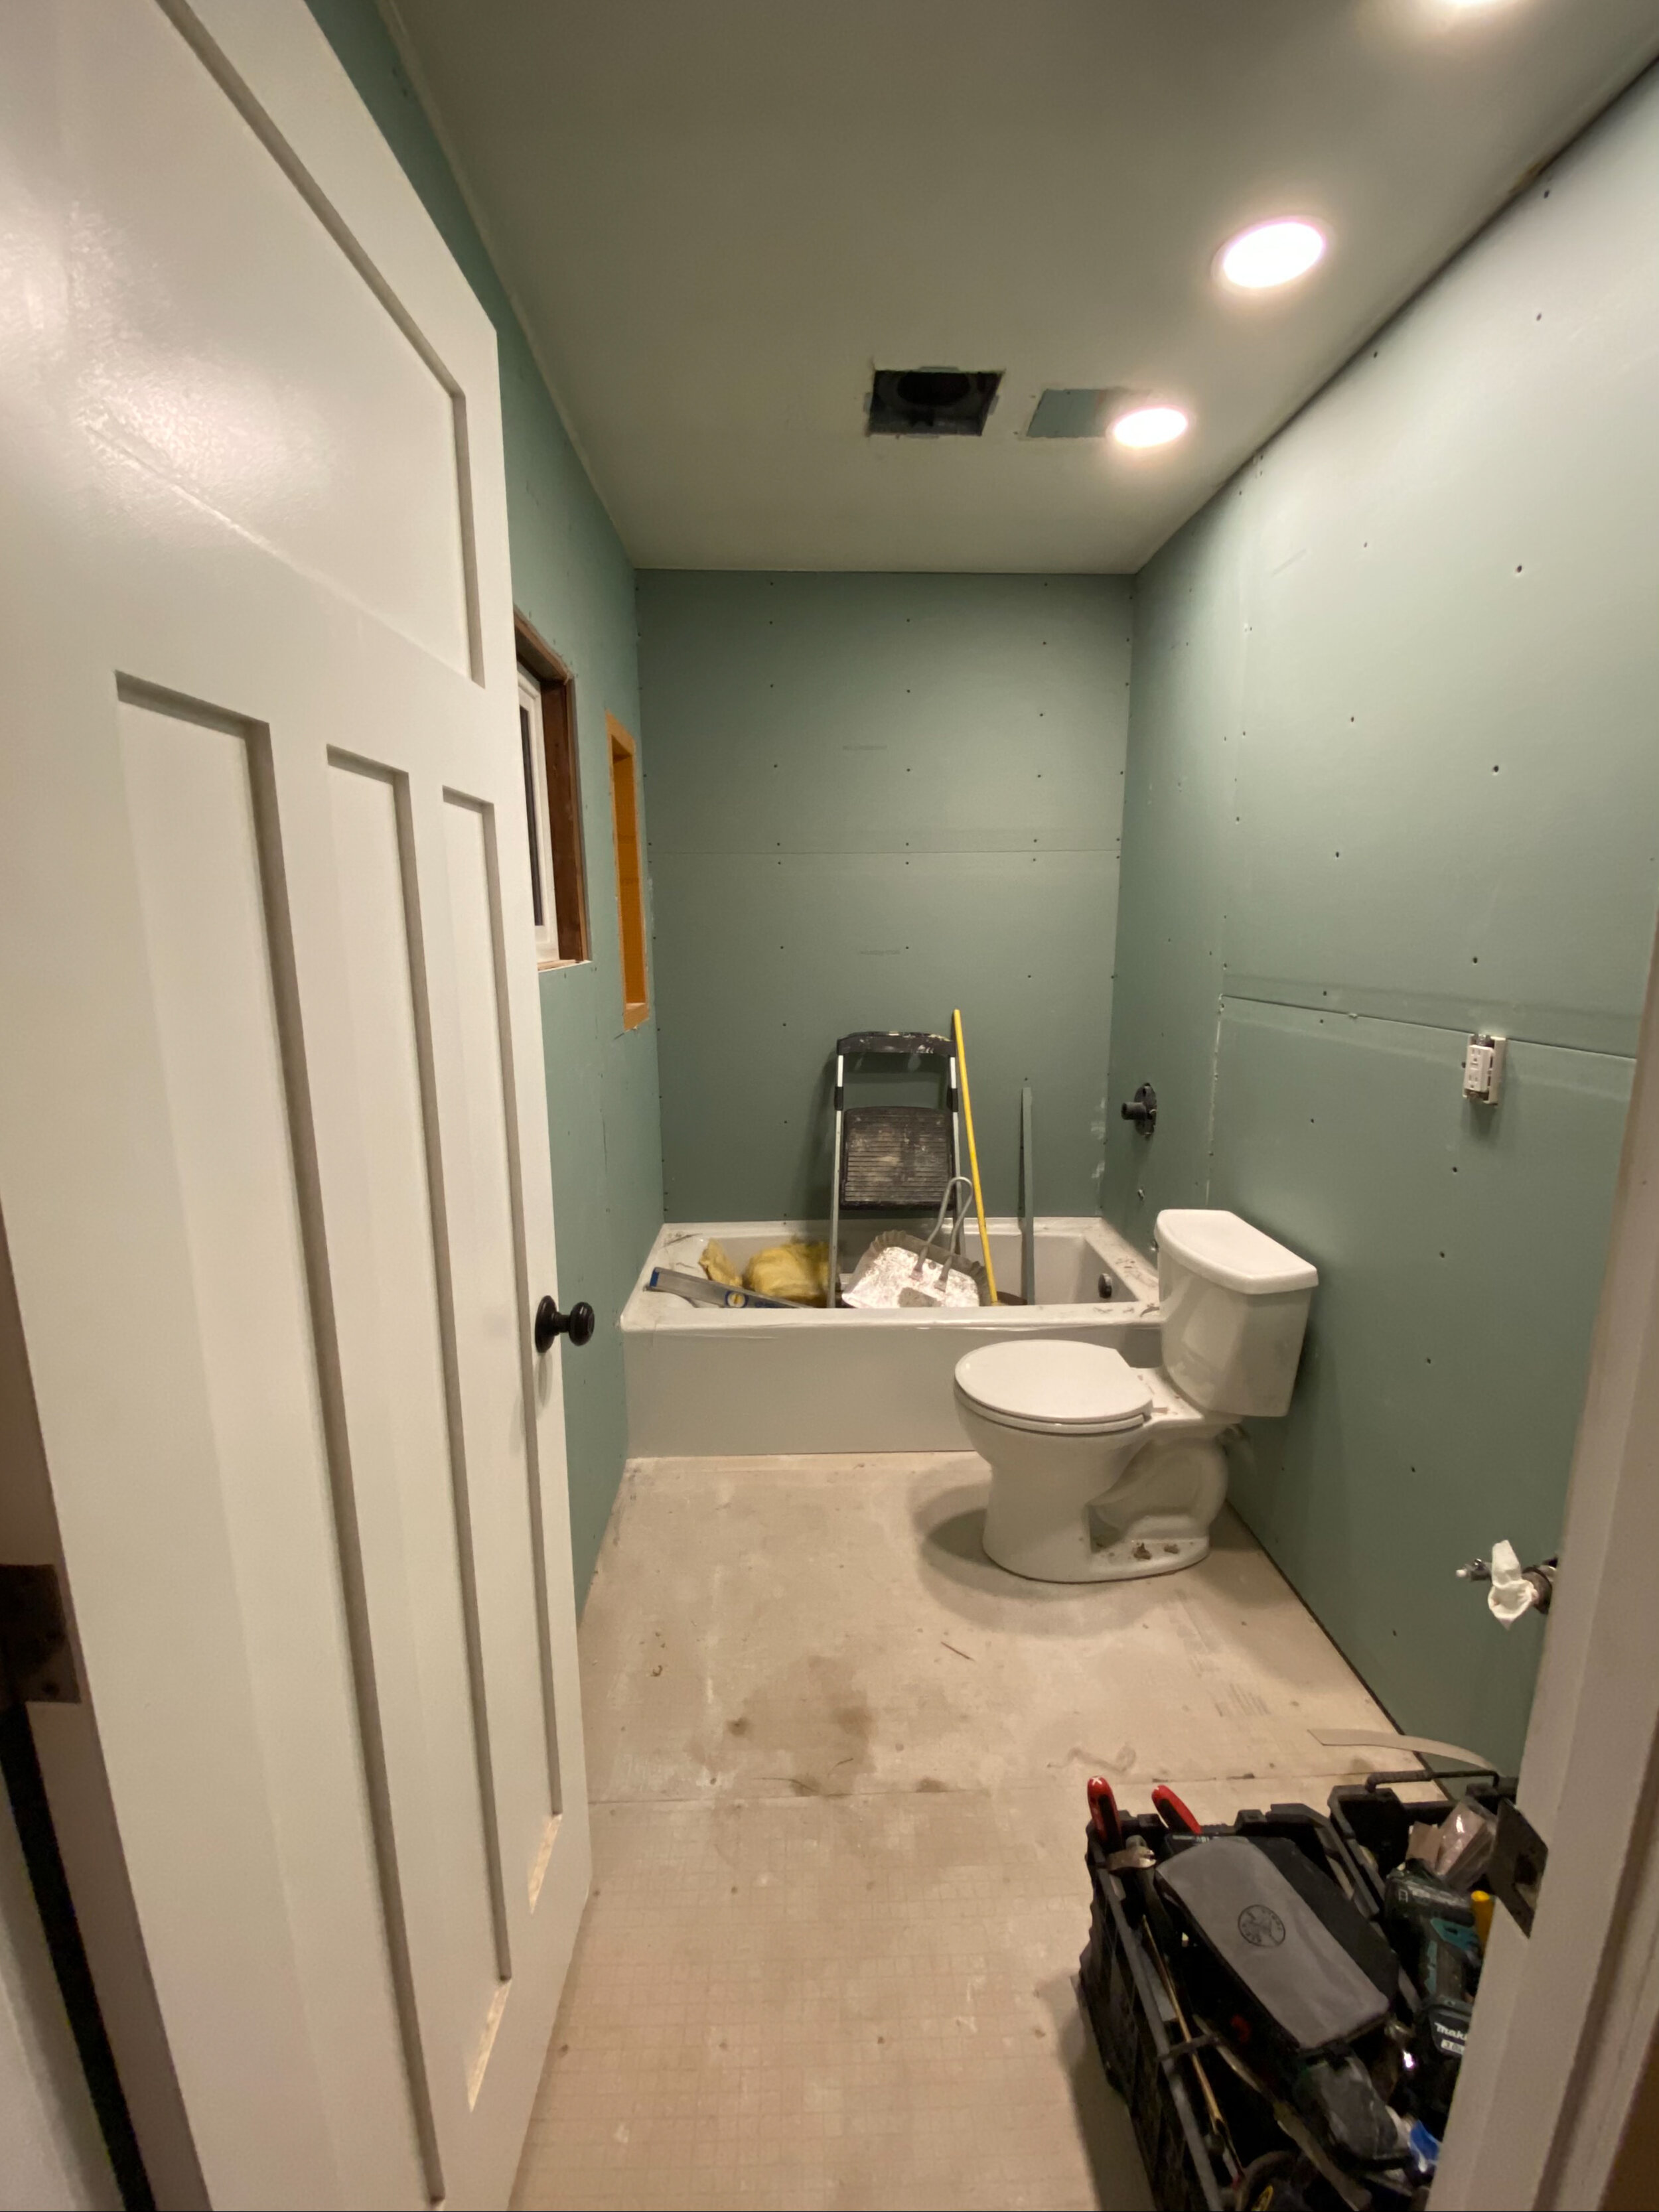
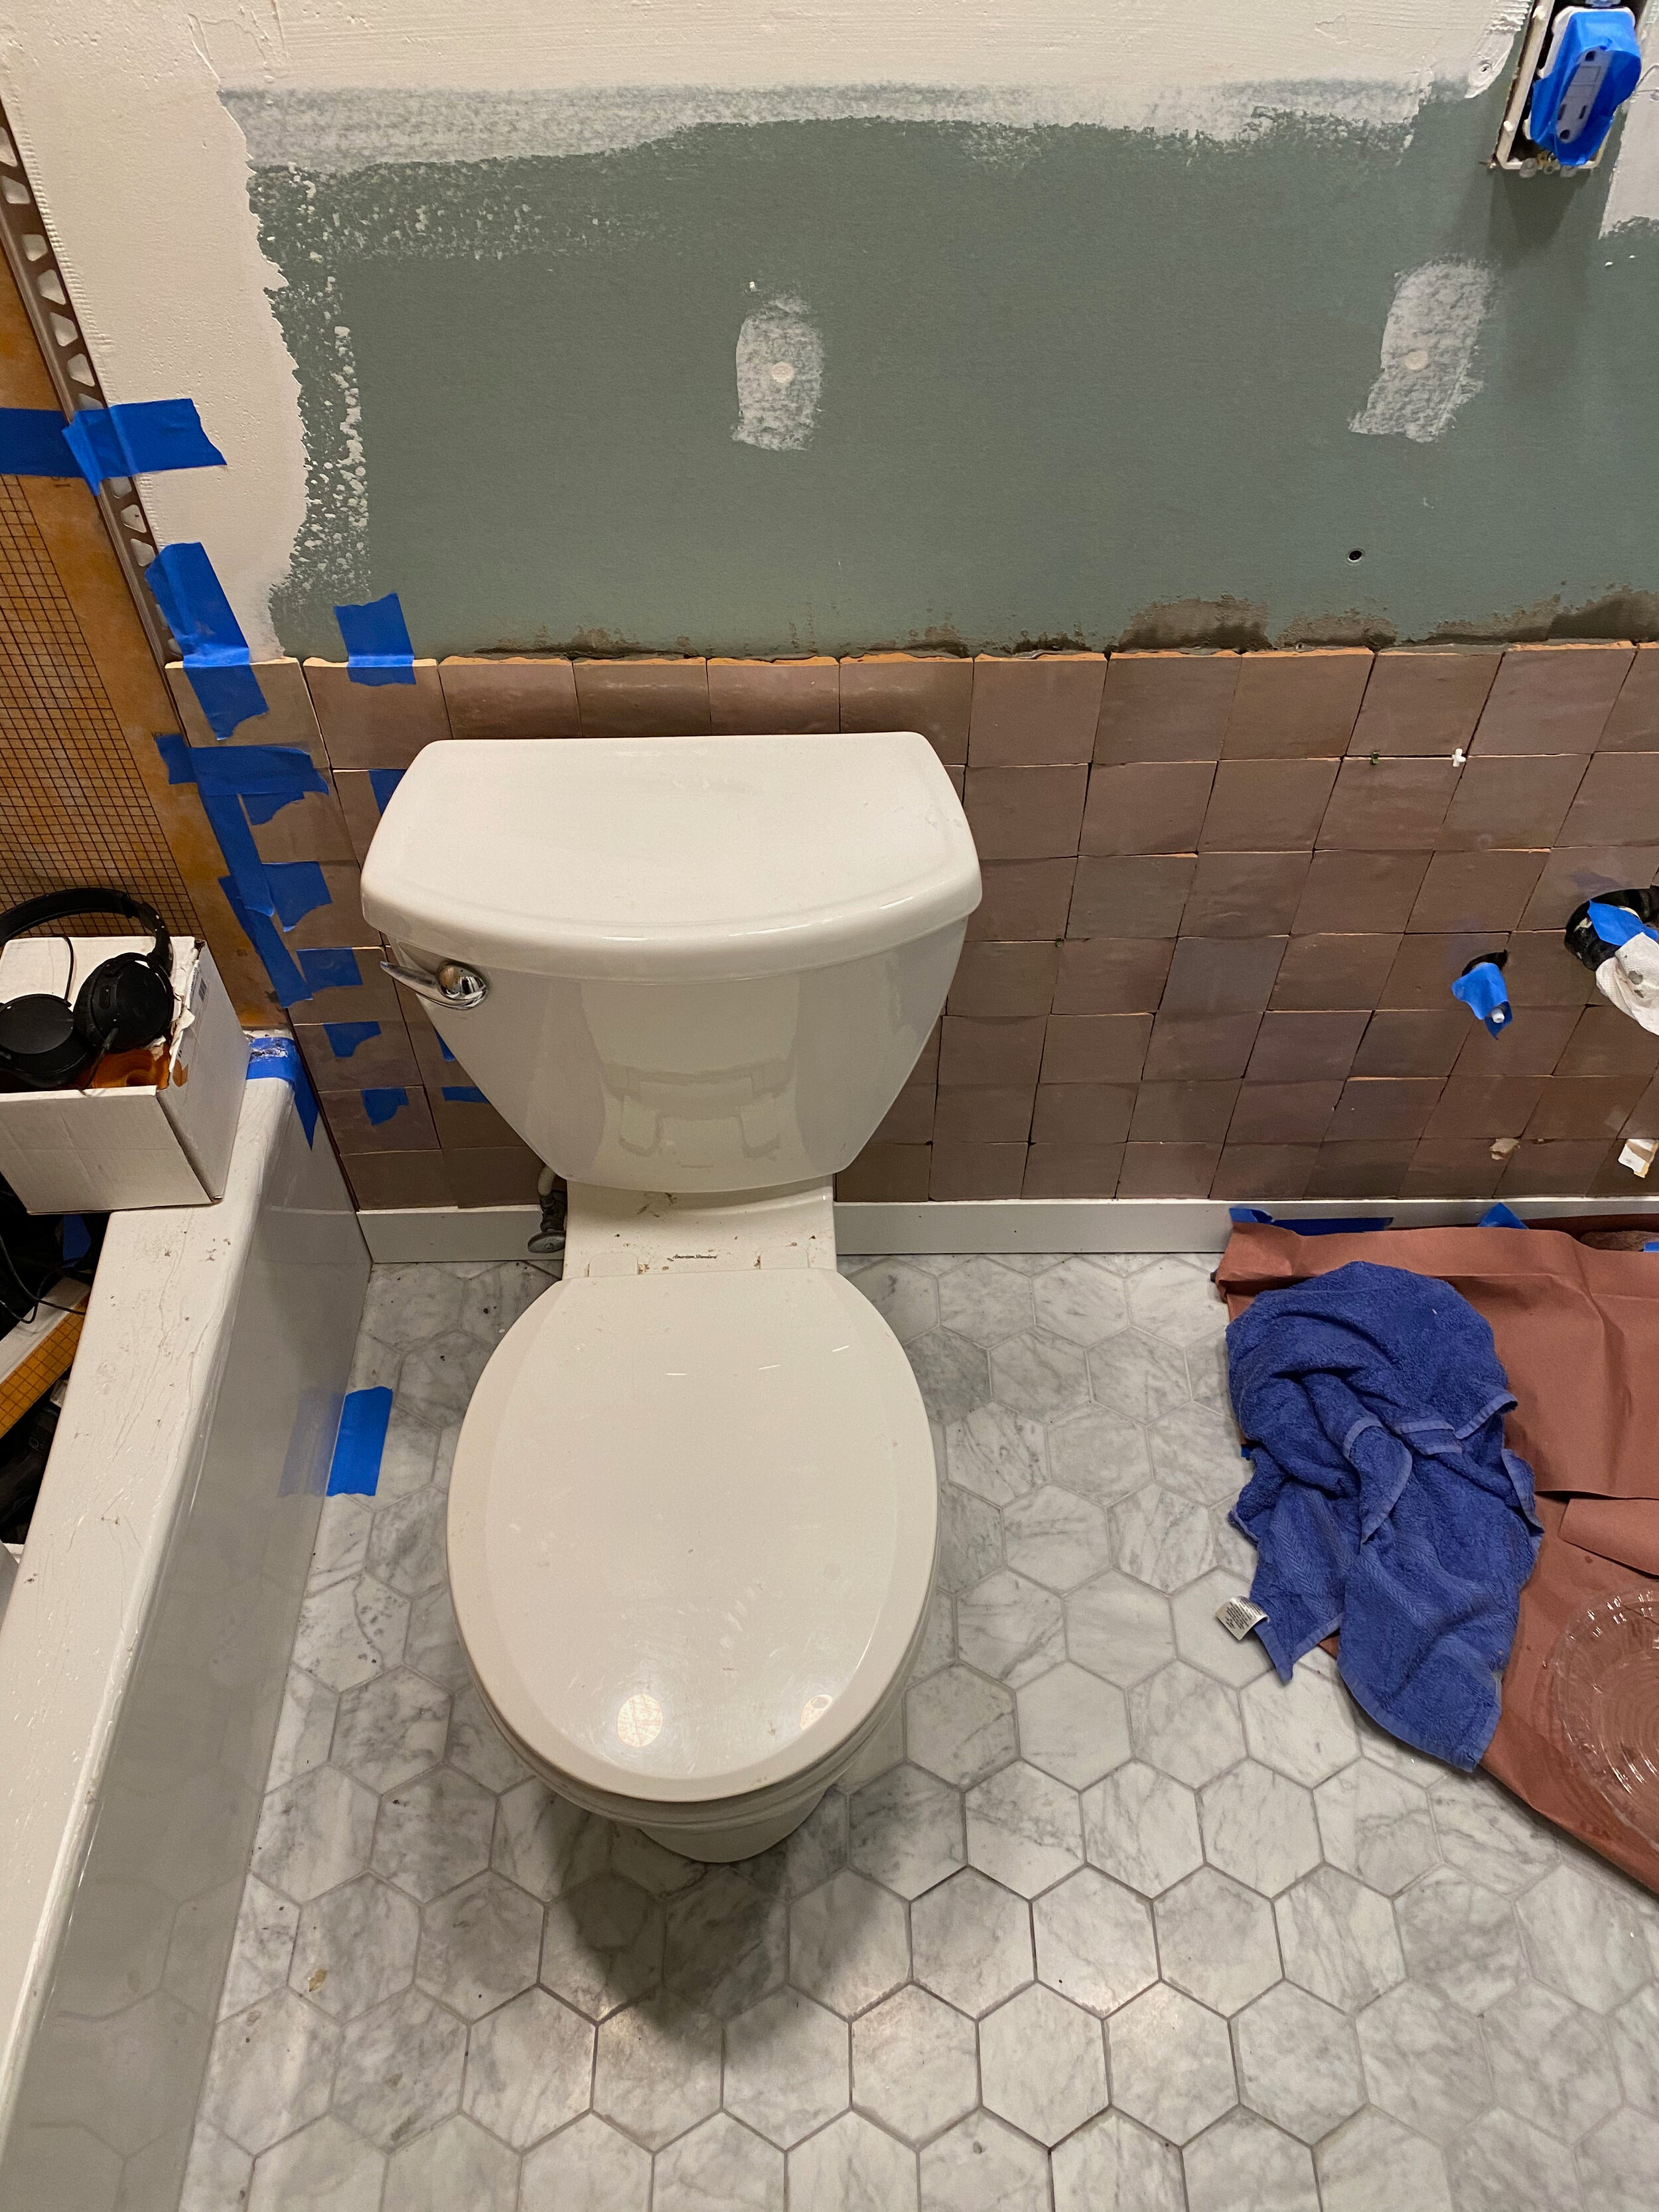
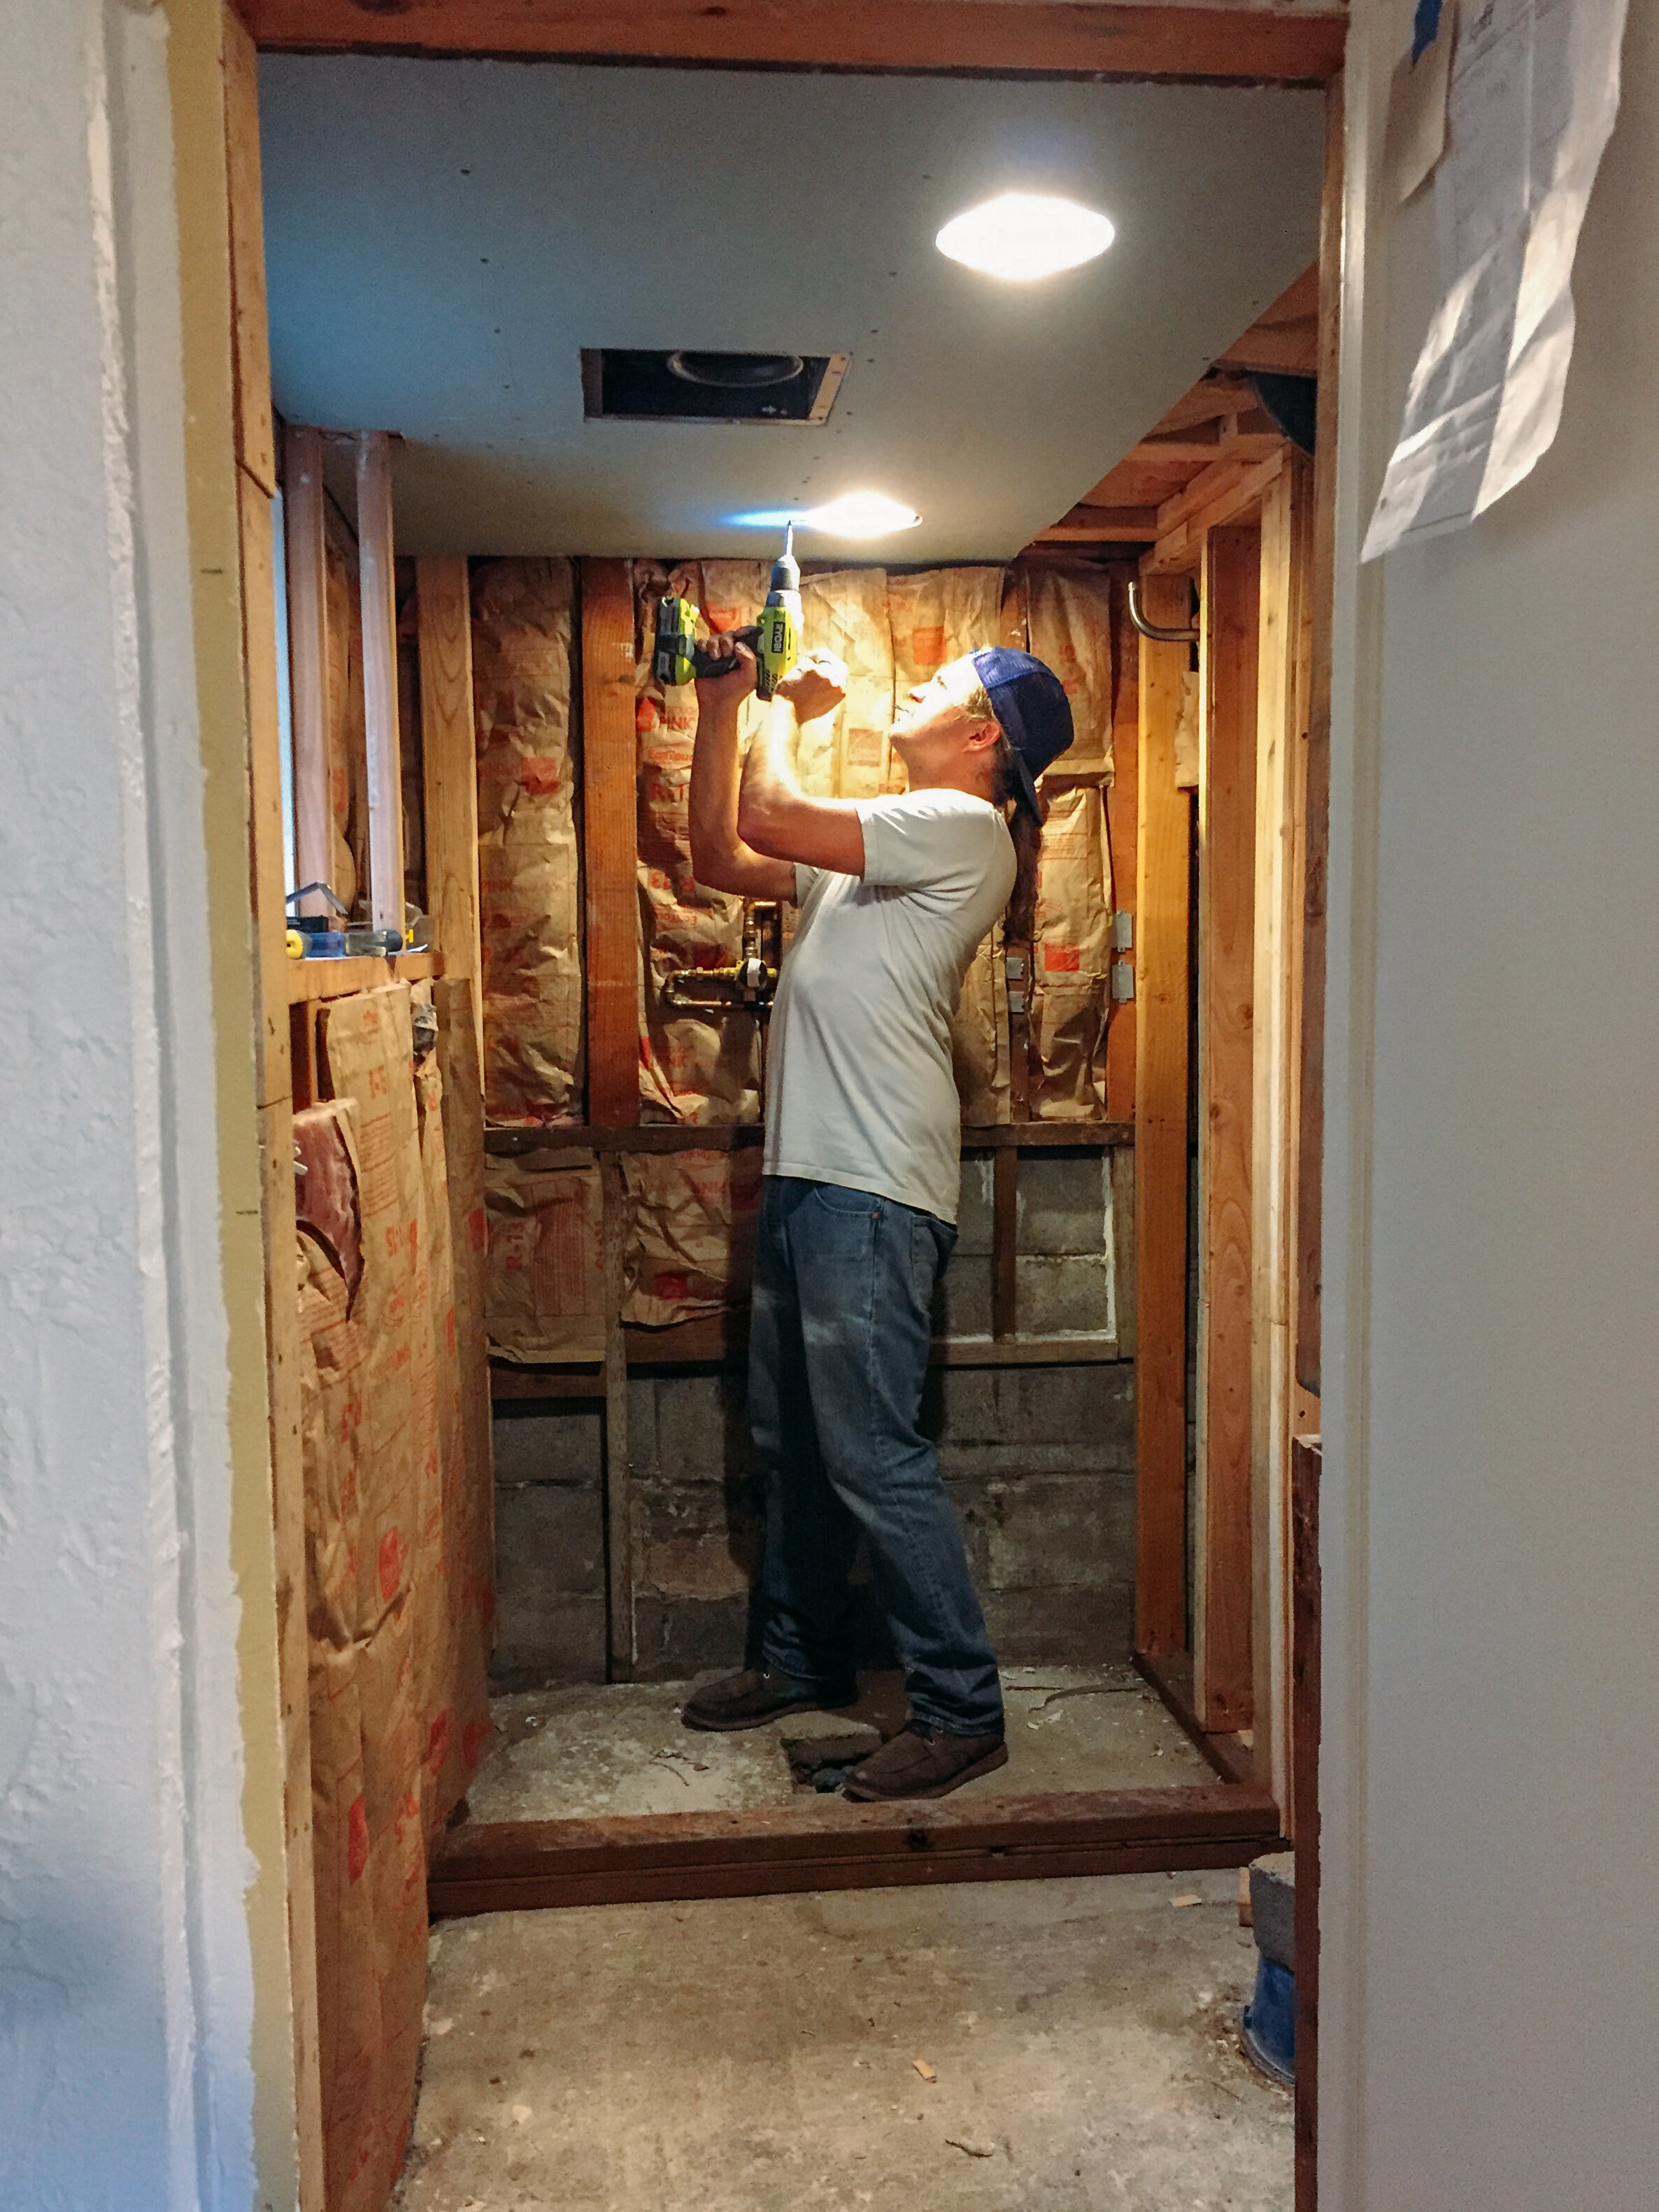
the only thing that stayed the same throughout the remodel was the toilet. 😂 dang that thing went through a lot. pete & sam would have to remove it and set it out on the porch most days - luckily we figured out a system to put the toilet back in place every evening so peter & i weren’t without a toilet (which was what i feared most i think when planning the bathroom remodel, haha). i think just 1 night we were without our toilet and used the downstairs one - our downstairs has a separate entrance, so you have to go outside to use the downstairs bathroom or laundry. and people live down there, so we didn’t want to have to intrude too much.

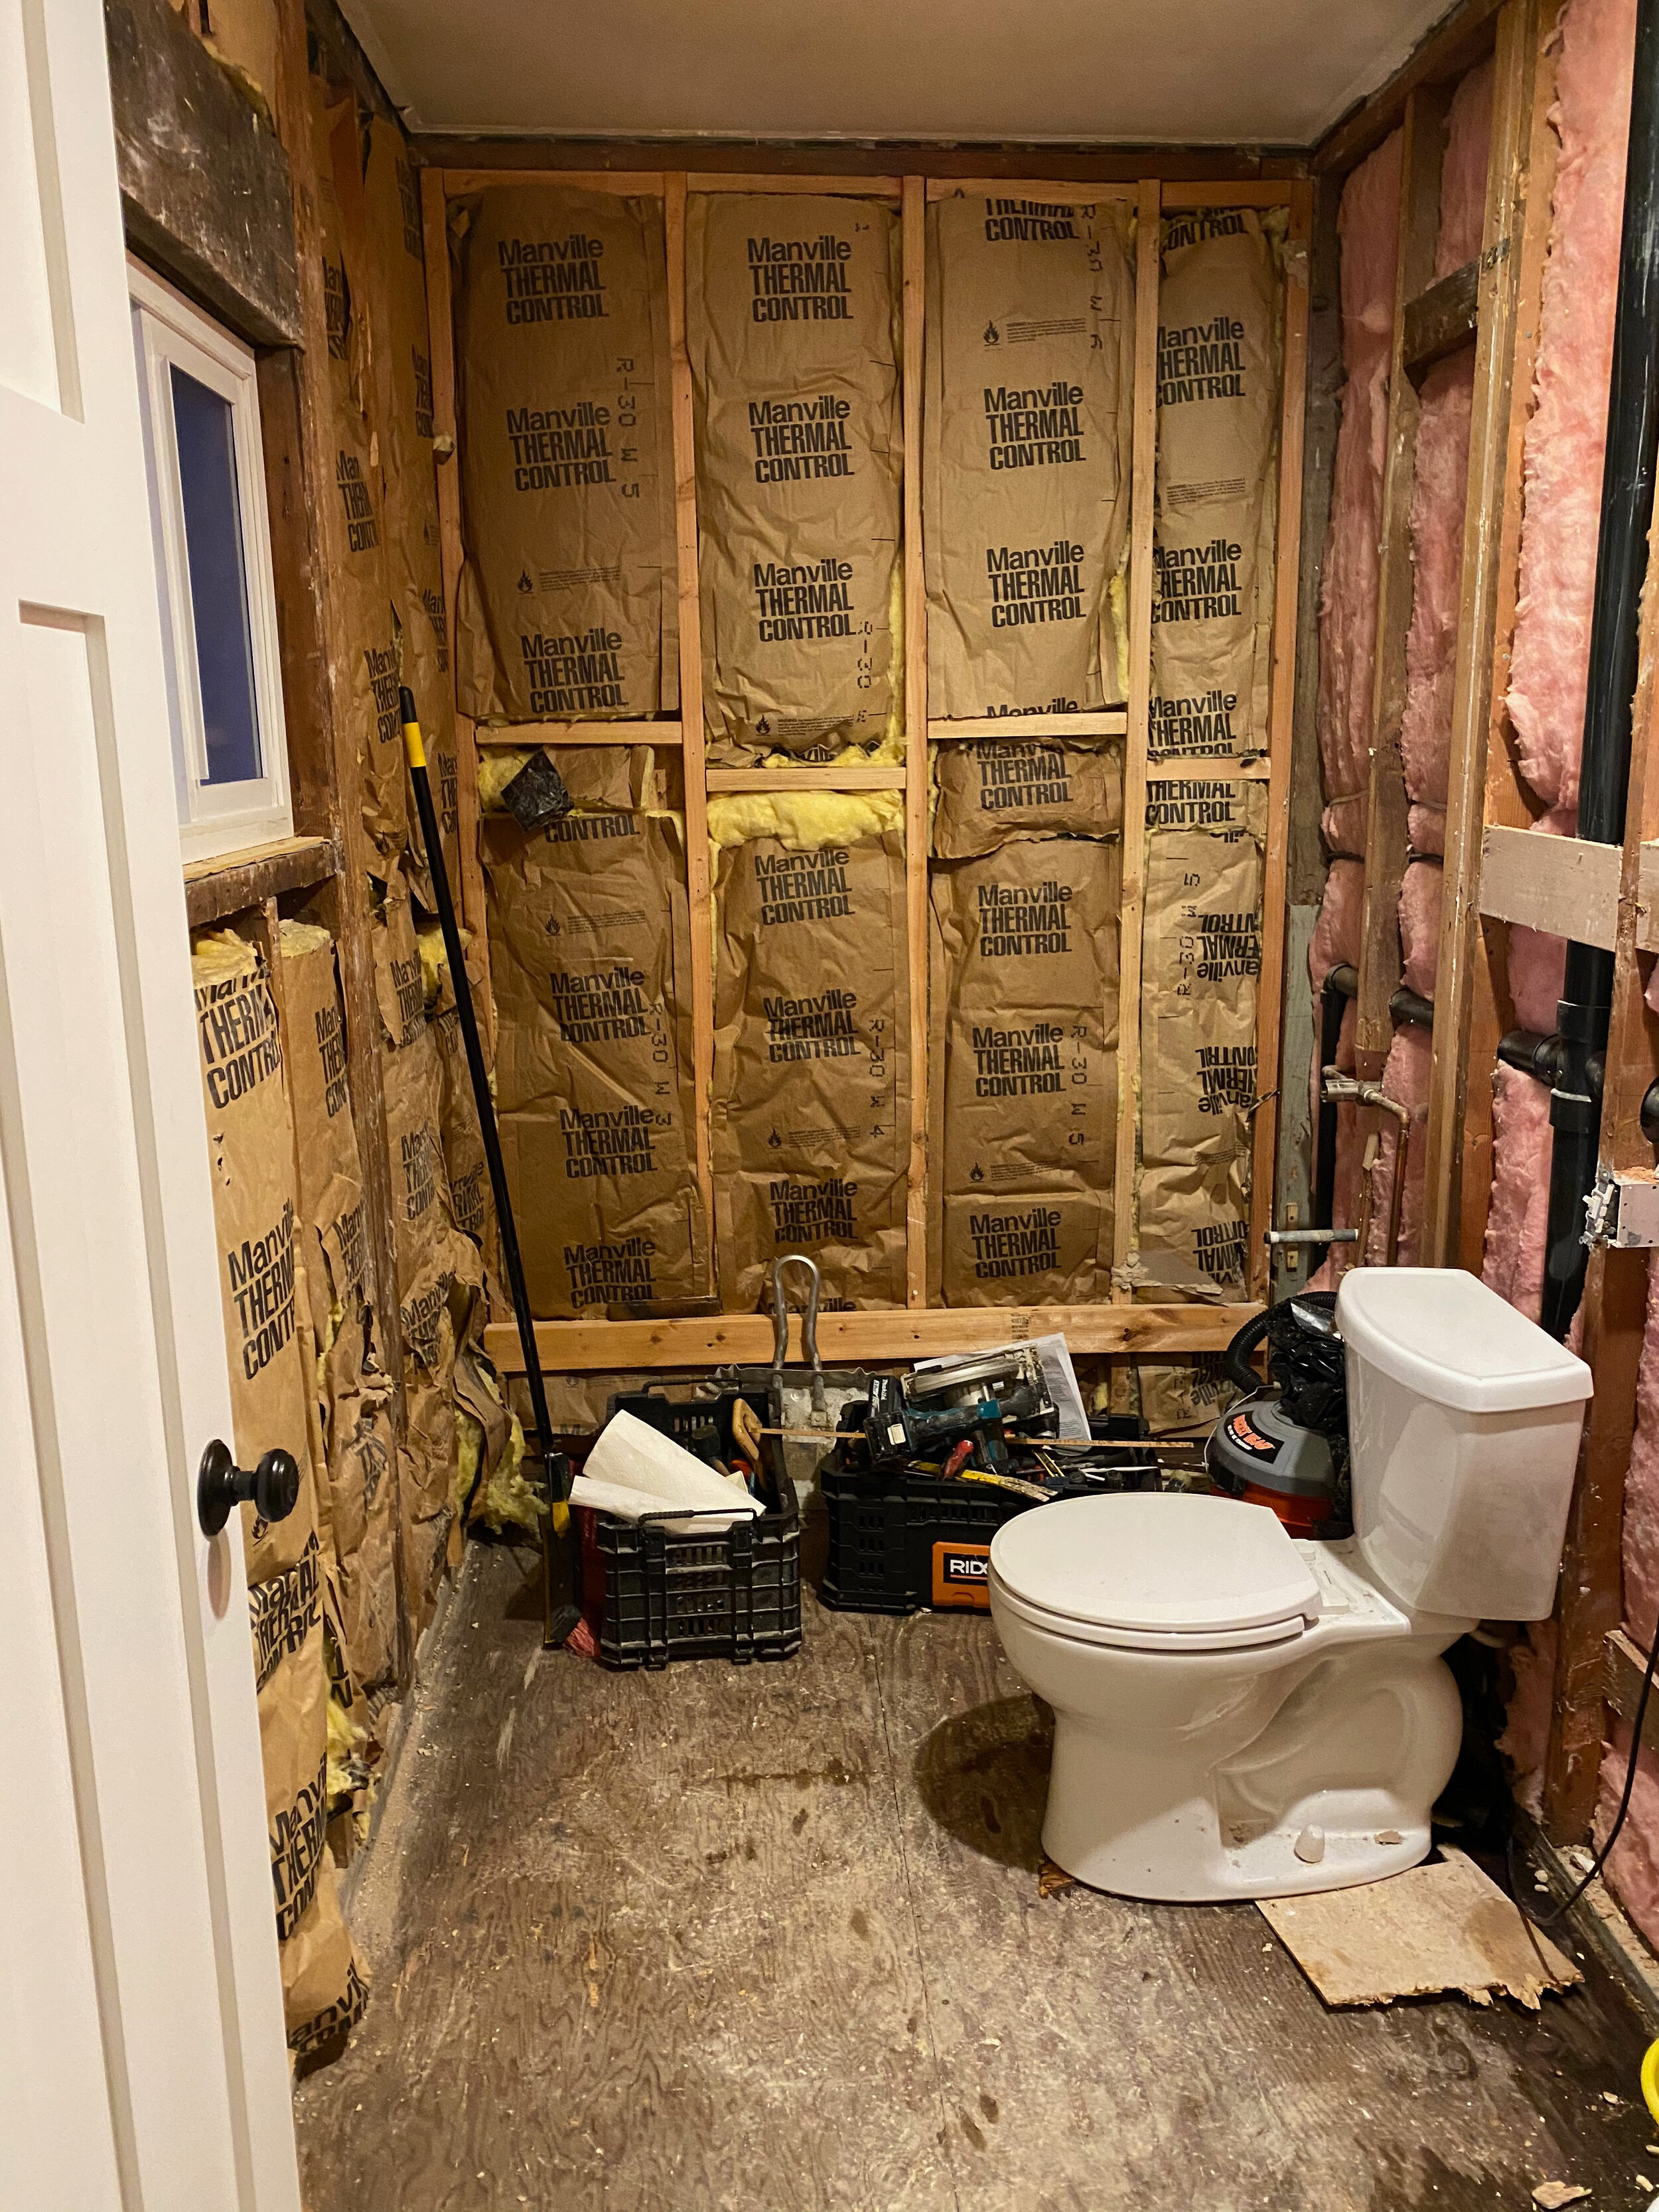
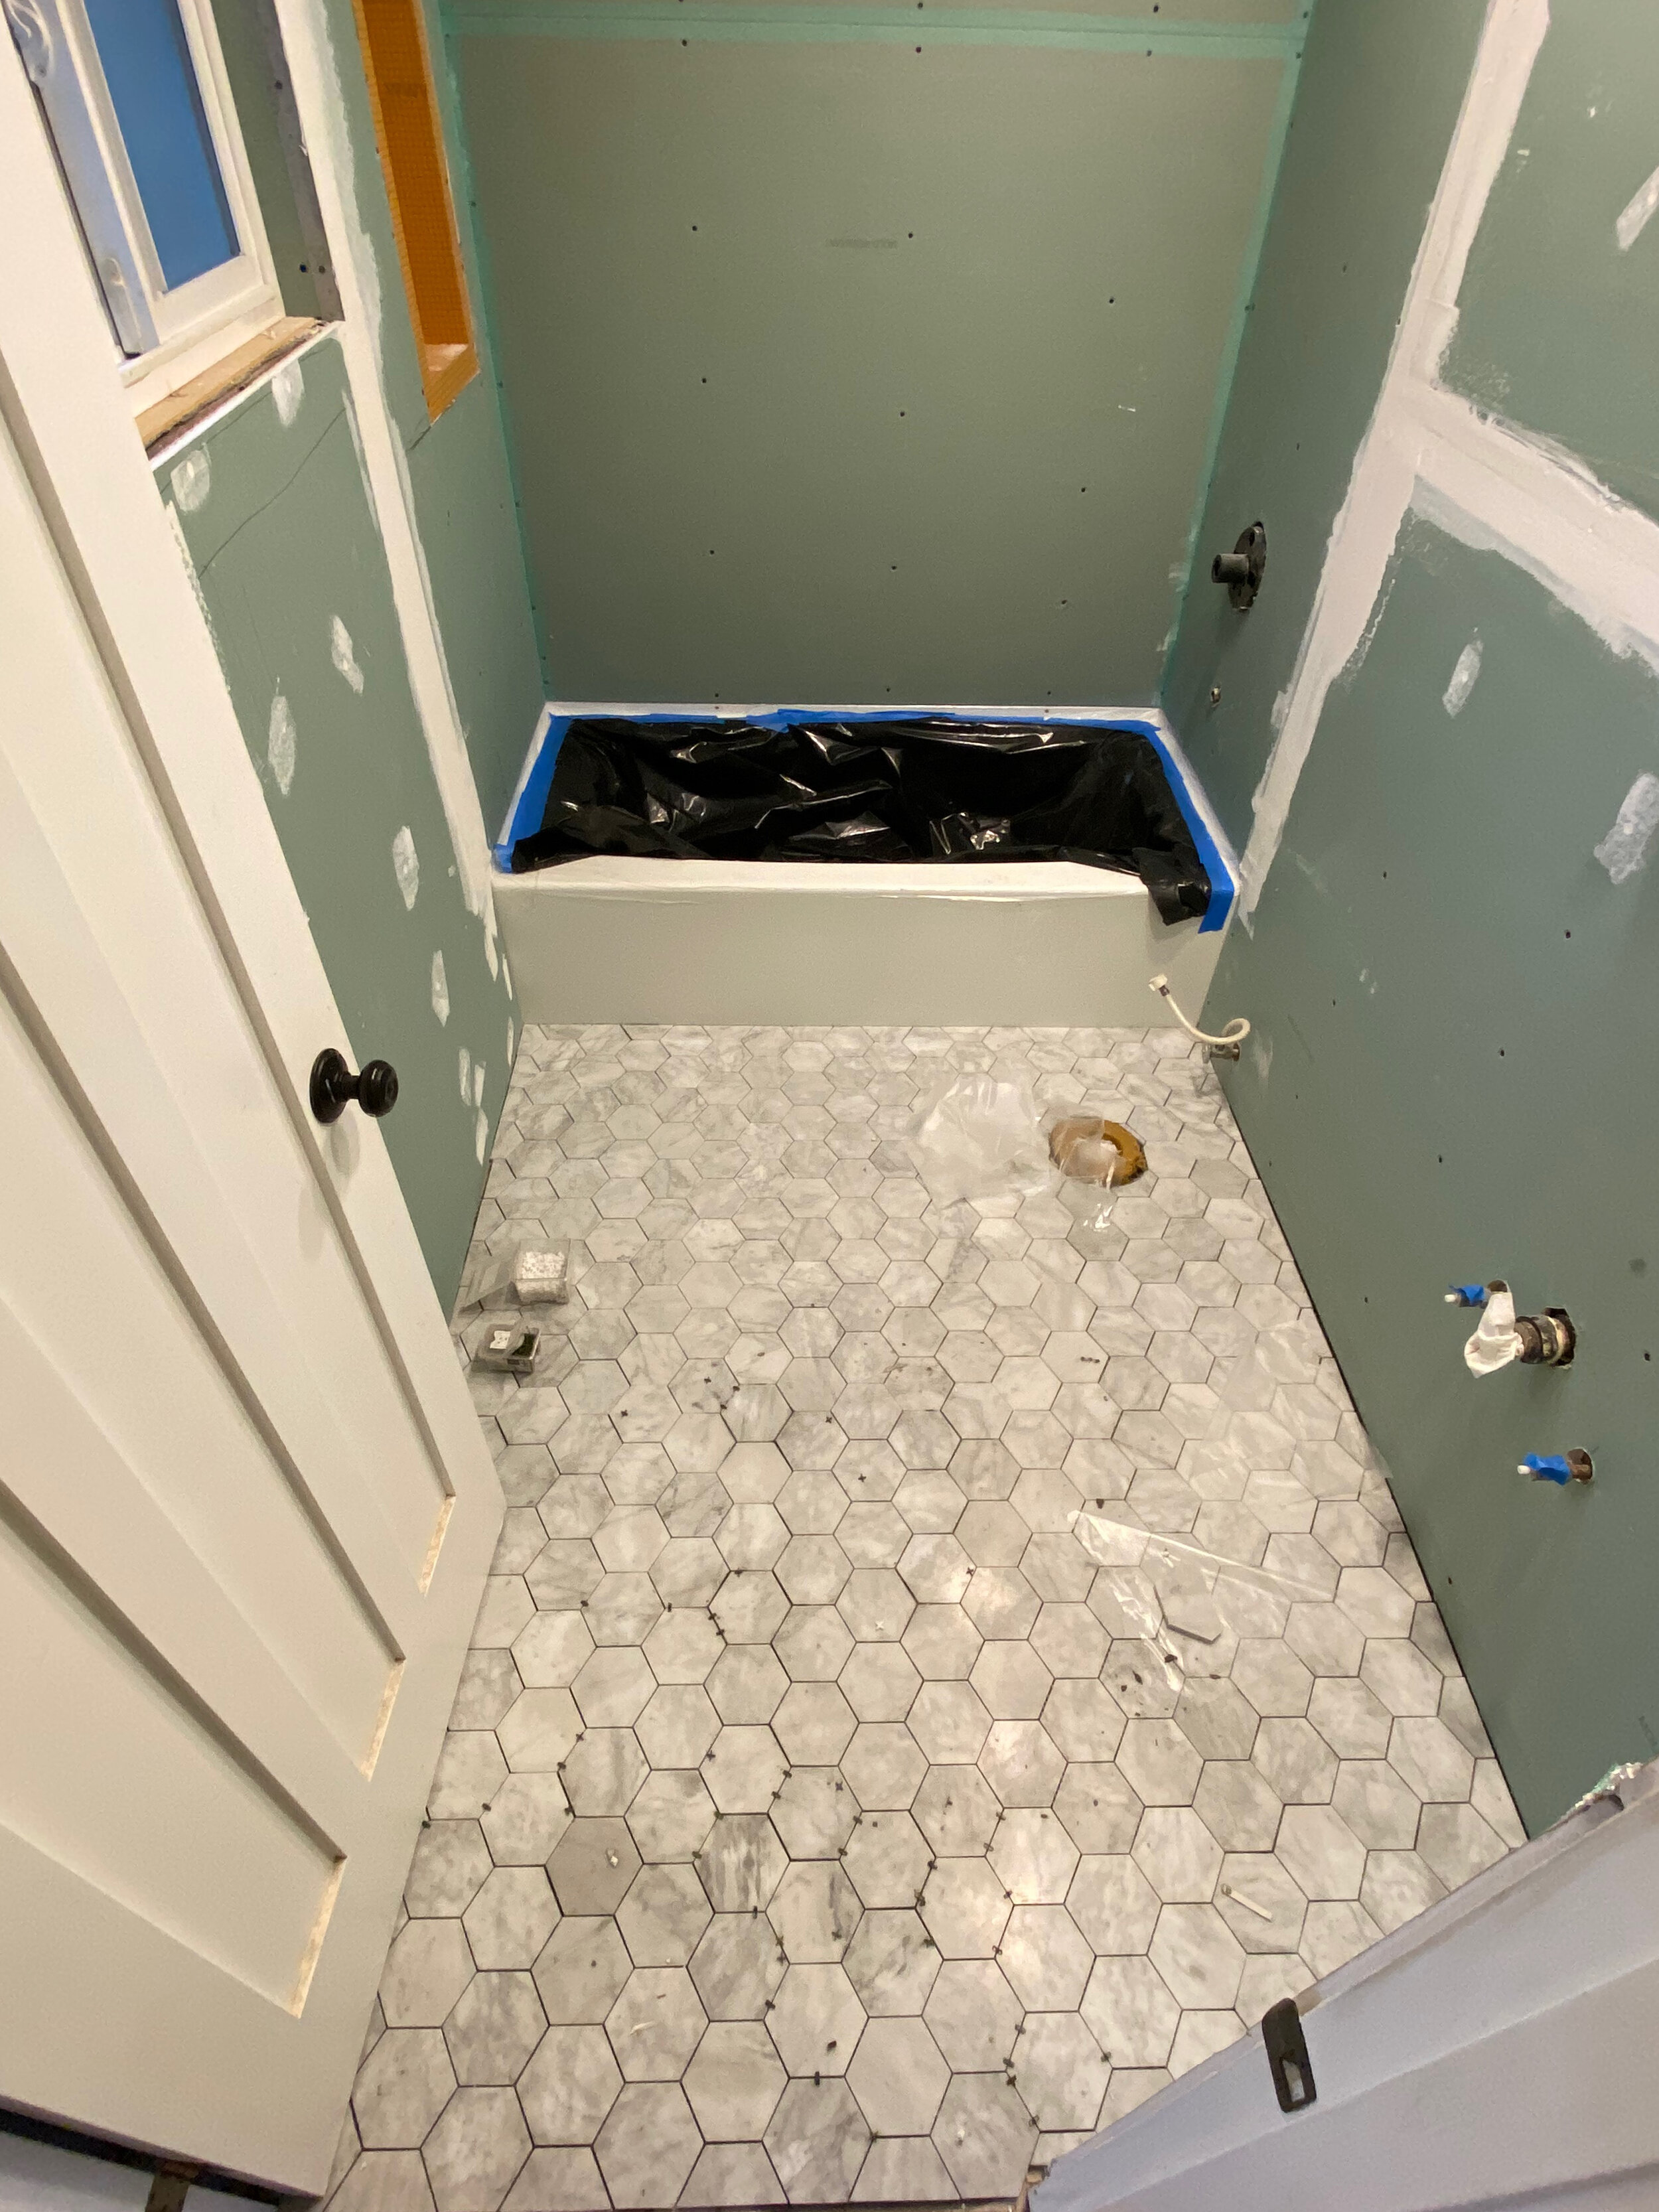
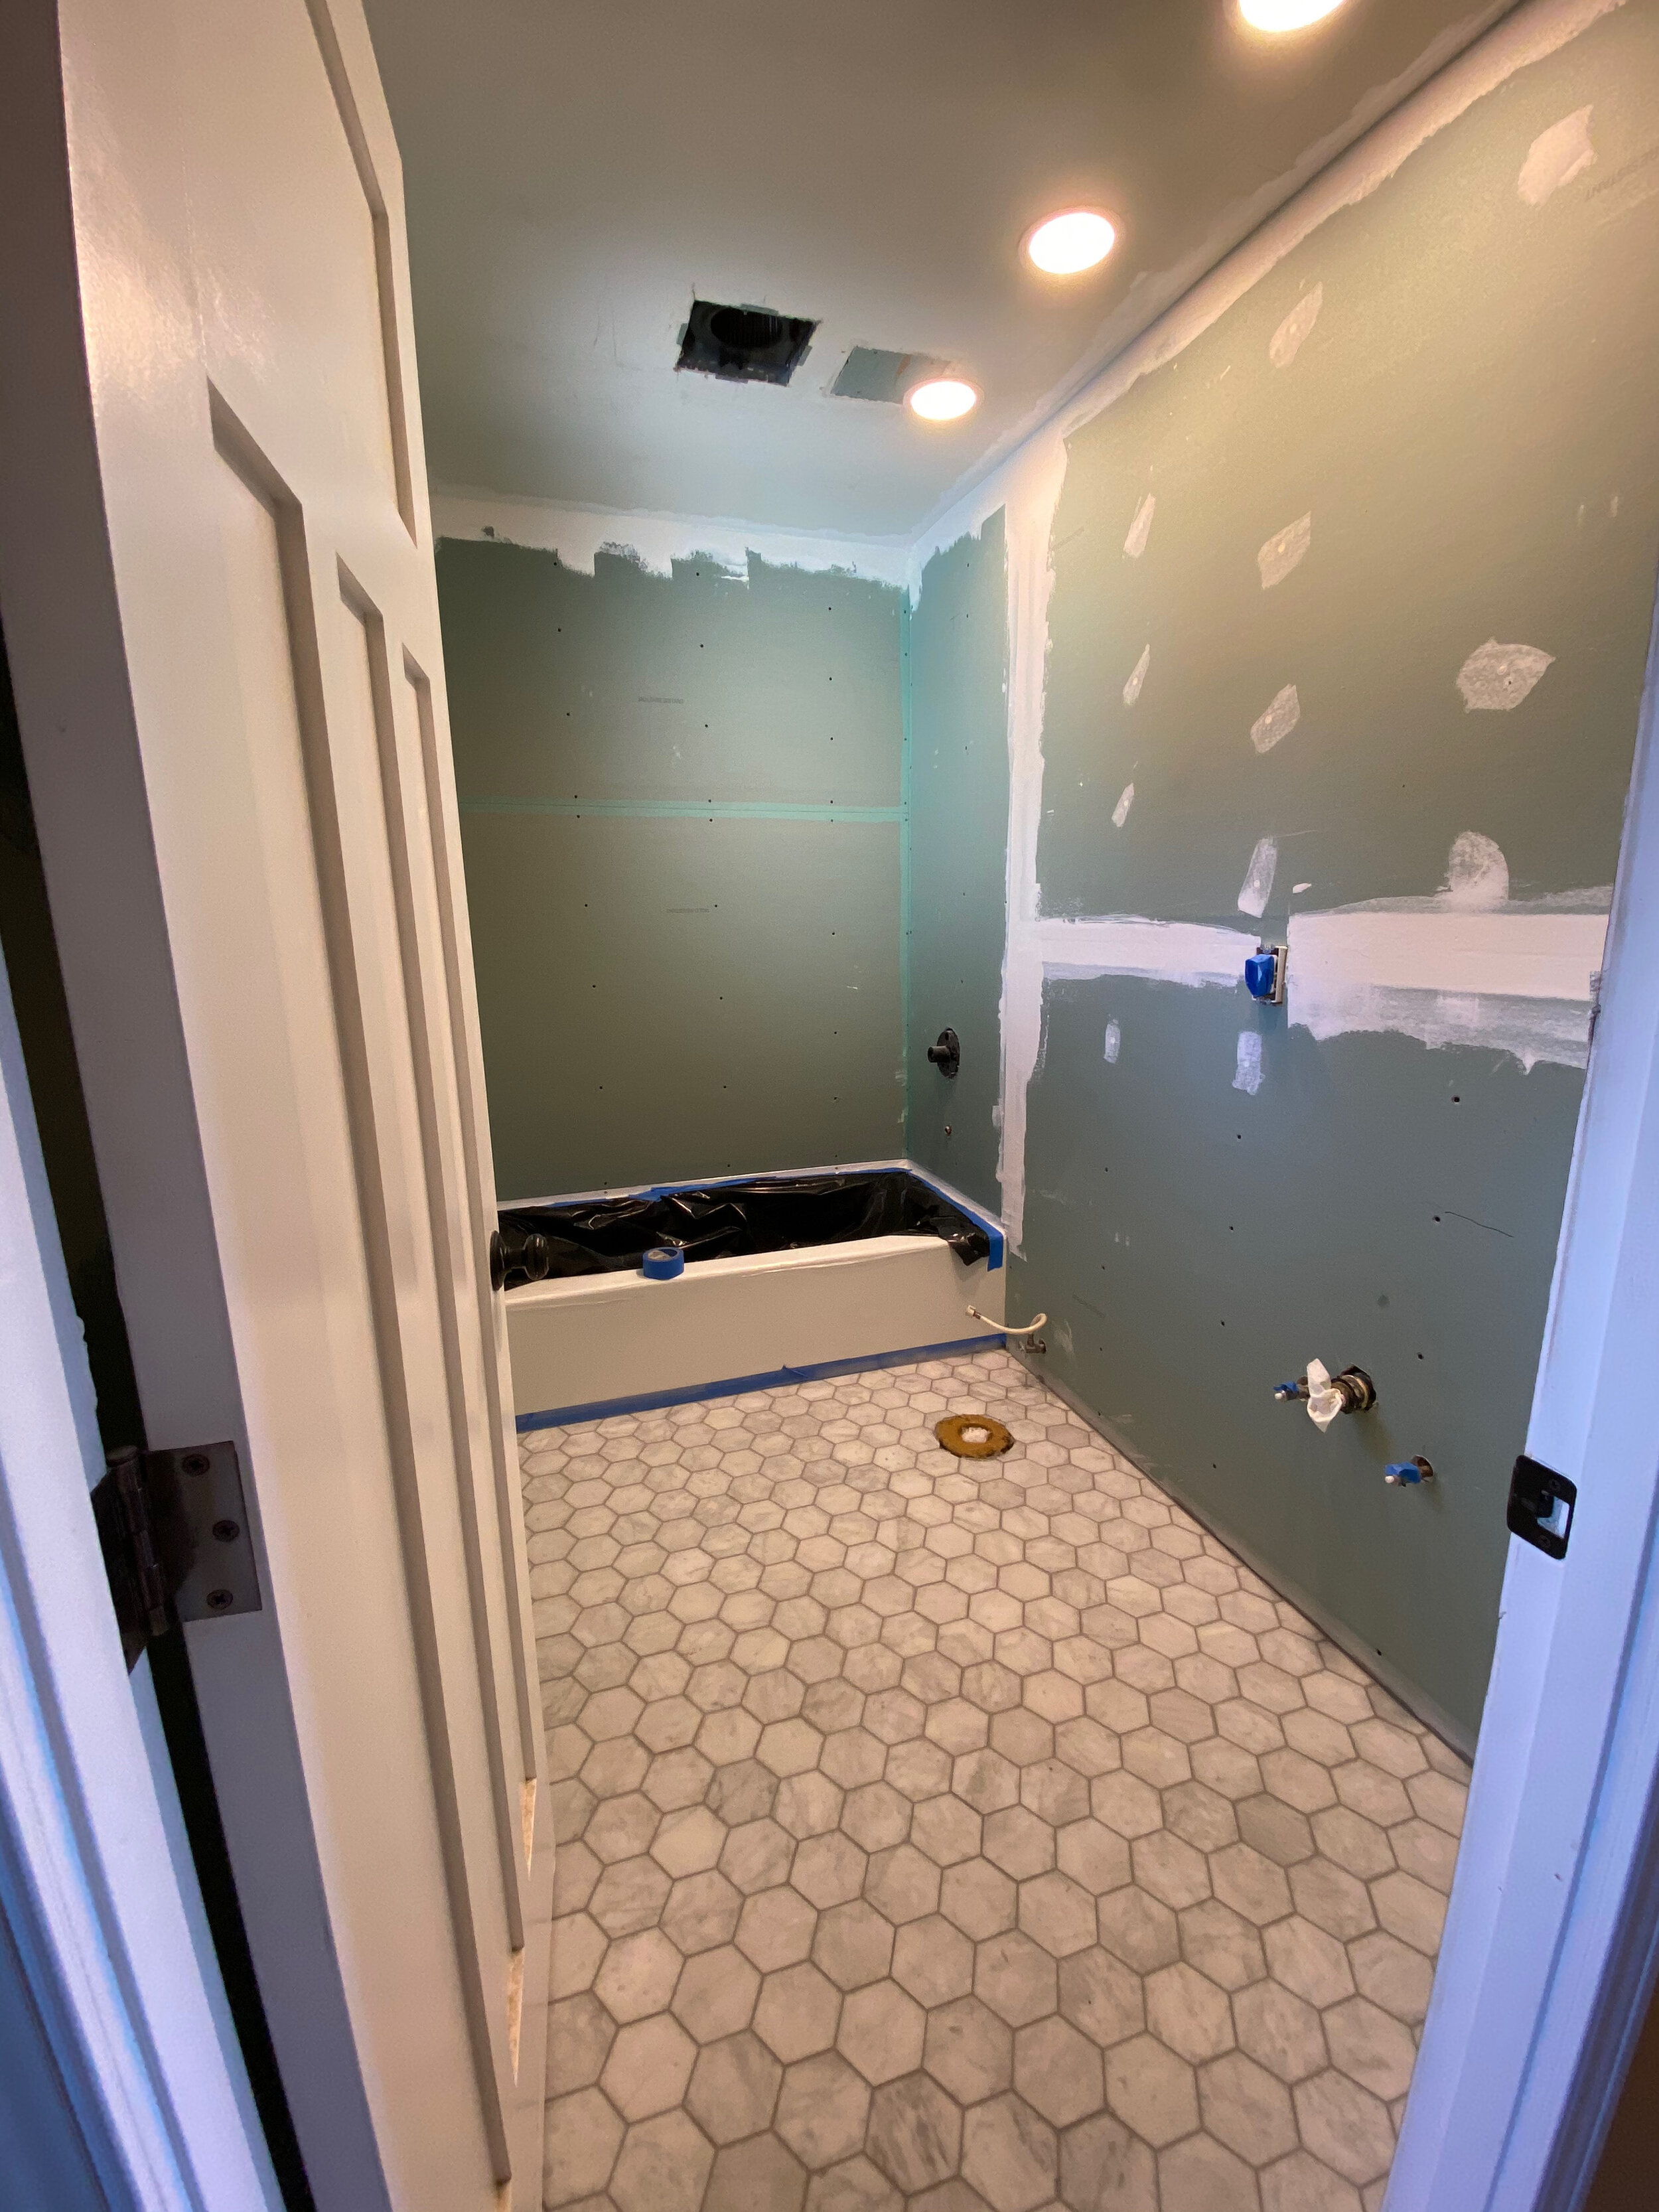
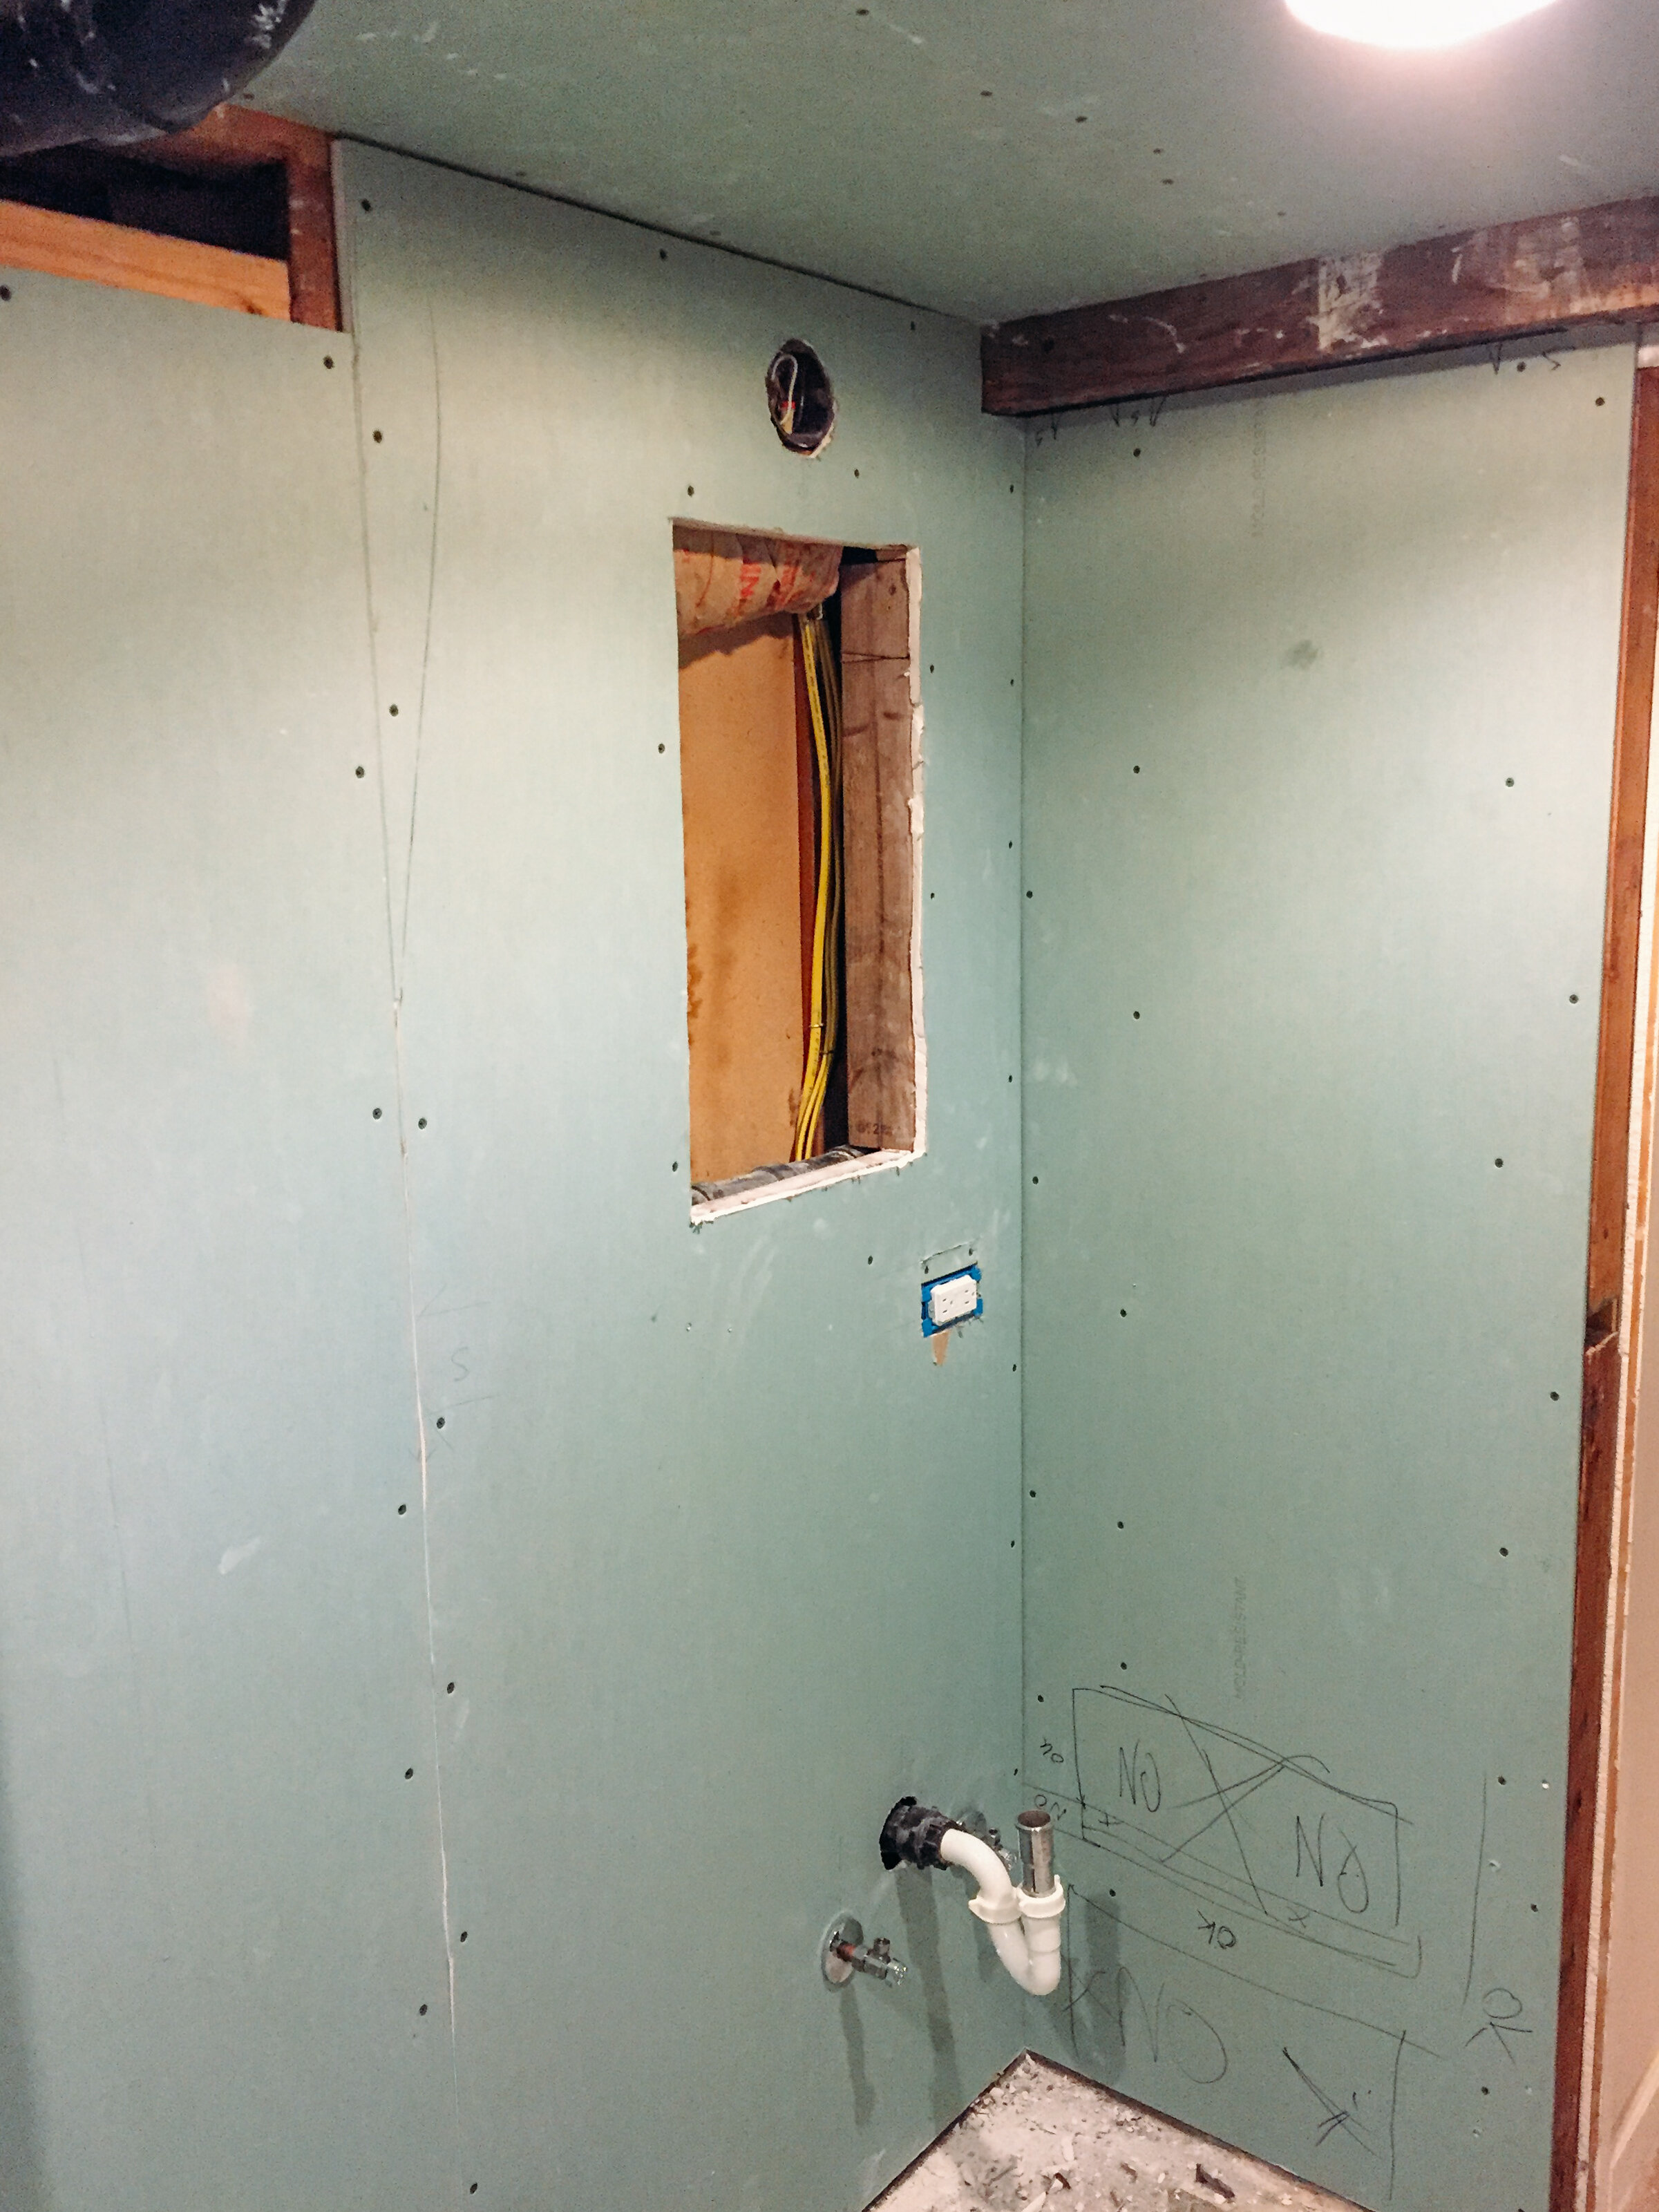
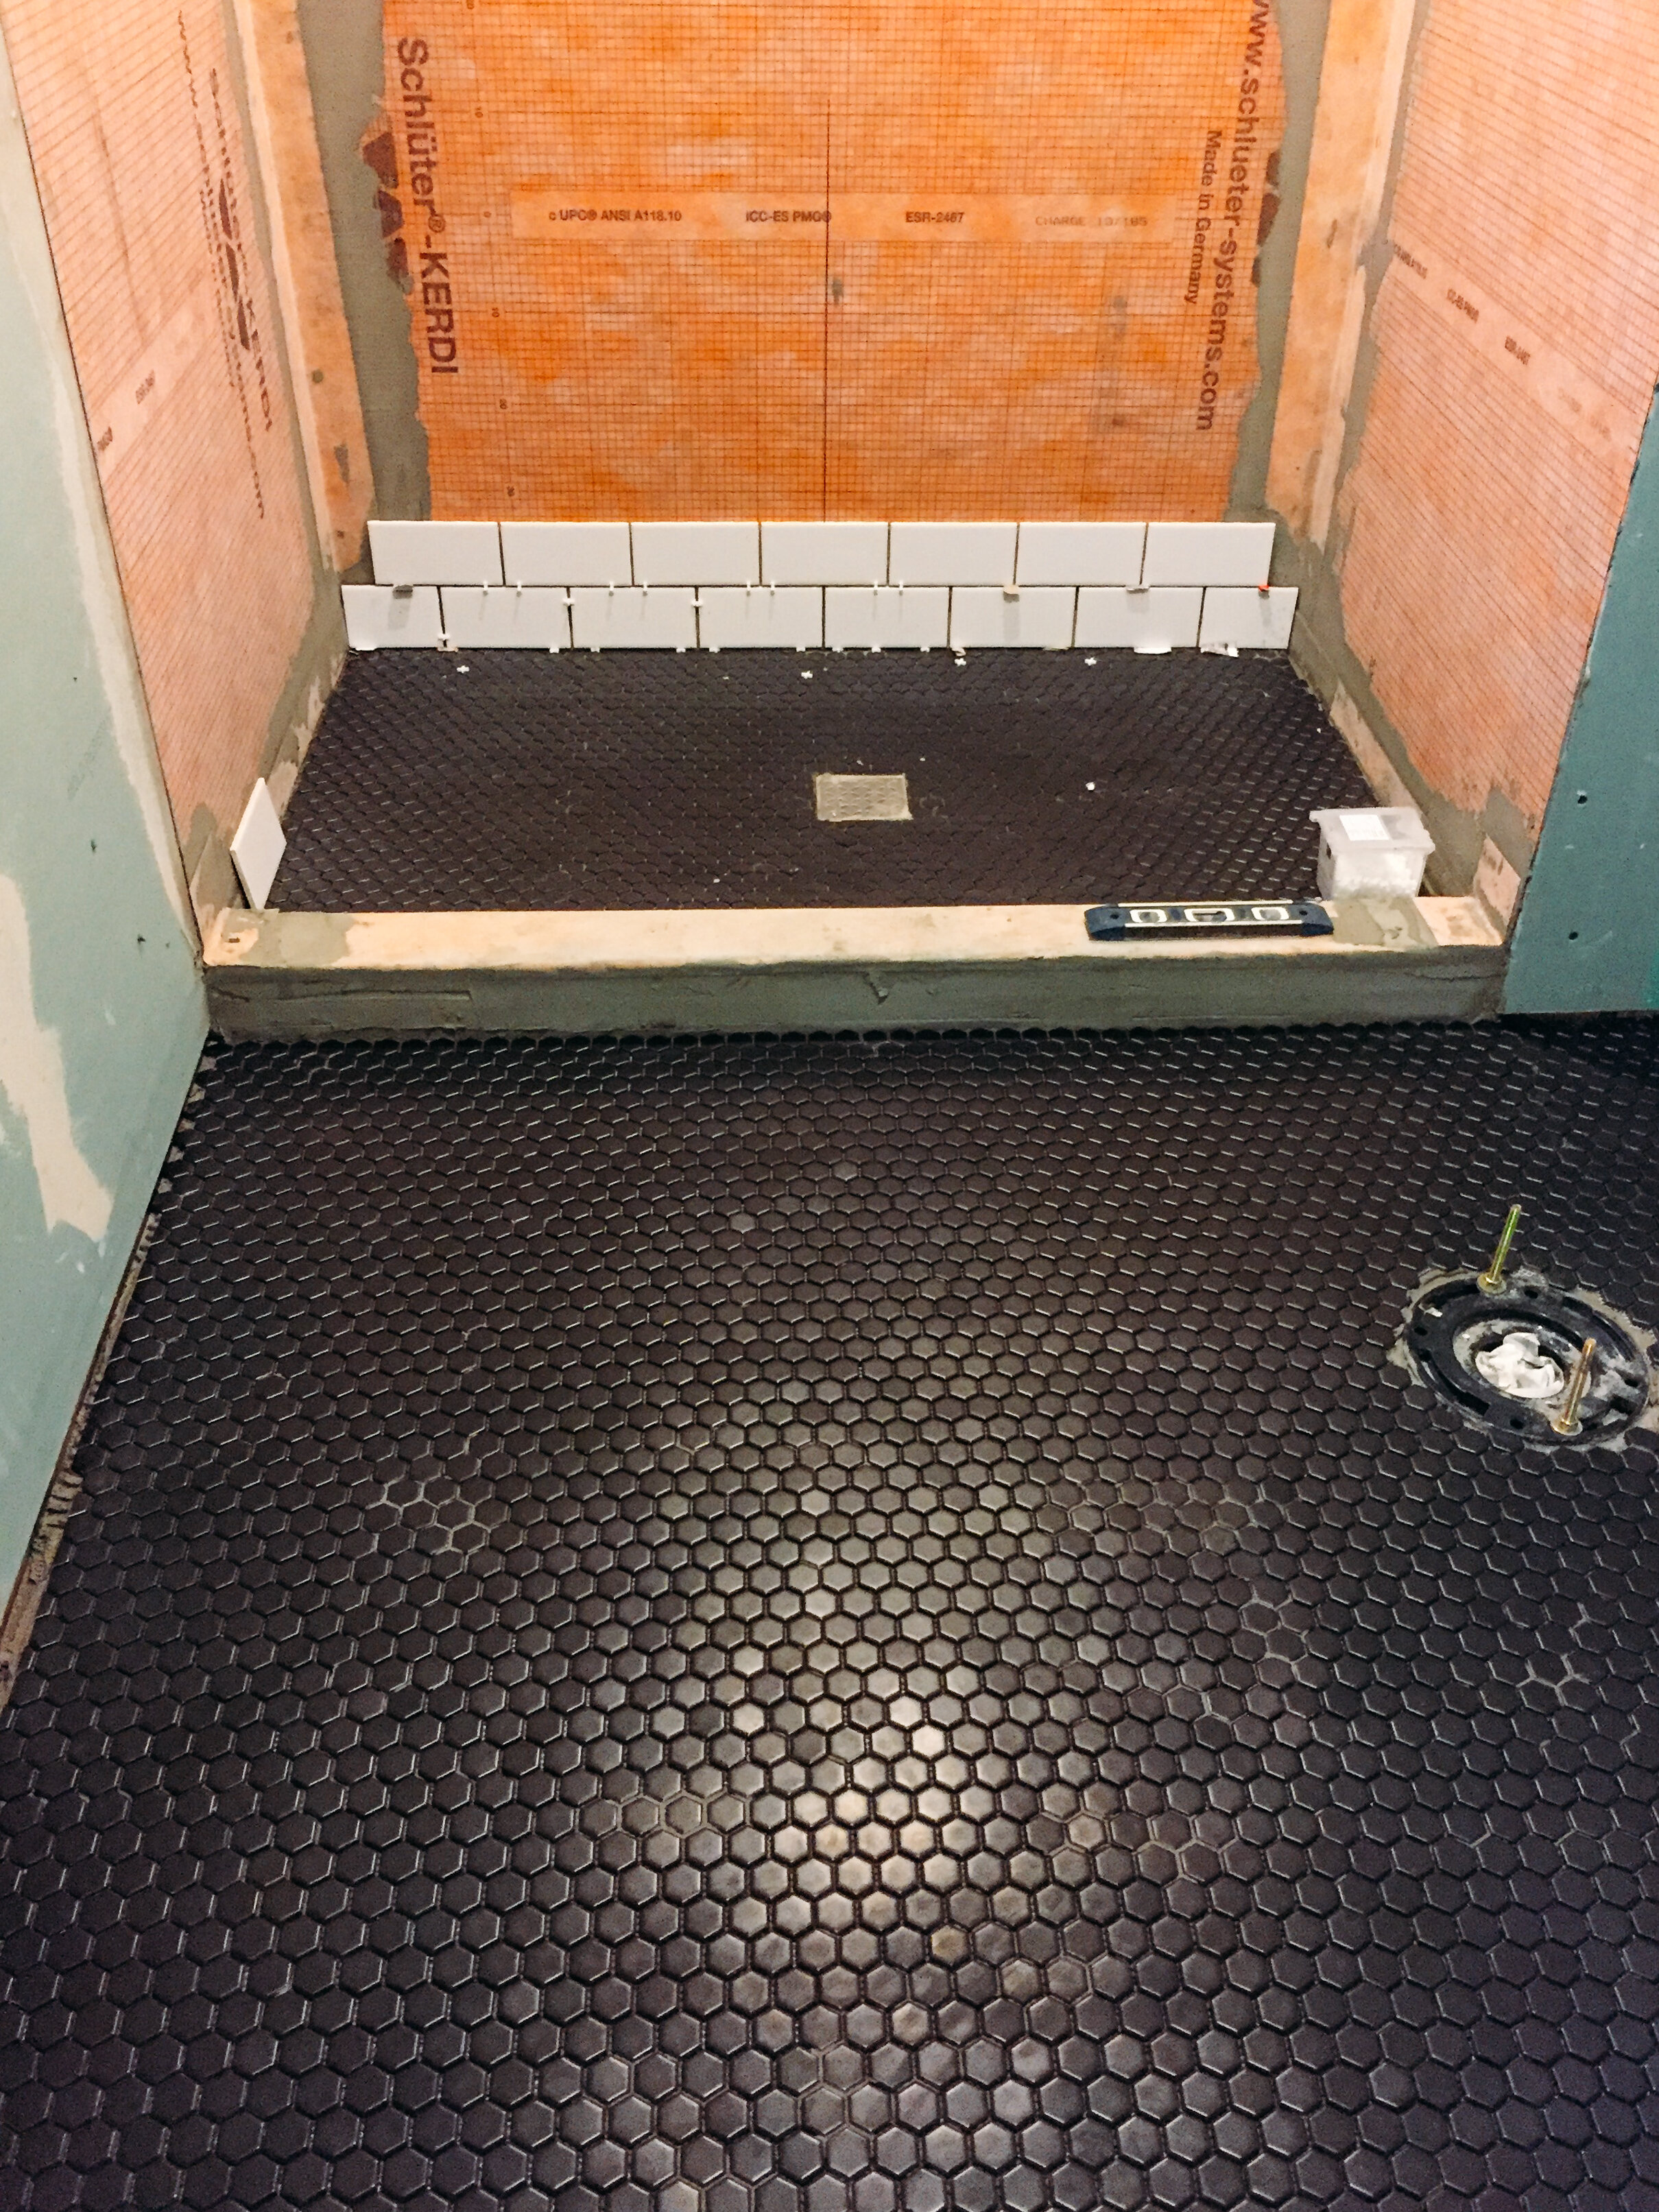
sam completed all of the demo in like 6 hours - by the end of that week we had all the electrical set up (one extra can light, relocated an outlet and the fan, all new drywall, new bathtub, and the hexagon tile floor installed! the first week of work was big.


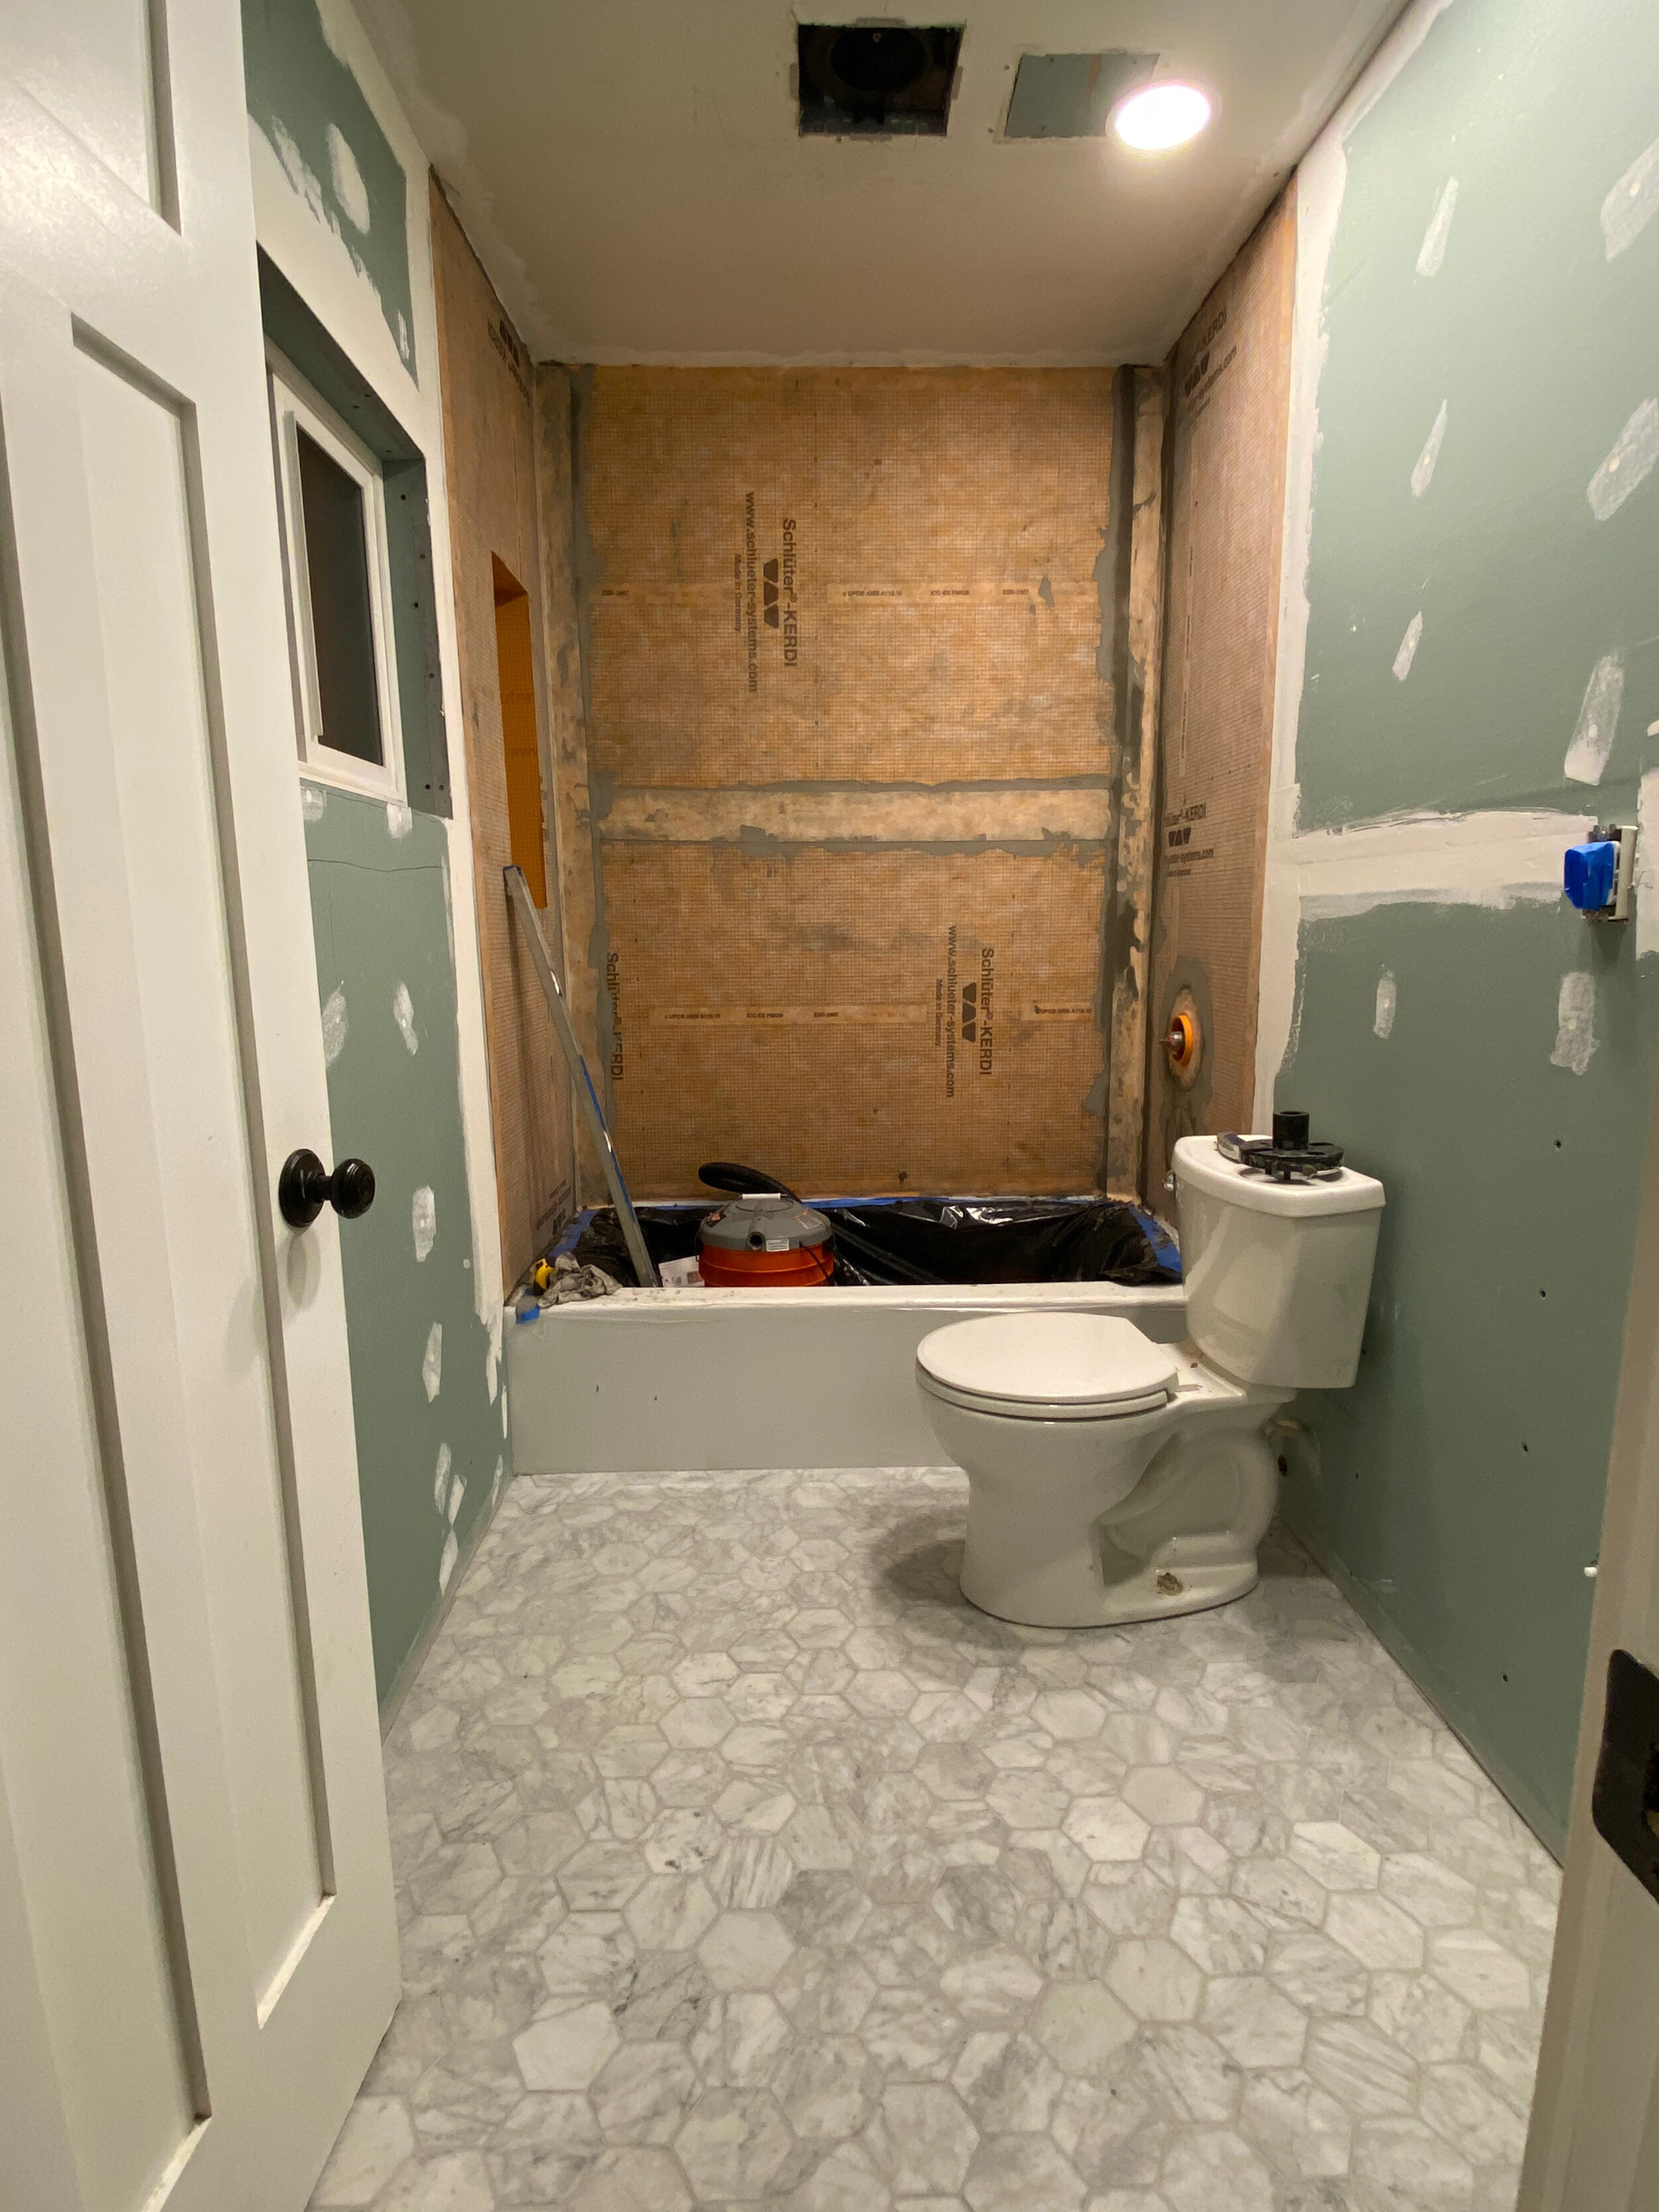
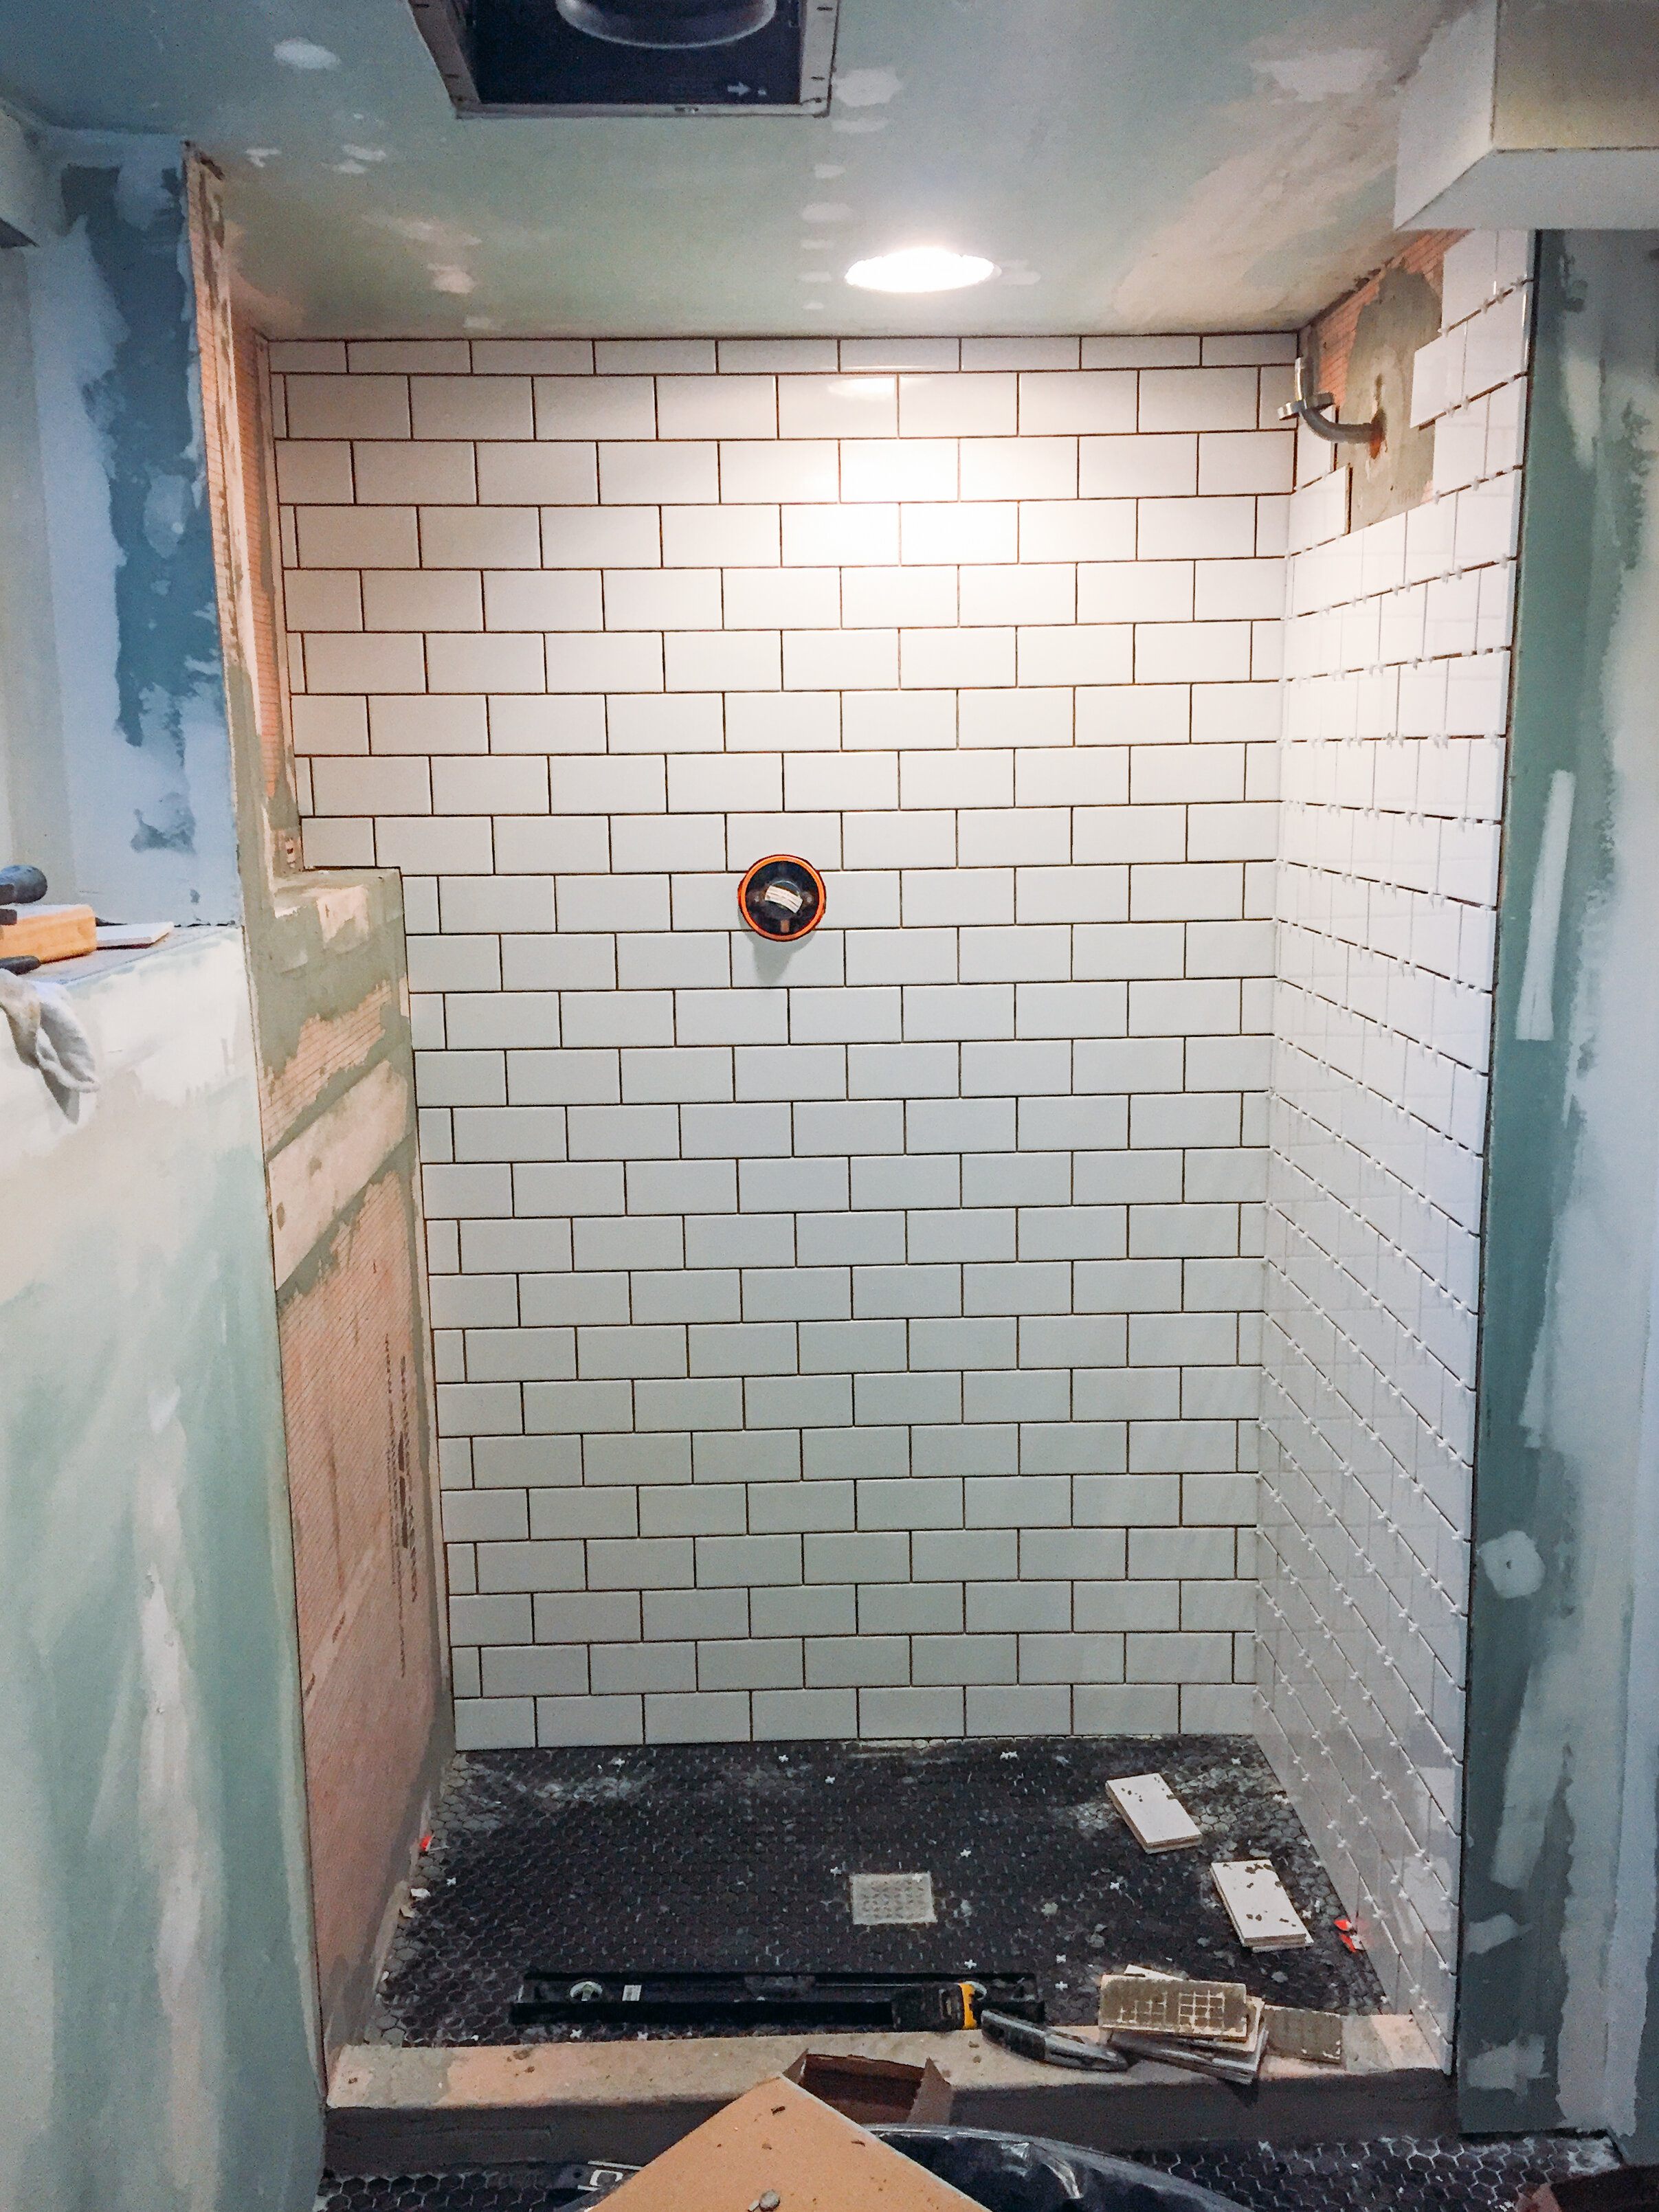
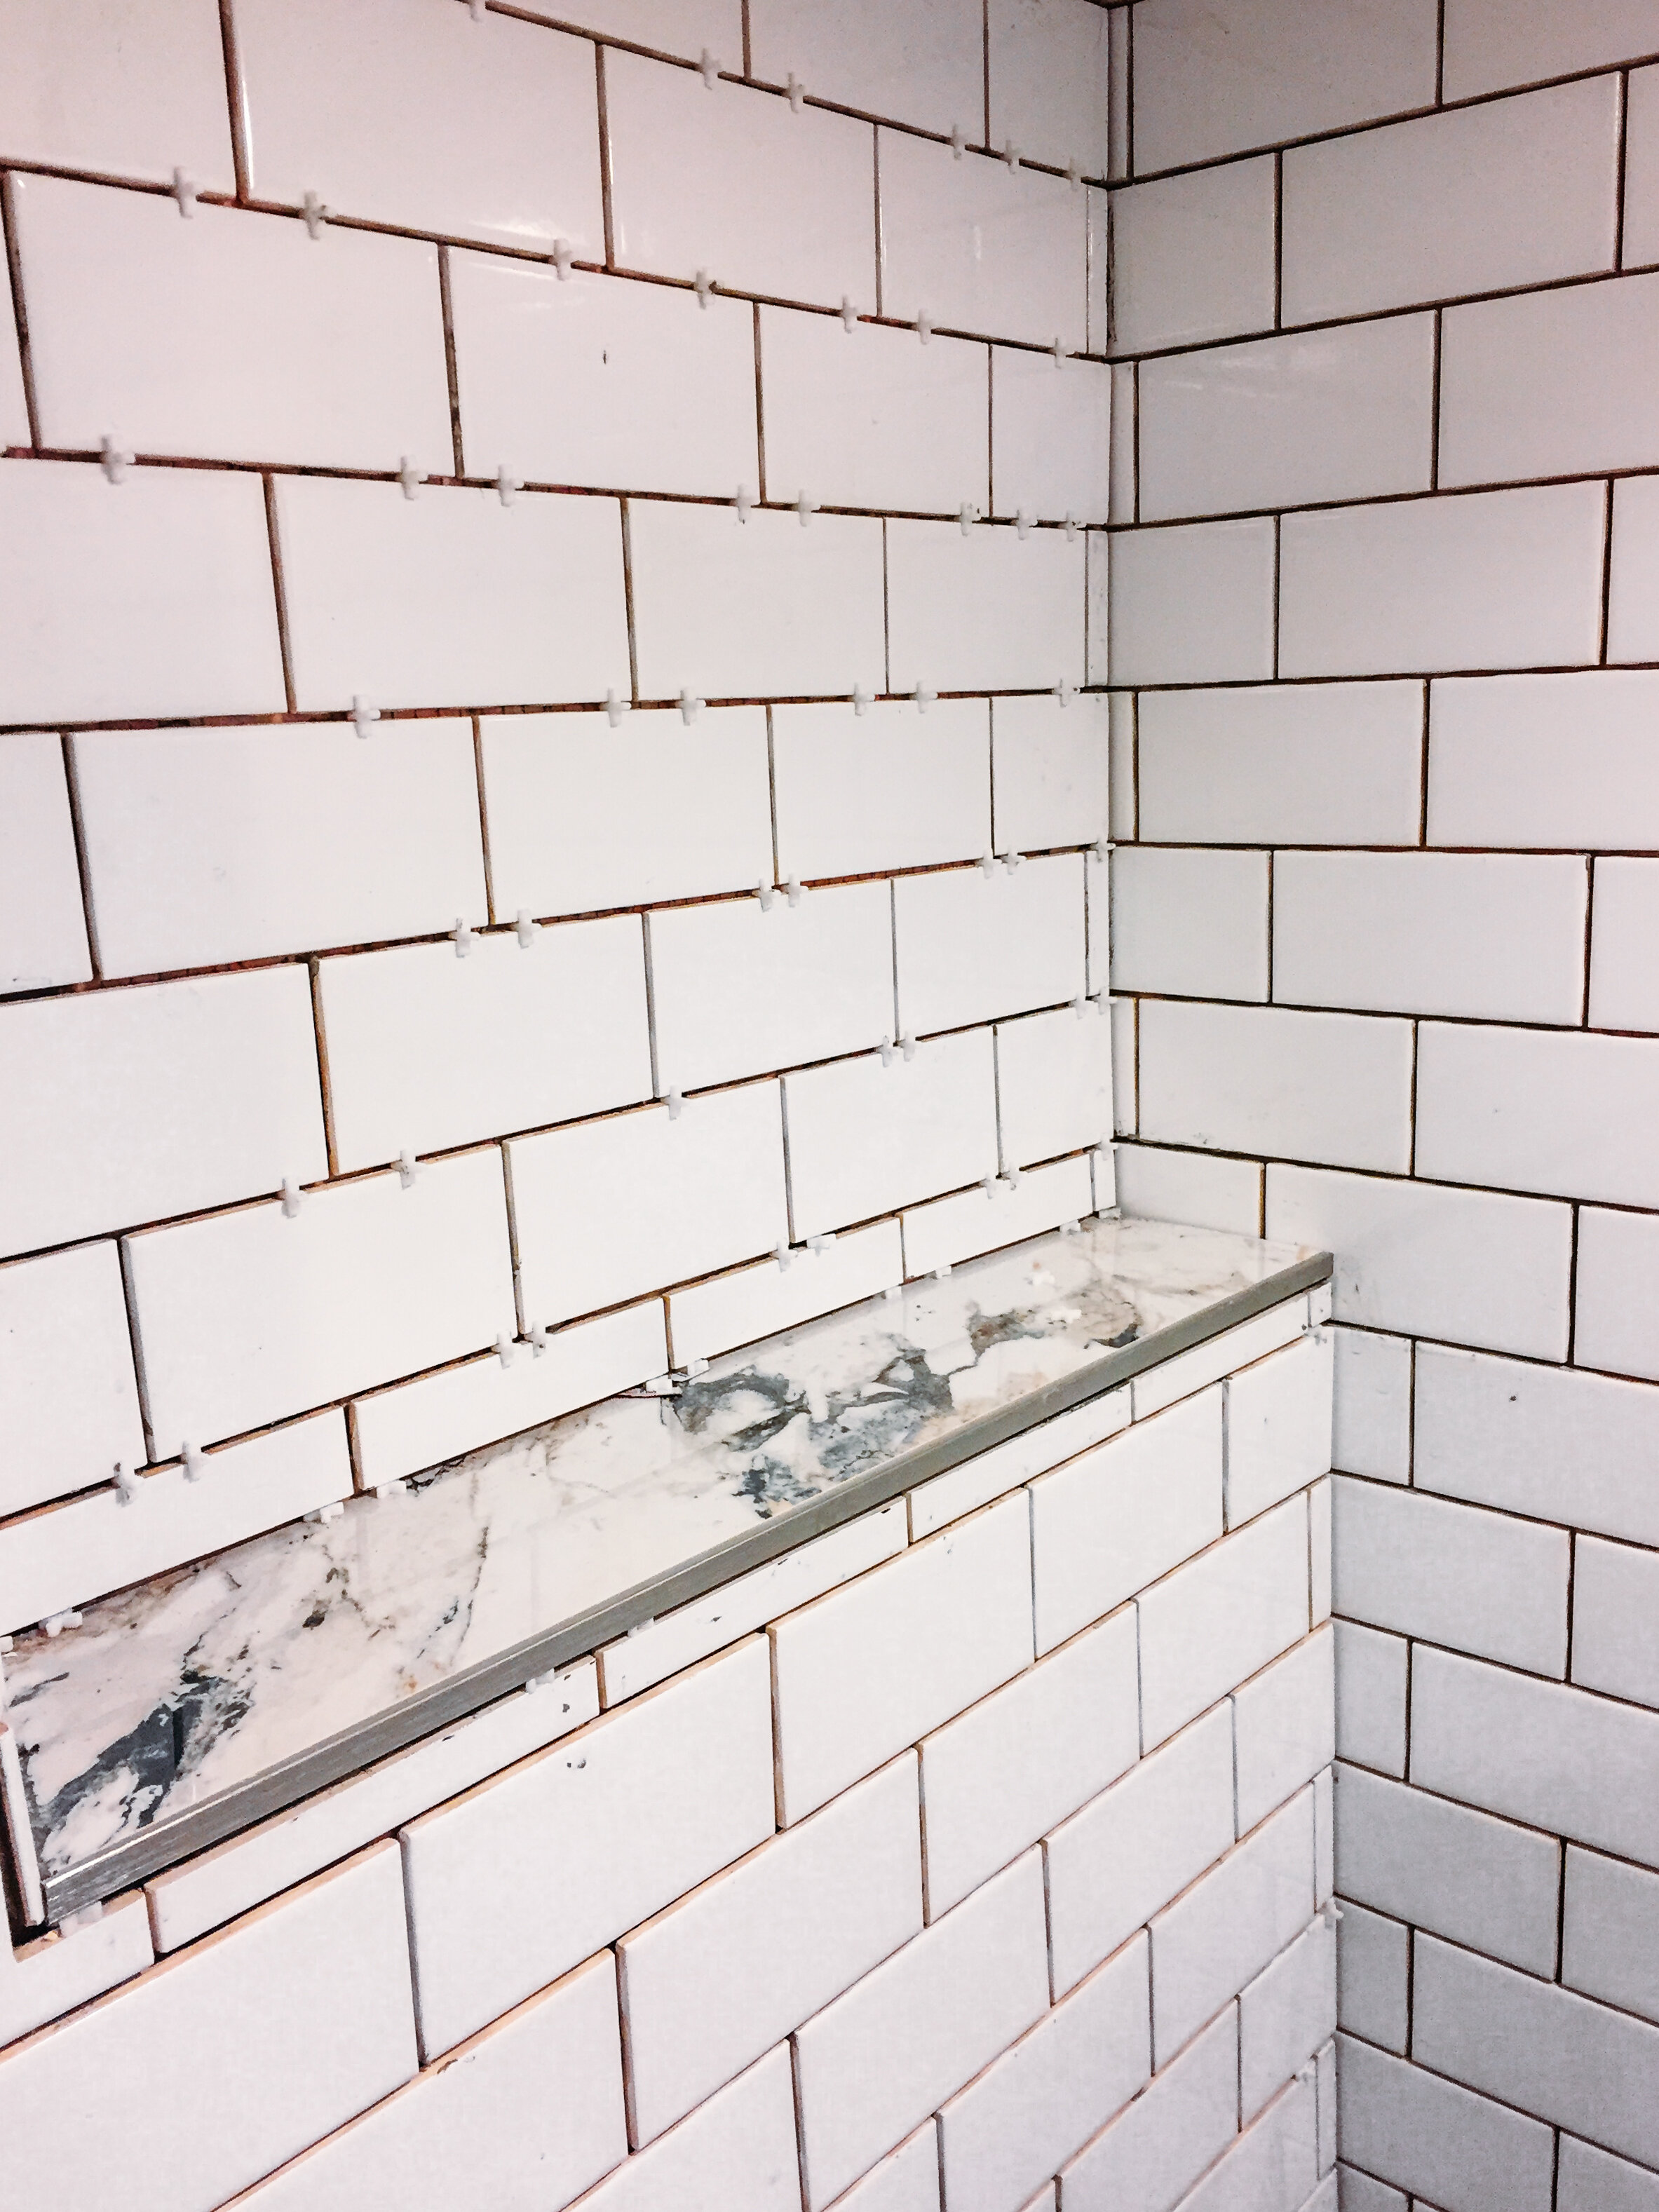
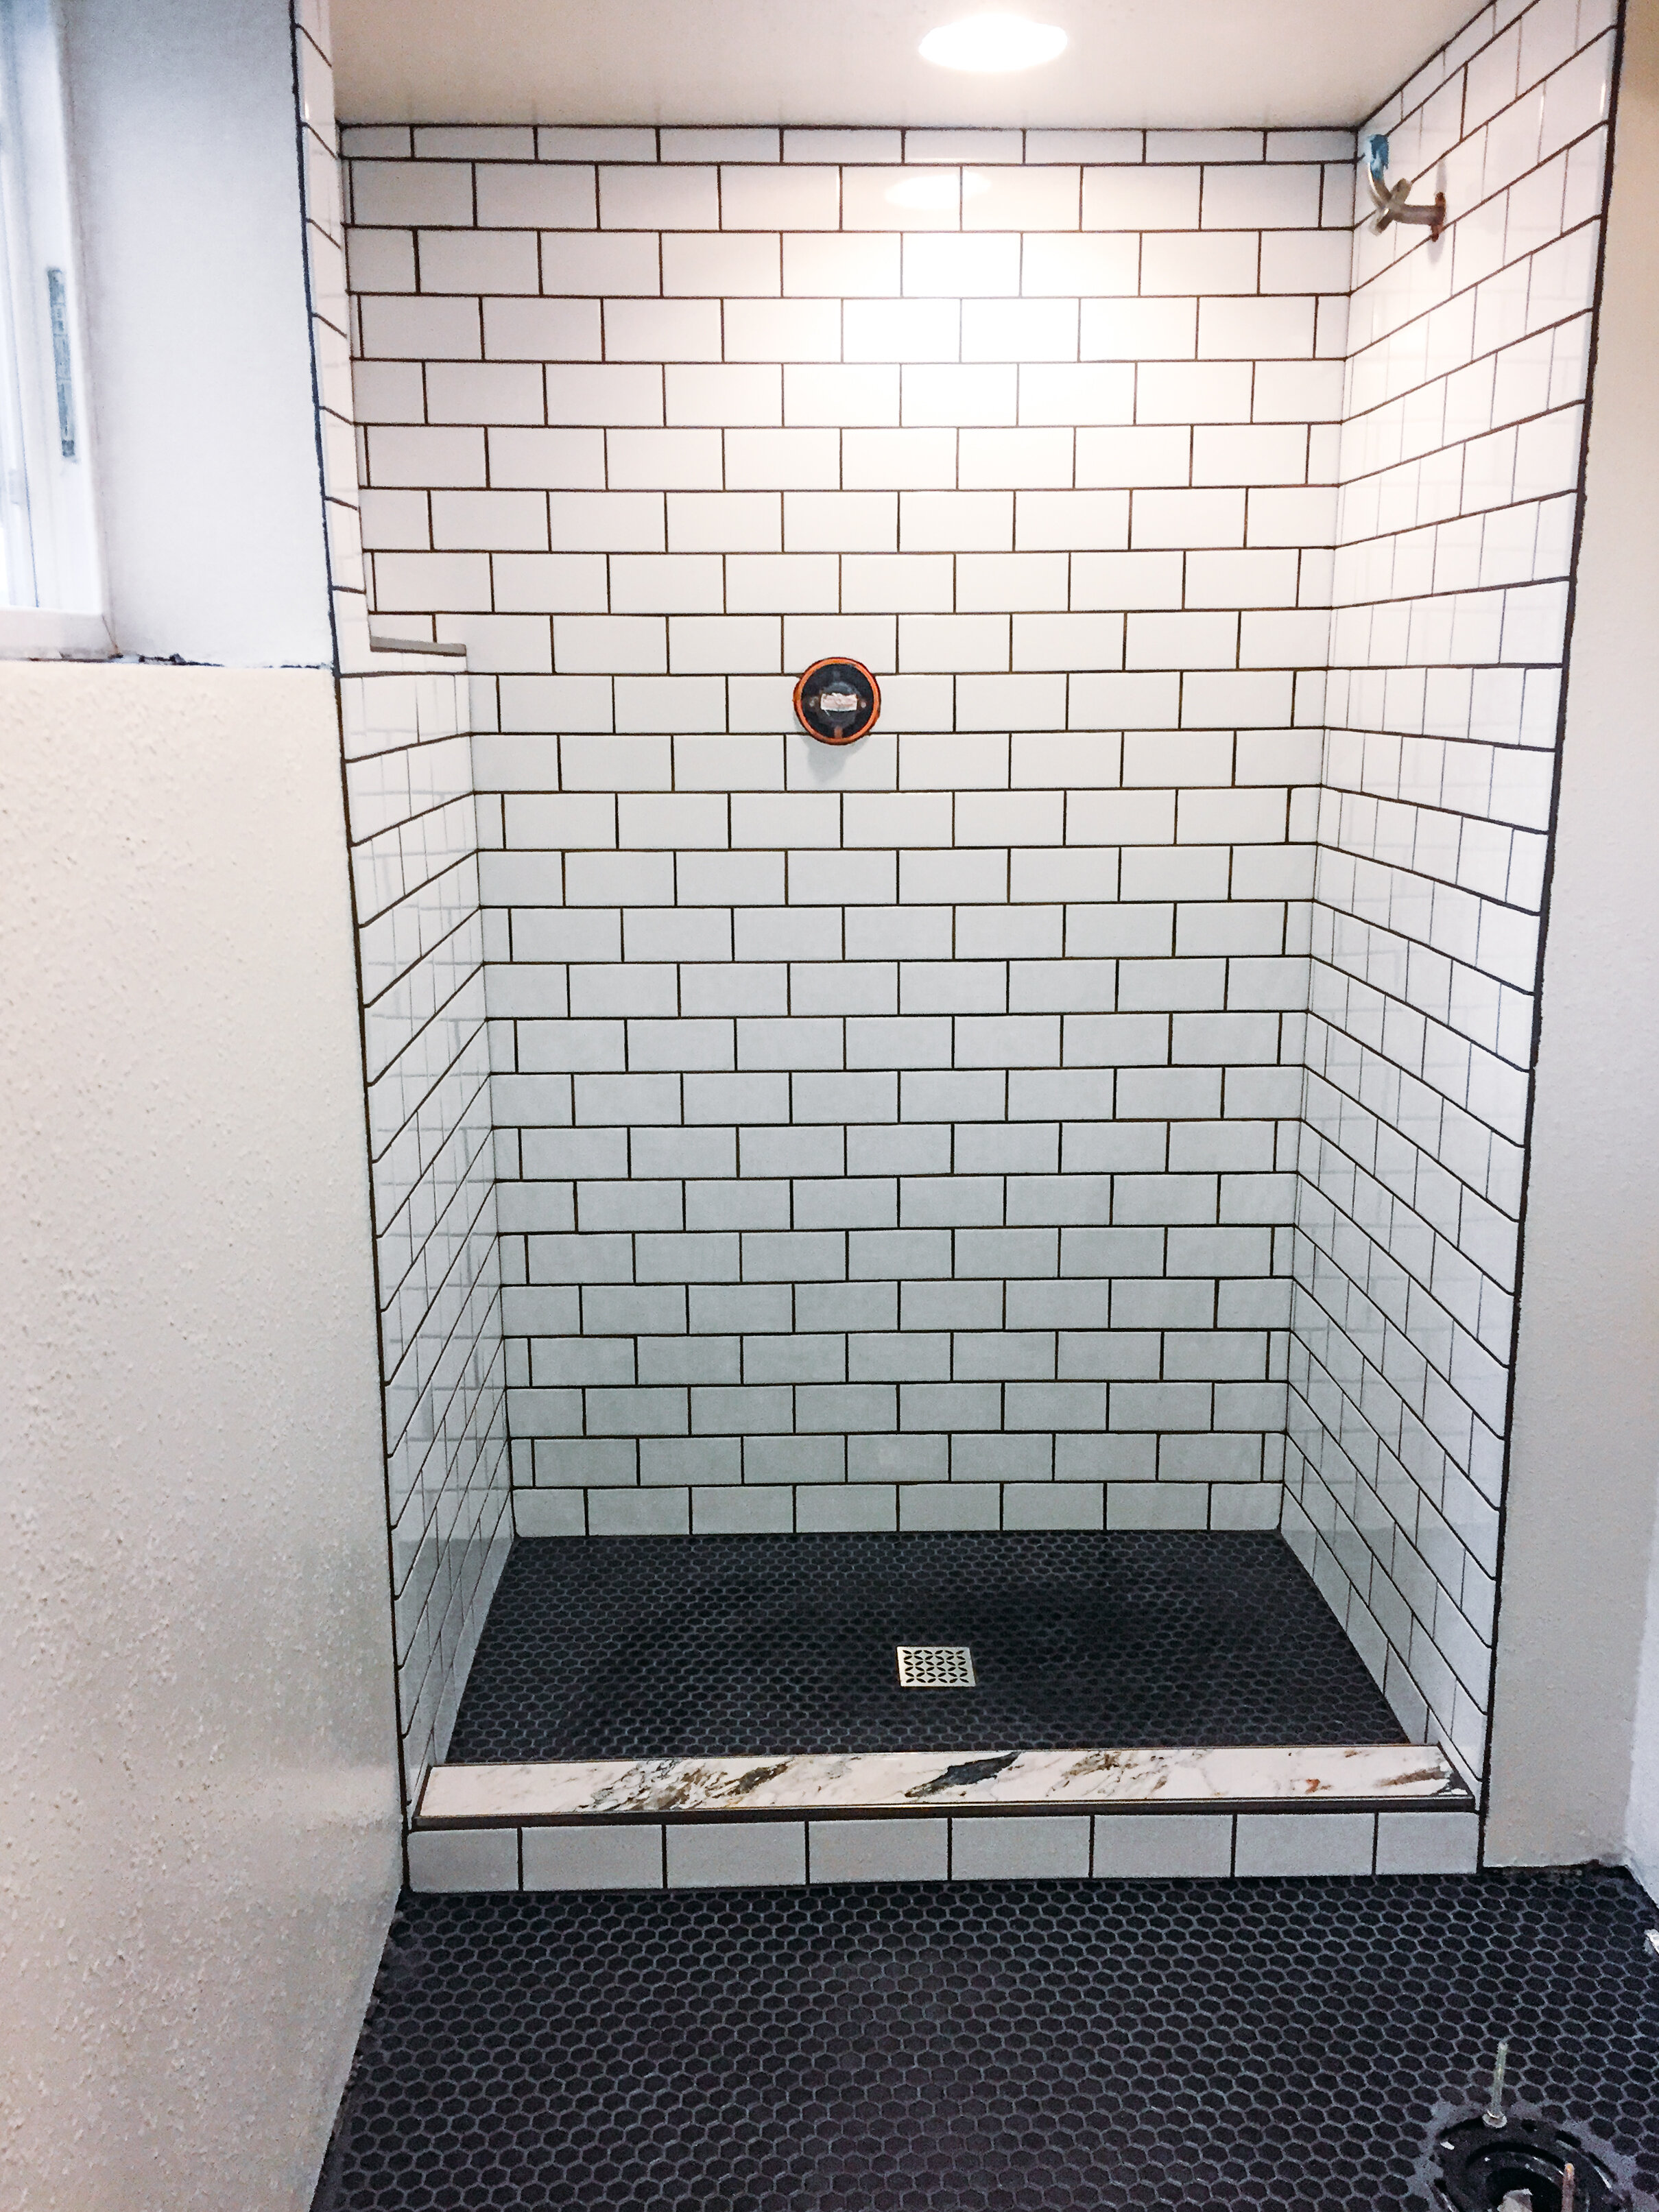
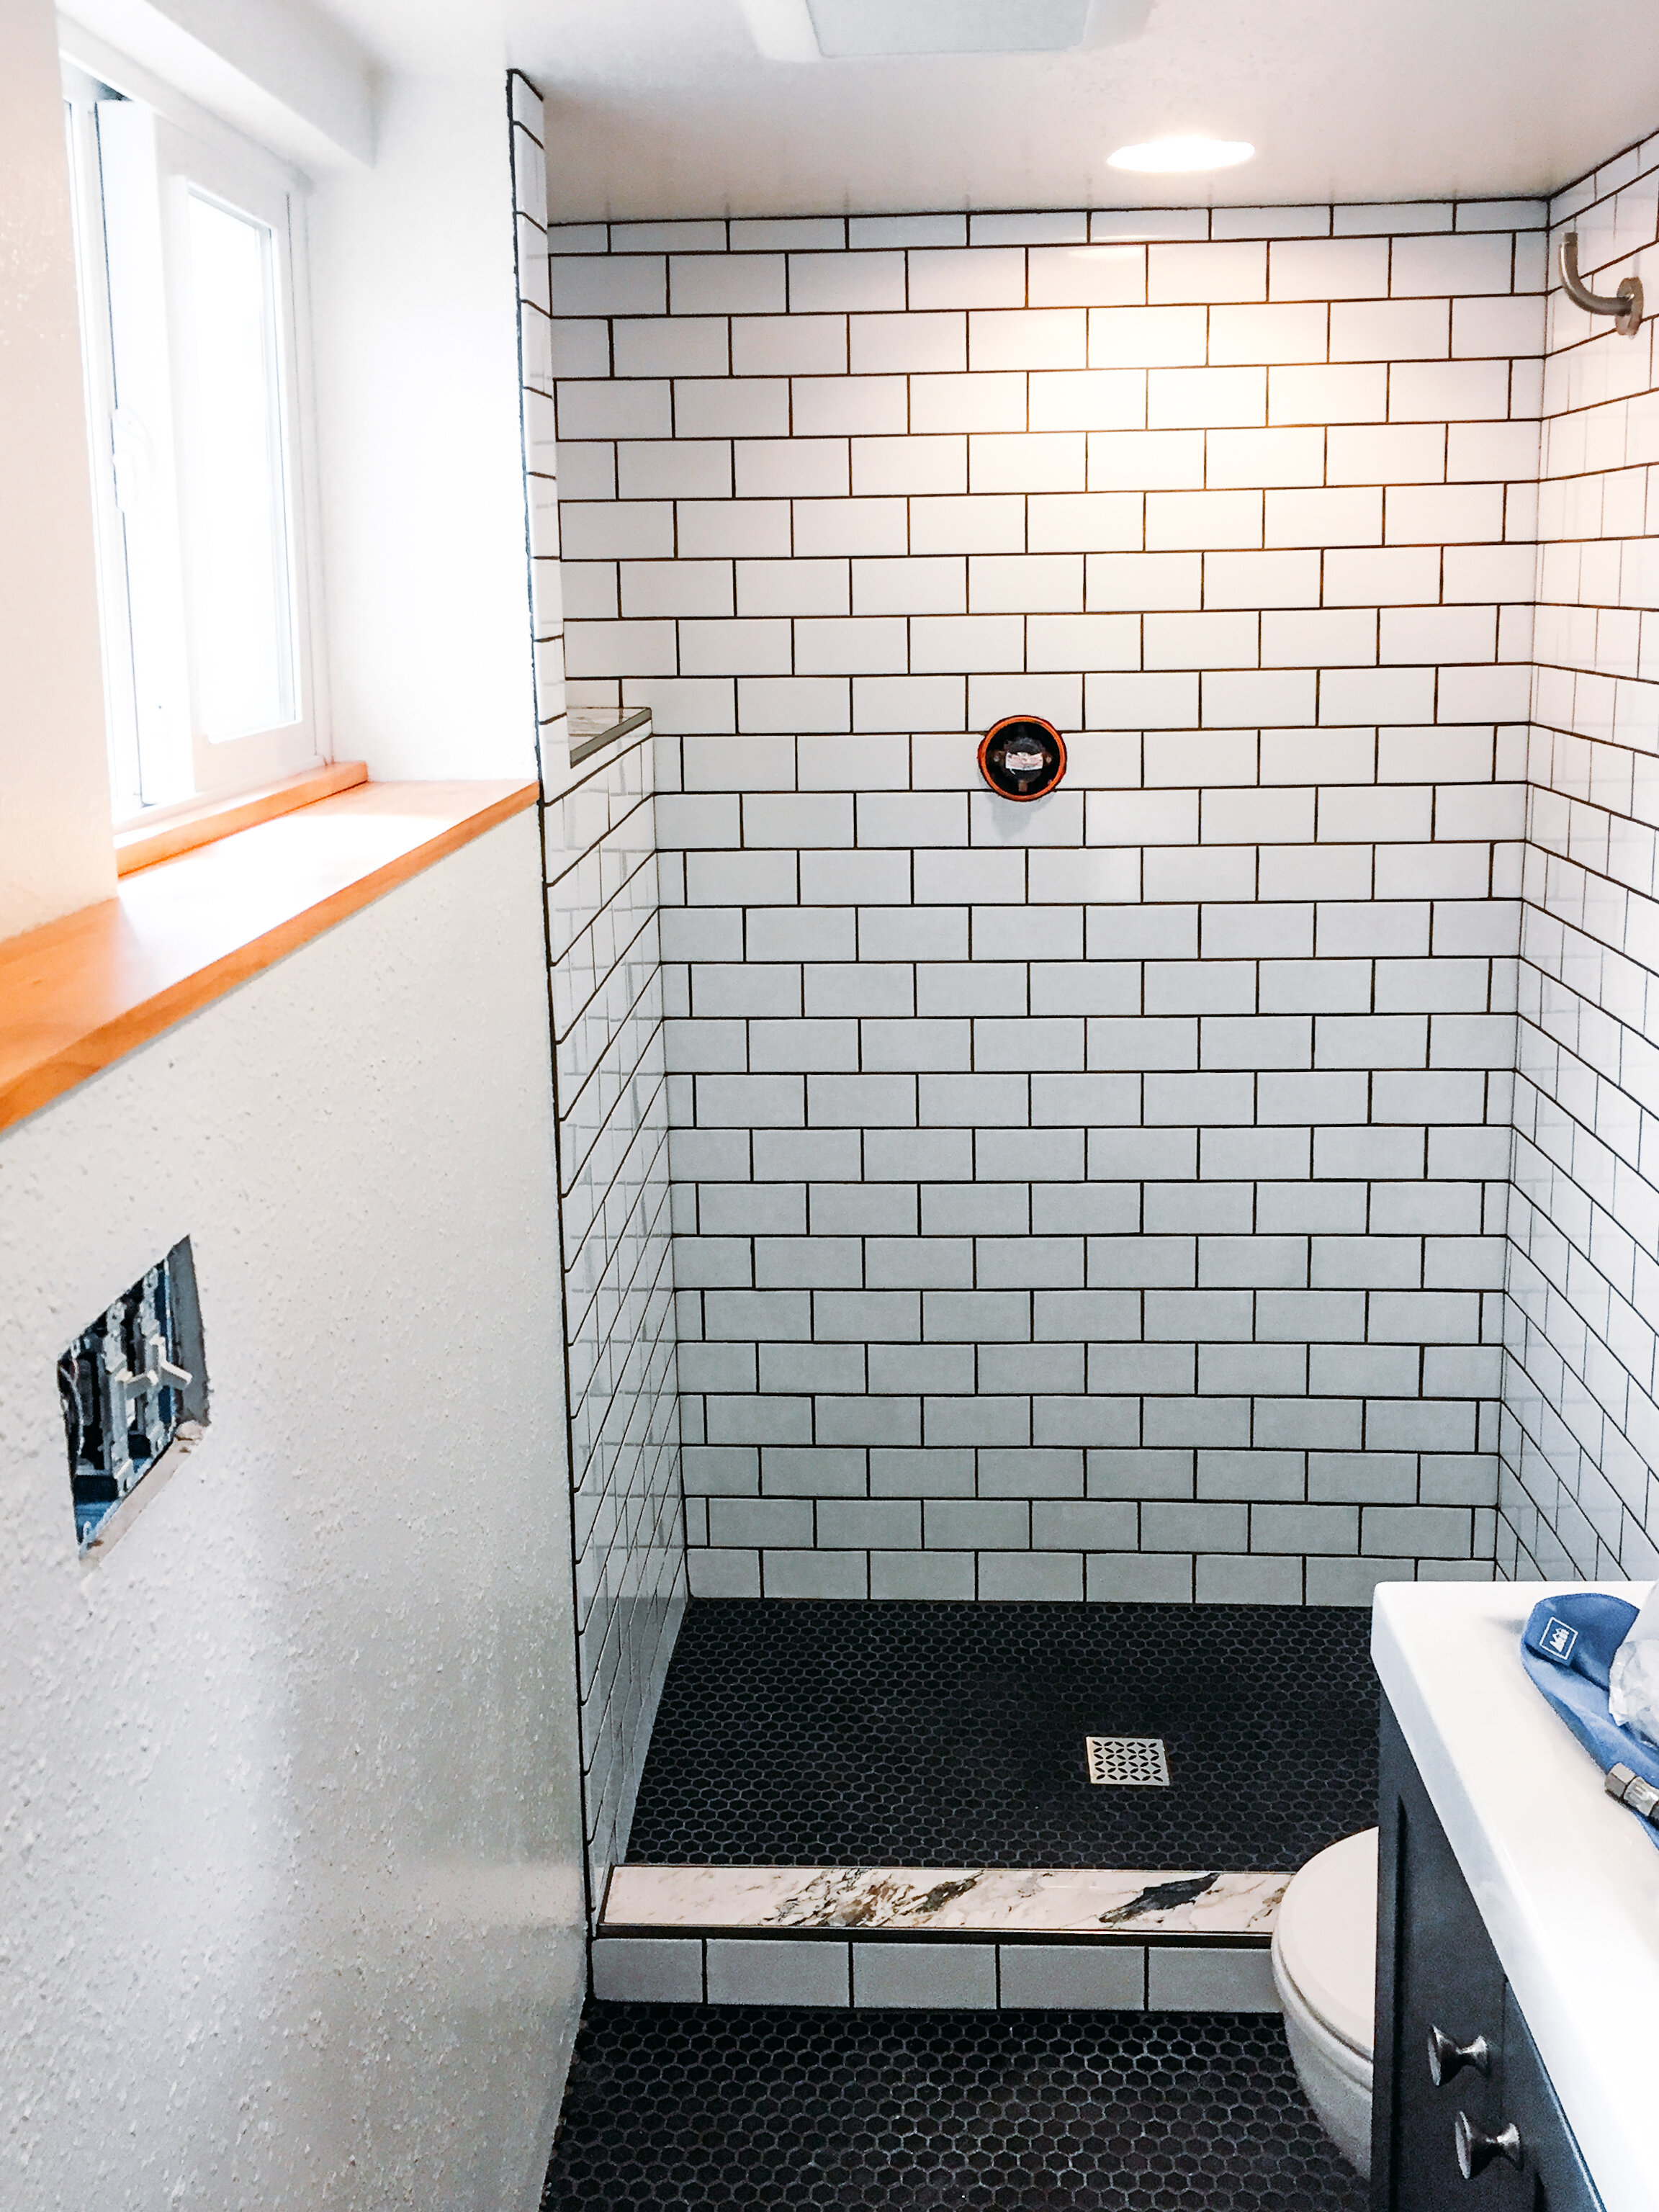
SHOWER WATERPROOFING & TILING

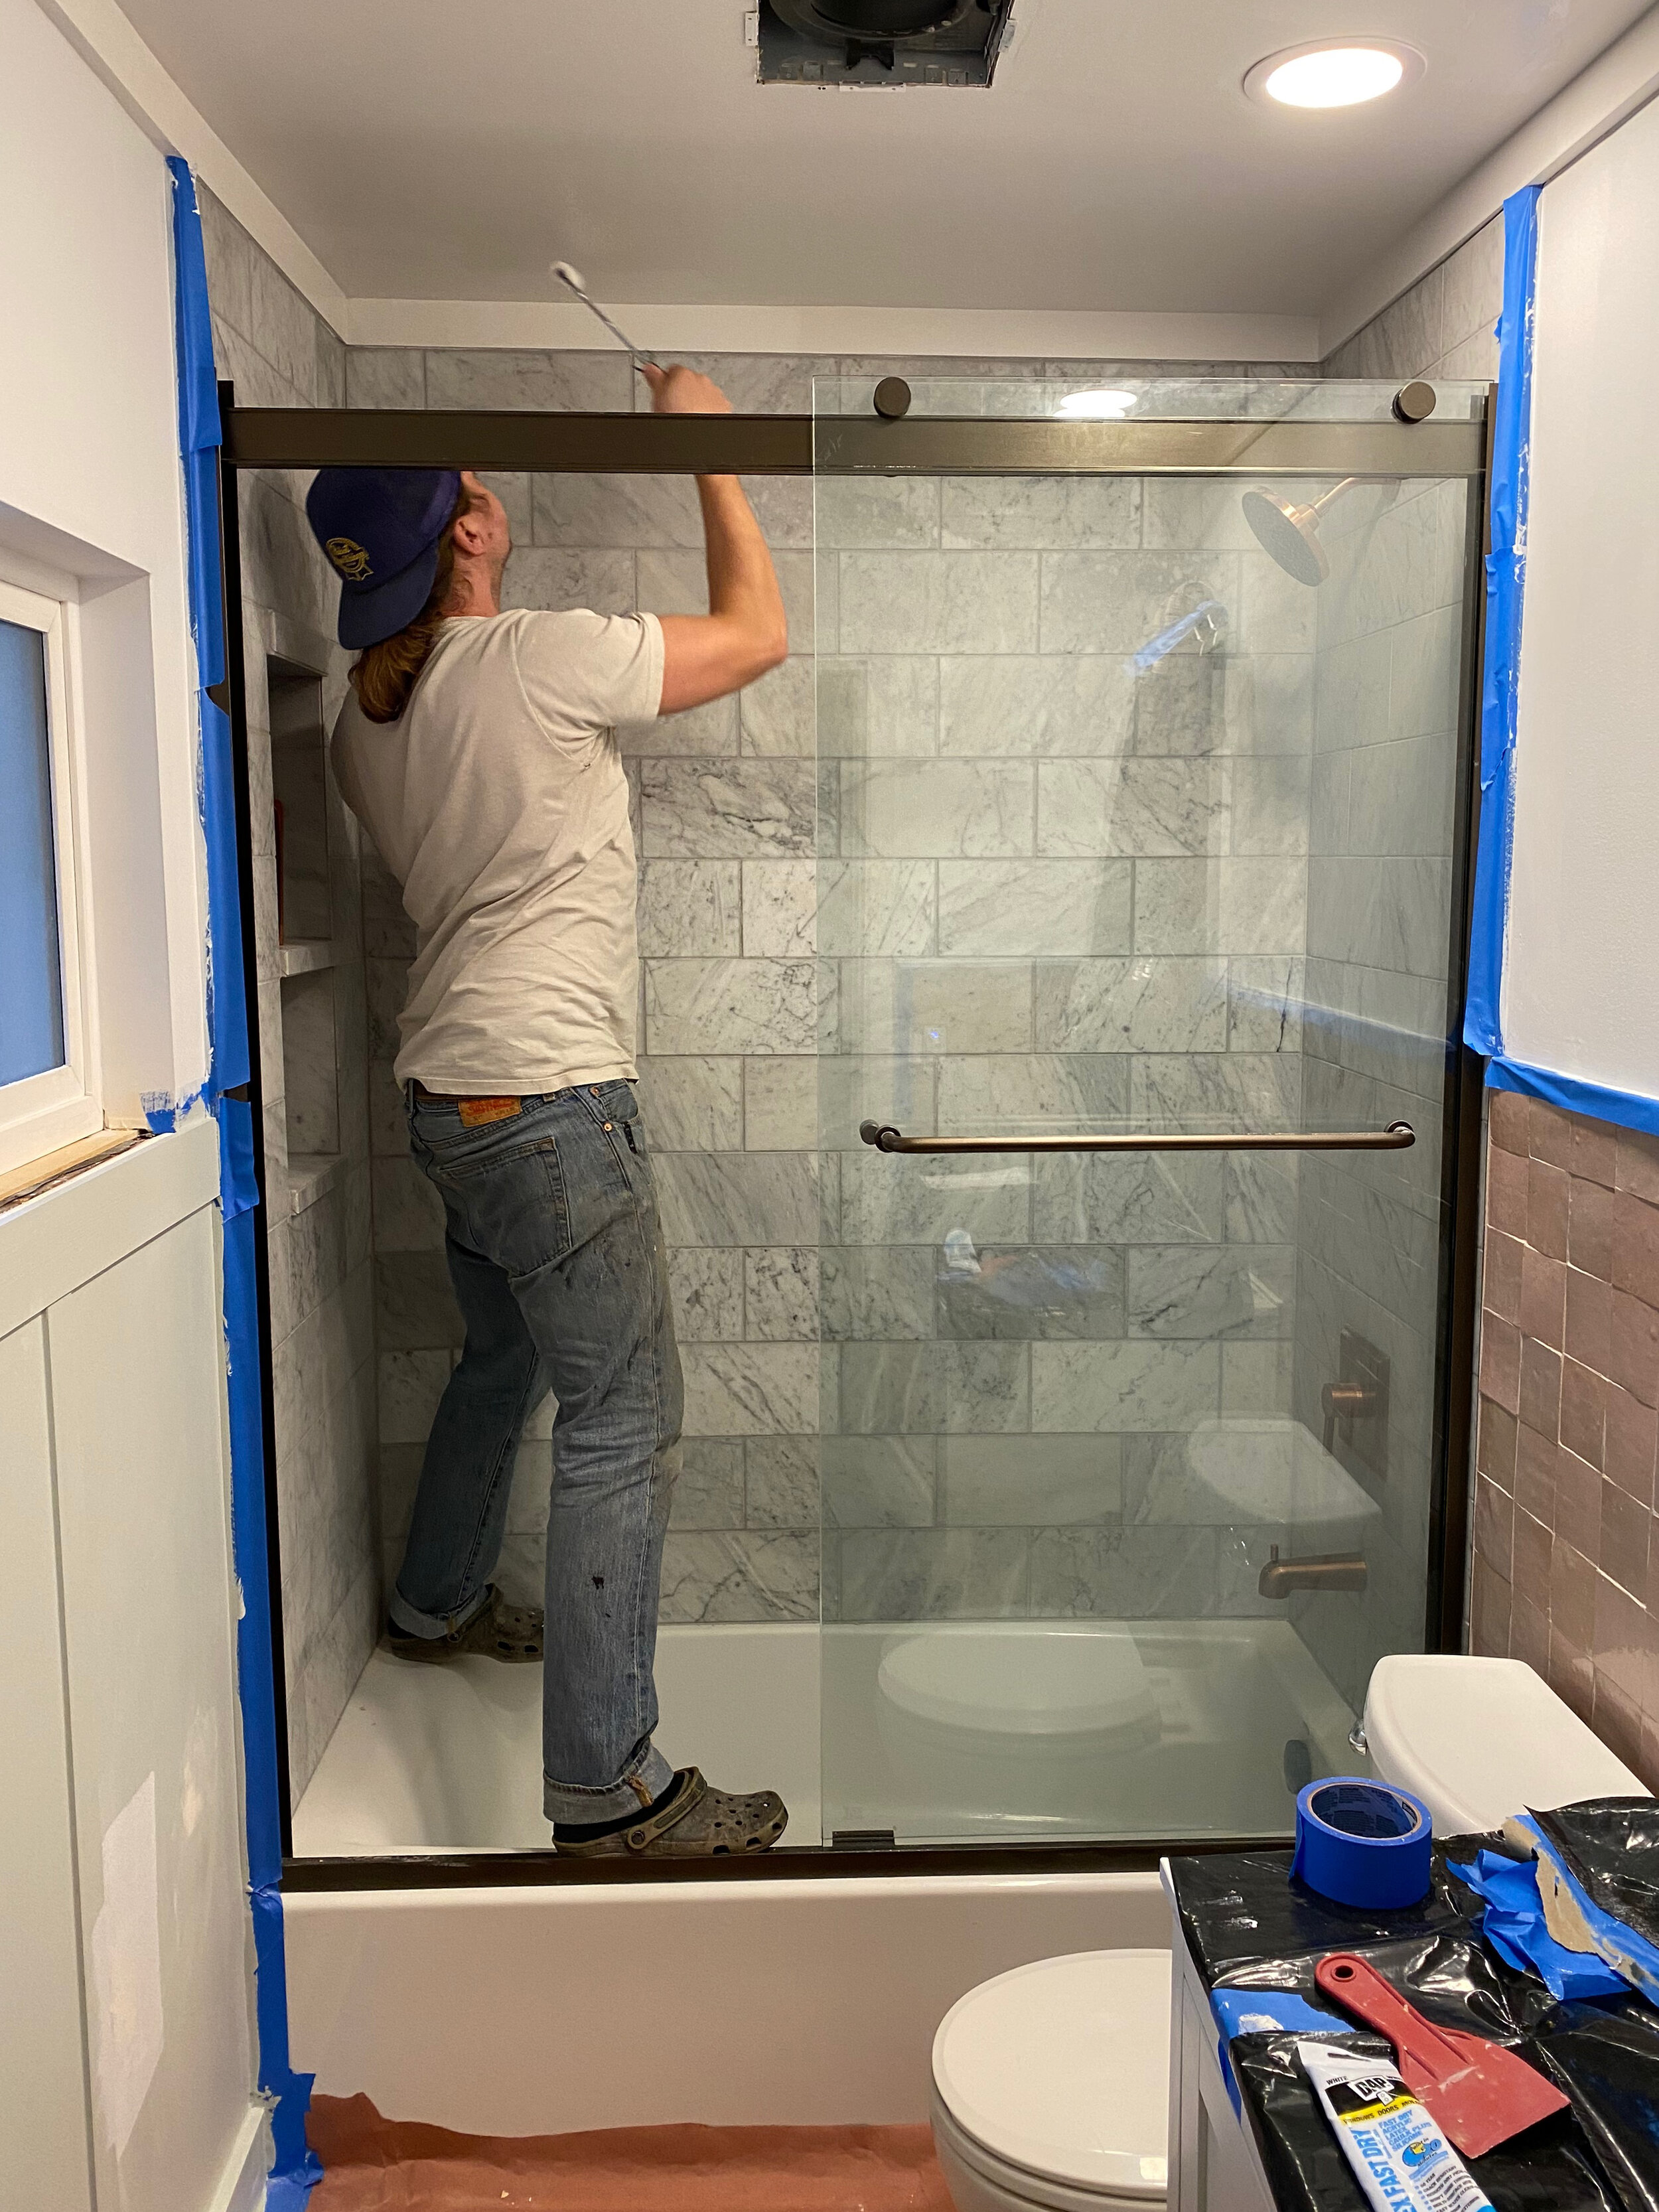
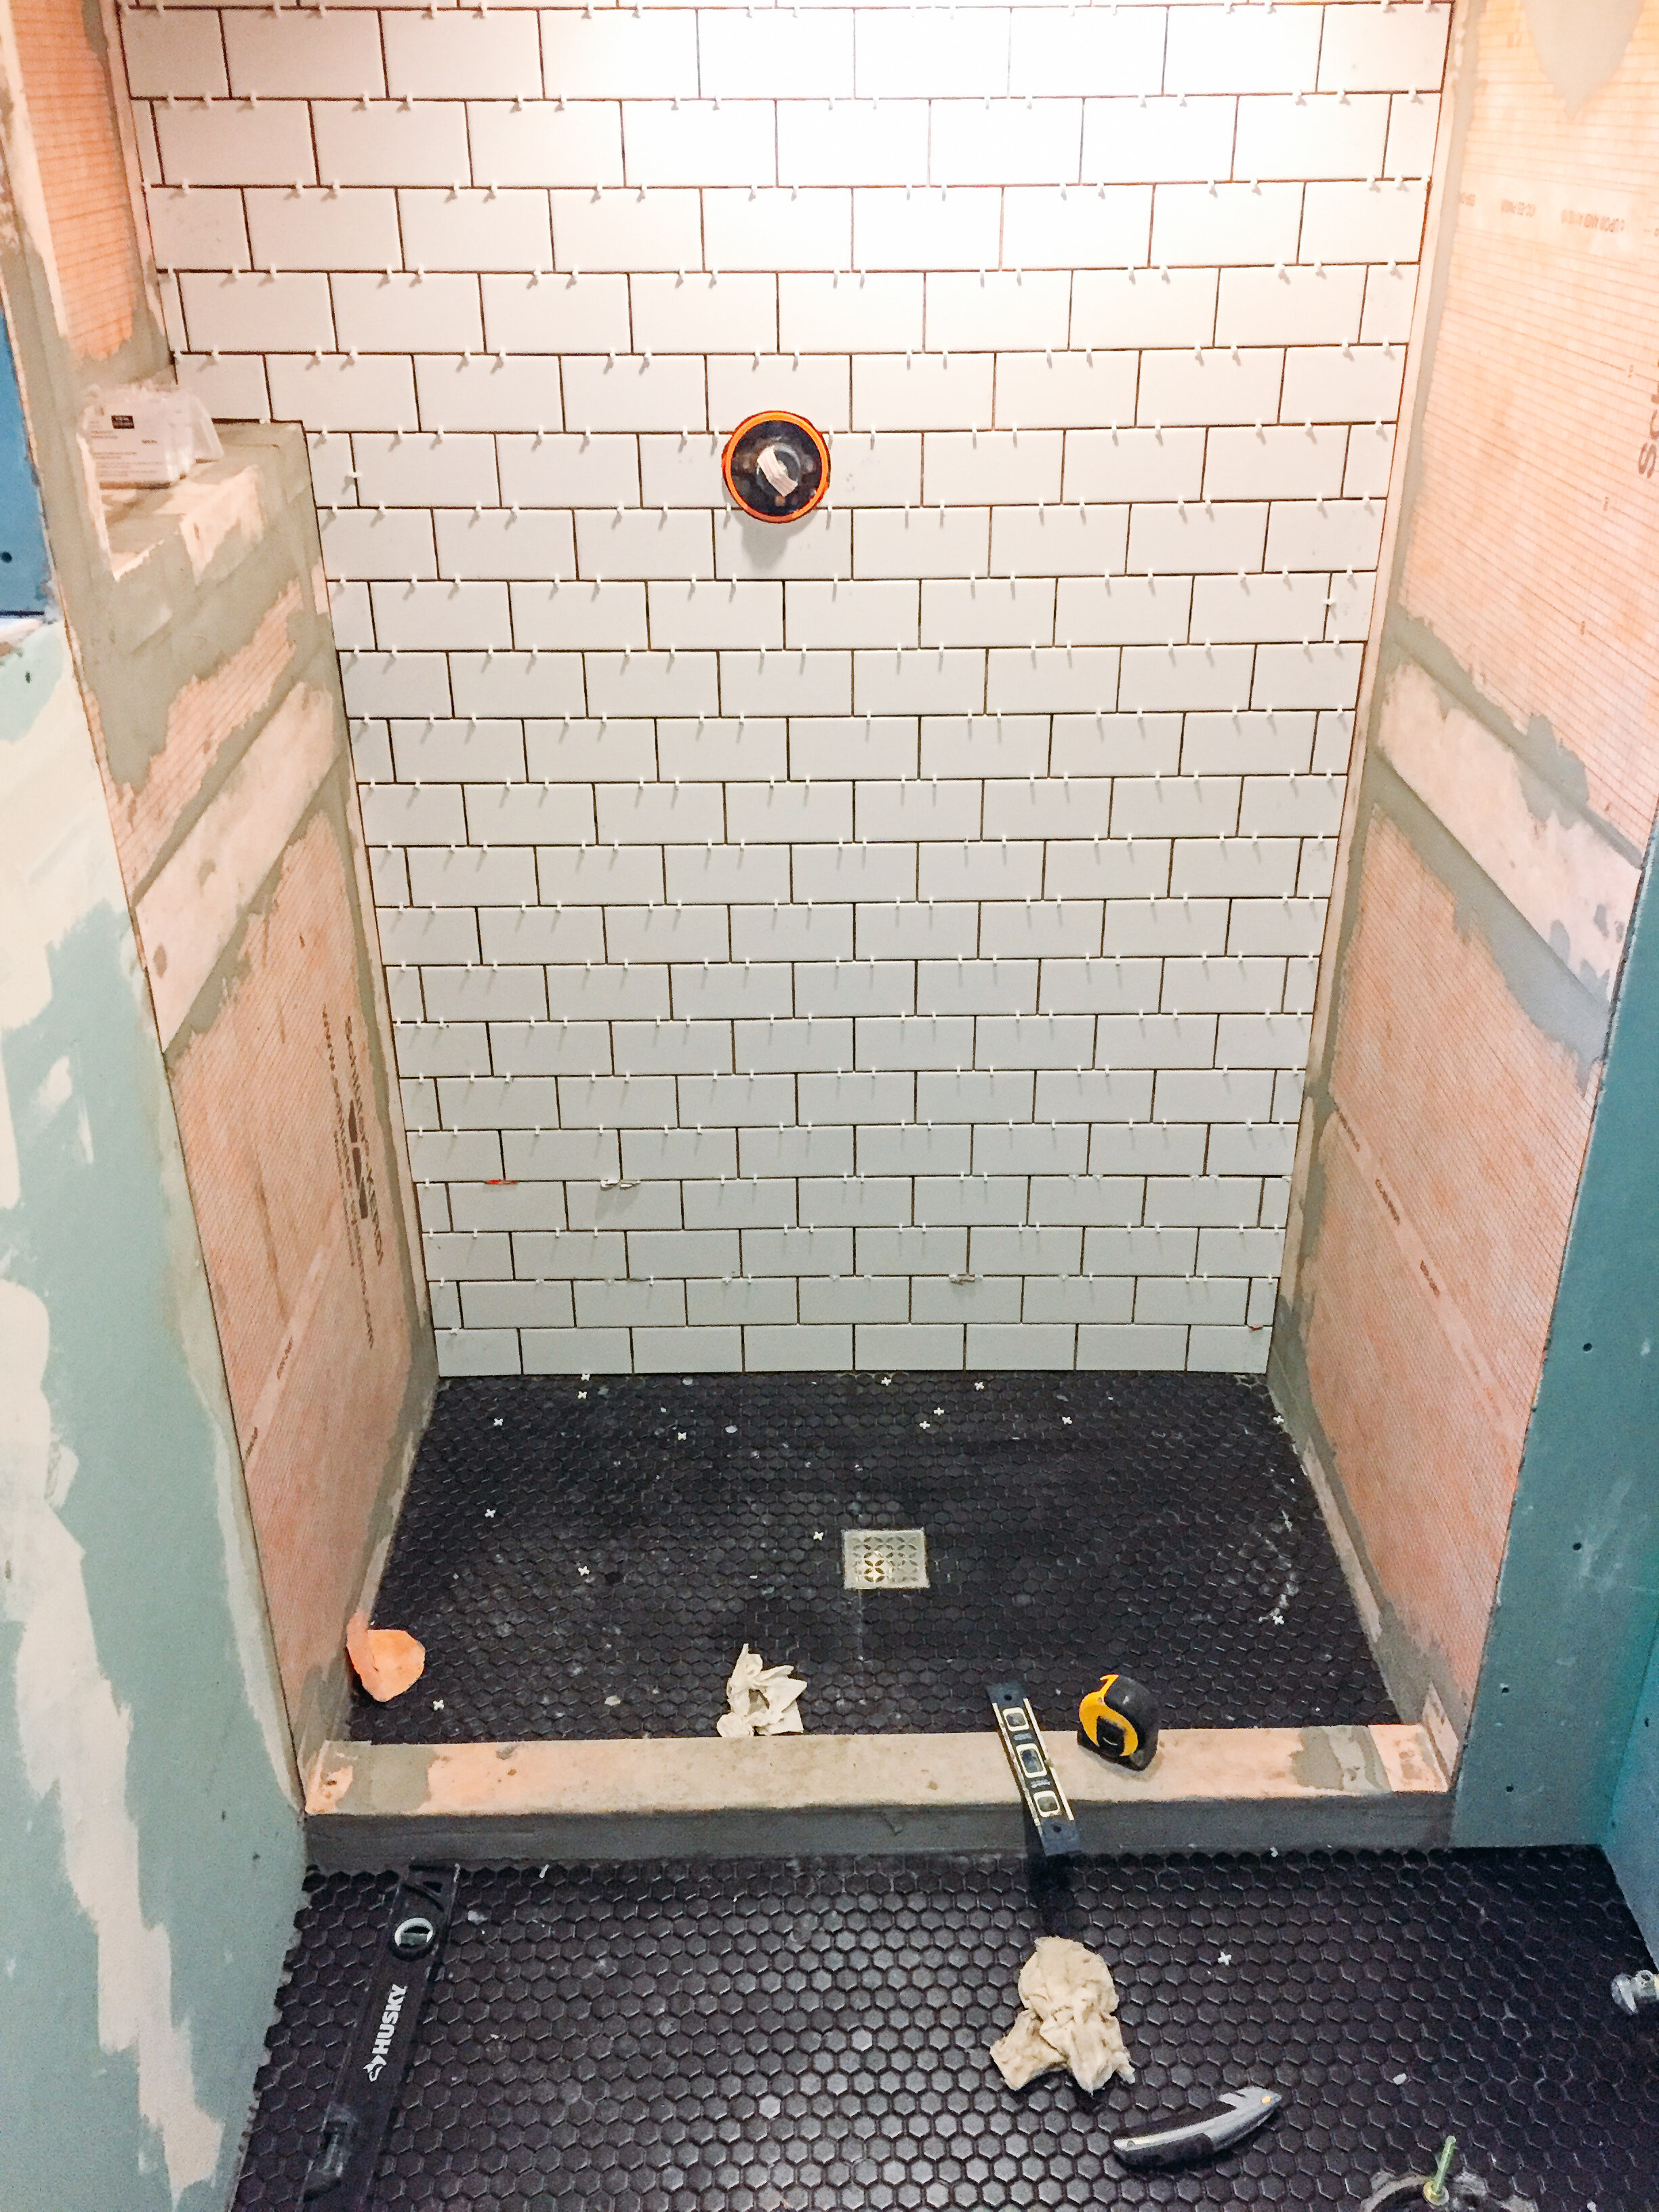
after waterproofing, the tiling and grouting came together in a few days. then the sliding shower door was installed! i believe our shower was out of operation for a total of 20 days before it was functioning in it’s new state (we were able to hang the shower curtain back up to use the shower while we were waiting for the shower door to go in - no biggie.)


BACKSPLASH & VANITY WALL TILE

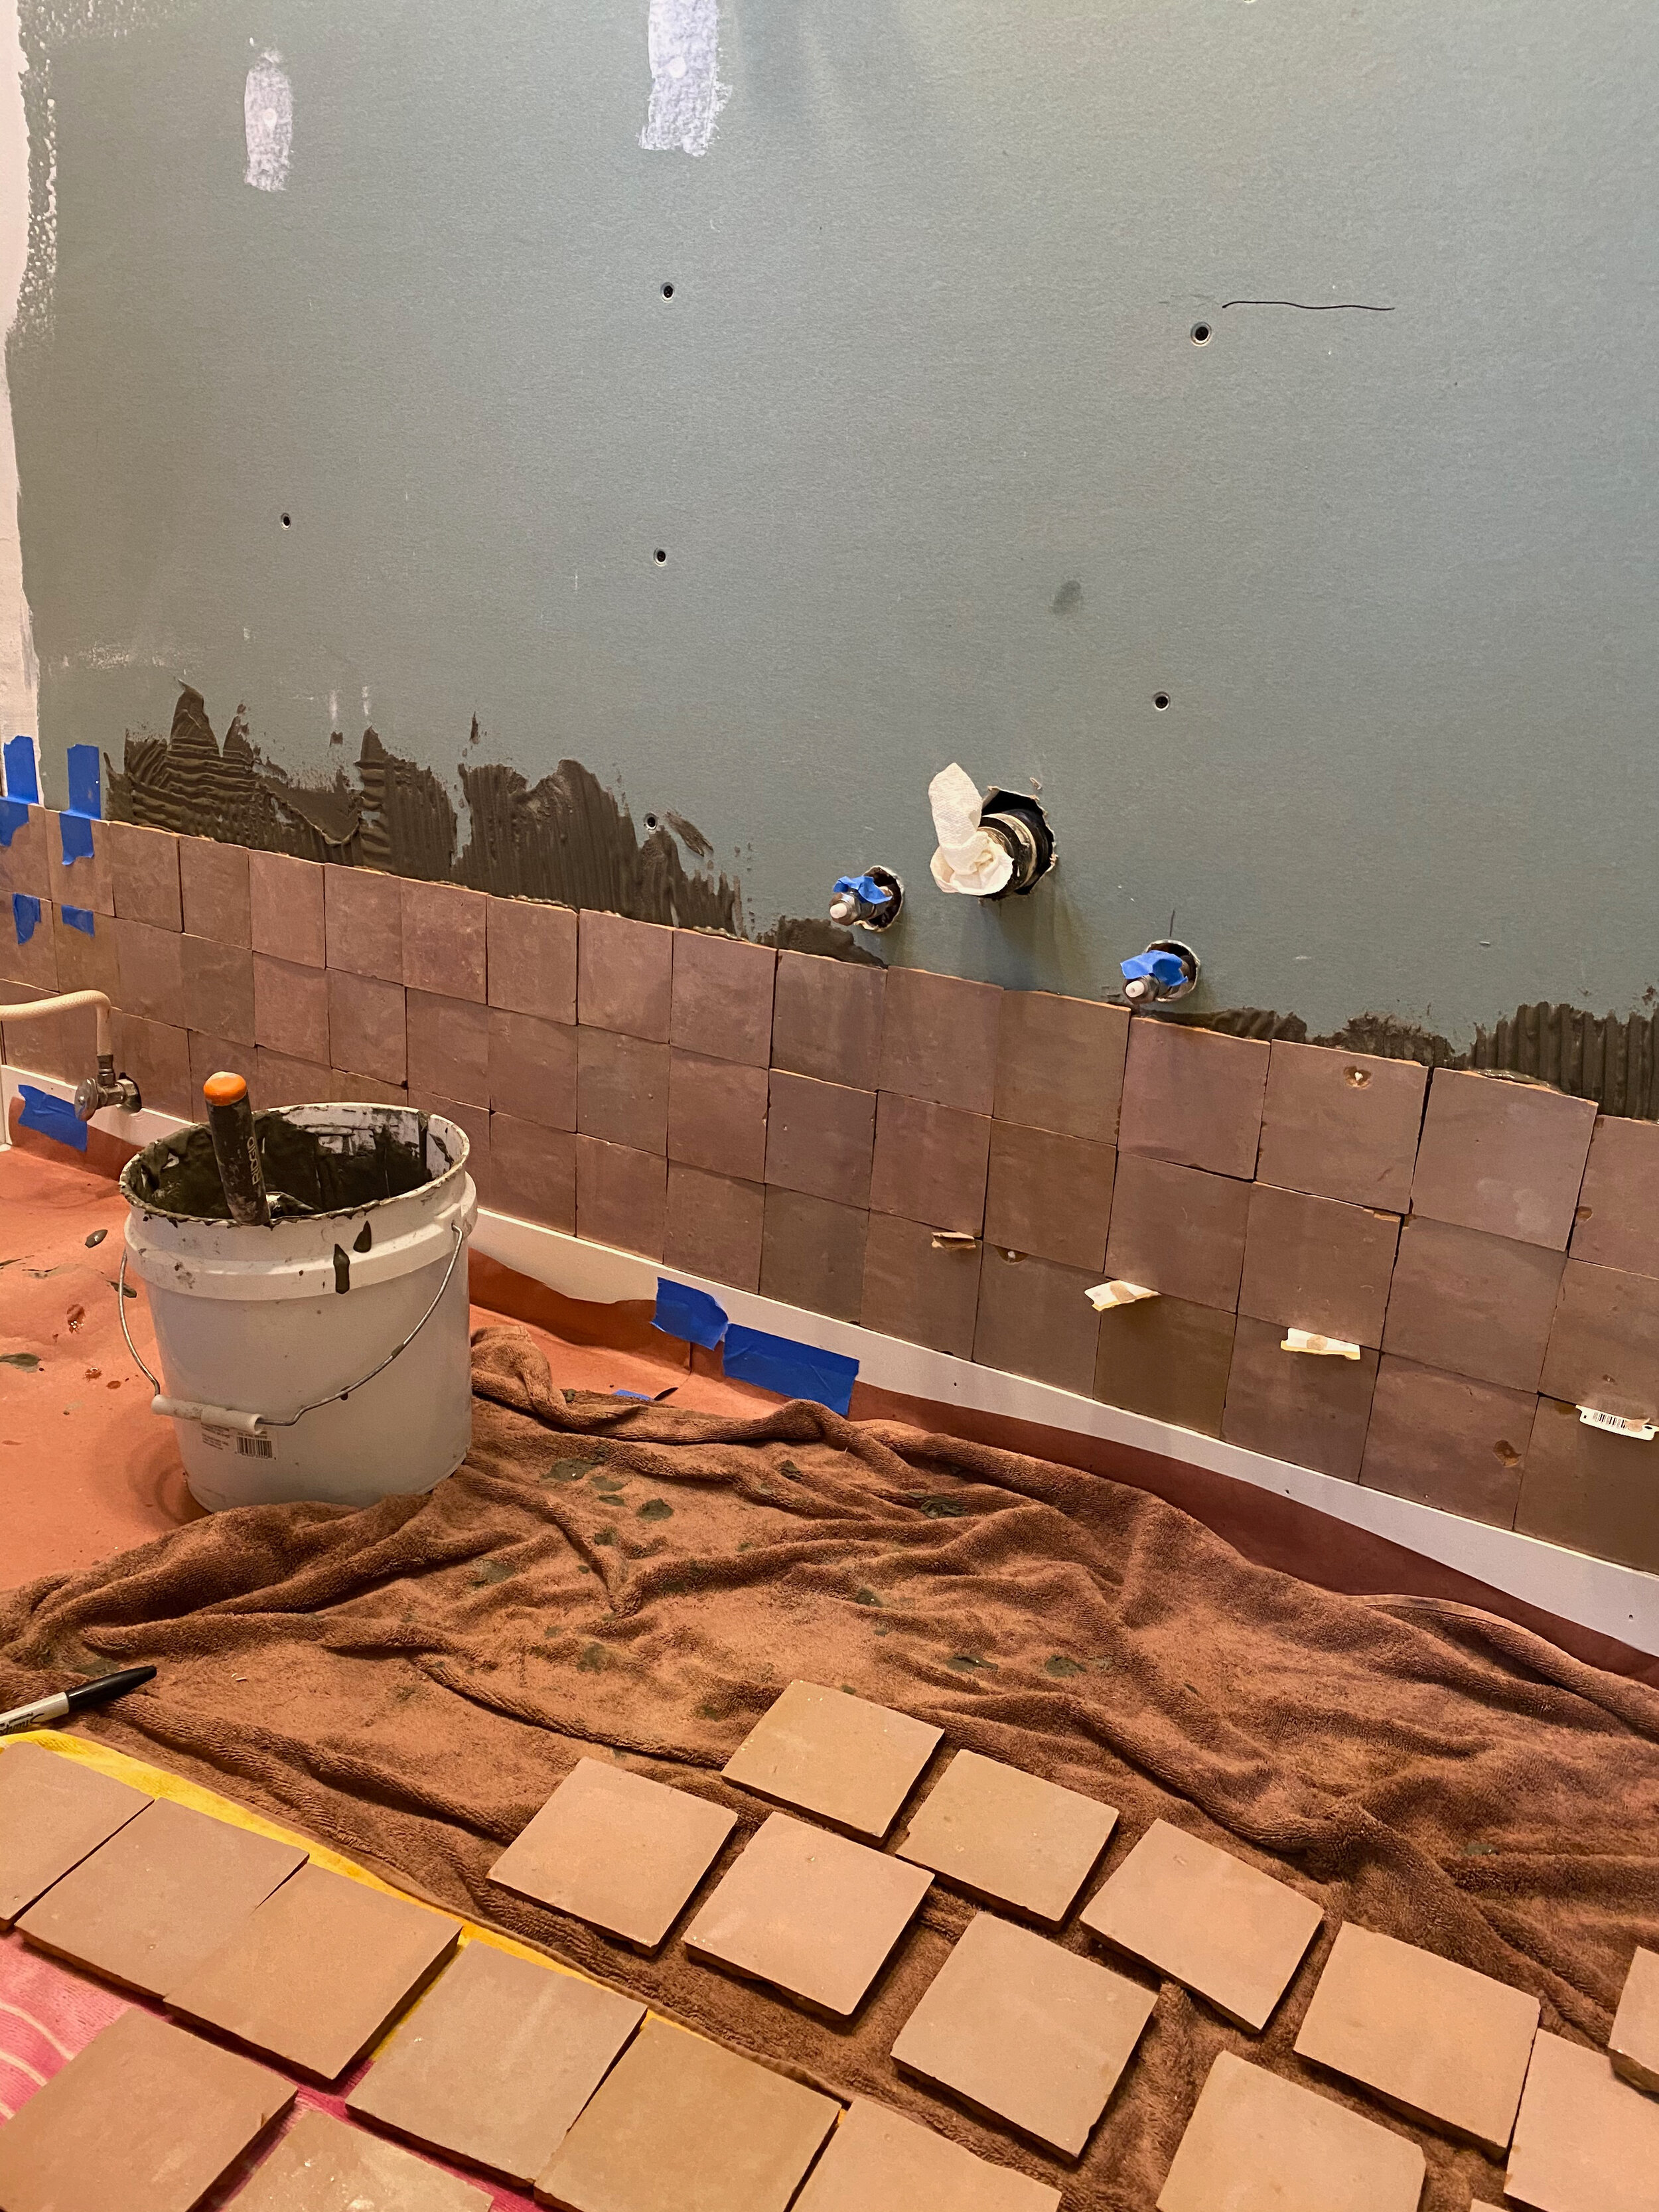
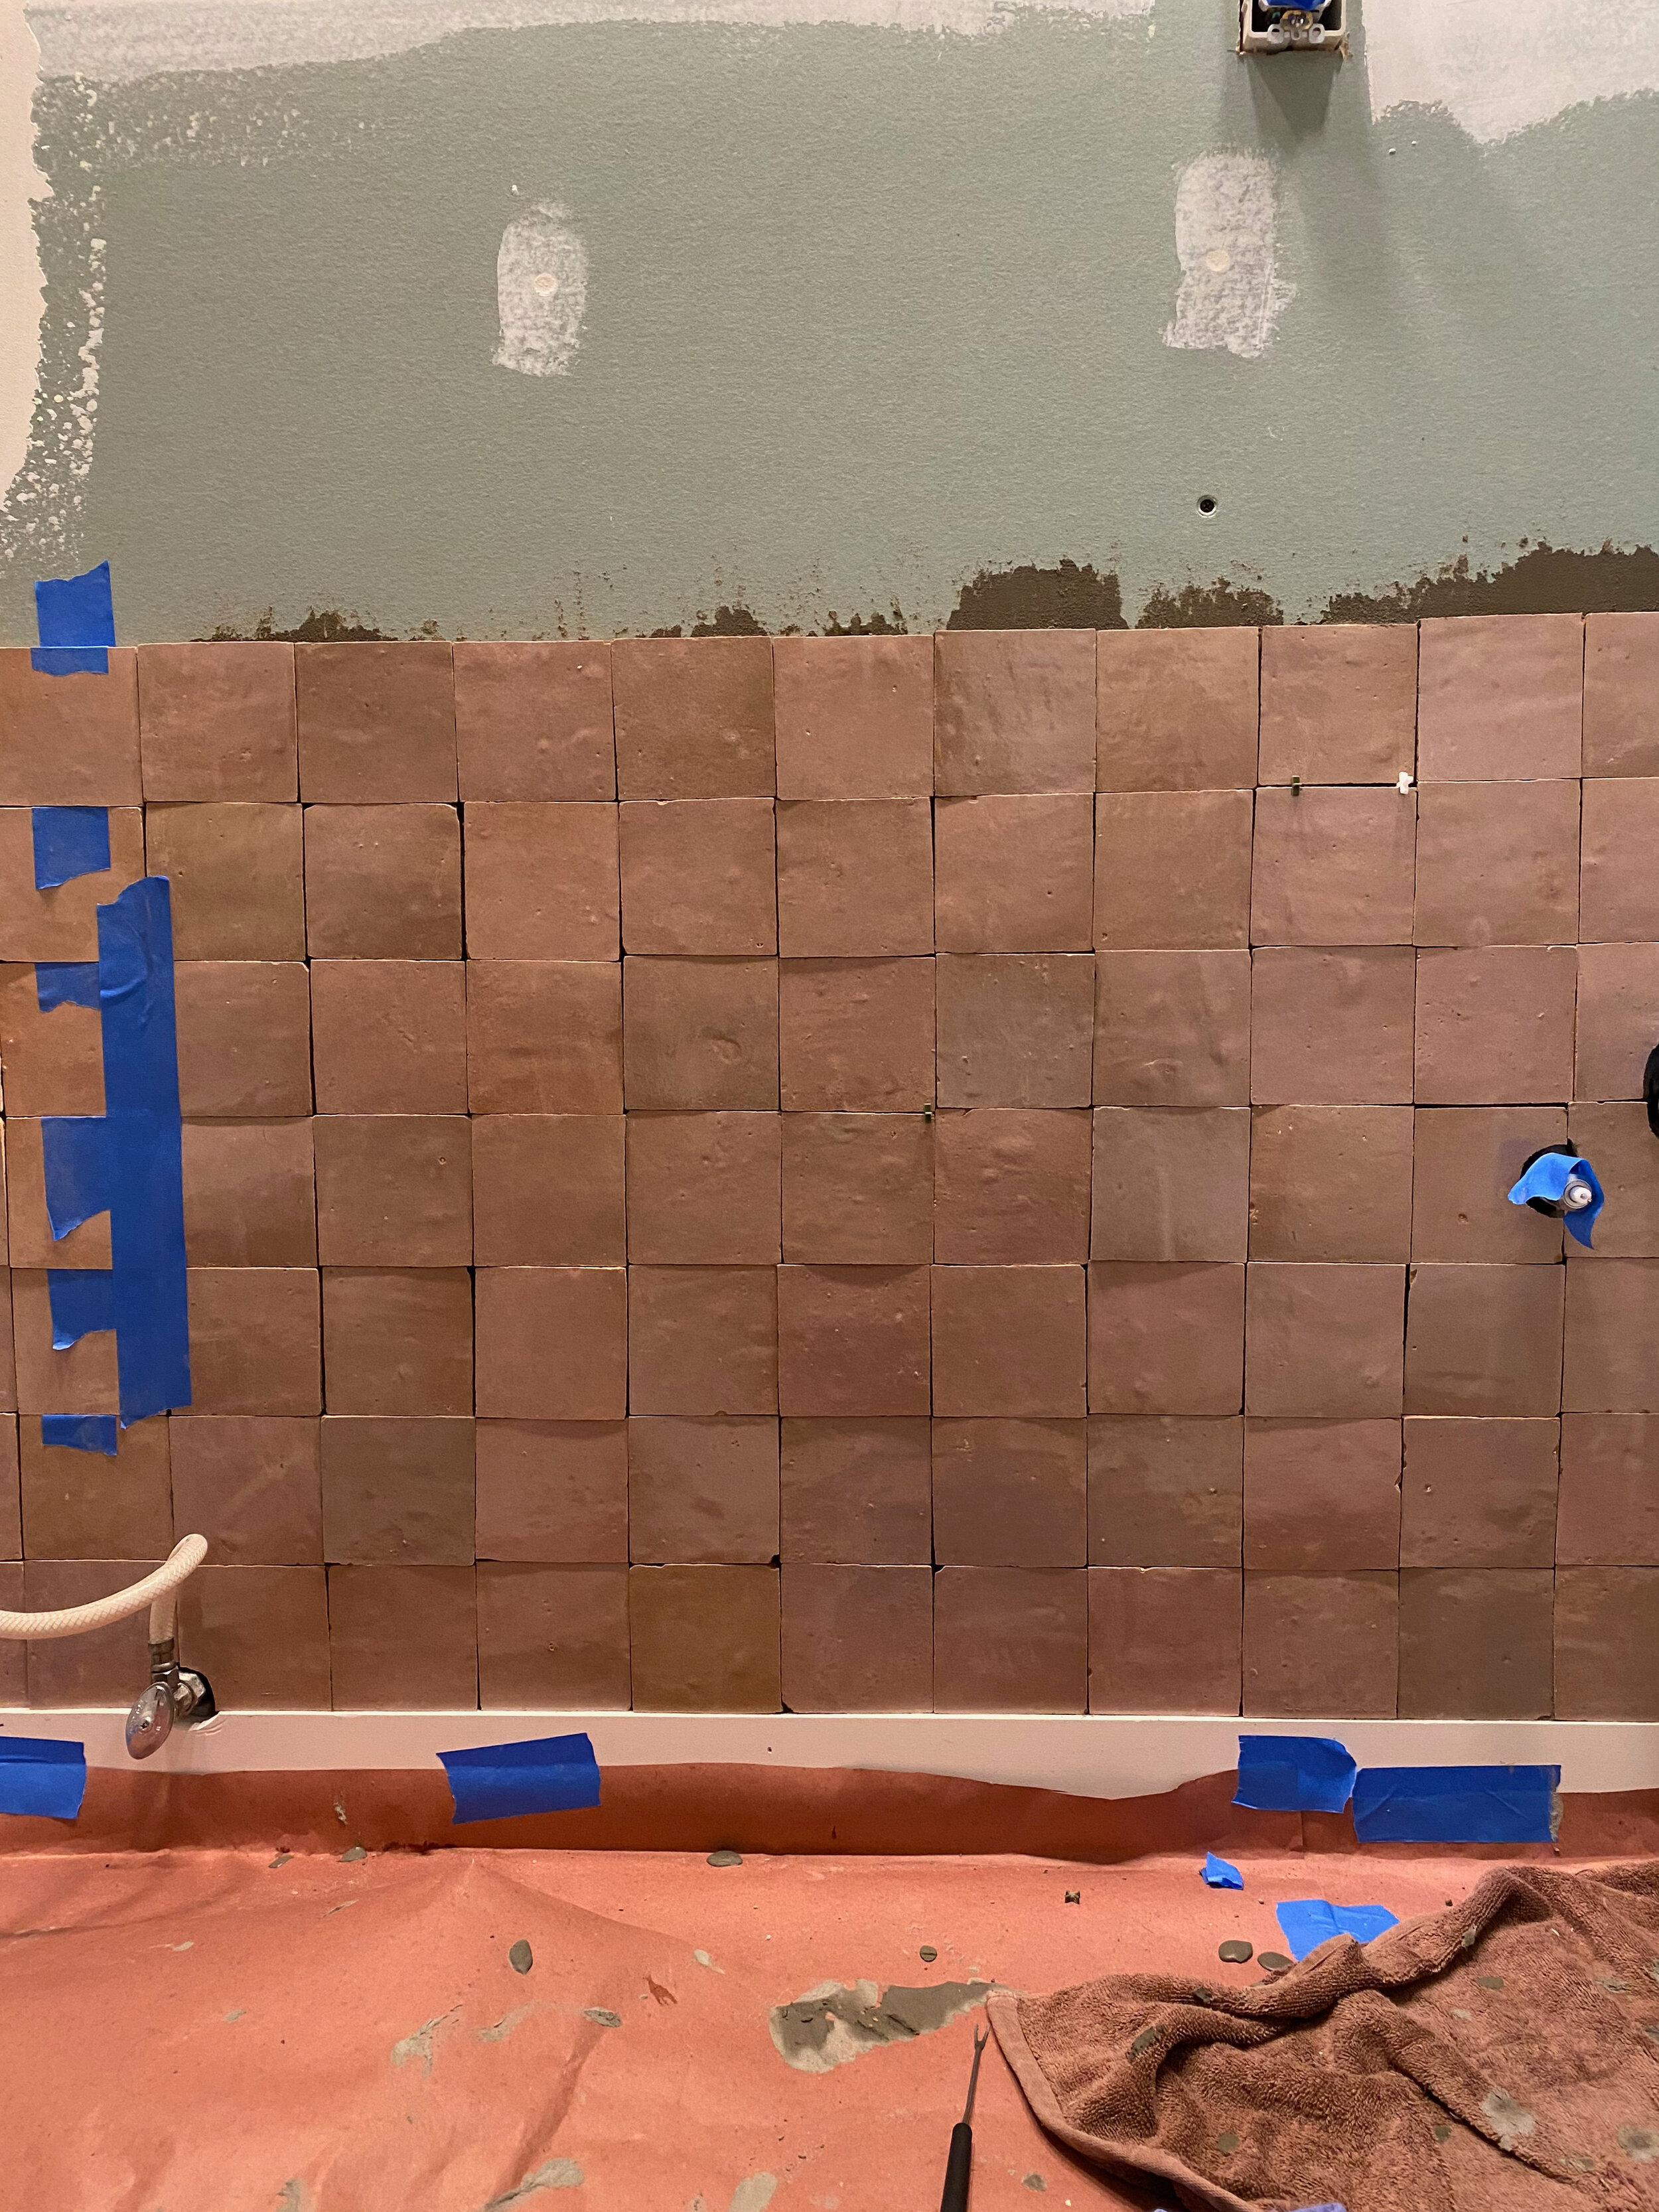
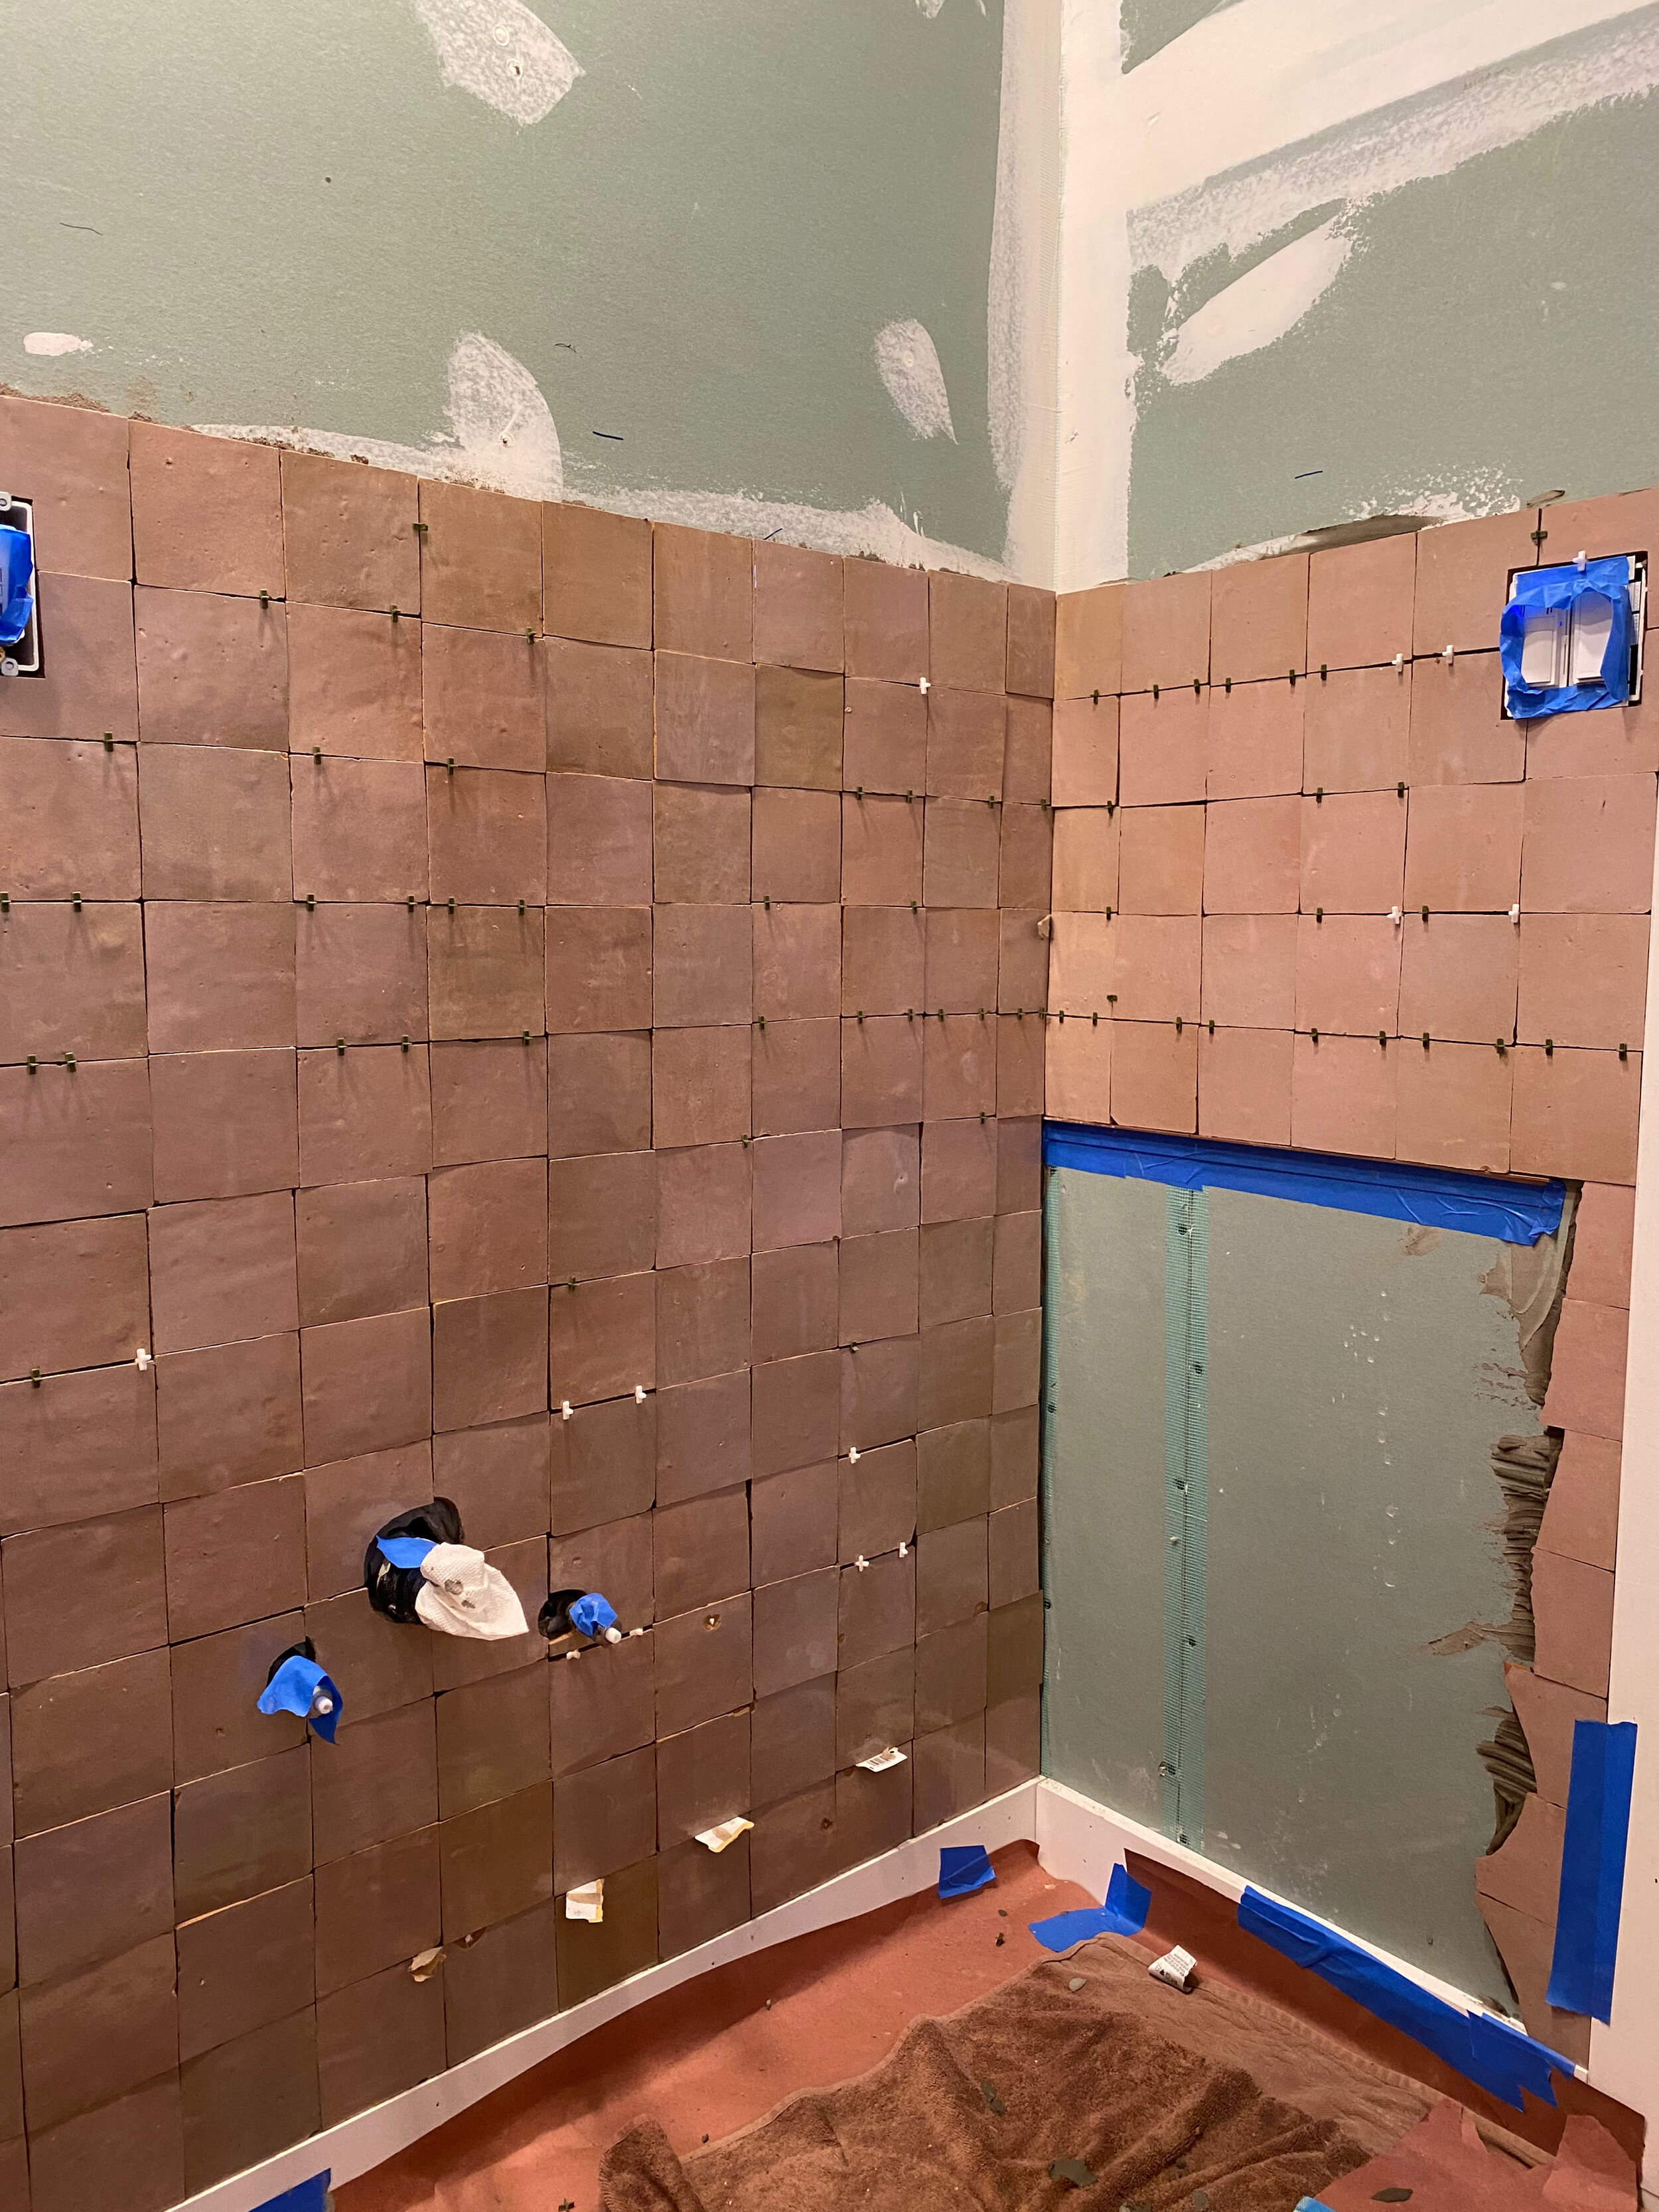
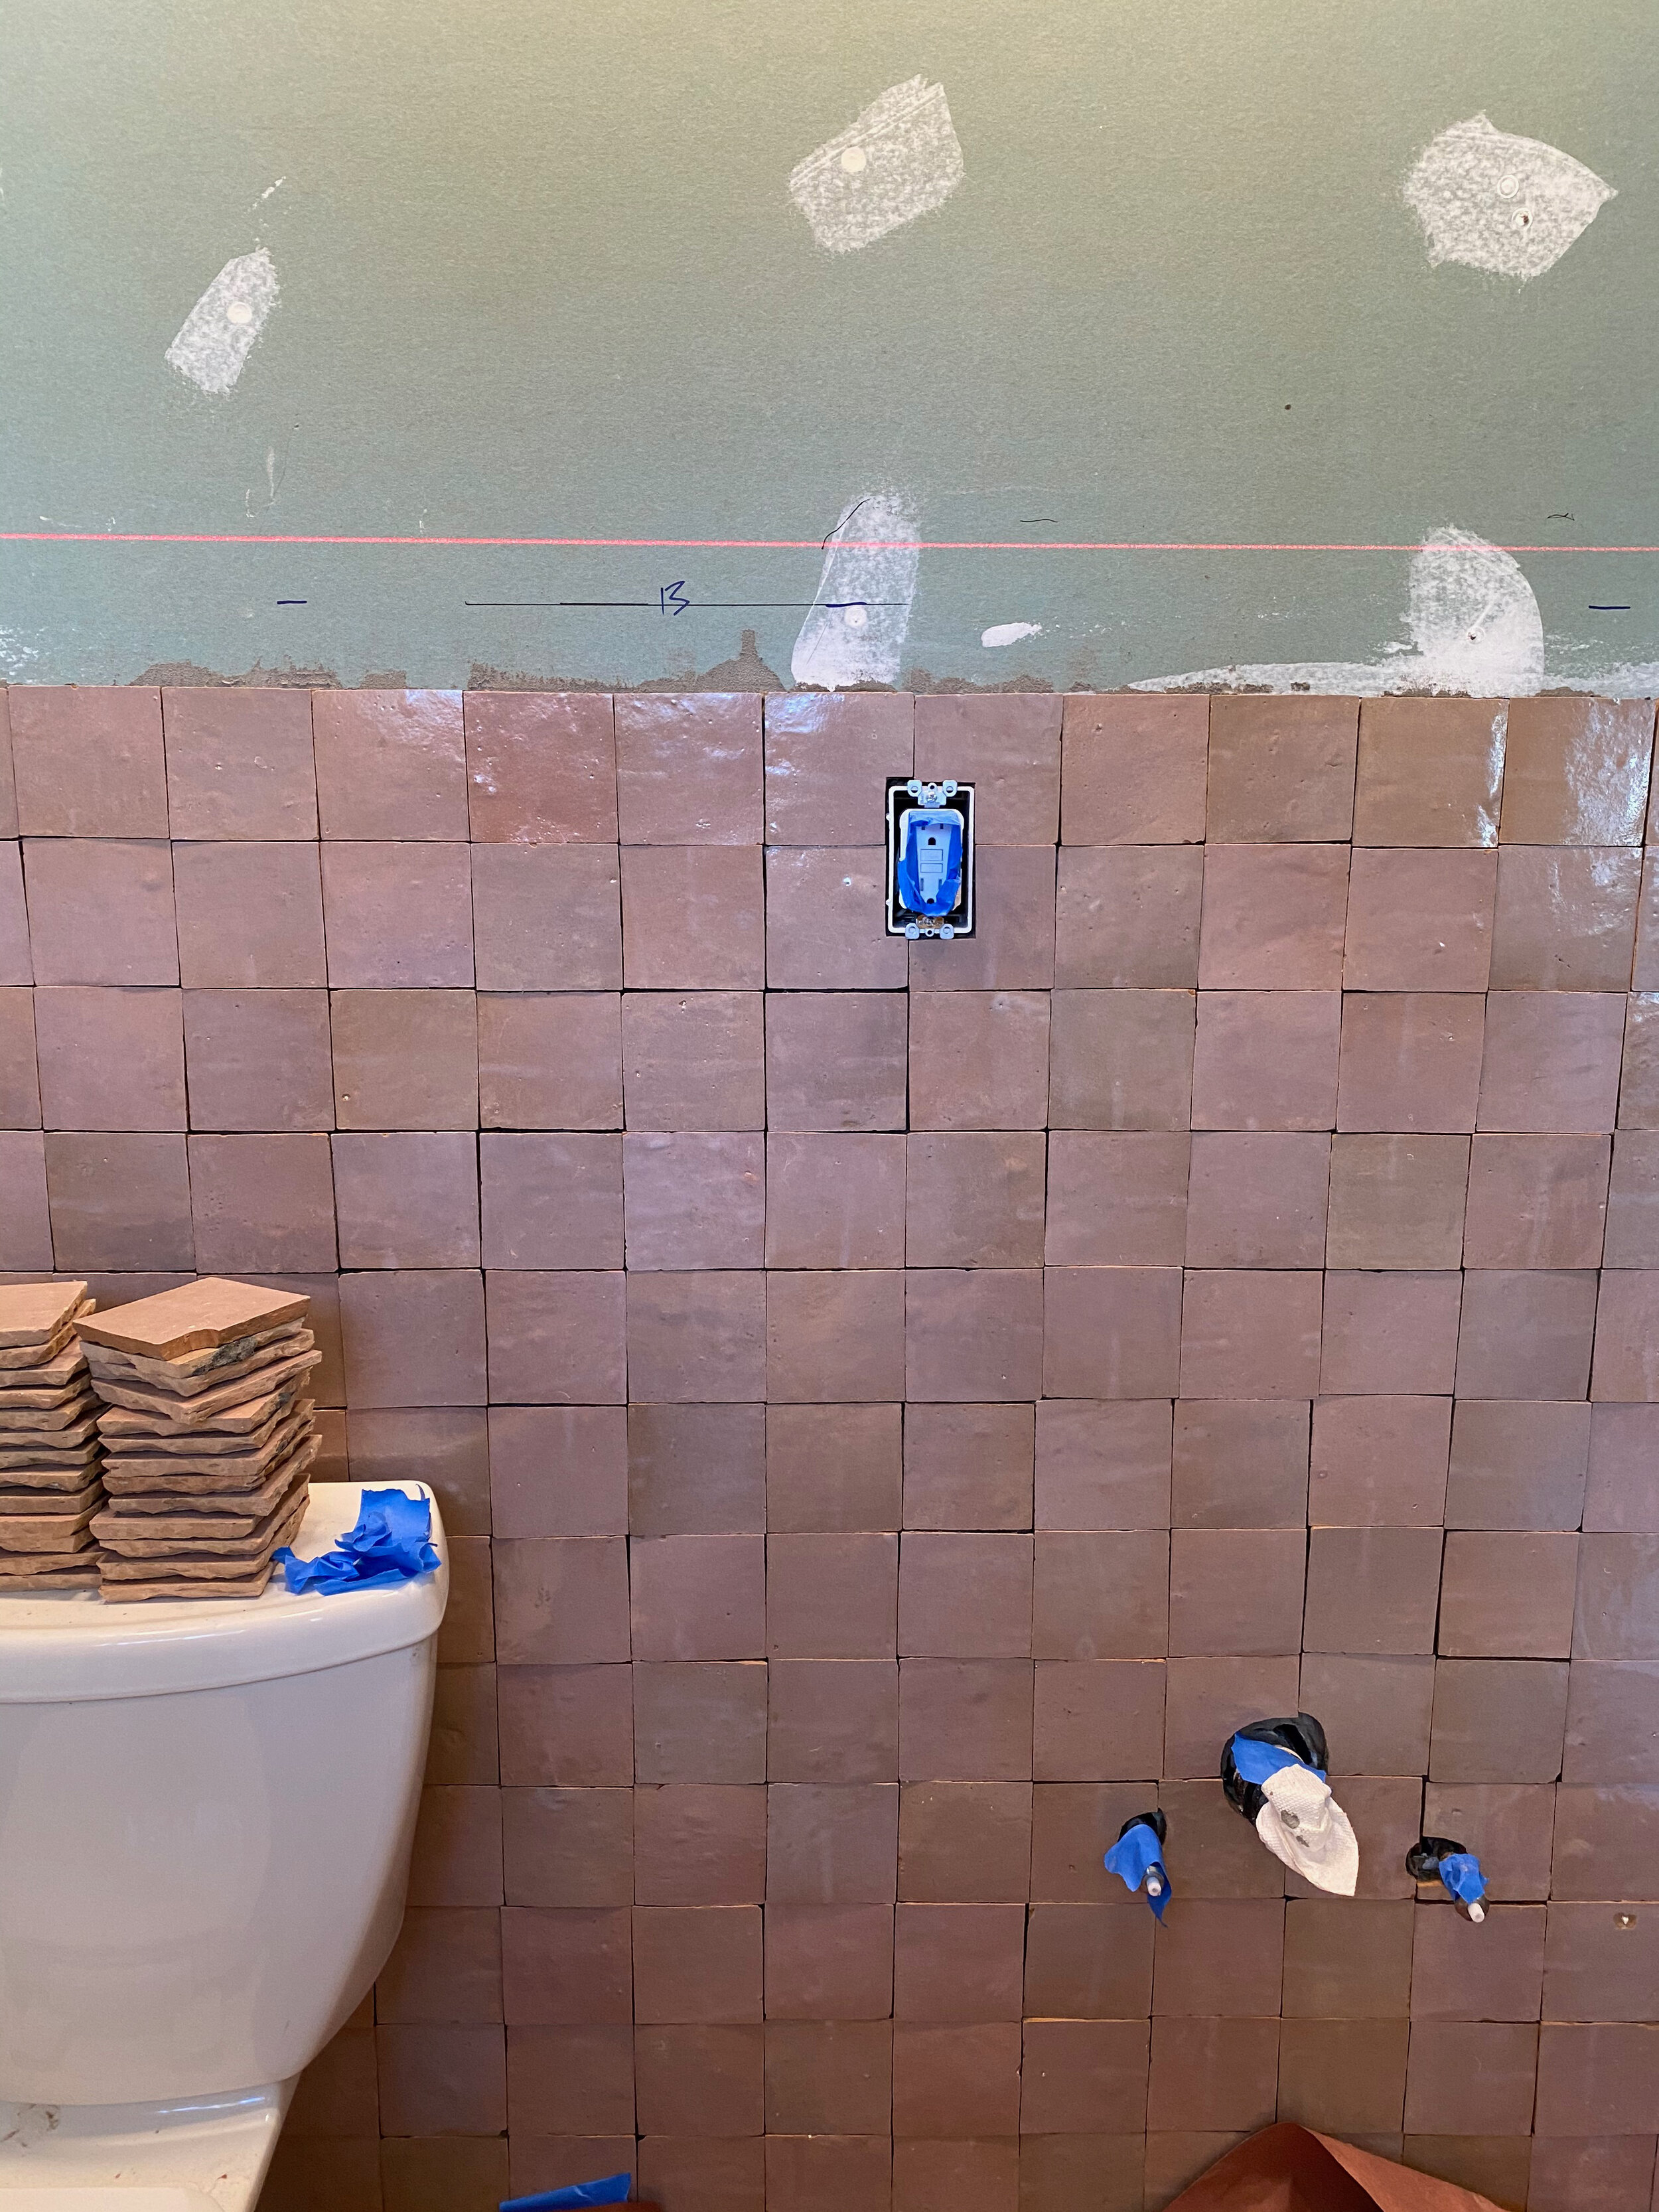
pete & i spent a weekend tiling the zellige tile on this wall that would be behind the toilet and vanity. this type of tile intentionally has irregular shapes and looks best when butted up against one another, instead of having a standard amount of spacing between tiles like a subway tile would. we felt confident that we could do it ourselves and it was fine! you need a tile saw to cut some edge pieces down and need to miter some corners so they fit together nicely. except for the back pain from bending over, this process was quite easy.

i was on tile soaking, prep and placement duty while pete buttered the back of each tile with mortar and placed it next in line. you wanna make sure you take the time to spread out all of the tiles from different boxes so that a slightly different shade of tile gets placed next to its neighbor.

we had a bit of a miscalculation with the amount of tiles we thought we had - luckily the vanity would cover up this lower wall section, so that saved our butts to leave that area blank. a surprise for the person who removes the vanity one day…sorry folks.

this was cooool, using a frickin lazer beam to make sure the top line was straight. 🦈

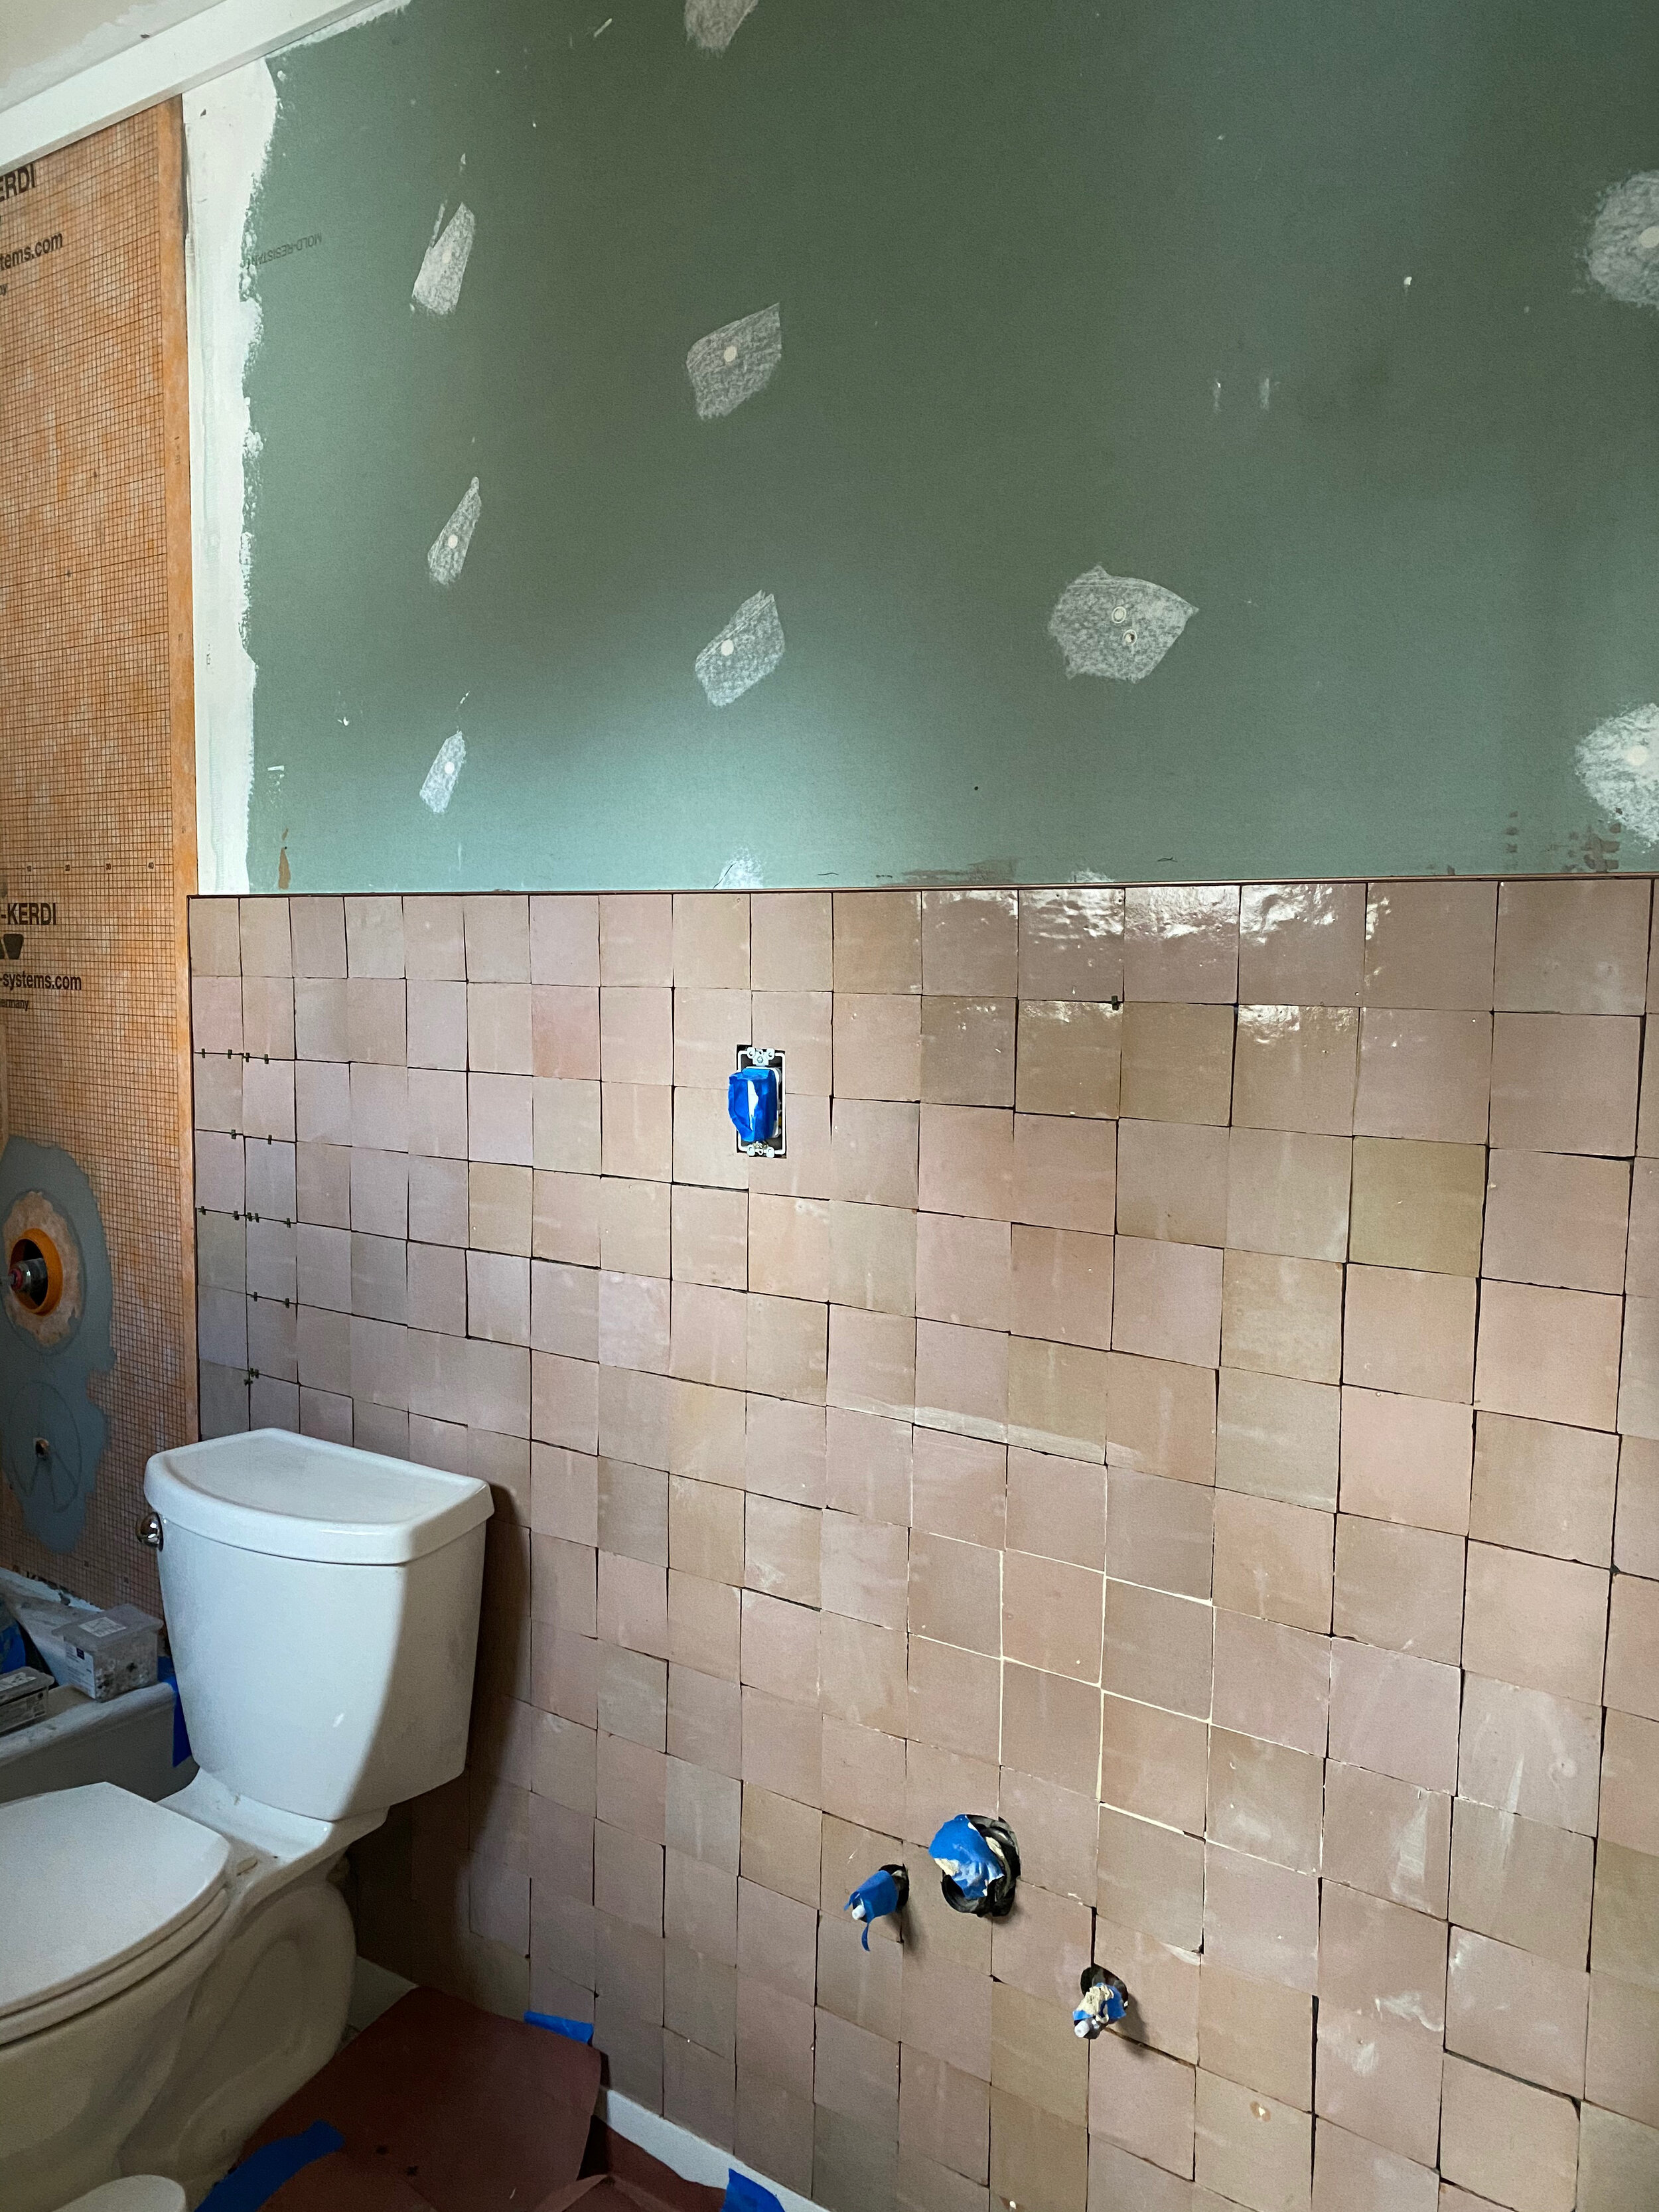
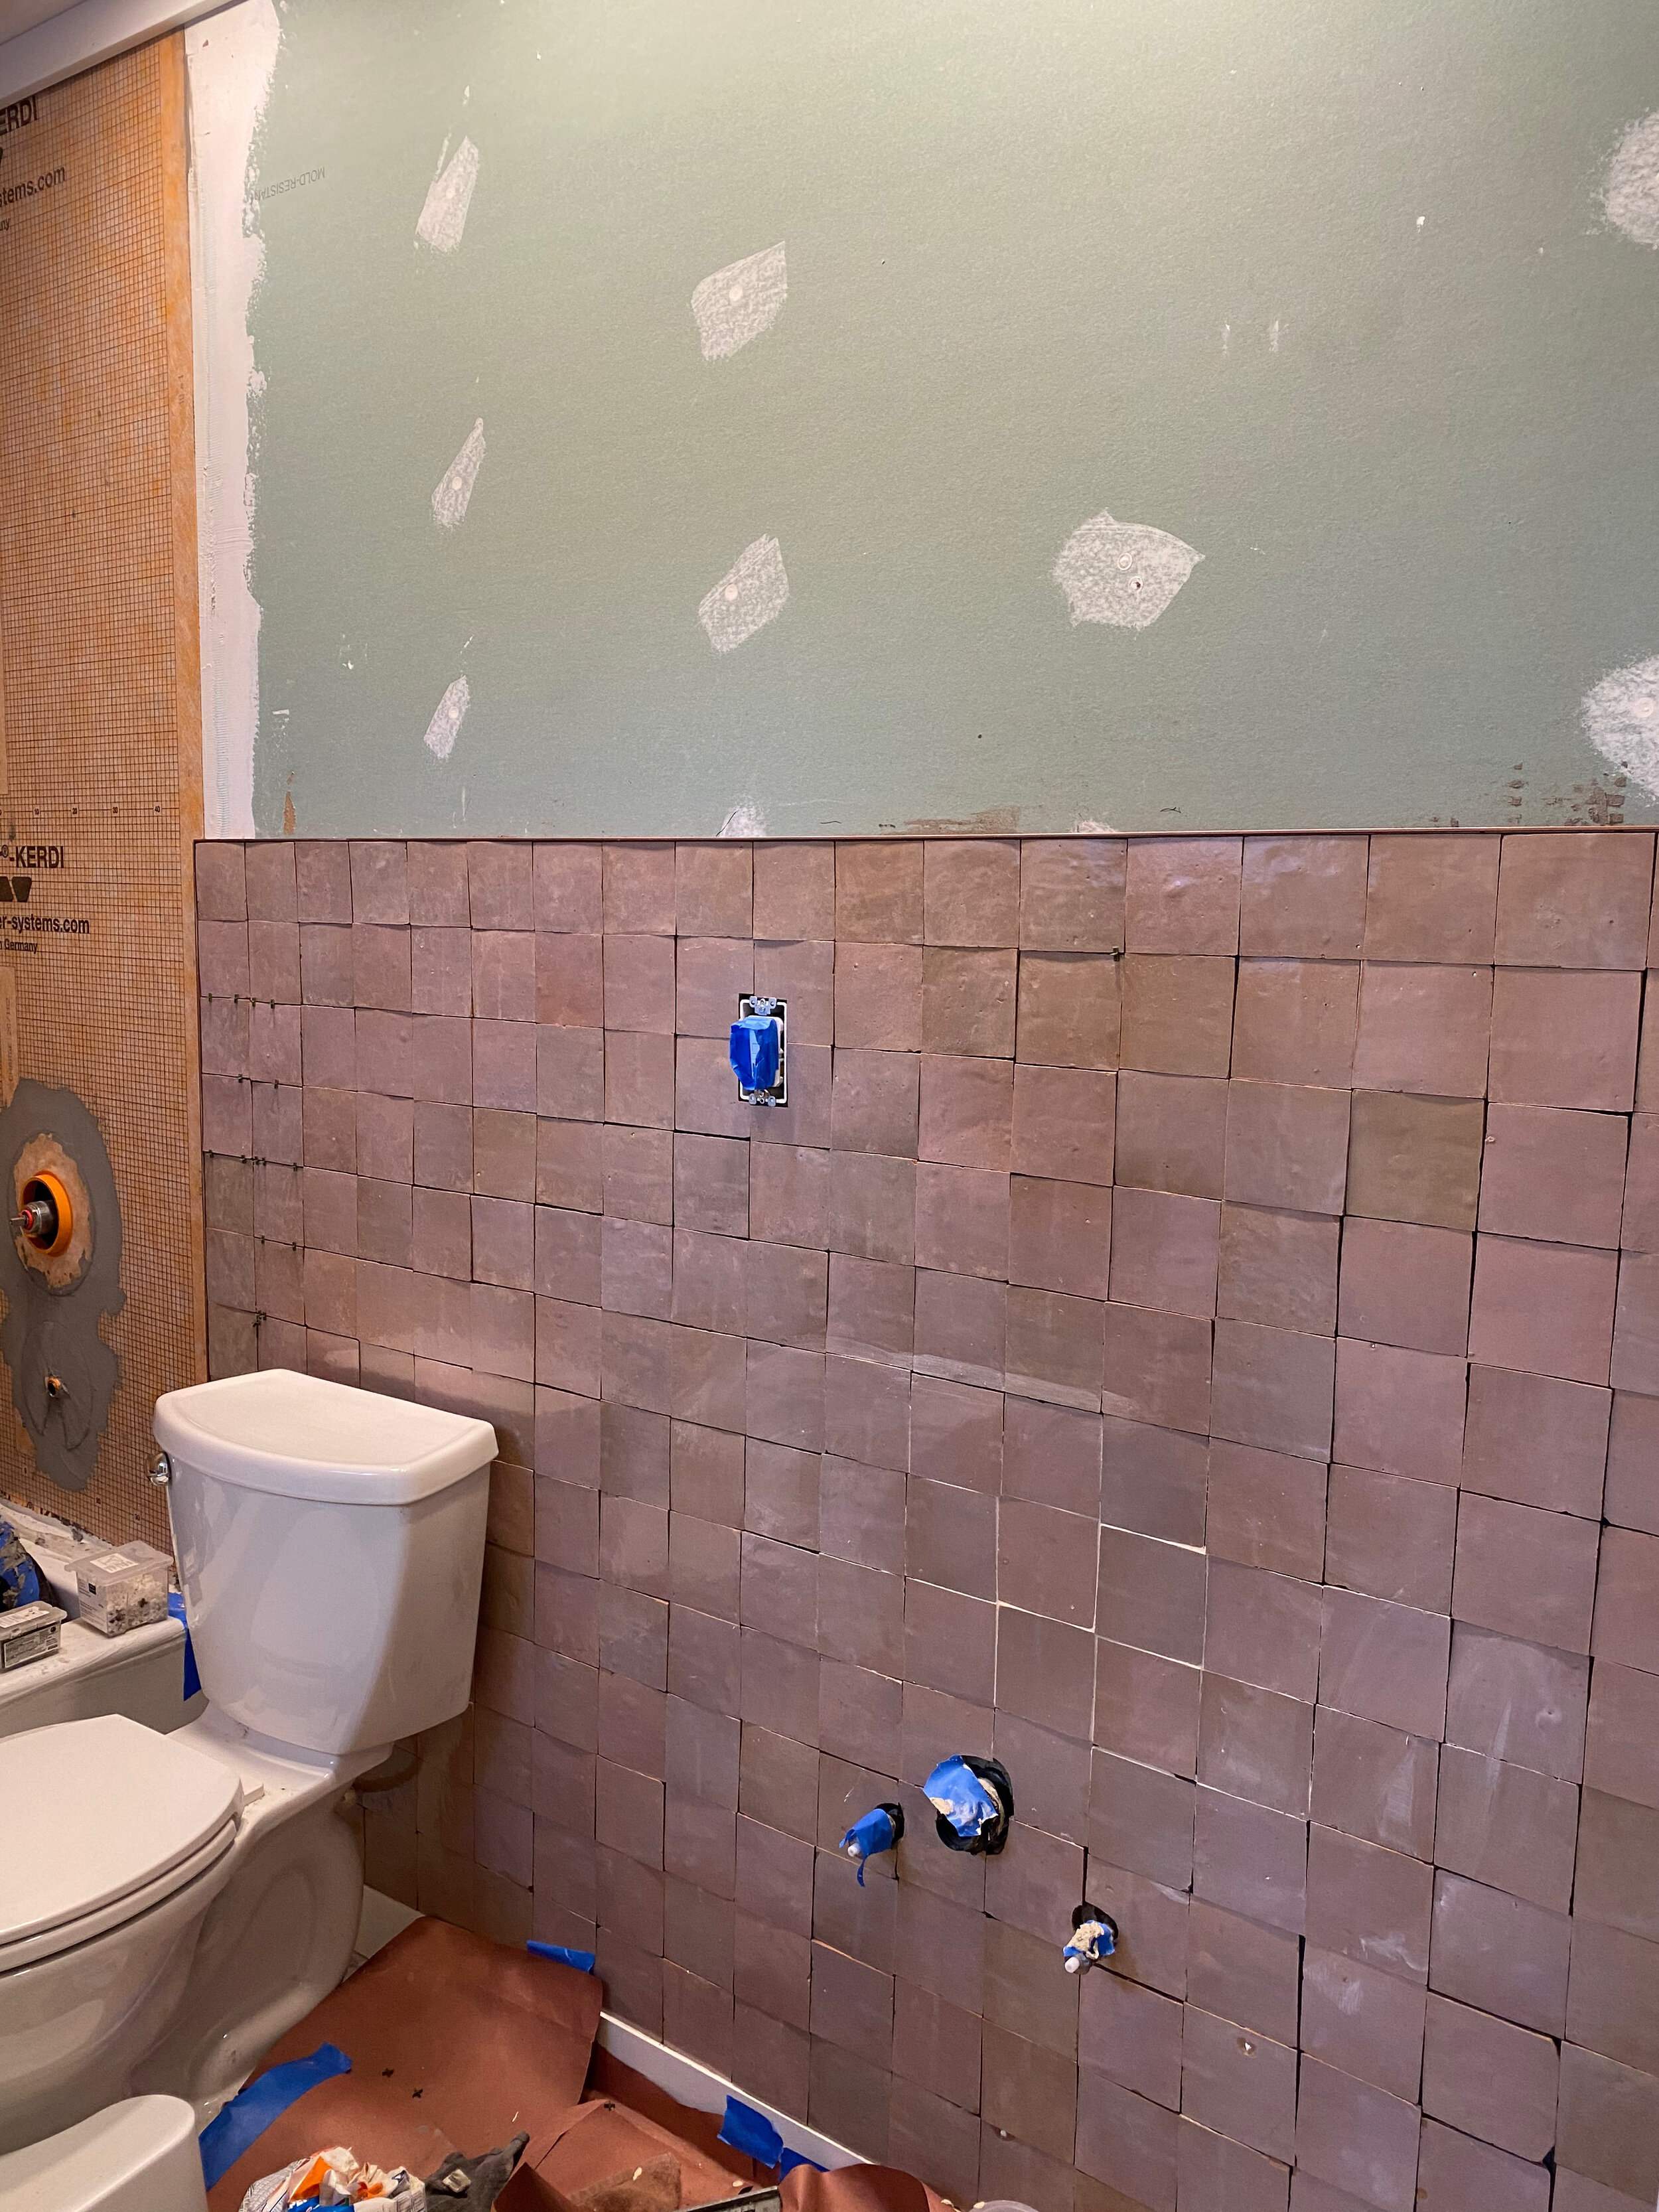
^ look how different the tile colors look with the lights off versus lights on.

we tested a lighter cream/tan grout at first, but ended up choosing a light brown grout for this color of tile so everything blended together better. the first test grout looked too stark white next to the brownish tiles.

the following day, i did all the zellige grout myself (first time grouter here), under sam’s supervision :) i’m happy to be learning a lot about home improvement stuff throughout these various projects.

shower tiling & grout, done! ✅

pete is funny to work with because (as i’m learning many husbands do) he will pretty much always disagree and say ‘no’ before he says ‘yes’ to my vision. i’ve learned not to feel deflated about an idea that i’m pumped about and continue to show him visuals what i’m trying to achieve - the pinterest board came in handy in this way many times to prove that what i’m describing is going to look good and not crazy.

he was on board with many of my choices like all the tile and medicine cabinet (actually, he “chose” this arched one - though i’d already been eyeing it 😉), but the things that were a hard sell for pete were the copper fixtures and the board & batten half wall under the window.

i’ll admit that warm antique copper, or red copper, is not as ubiquitous as brass hardware is right now. but…i’m glad that the finish that was available for the shower door size we needed (dark bronze) matched the option for the medicine cabinet (dark bronze). so there did end up being a mixture of antique copper and dark bronze finishes throughout the room, which is nice. i think if every single finish was copper it would have looked very shiny and “too rich for my blood,” as peter put it, lol. it did have a bit of an aladdin vibe for a minute, but i was into that, too. 😊

the half wall of board & batten was meant to break up that wall so it wasn’t so much plain WALL from floor to ceiling, if that makes sense. it was so easy to put together and would become a place to add a couple of towel hooks under the window.

i’d been searching for a light, super airy feeling greenish grey paint color for this section. i wound up going with ‘sea salt’ by sherwin williams which is a nice mixture of green, grey & blue. it makes the room feel serene & beachy, which is great because we live near the water and some beaches - seattle’s versions of “beaches”. 😉

^ here’s pete coming to the realization that my many ideas for this bathroom were not actually out of control. 😝

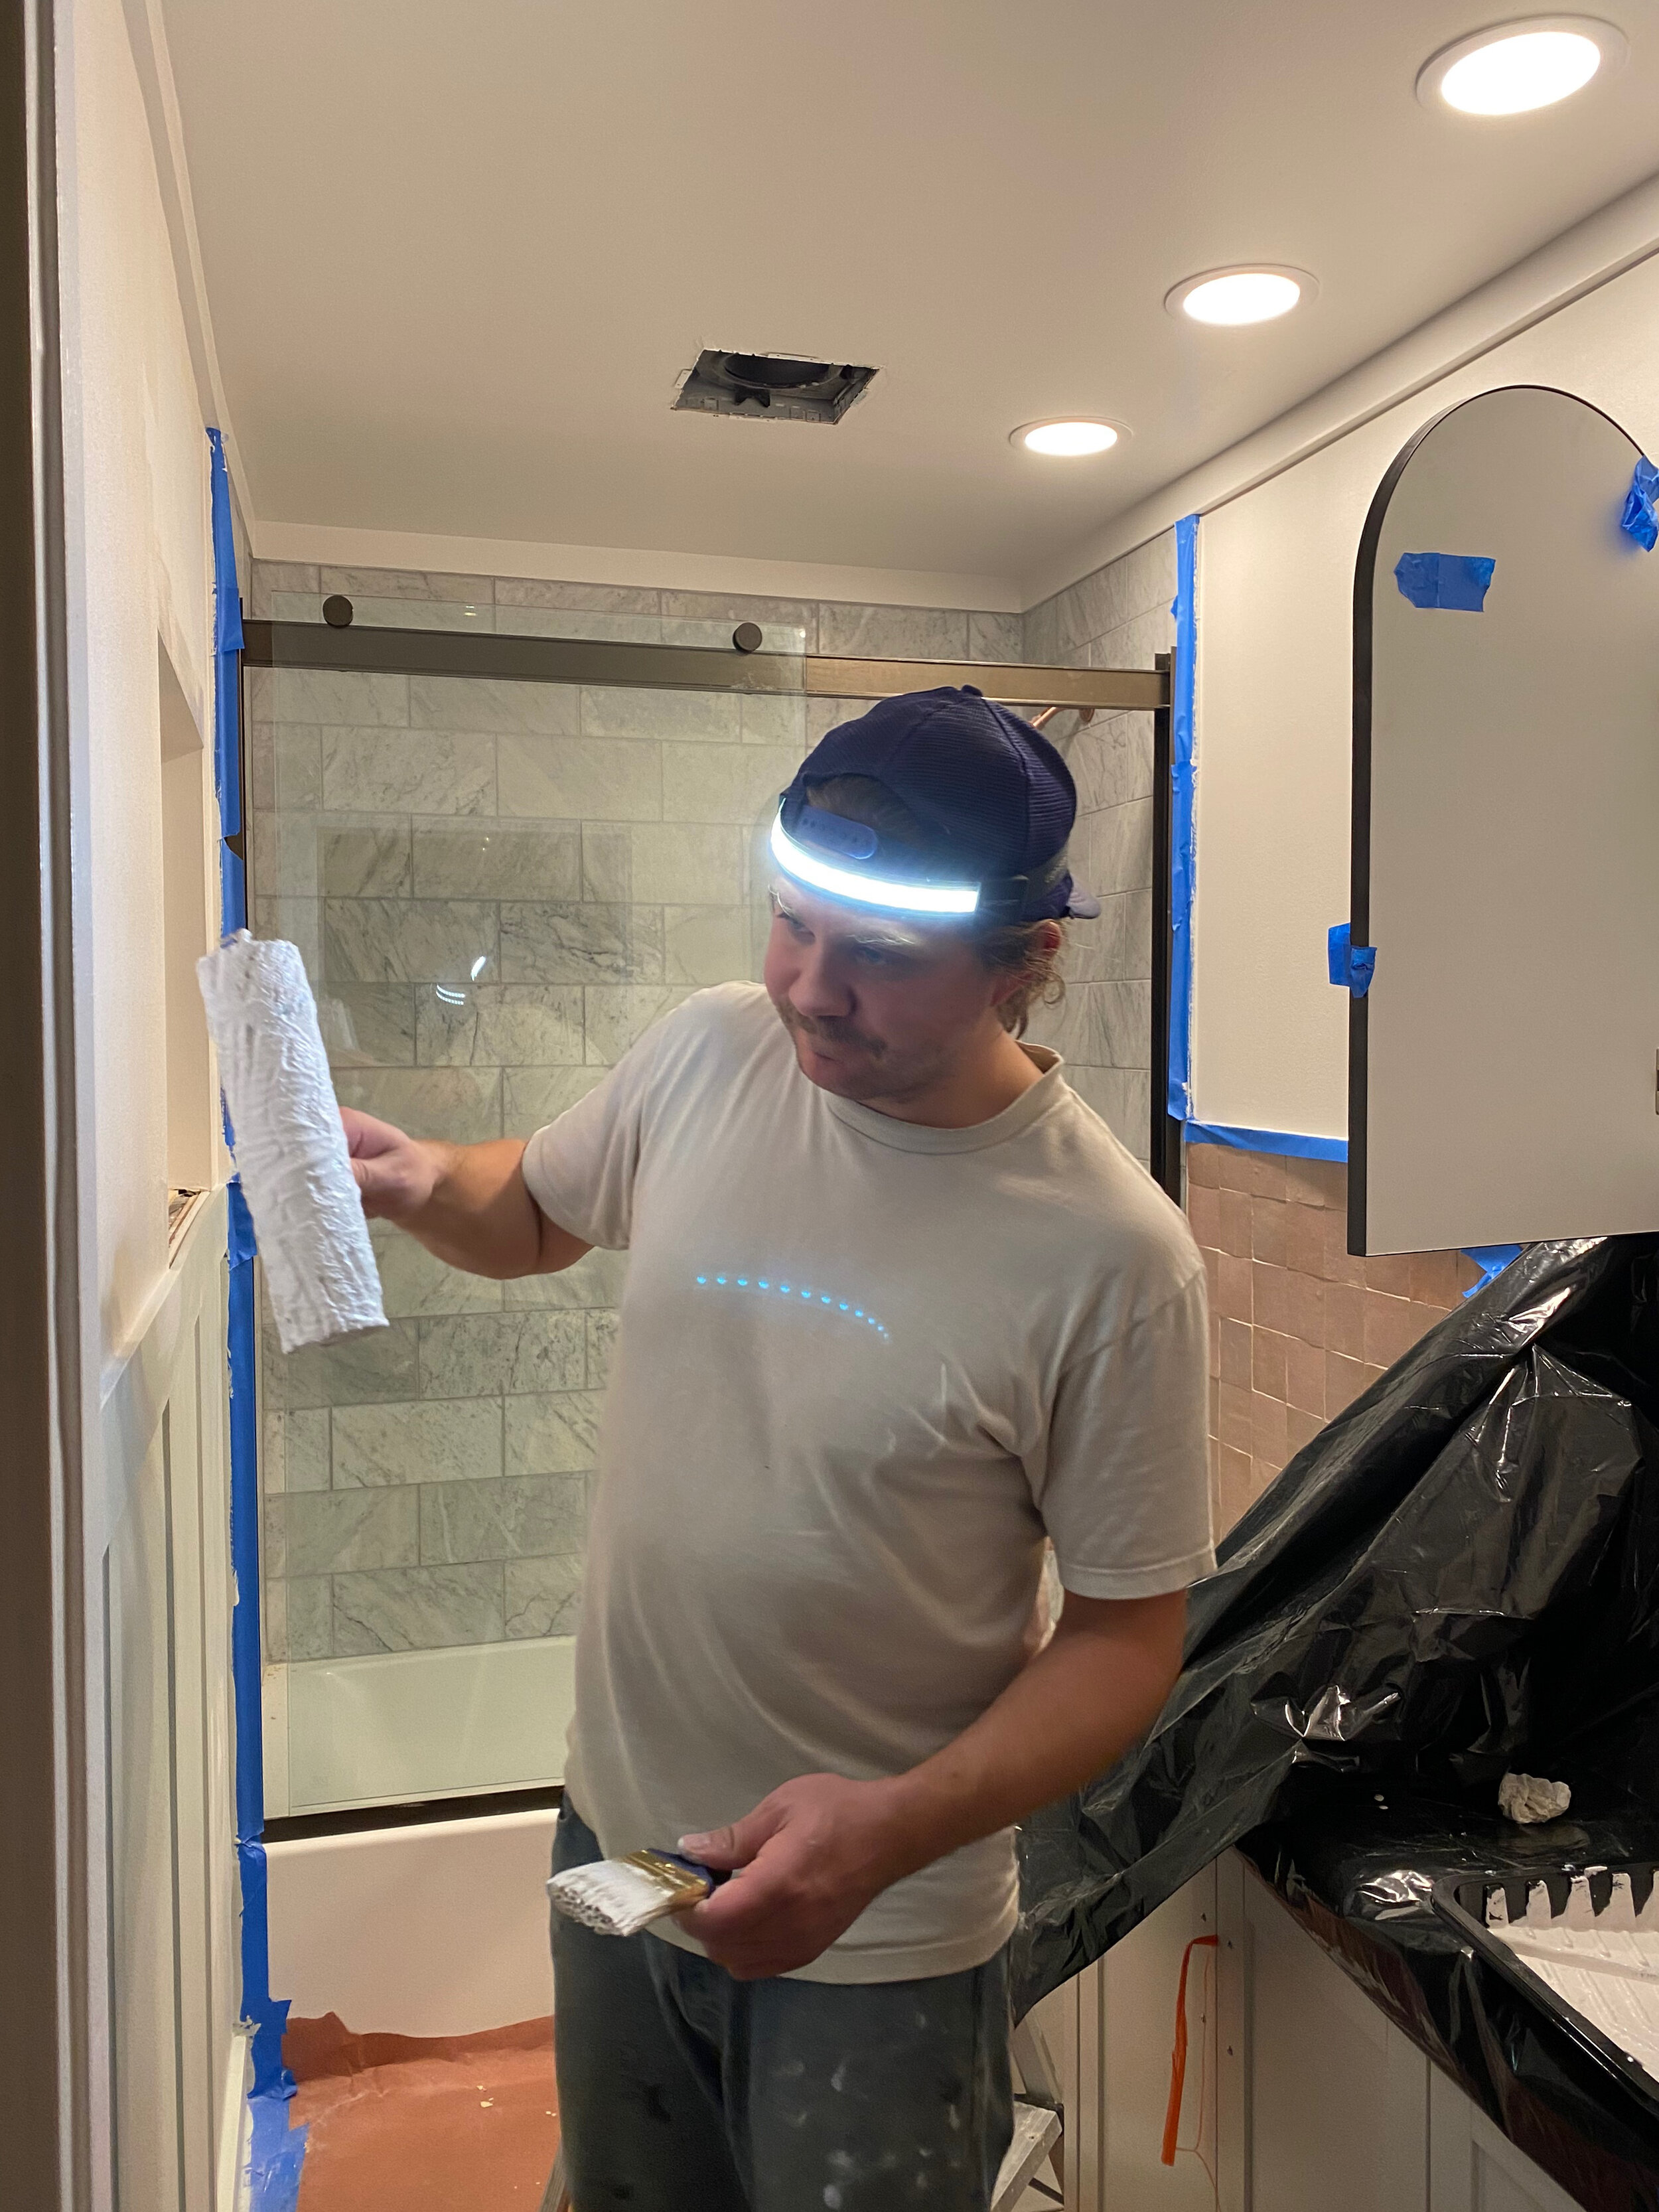
once we were in texturing and painting mode, we knew we were sooooo close to being done. at least done to the point where we could use everything bathroom related. all the final details like shelves and whatnot could come together whenever.

also, we discovered the boxed wall texture that was SosOooOOoo much easier to use and more affordable than the orange peel texture spray that we’d used in the basement kitchen & bathroom. a whole box is $10 and we only used half of it with a half gallon of the ‘marshmallow’ paint. i’m never turning back to orange peel spray in a can unless i’m just touching up the texture of a tiny area. if you’re texturing a whole room, go for the sand roll-on paint texture. i’ve never been so passionate about something so boring.

the wall color is sherwin williams ‘marshmallow’ (a perfectly warm white) and the ceiling and trim color is sherwin williams ‘snowbound.’

^the day the skylight was installed! the skylight installer was the only outside person who had to enter our house during this renovation. he was in and out within 2 hours! thanks, mr. levi! it was crazy to hear him cutting a hole in our roof though…no turning back. so happy we ended up splurging for the sun tunnel, though!

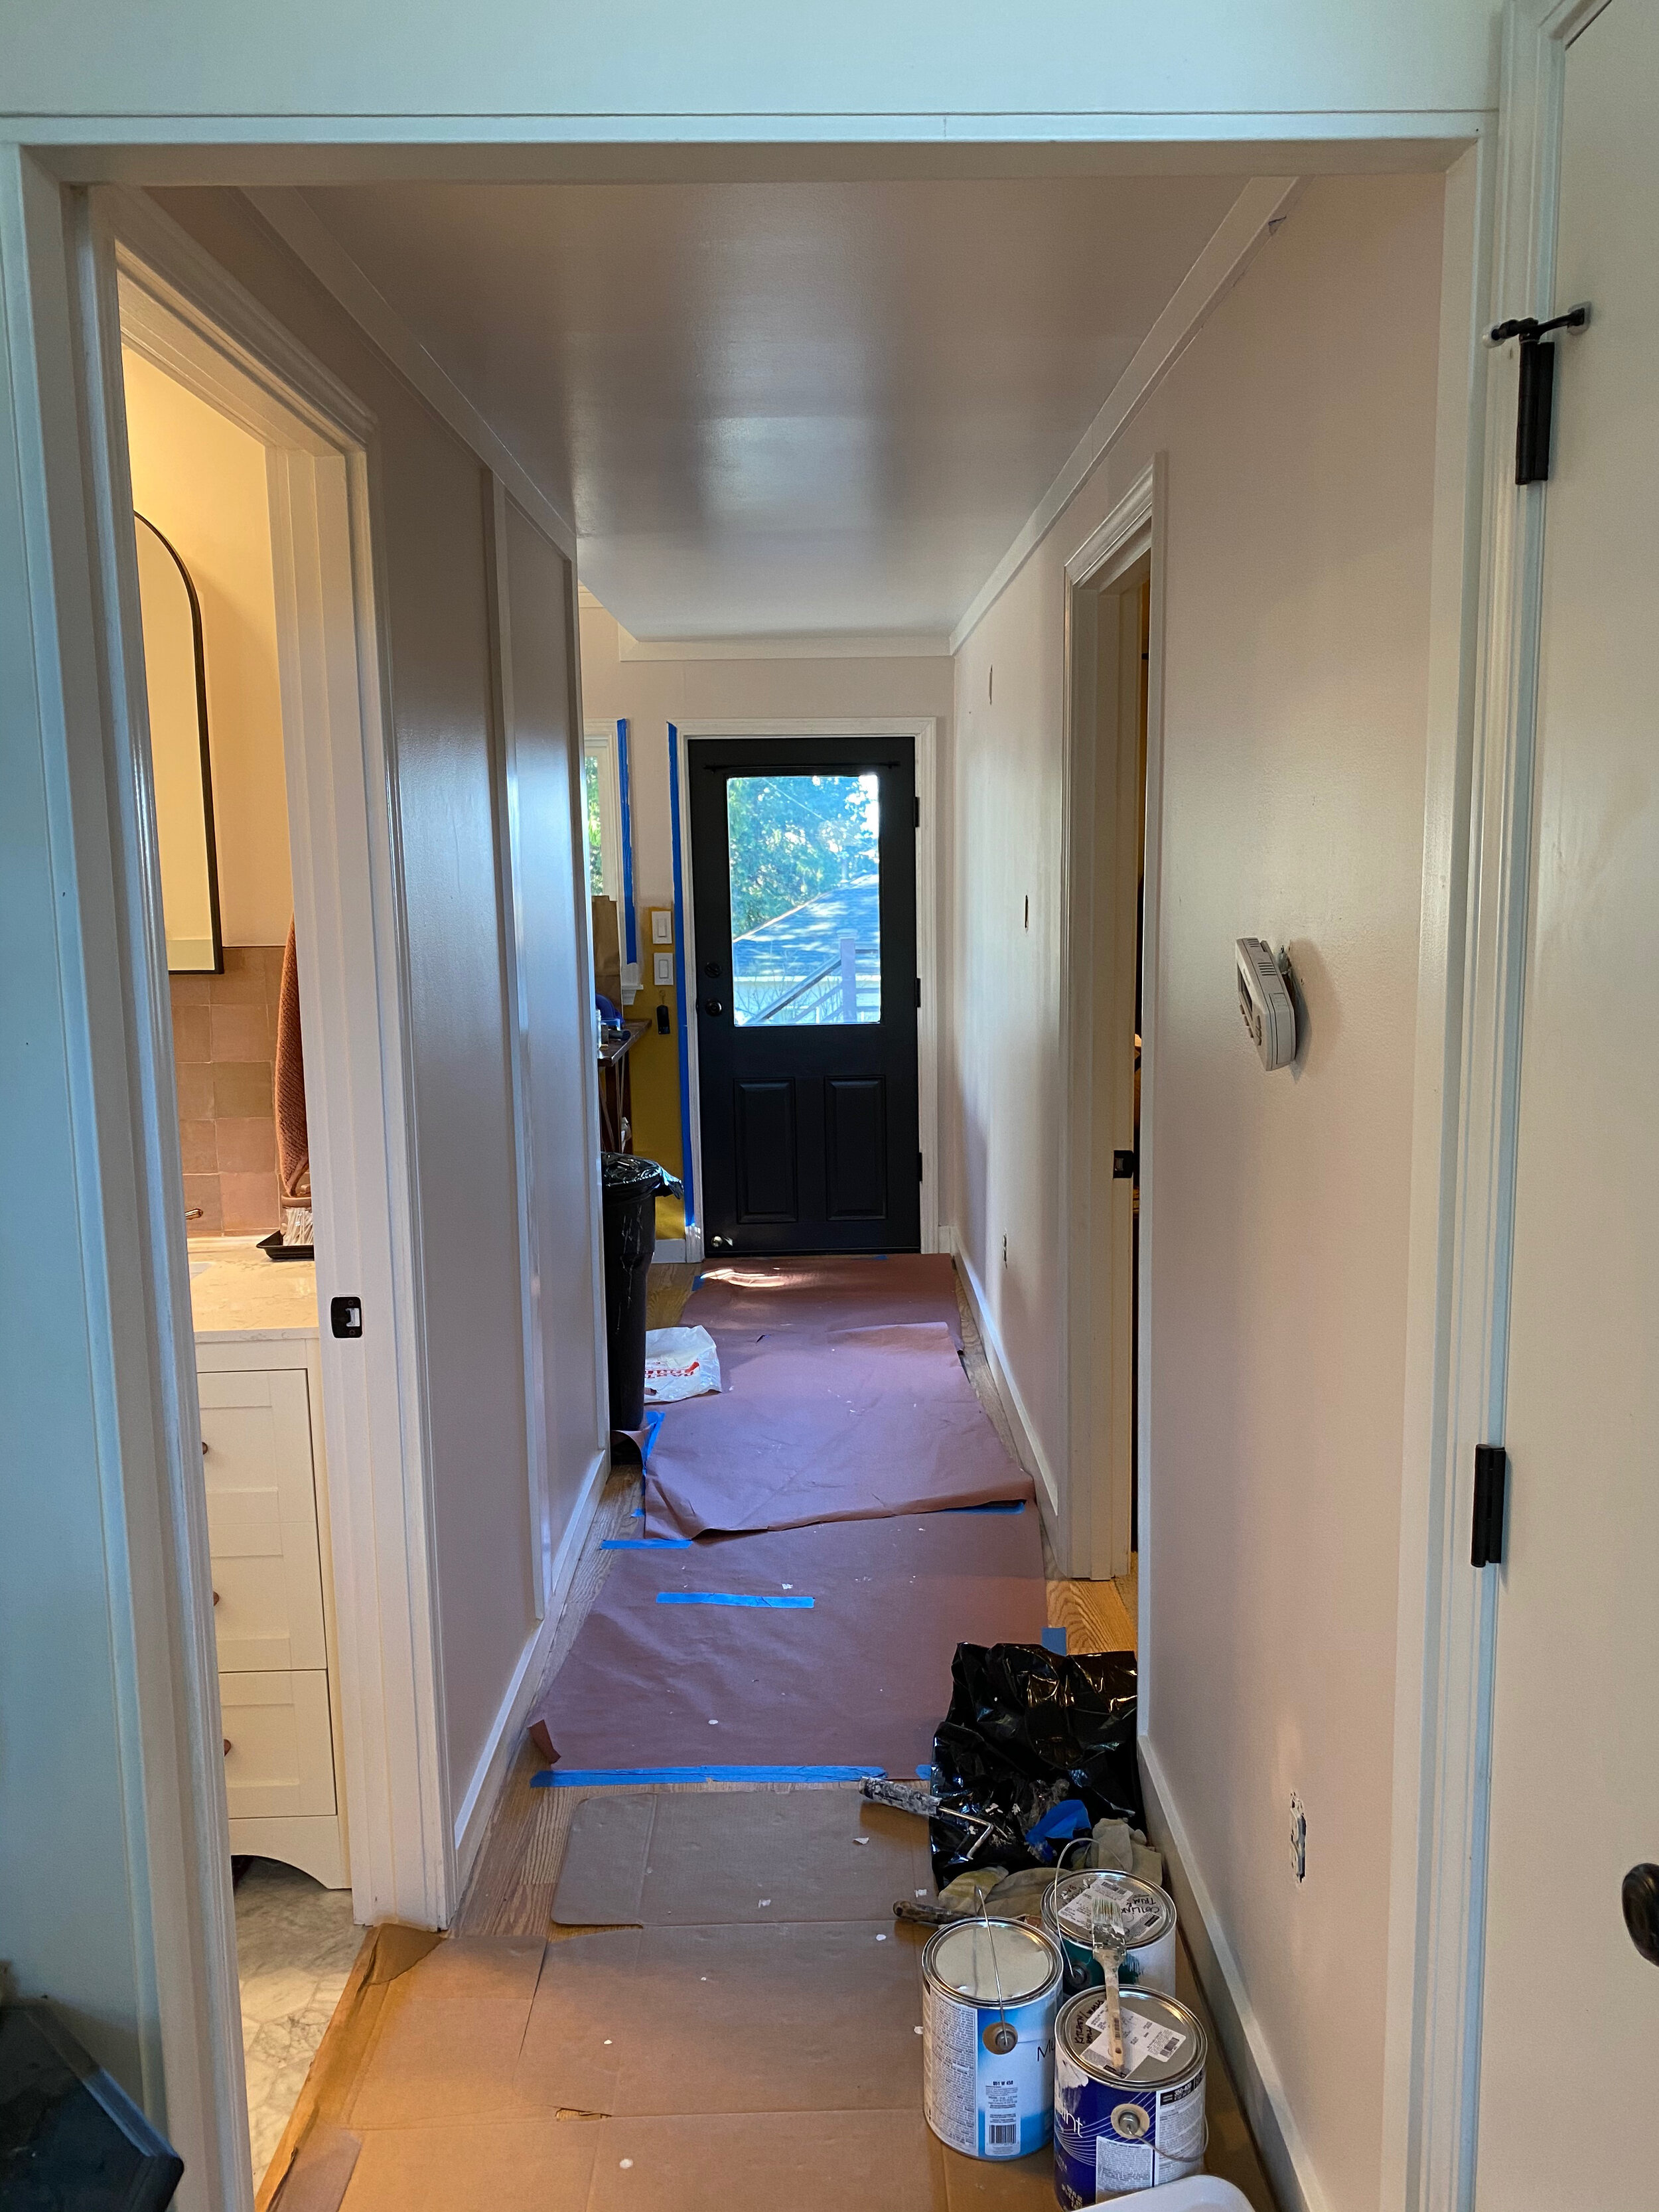
i also began painting over the school bus yellow color that’s been in our hallway & kitchen to a more neutral creamy white with greyish purply tones - sherwin williams ‘cultured pearl’. kitchen update blog post coming later!

Main-Bathroom-Remodel-Jan2021_QuinnsPlace-59.jpg
clare v.  la mer candle from anthropologie

clare v. la mer candle from anthropologie

Main-Bathroom-Remodel-Jan2021_QuinnsPlace-79.jpg

pete & i have some big goals for 2021; we’ve started out strong with a major bathroom overhaul in january, and a significant kitchen update in february. we’re never this productive during the sad and dark monday & tuesday of the months🤣, so we are feeling great about all of it.

a million thank-yous to our friend & contractor SAM who put in serious work and turned our visions into reality. and to my sweet pete for all of his hard work and being understanding & flexible re: the many, many tiny design decisions that go into a process like this. and to me, because i was there, too - and because women famously give more credit to others involved in group projects and none to themselves - so cheers to myself for all the coordination, planning, designing, purchasing, acquiring, receiving, shuffling, organizing, cleaning and all the thankless tasks in between that can often go unseen.

i am proud of us all!!!!!!!!!! i couldn’t be happier that this entire bathroom renovation was completed in less than 30 days and we can now bask in this glorious, modernized, clean & serene, sun-drenched bathroom!

Main Bathroom Remodel-Jan2021_QuinnsPlace.jpg

our basement & bathroom renovation!

oooh la la!!!

here’s a big photo dump of a massive project peter and i worked on throughout last year - finally finishing toward the end of october 2019. i still walk into the bathroom and cannot believe we did this!!!

we’d wanted to do an update on our downstairs space ever since pete bought this house in 2014 - but the basement quickly became our guest room/home brewery/arts & crafts/camping & sporting goods/junk storage unit. aka what i now admit to be extremely true: the two of us have way too much stuff.

i’m gunna go ahead and say “praise be!” to the marie kondo show that came out at the very beginning of 2019. i knew of the book and her method already, but hadn’t visually seen it in action. i was instantly obsOOsed and while, yes, i did already know how to be organized, she just streamlined the process in a way that makes overhauling a whole space a far less daunting task. just go little by little.

i started on my own clothing drawers - and here comes a total personal sidebar that may seem a bit dark; i promise that it’s connected - my grandma’s health was declining rapidly during this time and she would then pass away on january 9th, 2019. i love my grandma so much and i think about her every day.

purging my things, holding on to the items i truly love, and organizing them in a way that was visually & emotionally pleasing was the ONLY thing i wanted to do while my grandma was dying. the amount of mental clarity that i felt during my konmari rampage was the feeling i desperately grasped for during these weeks. so i kept going and i kept going, organizing as many little nooks and spaces that i could get my hands on, to feel that lightness that comes with it.

it was like the release of my belongings, the cleanliness and order that it brought to my bedroom space (as well as MY BRAIN) intensely aligned with the pain of losing my grandmother. neutralizing the pain with that amazing sense of mental clarity that came with all of this newfound simplification & organization was truly something that helped me move through the days of her passing. it was the ultimate catharsis and it made it feel “okay” to say goodbye to things i’d once loved.

that may sound silly or overdramatic to praise a home organization tv show so strongly, but it’s so true that these methods of ‘tidying up’ are actually life-changing. i still keep up with my clothing konmari folding methods every single time i put clothes away and haven’t strayed once. when you open the drawers and you can see every piece of clothing to choose from, it’s like a breath of fresh air to your brain.

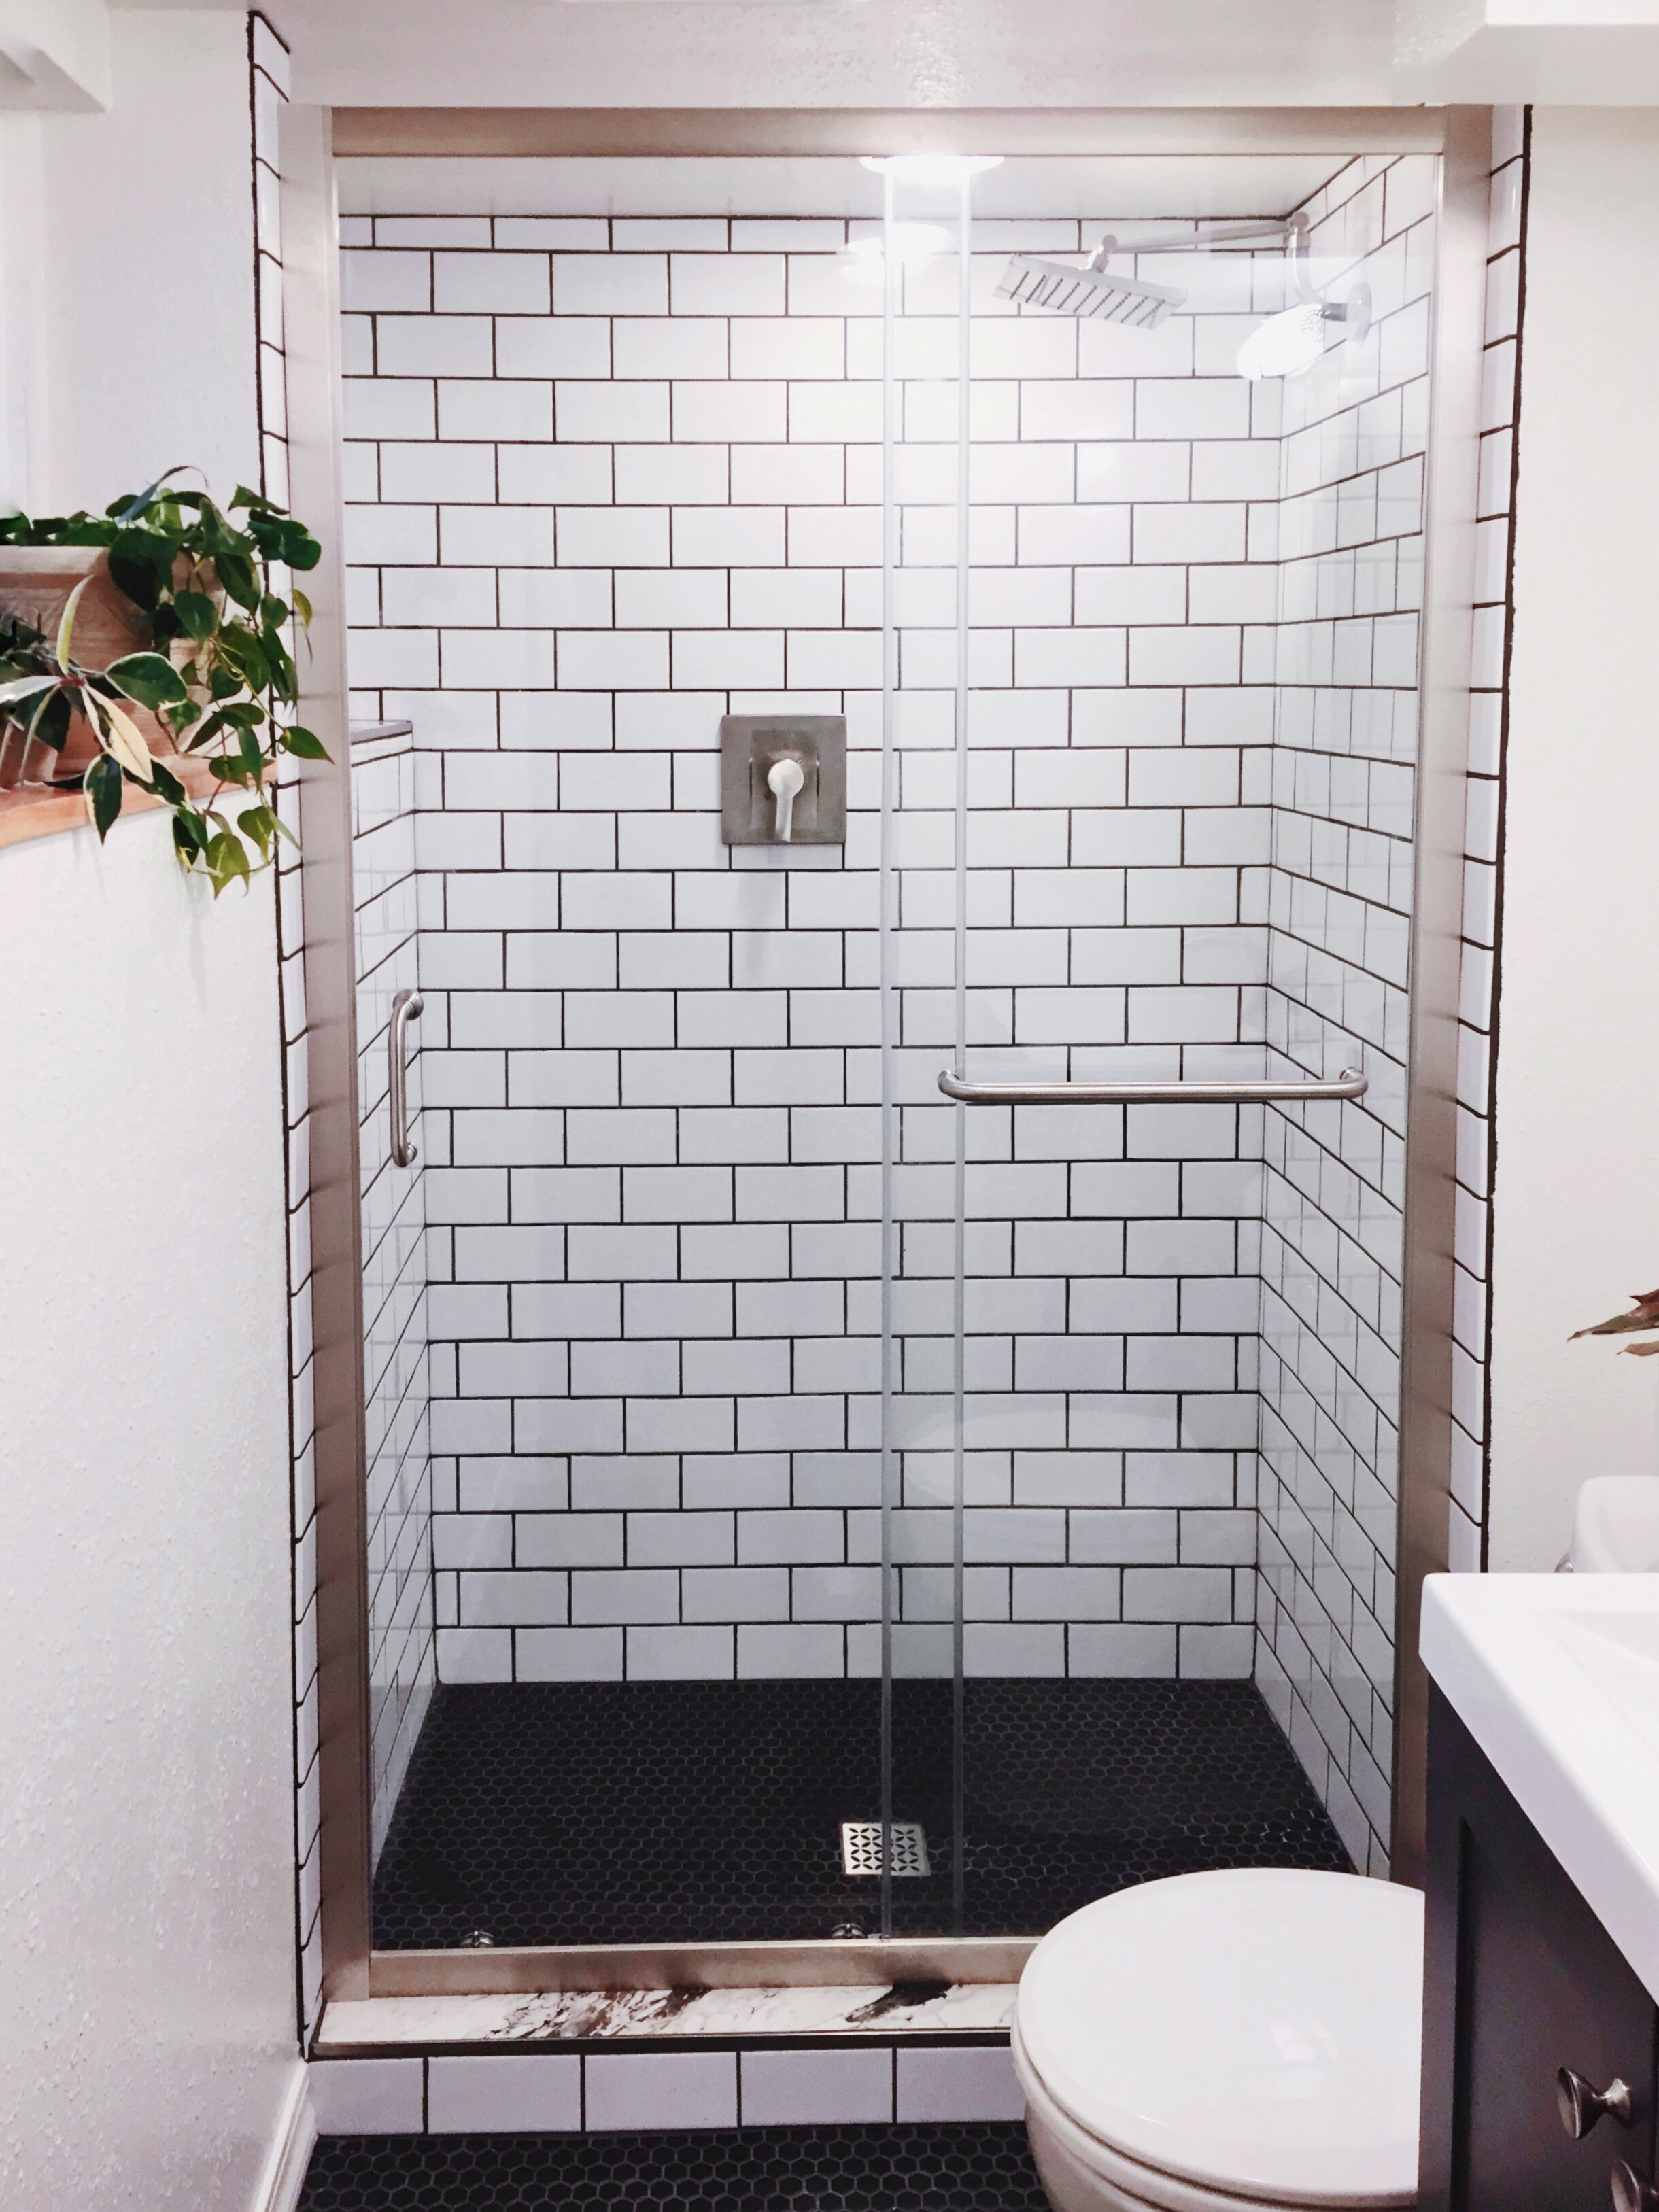
^ basement bathroom before.

our home was built in 1912, with our upstairs and downstairs spaces each having private entrances. the upstairs had clearly been remodeled relatively recently because when we moved in, we didn’t have to do much upstairs but paint and clean.

the basement space, however, was very 1970’s looking and just very outdated and gross.

so, i took my marie kondo obession to the basement. i’ll show the bathroom photos first, since that remodel is the more exciting transformation to look at, but we were simultaneously working on the other basement rooms (bedroom, living area & kitchen) as well throughout 2019.

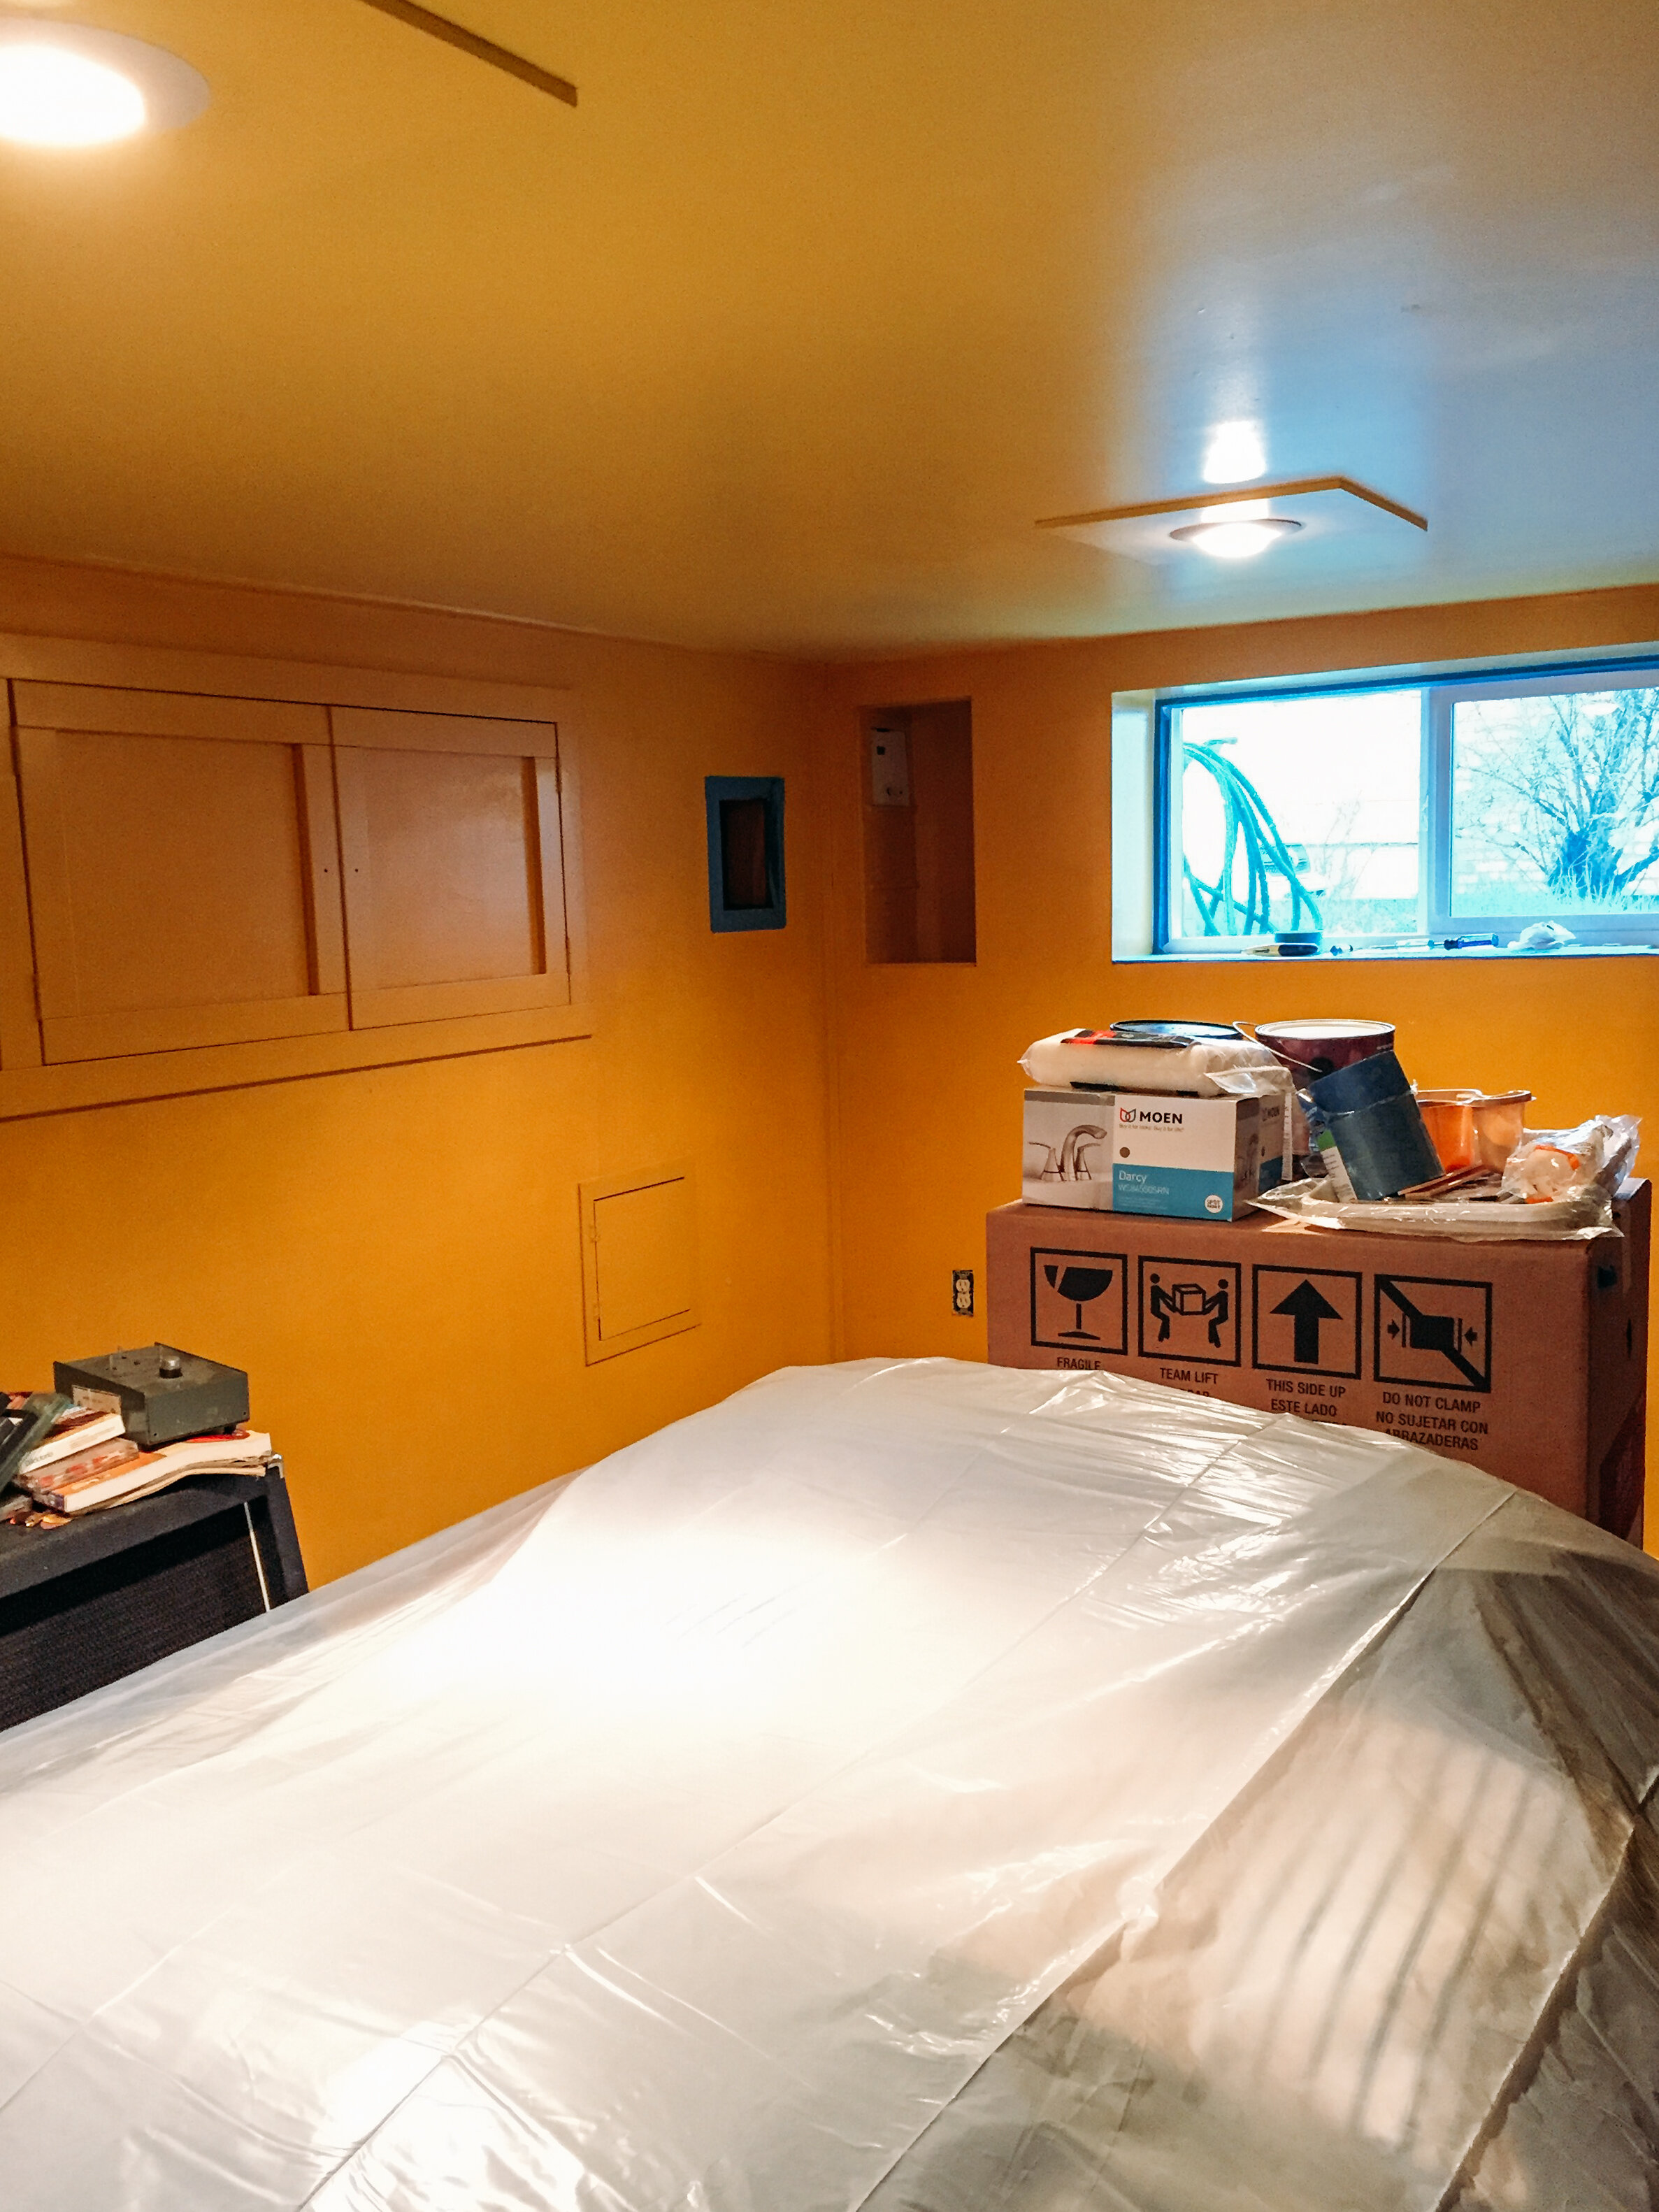
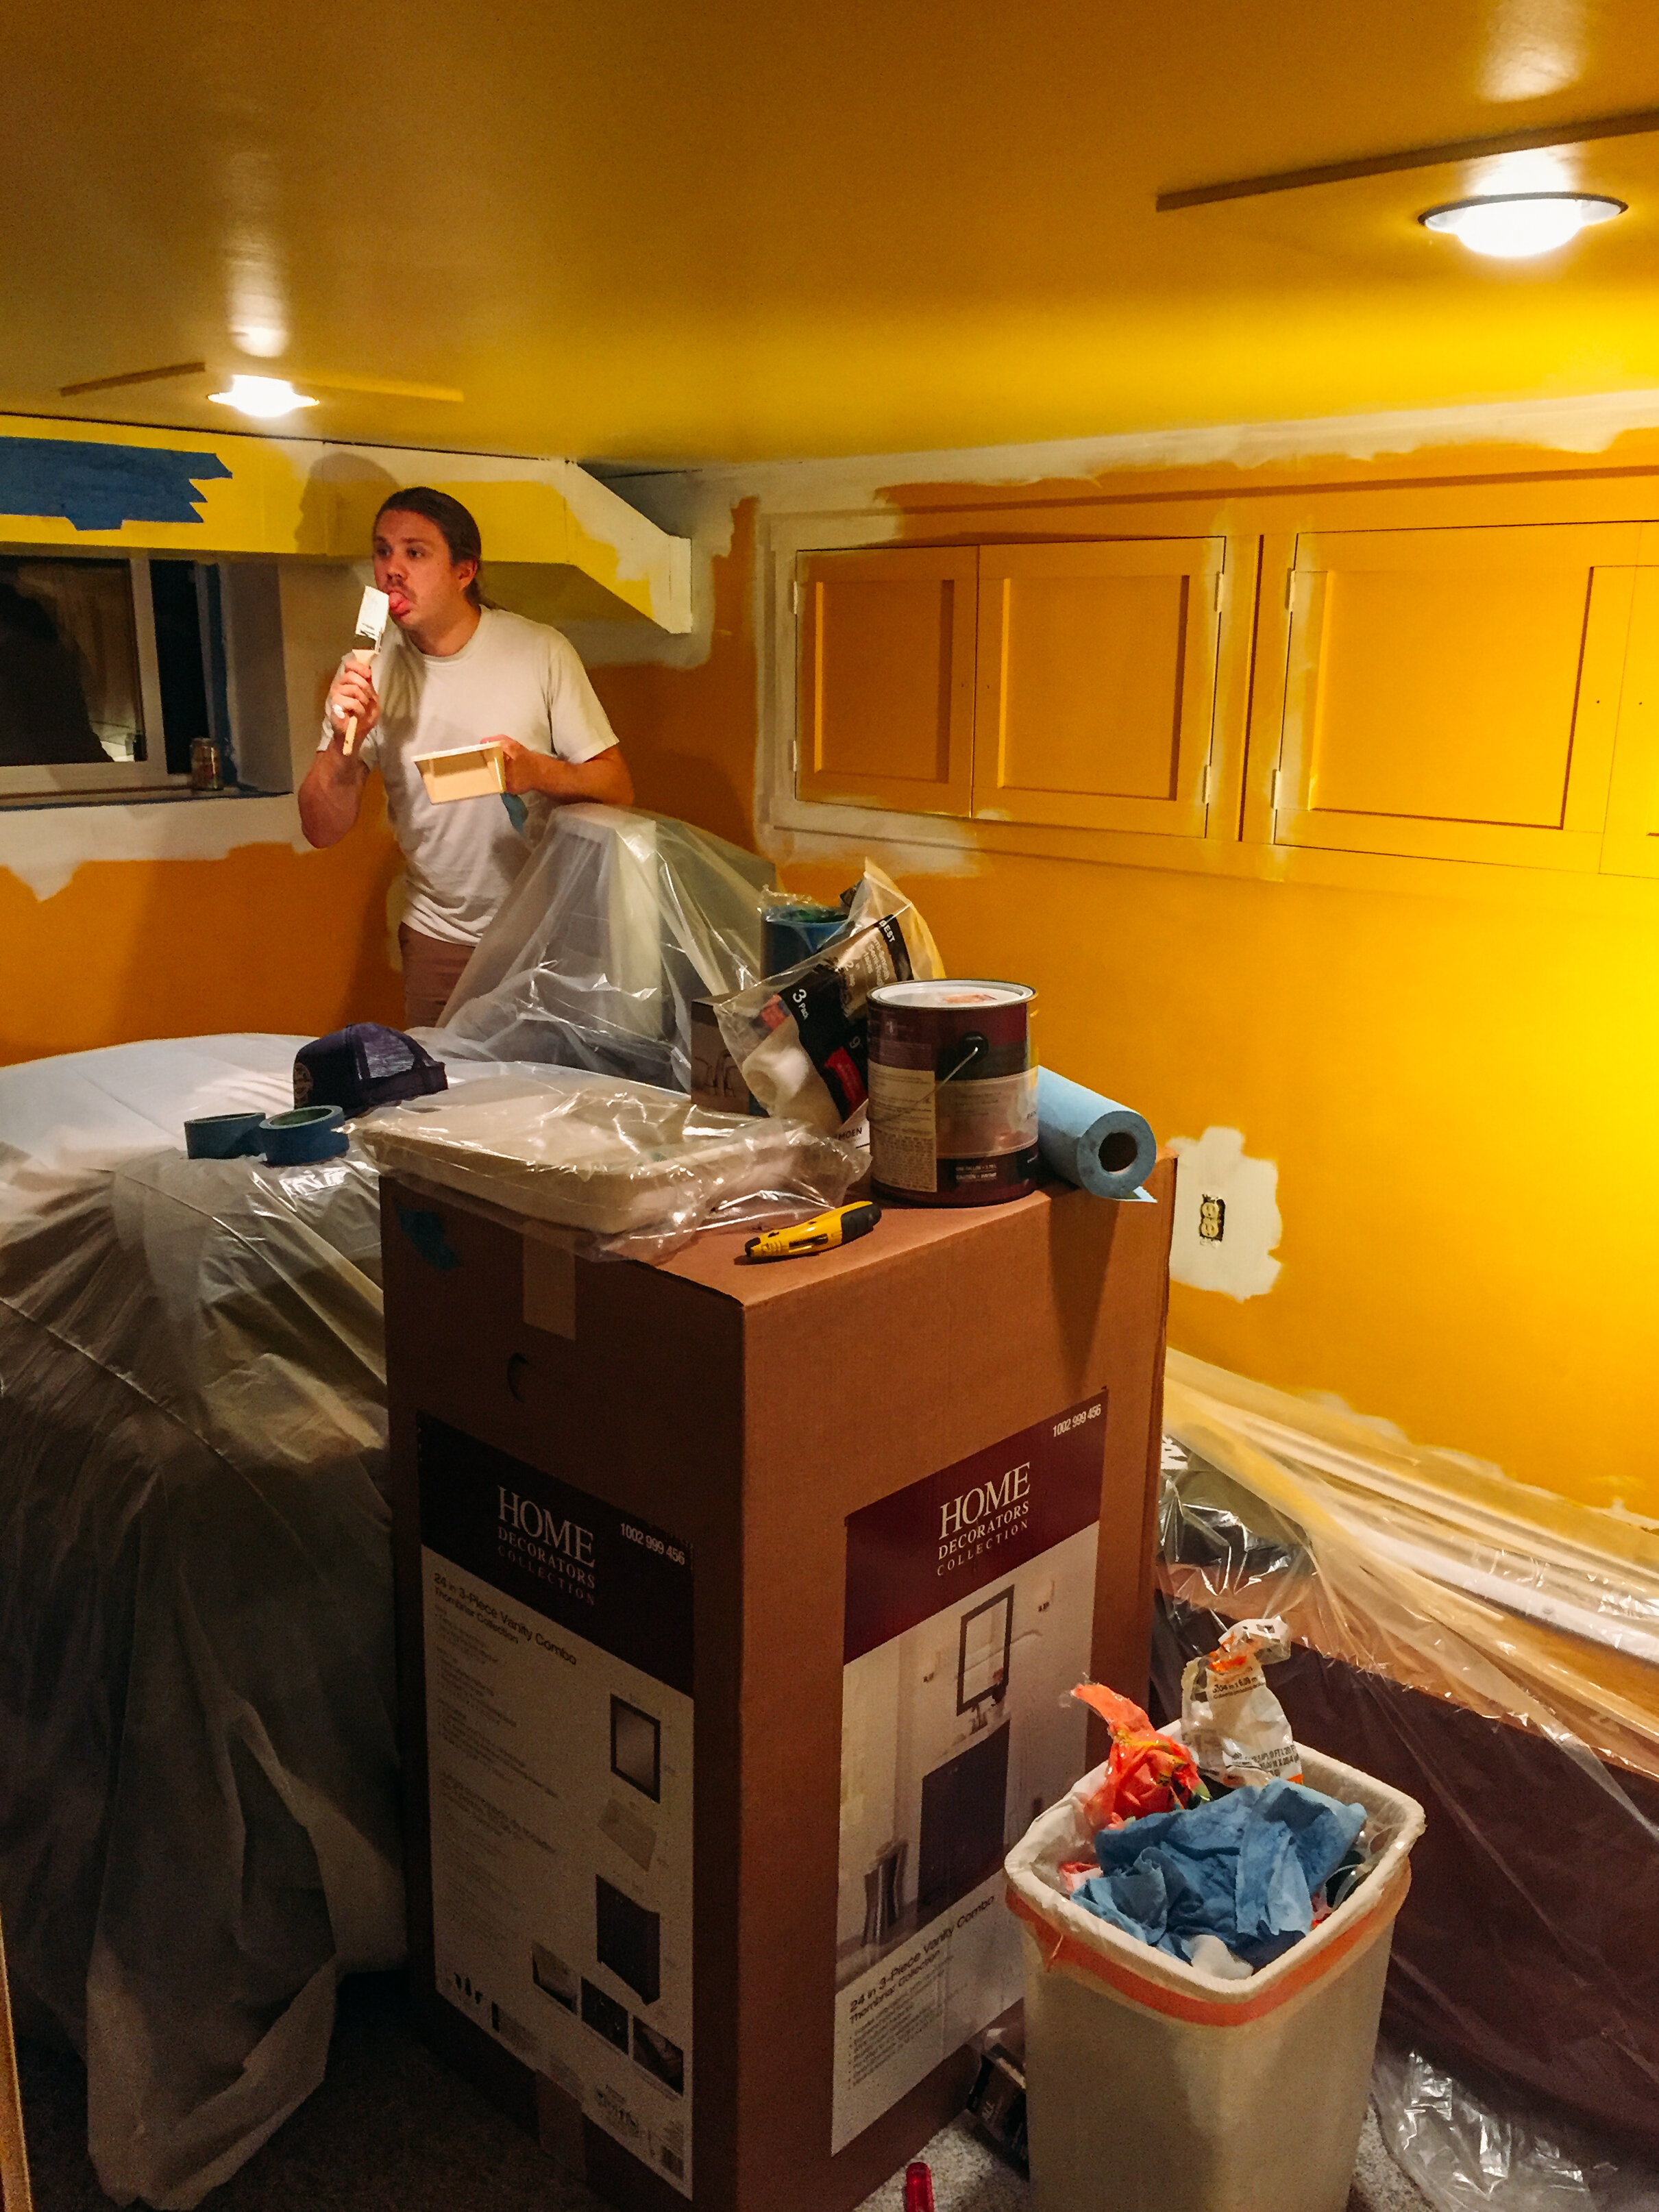
we basically wandered into the school bus yellow basement bedroom one rainy day last january and we were like…..”let’s paint in here today.” the timestamp on the photos for the day we decided to paint the bedroom was january 12th, three days after my grandma passed. at that time, i was seriously just obsessing over any opportunities to grasp more of that mental feeling of, “aaaaah, sweet relief… this looks and feels so much better.”

while it was extremely difficult to lose my grandma, i feel that the negative energy of it all was transferred into productive energy. during this time, i was trying to keep distracted and maintain that same sense of mental clarity that i’d achieved in our own bedroom space the week prior. making lemonade, if you will.

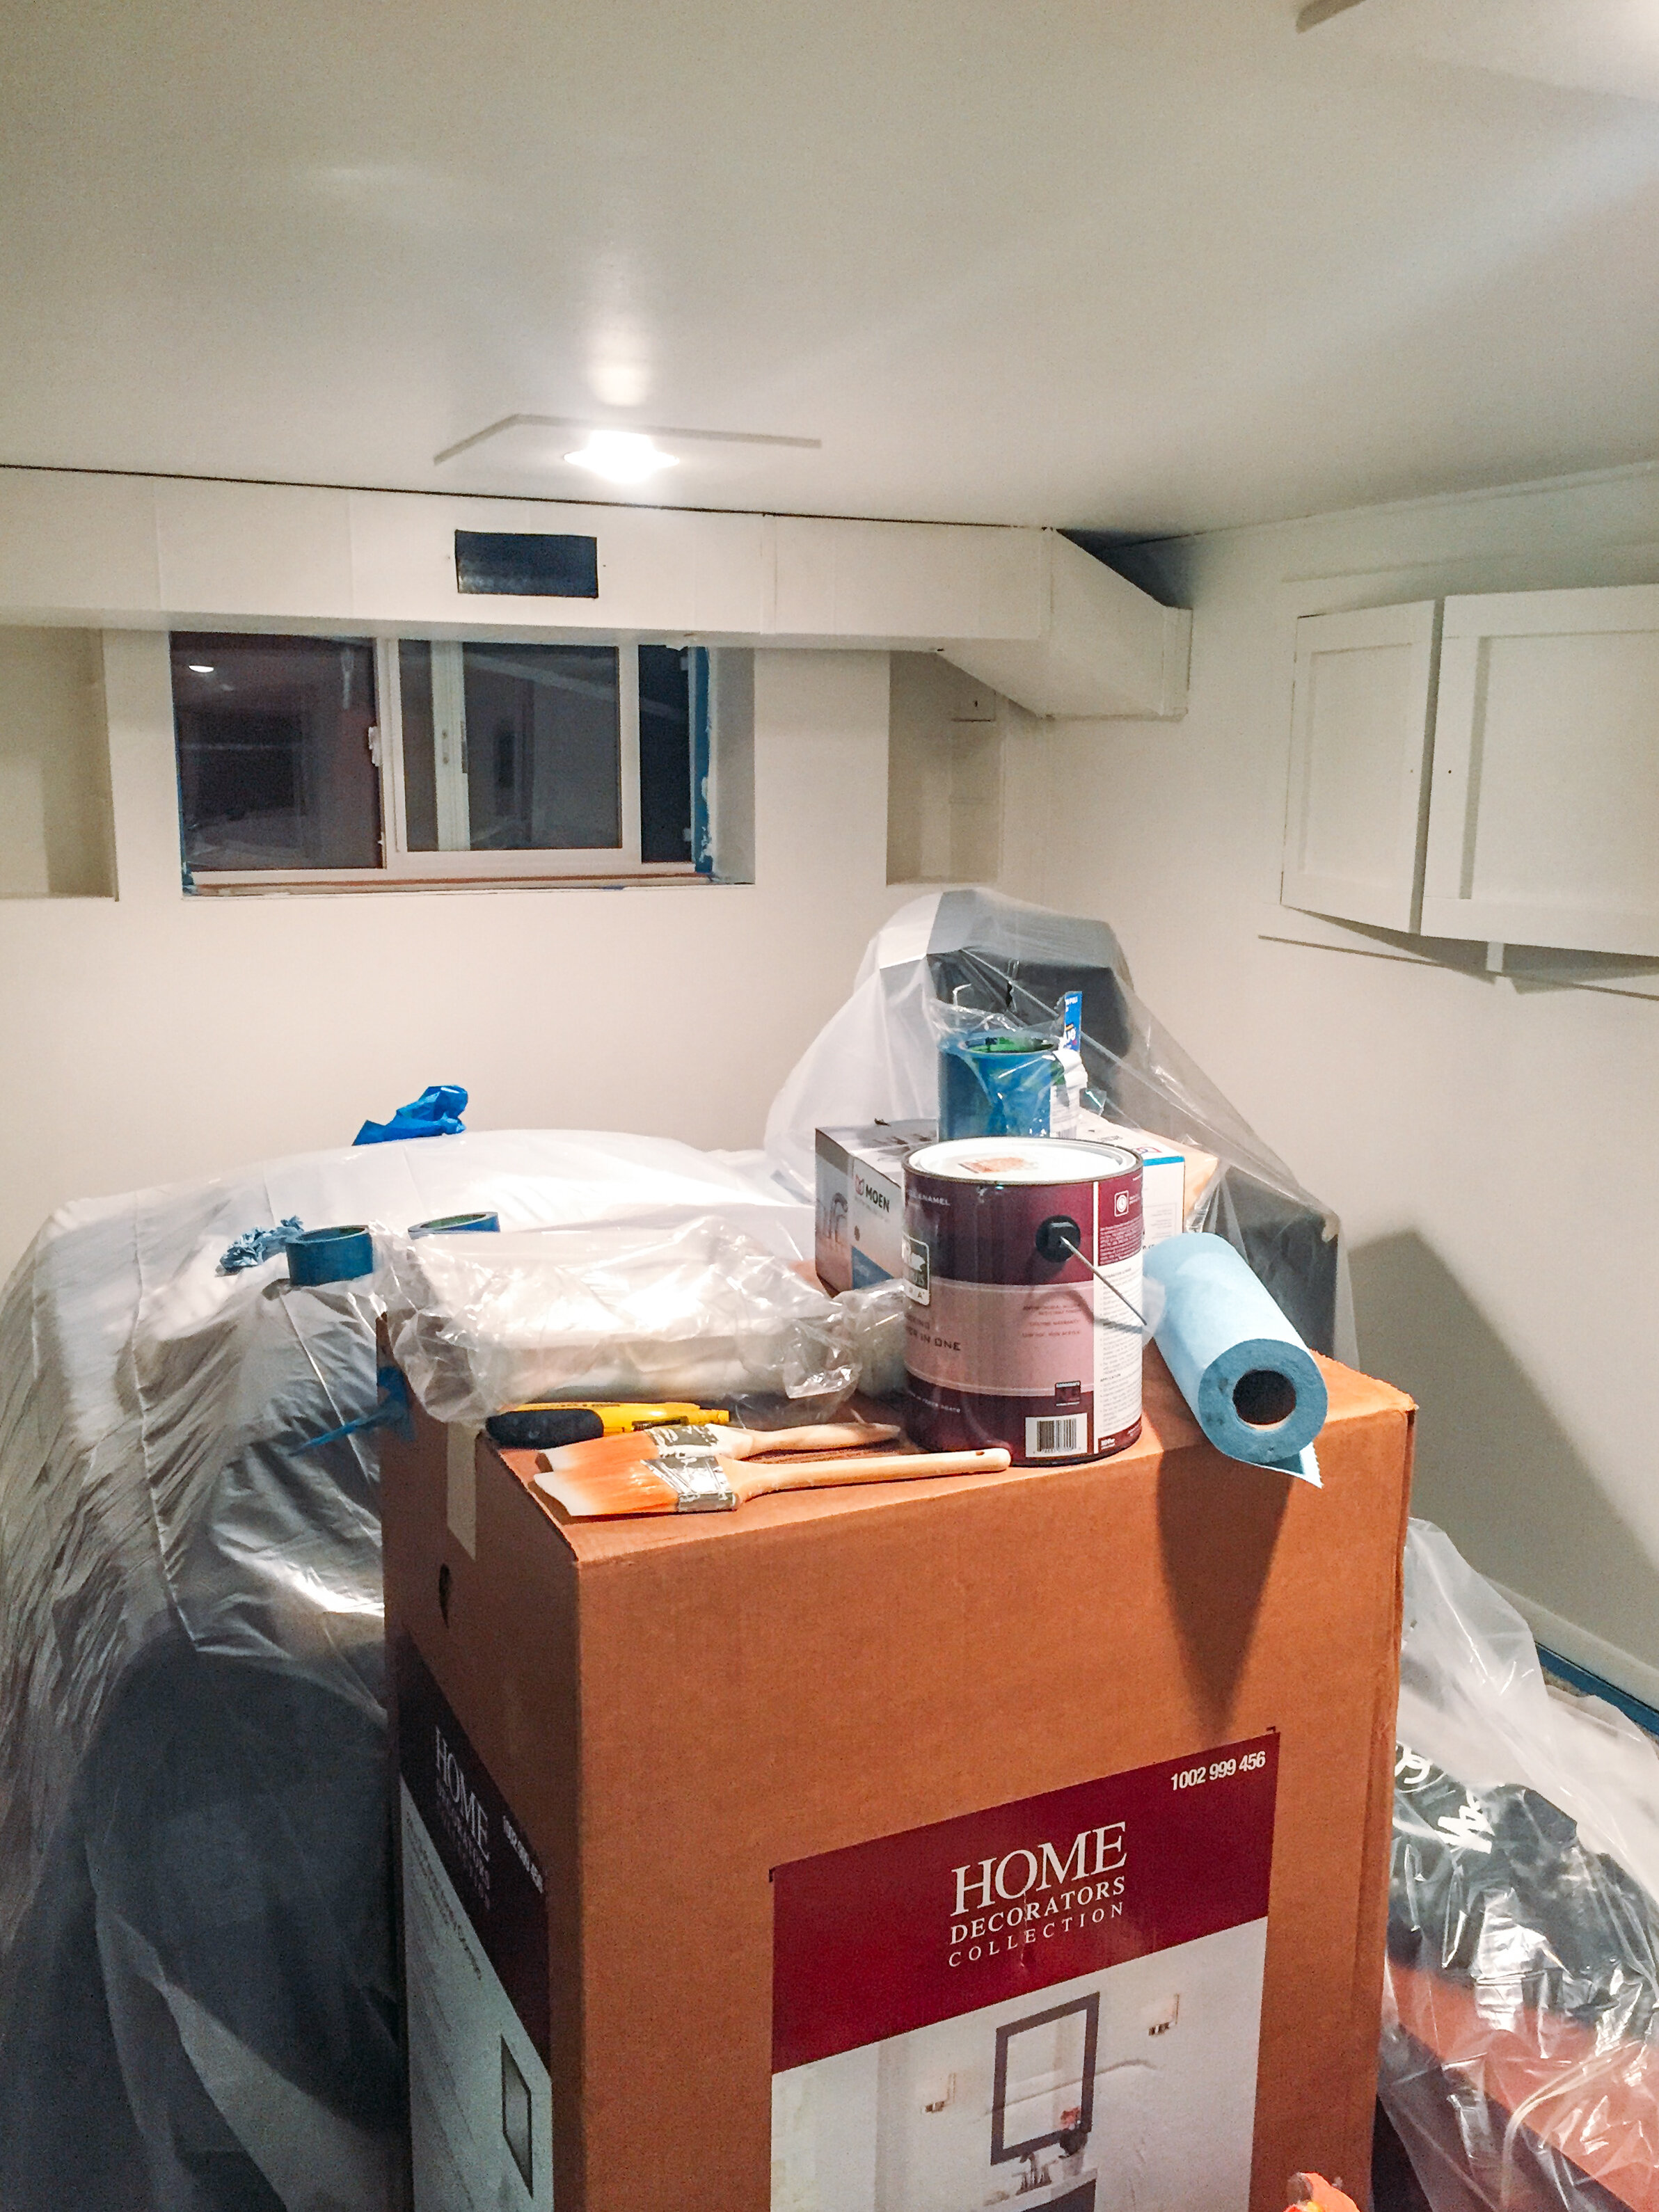
the basement bedroom was painted white in january, which you’ll see in photos below, and there were our first little initial inklings of, “hey, we should actually try to renovate this entire downstairs space so that it is livable and rent-able.”

in may, we painted the living room area white as well. that really got the motivational juices flowing upon seeing the improvements after just a fresh coat of paint.

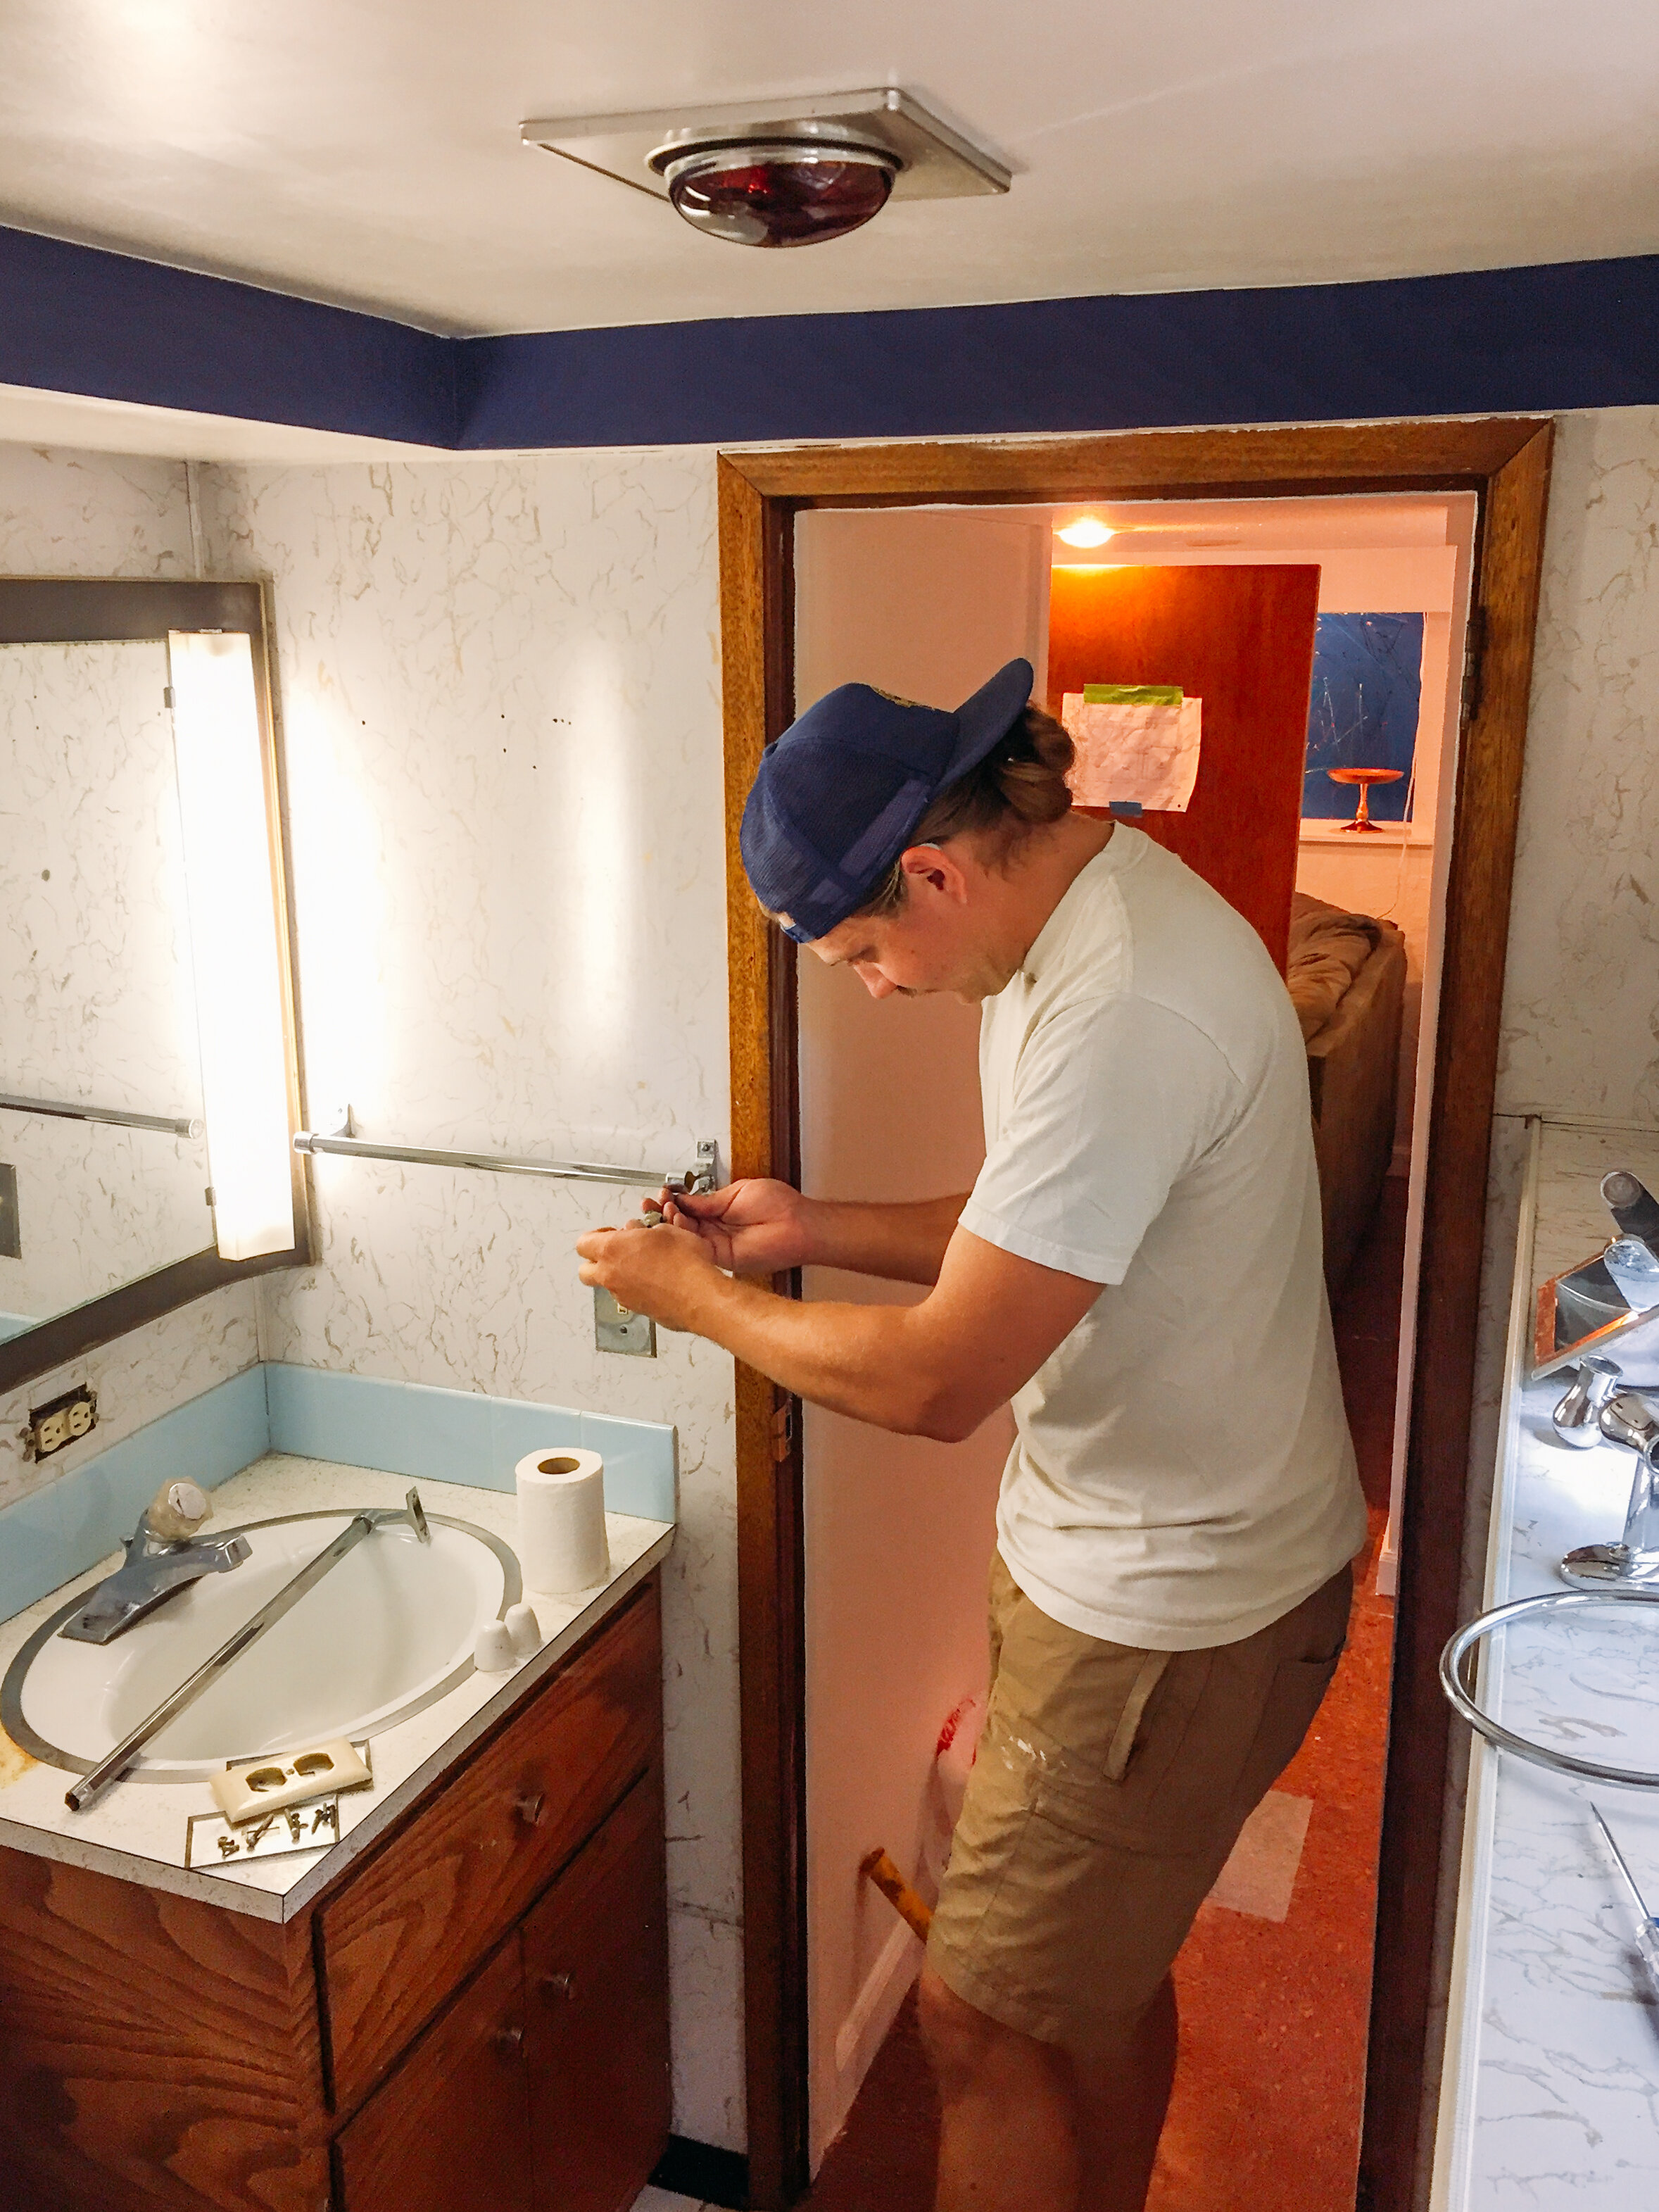
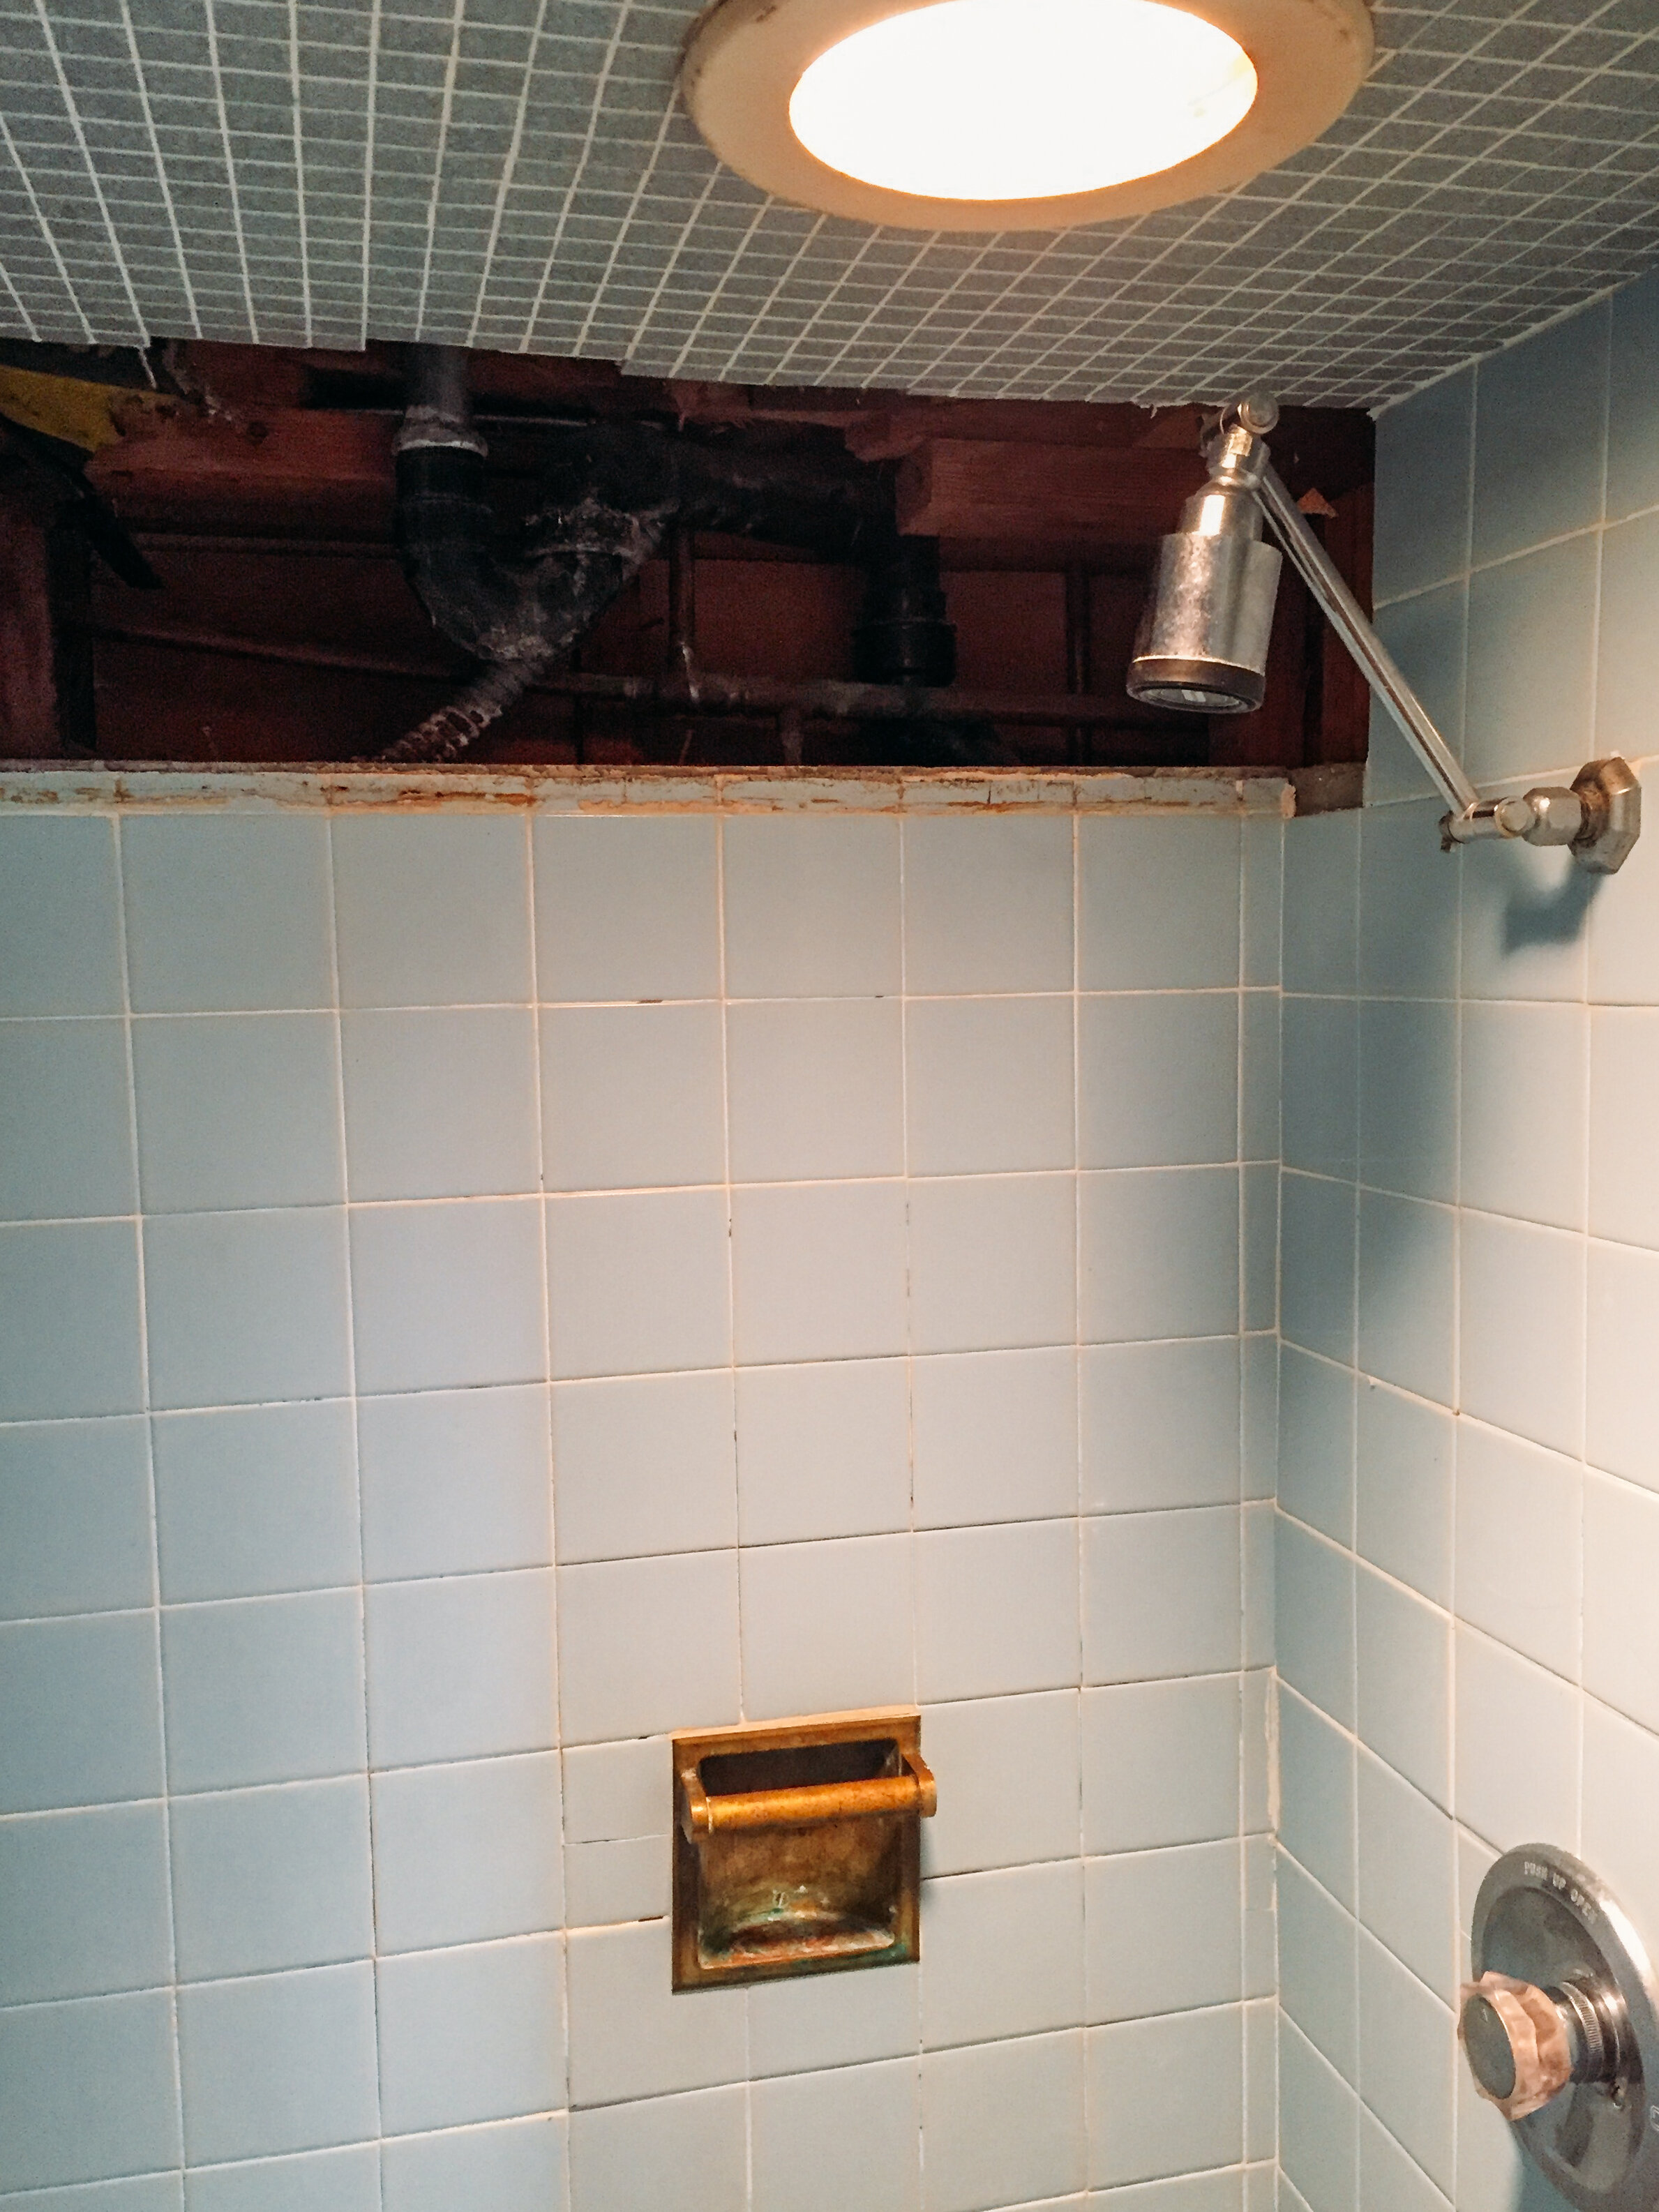
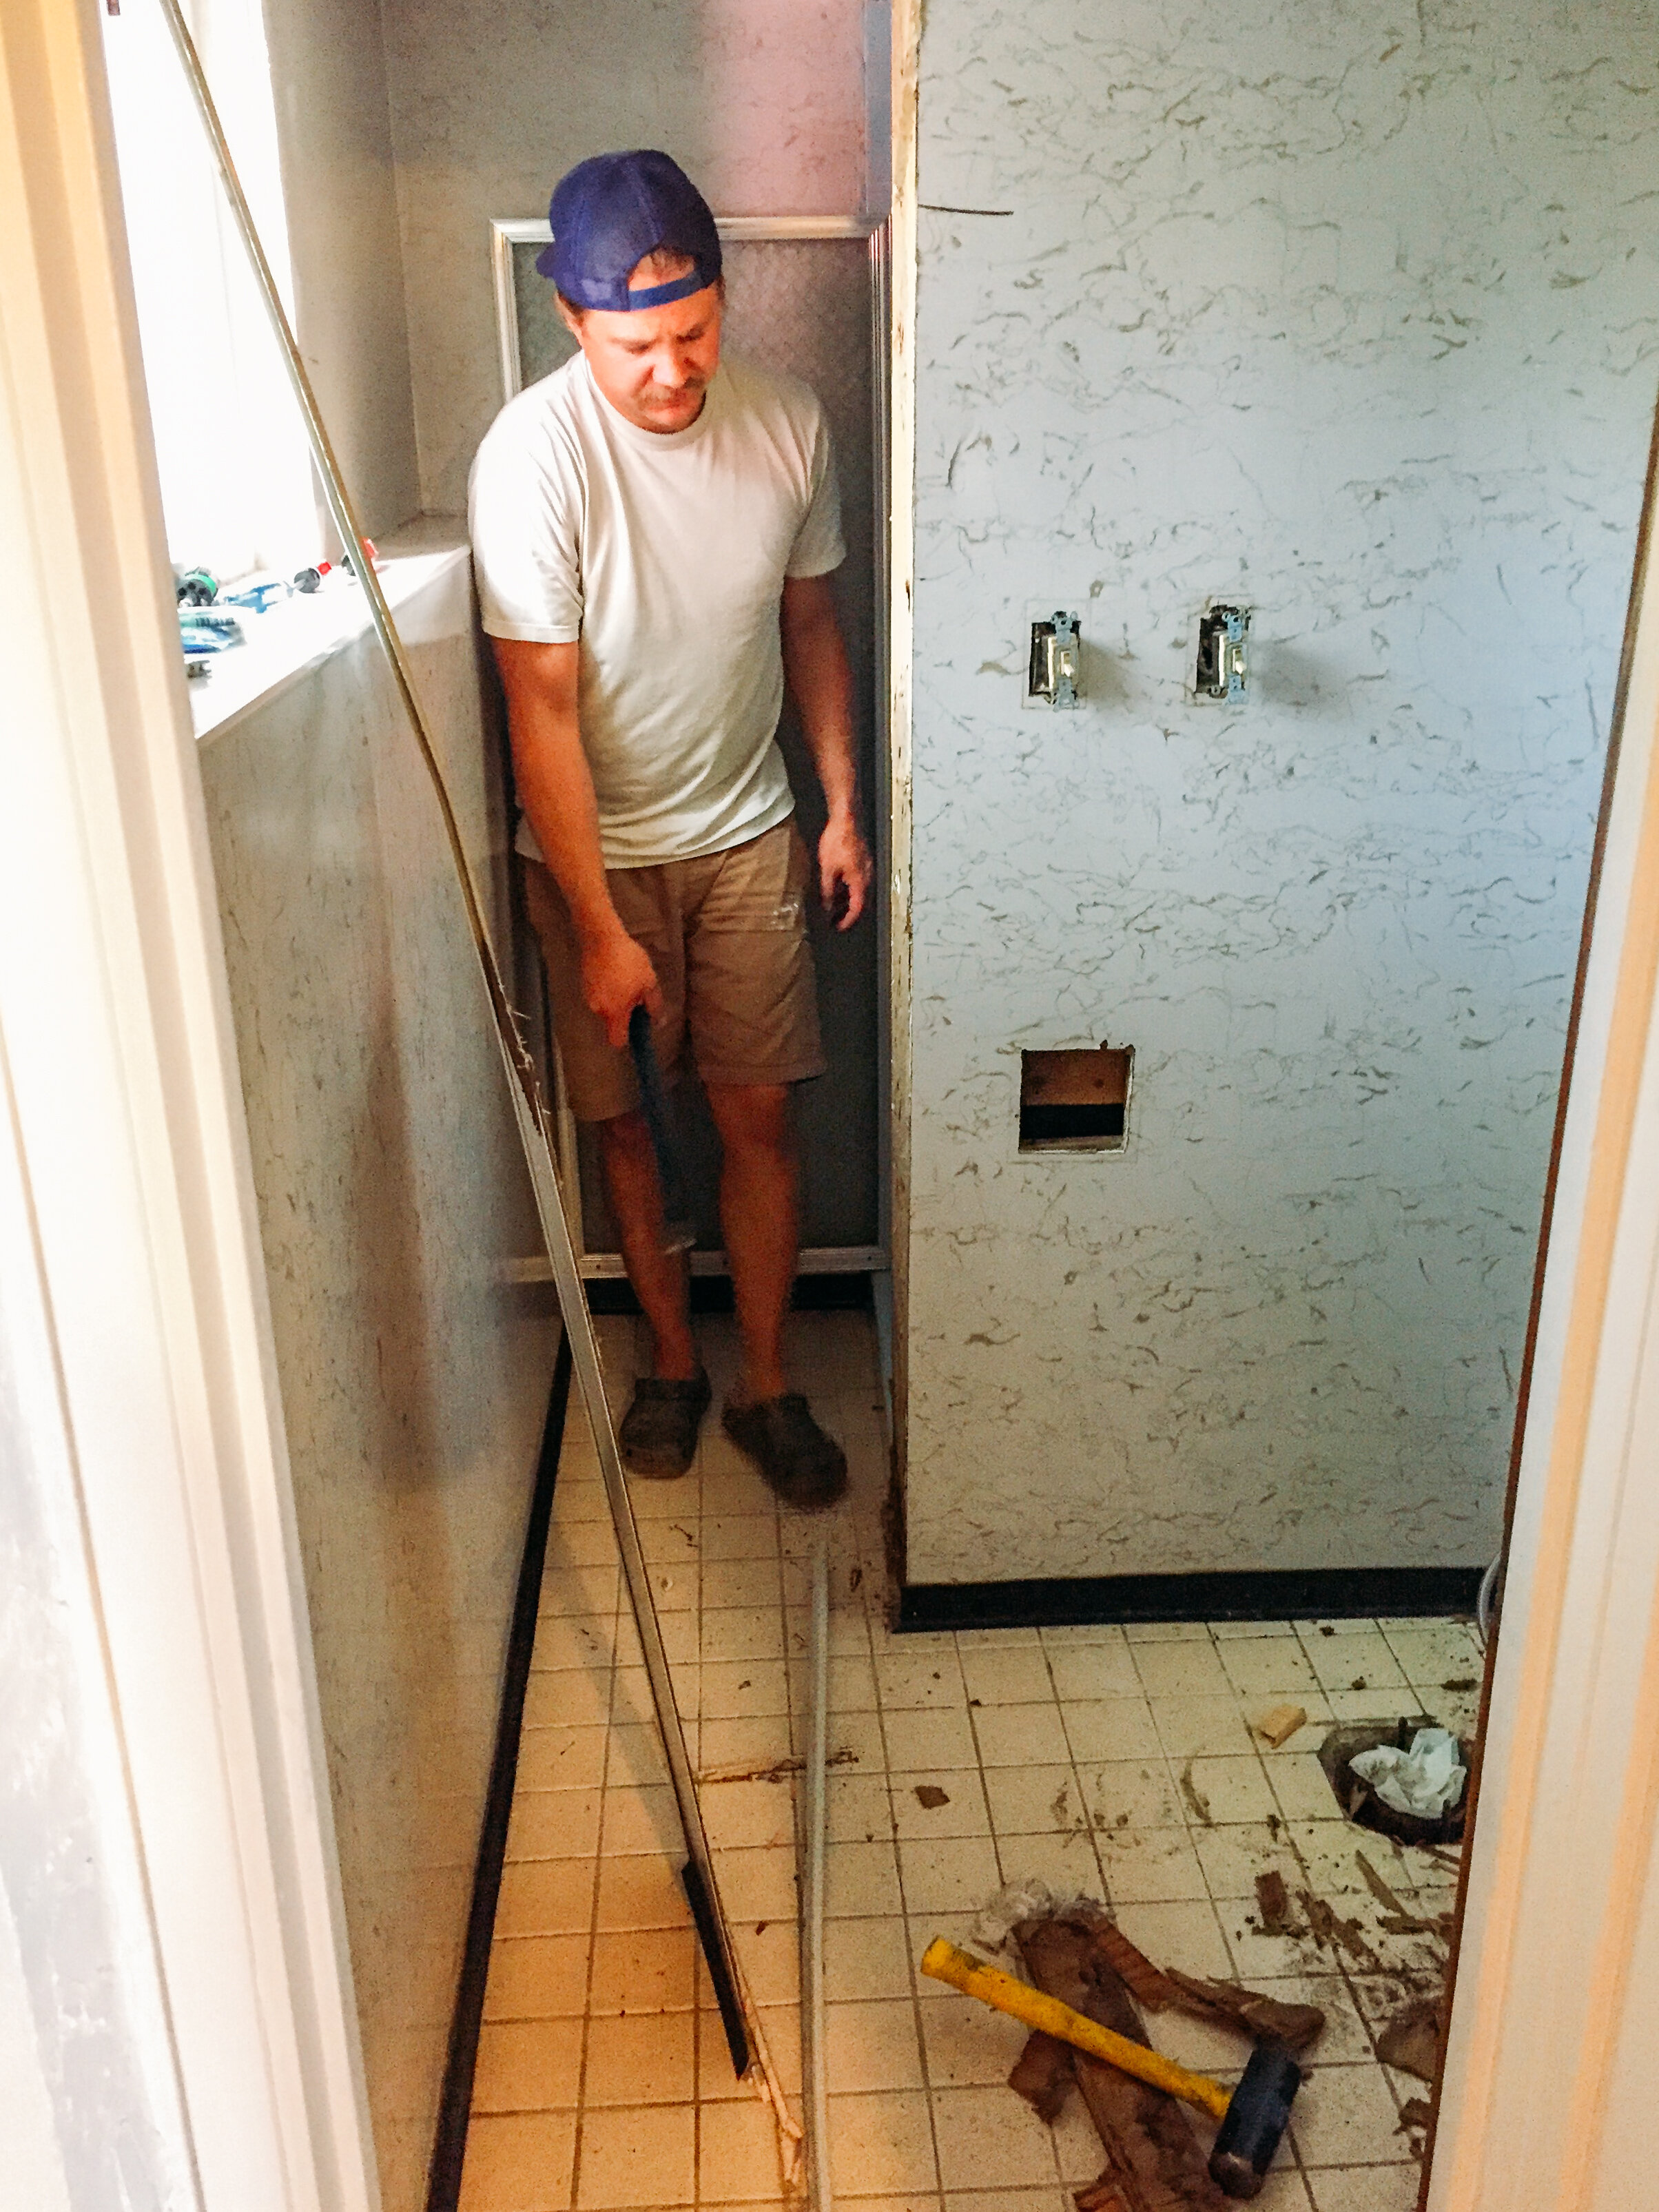
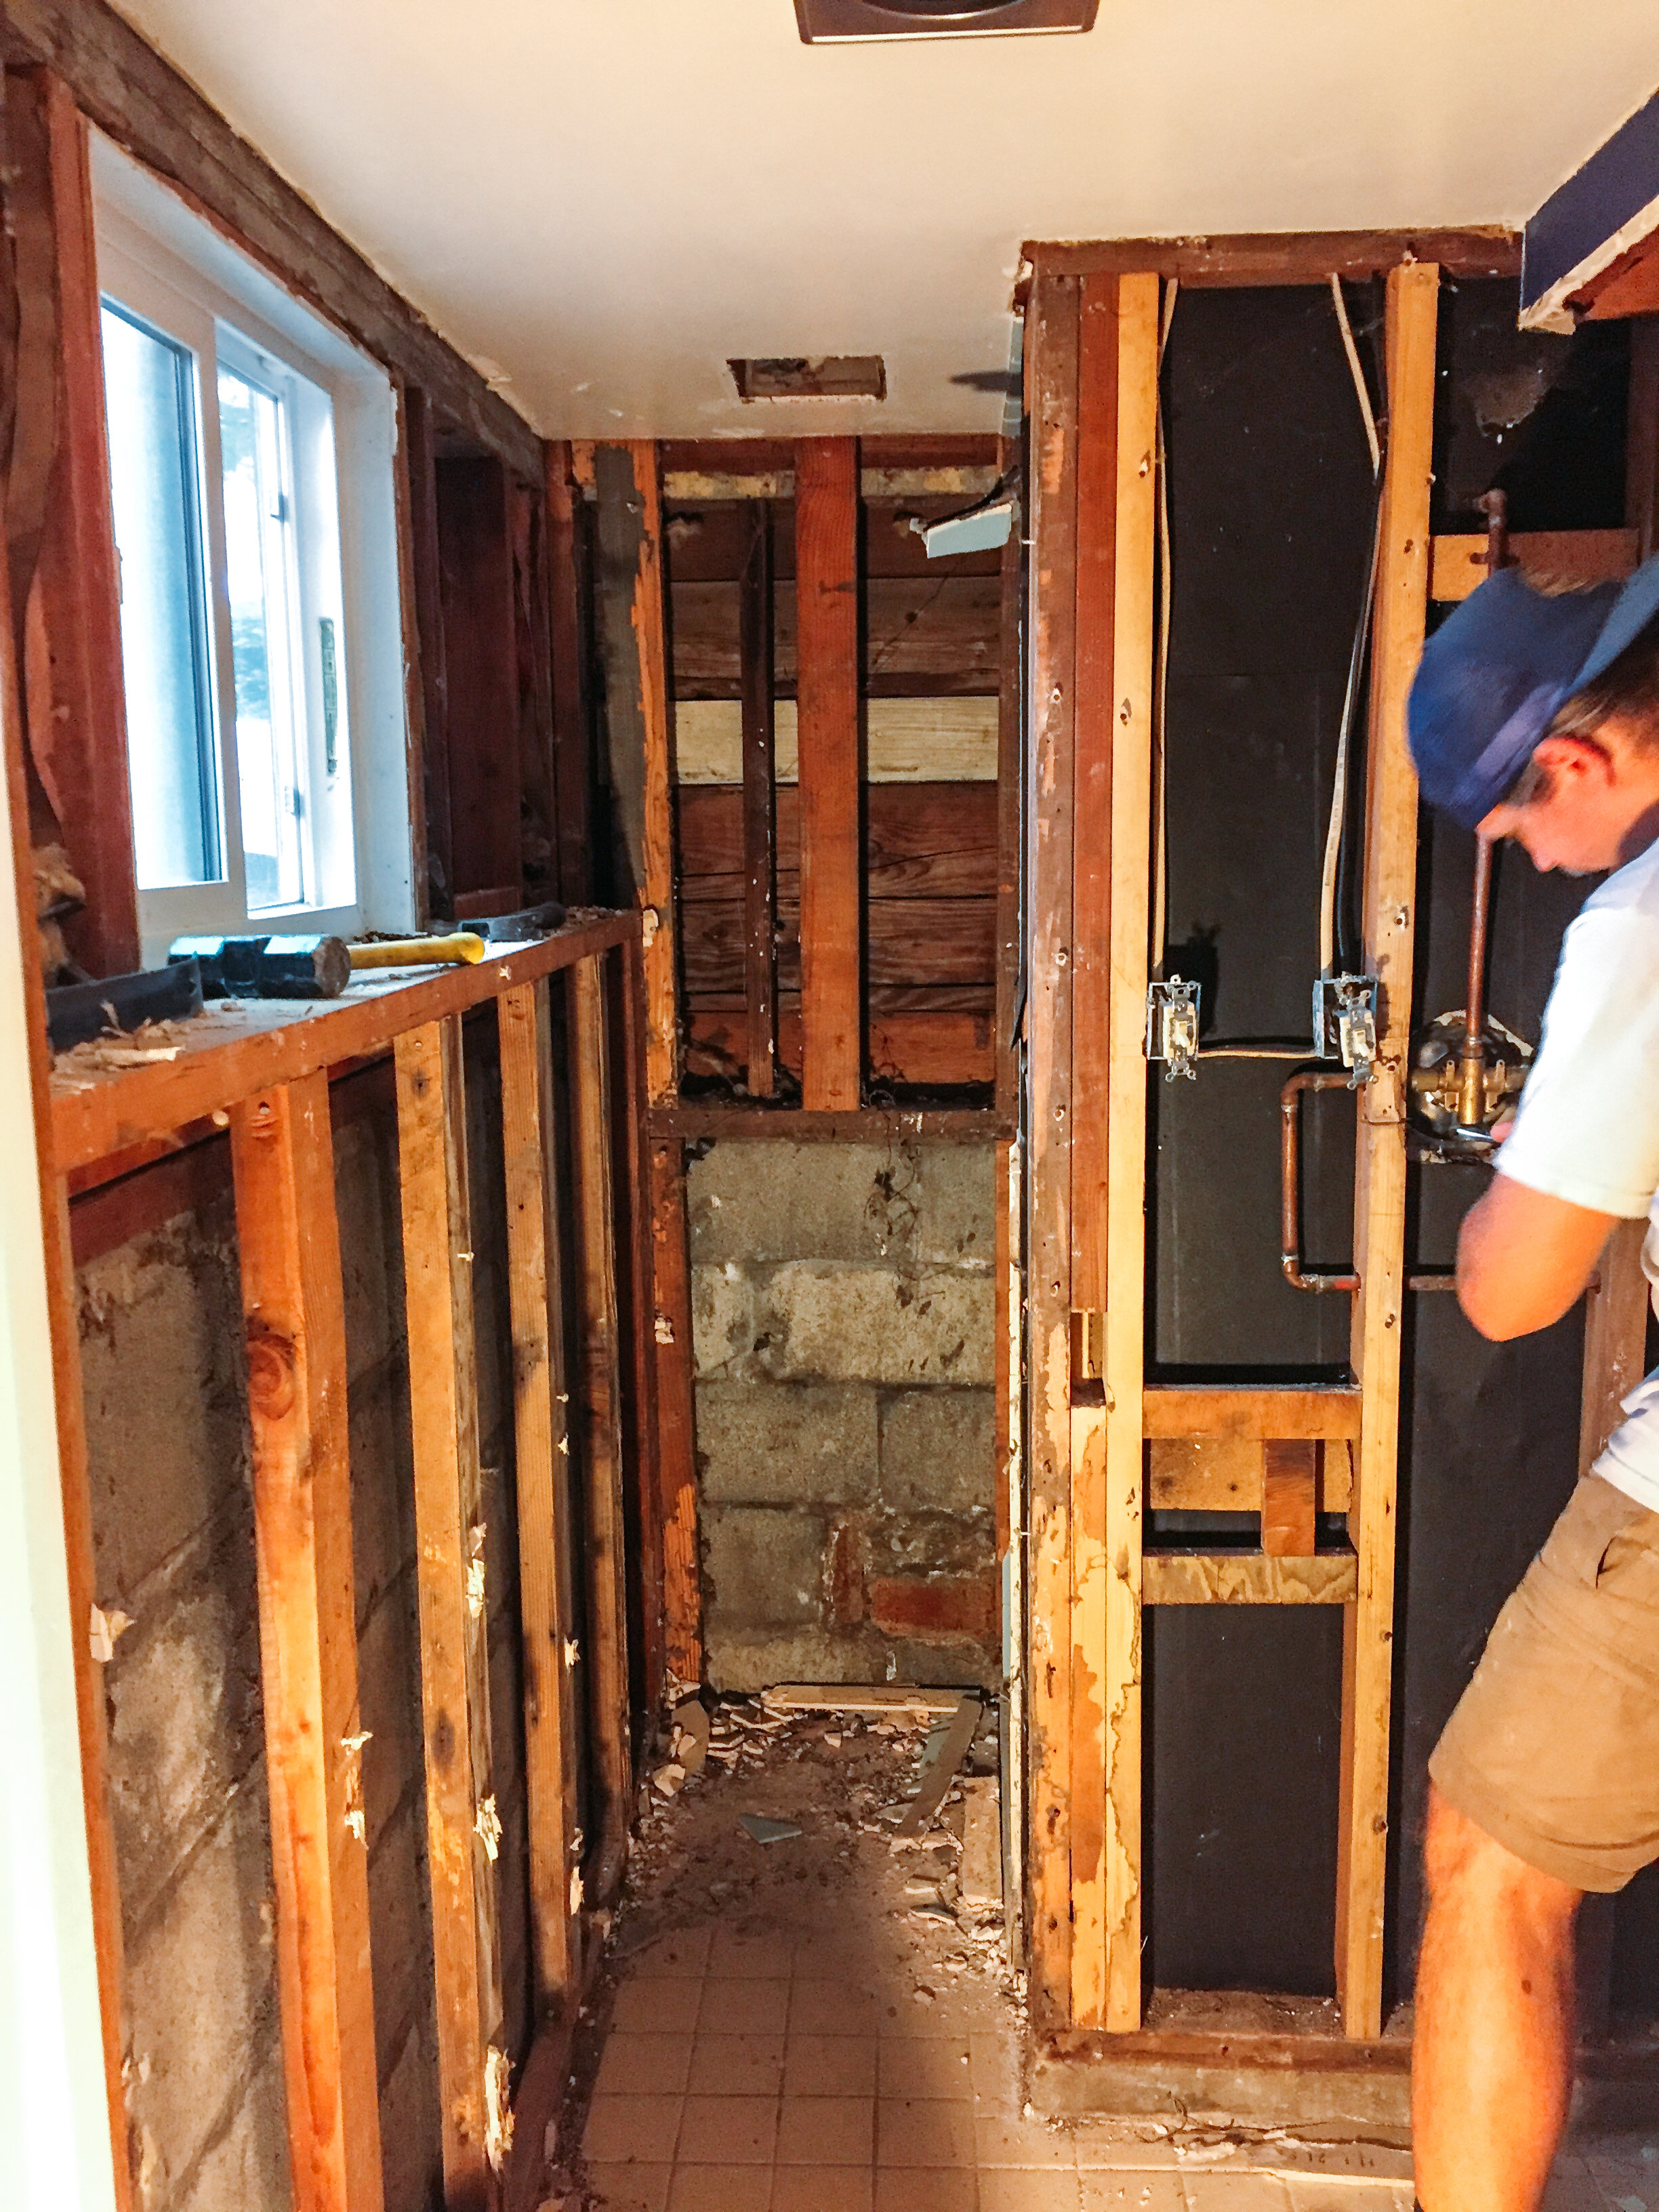
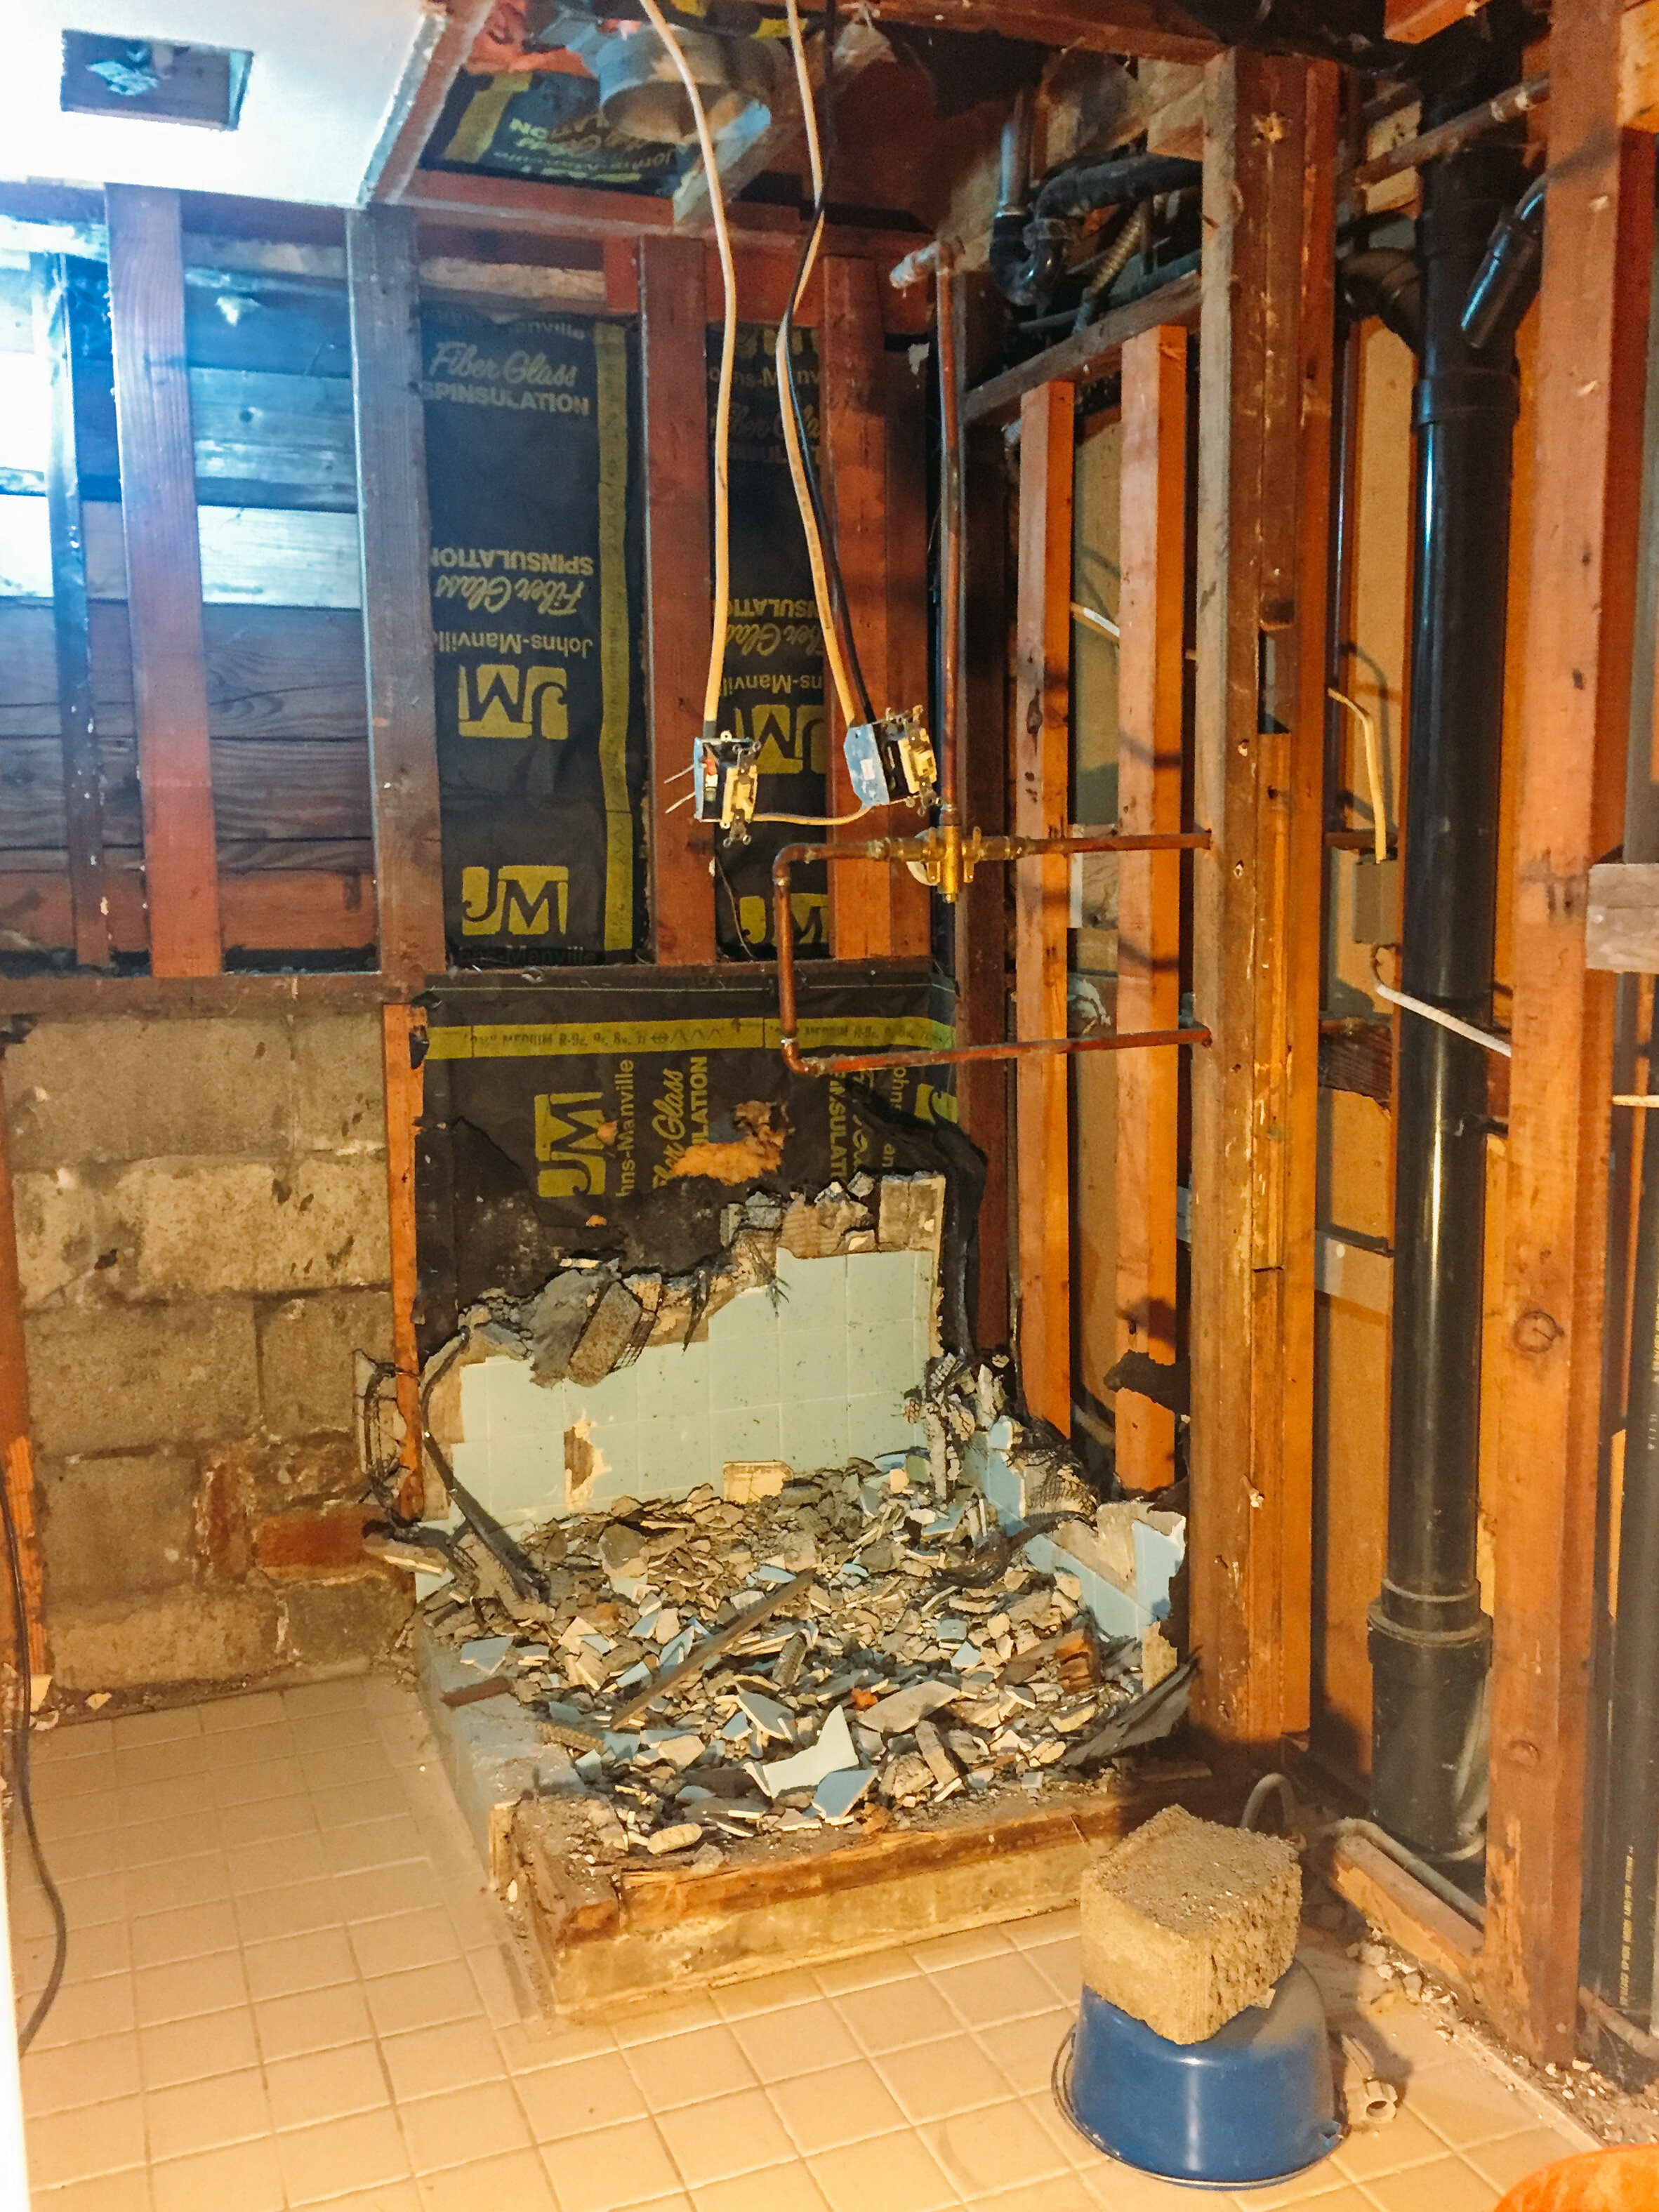
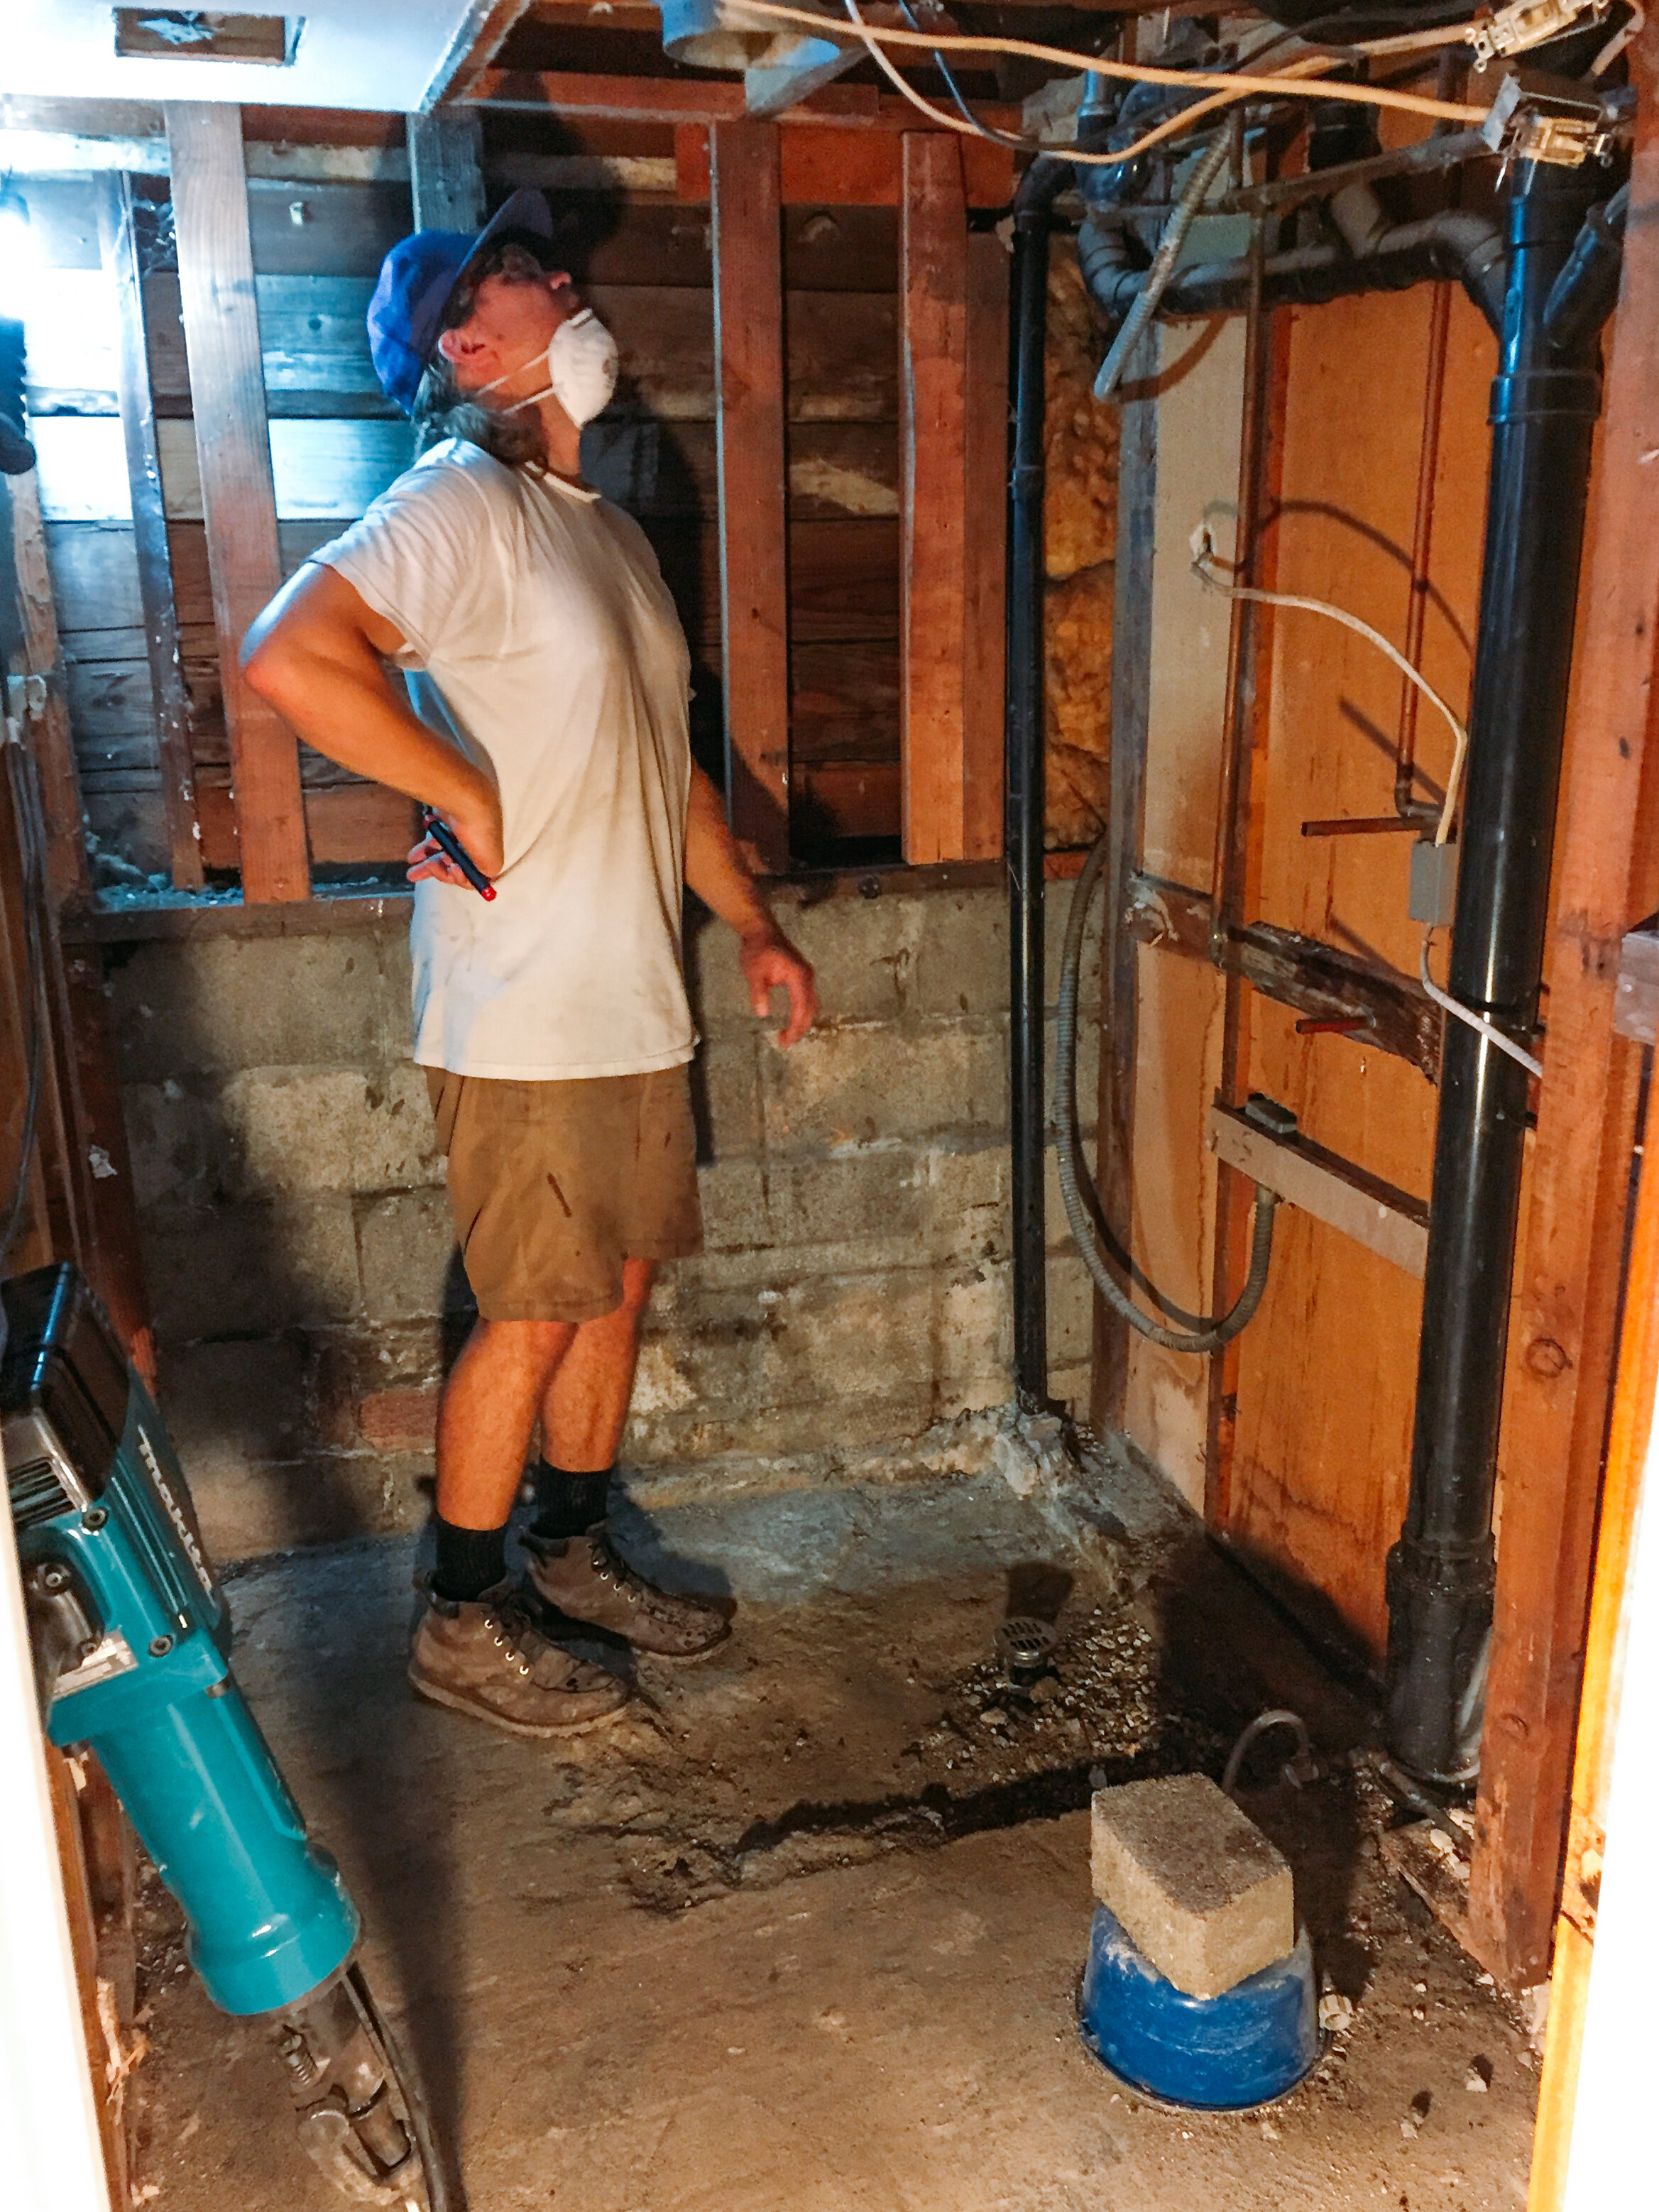
skip forward to july, peter and i took a weekend to demolish the basement bathroom. SO many learning experiences happened during this whole basement saga, but i think a main takeaway is that we’d probably hire professionals to demo stuff for us in the future.

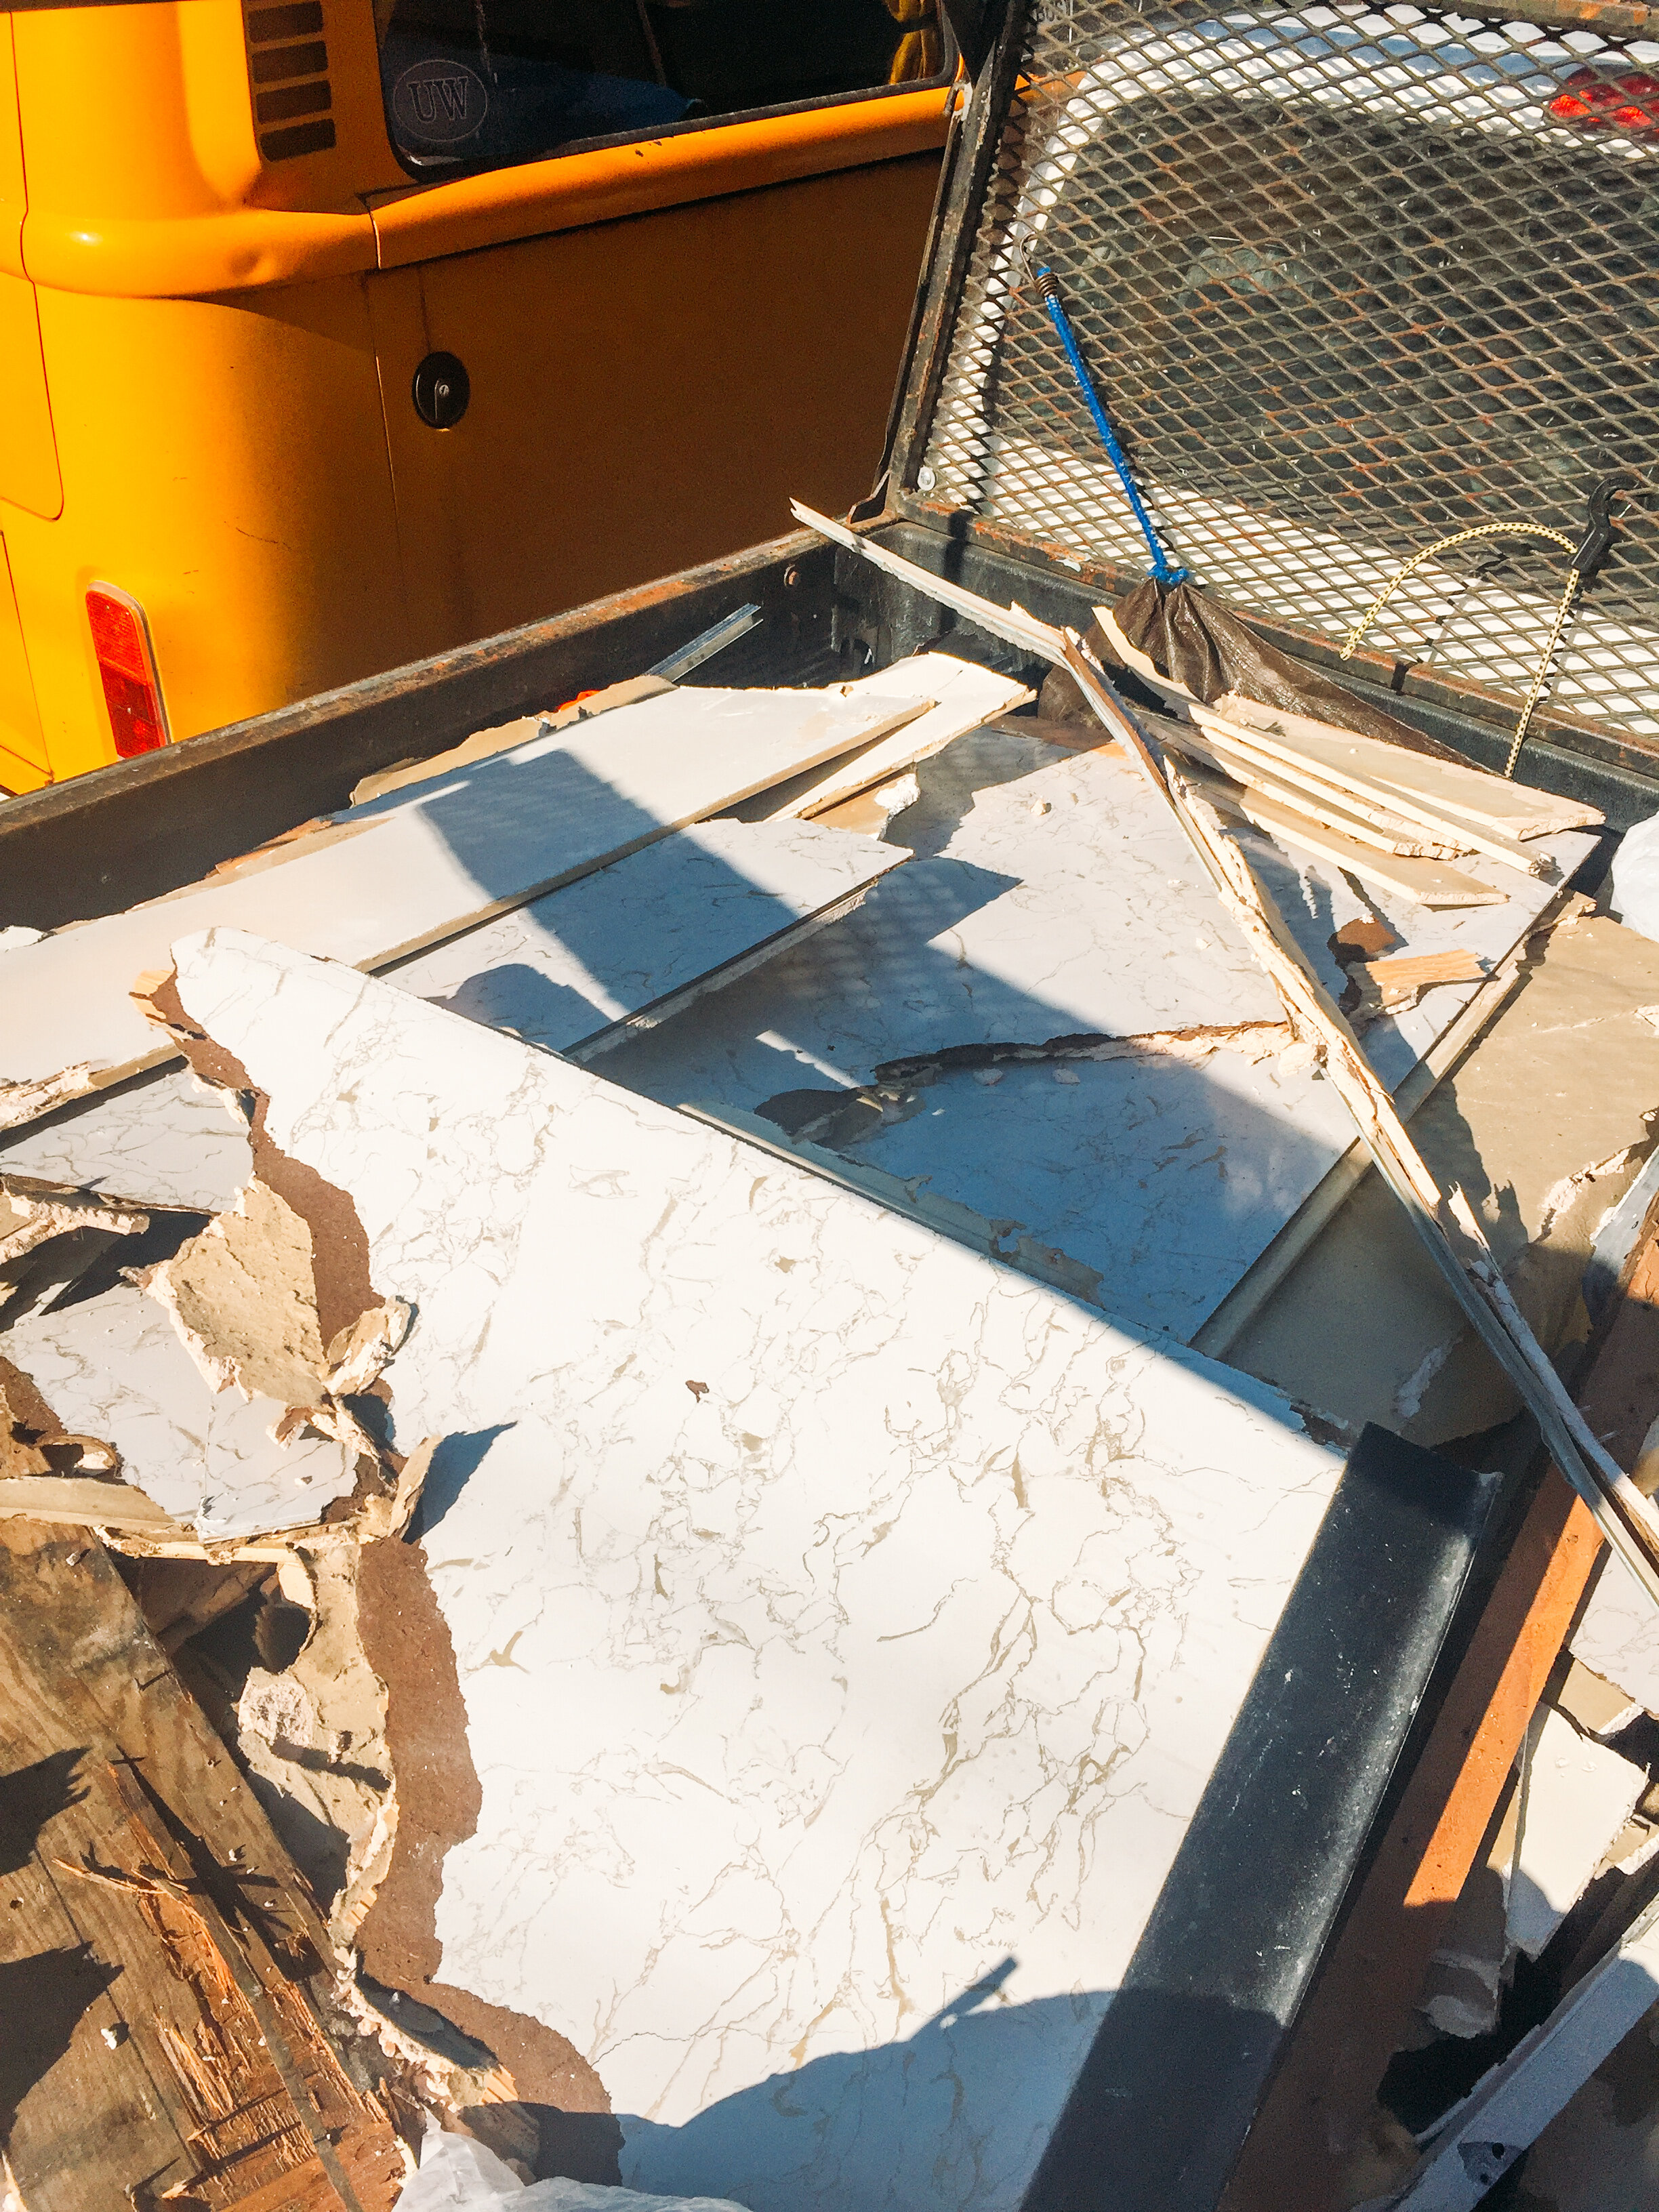
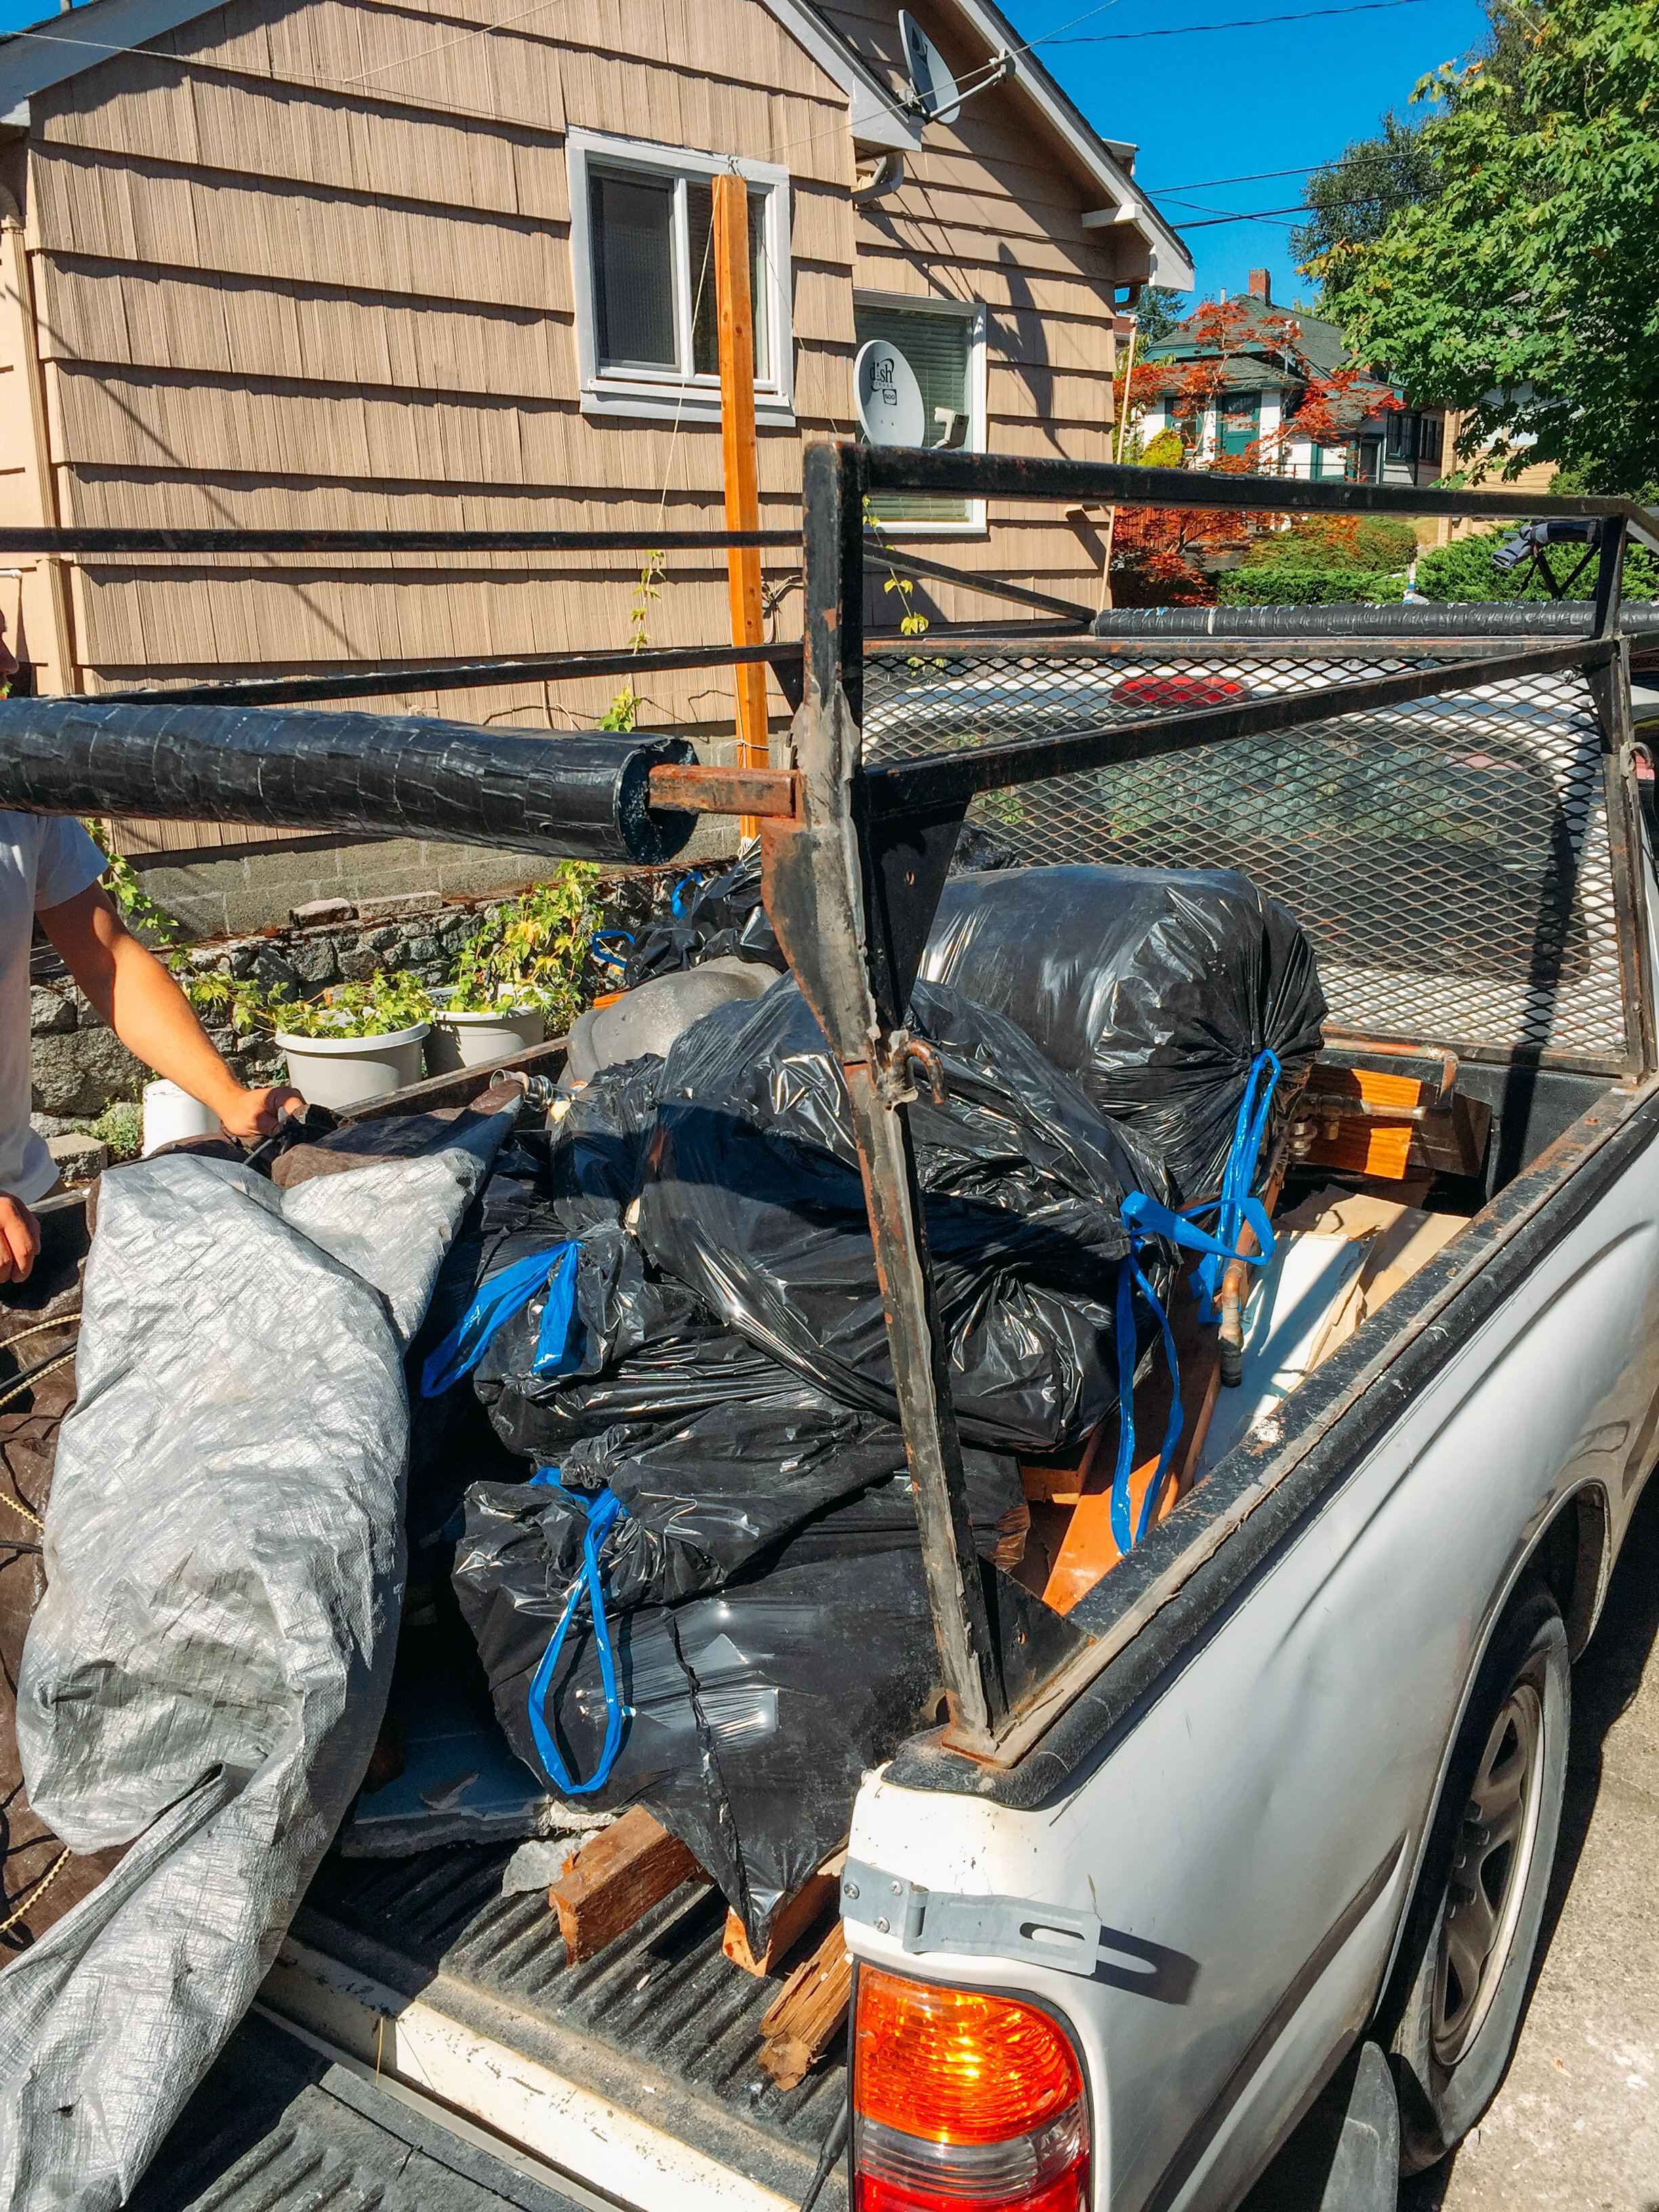
this shit was haaaard work, backbreaking, jackhammering, hauling buckets upon buckets of concrete to the truck, getting cut up, dirty and so sweaty, breathing in so much dust. plus it was mid-summer and we were hot & bothered & hangry! that teeny bathroom produced two full truck beds of stuff to take to the dump.

after two full days of yoinking and ripping and jackhammering and hauling and dumping, we were exhausted, but proud to have done it all ourselves.

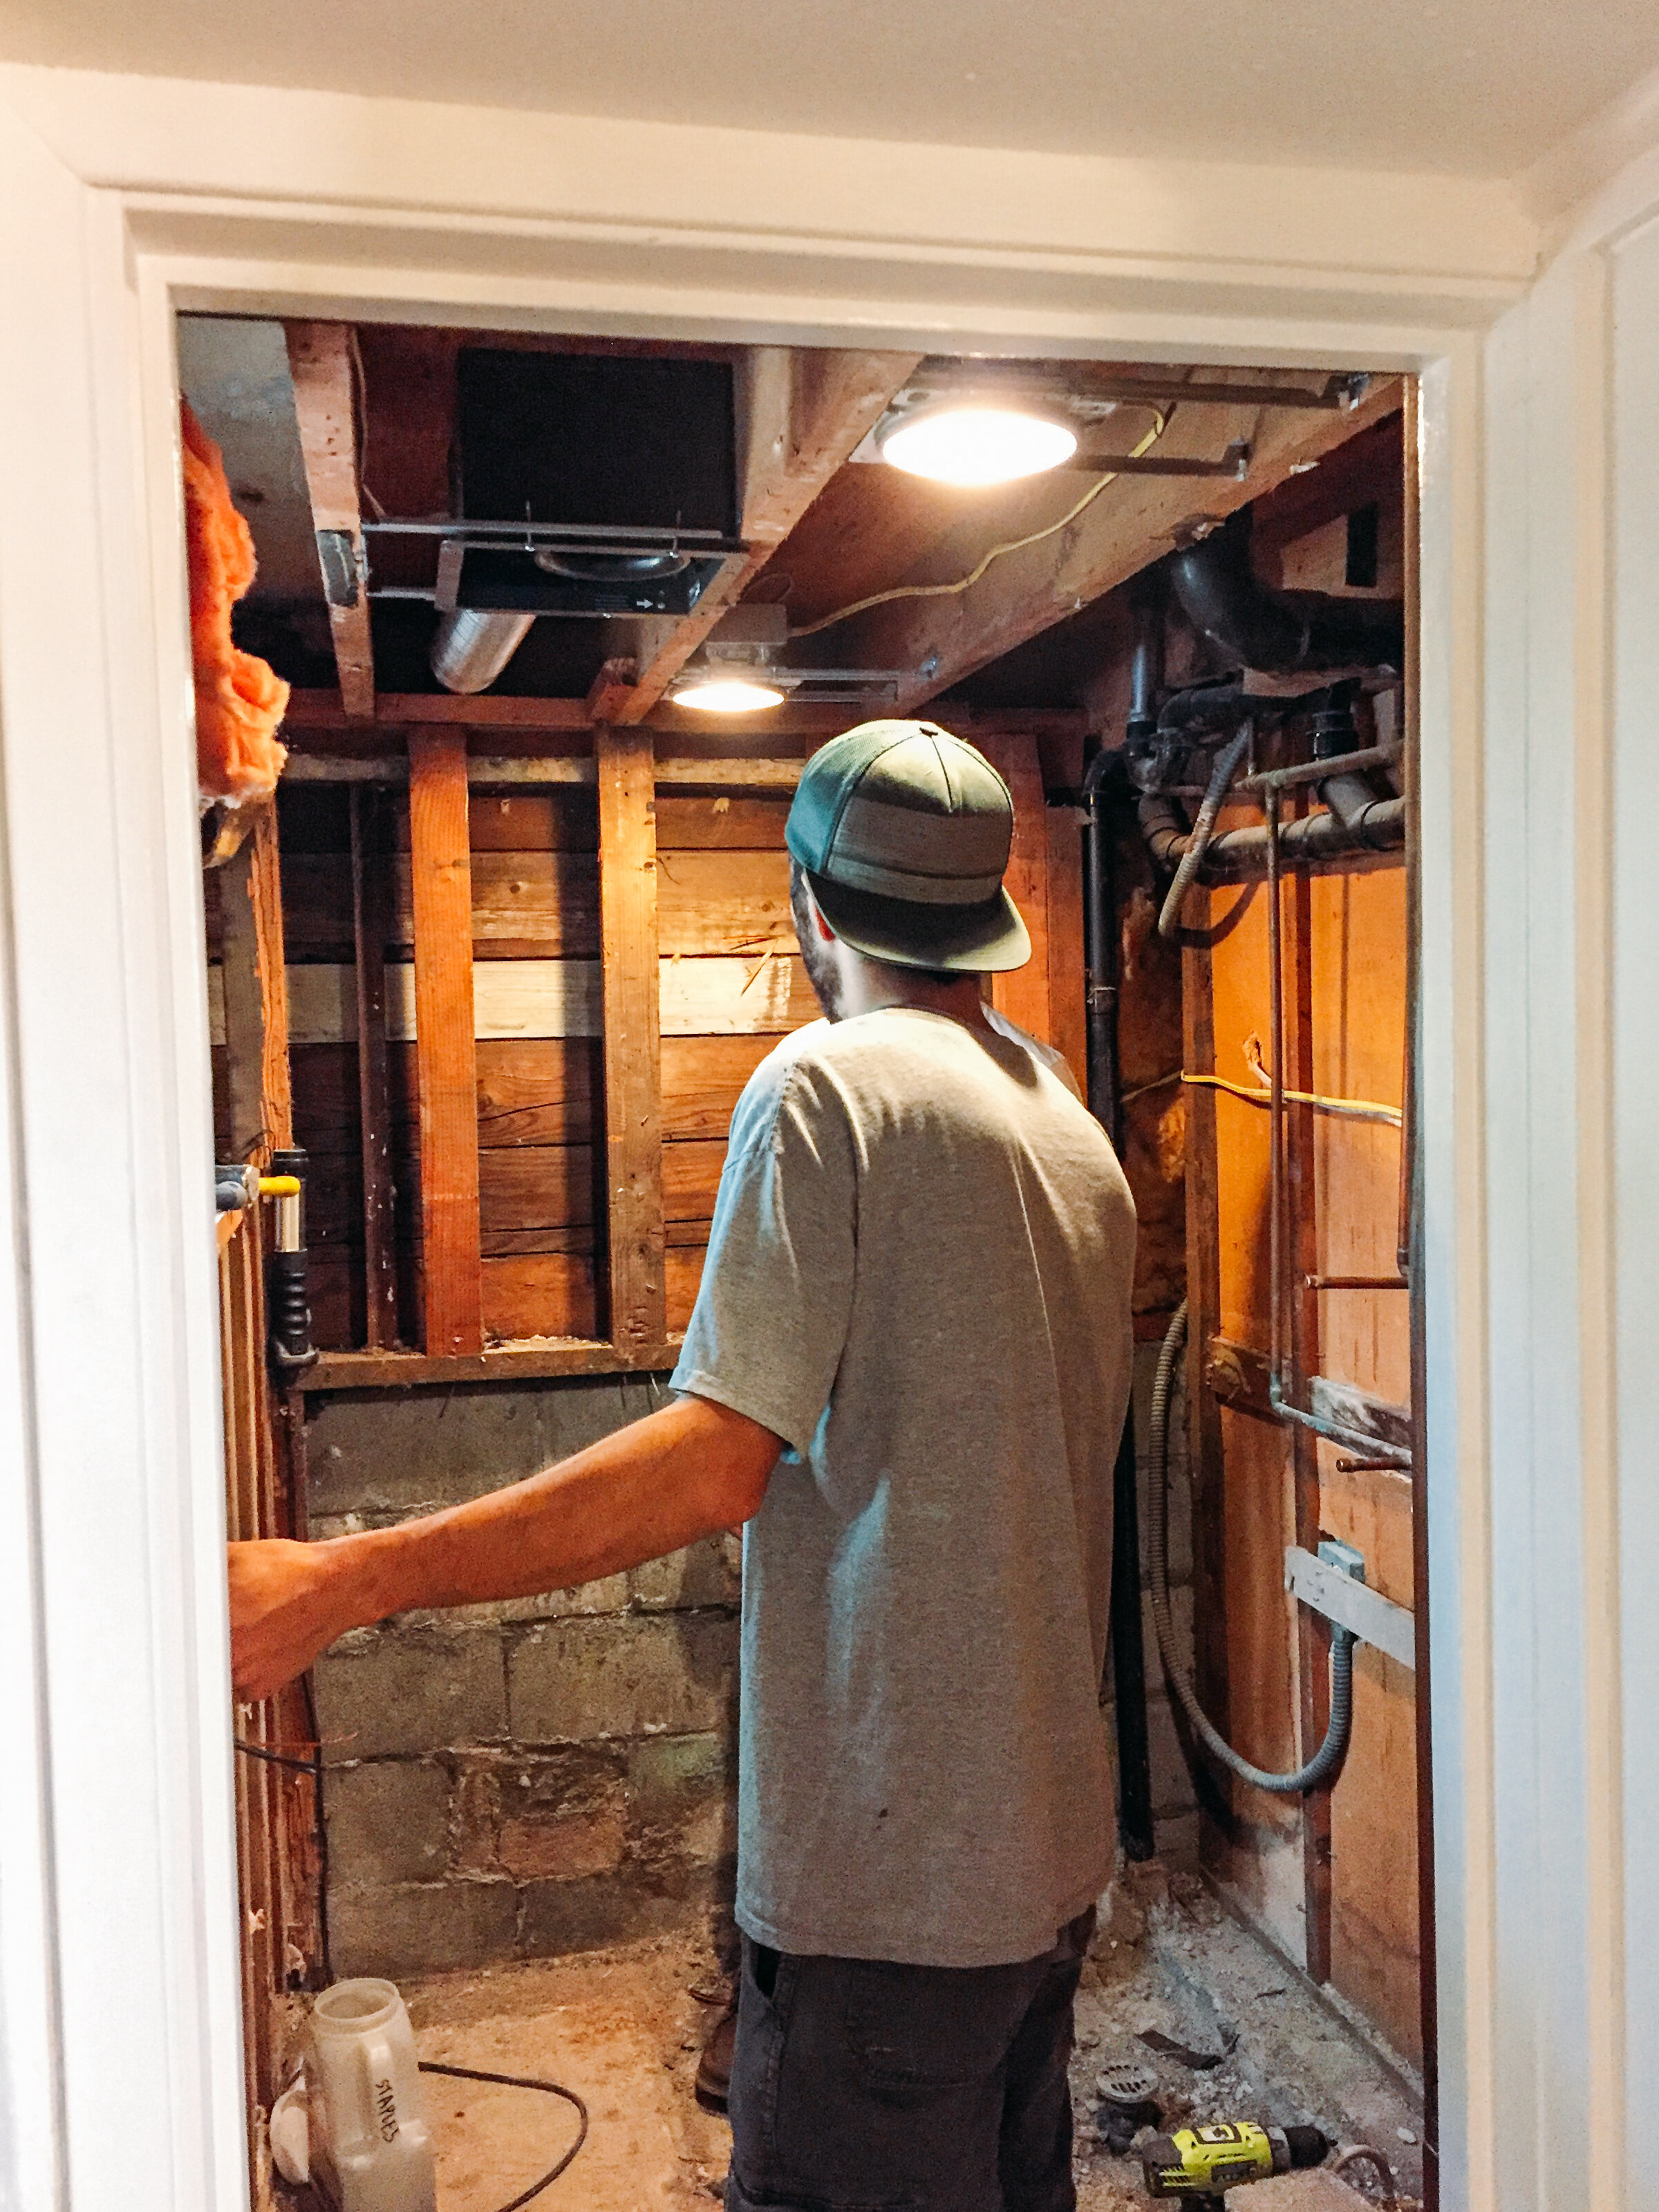
come august, our friend jun was nice enough to come help us one afternoon to install all the new electrical wiring and move some electrical from where that tiny shower box wall used to be.

^ this was a very exciting moment! LET THERE BE LIGHT!!!! thank youuuuu, jun, for getting us out of the dark, literally. sososoososososoooo very appreciated.

THEN, we totally ignored the basement for a month or so as peter and i got all of our wedding party plans squared away - yes we did this whole remodel while also planning & executing our big post-wedding celebration - on our own, as well. obviously we had huge help from our friends & families, but we didn’t have event planners or caterers or any outside coordination. that’s a whole other blog post for another time, but that all went amazingly well!

^ our celebration on lopez island was on september 7th. this photo above was taken september 15th. mind you, we had a renter wanting to move in here on the 1st of october. 😳

L O L and helloooo, time crunch. thankfully, this lovely renter is a friend, so we were lucky enough that they were gracious & understanding when we just absolutely were not finished in time for the move-in date.

^ oh yes, and all the while during both marriage celebration party planning and basement remodeling, we lived at the home depot. good lord. i was truly about to become natalie portman in where the heart is where she has the baby and lives in the walmart, that’s how frequently we were visiting our second home, the ol’ home depot.

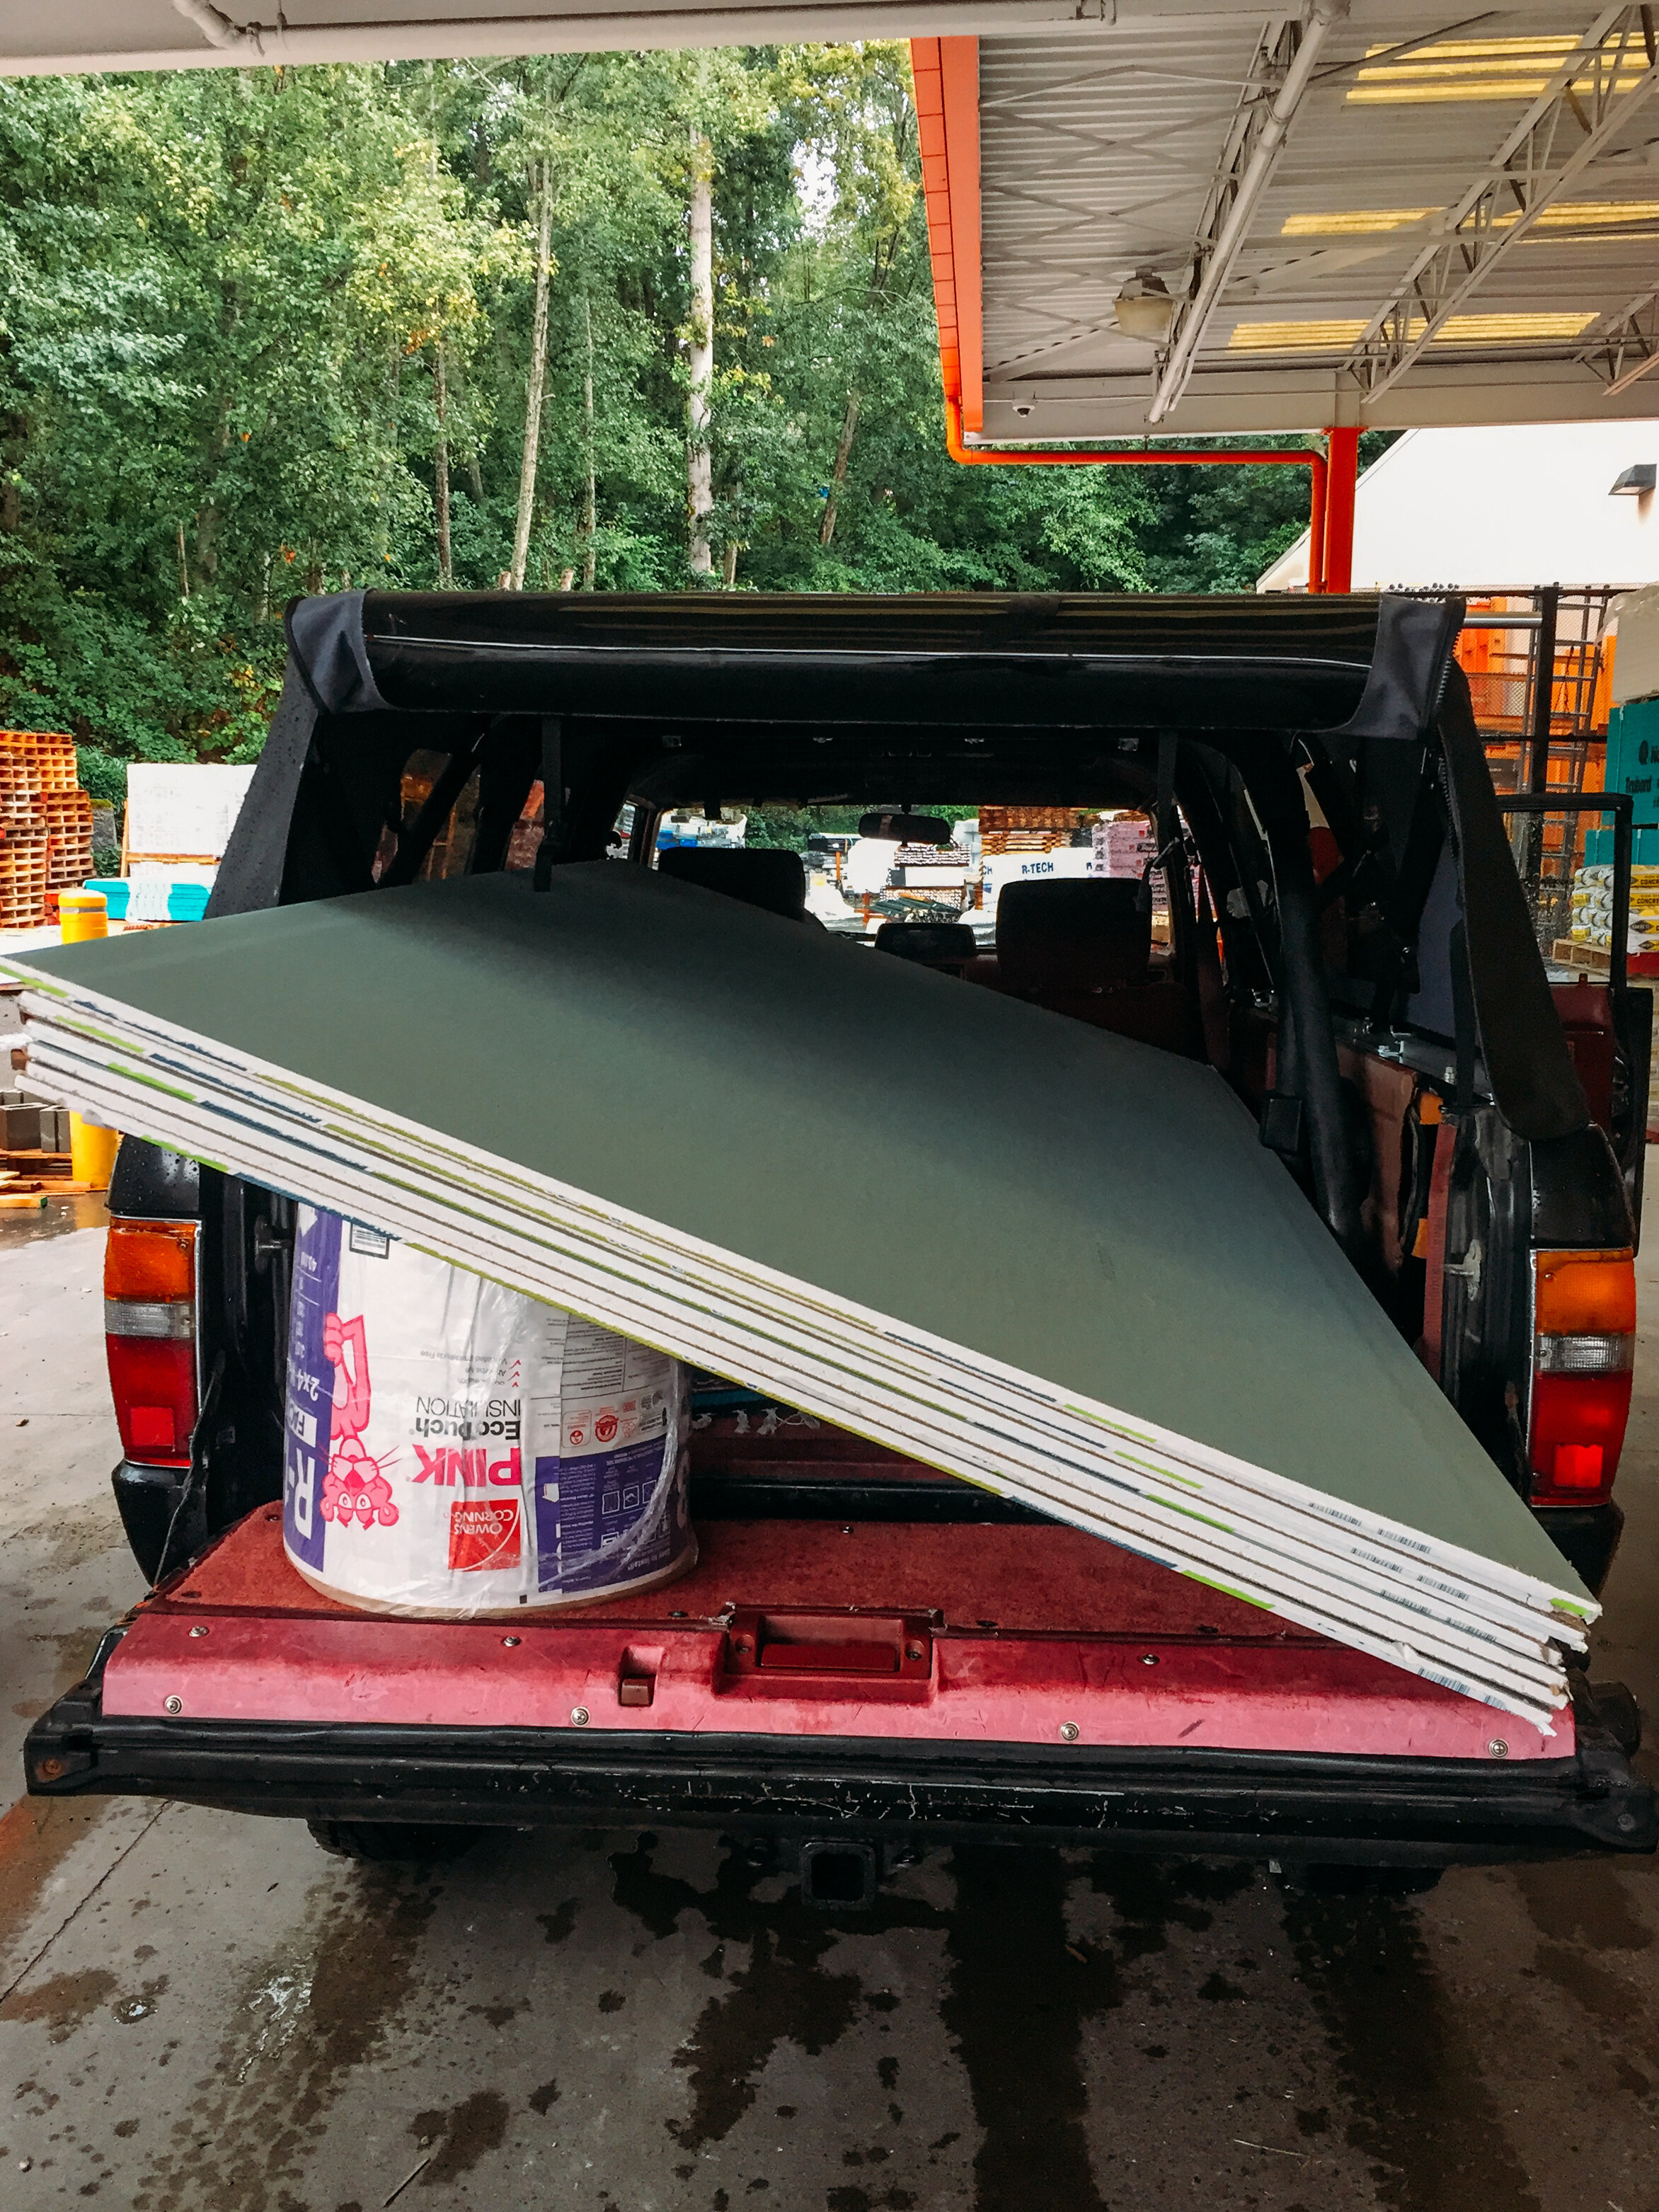
our truck most perfectly fit all the drywall pieces we needed. thankfully. because of course it was raining the day we bought all the drywall.

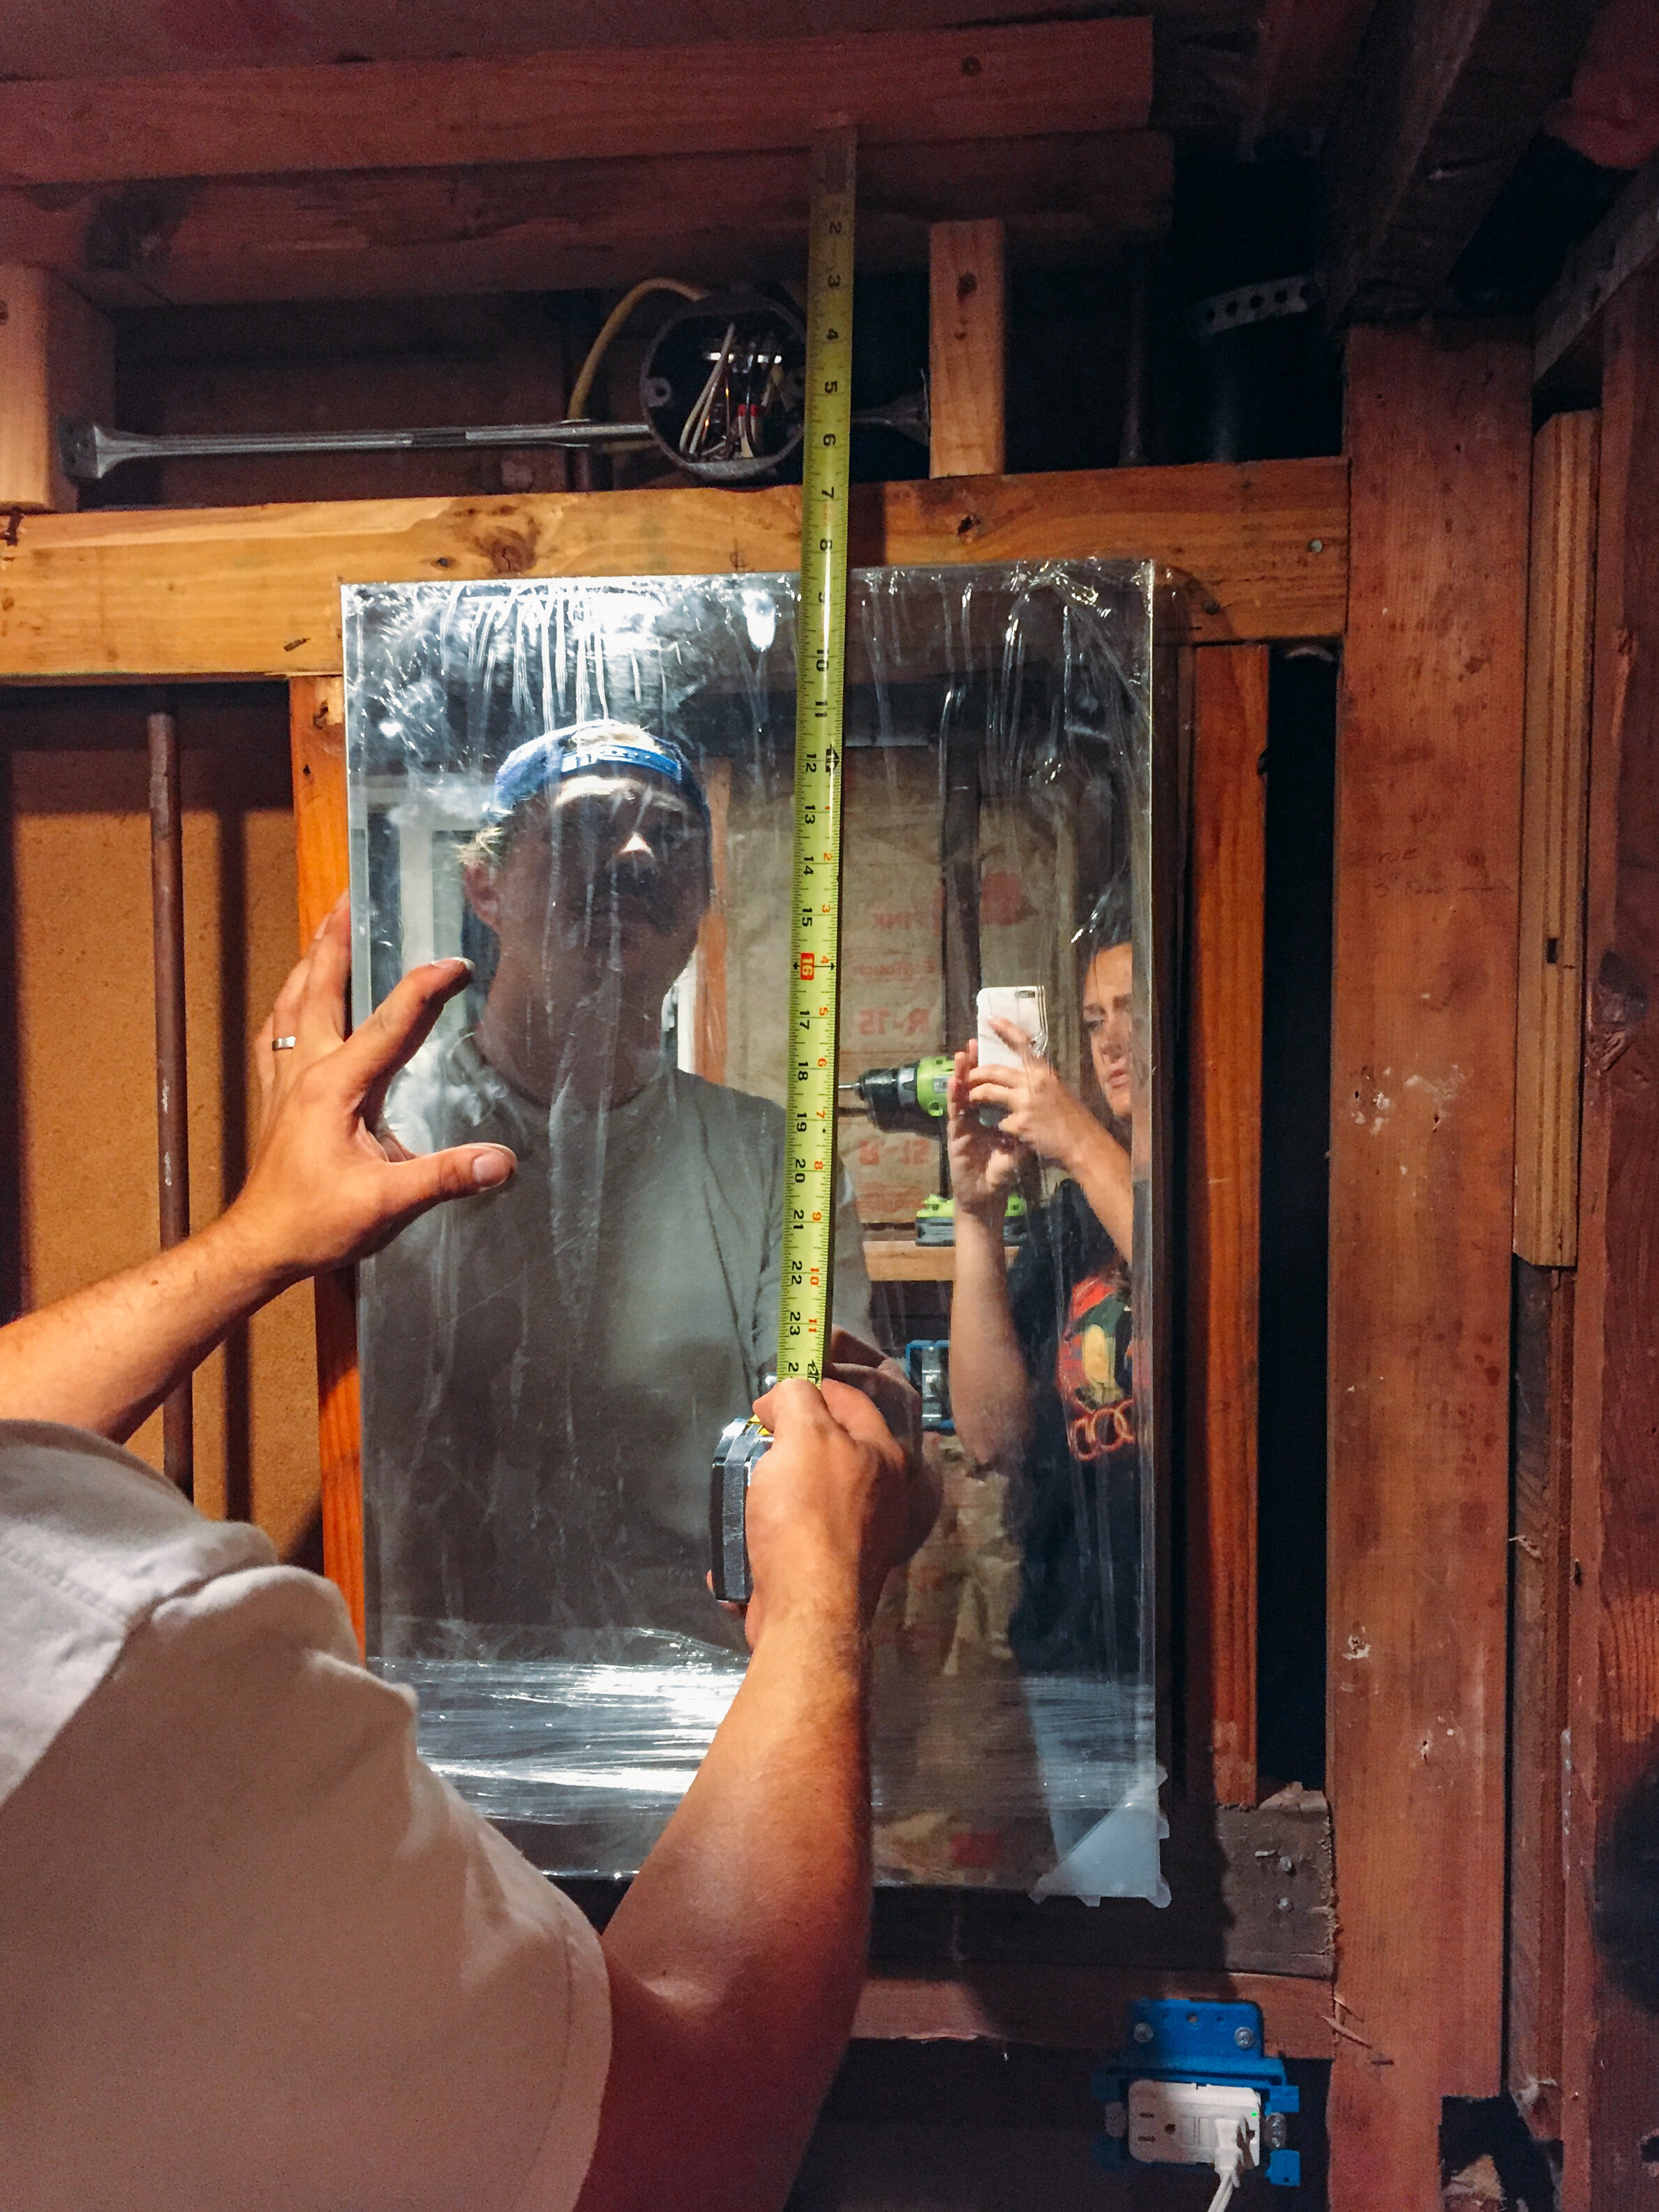
this basement bathroom is such a teeny tiny space - i’m so lucky to have peter, who’s a structural engineer, and extreeeeemely detail-oriented in this way. not one centimeter of usable space went unused. you’ll see this when it came to installing a sliding bathroom door. 🙃

^ re-arranging the plumbing. that was a whole ordeal that i’ll skip over, lol.

moral of that story is, if you have a choosy person in your life, bring them with you when you go to pick out even the small details like shower head, shower handle and even electrical outlet covers, ya know?

measuring, cutting & installing drywall. that was awful. enough said.

another whole weekend was spent on the drywall portion.

thennnnn, * trumpets * we had some reeeeal professional help from our friend sam. oh, blessed be the fruit. once we got to this point we were like, UuuUUuuuuGgGgghHHHh, please NO MORE!!!

so it was such a relief to have sam help us MAJORLY on all the waterproofing, mudding, taping, TILING, grouting, and more. having help on this part was incredible. obviously most people most likely hire professional help on a lot of home projects, but pete and i are usually all-around do-it-yourselfers, so it felt good to leave this one to the pro.

oooooh, aaaaah. look at that floor! look at those walls!

we saw a piece of granite at the tile store that they needed to get rid of for cheap, so we decided we could cut it up and use it as the shower curb and the shower shelf. we love it! it really classes up the joint.

^ getting there, but we still wanna explode and be done with it all. don’t forget that the basement living area and kitchen revamps are at this time still happening just outside of this room, haha.

yes yes yes.

great great great.

sam is the man! he did ALL OF THIS BEAUTIFUL WORK.

i’d go downstairs after he’d be done working and just stare. i love it so much.

this space is very tiny! opening up that shower wall and elongating it along the whole backside of the bathroom was such a game-changer for this space. ultimately this was very worth all the time and energy and dollars we put into it because we are SO HAPPY with the results!!!

shower door installation was also tricky, but pete got that in, as well as the medicine cabinet, light fixture, vanity, and trim (everything had an additional problem that needed addressing - it wasn’t just lego-ing all the pieces back together, because that would be too easy!).

also, yay for choosing the clear sliding shower door. not only a space-saver, but seeing right through to the tiling is so nice, and makes the room feel larger.

^ A MORE SATISFYING BEFORE & AFTER FOR YA!!!!!!

i still look at this and cannot believe it’s done and it is something we did together. with lots of lovely help!

YAYYYYYYYYYYYYYYYYYYYYYYYYYYYY.

a toilet! a sink! a mirror! a shower! can you believe it? it’s a bathroom!

i had to throw any old shampoo bottles in there to see the shower shelf in action, hehe.

then came the sliding bathroom door project, which was the very last piece installed, leaving our lovely renter with no bathroom door for maybe a month, lolol. again - very gracious and understanding.

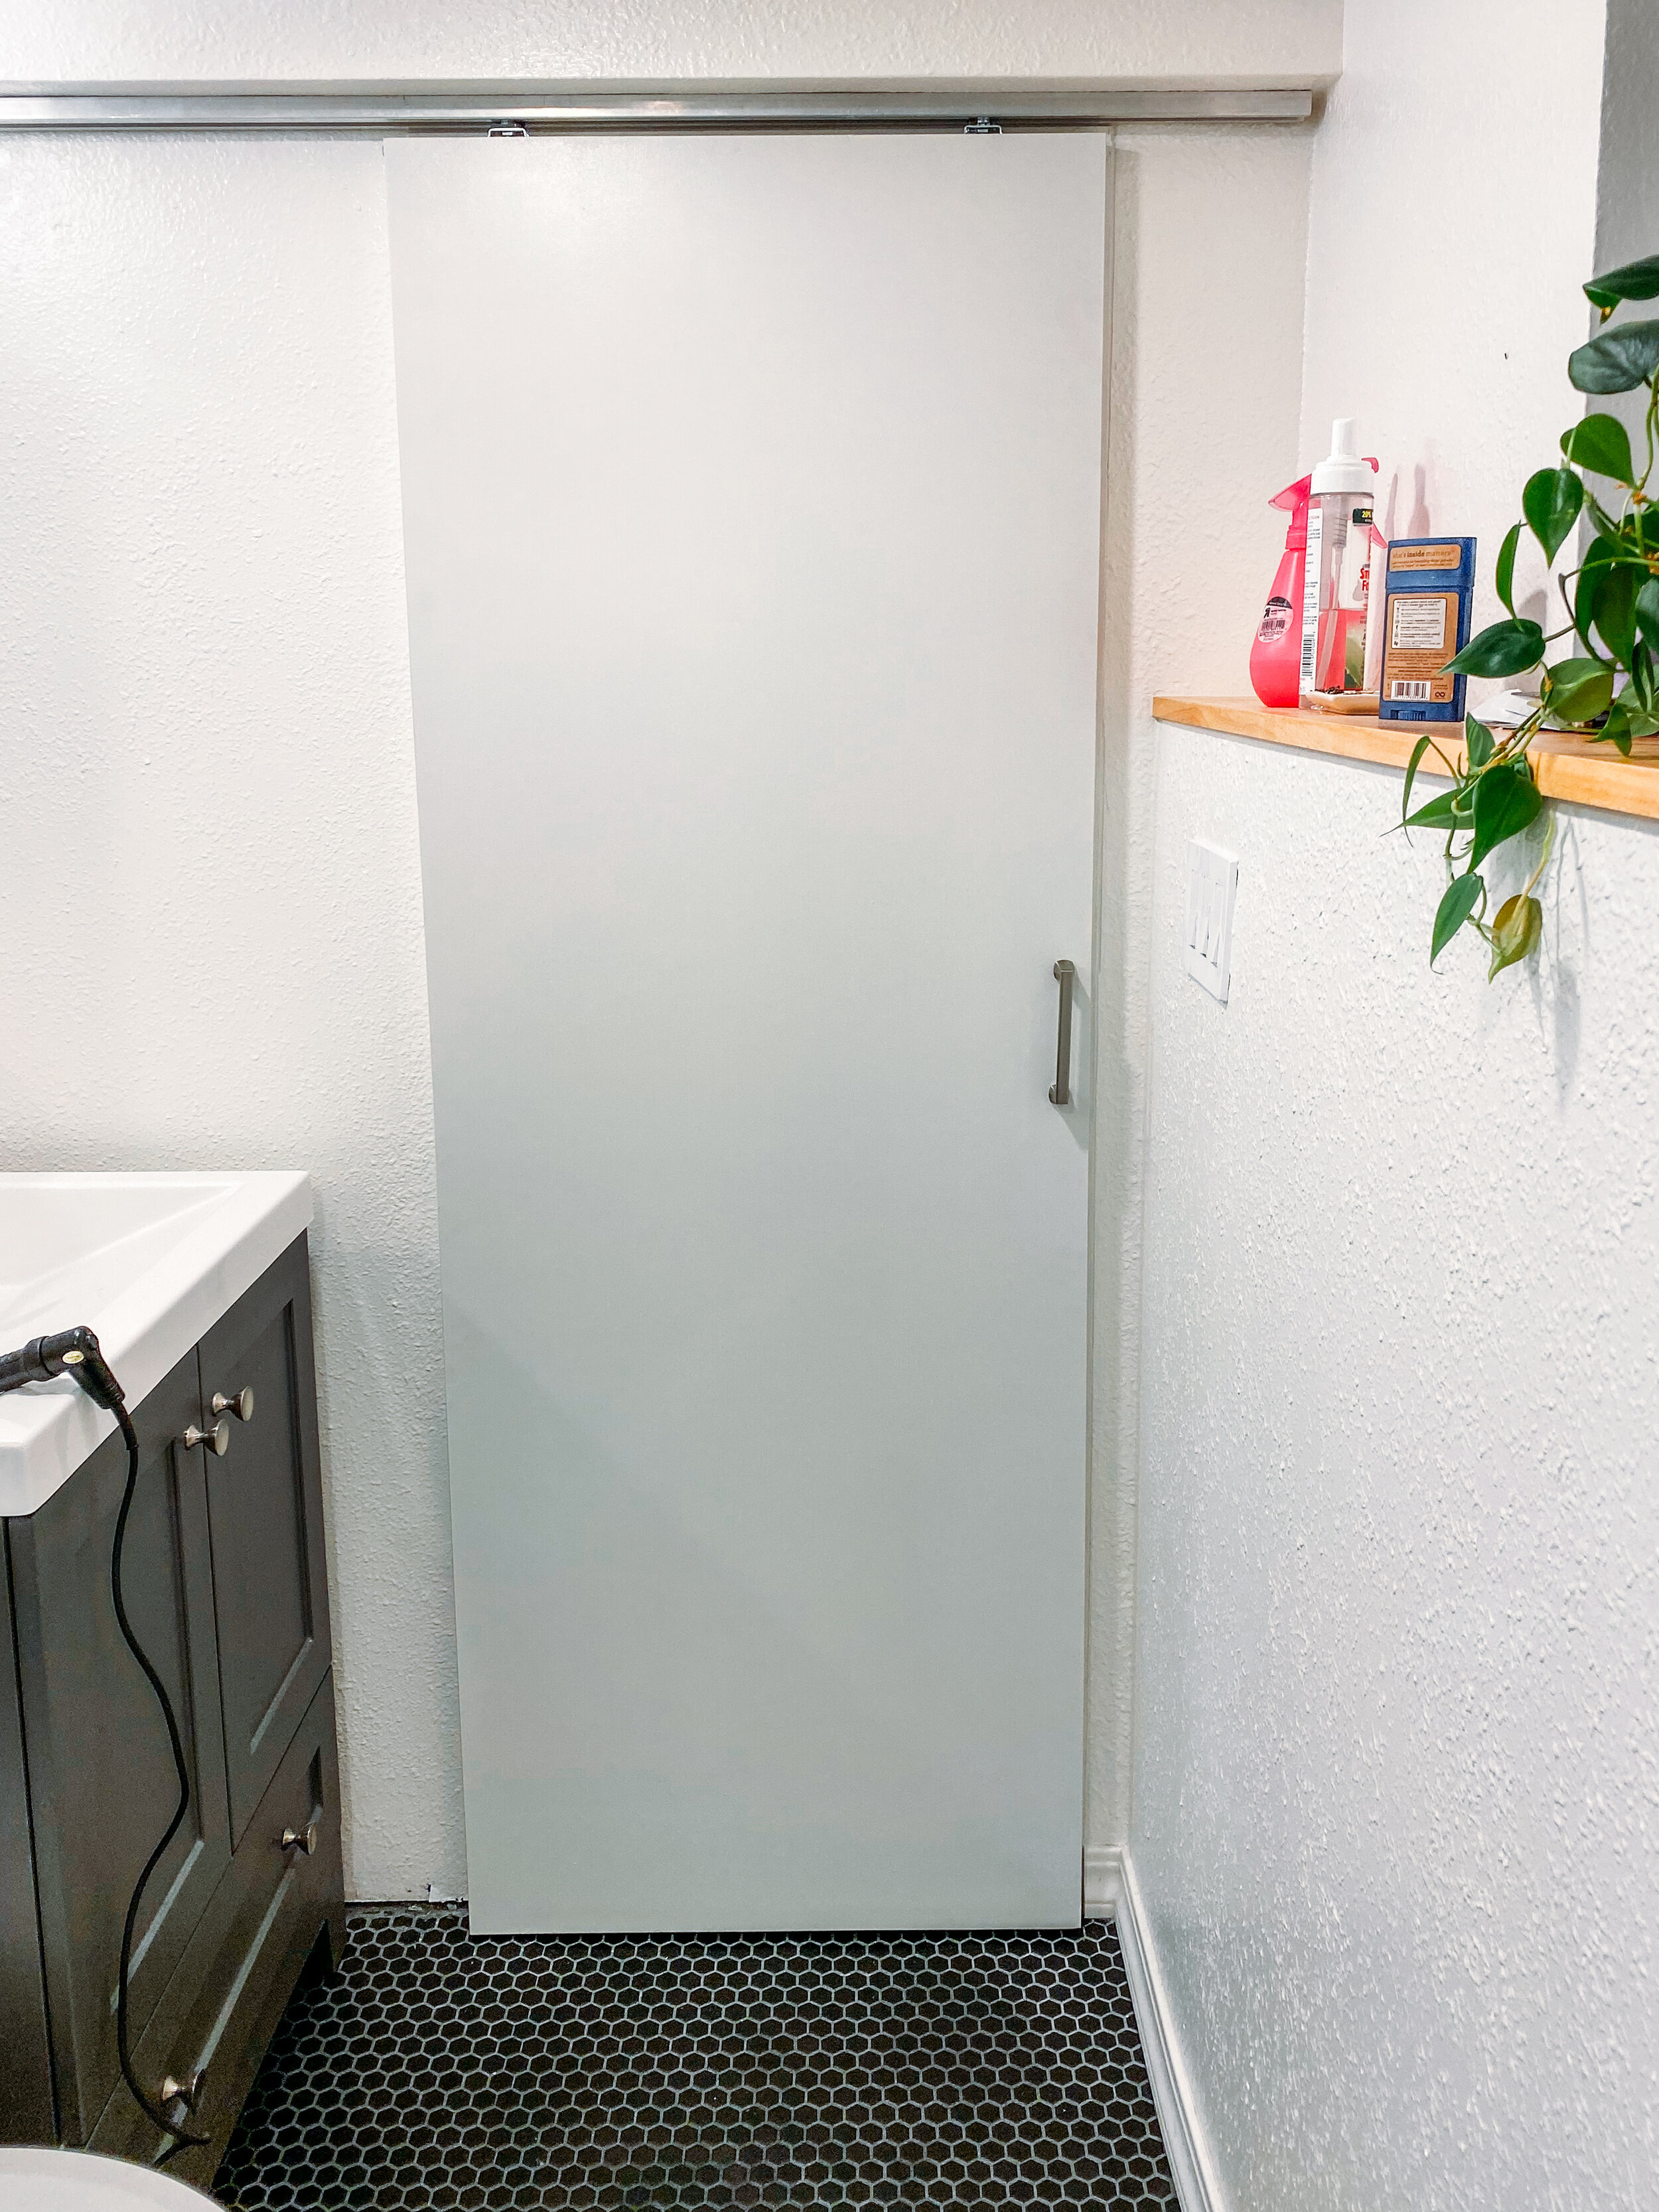
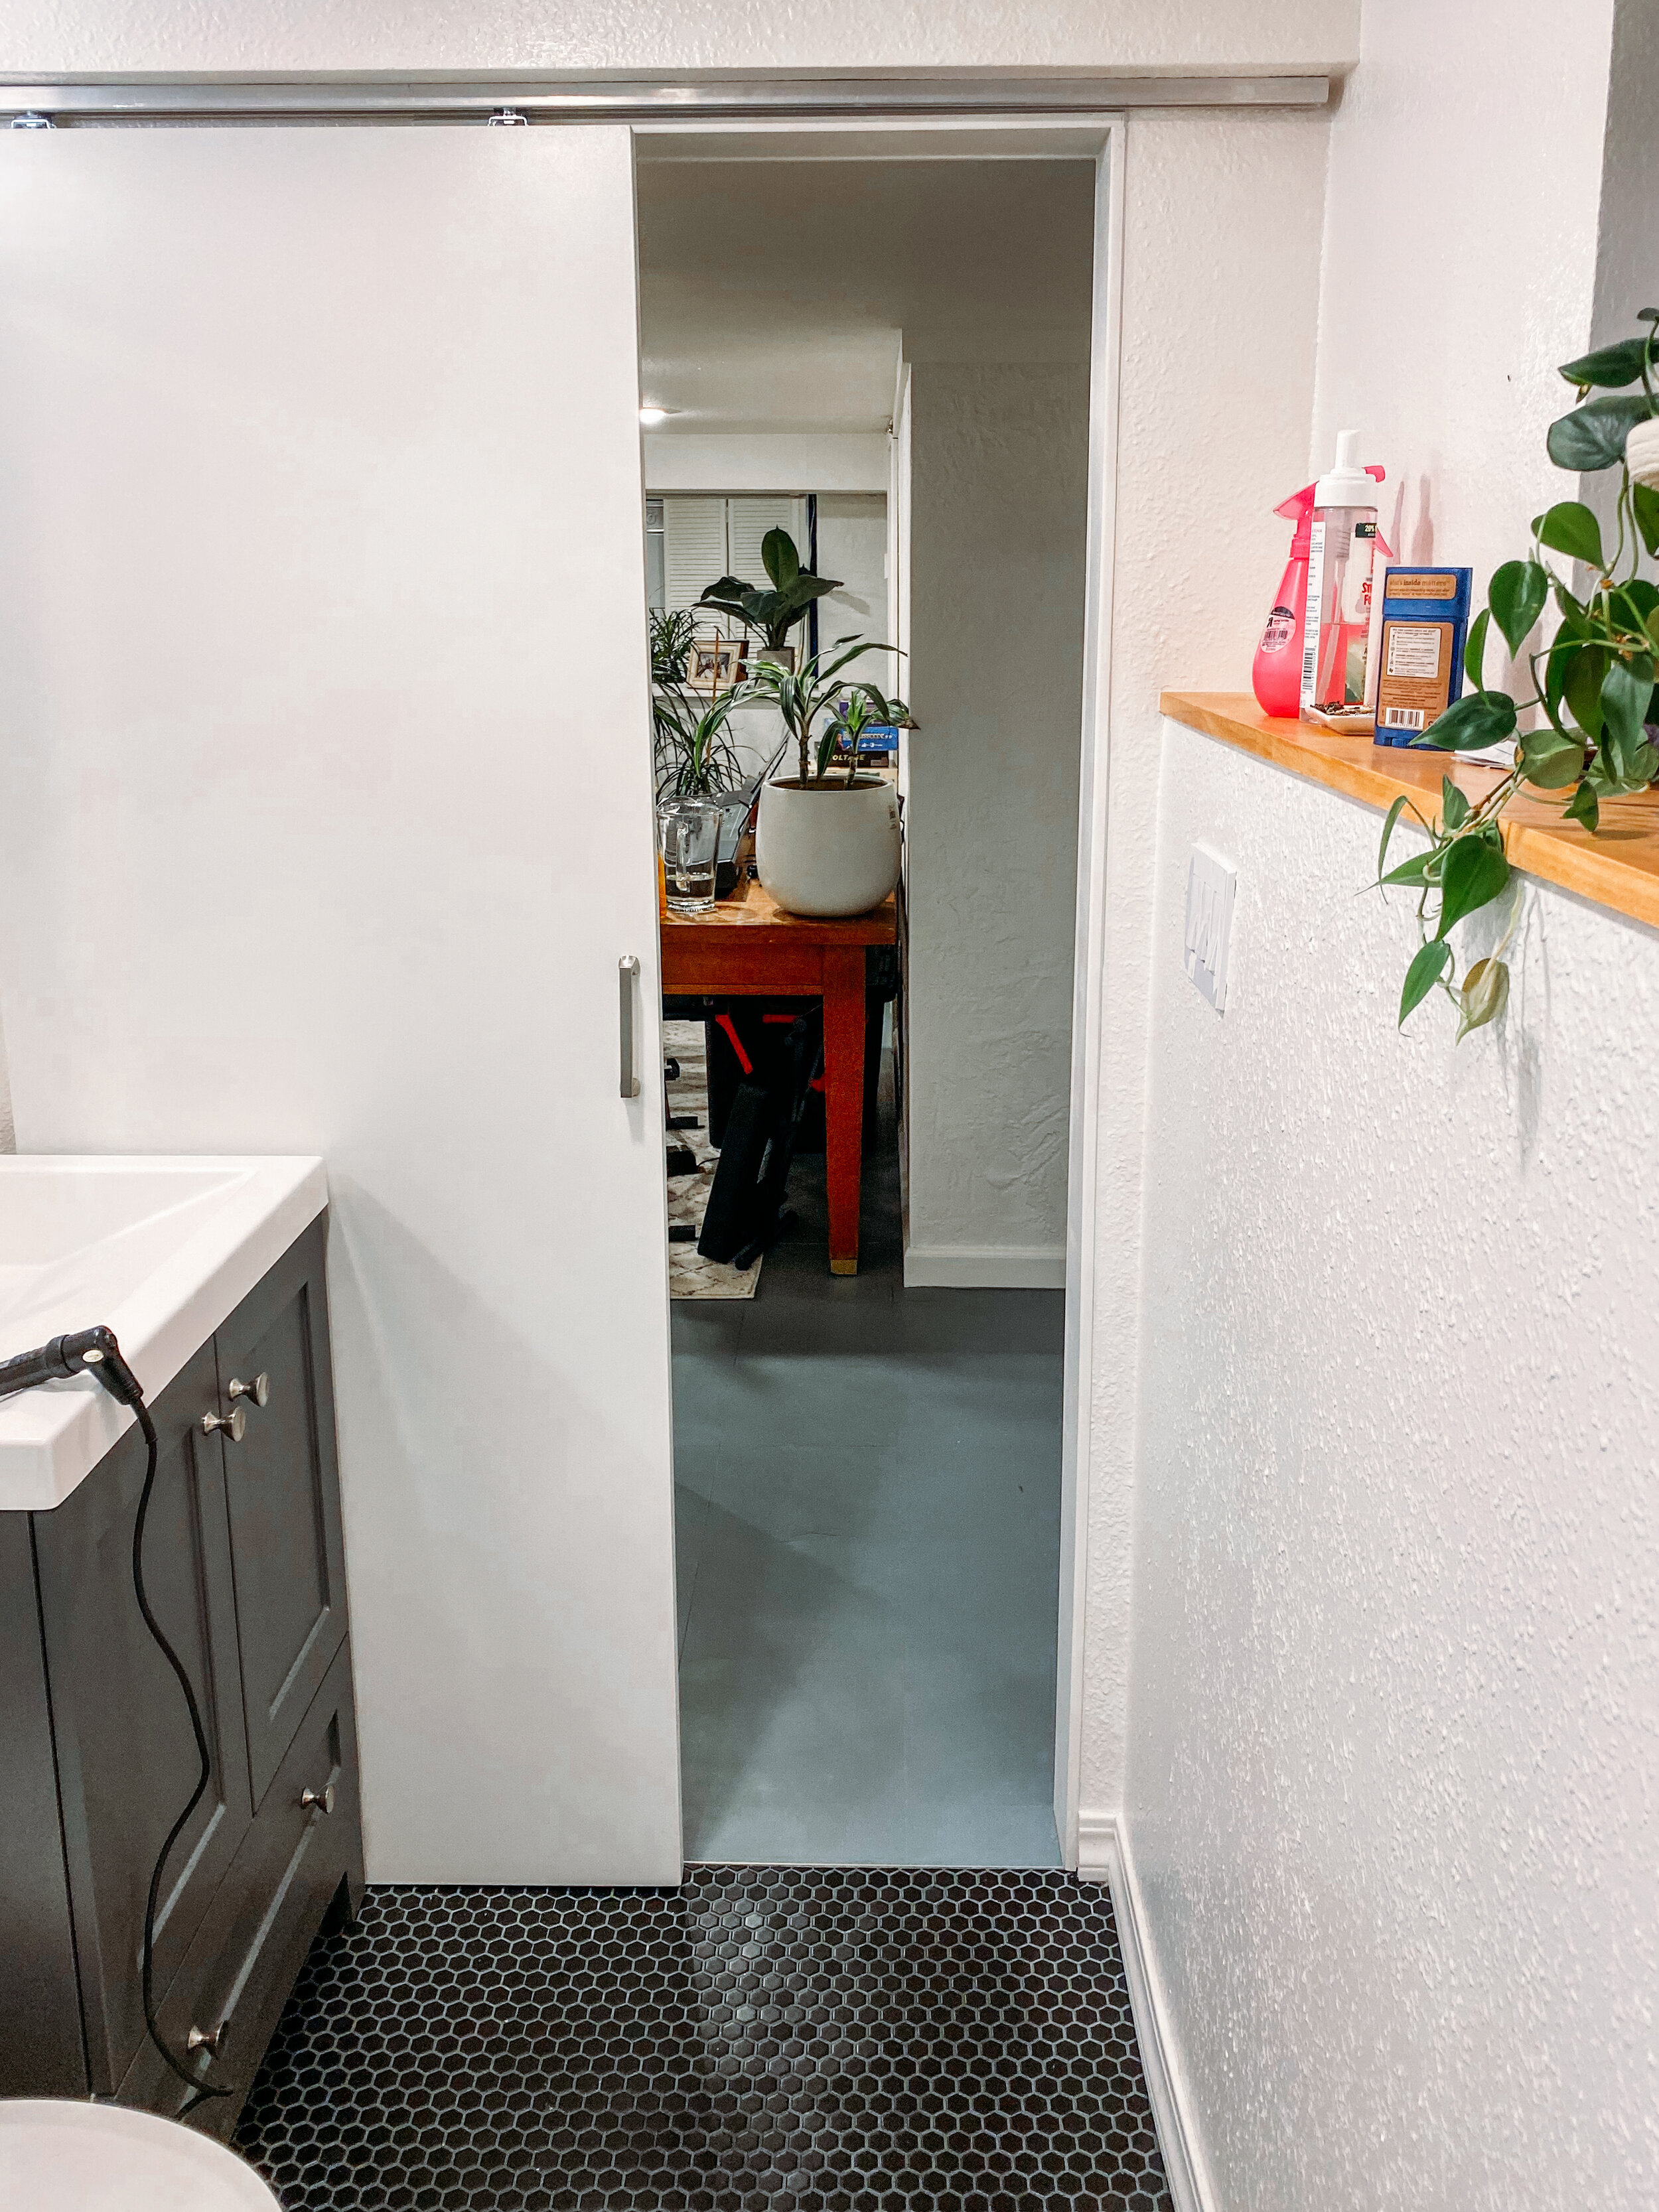
the bathroom used to have a standard swinging door and that took up SO much room when you’d be standing at the sink. we wanted a pocket door but the laundry plumbing is in the way. so, sliding barn door style on a track was our option.

the space between the vanity and the wall is like 2 inches. the basement has quite low ceilings so the door had to be custom ordered and the guy was like, “what is this space?” haha. apparently we were asking for a weird ass door size. but then i slapped on some paint and a door handle, pete got it all slip slidin’ away, and it was bathroom privacy success!!

that, and about 100 checkmarks on the epic basement bathroom remodel to-do list of 2019!!!

BATHROOM: DONE!!!!!!!!!!!!!!!!!!!!!!! ✔️


OK, rewind to january again!

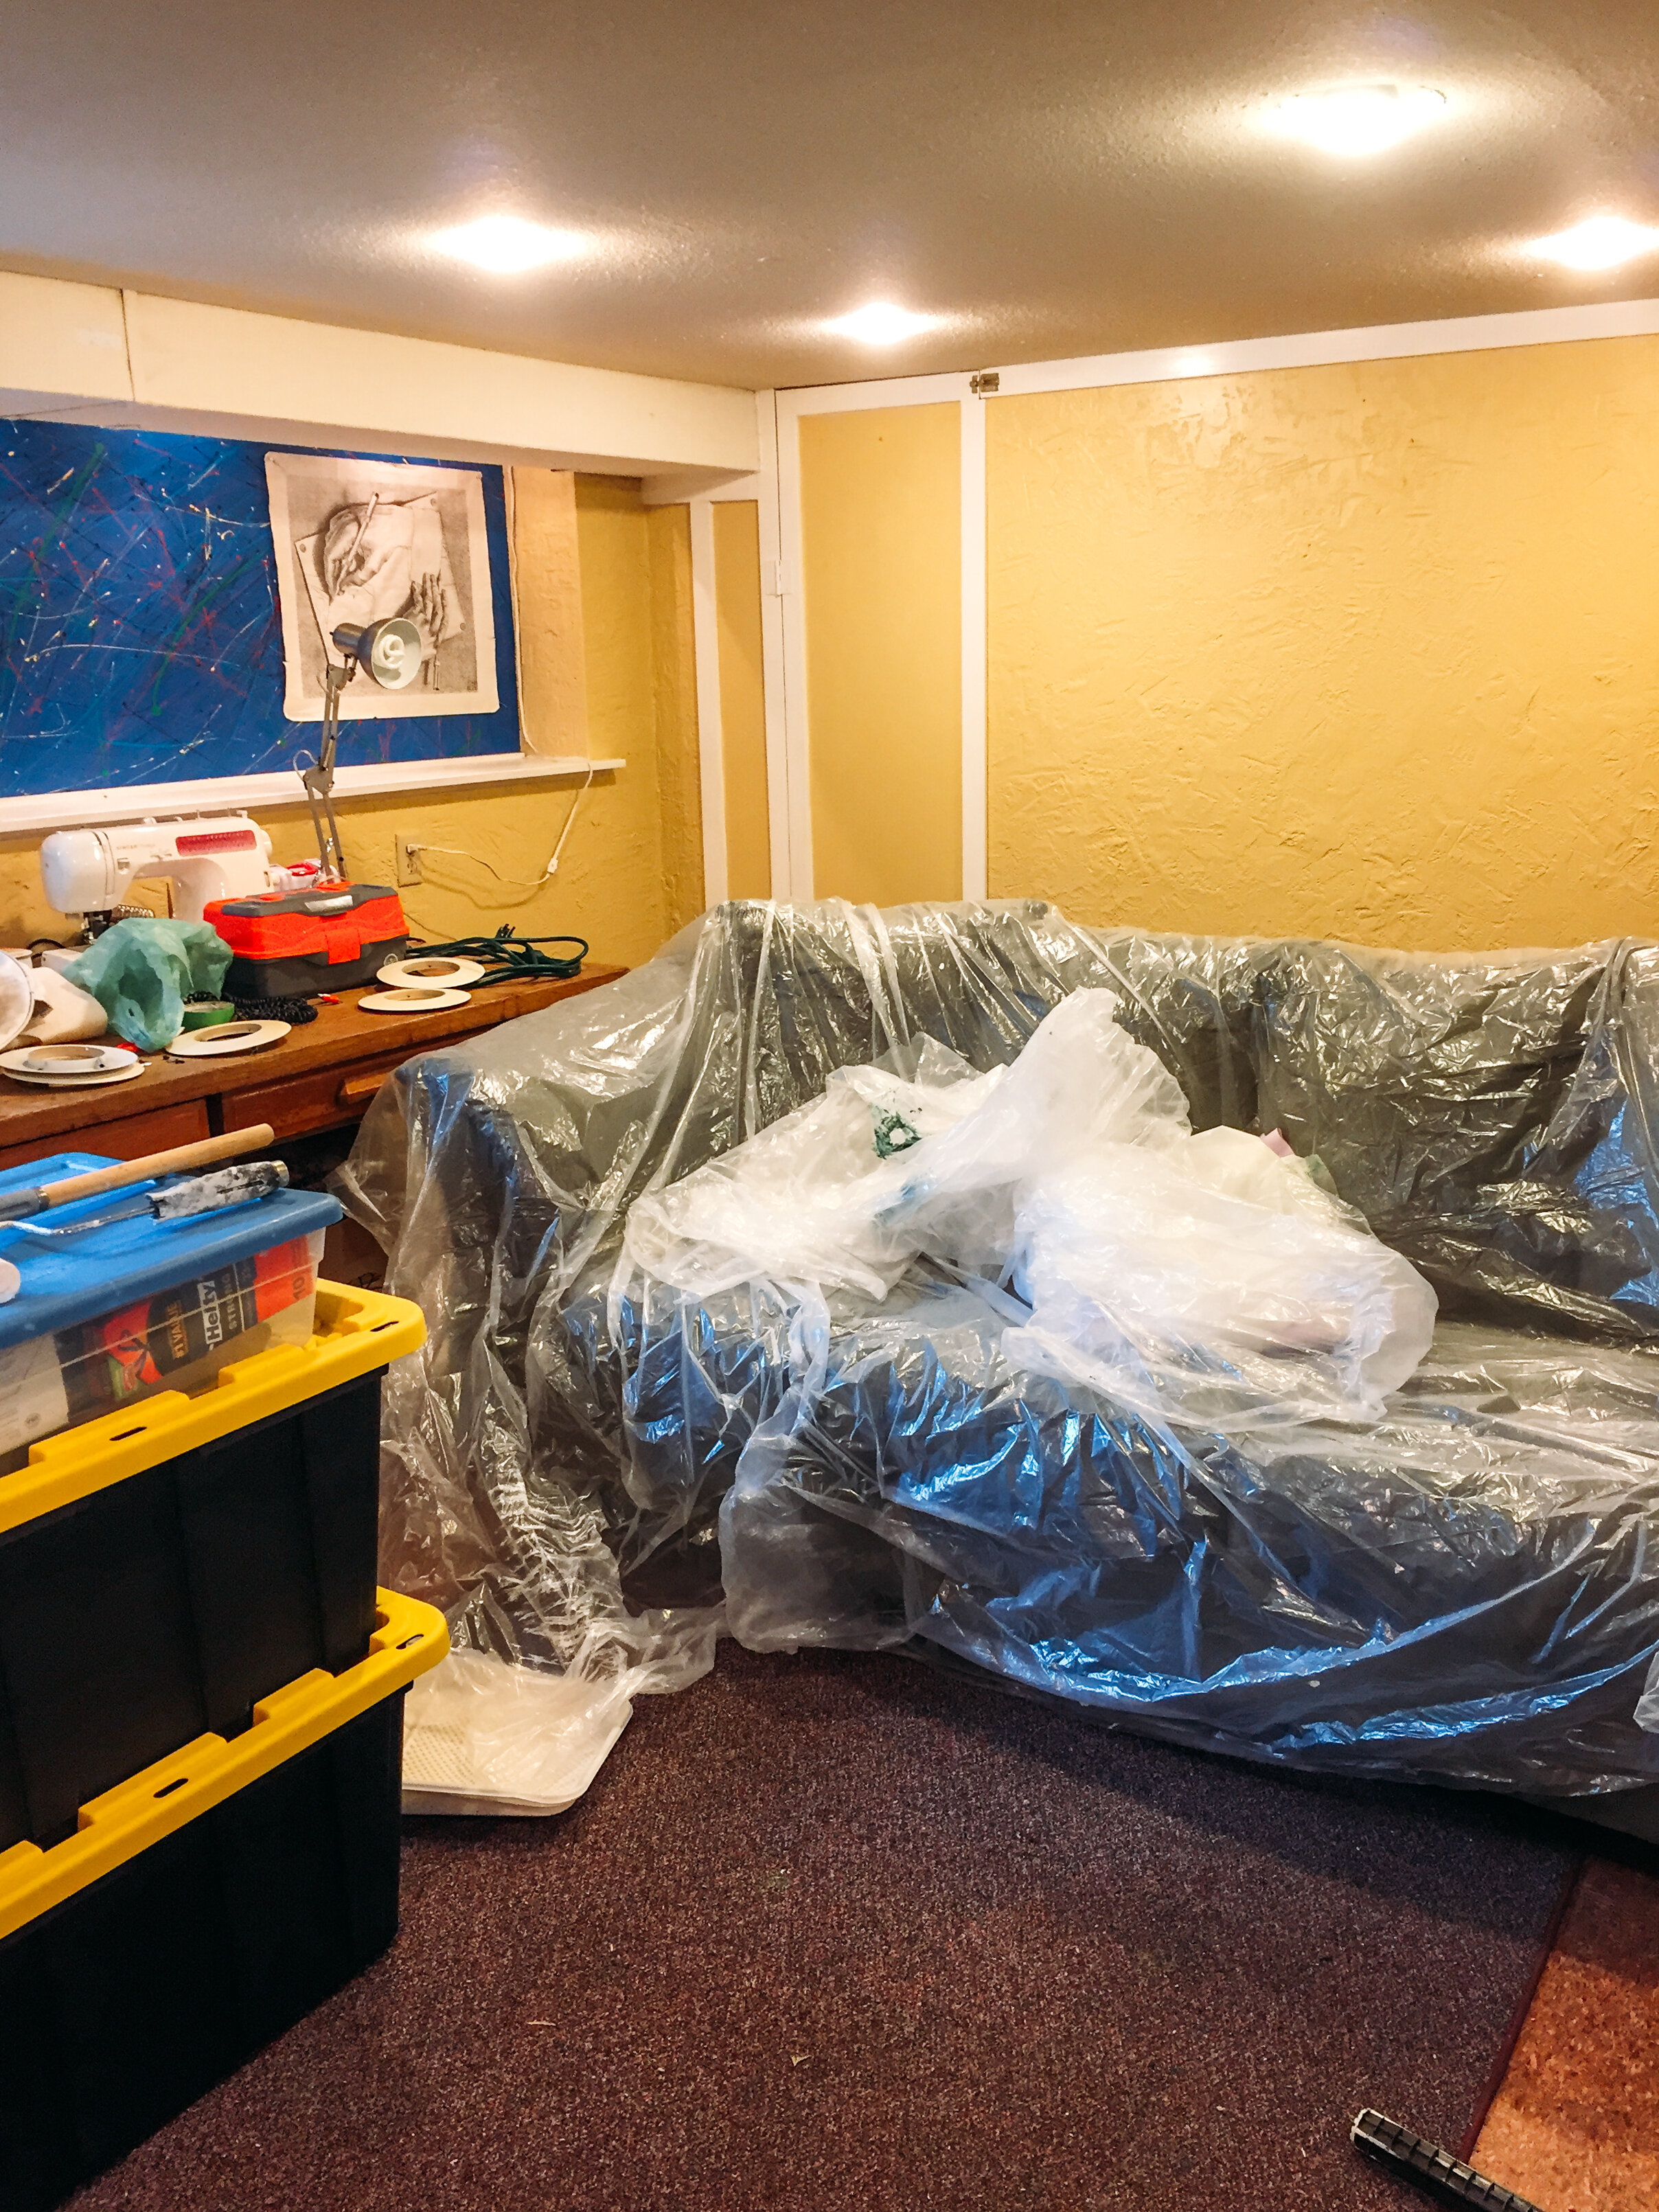
the bedroom used to be school bus yellow as well as banana yellow.

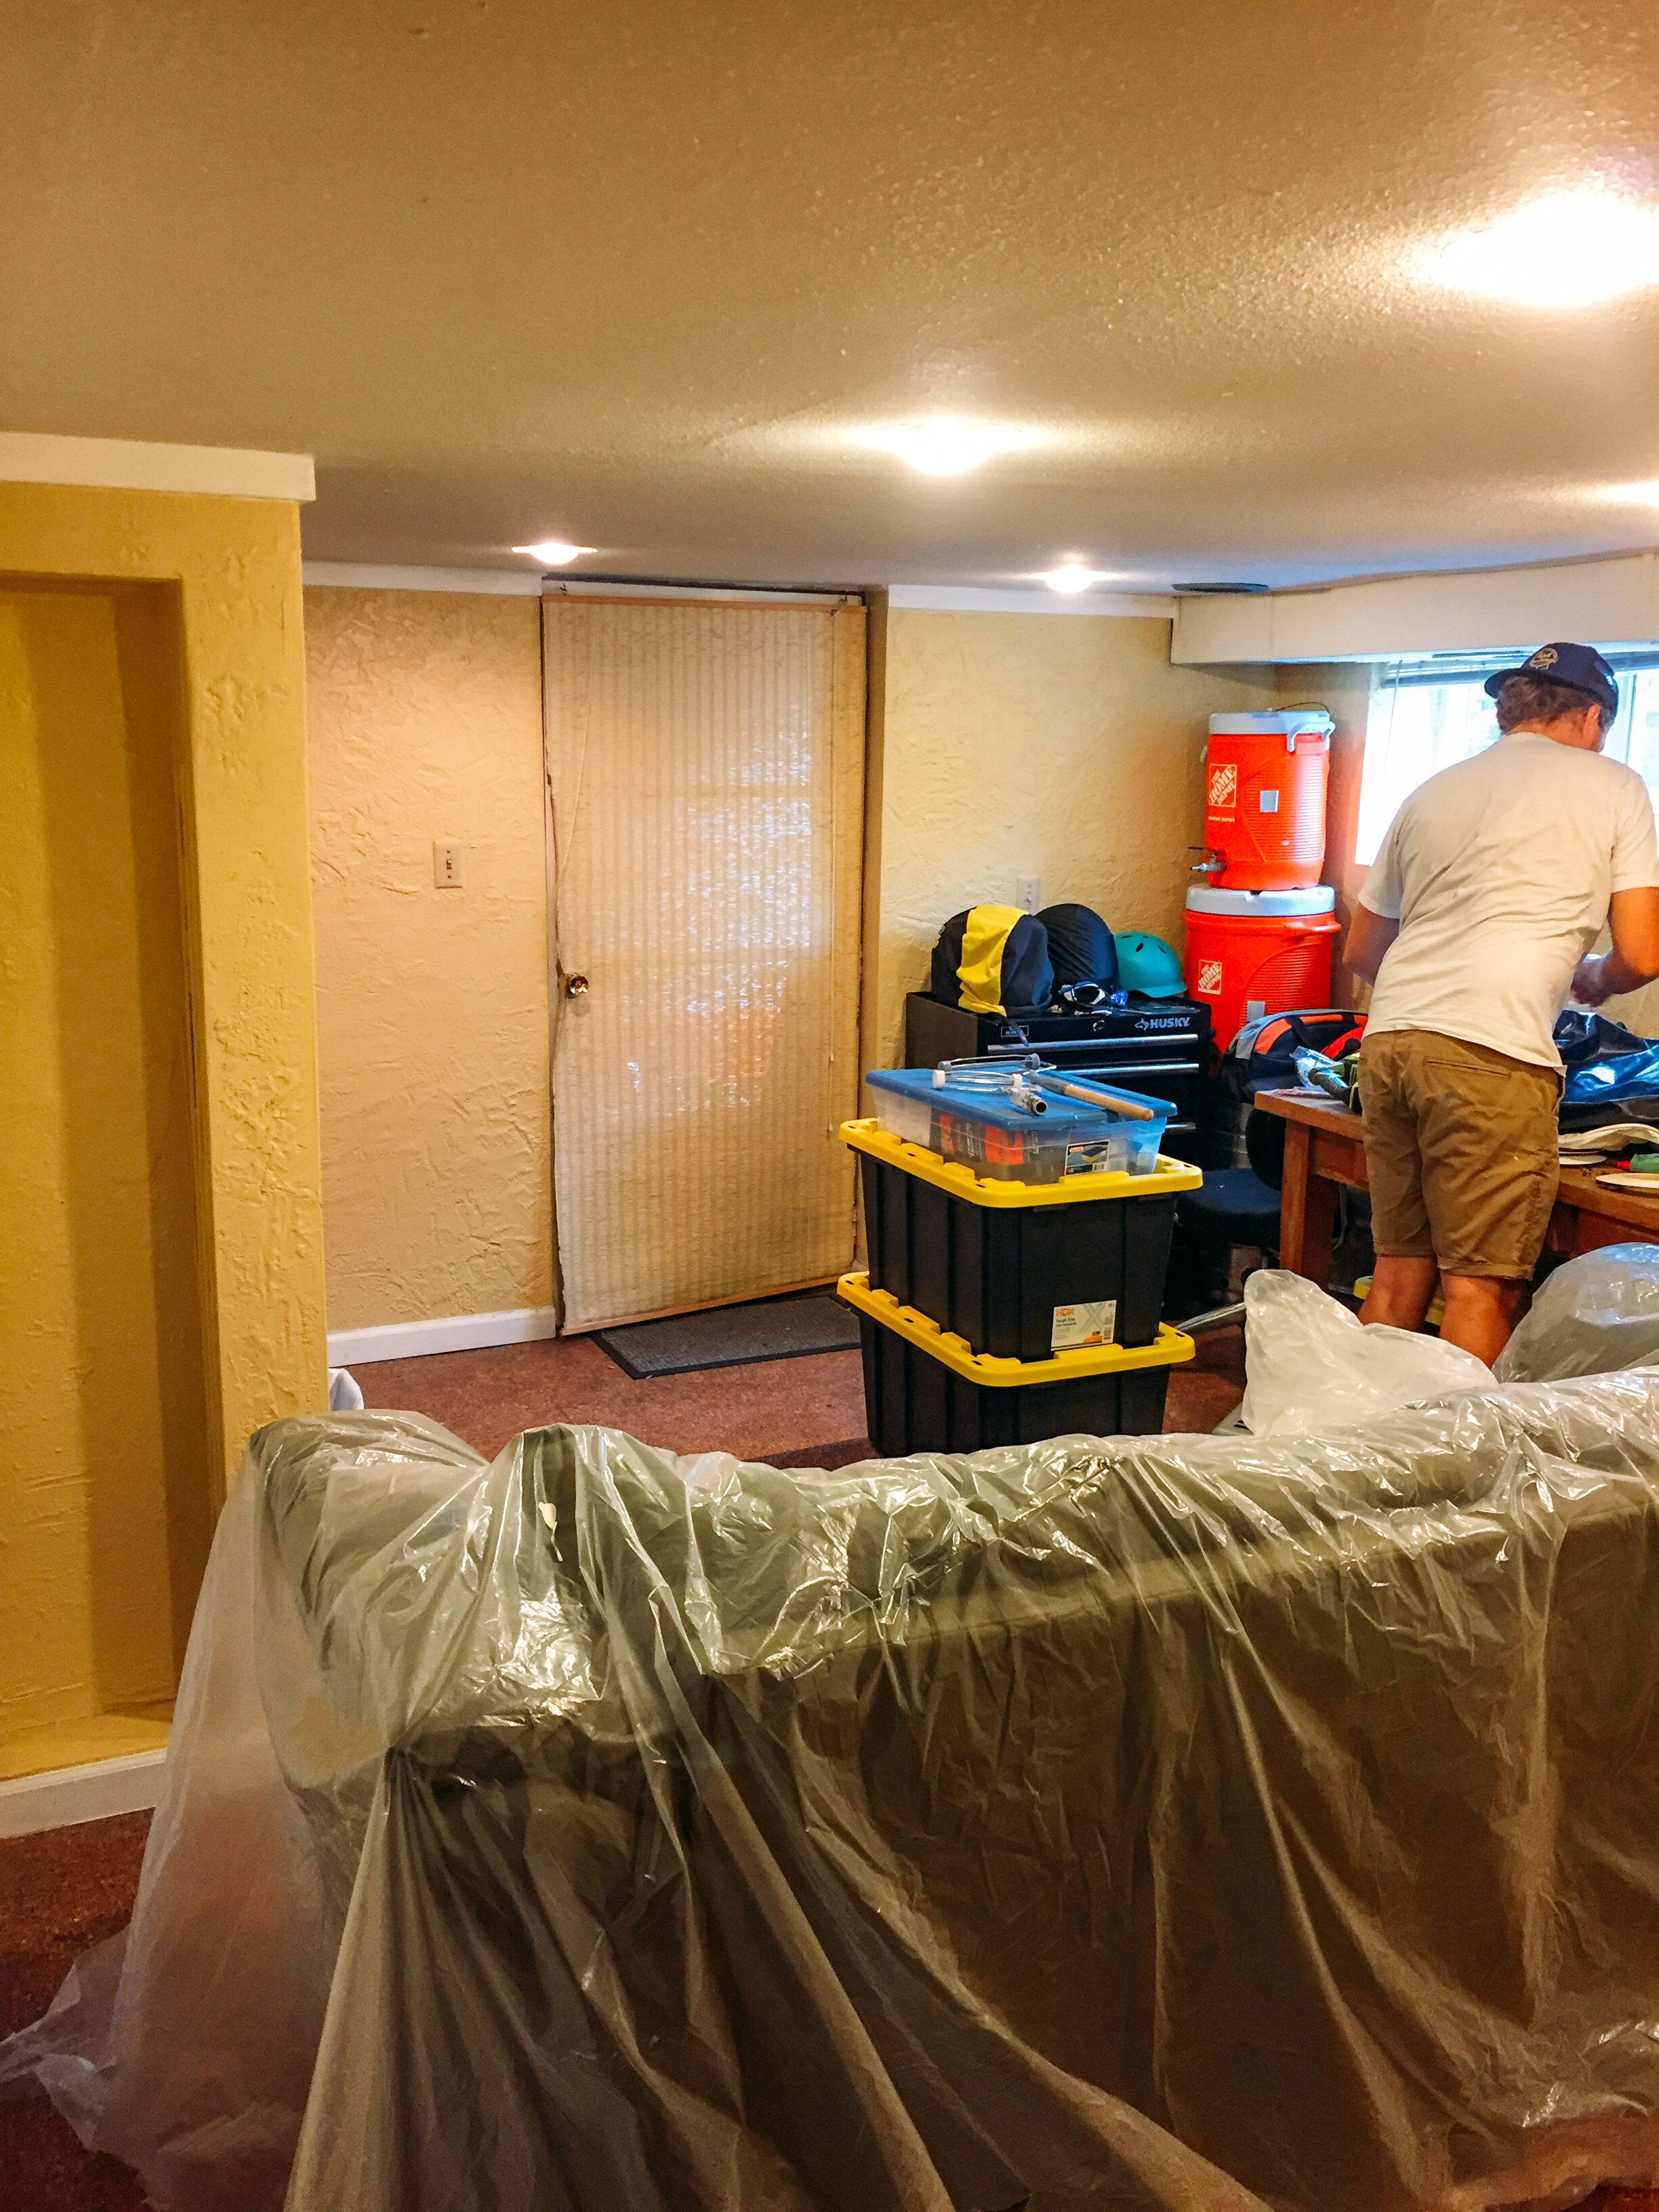
the living room area was like banana yellow and/or cigarette smokers’ walls yellow.

these are official paint swatch colors that i just made up.

it was just DINGY and outdated and felt so small and was not welcoming whatsoever.

hence the home brewing and general storage shit hole that it became when we moved in.

nooooo!

i remember sanding and painting all the louvered closet doors on rainy days down there and being miserable about it. haha, no more louvered doors allowed, people! such a pain to clean and/or PAINT. just forget it.

oh, this also meant MAJOR RE-ORGANIZATION/purging/consolidating of everything we own in the house. this entailed ALL of the basement shit, carport dungeon (!!!), attic & shed. we thought we were going to have to buy a storage unit or an additional shed to house all the basement stuff we had, but with my new love of consolidation and organization, i was able to re-arrange so many things to make much more sense and squeeze all the things into other spaces throughout the house. and it worked! no additional storage unit required.

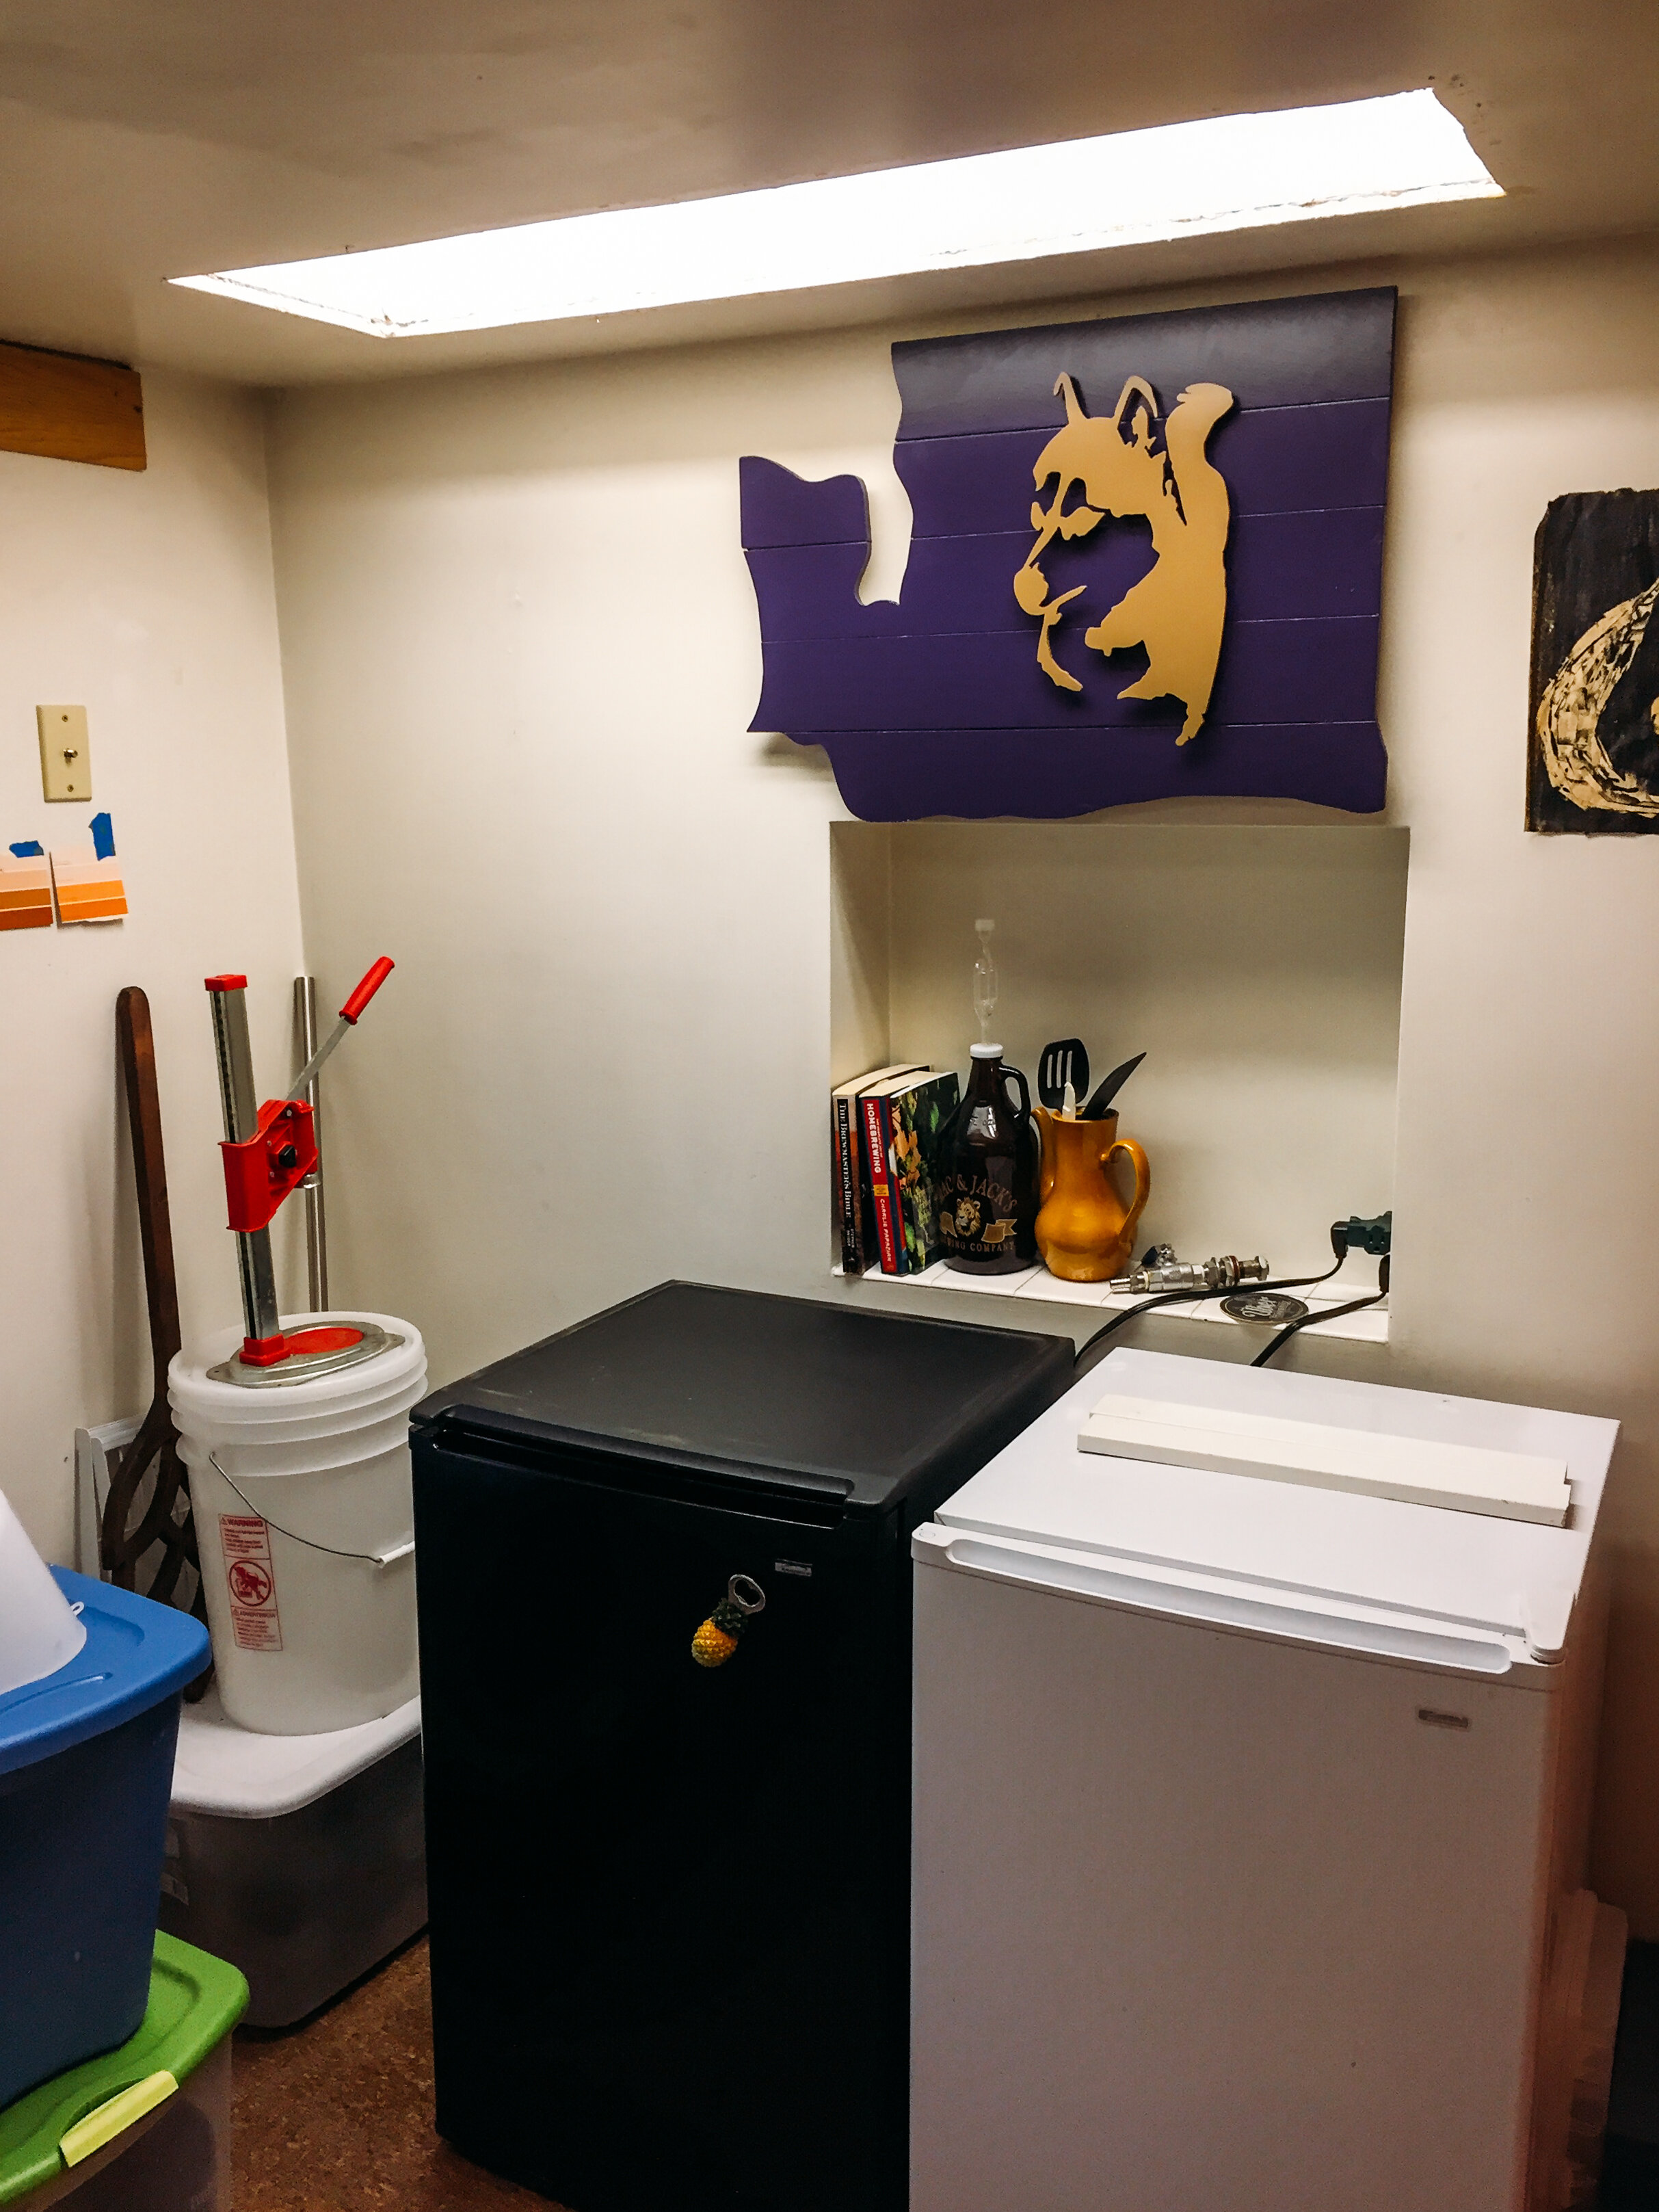
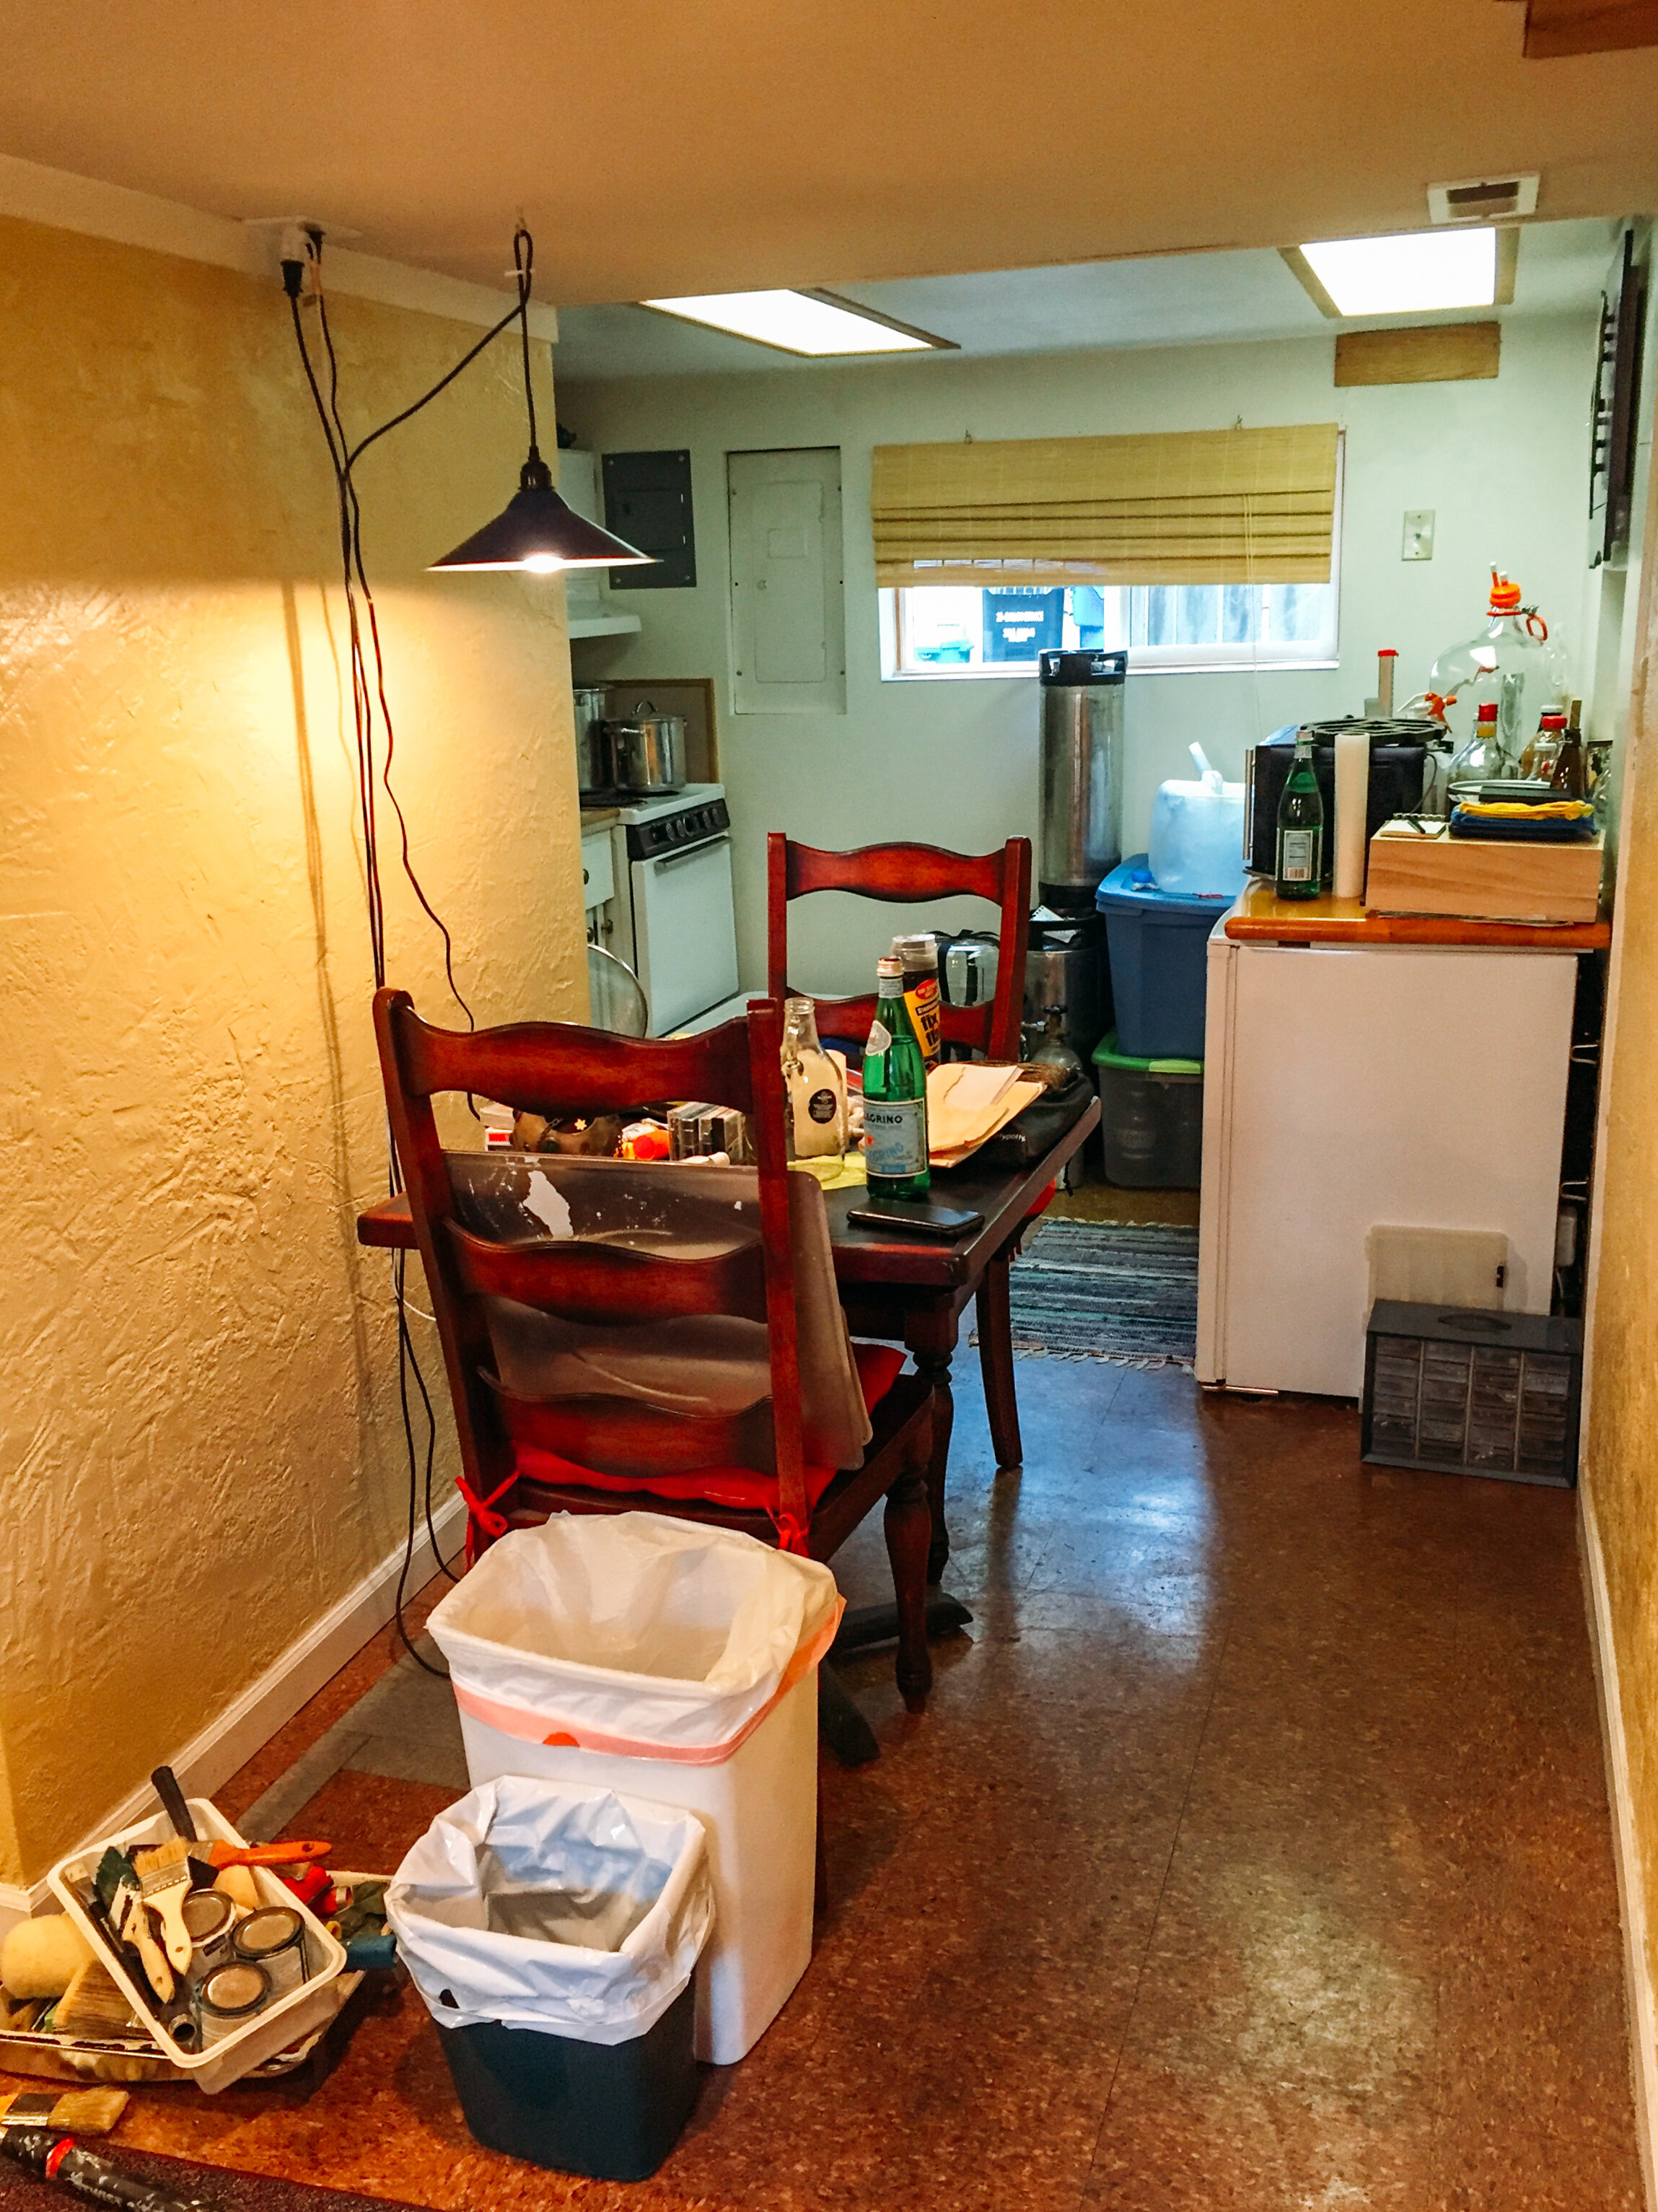
^ old basement lewks. the half mini-fridge aka keg storage and the mini freezer got shuffled out into the carport.

once all the main basement walls were white, the space felt so much larger and just cleaner and more welcoming. that was then when we went to town on the bathroom…

throughout the spring & summer, i worked on all the cosmetic updates to the kitchen area and the living room area.

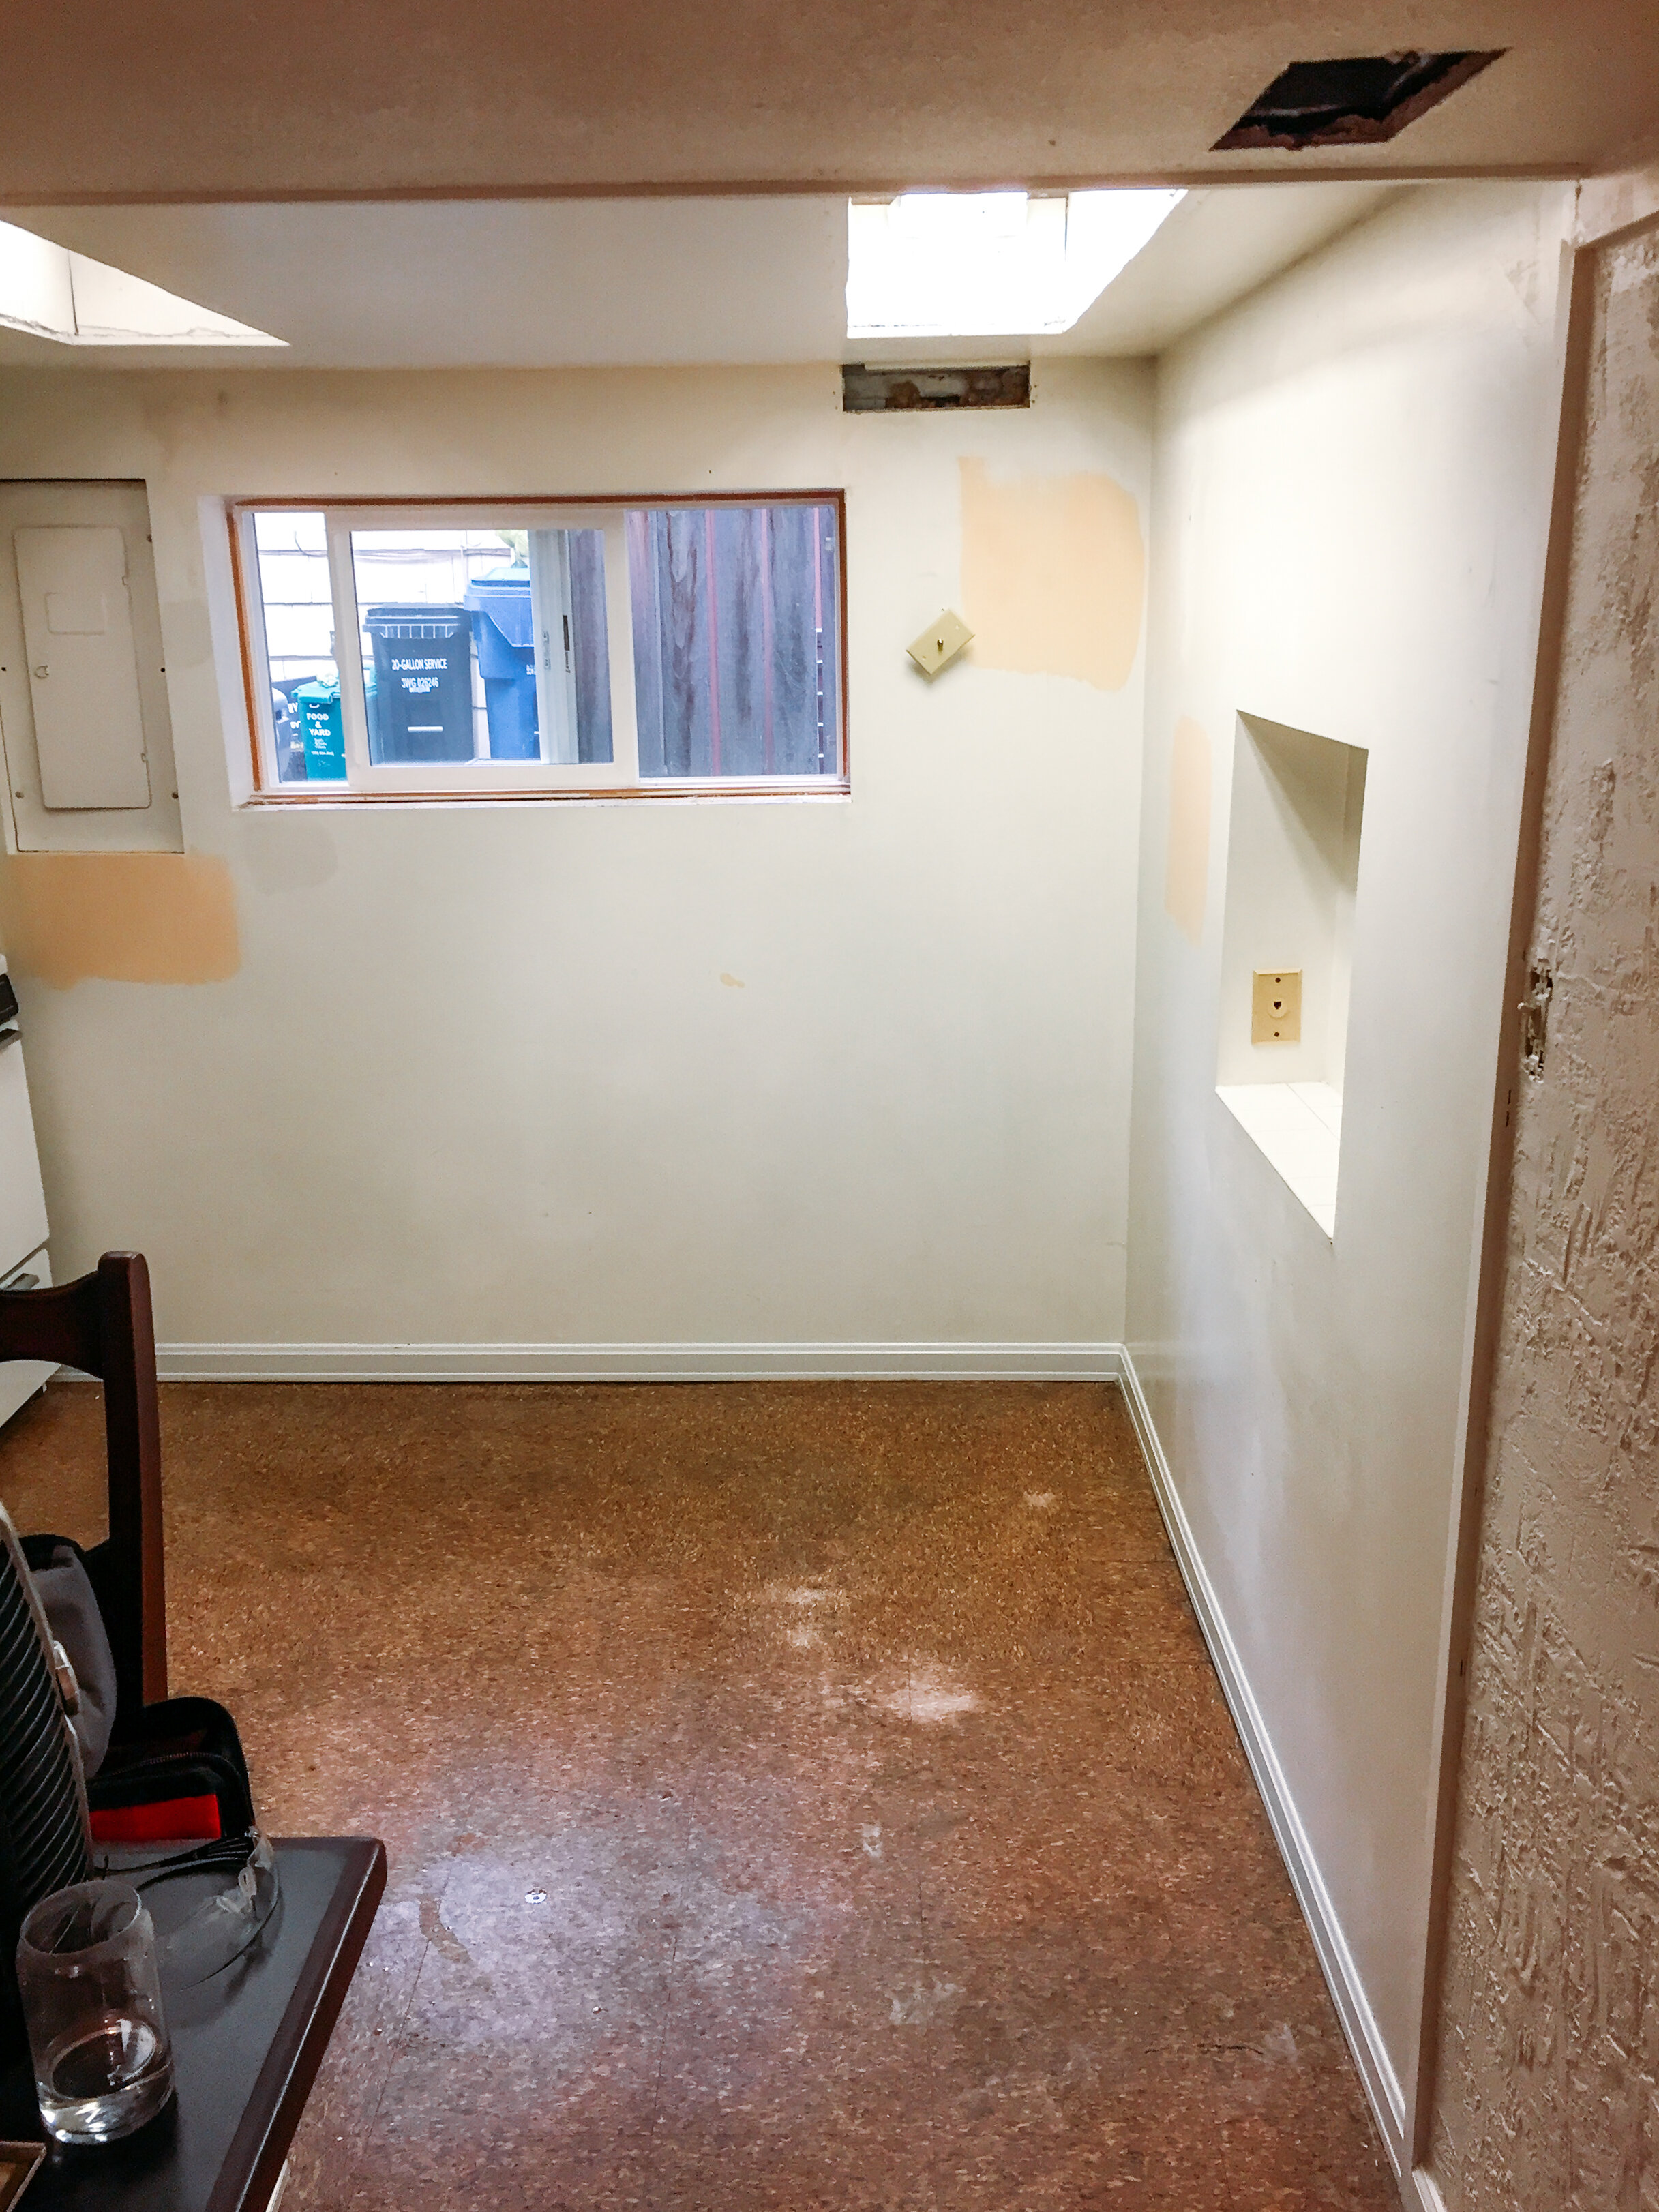
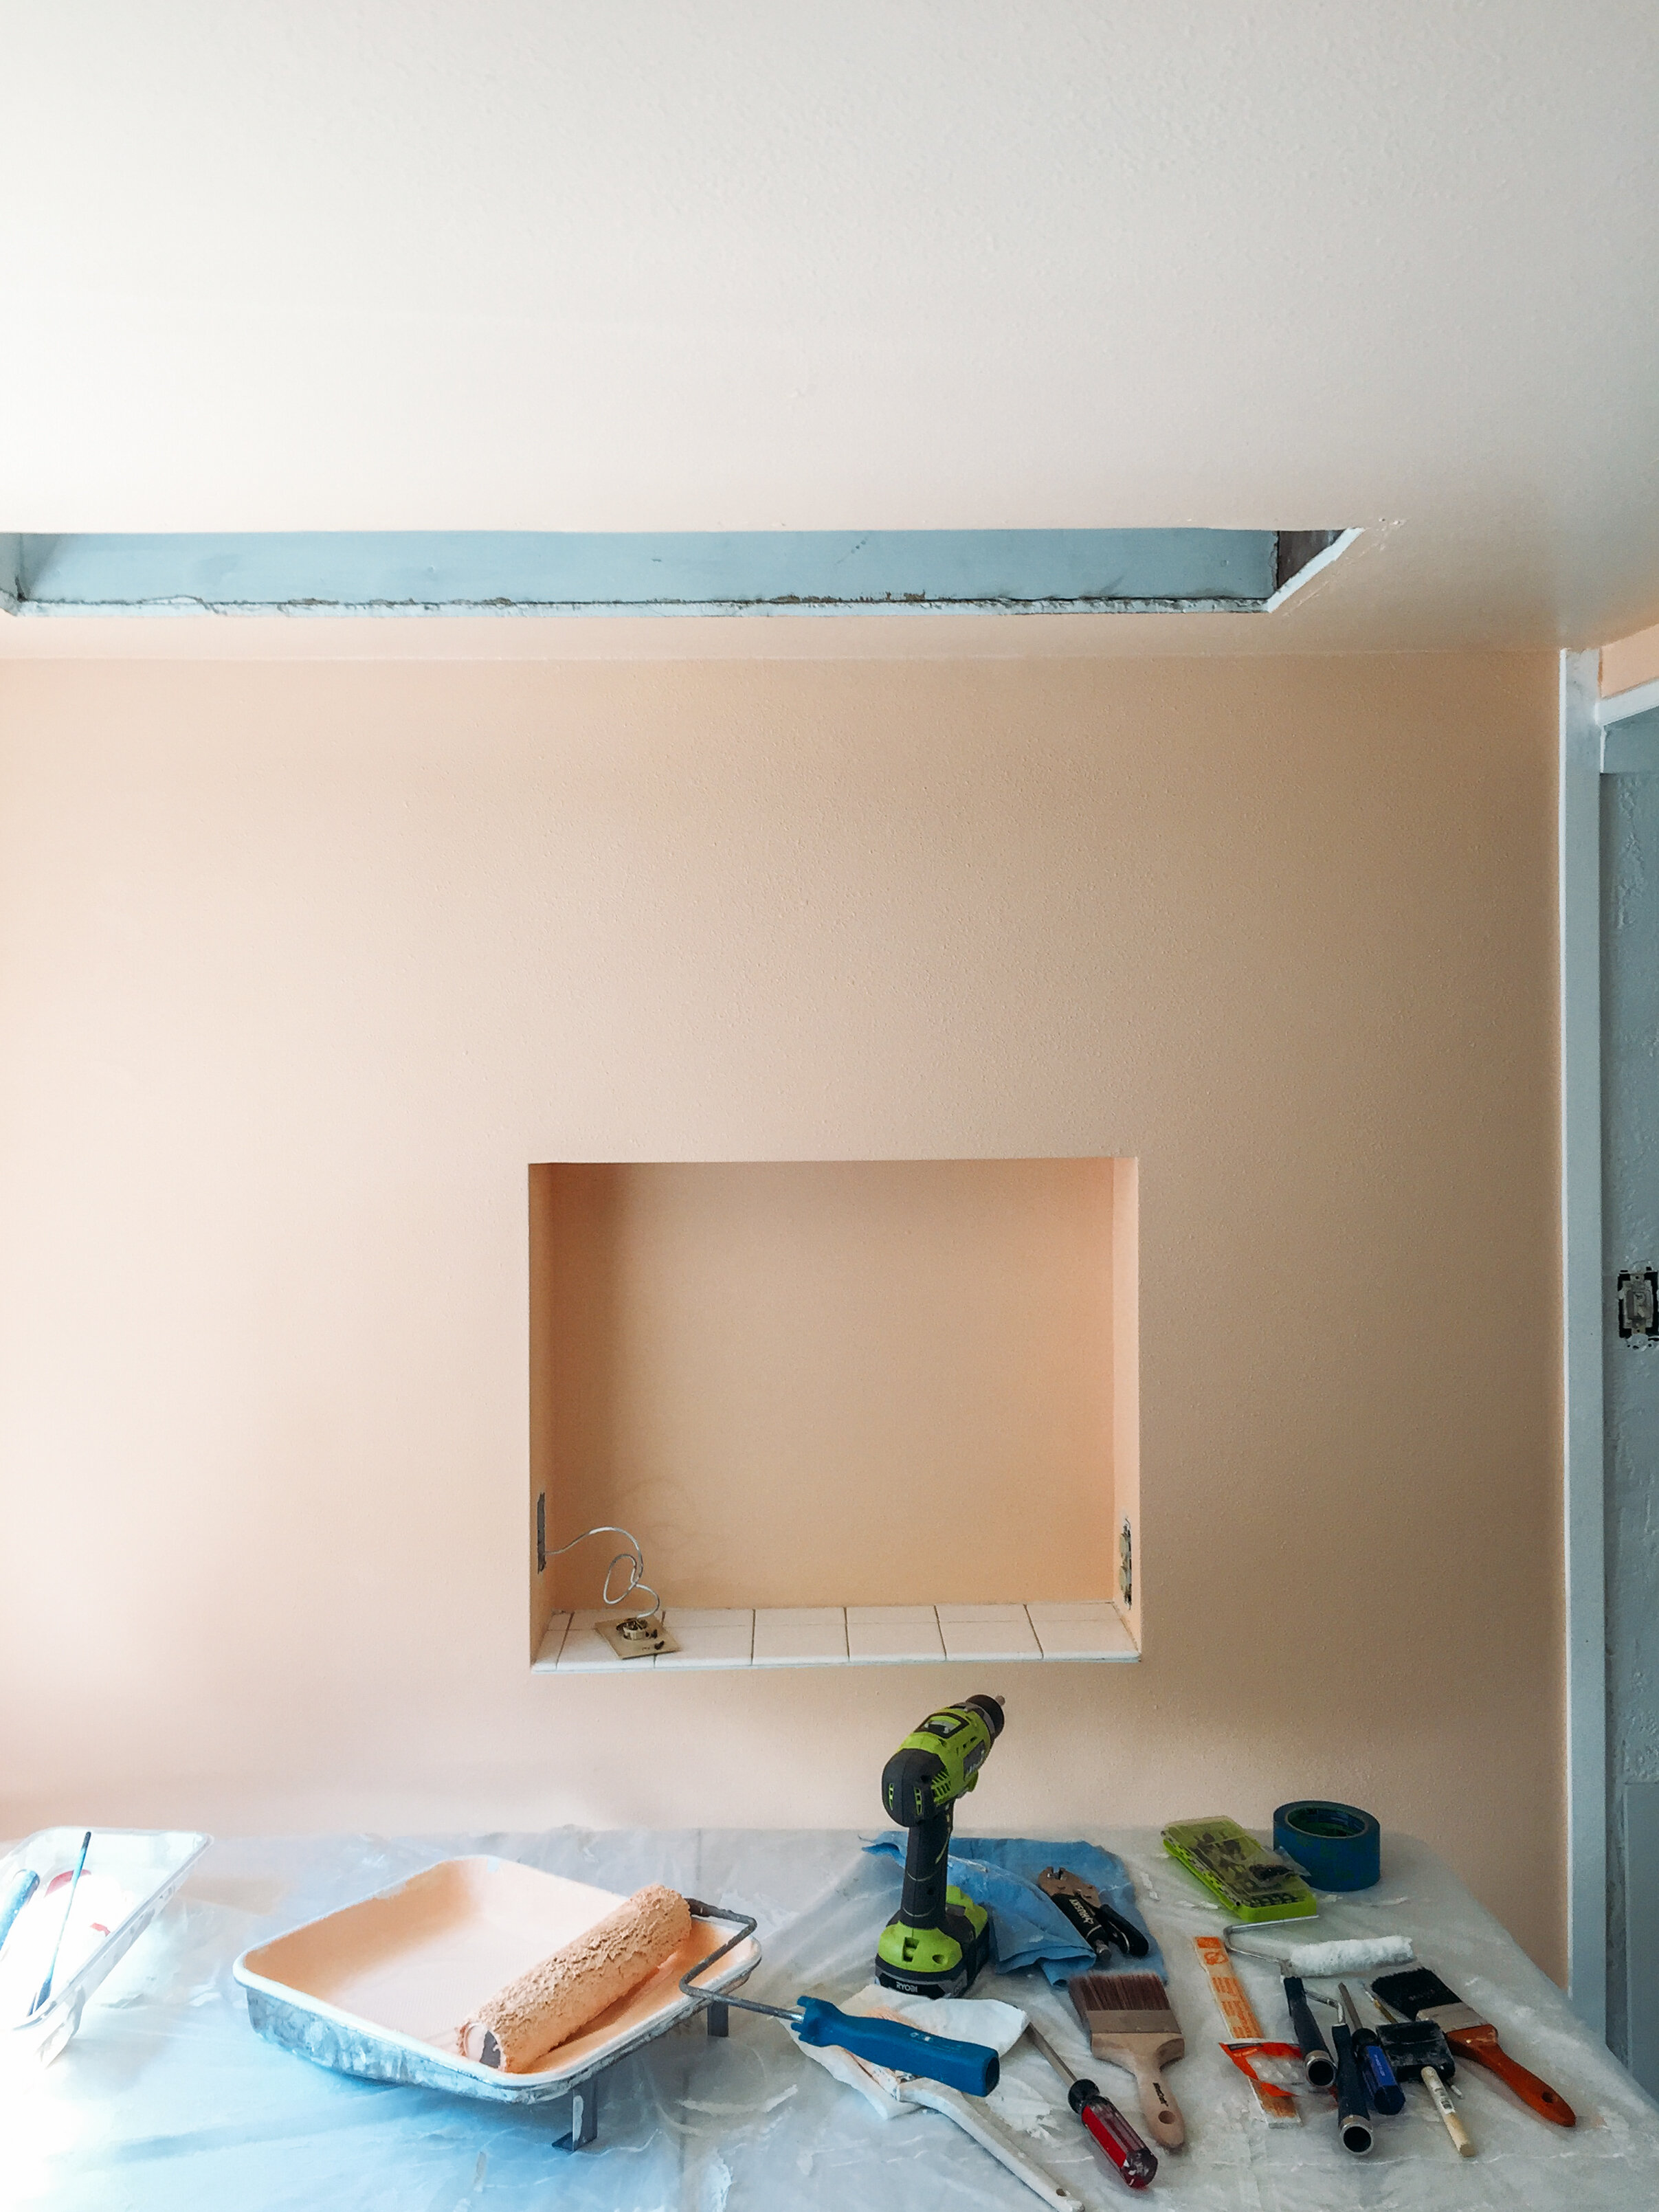
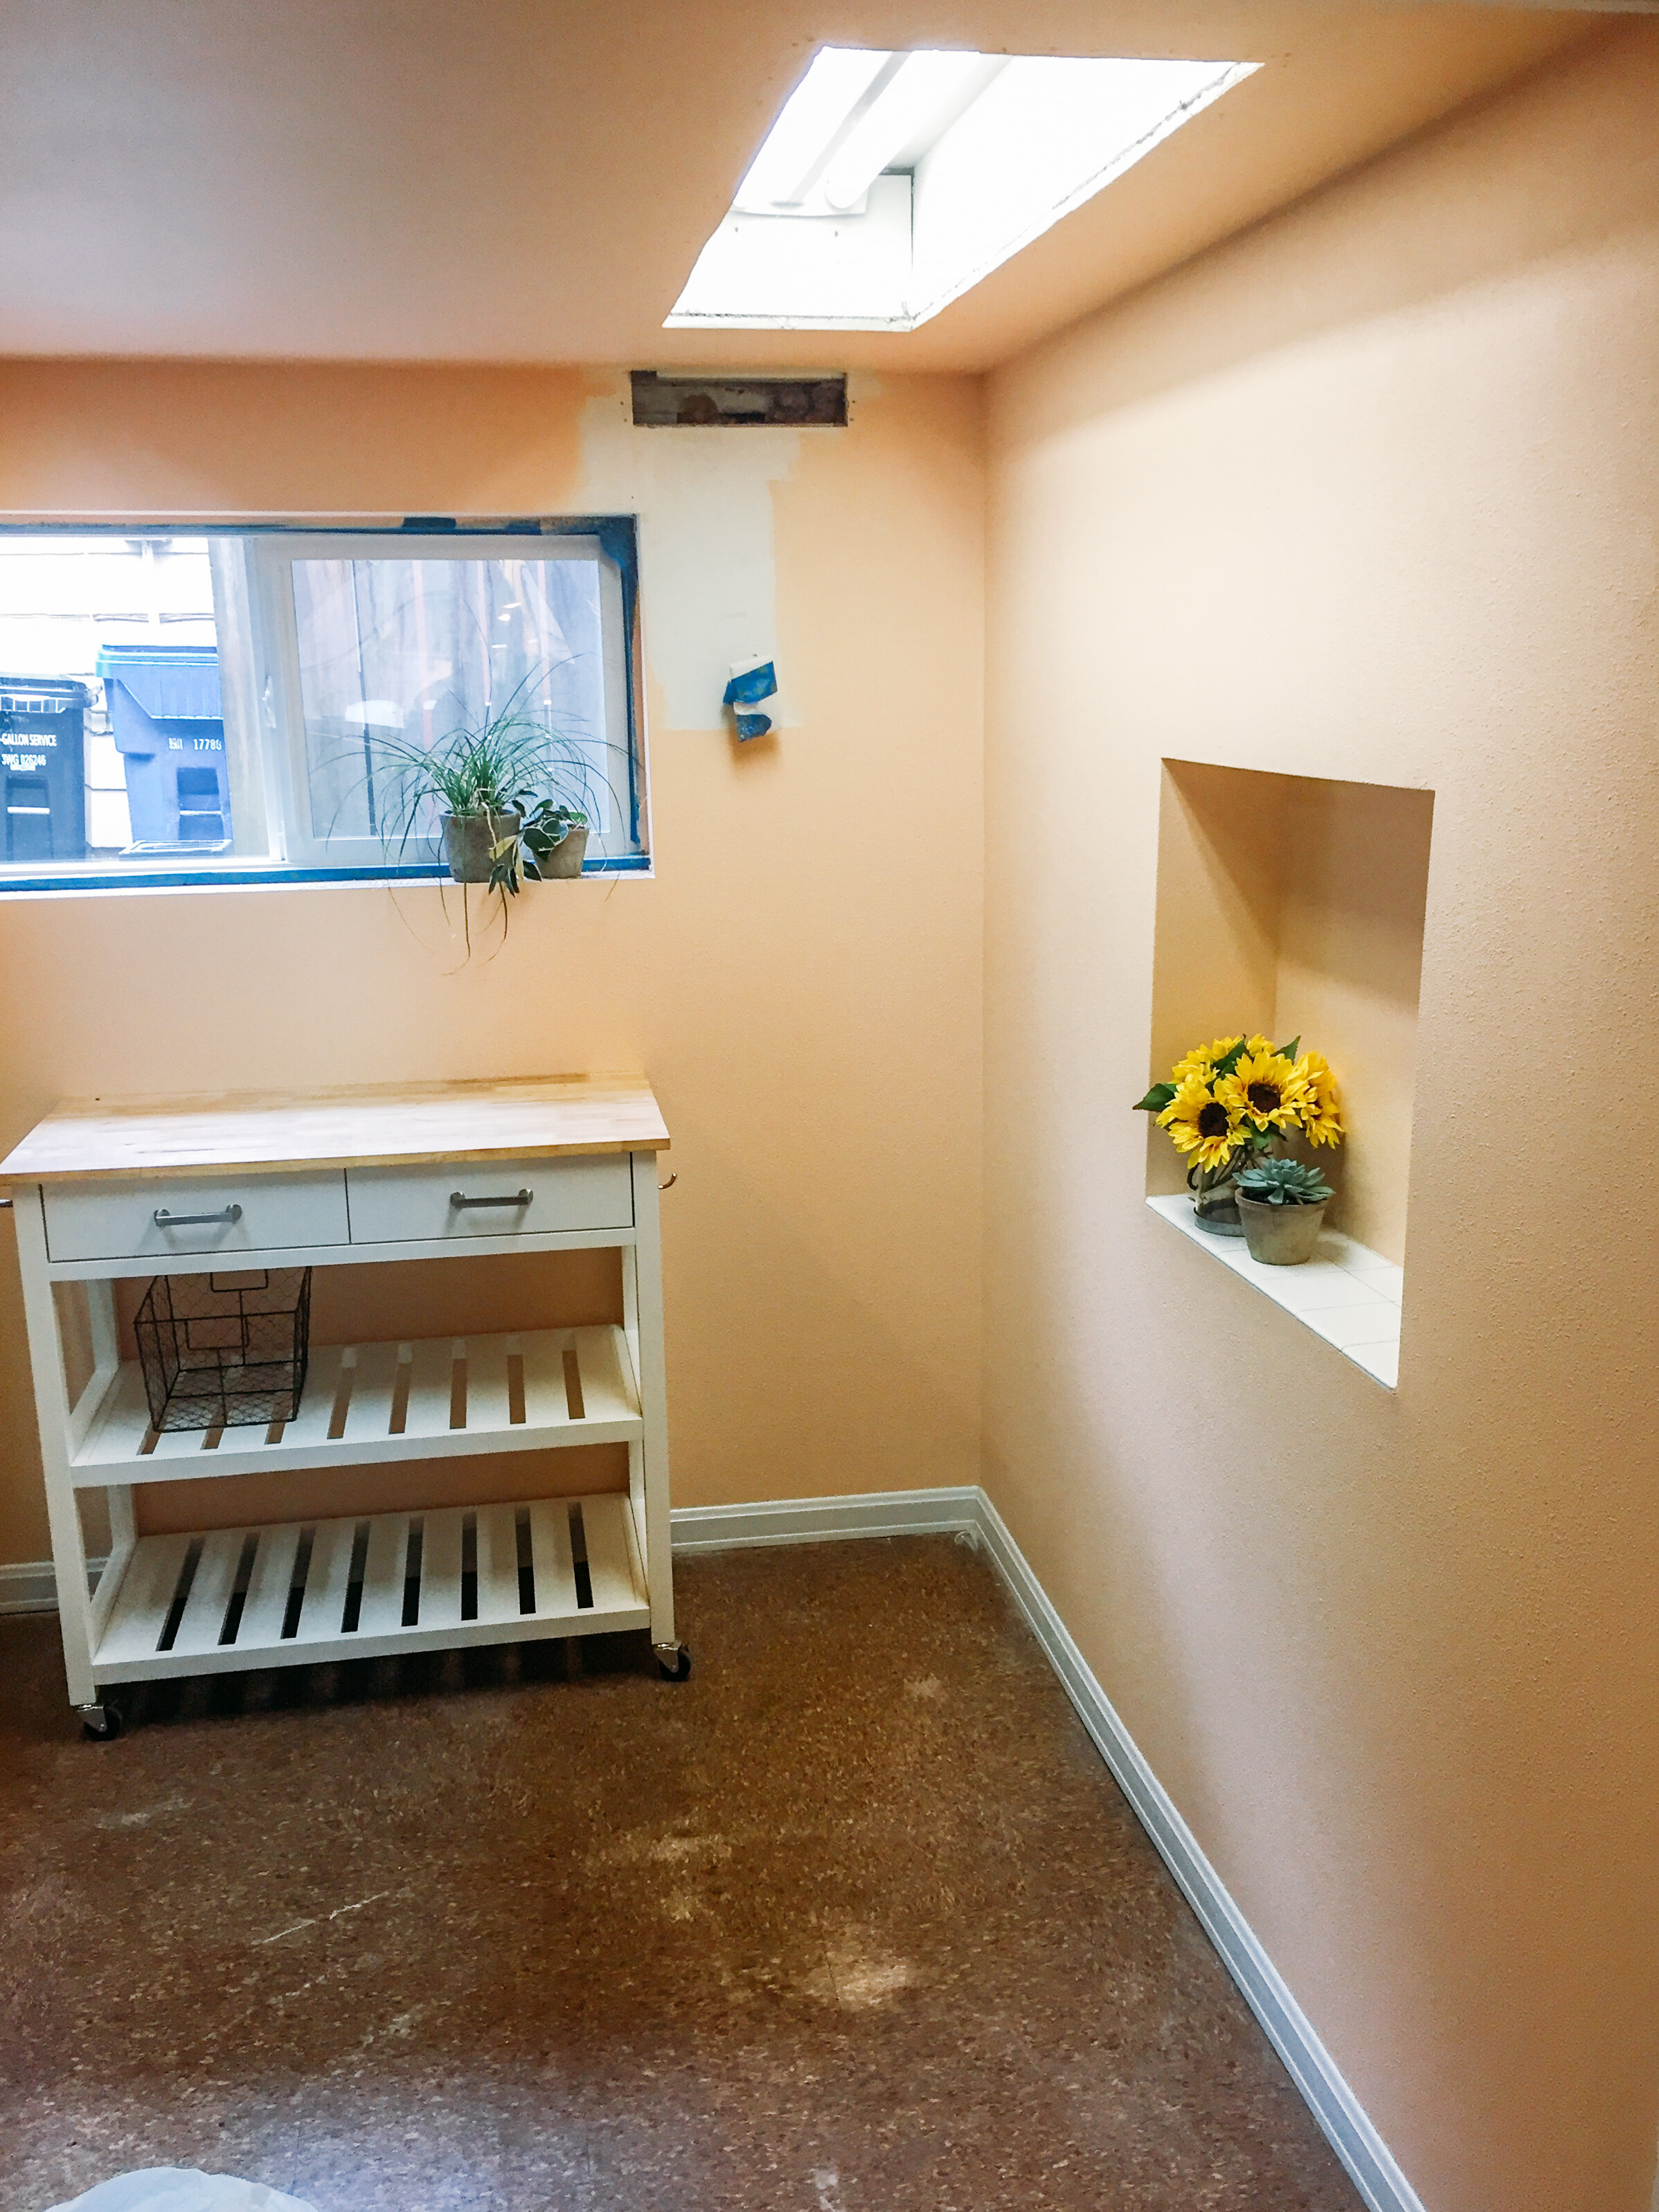
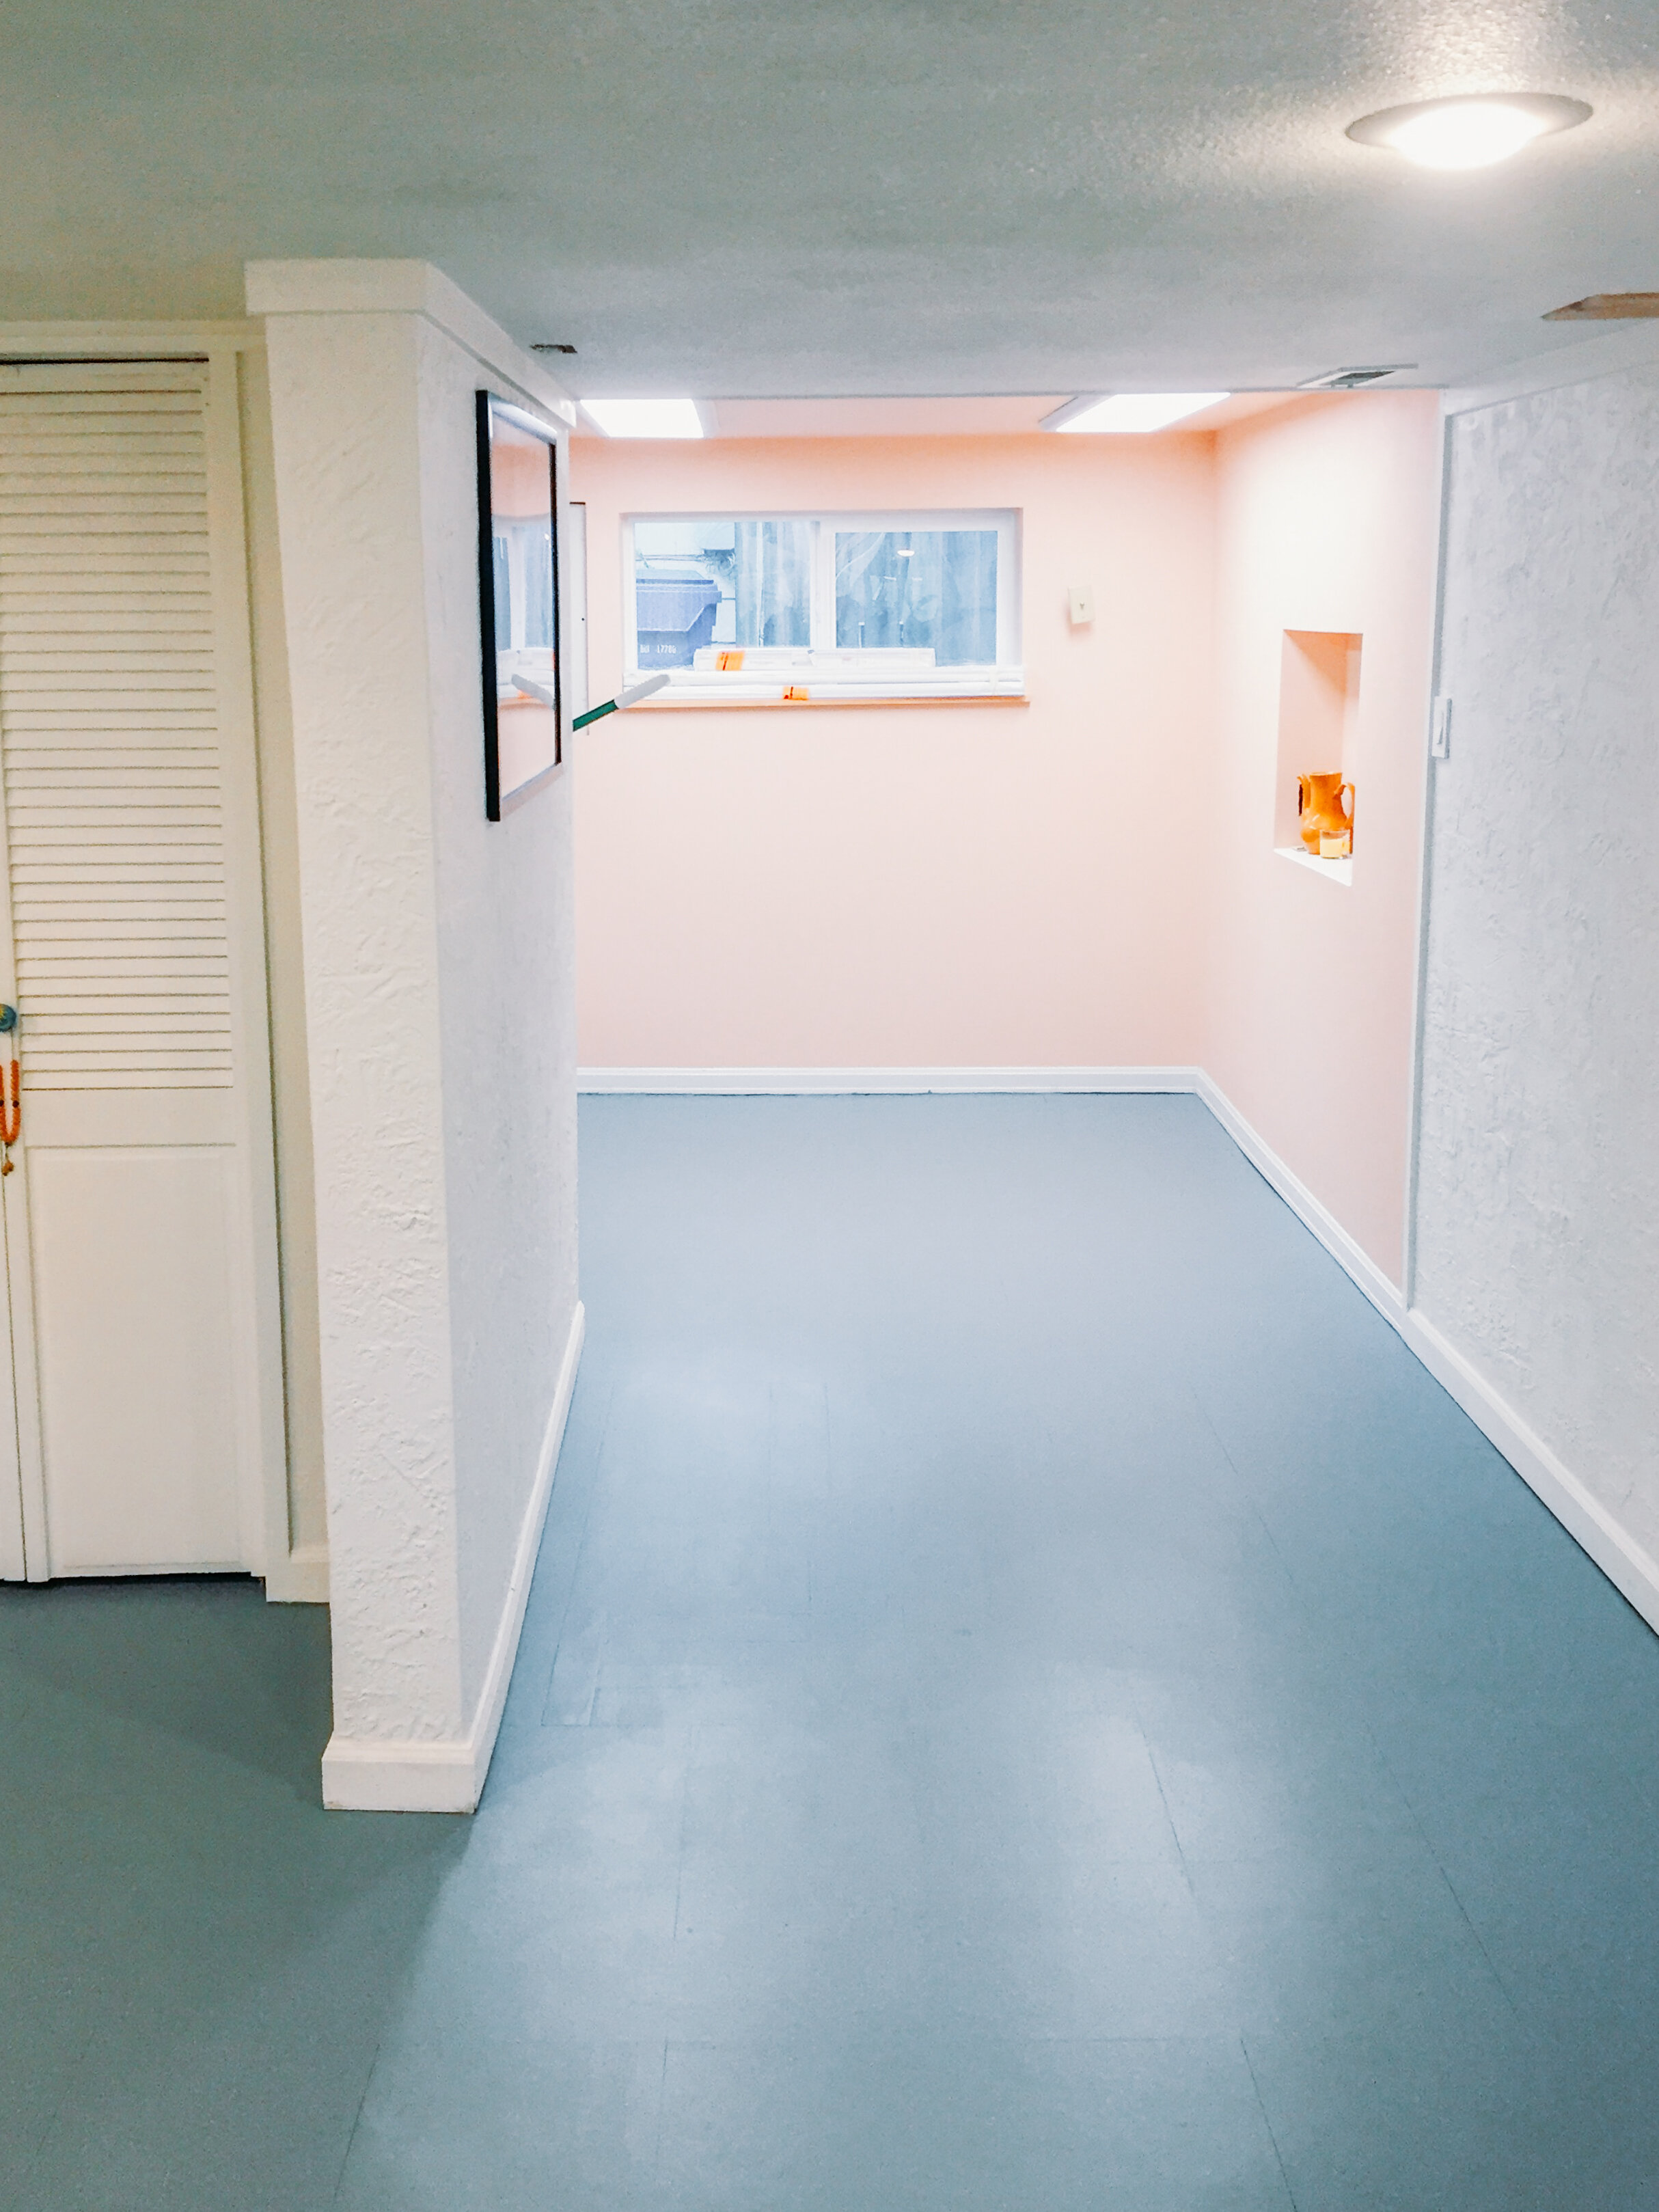
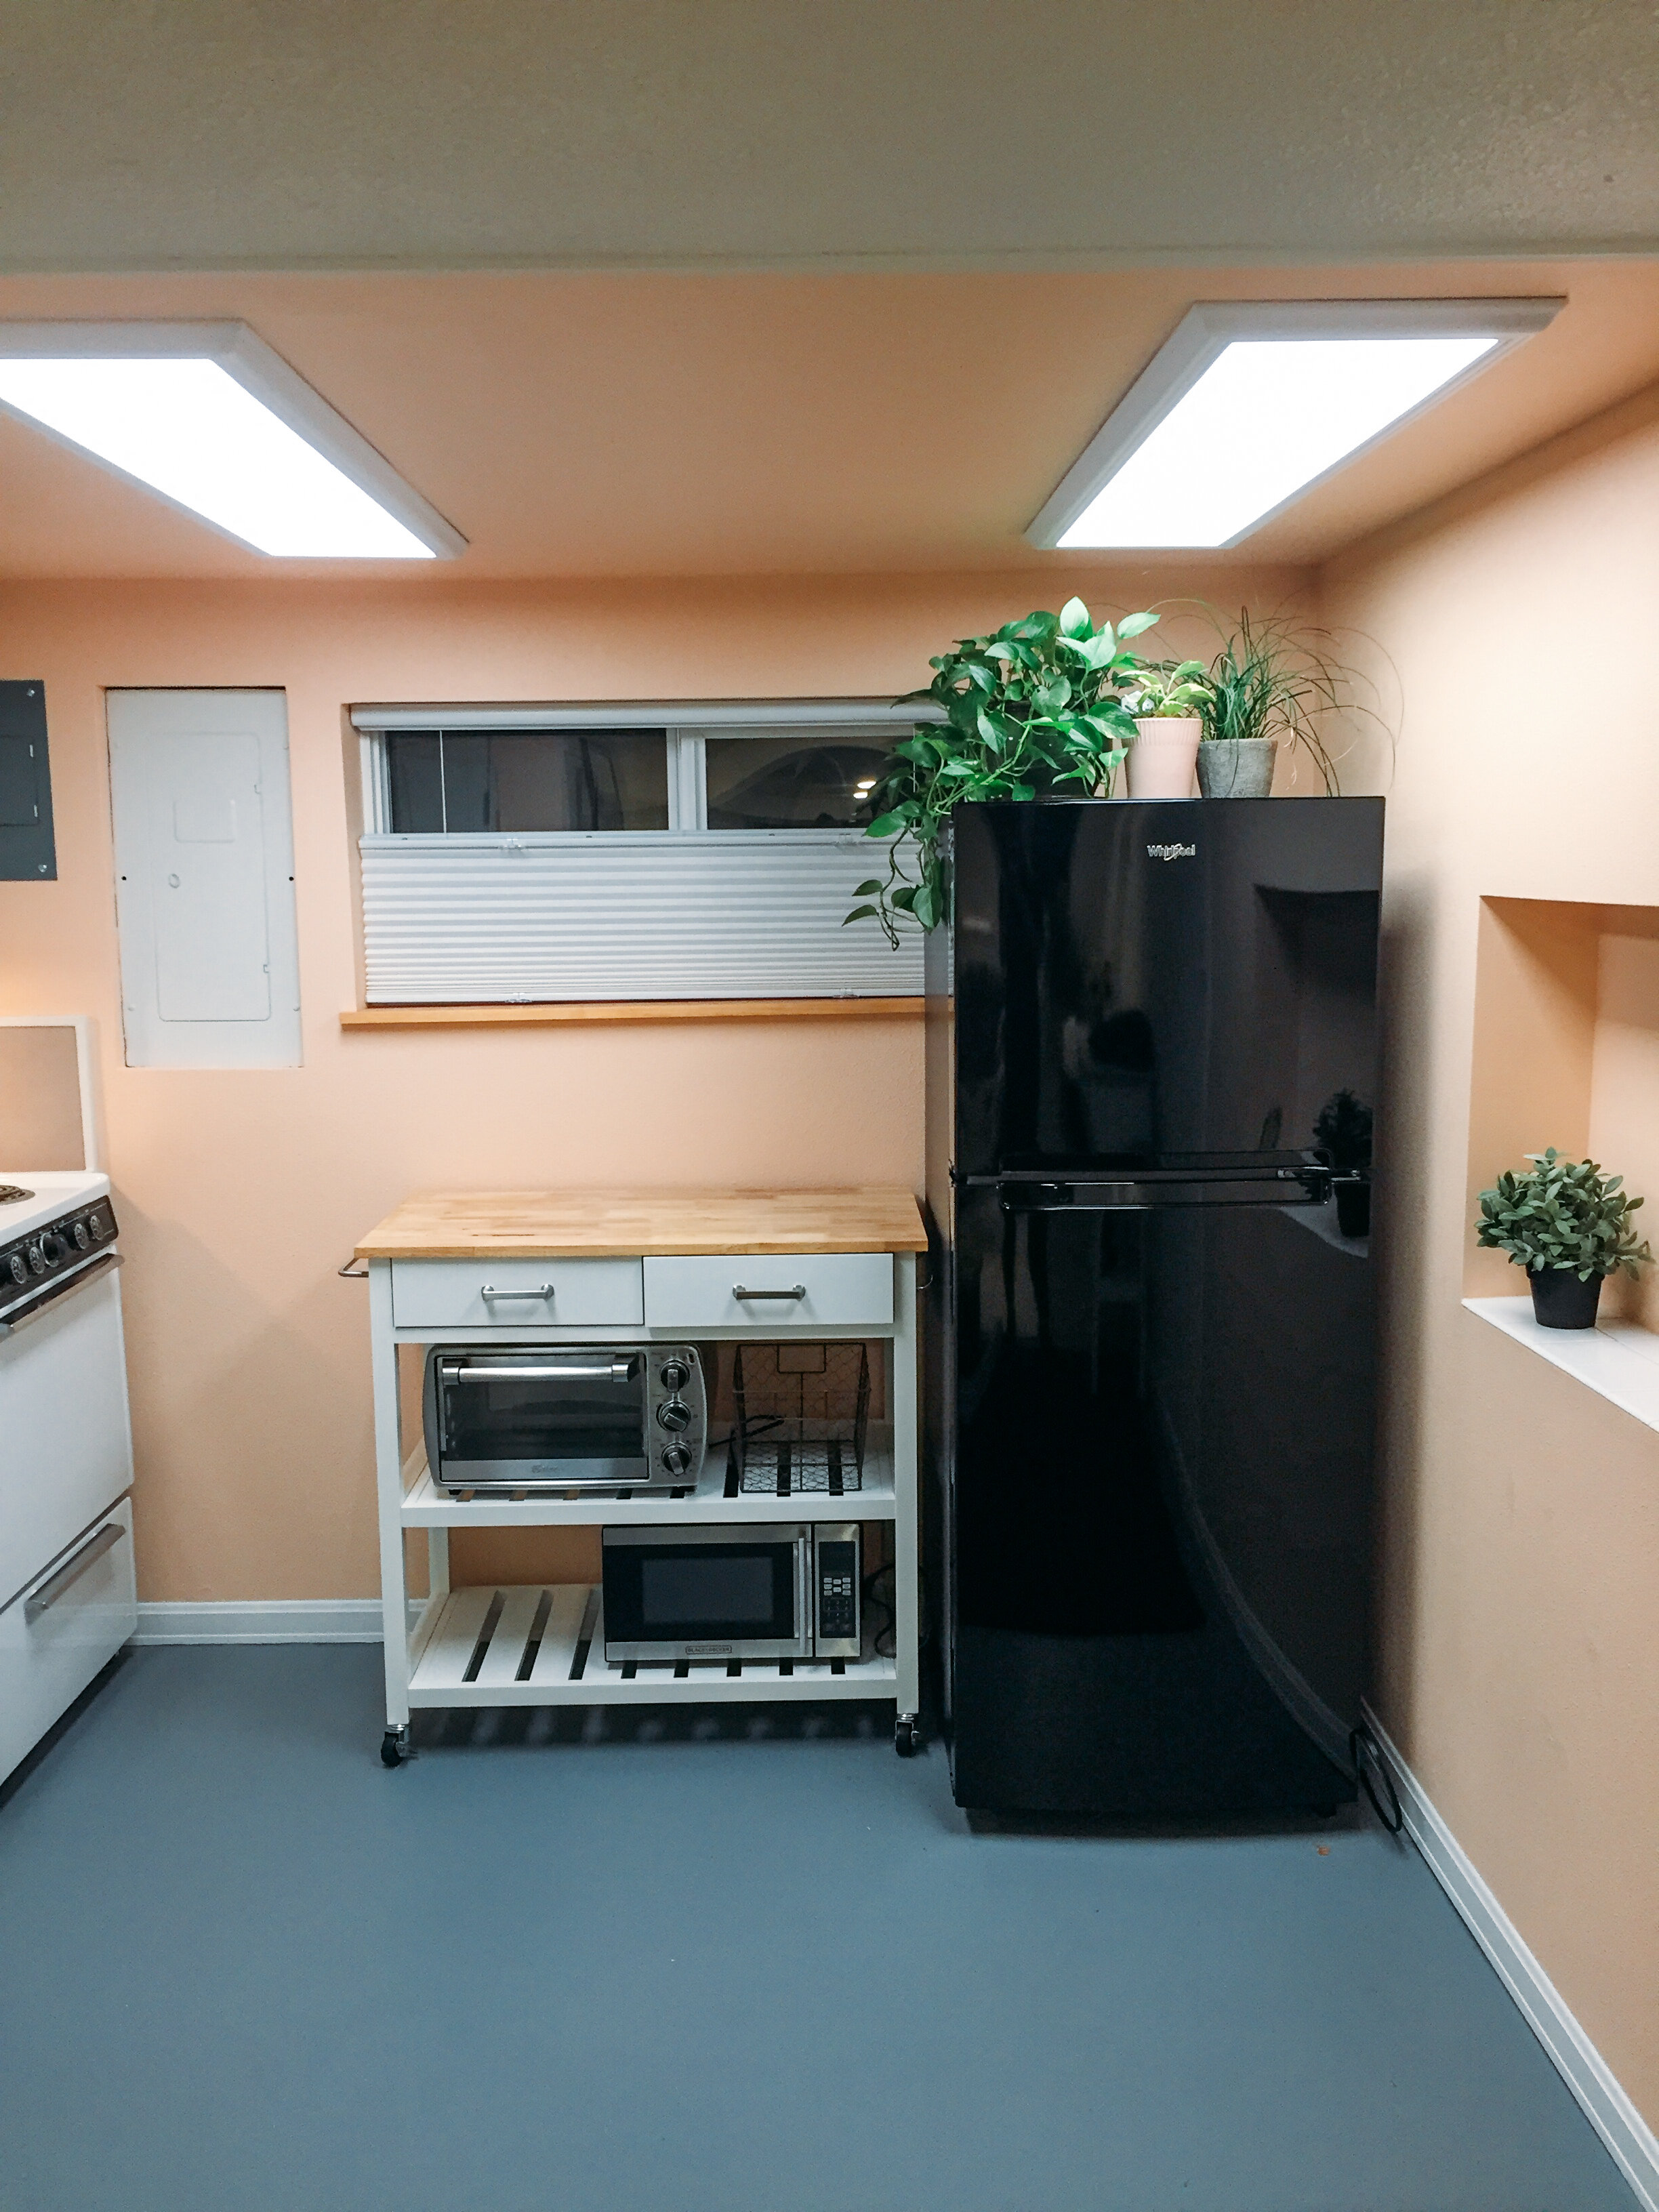
i wanted the kitchen walls to be a bit more warm & cozy, so that the whole area wasn’t just one big white expanse. i chose this peachy color and it makes the kitchen feel happy. especially in the mornings when the sun is shining in there.

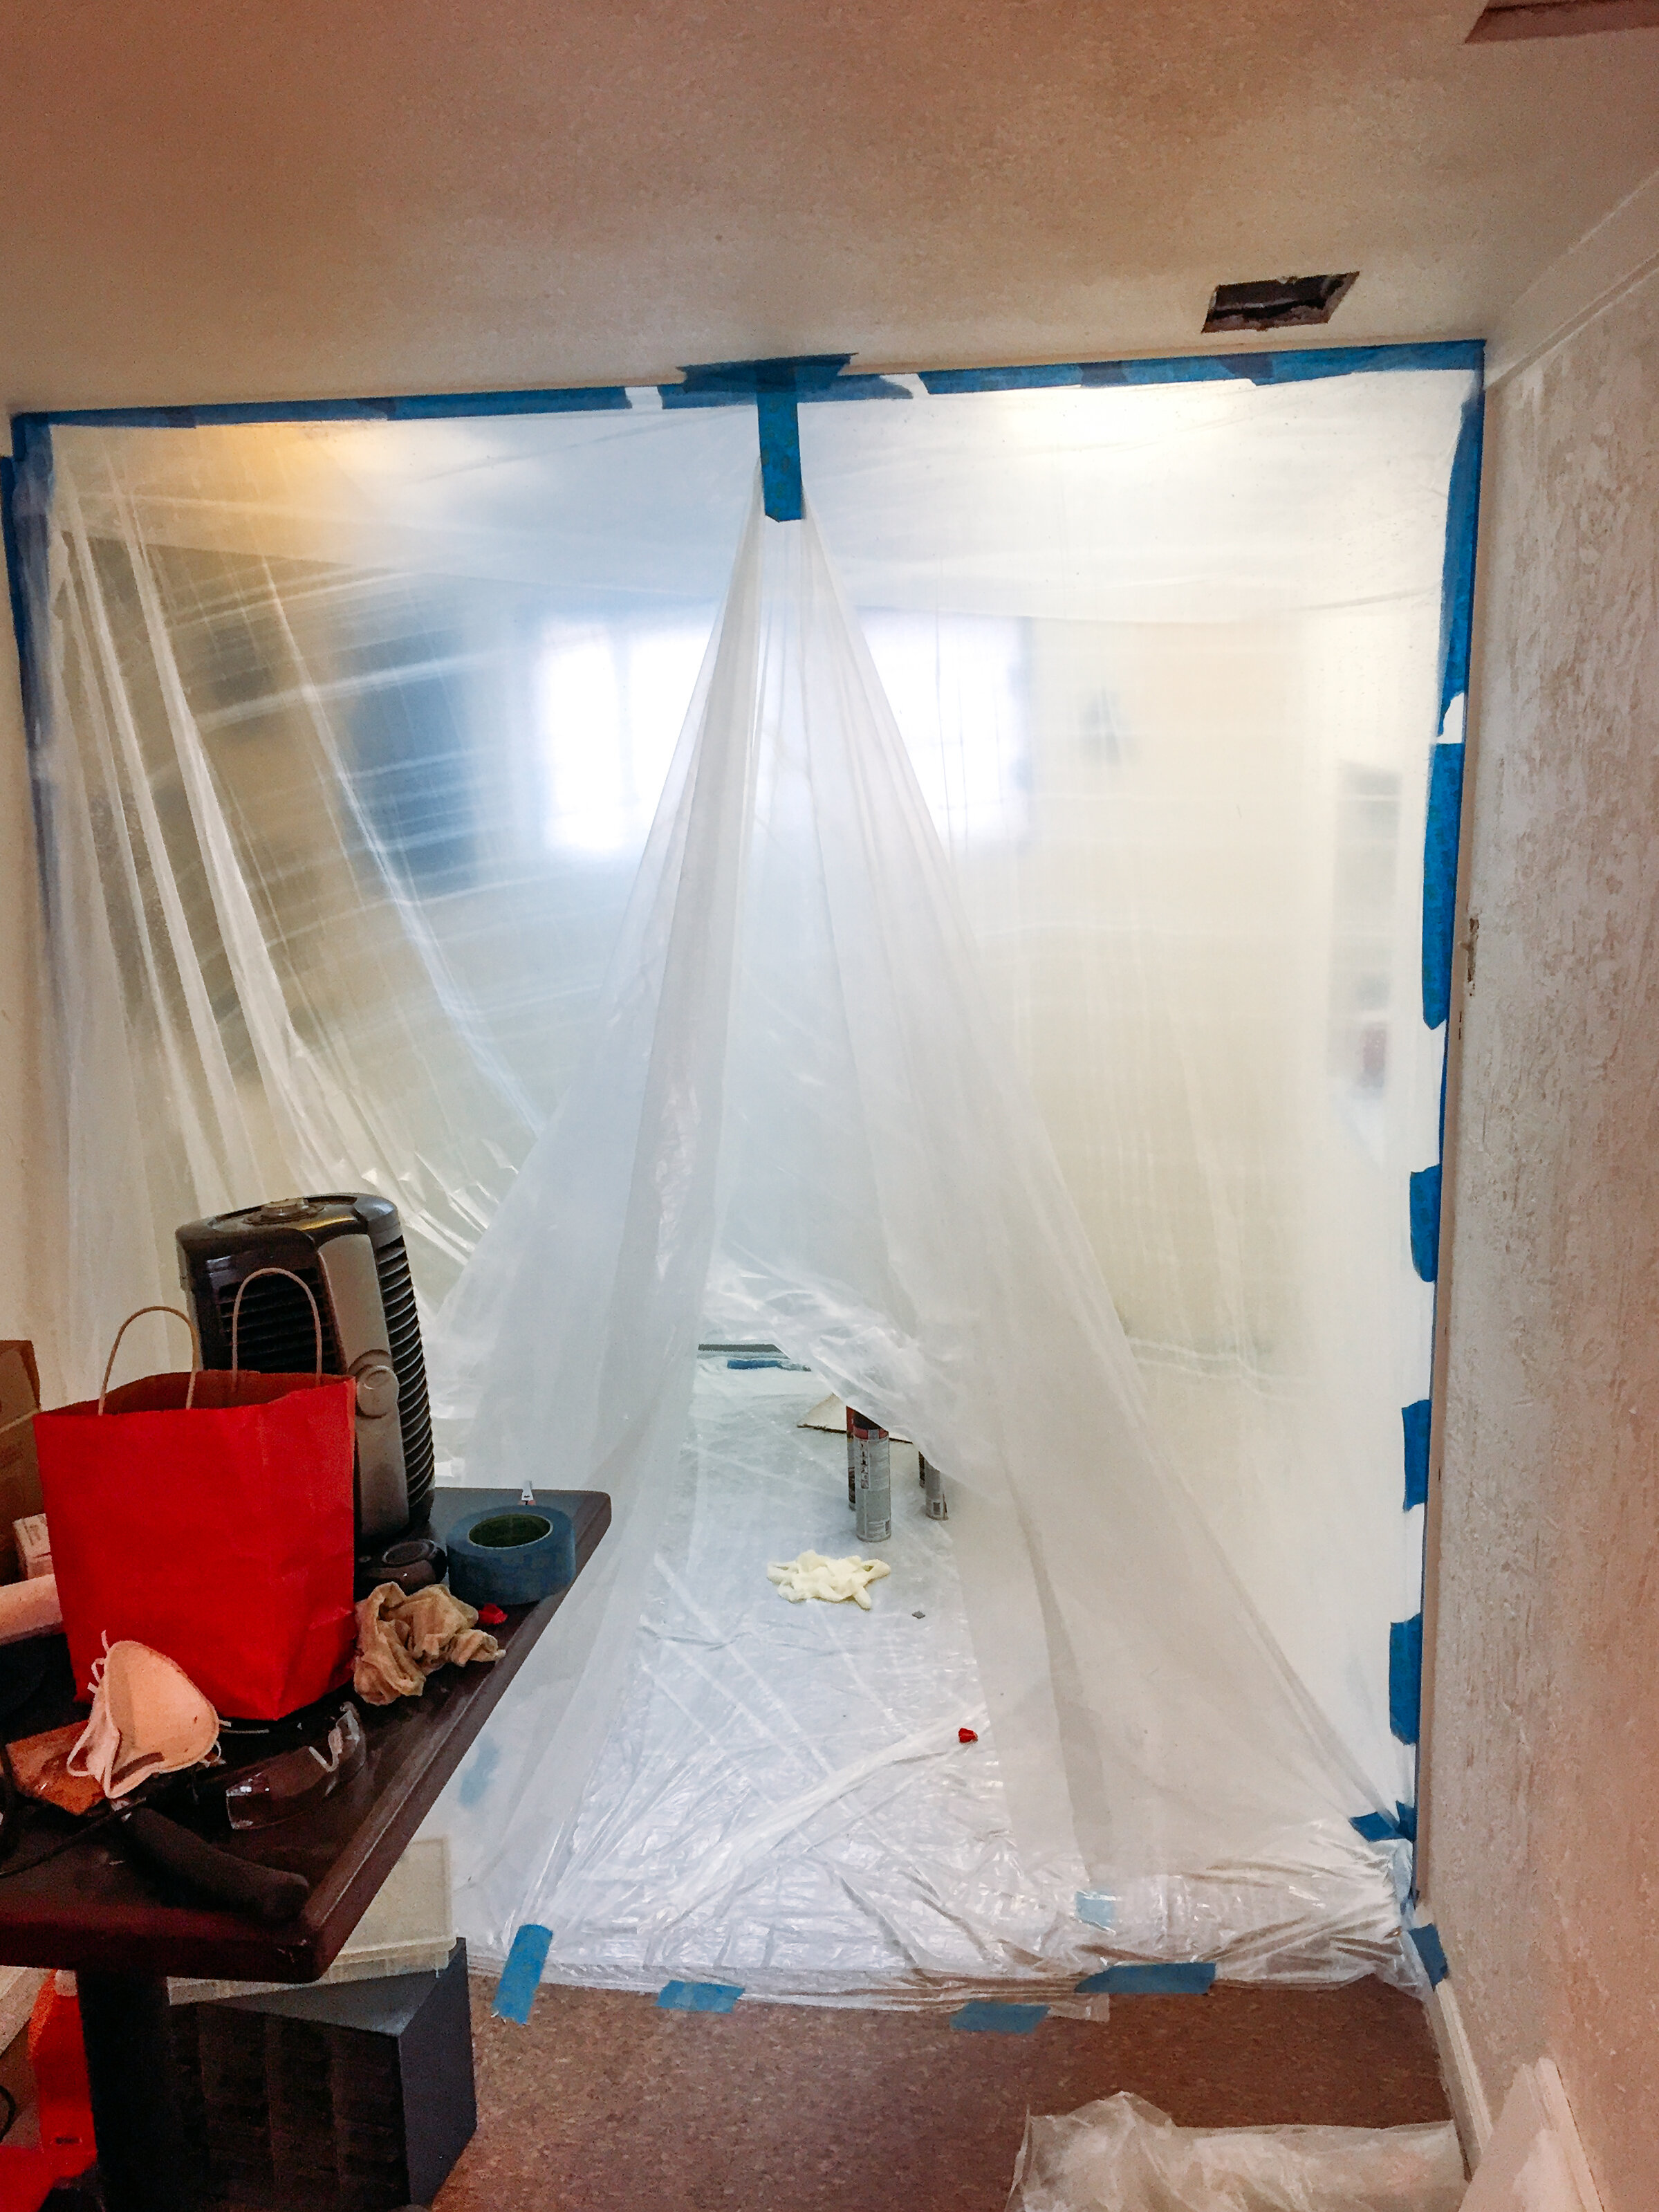
the wall-texturing days in my E.T. plastic cave were almost the end of me, lol. pete came home and was like, “oh my god, you’re going to die breathing in here!'“ woops! just trying to take one for the team, alright?

some bits of lumpy bumpy dry wall had to be replaced and patched, and the openings for the ceiling light panels needed to become a bit smaller as well. peter to the rescue!

he also made the new windowsills for the kitchen and bathroom.

the cabinets got SO MUCH work put into them, but the big reveal is not exciting, haha. anyway, cabinets are a pain in the arse. so much sanding, painting, re-painting, touch-ups, installation, new handles & pulls, more touch-ups. i felt they were floating all over the place for months because at least a few of them were in a constant state of painting/drying/touch-up. these were the cabinets that came with the house (they were SO dirty and gnarly) - overall, i just got them a fresh color paint and new hardware.

a good ol’ oven cleaning and new burners for the stove made a big difference, too!

we could have gone all out and gotten all new cabinets and appliances, but the bathroom was our priority at this time. we just needed the living area and kitchen space to feel fresh and clean.

it feels both great and disgusting to know that i have cleaned and touched EVERY square inch of cracks and surfaces around this basement.

the flooooors.

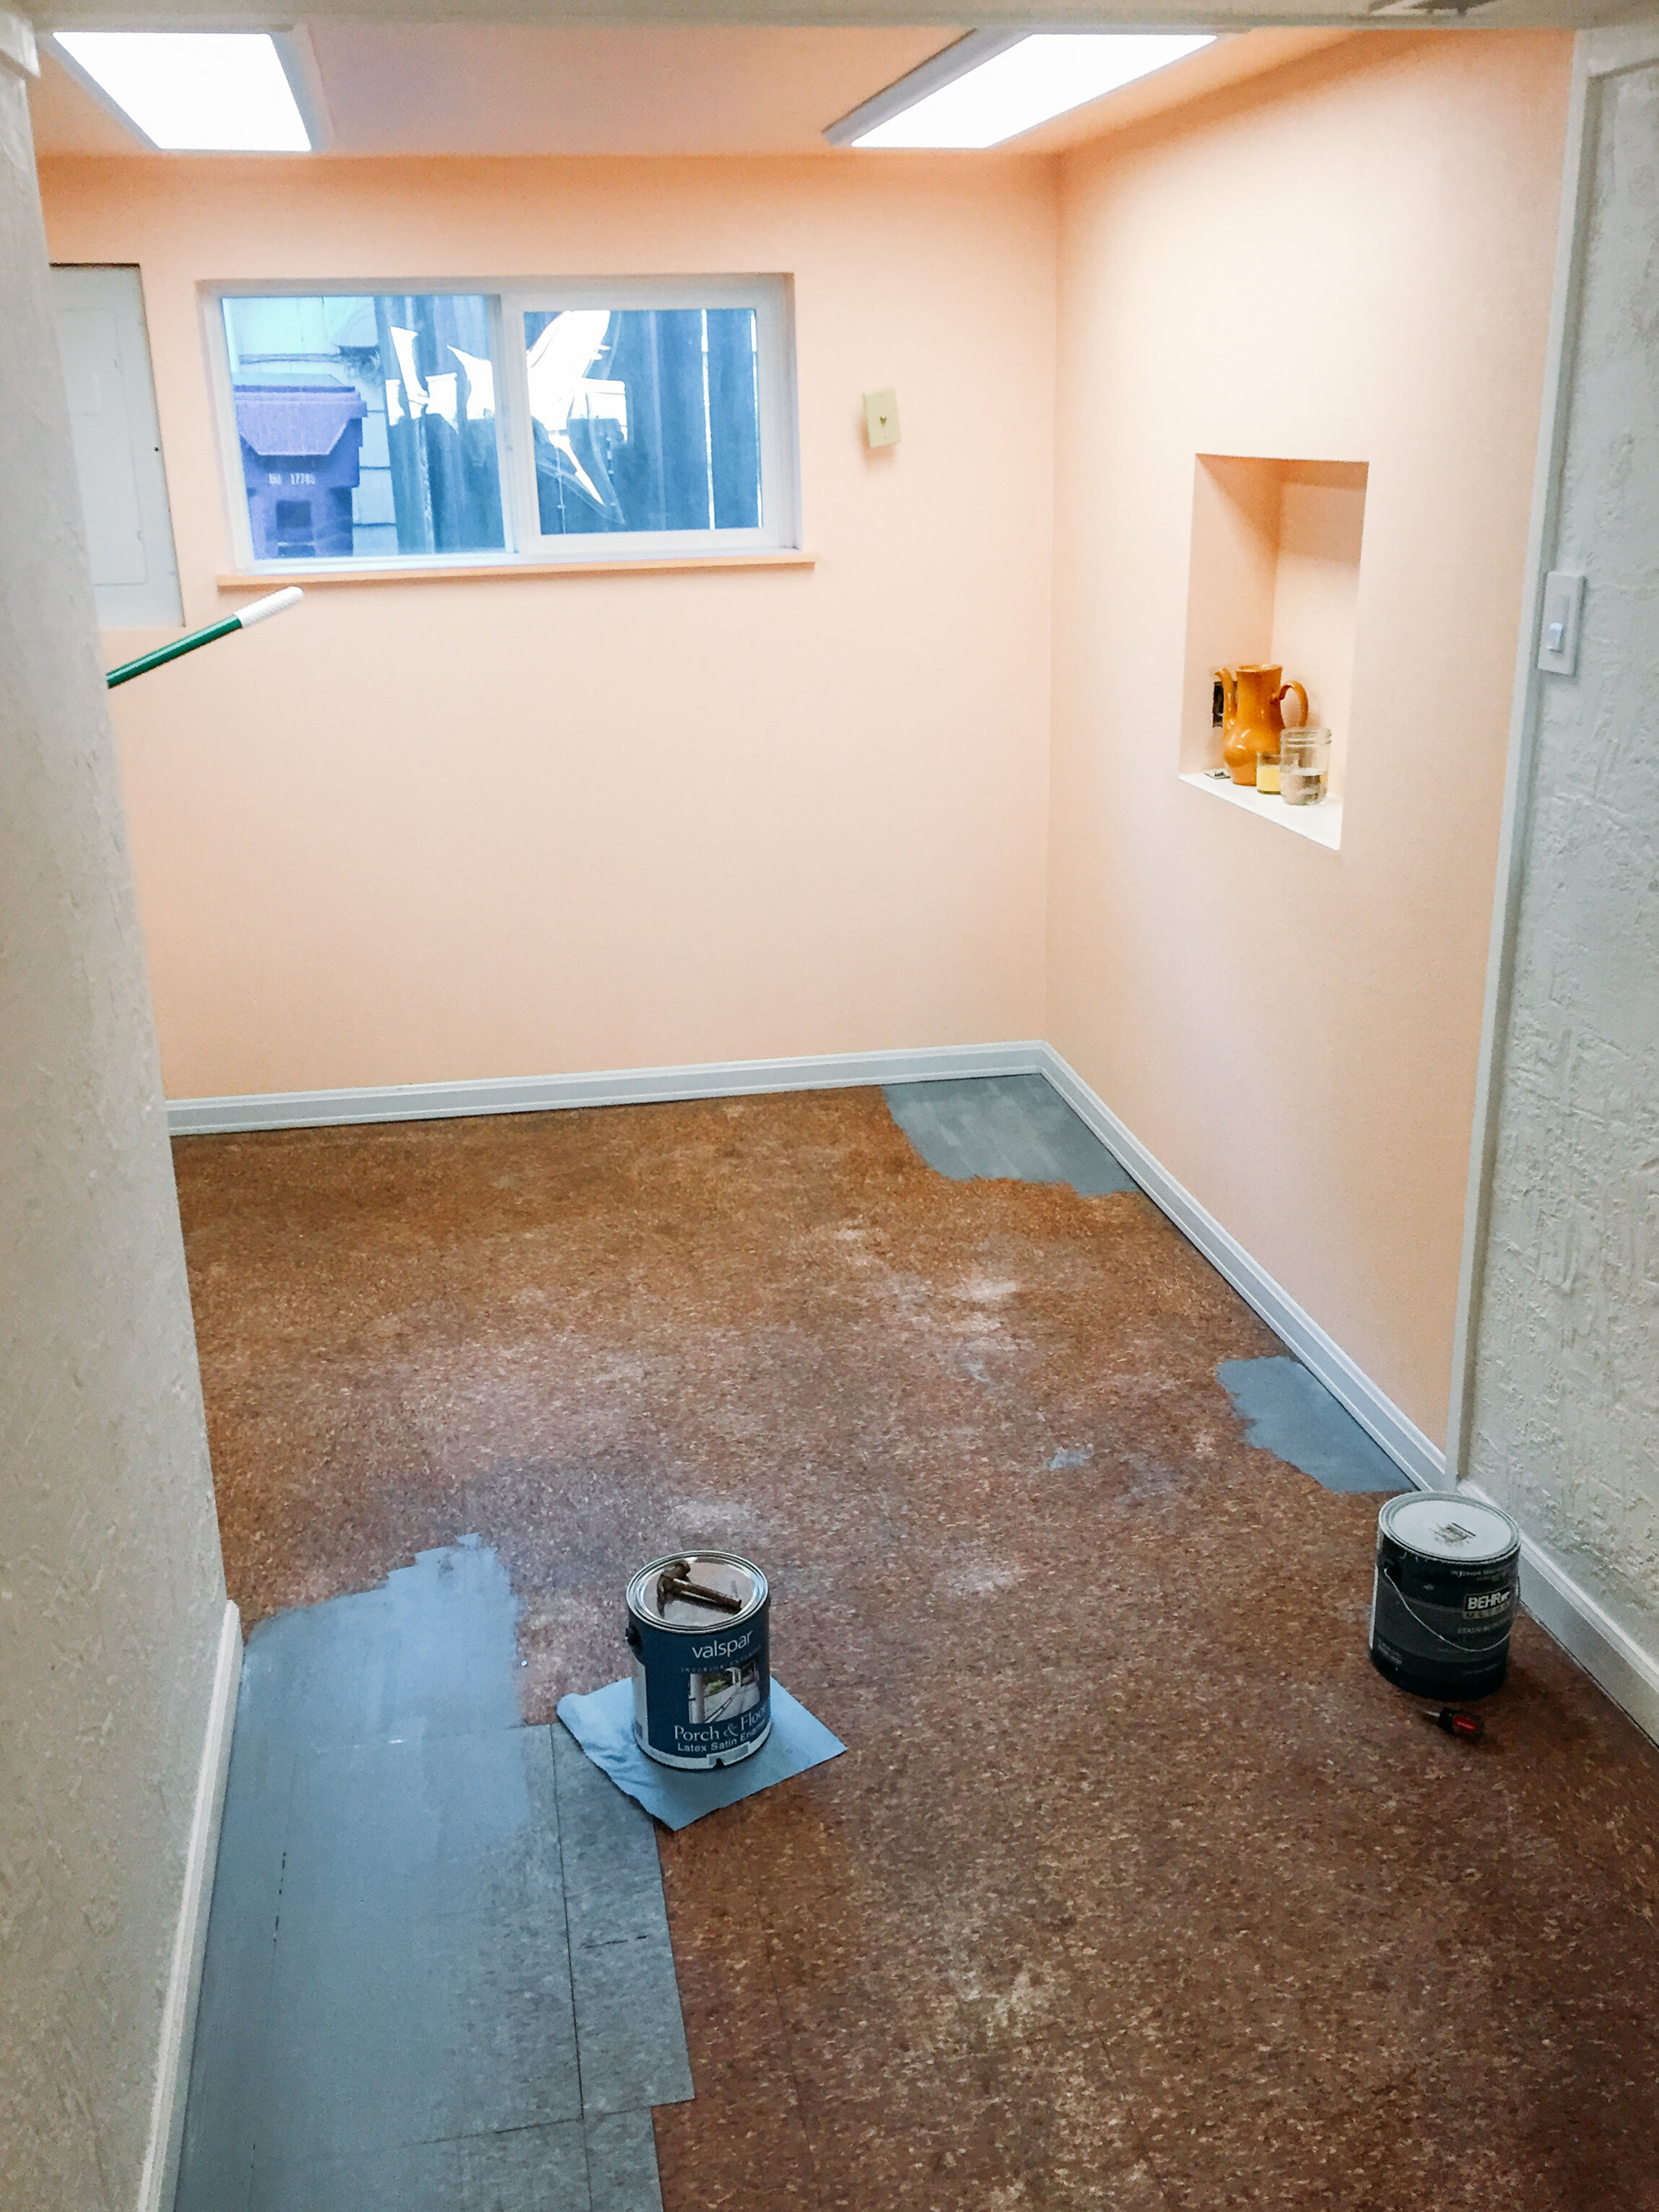
painting the floor was an idea we did not get until way later. we thought we were going to redo the floors completely. i laugh at that thought now. because we were SO DONE with working on the basement by the time the bathroom was almost complete.

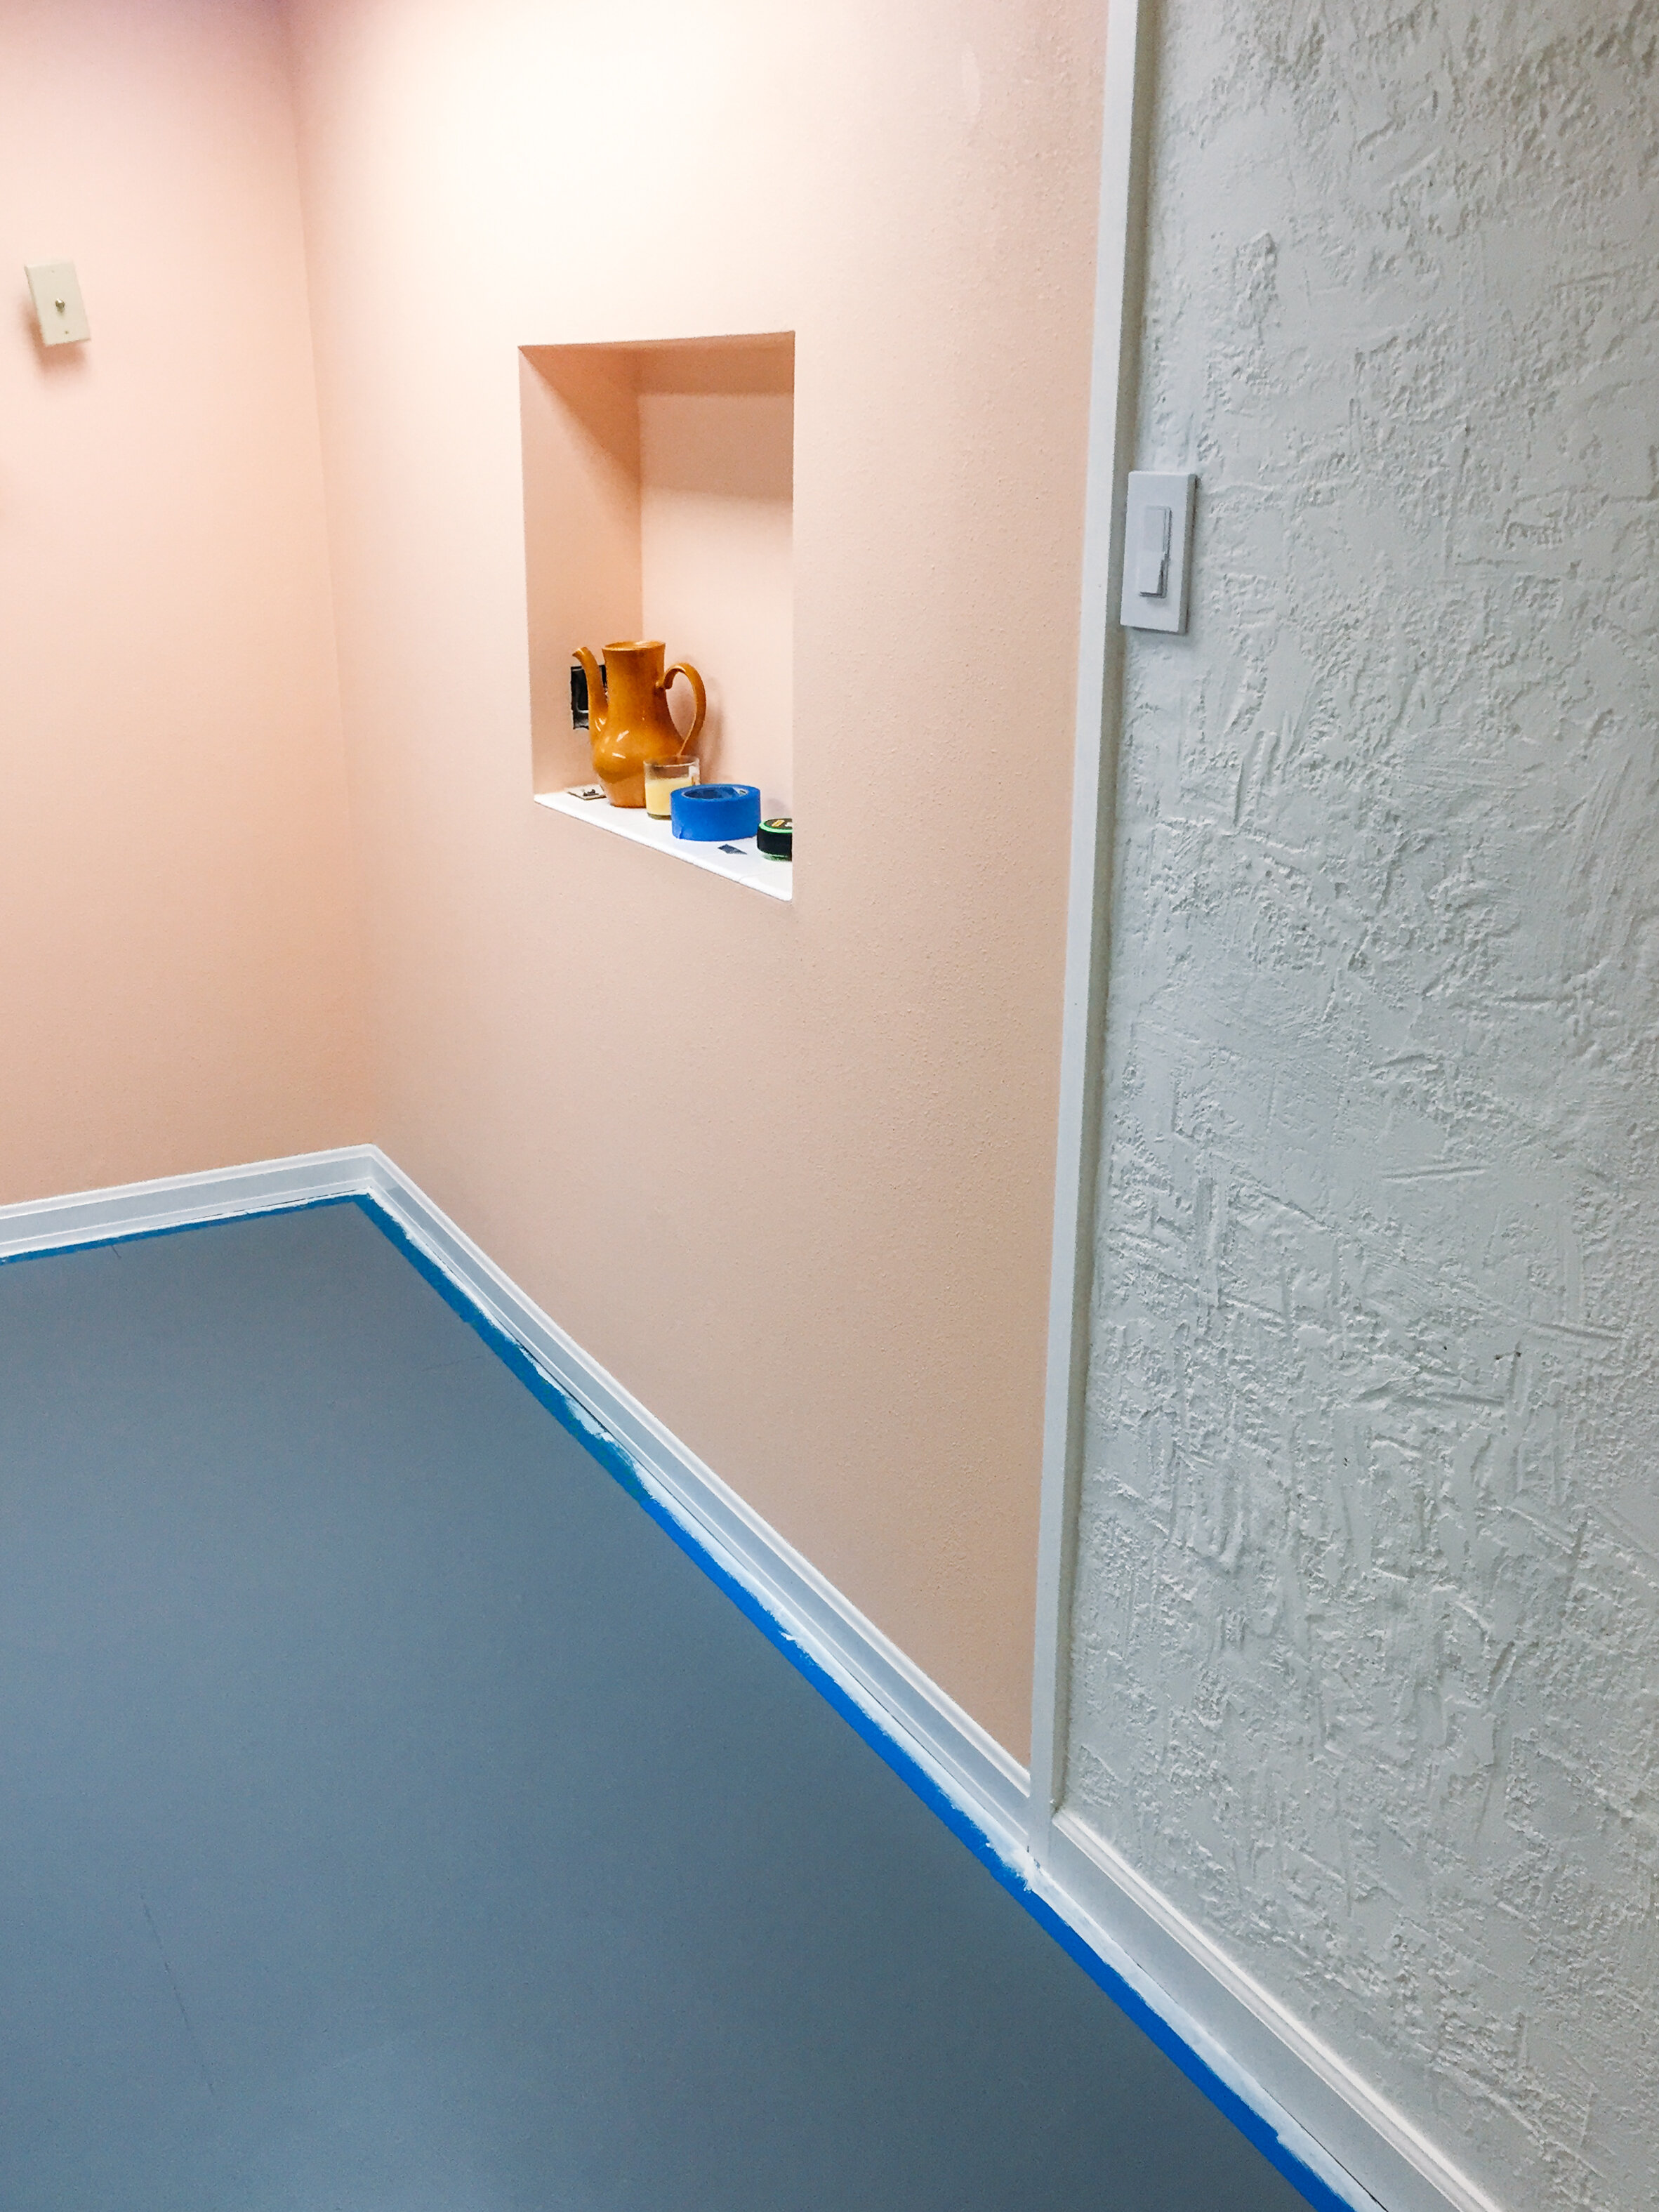
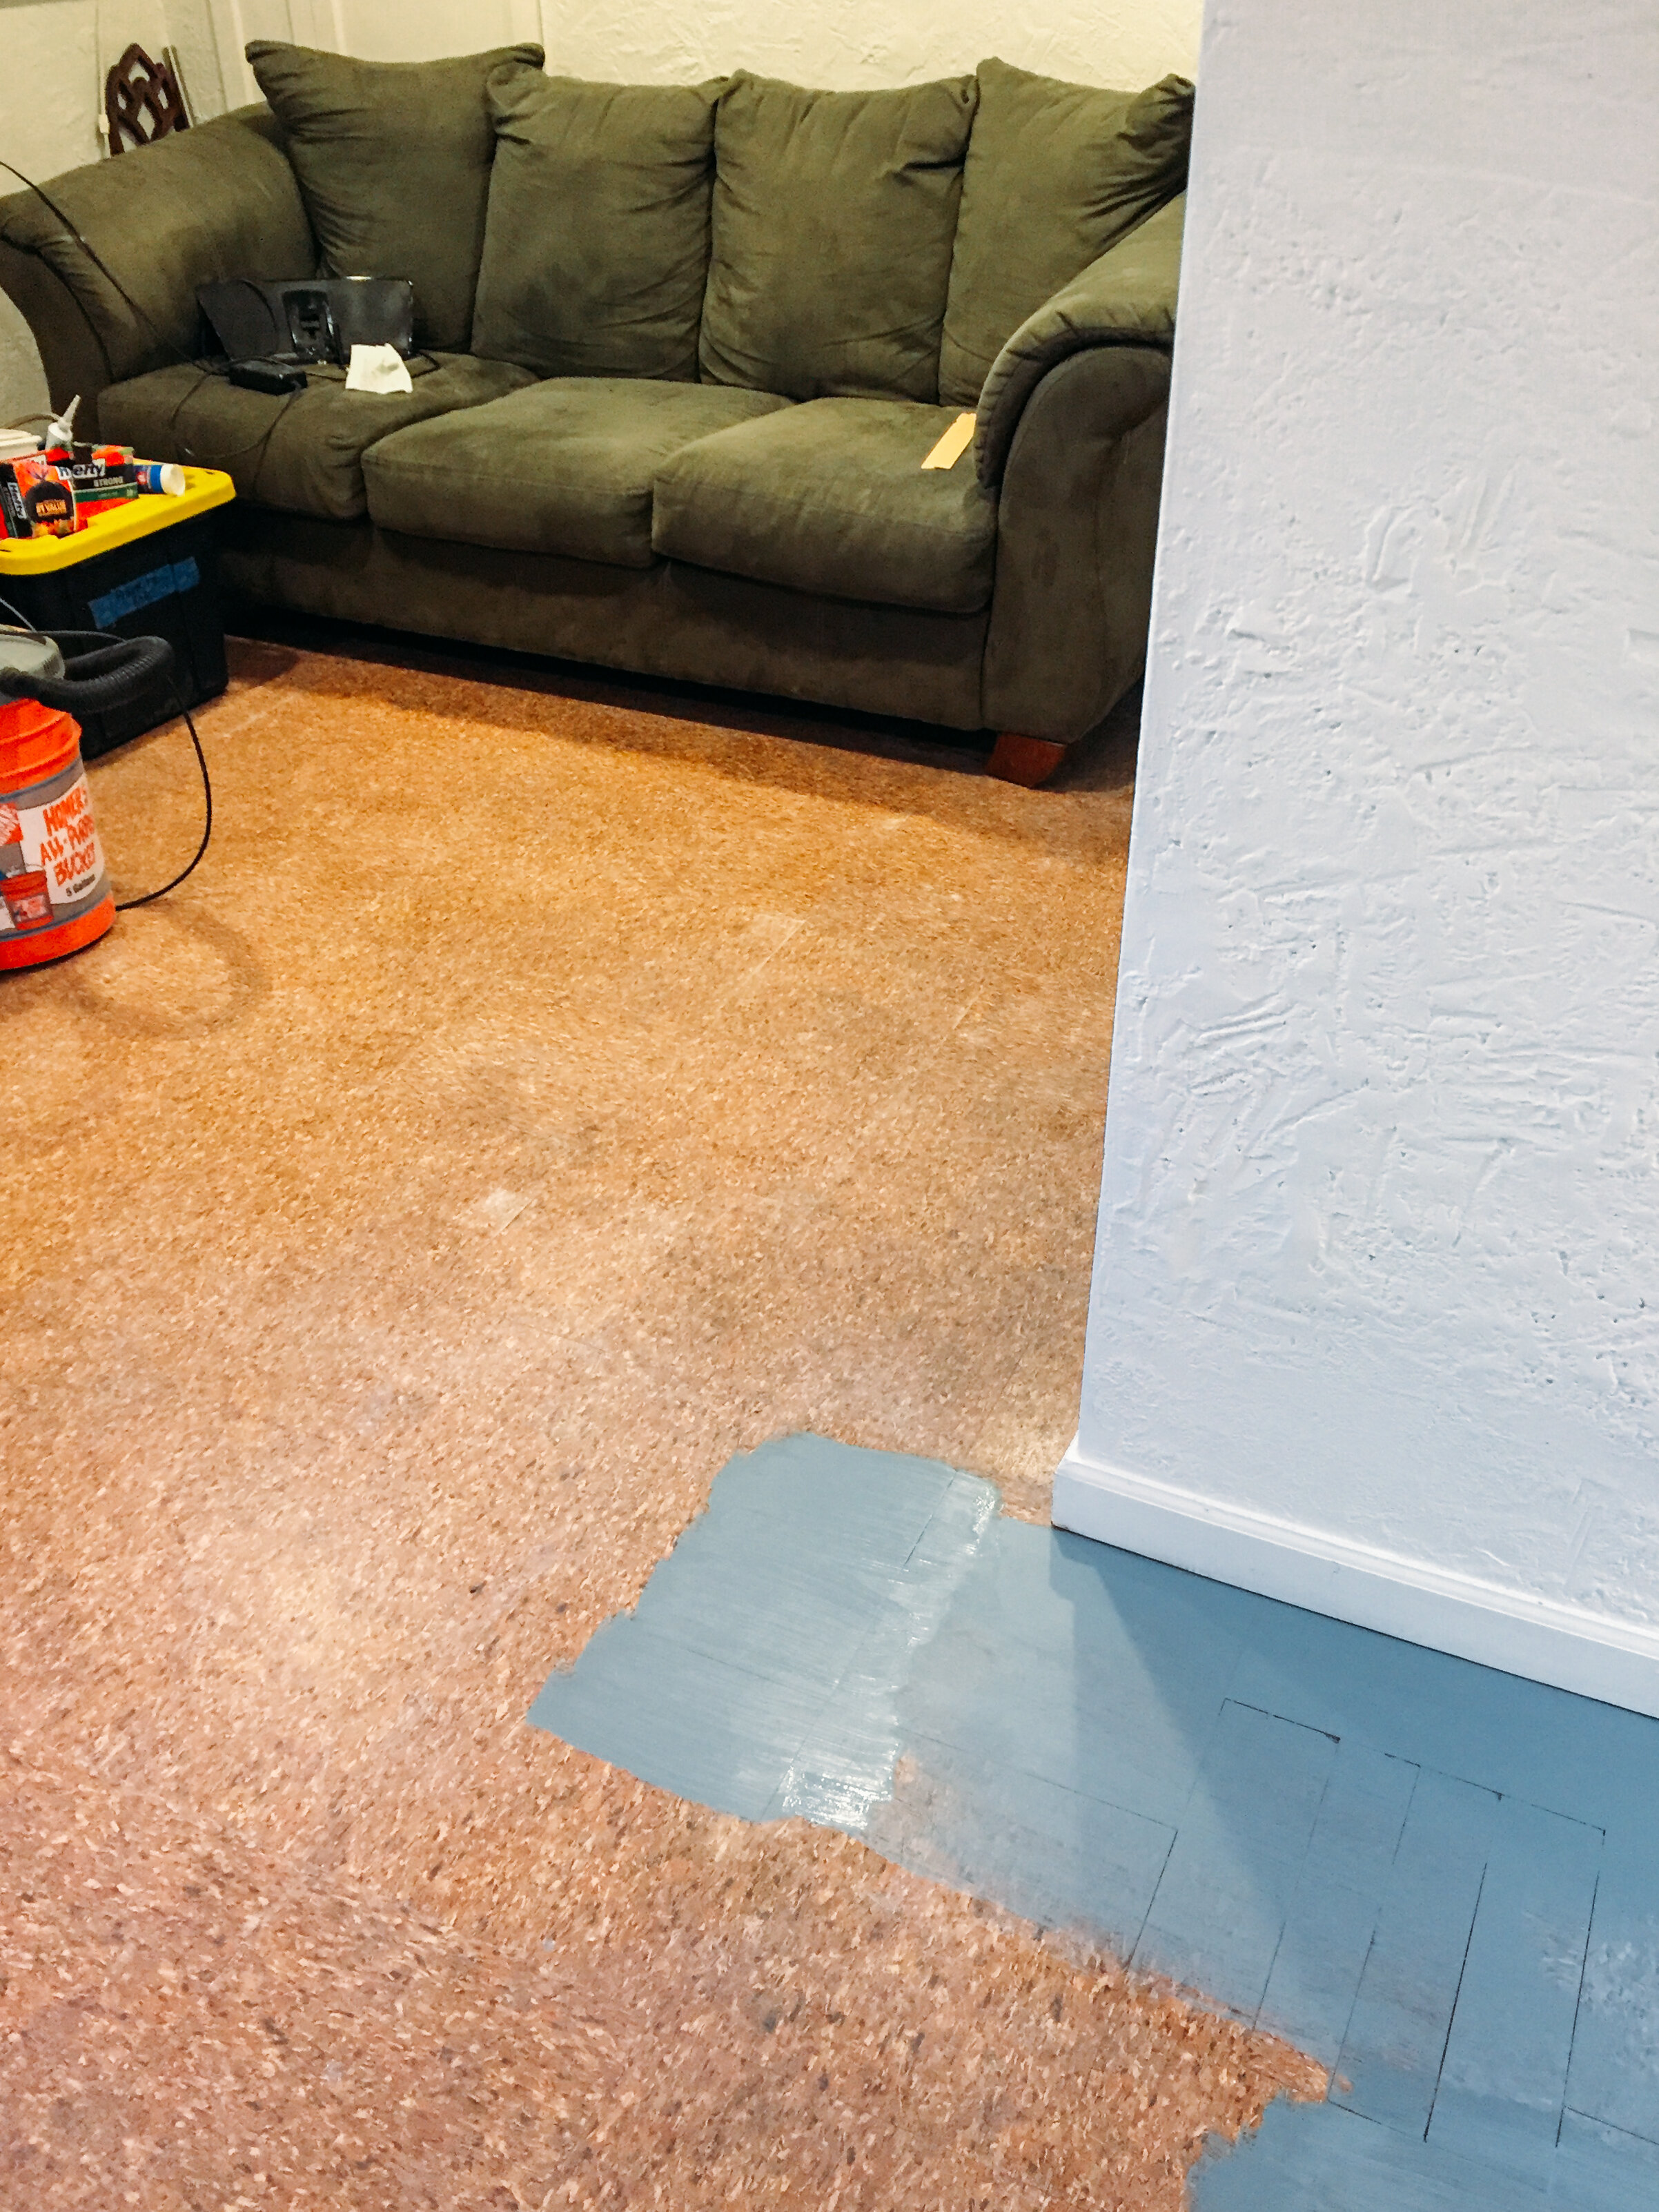
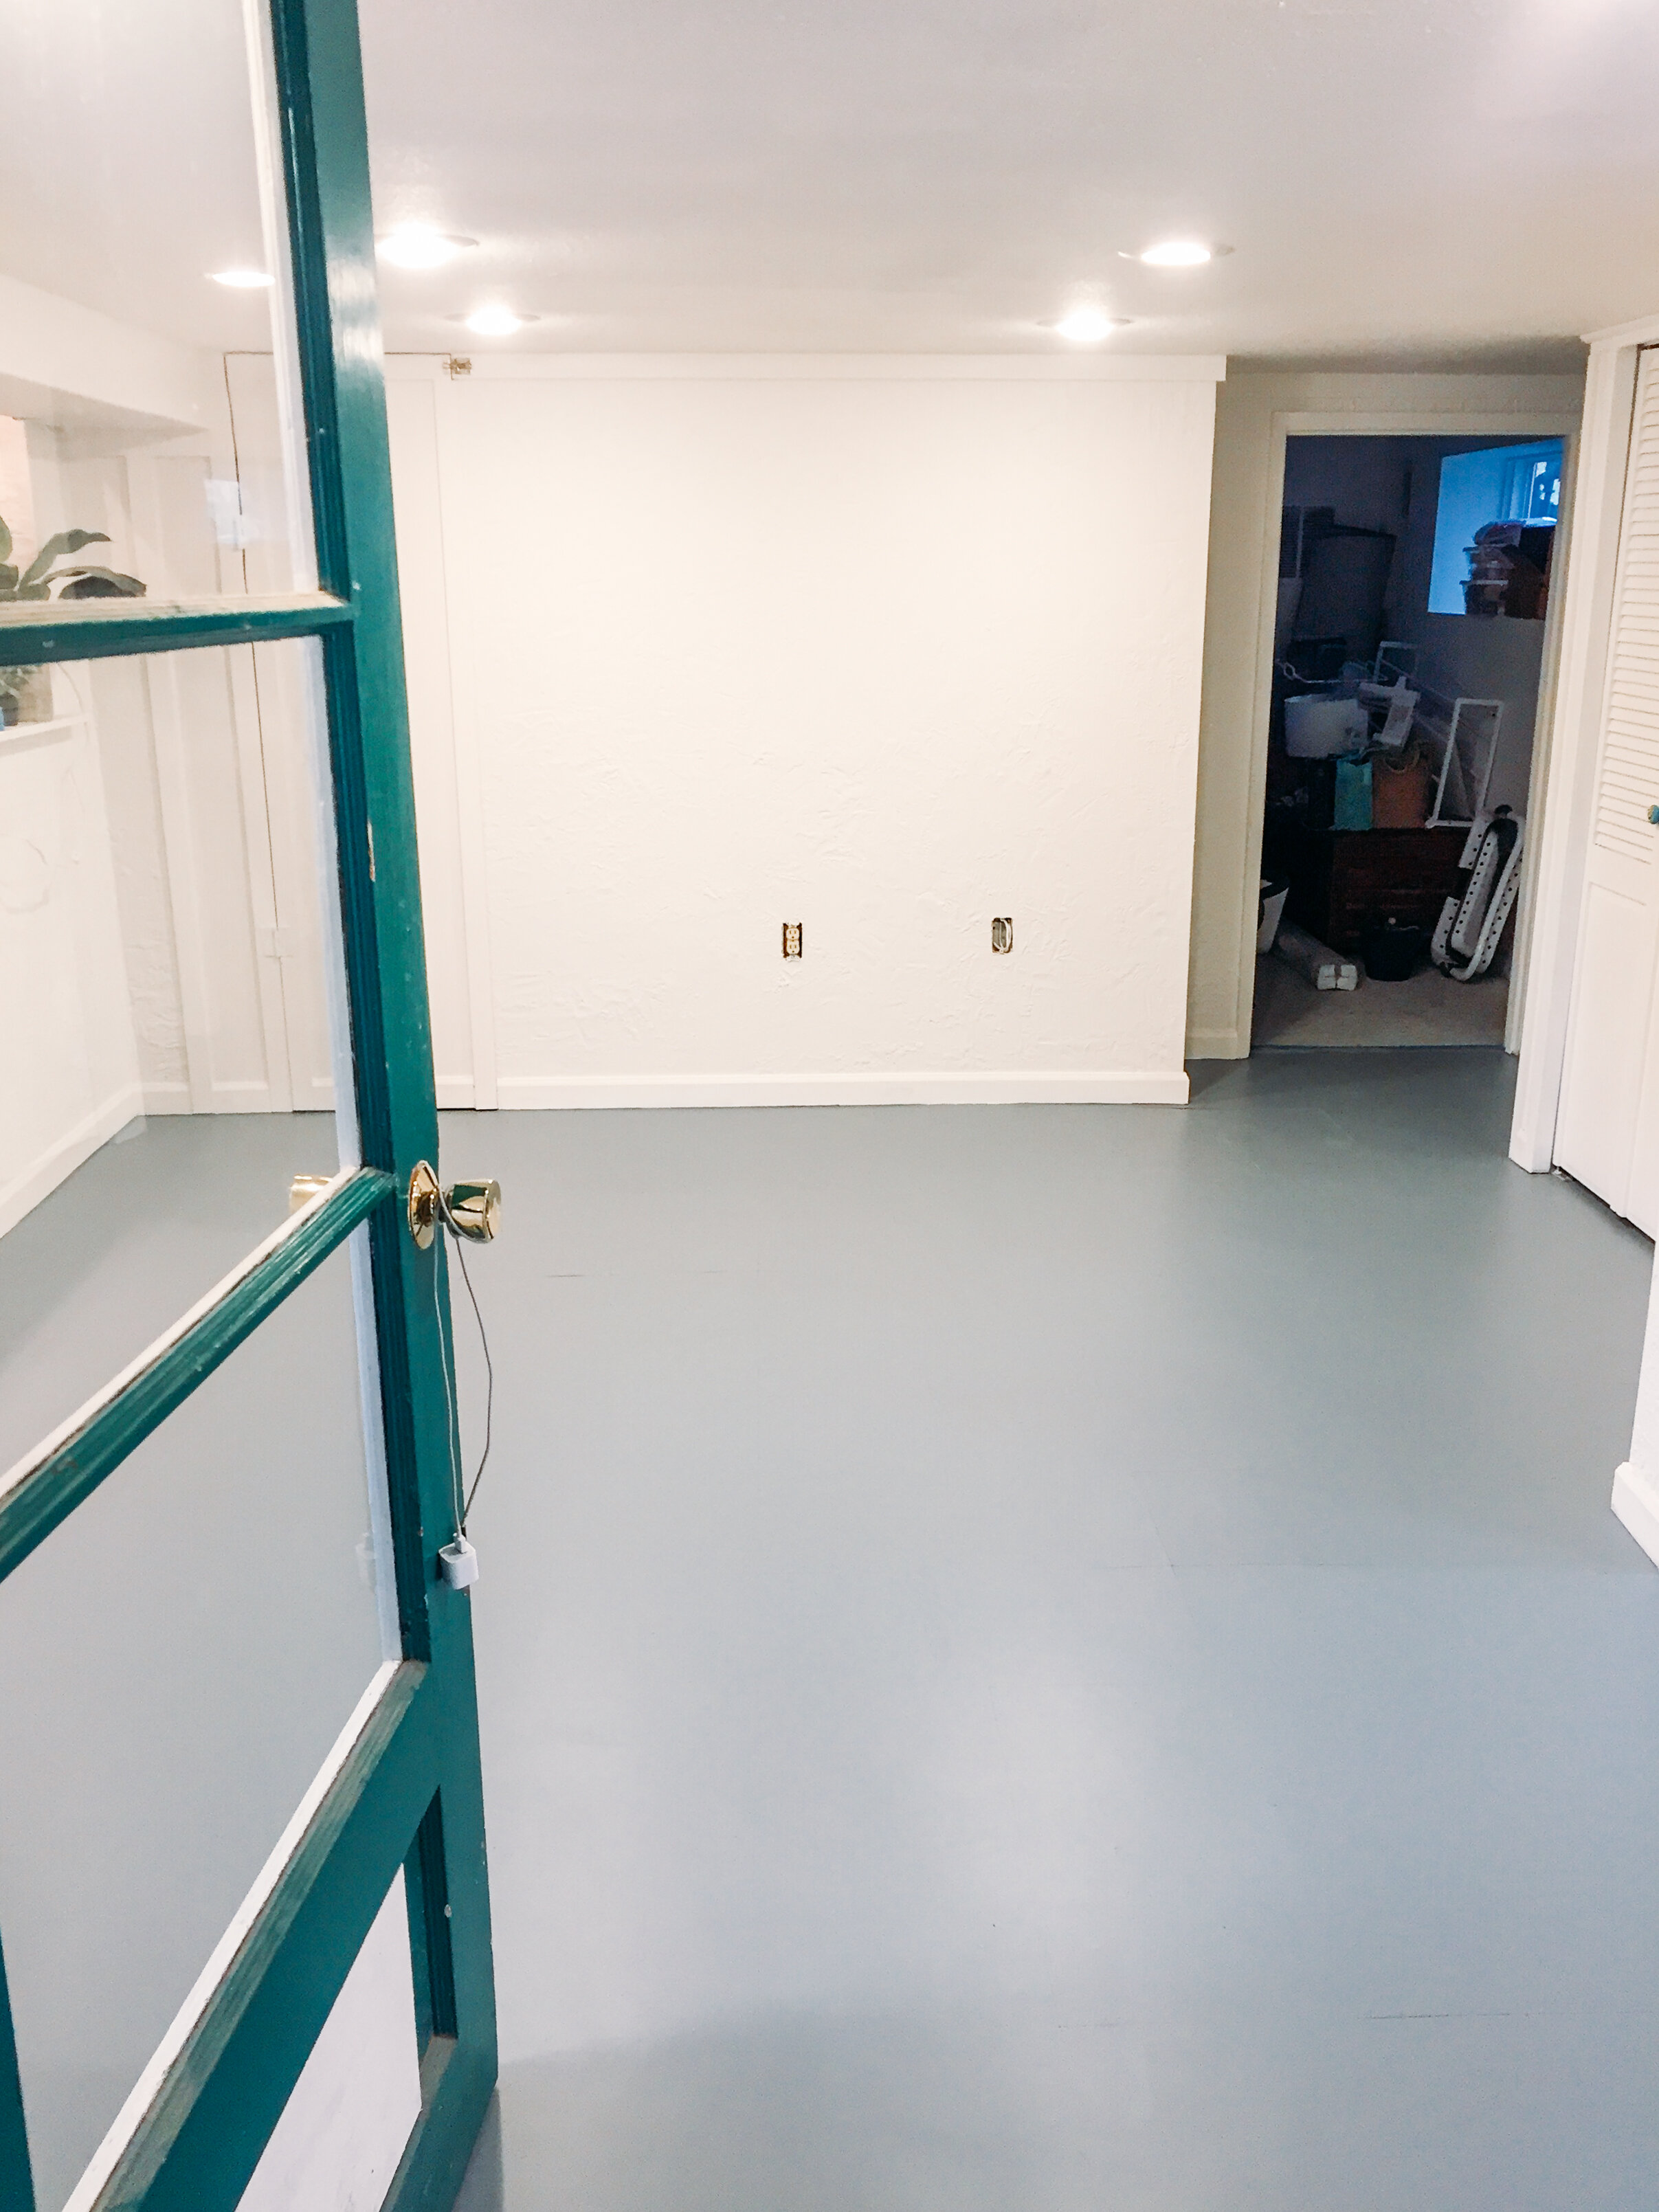
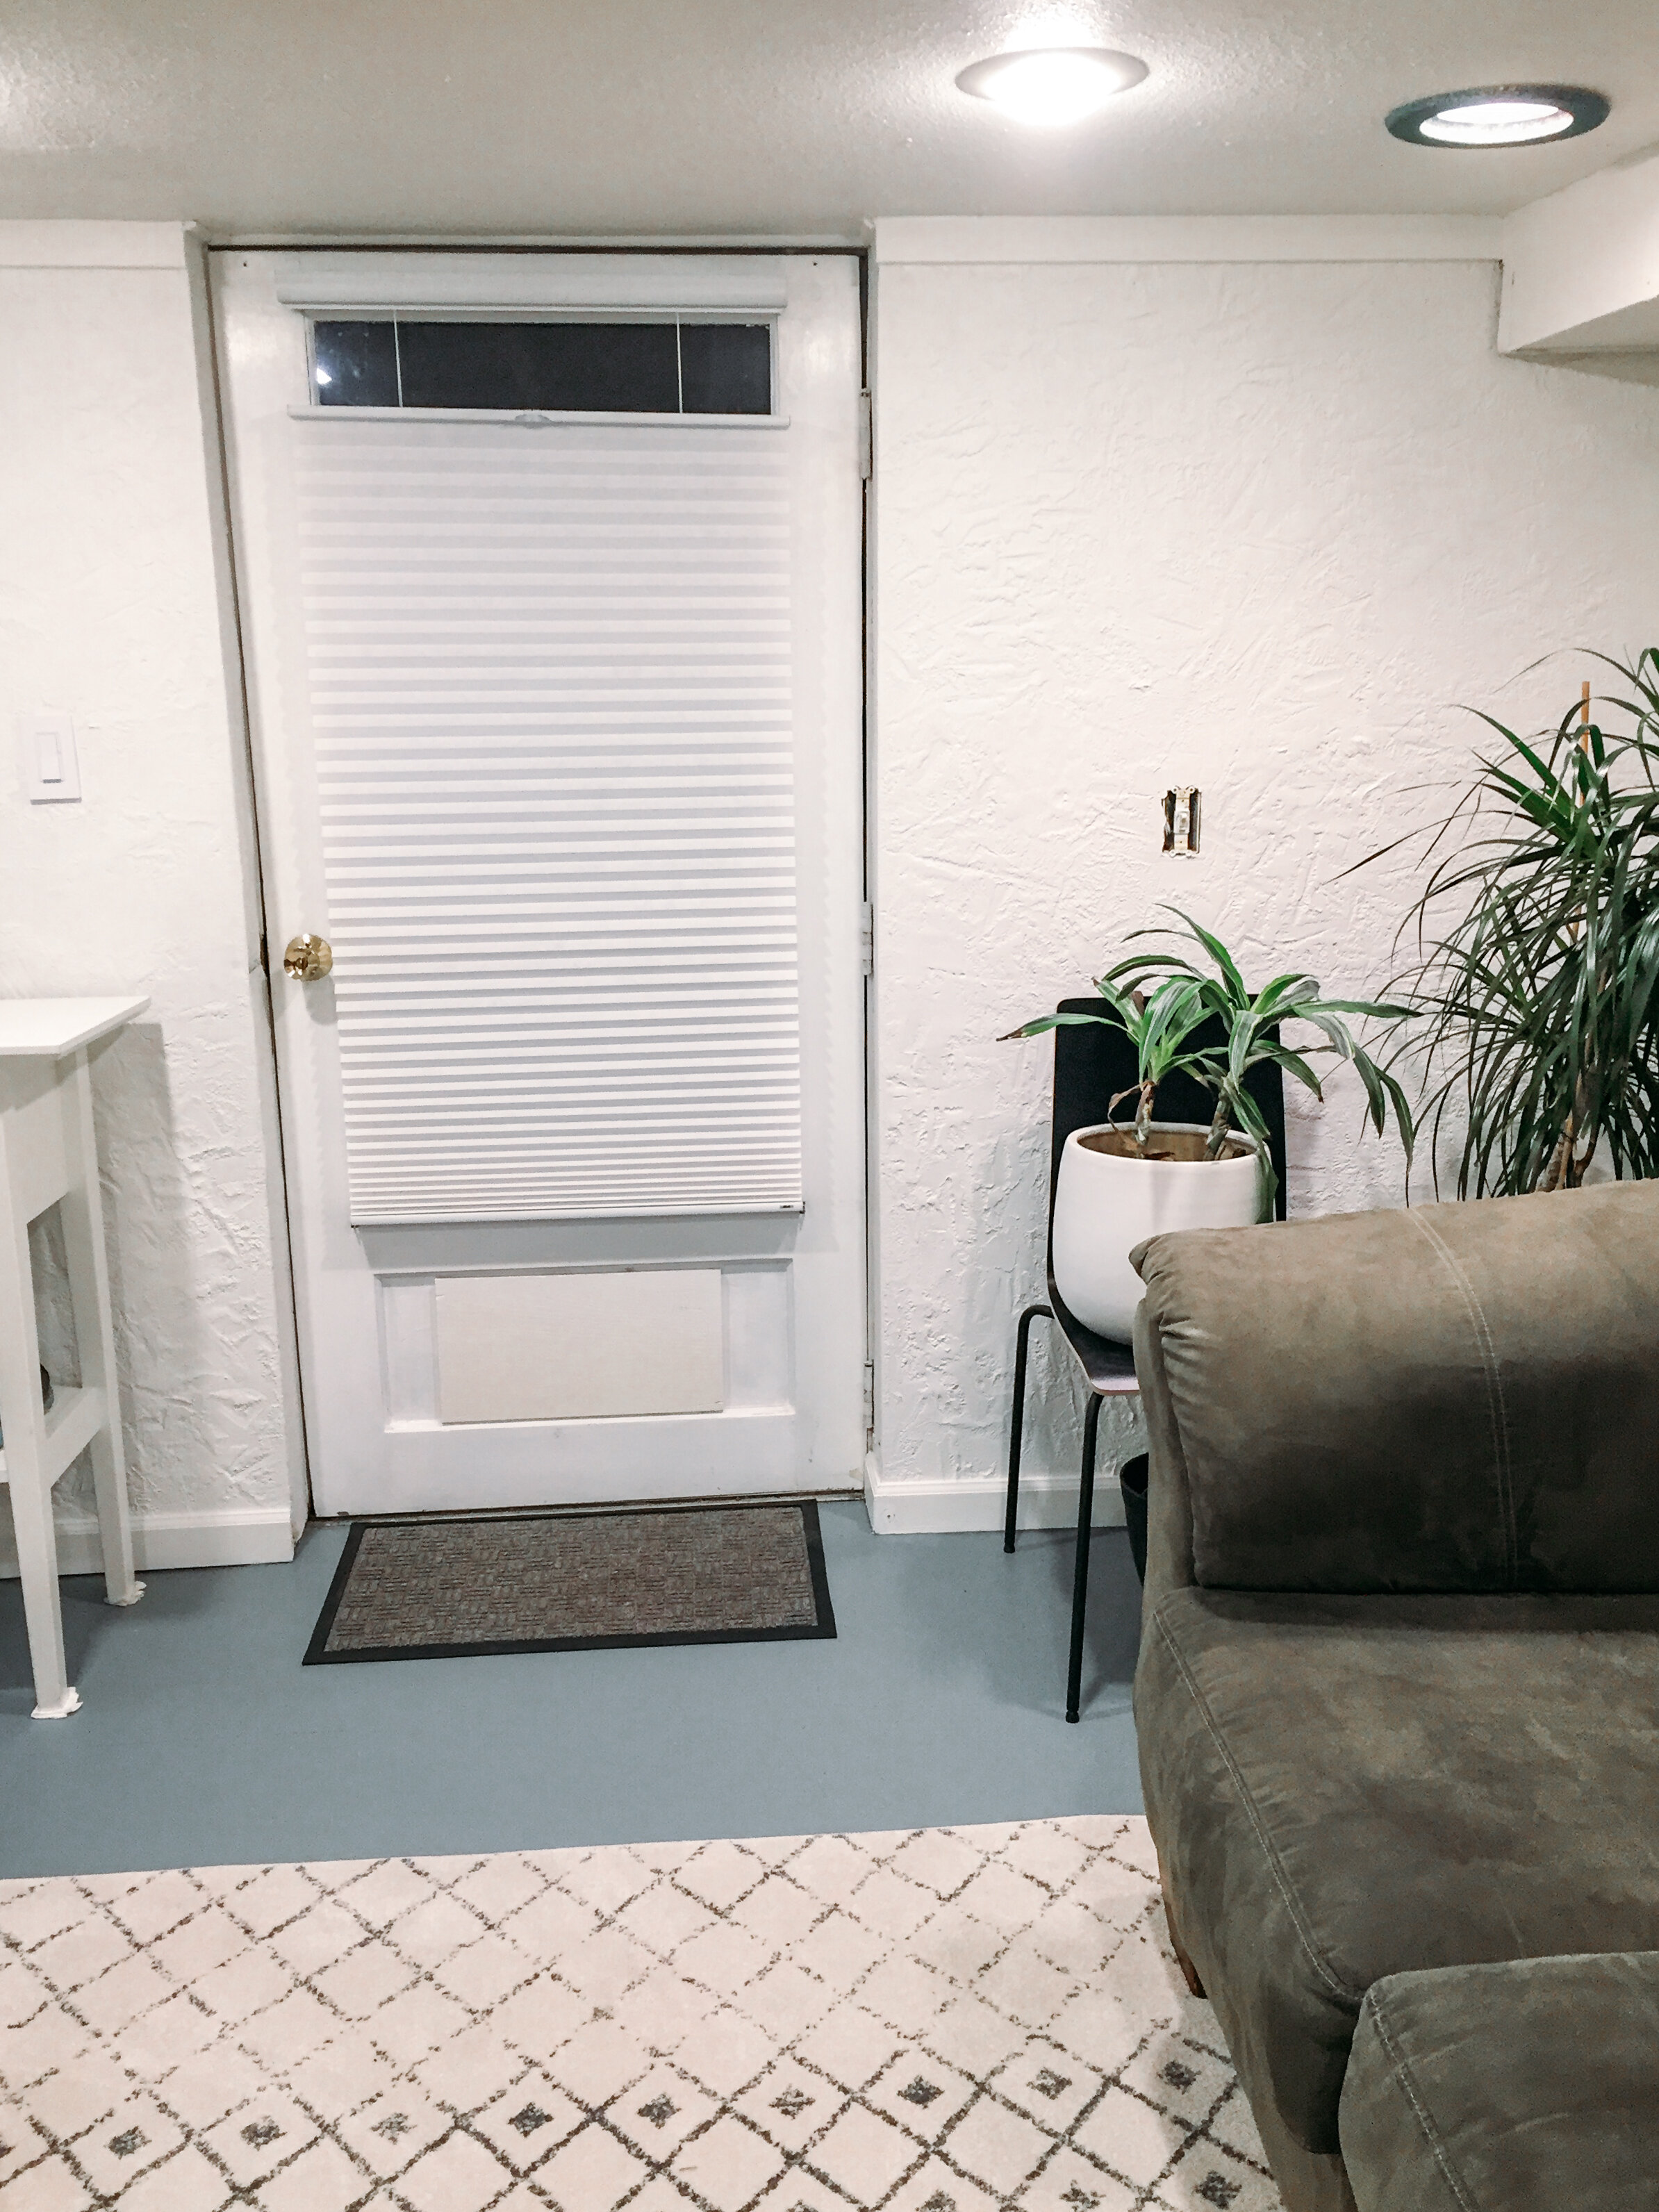
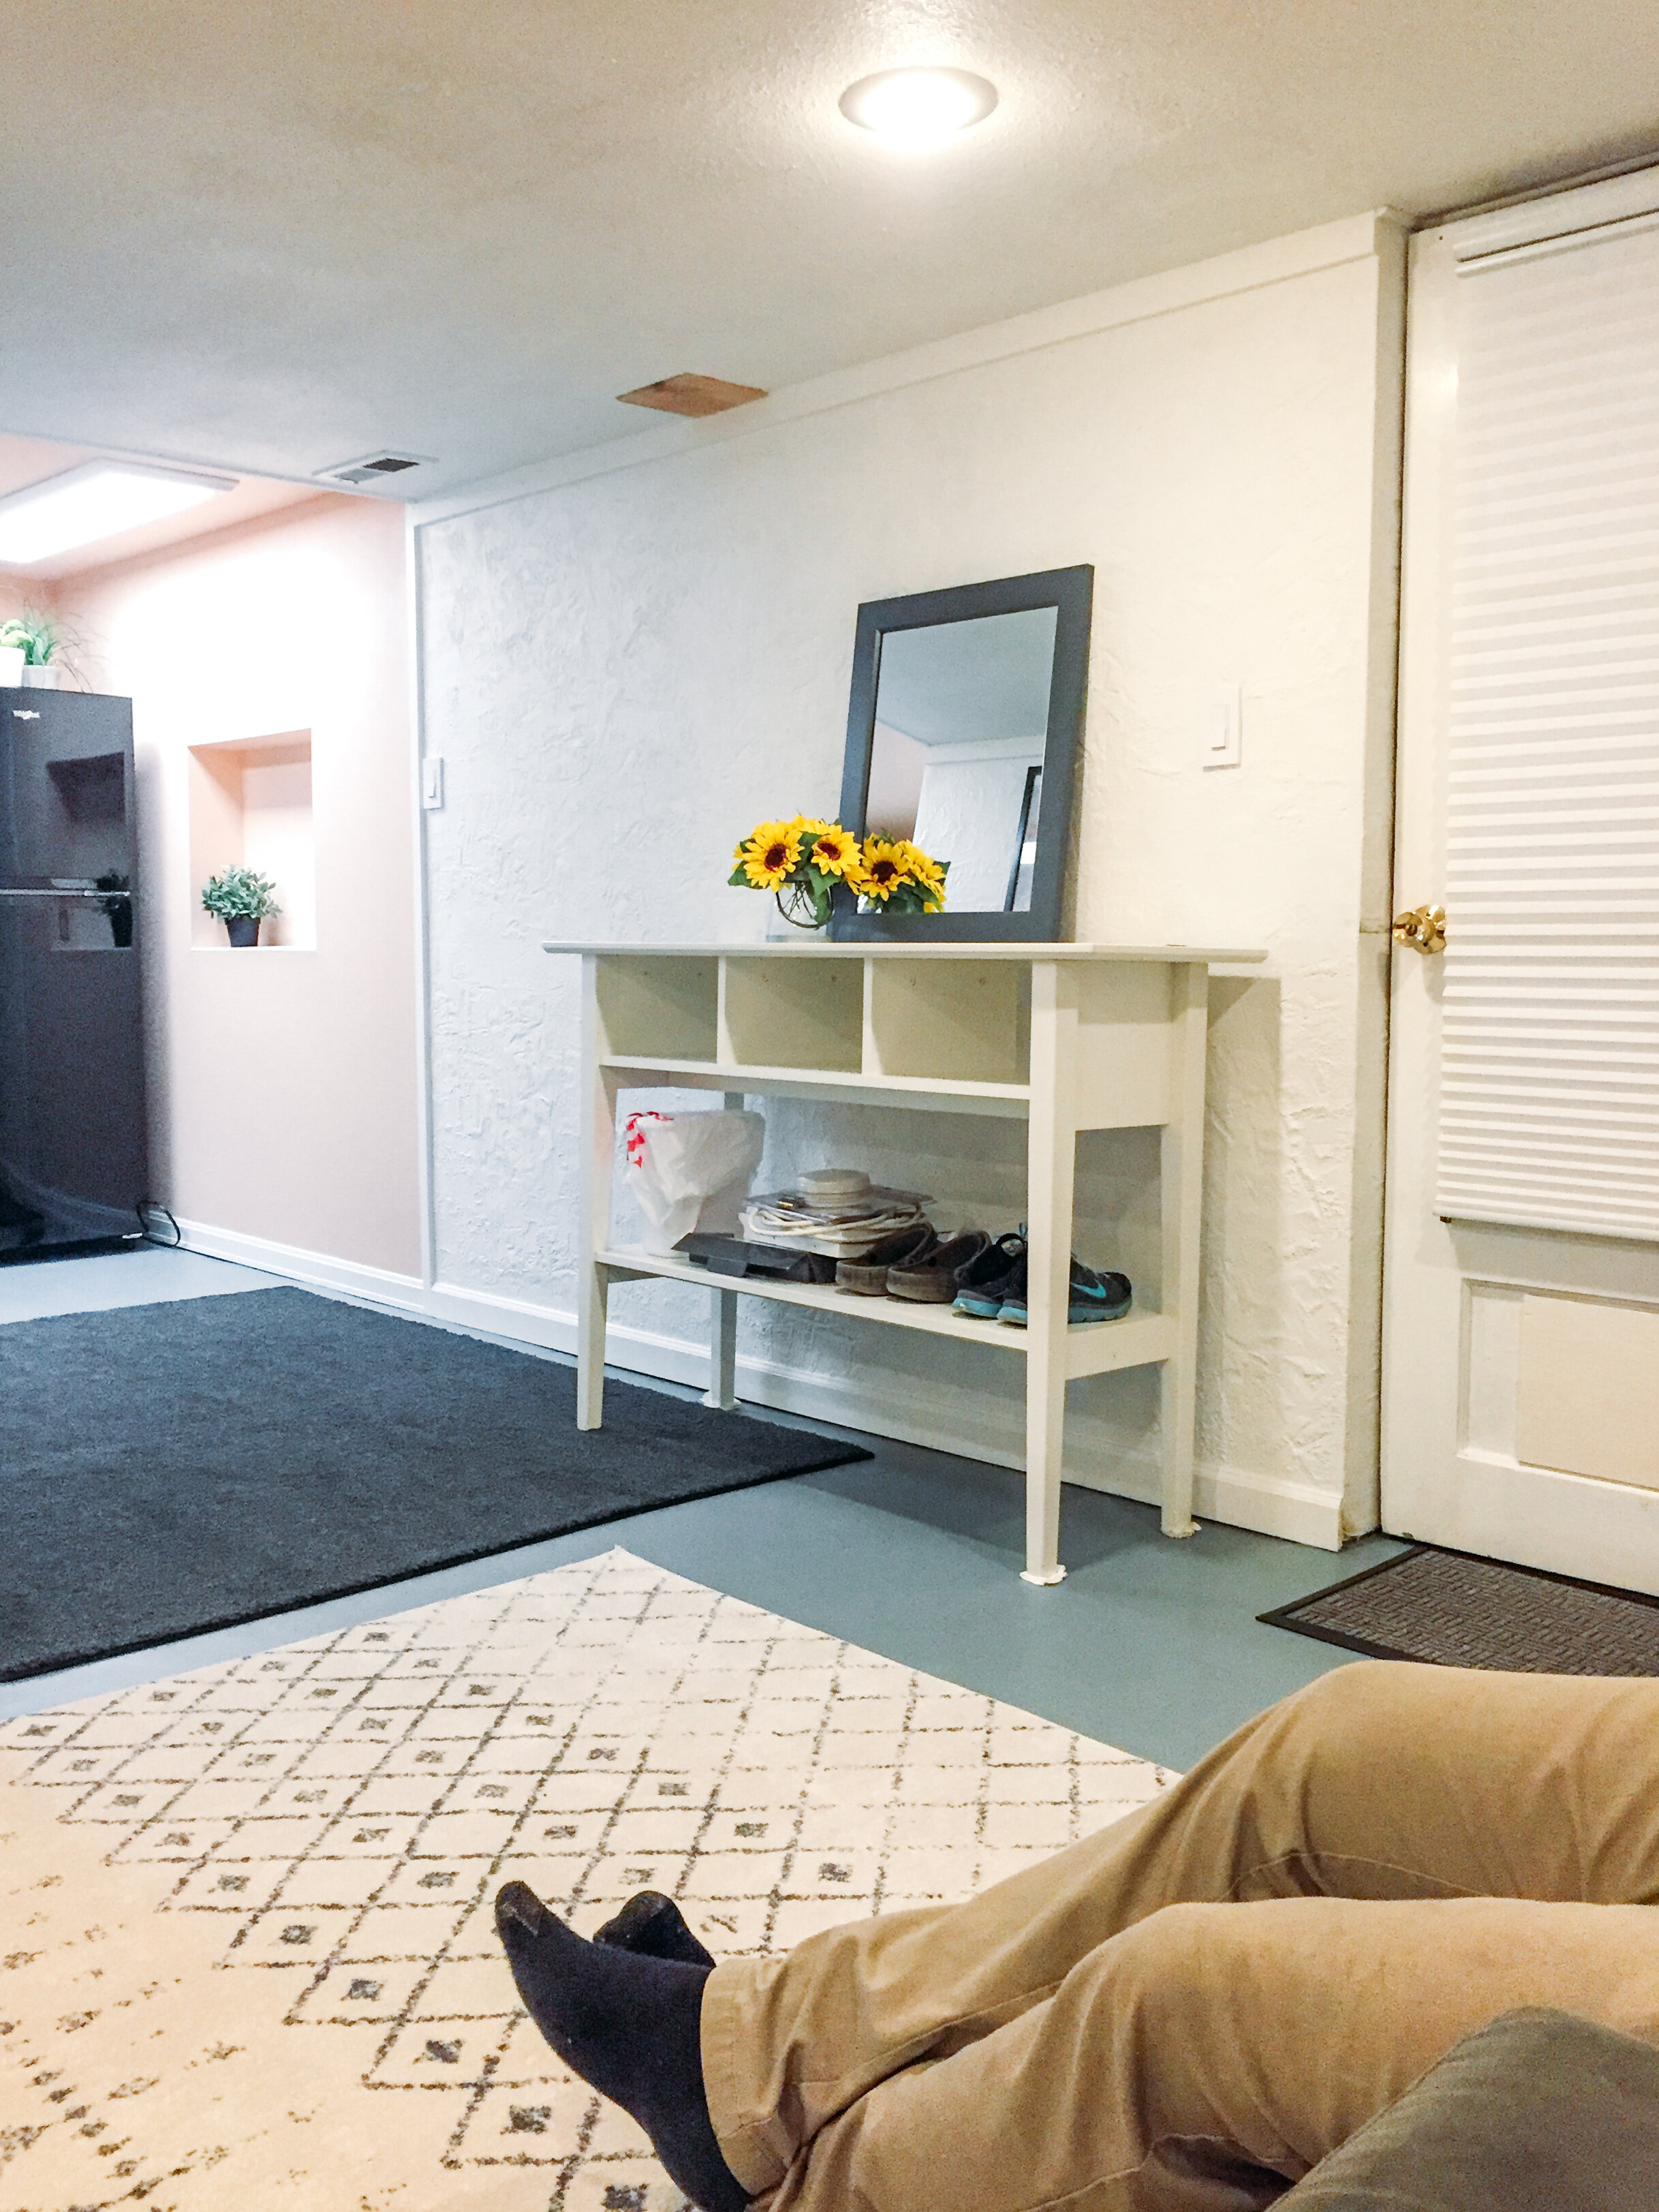
this was some sort of vinyl floor paint in ‘light grey’ that i had the paint people add black to so it wasn’t too blue. it really made the basement look so much cleaner and more inviting compared to the poop brown classroom speckle linoleum that it once was. the paint scratched pretty easily at first, and sort of absorbs some dirt (because i think this is meant for high-traffic garage spaces), so it’ll just be a matter of repainting the floor between renters (easier said than done), or, how about more rugs everywhere?! haha!

seriously such a new fresh space. when i rolled out the rug in the living room, it felt like i had summited a mountain.

the kitchen got fresh cabinet treatment, i textured the walls and ceiling and did all the painting, and repainted the trim around the entire basement (not fun). we replaced the old light panels with these new ones that have a few different options for level of warmth. and dimmers, of course!

^ at this point, it was just shocking to be down here and feel so much more comfortable and like we wanted to spend time here.

that pocket in the back right corner (that was previously a strange blue splatter painting that came with the house) perfectly fit a big mirror from ikea! the mirror really makes this area feel bigger, too.

new refrigerator! new rolling kitchen cart! new top-down/bottom-up blinds on all the basement windows!

all these details make it feel like such an upgrade.

^ ANOTHER SATISFYING BEFORE & AFTER FOR YA!!!

BEDROOM, LIVING ROOM, KITCHEN: DONE!!!!!!!!! ✔️

ENTIRE BASEMENT: DONE!!!!!!!!!!!!!!!!!!!!!!!!!!!!!!!!!!!!!!!!! ✔️

we are so glad we worked our asses off last year to finish some gigantic projects like THIS one, as well as our marriage celebration. what a whirlwind of a summer it was.

we are stoked and proud of ourselves for making all the moves to get it all done. what started with some intense home organization, a couple of paint rollers and some visions, became our whole new downstairs apartment - which is now rented by a real human! so mind-blowing to me that last year at this time, renovating the basement was just a spark of an idea and a twinkle in our eyes.

it is actually insane what you can bring into reality if you choose to put in the work.

qp